KAWLM85TSMA - Washing machine Kogan - Free user manual and instructions
Find the device manual for free KAWLM85TSMA Kogan in PDF.

User questions about KAWLM85TSMA Kogan
0 question about this device. Answer the ones you know or ask your own.
Ask a new question about this device
Download the instructions for your Washing machine in PDF format for free! Find your manual KAWLM85TSMA - Kogan and take your electronic device back in hand. On this page are published all the documents necessary for the use of your device. KAWLM85TSMA by Kogan.
USER MANUAL KAWLM85TSMA Kogan
natural_image
Technical line drawing of a structural frame with vertical supports and mounting holes (no text or symbols)SLIM TILT ADJUSTABLE WALL MOUNT
(37" - 85")
KAWLM85TSMA
SAFETY & WARNINGS
text_image
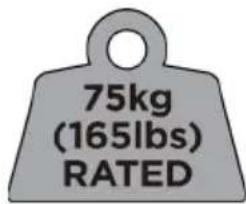
75kg (165lbs) RATEDCAUTION:
Rated weight is 75kg (165 lbs).
Use with products heavier than the rated weights indicated may result in instability causing possible injury.
- Please closely follow the assembly instructions. Improper installation may result in damage or serious personal injury.
• Safety gear and quality tools must be used. - This product is suitable for installation on solid concrete walls, masonry walls or wood stud walls.
• Make sure that the supporting surface will safely support the combined weight of the equipment and all attached hardware and components. - Use the mounting screws provided and DO NOT OVER TIGHTEN mounting screws.
• Do not allow children to play near this stand. - This product contains small items that could be a choking hazard if swallowed. Keep these items away from children.
- This product is intended for indoor use only. Using this product outdoors could lead to product failure and personal injury.
- A minimum of two people are recommended for this installation. Failure to use safety gear and safe working methods may result in property damage, serious injury or death.
IMPORTANT: Ensure that you have received all parts according to the component checklist prior to installation. If any parts are missing or faulty, contact your place of purchase for a replacement.
MAINTENANCE: Check that the product is secure and safe to use at regular intervals (at least every three months).
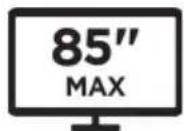
Suitable for TVs 37" - 85" maximum
VESA compatibility:
150x100 150x150 200x100 200x200 200x400 300x200 300x300 350x350 400x200 400x300 400x400 600x200 600x300 600x400
COMPONENTS
Wall mount assembly:

Adapters (depends on TV):
M-A M5x14 (x4)

M-E M8x45 (x4)

M-B M6x14 (x4)

M-F D6 (x4)
M-C M6x25 (x4)
M-G (x4)

M-D M8x25 (x4)
M-H (x4)
ASSEMBLY
Additional Tools Required (Not Supplied):

Phillips head
screwdriver
Stud finder
Spirit level
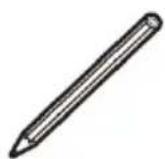
Pencil
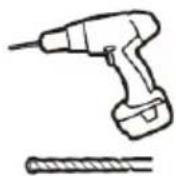
Electric drill
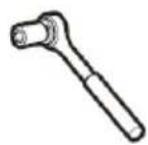
Socket wrench
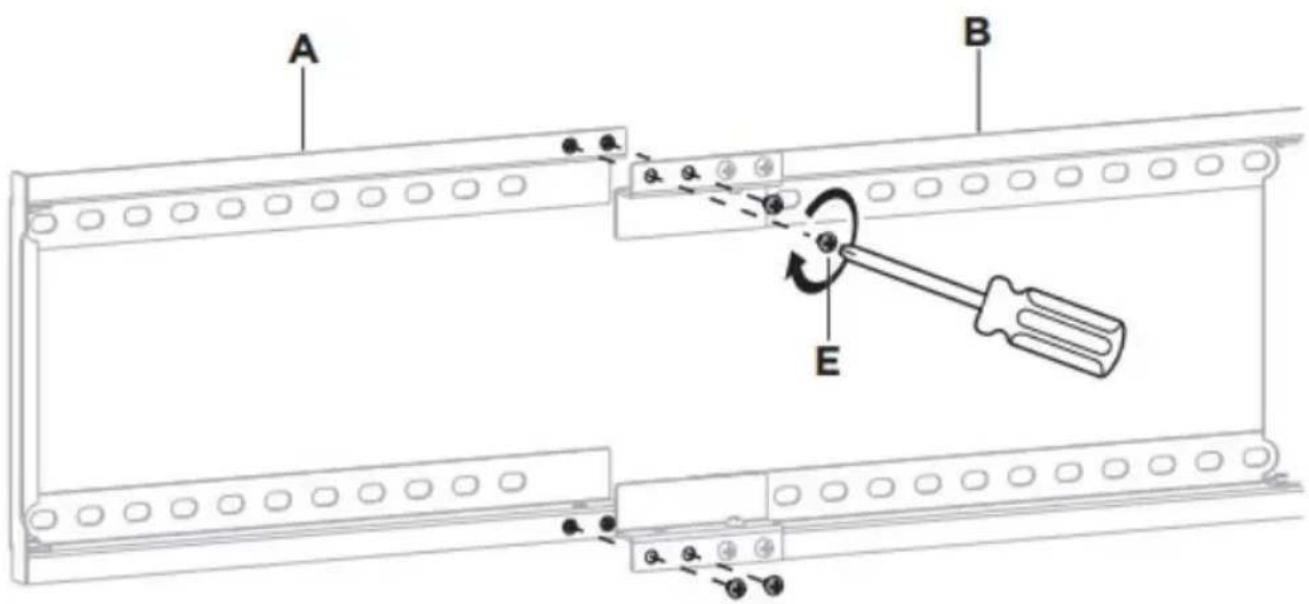
Step 1:
text_image
A B E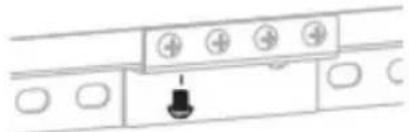
natural_image
Simple line drawing of a kitchen appliance with no text or symbols
text_image
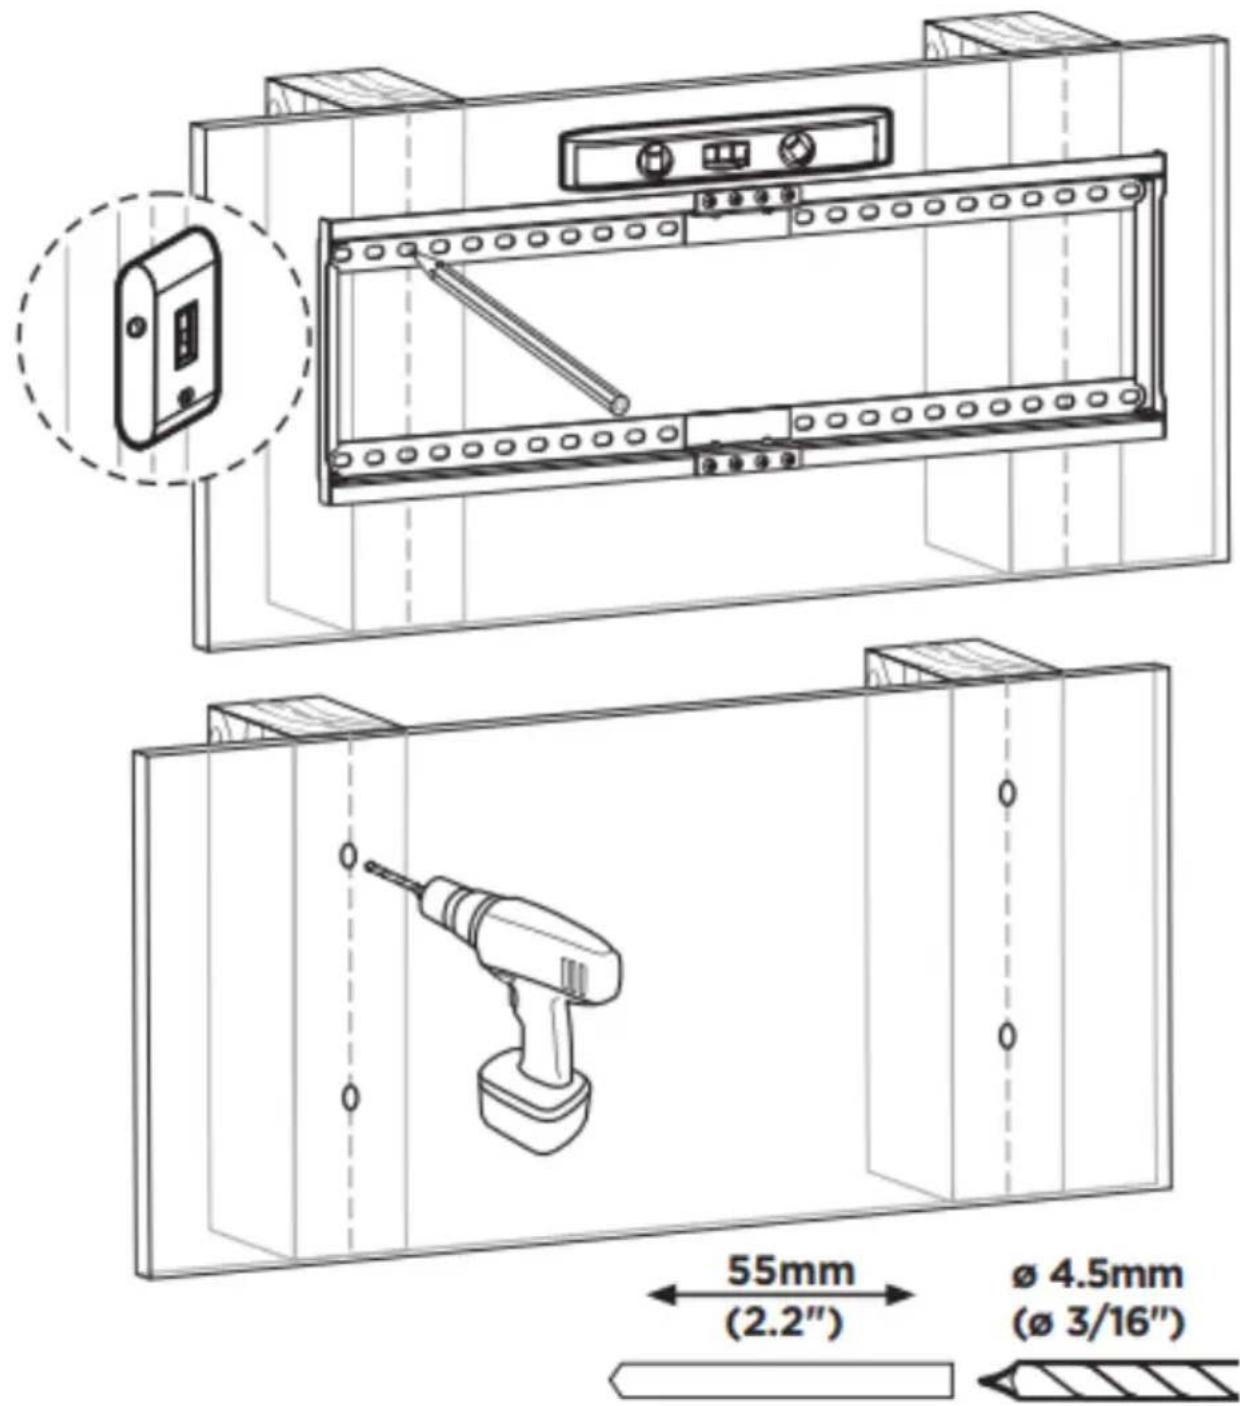
EStep 2: Drywall, plaster or timber walls (with studs)
Use a stud finder to locate safe and suitable locations to install into wall. Use a spirit level to double check the correct angle of the mount and mark the intended hole positions with a pencil. Drill holes in the desired locations (55mm deep, 4.5mm wide).
text_image
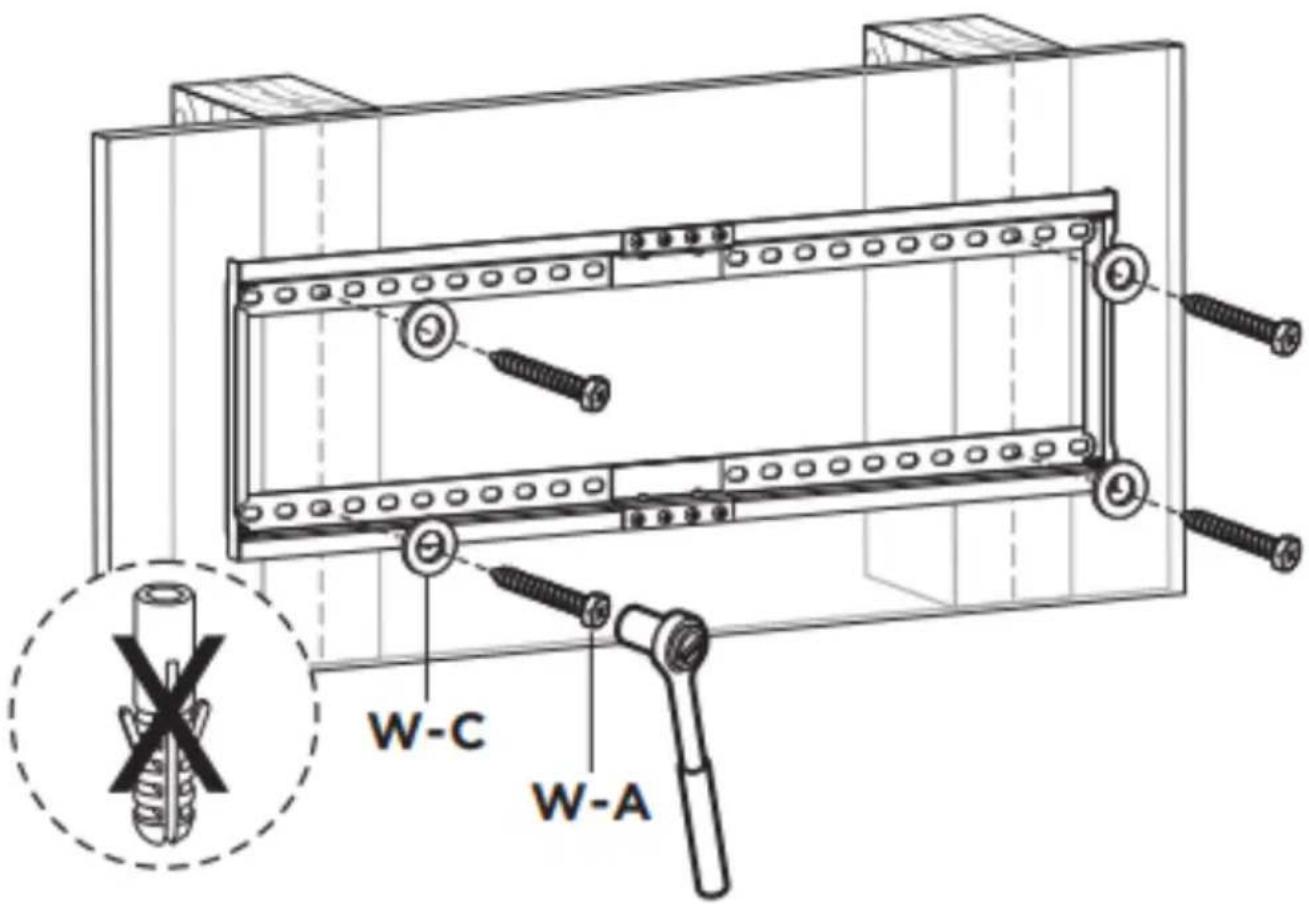
55mm (2.2") Ø 4.5mm (Ø 3/16")With the wall mount held in place, insert the washers and screws (W-C, W-A), tightening with a socket wrench. When installing on a drywall, plaster or timber wall, do not use the screw anchors (W-B).
text_image
W-C W-A
text_image
Icon set with three rectangular buttons and checkmark symbols, likely indicating selection or confirmation status.Ensure washers and screws are aligned in the centre of opening. Do not install with washers and screws off to either side.
Step 2: Concrete and masonry walls
Use a spirit level to double check the correct angle of the mount and mark the intended hole positions with a pencil. Drill holes in the desired locations (60mm deep, 10mm wide).

Insert the screw anchors (W-B) into each pre-drilled hole. With the wall mount held in place, insert the washers and screws (W-C, W-A), tightening with a socket wrench.

text_image
W-B W-C W-A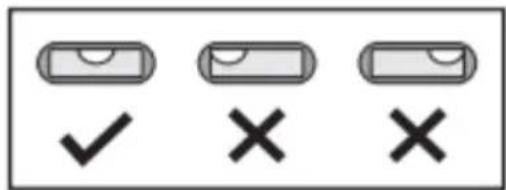
text_image
Icon set with three rectangular buttons and checkmark symbols, likely indicating selection or confirmation status.Ensure washers and screws are aligned in the centre of opening. Do not install with washers and screws off to either side.
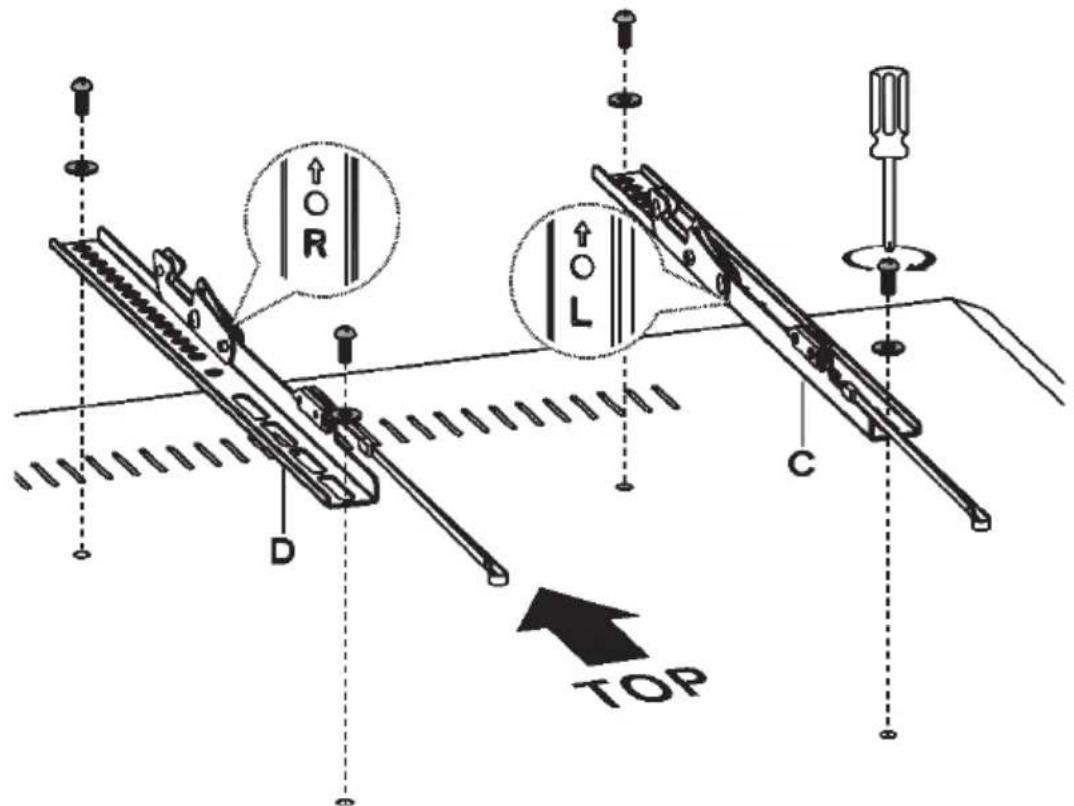
Step 3: Attaching the mounting brackets to your TV.
Depending on your TV, a combination of spacers (M-G, M-H) may be required to help create the correct amount of space for the brackets. Ensure the screws are fitted correctly into your TV's VESA mount holes, and are not too long or too short in the back of the TV.
text_image
R L C D TOP
text_image
M-A M-B M-F M-C M-F M-G M-D M-G M-E M-G M-H
text_image
Spacers Too long Too shortStep 4: Attaching the TV to the wall mount.
With two people, lift the TV up and above the installed wall mount and gently lower down into place, ensuring the TV is positioned evenly in the middle of the mount.
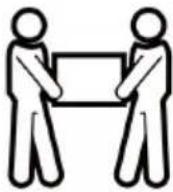
A minimum of two people are recommended for this installation. Failure to use safety gear and safe working methods may result in property damage, serious injury, or death.
natural_image
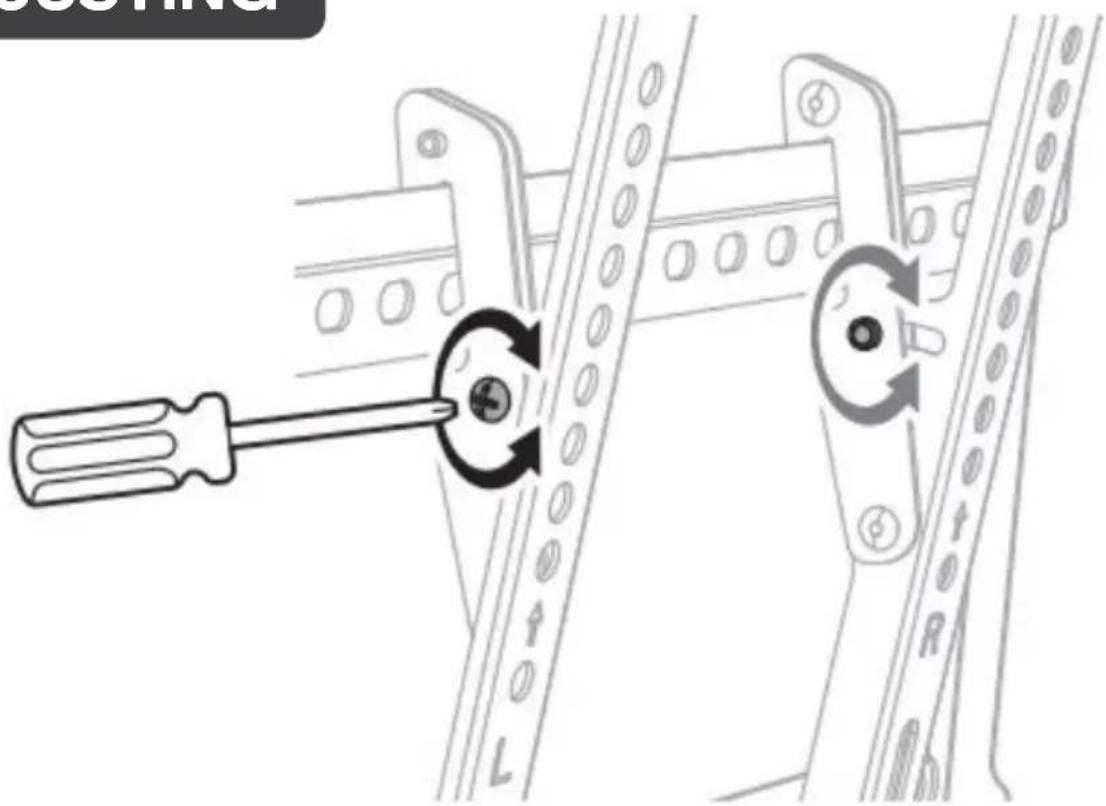
Diagram showing a hand interacting with a panel lock mechanism, illustrating the process from left to right (no text or symbols present)ADJUSTING
text_image
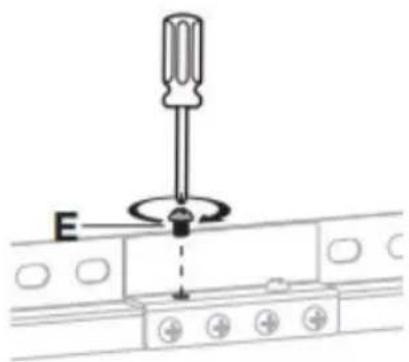
Technical diagram showing a screwdriver inserted into a mechanical component with circular arrows indicating rotation or adjustment.Note: If the display does not stop at your desired position, tighten the screws as shown
natural_image
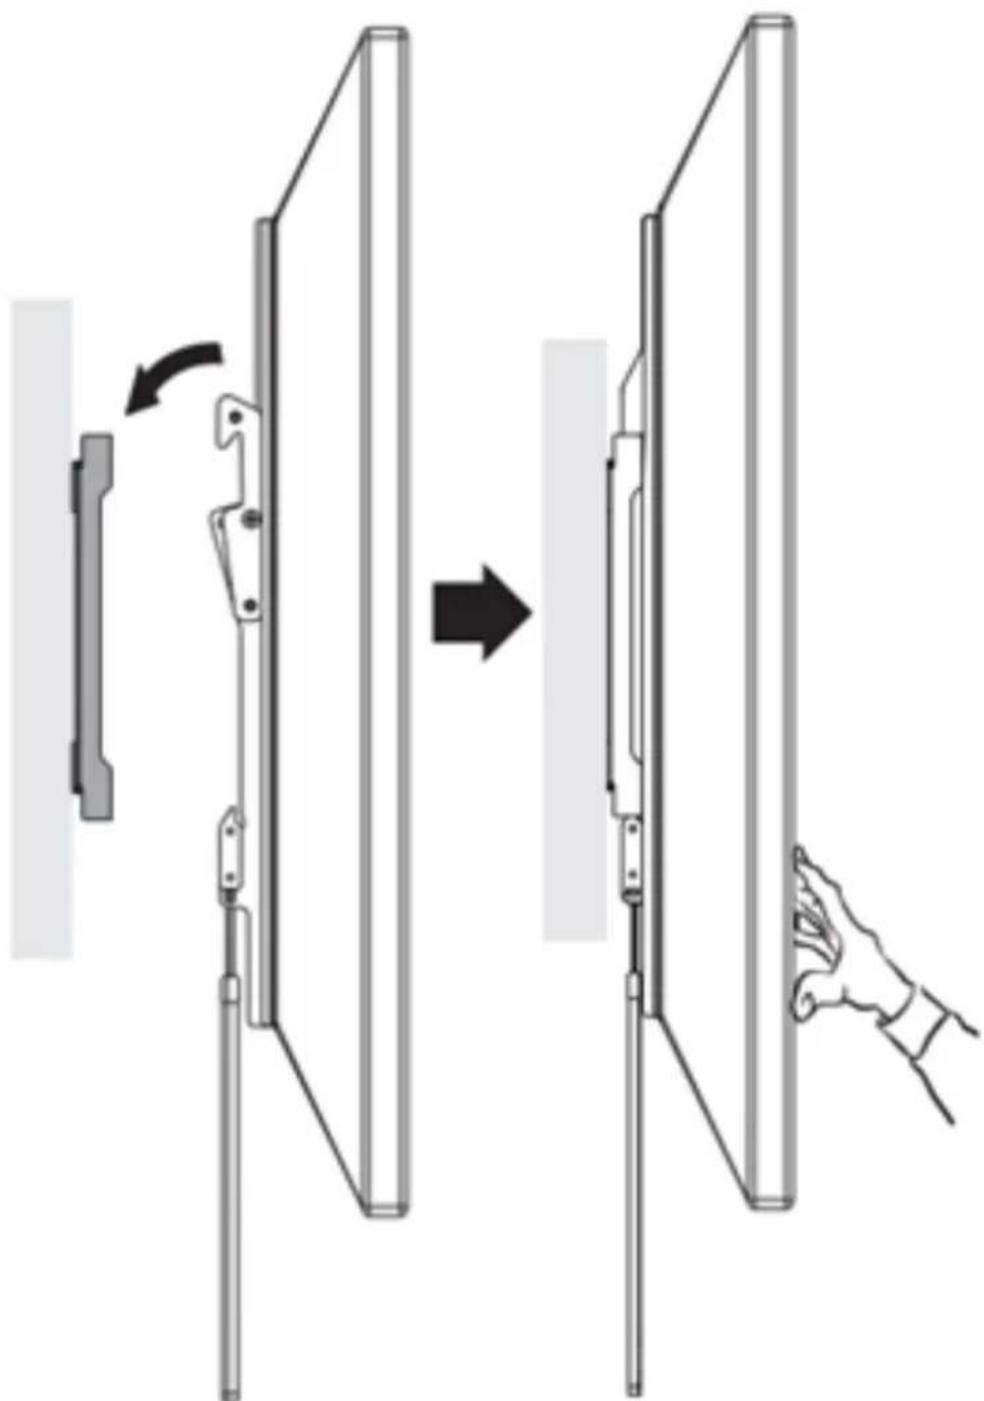
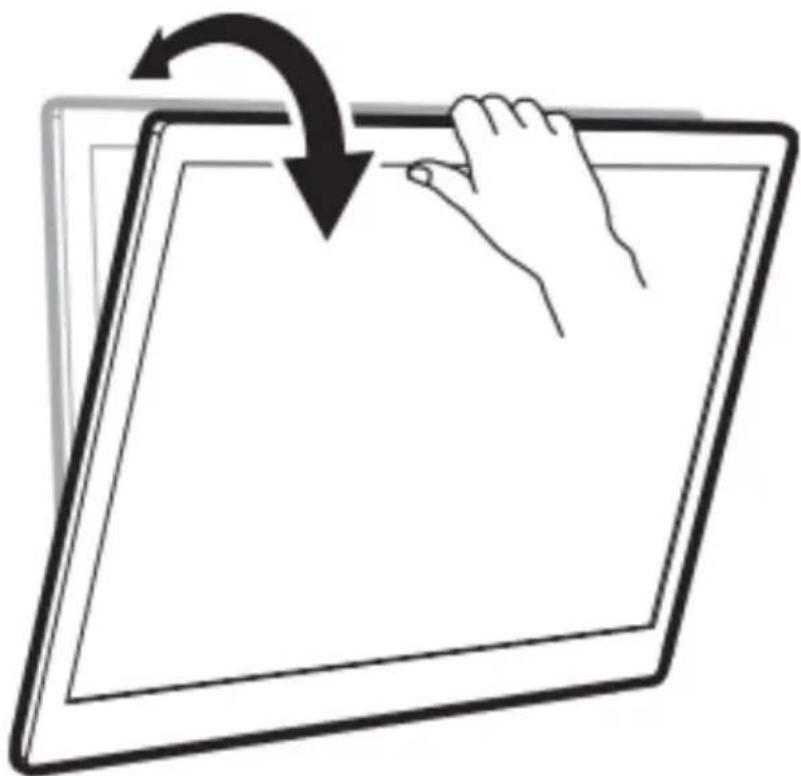
Illustration of a hand pressing down on a tablet screen with a curved arrow indicating rotation (no text or symbols)REMOVING
This wall mount features automatic spring locks with quick release cords. To remove the TV from the mount, pull down on the quick release cords (1) to engage the spring locks and release from the mount (2). Ensure two people are supporting the TV during this process.

text_image
Diagram showing a door mechanism with labeled parts and directional arrows, including numbered annotations ① and ②.
natural_image
Two stylized human figures holding a rectangular object (no text or symbols)NOTES
Need more information?
We hope that this user guide has given you
the assistance needed for a simple set-up.
For the most up-to-date guide for your product,
as well as any additional assistance you may require,
head online to help.kogan.com
kogan.com