Pane GTR-7418 - Radio GoldMaster - Free user manual and instructions
Find the device manual for free Pane GTR-7418 GoldMaster in PDF.

User questions about Pane GTR-7418 GoldMaster
0 question about this device. Answer the ones you know or ask your own.
Ask a new question about this device
Download the instructions for your Radio in PDF format for free! Find your manual Pane GTR-7418 - GoldMaster and take your electronic device back in hand. On this page are published all the documents necessary for the use of your device. Pane GTR-7418 by GoldMaster.
USER MANUAL Pane GTR-7418 GoldMaster
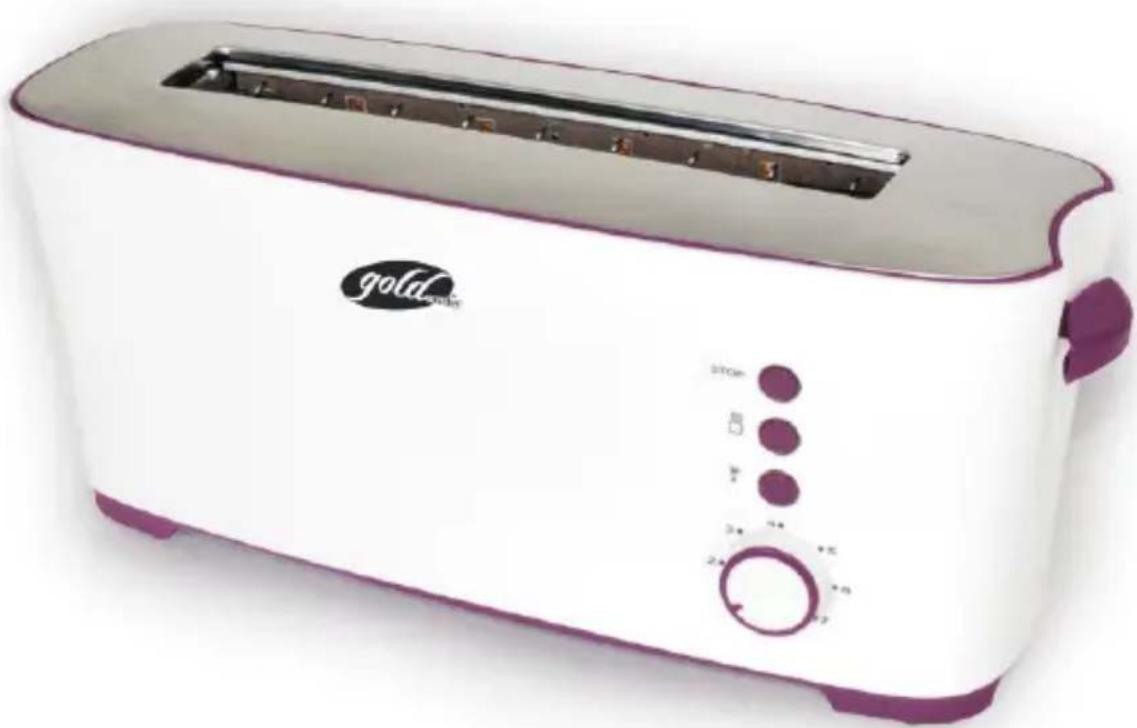
PANE GTR-7418
natural_image
White and purple portable toaster with a black logo and control knobs (no visible text or symbols on the device body)Ekmek Kızartma Makinesi KULLANMA KILAVUZU
www.goldmaster.com.tr
içİNDEKİLER
Önemli Uyarılar 2
Web:www.goldmaster.com.tr
E-mail:info@goldmaster.com.tr
CONTENTS
Important Safety Instructions ....2
Parts....4
Special Safety Instructions....5
Features 5
Prior to First Use ....6
Initial Start-Up and Operation....6
Toasting Bread....6
Toasting Frozen Bread....7
Warming Up Bread....7
Warming Up Bun....7
Cleaning and Maintenance 8
Technical Specification 9
Thank you for purchasing this Toaster. Before using this product, it is important to read this instruction manual carefully. Use the product only as described and for indicated purpose. Keep this manual in a safe place. If you hand this product onto anyone else, ensure to pass on along all the documentations relating to this product.
IMPORTANT SAFETY INSTRUCTIONS
- Make sure that the voltage indicated on the product corresponds with the mains voltage in your home. Our company shall not be held liable for any failures owing to any discrepancy and such failures shall not be covered by the guarantee.
- Your device is for household use only. It should not be used for commercial or industrial purposes. Otherwise, inconvenient uses shall not be covered by the guarantee. Never use the device in the open air.
- Children or other persons who do not have the knowledge or experience required to use electrical appliance, or who have limited physical, sensory or mental capabilities, must not use the product without supervision or instruction by a person who is responsible for their safety.
- Always plug your device to a grounded socket. To prevent harming your device, do not use ectension cords which supply insufficient current.
- Do not place your device over or very near to the heat sources such as oven, furnace.
- Avoid actions that may harm or damage the cord or plug of your device. Do not carry your device by holding from the cord. To unplug the heater, hold the plug and never pull by the cord.
- Never interfere with your device except for the purposes of cleaning and maintenance. Do not operate any device with a damage with a damage cord or plug or after the device malfunctions or has been damaged in any manner, such as by dropping down, etc. Do not attempt to repair it by yourself, call immediately our Authorized Service. Care that for using the only original spare parts.
- Unplug from outlet when not in use and before cleaning. Allow it to cool down before cleaning the device.
- No liability can be assumed for possible damages that may have been caused by incorrect usage or mishandling of the device.
- Do not use an extension cord with this device.
- Lay the power cord out in such as way that accidentally pulling on it or tripping over it will not be possible
- Never touch this device or its power plug with wet or damp hands.
- Do not insert any foreign objects into the outer casing.
- Do not open outer casing under any circumstances.
- Do not place this device on hotplates (gas, electric / coal stoves, etc.) Keep this device away from all hot surfaces. Always operate the device on a flat, solid, clean, fireproof and dry surface that is out of reach of children and the mentally handicapped.
- Position the device in such a way that the plug is always accessible.
- This device is supplied with power as long as it is still connected to the power supply.
- Dry off the device and all accessories prior to connecting it to a power supply and prior to attaching the accessories.
- Using accessories that were not specifically recommended by the manufacturer could cause injuries and damages.
- Only use the original accessories or those that are recommended by the manufacturer.
- Let the appliance cool down in a location that is safety out of reach children.
- Do not lean over the device when it is in operation. Heat will rise from the device during operation!
- The temperature of accessible surfaces may be high when the appliance is operating.
- Always ensure that there is sufficient ventilation during use.
- If a fire does occur, pull out of the power socket immediately or otherwise disconnect the device from the power supply before carrying out any fire fighting measures. ATTENTION! Do not pour water on the device, especially while it is still plugged in: DANGER OF ELECTRIC SHOCK!
- This device should not be operated with an external clock timer or separate remote control system.
PARTS

- Body
- Crumb tray
- Bread slots
-
Start lever
-
Thermostat (Levels 1-7)
- Defrost button
- Warm-up button
- Cancel button
Special Safety Instructions
- FIRE HAZARD! Do not warm up any bread on the bun warming rack as it could hinder ventilation
- FIRE HAZARD! Bread can burn! Therefore, never leave the device unattended. Do not let this device come into contact with flammable materials such as curtains, textiles, walls, etc.
- Do not use the toaster near or below combustible materials
- Should a fire break up, pull the plug out of the power socket or otherwise separate the device from the power source first before using appropriate fire-fighting measures.
- WARNING! Do not pour any water on the device when it is still connected to the power supply. DANGER OF ELECTRIC SHOCK!
- In order to prevent damages and personal injury, never try to take toast out of this device when it is still in operation.
- Make sure that the device's power cord does not come into contact with any of the device's hot surfaces.
- Let the device cool down in a safe location that is out of reach of children.
PRIOR TO FIRST USE
- Remove all packaging materials.
- Check the package contents for completeness and possible shipping damages. Should shipping damages be found or the package contents not be complete, contact your authorised dealer.
- Keep the original packaging. It can be used for shipping or storing the device Dispose of packaging material that is no longer required in an environmentally friendly way and in accordance with the applicable regulations. Keep it away from children.
- Unwind the power cord completely. Press the cord into one of the cord holders on the bottom of the device and guide the cord from the back outwards.
- Connect the power plug to a suitable power socket.
- Heat up the toaster twice on level 7 without bread to burn off any manufacturing residues. During initial operation, slight odours could develop. This is no reason to worry but make sure that there is sufficient ventilation in the room.
- Clean the device as described in the section Cleaning and Maintenance.
- Place the device on a dry, heat-resistant, firm and non-slip surface. The feet are equipped with non-slip ends.
- Connect the power plug to a suitable power socket. Make sure to check for correct connected load.
- Insert up to 4 slices of bread into the two bread slots.
- Set the desired level of browning with the thermostat. The thermostat can be variably adjusted from levels 1-7. Level 1 is the lightest and level 7 the darkest browning level is dependent on the type and quality of the bread, it is recommended to try on various browning settings.
Please note: If only one slice of bread is to be toasted, the a lighter browning level is recommended. Should the toaster not be used for a longer period of time, the bread will become darker at a lighter browning level as the device will produce more heat. It is therefore recommended to let the device cool down briefly after each toasting process before using it again.
-
Push the start elvel down until it locks into place. The start level will not lock into place when the device is disconnected from the power supply. The red indicator light on the cancel button goes on and the toasting process begins.
-
The browning level can be adjusted during the toasting process. To end the toasting process before it has finished, press the cancel button.
-
The toaster automatically switches off as soon as the preset degree of browning has been reached. The start level springs back up and the toast slices are raised so they can be taken out of the toaster. The start lever can be manually raised approx. 1 cm. This simplifies removal of the bread in case it is too small as it can then be removed in the same position.
CAUTION WHEN REMOVING BREAD! The hread is very hot. It is therefore recommended to remove the toast slices with a kitchen glove. Do not touch the metal parts of the device as they can become very hot. Danger of Burns!
Toasting frozen bread:
-
Set the thermostat to the desired level and push down the start level. The indicator light of the cancel button goes on.
-
Push defrost button. The indicator light of the defrost button goes on.
-
After the bread has reached the preset browning level, the device switches of automatically. Also refer the section Toasting bread.
Warming up bread:
-
Set the thermostat to the desired level and push down the start lever. The indicator light of the cancel button goes on.
-
Press the warm-up button. The indicator light of the warm-up goes on and the toasting process begins.
-
After the bread has reached the preset browning level, the device switches off automatically. Also refer the section Toasting bread.
Warming up bun:
-
Push down the positioning lever for the bun warming rack on the top of the toaster. The bun warming rack is lifted into an upright position. Lay up to 2 buns on the rack.
-
Set the thermostat to the desired level and push down the start level. The indicator light of cancel button goes on and the warming process begins.
-
Depending on the browning level setting, the device switches off automatically after a few minutes.
-
Turn the buns over and begin the warm-up process again. As soon as the device automatically switches off, the buns can be removed.
CAUTION WHEN REMOVING THE BUNS! The buns are very hot. It is therefore recommended to remove the buns with a kitchen glove. Do not touch the metal parts of the device as they can become very hot.
Danger of Burns!
- Push the positioning level upwards. The bun warming rack is lowered. The device is now ready for toasting bread again.
WARNING: Do not lay any bread slices on the bun rack as this could result in heat accumulation and could cause a fire!
CLEANING AND MAINTENANCE
- Before cleaning always turn off the main switch, unplug from outlet, and allow it to cool down.
– Clean the device after each toasting prosses as bread crumb remains could easily begin to burn.
- Make sure that the cord and plugs are never wet. If getting wetted, unplug from outlet and dry both the cord and plug thoroughly.
- Clean the outer casing with a slightly damp cloth and a mild cleanser, if necessary. After each cleaning, dry off the device throughly before using it again.
– Pull out the crumb tray and empty it. Wipe off the crumb tray with a slightly damp cloth and dry it thoroughly. Insert the crumb tray back into the toaster.
- Hold the toaster over sink or waste bin. Turn the toaster over so that the bread slots are facing down. Lightly shake the toaster so that any suck bread crumbs will fall out
- Never submerge the device into water and never hold it under running water.
- Make sure that no water gets inside the device during cleaning.
- Attention! Do not use alcohol, acetone, benzene, scouring cleaning agents, etc., to clean the synthetic parts of the device. Do not use hard brushes or metallic objects
- Should this device not be used for a longer period of time, the power cord can be wound up underneath the device to save space.
- Store the device in a dry, cool location that is protected from moisture and direct sunlight.
- Store the device in a location that is inaccessible for children.
TECHNICAL SPECIFICATION
Power supply: 220V-240V AC 50Hz
Power consumption: 820-1000W
EN-60335-2-9
natural_image
Simple line drawing of a trash bin with crossed x-axes and a circular symbol inside, no text or labels present.7 years lifetime
WEEE
This product contains recyclable materials. Do not dispose this product as unstorted municipal waste. Please contact your local municipality for the nearest collection point.