77364 - Keyboard Soyntec - Free user manual and instructions
Find the device manual for free 77364 Soyntec in PDF.

User questions about 77364 Soyntec
0 question about this device. Answer the ones you know or ask your own.
Ask a new question about this device
Download the instructions for your Keyboard in PDF format for free! Find your manual 77364 - Soyntec and take your electronic device back in hand. On this page are published all the documents necessary for the use of your device. 77364 by Soyntec.
USER MANUAL 77364 Soyntec
SOYNTEC LAPTOP LIFESTYLE
natural_image
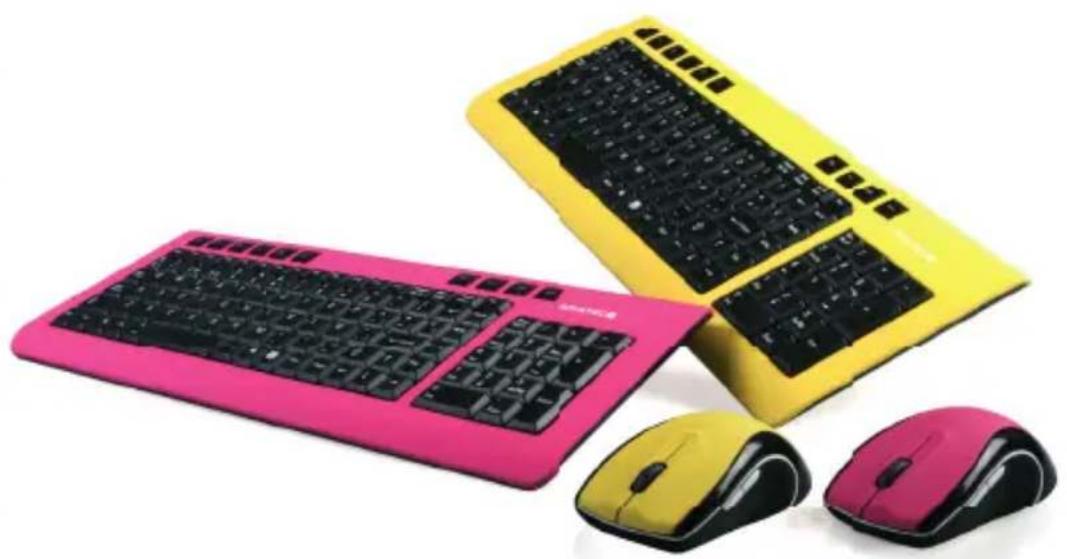
Three colorful computer keyboard units (pink, yellow, magenta) arranged on a white background, no text or symbols visible.INPPUT COMBO 350
www.soyntec.com
GBUser manual
Enjoy the advanced features of this new technological product that we have developed with the maximum guarantees for you.


INTRODUCTION
Soyntec® thanks you for buying Soyntec® Wireless Keyboard & Mouse Input Combo™ 350 Series. We wish you enjoy using it.
Input™ Combo 350 keyboard & mouse with wireless technology, offer you an ergonomic design and attractive colors with rubber finishing surfaces for a precise and comfortable operation. Include additional buttons for advanced users.
We recommended reading this user manual in order to enjoy the product in a safe way and with the best features.
CARE AND MAINTENANCE
- Do not expose your Inputt Combo™ 350 Series to shakes, dust, direct sun light, moisture or extreme temperatures.
- Do not use abrasive or corrosive cleaners.
- Keep the device clean and without dust with a soft and dry cloth.
- Use the power cable of your Inputt Combo™ 350 Series in order to connect the device at the grid circuit.
- Do not disassemble the device. Any repair work must be performed by qualified Energy Sistem Soyntec's personnel.
- Keep distance to water or moisture that may be harmful to the product.
MAIN FEATURES
- USB cable connector.
- Sensor report rate on mouse: 3000 times per second.
- Operation angle: 360°.
- Operation distance: Mouse 1,2 m. Keyboard 1,8 m.
- Receiver power requirement: 5V DC from USB port.
- Frecuency: Mouse 27,045 MHz. Keyboard 27,145 MHz.
- Mouse resolution: 800 DPI.
- Sensor Tracking Speed: 14 inches/second.
- Mouse battery type: 2 AA alkaline.
- Keyboard battery type: 2 AAA alkaline.
PRODUCT CONTENT
- Wireless keyboard.
- Wireless mouse.
- Receiver.
- CD with drivers.
- User manual.
- 2 x AAA batteries.
- 2 x AA batteries.
natural_image
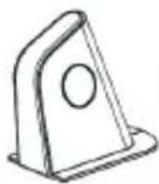
Line drawing of a desktop computer keyboard and mouse (no text or symbols)

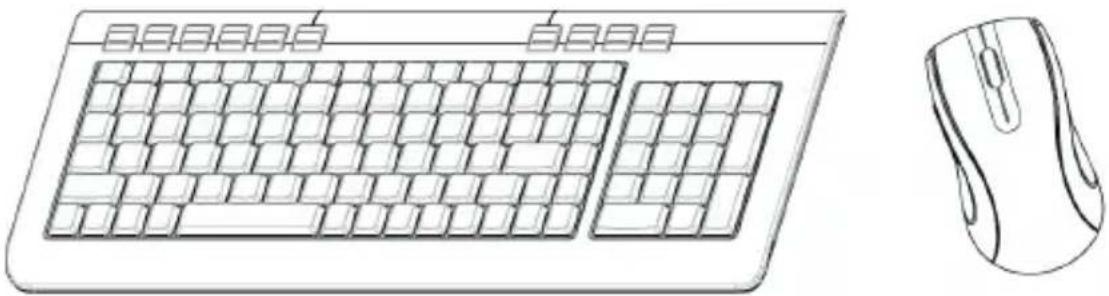
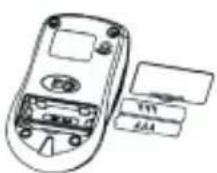
BATTERY INSTALLATION
Wireless keyboard use two AA alkaline batteries and mouse use two AAA Alkaline batteries.
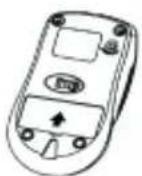
To install the batteries in the Mouse, please follow these stops:
- Step 1. Open the battery compartment.
- Step 2. Insert the batteries caring on the polarity. For this, follow the figure instructions.
- Step 3. Replace the cover.
Step 1.
Step 2.
Step 3.
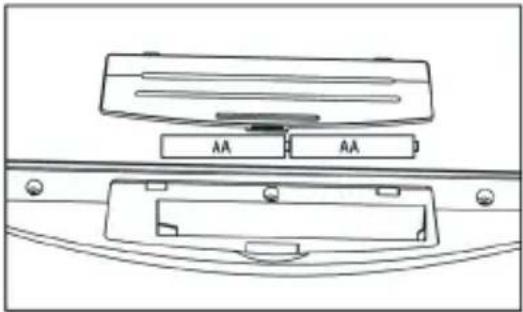
To install the batteries in the keyboard, please follow the follow these stops:
- Step 1. Open the battery compartment.
- Step 2. Insert the batteries caring on the polarity. For this, follow the figure instructions.
- Step 3. Replace the cover.
natural_image
Technical line drawing of a mechanical component with labeled parts (no text or symbols)MICE AND KEYBOARD INSTALLATION

If you have installed another keyboard driver on your computer, please uninstall it before proceed. Windows 98 or higher is necessary for the correct product installation.
Please note that in order to install the webcam you need a free USB connector in your computer.
Follow these steps to install the webcam:
-
Insert the provided drivers CD and select "Install Windows 98 Driver" or "Install Windows NT Driver" depending on your operative sistem.
-
Click the "Next" button until start the driver installation.
-
Click "Finish" to close the installation wizard.
-
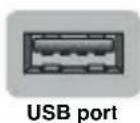
Connect the receiver to a free USB connector. The operating system will detect it and it will be ready to pair the keyboard and mouse.

text_image
USB receiverPAIR DEVICES &/OR CHANGE THE SECURITY ID
Your RF mouse and keyboard come with 1 channel and multi-security ID, which can let your mini receiver be paired to the mouse & keyboard.
This system keep, just by pressing a button, the right devices working in case of non-function.
If this happen, follow the 1), 2) & 3) steps to pair the devices. Also is necessary to do that when batteries are replaced.
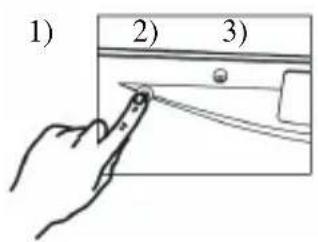
To pair wireless keyboard with receiver follow these steps:
1) Press the connect button on the bottom side of keyboard.
2) Press the connect button on the receiver.
3) Press the connect button on the bottom side of keyboard.
text_image
1) 2) 3)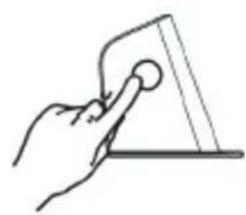
natural_image
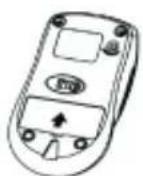
Simple line drawing of a hand holding a circular object over a triangular ruler (no text or symbols)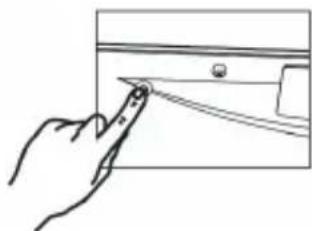
natural_image
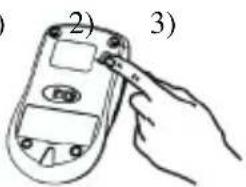
Hand holding a pen pointing at a screen (no text or symbols visible)To pair wireless keyboard with receiver follow these steps:
1) Press the connect button on the bottom side of mouse.
2) Press the connect button on the receiver.
3) Press the connect button on the bottom side of mouse.
1)
text_image
2) 3)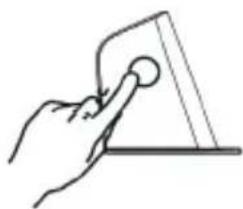
natural_image
Simple line drawing of a hand holding a circular object over a triangular ruler (no text or symbols)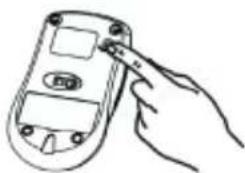
natural_image
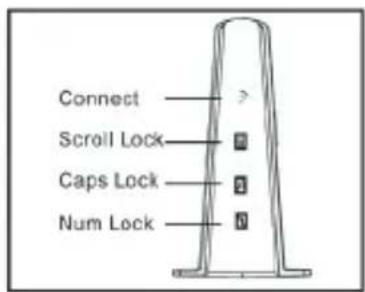
Hand holding a handheld device with a button, no visible text or symbolsReceiver indicators:
text_image
Connect Scroll Lock Caps Lock Num LockSOFTWARE
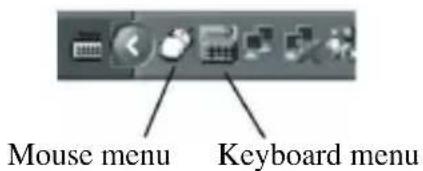
When install the software in computer, will appear both mouse and keyboard icons in the taskbar (by default, down and right side of Windows screen).
text_image
Mouse menu Keyboard menuKeyboard menu:
When open the keyboard icon, will appear the following menu:
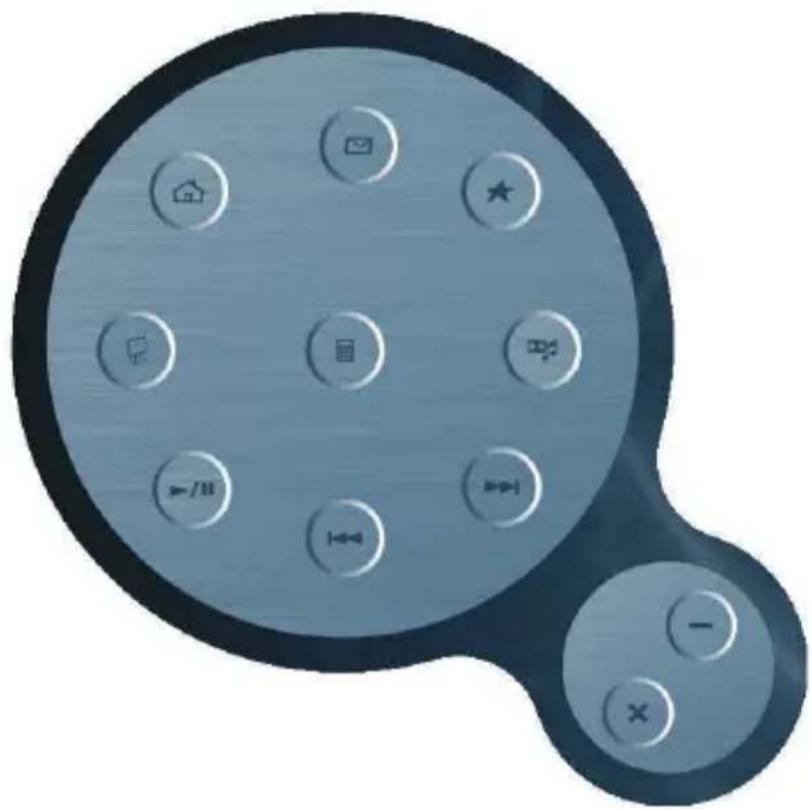
natural_image
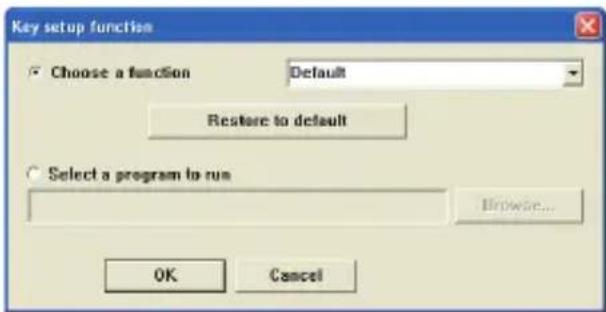
Illustration of a circular device with various function buttons and icons, no text or symbols present.With this menu, you can configure the action of each keyboard hotkey. By opening each keyboard hotkey from the menu, will appear the following Window:
text_image
Key setup function Choose a function Default Restore to default Select a program to run Browse... OK CancelHere you can select between the following options:
- Default function Choose a function Default. By this way the program by defect will be opened.
- Or you can choose any program to be open → Select a program to run. In this case we have to select the program to assign to the hotkey, by opening the browser.
After finish any of these actions, just accept clicking the OK button.
Mouse menu:
When open the mouse icon, will appear the following menu:

text_image
Propiedades de Mouse Hardware Config of the mouse wheel About Multimedia Mouse Driver Configuration of mouse button Punteros Opciones de puntero Flueda Configuration of the mouse button 1. Click 2. AutoScroll 3. Right Click 4. Back Command 5. Forward Command Restore to default Velocidad del doble click Lento Rápido Aceptar Cancelar AplicarHere you can configure the Mouse properties with retail, just by selecting the different options available.
HOTKEYS ON THE KEYBOARD


* These are not programmable buttons.
WARRANTY
Energy Sistem Soyntec S.A. warrants its products to be free from defects in materials and workmanship at the time of purchase.
The warranty period is 36 months from the date of purchase for Speakers.
WARRANTY PROCEDURE
1) Visit the Support section at http://support.soyntec.com and select your product to view the FAQ (Frequently Asked Questions). The solution to your problem is very likely to have been already published there. You will also be able to download user manuals, user guides, drivers and updates.
2) If you cannot find an appropriate solution in the Support section, you may send us your enquiry or warranty service request by email: support@soyntec.co.uk.
3) Alternatively, you may prefer to contact the distributor from which you purchased the product, presenting the purchase receipt or invoice.
CE
AGREEMENT DECLARATION
Supplier Name: Energy Sistem Soyntec S. A.
Address: Pol. Ind. Finestrat C/ Calpe Esq. C/ Alicante S/N, 03509 Finestrat Alicante - SPAIN
Tel: 902 388 388 Fax: 902 119 034 NIF: A53107488
We declare under our own exclusive responsibility the product agreement: Soyntec® Wireless Keyboard & Mouse Input Combo™ 350 SERIES
Manufacturing country: China
Which concern this agreement, with the norm(s) or other(s) formative(s) document(s).
Certificate CE SEM07123479, Date 31st December 2007
In accord with the disposition of the Directive 93/68/CEE, from the European Parliament and the Counsel from 22nd July 1993, transposed to the Spanish legislation through the Real Decree 1950/1995, from 1st December 1995.