EasyCode V2 - Uncategorized EasyAccess - Free user manual and instructions
Find the device manual for free EasyCode V2 EasyAccess in PDF.


| Product Type | Electronic Keypad Door Lock |
| Brand | EasyAccess |
| Model | EasyCode V2 |
| Dimensions (H x W x D) | 130 x 50 x 30 mm (approx.) |
| Weight | 0.2 kg (approx.) |
| Power Supply | 4 x AA batteries (DC 6V) or 12V DC external (optional) |
| Main Functions | Keyless entry with numeric code, user management, battery low indicator, auto-lock |
| Number of Users | Up to 100 user codes |
| Code Length | 4 to 8 digits |
| Material | Zinc alloy (front panel), ABS plastic (rear) |
| Color | Black or Silver (depending on variant) |
| Supported Door Thickness | 35–55 mm |
| Operating Temperature | 0°C to 50°C |
| Cleaning Instructions | Wipe with a dry cloth; do not use abrasive cleaners |
| Safety Features | Anti-peep code, lockout after 5 wrong attempts, alarm if forced |
| Spare Parts / Repairability | Replaceable batteries; circuit board non-repairable, replace unit |
| Warranty | 2 years (manufacturer limited) |
| Certifications | CE, RoHS |
| Compatible Door Types | Wood, metal, PVC |
Frequently Asked Questions - EasyCode V2 EasyAccess
User questions about EasyCode V2 EasyAccess
0 question about this device. Answer the ones you know or ask your own.
Ask a new question about this device
Download the instructions for your Uncategorized in PDF format for free! Find your manual EasyCode V2 - EasyAccess and take your electronic device back in hand. On this page are published all the documents necessary for the use of your device. EasyCode V2 by EasyAccess.
USER MANUAL EasyCode V2 EasyAccess
natural_image
Abstract red geometric design with radial lines and a vertical bar, no text or symbols present.EasyAccess
FINGERPRINT TECHNOLOGY
natural_image
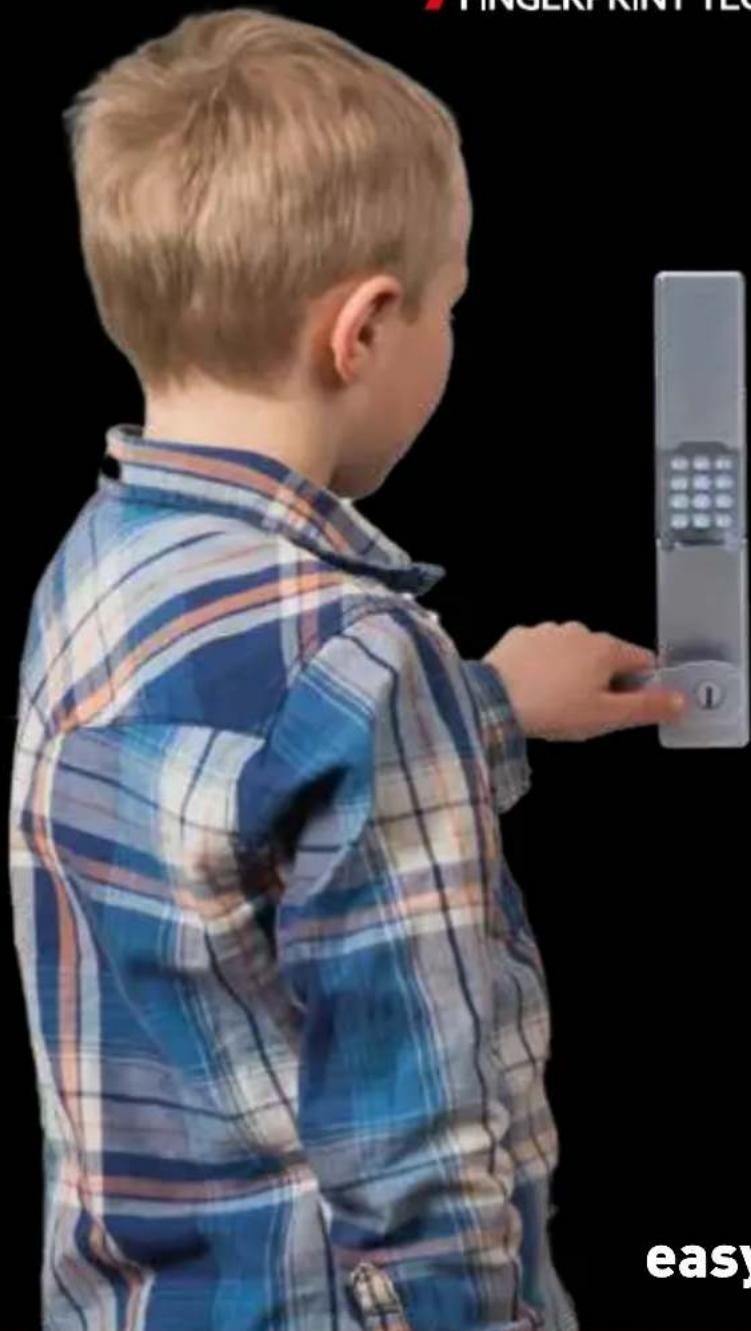
Child in plaid shirt pointing at a mobile phone on black background (no text or symbols visible)easyaccess.no
MODELL
EASYCODE
V2

Bluetooth™
READY
NO INNHOLDSFORTEGNELSE
MONTERINGSVEILEDNING 4-10
Sjekkliste....9
PROGRAMERINGSVEILEDNING ... 10 - 14
SE INNEHÅLLSFÖRTECKNING
MONTERINGSBESKRIVNING 18-23
Checklista 23
PROGRAMERINGANVISNING 24 - 28
Programming the lock 31
Add users 31
Delete users 31
Auto-locking mode & TUM 32
Anti malicious-use set up 32
Add users 32
One touch function 32
Constant open mode....32
Unlock 33
Notes 35
TAKK FOR AT DU HAR VALGT ET EASY ACCESS PRODUKT.
VI HÅPER DU BLIR FORN∅YD.
TACK FÖR ATT DU HAR VALT EN EASY ACCESS PRODUKT.
VI HOPPAS DU BLIR NÖJD.
THANK YOU FOR CHOOSING EASY ACCESS.
WE HOPE YOU WILL BE SATISFIED WITH OUR PRODUCT.

EasyAccess
FINGERPRINT TECHNOLOGY
MONTERINGSVEILEDNING

natural_image
Abstract illustration of white interlocking gears on a black dotted grid background, with a red square marker labeled '4' in the bottom right corner.natural_image
Yellow and black electric drill with red diagonal lines (no text or symbols)natural_image
Close-up of hands installing or adjusting a component with a black clip (no visible text or symbols)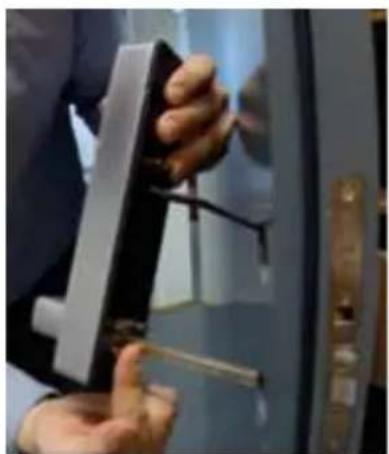
natural_image
Person installing or adjusting a wall-mounted device on a door (no visible text or symbols)
MONTERINGSVEILEDNING
3. Innvendig enhet
natural_image
Close-up of a transparent plastic bag holding a pile of white granular substance (no text or symbols visible)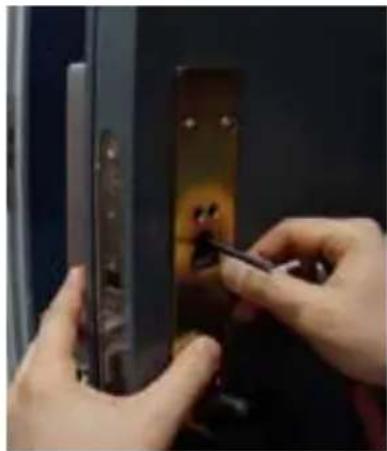
natural_image
Close-up of hands installing or adjusting a door lock mechanism with a screwdriver (no visible text or symbols)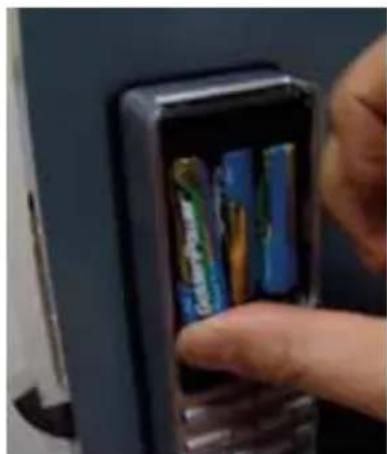
natural_image
Close-up of a hand inserting a card into a mobile phone (no visible text or symbols)SJEKKLISTE
natural_image
Close-up of a silver mobile phone door with keypad and handle (no visible text or symbols)2.
natural_image
Exterior view of a modern mobile phone door with a handle and keypad (no text or symbols visible)PROGRAMMERINGSVEILEDNING TIL EASYCODE v2
Denne låsen kan man lage koder til via mobil eller PC Se auto kodegenerering på nettsiden vår.
NULLSTILLING AV LÅSEN
Available on the iPhone
App Store
natural_image
Abstract illustration of white interlocking gears on a black textured background, with a red square labeled '18' in the corner (no text or symbols beyond the number)Se monteringsvideo på www.fɪ ngeravtrykk.no

natural_image
Yellow and black electric drill with red prohibition symbol (no text or labels)natural_image
Close-up of hands installing or adjusting a component with a tool, no visible text or symbols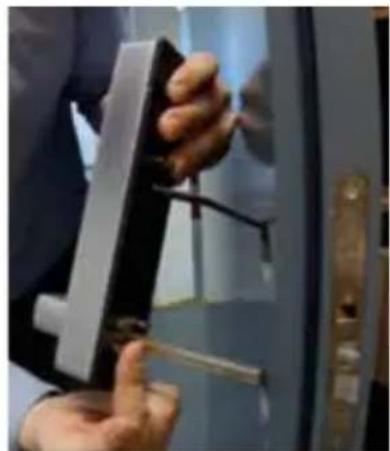
natural_image
Person installing or adjusting a metal door panel, no visible text or symbols
MONTERINGSANVISNING
3. Invändig enhet
natural_image
Close-up of a transparent plastic bag holding a white, fluffy substance (no visible text or symbols)4.
natural_image
Close-up of hands installing or adjusting a door panel with a screwdriver (no visible text or symbols)natural_image
Close-up of a hand inserting a card into a mobile phone (no visible text or symbols)natural_image
Exterior view of a modern mobile phone door with handle and keypad (no text or symbols visible)PROGRAMERINGSANVISNING TILL EASYCODE v2
natural_image
Exterior view of a modern mobile phone with a handle and keypad (no visible text or symbols)I. ADD USERS.
The lock can have 10 PIN code users added with User ID 0-9. The factory set admin user code is 123)
A. Program Admin User #0
Sequence: *0(the green LED blinks one time) 123*(the LED blinks three times) new code*(green light blinks three times) new code again*. Example: if the new PIN code of Admin User #0 is 1234, enter *0123*1234*1234*. If the programming succeeds, the green LED will light up and one long beep will be heard. If it fails, the red LED will blink three times.
B. Program Admin User #1
Sequence: *1(green LED blinks one time) admin User #0 Code*(green LED blinks three times) new code*(green light blinks three times) new code again*. Example: if the PIN code of Admin User #0 is 1234, and the new PIN code of Admin User #1 is 5678, enter *11234*5678*5678*. If the programming succeeds, the green LED will light up and one long beep will be heard. If it fails, the red LED will blink three times.
Note: User #0 and User #1 are both administrators who manage the other PIN code users.
C. Program the other PIN code users (User ID 2\~9) in the same sequence as the admin users.
II. DELETE USERS
Sequence: *User ID to delete (the green LED blinks one time) admin user code#. Example: if the admin code is 1234, and User #3 needs to be deleted, enter *31234#. If the user is deleted successfully, the green LED will blink three times and three beeps will be heard. If the deletion fails, the red LED will blink three times.
Note: The Admin users cannot be deleted this way. It can be done only by resetting the lock.
III. AUTO-LOCKING MODE & TEMP-UNLOCKING MODE (TUM)
Caution: When the lock is set to TUM mode, users just push down the outside handle to unlock with no need to enter any PIN code. That might put users' property into insecure situation.
Note: The default factory-set mode is Automatic Locking Mode.
Enter #1 (green LED blinks one time) Admin PIN code# (green LED blinks three times)1 to activate the Temporary Unlocking Mode (TUM). Example: if the admin PIN code 1234, enter #11234#1. If the setting succeeds, the green LED will light up and one long beep is heard.
Enter #1 (green LED blinks one time) Admin PIN code# (green LED flashes three times)0 to get the lock back to Automatic Locking Mode. Example: if the admin PIN code 1234, enter #11234#0. If the setting succeeds, the green LED will light up and one long beep is heard.
IV. ANTI MALICIOUS-USE SET UP
A. Activate Anti Malicious-use function.
Sequence: #2 (the green LED blinks one time) admin PIN code# (the green LED blinks three times) 1. Example: if the admin PIN code is 1234, enter #21234#1. When it succeeds, the green LED will light up and a long beep will be heard.
B. Deactivate Anti Malicious-use function
Sequence: #2 (the green LED blinks one time) admin PIN code# (the green LED blinks three times) 0. Example: if the admin PIN code is 1234, enter #21234#0. When it succeeds, the green LED will light up and a long beep will be heard.
Note: When this function is activated, any wrong PIN code access attempts on five consecutive occasions will stop the lock from working for three minutes. All key buttons on the outside keypad will cease to function.
V. START/STOP FUNCTION OF ONE TOUCH
ACTIVATING/DEACTIVATING CONSTANT OPEN MODE FROM INSIDE
Note: When this function is enabled, pushing the inside open/close button will activate or deactivate the Constant Open Mode.
START
Enter #6+admin PIN code#+1 to enbale this function. For example, if the admin code is 123, enter #6123#1.
STOP
Enter #6+admin PIN code#+0 to stop this function. For example, if the admin code is 123, enter #6123#0.
VI. ACTIVATE/DEACTIVATE INSIDE LED BLINKING WHEN THE OUTSIDE LOCK WORKS IN CONSTANT OPEN MODE AND THE OUT OUTSIDE HANDLE IS UNLOCKED
Note: The inside LED keeps blinking and when the outside lock works in Constant Open Mode and the outside handle is unlocked. This is a factory-set function but it can be deactivated to save power.
Deactivate inside LED blinking when the outside lock works in Constant Open Mode and the outside handle is unlocked:
Sequence: #7 (the green LED blinks) admin PIN code# (the green LED blinks three times) 0. Example: if the admin PIN code is 1234, enter #71234#0 to stop the outside LED blinking and the inside lock button light turning on.
Activate inside LED blinking when the outside lock works in Constant Open Mode and the outside handle is unlocked:
Sequence: #7 (the green LED blinks) admin PIN code# (the green LED blinks three times) 1. Example: if the admin PIN code is 1234, enter #71234#1.
UNLOCK
UNLOCK FROM OUTSIDE WITH PIN CODES
The lid trigger the night-view back light beneath the PIN pad. The back light will turn off automatically in 3 seconds if no further operations follow.
1) Fully lift up the outside sliding cover.
2) Directly enter a correct PIN code#.
Example: if the user PIN code is 23456, enter 23456#.
3) When you hear the motor moving see the green LED light up, push down the outside handle to unlock.
When the power is lower than 3.3V, the lock will send out low-power alert. In that case, eight beeps will be heard and the red LED will blink when the outside cover is lifted up.
UNLOCK FROM OUTSIDE WITH THE OVERRIDE KEYS
Insert the key into the keyhole in the outside handle, turn it at 90 degrees clockwise, and then push down on the handle to unlock the door. Remember to turn it counterclockwise to get the key out after the door is opened.
UNLOCK FROM INSIDE
Directly push down the inside handle to unlock from inside.
NOTATER/ NOTERINGAR/ NOTES

EasyAccess
FINGERPRINT TECHNOLOGY
Smiegata 2
2750 Gran
Norge
Tlf. +47 45 49 29 23
- EasyAccess
- FINGERPRINT TECHNOLOGY
- NO INNHOLDSFORTEGNELSE
- MONTERINGSVEILEDNING 4-10
- PROGRAMERINGSVEILEDNING ... 10 - 14
- SE INNEHÅLLSFÖRTECKNING
- MONTERINGSBESKRIVNING 18-23
- PROGRAMERINGANVISNING 24 - 28
- Programming the lock 31
- Notes 35
- TAKK FOR AT DU HAR VALGT ET EASY ACCESS PRODUKT.
- TACK FÖR ATT DU HAR VALT EN EASY ACCESS PRODUKT.
- MONTERINGSVEILEDNING
- Innvendig enhet
- SJEKKLISTE
- 2.
- PROGRAMMERINGSVEILEDNING TIL EASYCODE v2
- NULLSTILLING AV LÅSEN
- Se monteringsvideo på www.fɪ ngeravtrykk.no
- MONTERINGSANVISNING
- Invändig enhet
- 4.
- PROGRAMERINGSANVISNING TILL EASYCODE v2
- ADD USERS.
- Program Admin User #0
- Program Admin User #1
- DELETE USERS
- AUTO-LOCKING MODE & TEMP-UNLOCKING MODE (TUM)
- ANTI MALICIOUS-USE SET UP
- Activate Anti Malicious-use function.
- Deactivate Anti Malicious-use function
- START/STOP FUNCTION OF ONE TOUCH
- ACTIVATING/DEACTIVATING CONSTANT OPEN MODE FROM INSIDE
- START
- STOP
- ACTIVATE/DEACTIVATE INSIDE LED BLINKING WHEN THE OUTSIDE LOCK WORKS IN CONSTANT OPEN MODE AND THE OUT OUTSIDE HANDLE IS UNLOCKED
- UNLOCK
- UNLOCK FROM OUTSIDE WITH PIN CODES
- UNLOCK FROM OUTSIDE WITH THE OVERRIDE KEYS
- UNLOCK FROM INSIDE
Brand : EasyAccess
Model : EasyCode V2
Category : Uncategorized