
OVWILLWBQNA - Bed Kogan - Free user manual and instructions
Find the device manual for free OVWILLWBQNA Kogan in PDF.


| Brand | Kogan |
| Model | OVWILLWBQNA |
| Product Type | Bed Frame |
| Overall Dimensions | Approx. 190 x 90 x 30 cm (L x W x H) |
| Mattress Size Supported | Single (90 x 190 cm) |
| Weight Capacity | Up to 150 kg |
| Product Weight | Approx. 25 kg |
| Material | Steel frame with fabric upholstery |
| Assembly Required | Yes, instructions included |
| Tools Included | Allen key, screws, and bolts |
| Recommended Mattress Thickness | 15 - 25 cm |
| Headboard Included | Yes |
| Slat System | Wooden slats with center support |
| Care Instructions | Wipe with dry cloth; avoid harsh chemicals |
| Safety Features | Anti-slip feet, rounded corners |
| Warranty | 1 year limited warranty |
| Country of Origin | China |
Frequently Asked Questions - OVWILLWBQNA Kogan
User questions about OVWILLWBQNA Kogan
0 question about this device. Answer the ones you know or ask your own.
Ask a new question about this device
Download the instructions for your Bed in PDF format for free! Find your manual OVWILLWBQNA - Kogan and take your electronic device back in hand. On this page are published all the documents necessary for the use of your device. OVWILLWBQNA by Kogan.
USER MANUAL OVWILLWBQNA Kogan
natural_image
Line drawing of a metal frame structure with slats and supports (no text or symbols)WILLIAM WOOD BED
DOUBLE/QUEEN/KING
OVWILLWBDNA, OVVILLWBQNA, OVVILLWBKNA, OVVILLWBDWA, OVVILLWBQWA, OVVILLWBKWA
COMPONENTS

Hardware
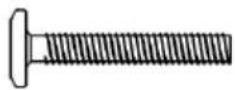
A 50mm M6 screw (x16)
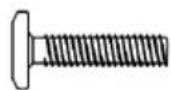
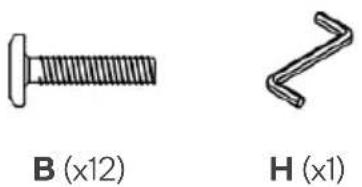
B 35mm M6 screw (x12)

C Dowel (x8)

D 30mm M4 screw (x28)
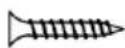
E 16mm M4 screw (x8)

F 60mm M7 screw (x4)

G Bracket (x2)

H Allen key (x1)
ASSEMBLY
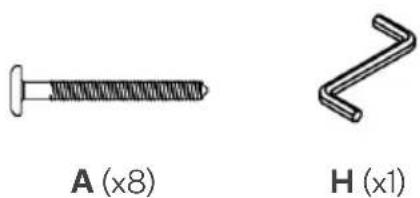
Step 1: Align one part labelled 3 level with parts labelled 1 and 2. Using the Allen key (H), secure the part labelled 3 to parts labelled 1 and 2 with 50mm M6 screws (A).
Repeat this process with the remaining parts labelled 1, 2 and 3. This will create two end assemblies.
Note:
Do not use power tools to assemble this bed as it may damage the components.
natural_image
Two types of screws labeled A (x8) and H (x1), shown side by side without any text or symbols on the screws themselves.
Step 2: Align the holes on one bracket (G) with those on one end assembly. Using a Phillips screwdriver (not supplied), secure 16mm M4 screws (E) through.
Repeat this process with the remaining end assembly.

natural_image
Two types of metal screw and bracket diagrams: standard screw (E, x4) and 2D view (G, x2), with no text or symbols present.
x2
Step 3: Align one each of the parts labelled 4 and 5 with one part labelled 6. Using the Allen key (H), secure the pieces (4, 5, 6) together with 35mm M6 screws (B).
Repeat this process with the remaining parts labelled 4, 5 and 6. This will create two side assemblies.
natural_image
Two types of screws labeled B (x12) and H (x1), shown side by side without any text or symbols on the screws themselves.
x2
Step 4: Connect the holes on the side assemblies to those on the end assemblies using the dowels (C).

C (x8)

Step 5: Using the Allen key (H), secure each corner of the side and end assemblies with 50mm M6 screws (A).


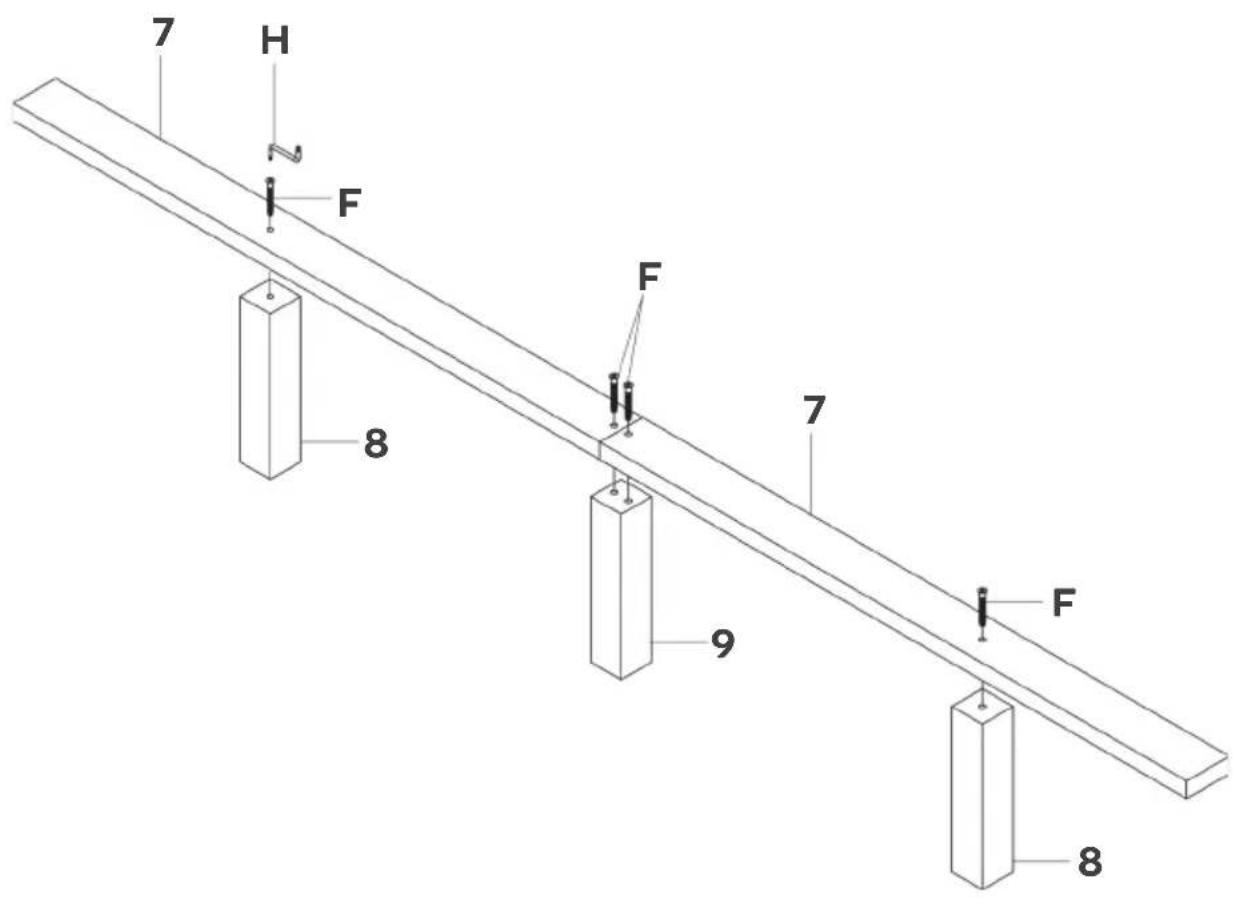
Step 6: Align the holes on parts labelled 7 with parts 8 and 9 as shown below. Using the Allen key (H), secure 60mm M7 screws (F) through. This creates the middle assembly.

Step 7: Using a Phillips screwdriver (not supplied), secure the middle assembly to the end assemblies with 16mm M4 screws (E).

E (x4)

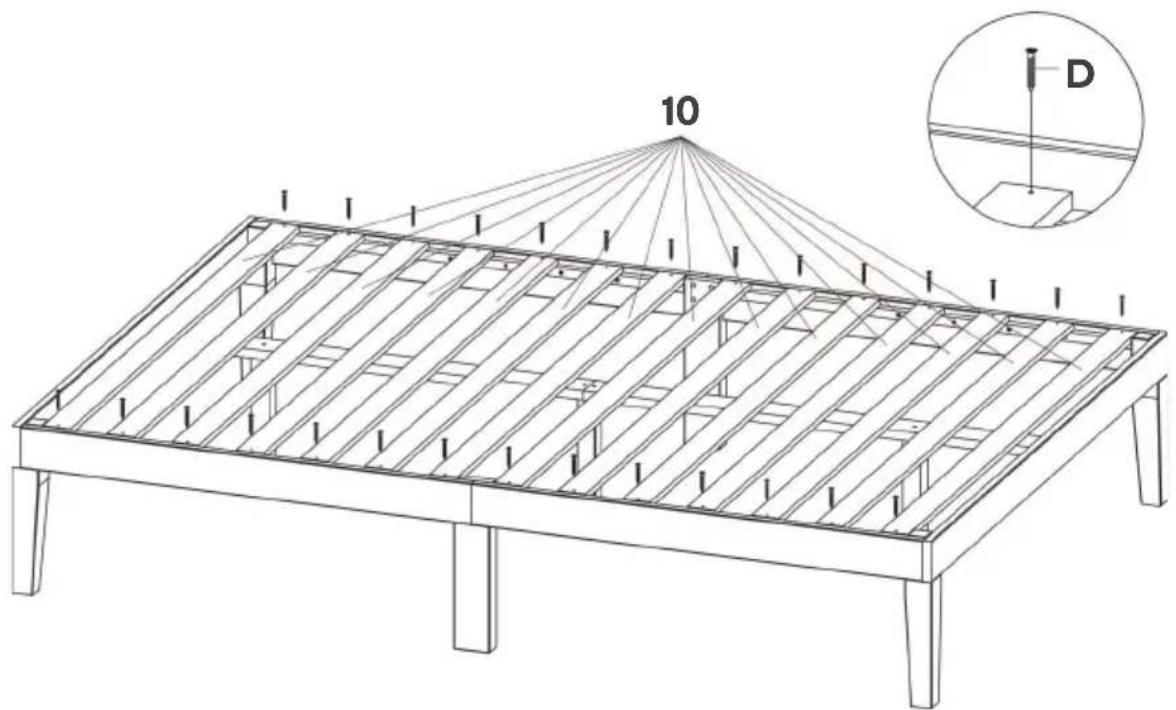
Step 8: Using a Phillips screwdriver (not supplied), secure parts labelled 10 onto the bed with 30mm M4 screws (D).

D (x28)

natural_image
Line drawing of a wooden table frame with slatted panels and supports (no text or symbols)Assembly complete.
Need more information?
We hope that this user guide has given you the assistance needed for a simple set-up.
For the most up-to-date guide for your product, as well as any additional assistance you may require, head online to help.kogan.com
kogan.com


Brand : Kogan
Model : OVWILLWBQNA
Category : Bed