
DVBT-01 - Receiver Acme United - Free user manual and instructions
Find the device manual for free DVBT-01 Acme United in PDF.


| Product Type | Digital Terrestrial Receiver (DTR) |
| Model | DVBT-01 |
| Brand | Acme United |
| Color | Black |
| Dimensions (approx.) | 220 x 140 x 40 mm |
| Weight (approx.) | 0.5 kg |
| Power Supply | AC 100-240V, 50/60Hz |
| Video Decoding | SD MPEG-2 / SD H.264, DVB-T compliant |
| Conditional Access | Embedded Conax |
| Channel Capacity | 400 channels (TV + Radio) |
| Favorite Groups | 8 groups |
| Electronic Program Guide | 7-day EPG supported |
| USB Playback | MP3, JPEG, BMP, OGG, video files (FAT16/32/NTFS) |
| Recording | USB recording with timer, pause, timeshift |
| Connectivity | SCART, RCA, RF out, RS-232, USB, antenna input |
| Remote Control | Infrared RCU included |
| Languages | Multi-language OSD (English, etc.) |
| Parental Control | Channel lock, menu lock, PIN protection |
| Software Upgrade | Via RS-232, USB, or OTA |
| Safety | Keep dry, avoid heat, do not block ventilation holes, unplug before cleaning |
| Cleaning Instructions | Disconnect power, wipe with a damp cloth (mild soap), dry with soft cloth |
| Repair Information | Refer servicing to qualified personnel only; no user-serviceable parts inside |
| Accessories Included | Remote control, batteries, user manual, AV cable (may vary) |
Frequently Asked Questions - DVBT-01 Acme United
User questions about DVBT-01 Acme United
0 question about this device. Answer the ones you know or ask your own.
Ask a new question about this device
Download the instructions for your Receiver in PDF format for free! Find your manual DVBT-01 - Acme United and take your electronic device back in hand. On this page are published all the documents necessary for the use of your device. DVBT-01 by Acme United.
USER MANUAL DVBT-01 Acme United
Digital Terrestrial Receiver
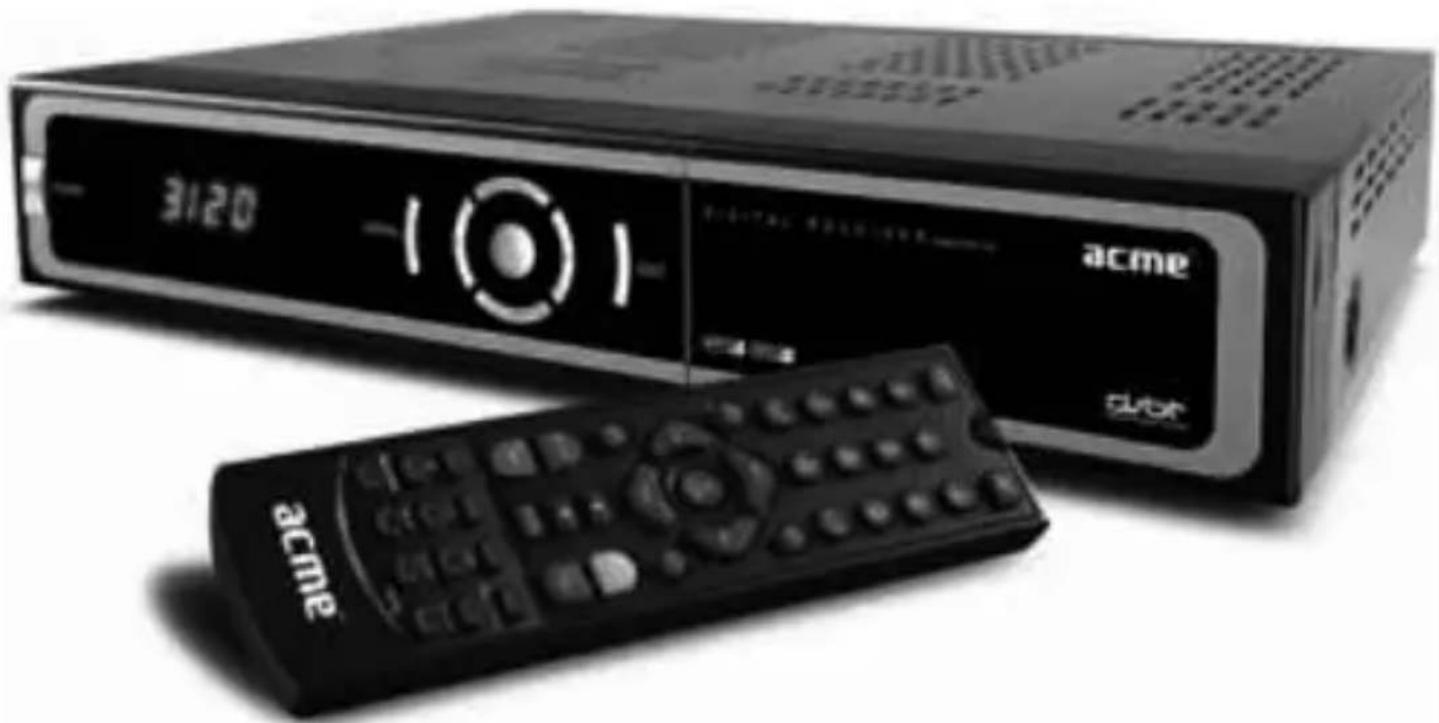
User's manual
Vartotojo instrukcija
Lietošanas instrukcija
Kasutujhend
- Edit Channel 10
- Installation 14
- System Setup 15
- Tools 18
- Game 22
- REC 23
Hot key 24
Trouble shooting
27
General Information
This Digital Terrestrial Receiver (DTR) will take you to the new and exciting world of Digital Television. A world of crystal clear widescreen pictures, digital sound, more information and new services. All this and more on “Free to Air” Digital Television.
To make full use of your new DTR please take the time to familiarize yourself with the extensive features of the unit detailed in this User's Guide. If you need help in setting up please call your dealer or a customer service adviser.
Main Features
• SD MPEG-2/SD H.264 & fully DVB-T compliant
- Embedded Conax
• Automatic PAL/NTSC conversion
• 400 channels
• TV and Radio programmable
• 8 different favorite groups selection
• On Screen Display with multi-language
• Fully support to 7 days
• Electronic Program Guide(EPG)
• Picture in Graphics(PIG) support
• 256 colors On Screen Display
• Channel search in automatic, manual search
• Various channel editing functions (favorite, move, lock, rename and sort)
• Parental control for channels
- Easy to use Menu
• System Software upgrades through RS232 port and USB
• Time set by GMT offset automatic and manual,
- Summer Time support; Automatic turn on/off by Timer setting(multiple options)
- Subtitle support DVB EN300743 and EBU
• Teletext support DVB ETS300472 by VBI and OSD
• Automatic save for last channel
• Support Logic Channel Number(LCN)
- Games
• Supprot FAT16/FAT32/FAT12,NTFS(Option)
• MP3/ JPEG/ BMP/ OGG files
- Default 2 hours, user can setting the end time(Support subtitle), record scramble program and descramble program
- Lock/Delete/Rename,
- Preview playback,
- Browse record files information
• Play/Pause/Stop/Step
• Fast Forward/Fast Backward 2/4/8/16/24,
• Slow Forward/Slow Backward 1/2, 1/4, 1/8
• Bookmark set / Bookmark jump
General information
For Your Safety

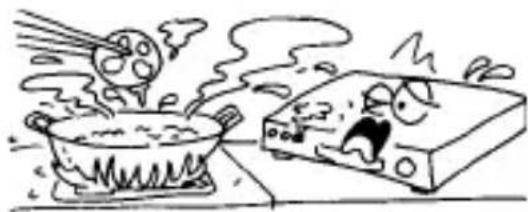
To avoid electric-shock hazards, do not open the cabinet, refer servicing to qualified personnel only.
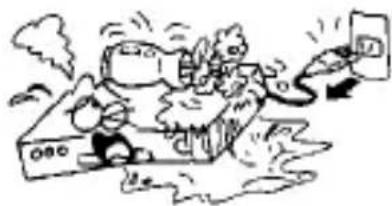
Keep the receiver away from flower vases, tubs, sinks, etc., in order to avoid damaging the equipment.
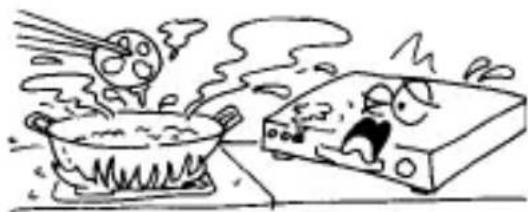
Do not expose the receiver under the sunlight. And keep it away from the heat source.

Do not block ventilation holes of the Receiver so that air can circulate freely.
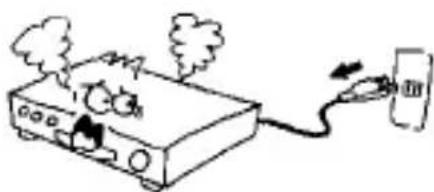
When the abnormal phenomenon occur, you should cut off the power immediately.

Do not touch the receiver during thunder, since that might create electric-shock hazards.
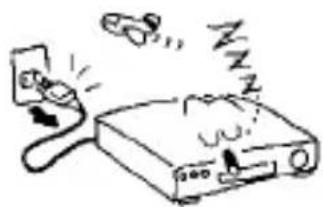
Switch the receiver off whenever it remains out of service for an extended period.

Be sure to turn the Receiver off and disconnect the AC power cord before cleaning the Receiver surface. If the surface is dirty, wipe clean with a cloth which has been dipped in a weak soap-and water solution and wrung out thoroughly, and then wipe again with a dry cloth.
General information
Unpacking (optional)
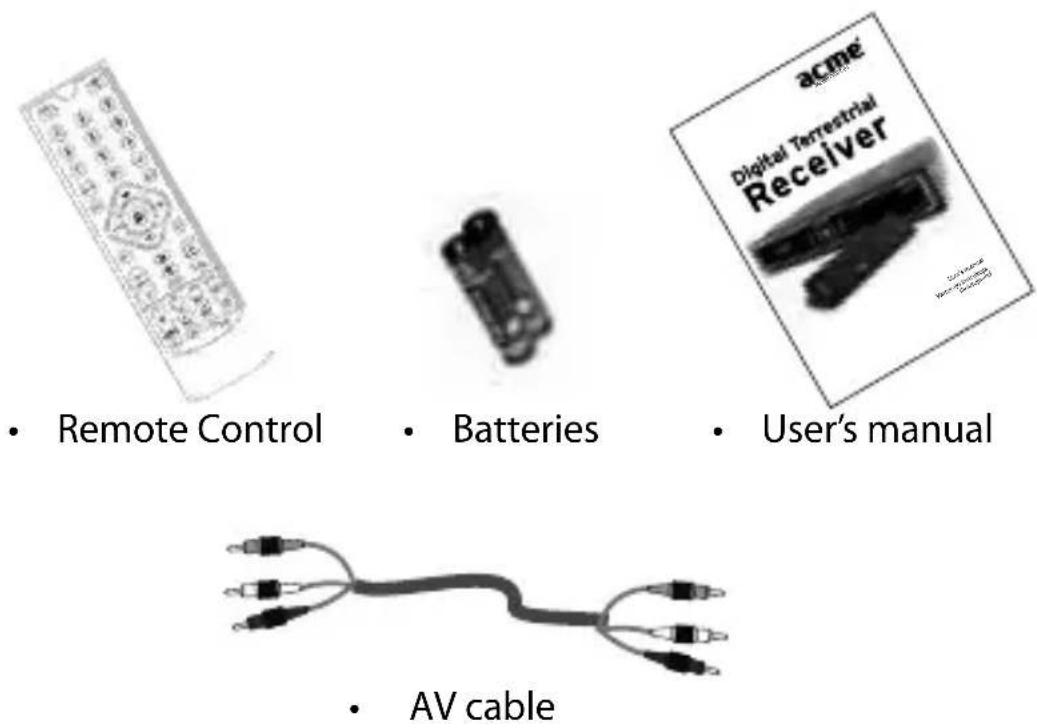
General Operation
- Throughout this manual you will notice that the everyday operation of the receiver is based on a series of user friendly on screen display and menus. These menus will help you get the most from your receiver, guiding you through installation, channel organizing, viewing and many other functions.
- All functions can be carried out using the buttons on the RCU, and some of the functions can also be carried out using the buttons on the front panel.
- The receiver is easy to use, always at your command and adaptable for future advances.
- Please be aware that new software may change the functionality of the receiver.
- Should you experience any difficulties with the operation of your receiver, please consult the relevant section of this manual, including the Problem Shooting, or alternatively call your dealer or a customer service adviser.
General information
RCU
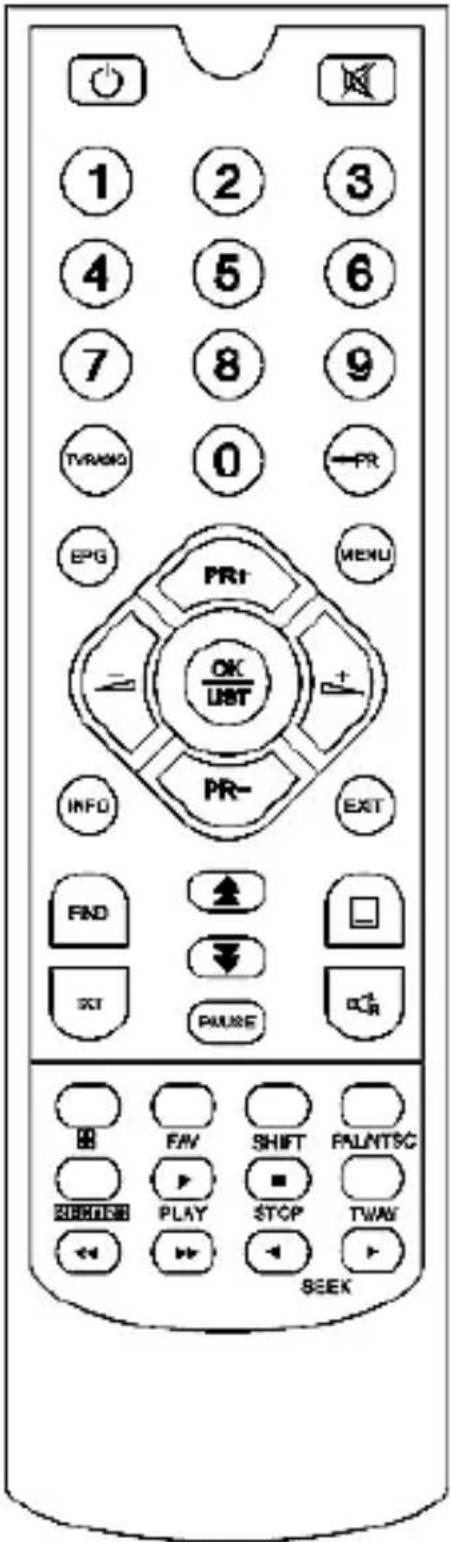
The picture is only for reference, please make the object as the standard.
| Key | Function |
| Turns power ON/OFF of the DTR | |
| When watching a program, mute the sound | |
| 0~9 | Enter number of the required menu item or select a program number to watch |
| TV/RADIO | Switches between TV and Radio mode |
| →PR | Switches back to previous program |
| FAV | Display the favorite program list |
| INFO | Shows information of the current program |
| FIND | Display the FIND window |
| Moves up / down a page in the program list | |
| MENU | Press this key one time to run menu onscreen, and call command box |
| PR+, PR- | When watching a program, change programs or move to the next higher or lower item in the menu |
| OK, LIST | Executes the selected item in the menu screen or enters the desired value in any input mode |
| EXIT | Returns to the previous menu on the menu screen or escape from the menu |
| When watching a program, adjust the volume or move to the left or right item in the menu | |
| Selects the different audio modes | |
| EPG | Calls up the EPG (Electronic Program Guide) |
| PAUSE | Press once to pause the screen picture, press once again to go to the normal mode |
| TV/AV | Switches between TV and AV modes |
| Switches to subtitle mode | |
| SHIFT | Timeshift function key |
| TXT | Switch to teletext mode |
| PAL/NTSC | Switches between PAL and NTSC modesNote: The operation may result in the slack of display on the screen. |
| Enter into the nine-pictures mode displayed on the screen. | |
| RECORD | Record the program |
| Play and stop the program | |
| Press to fast forward or fast backward | |
| Seek forward or backward |
General information
Rear Panel
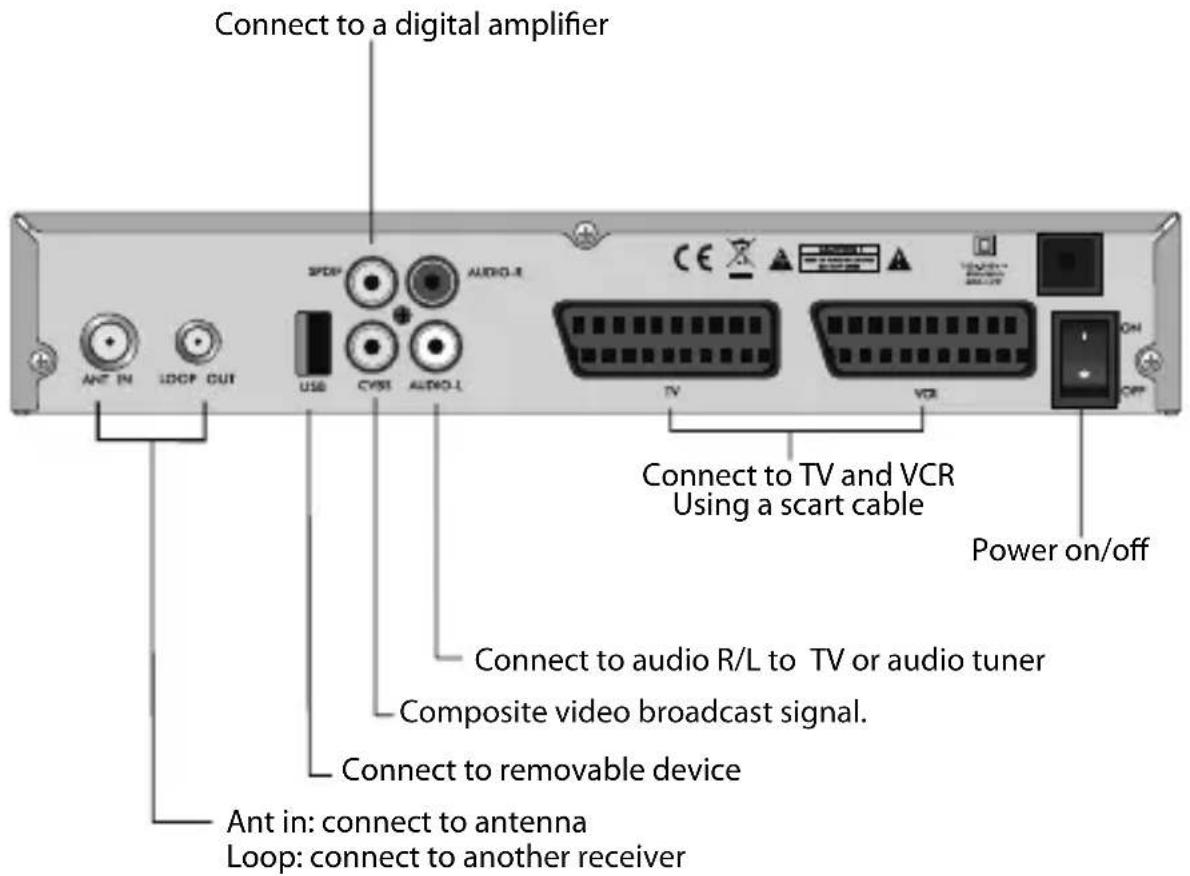
Connecting to TV using SCART support
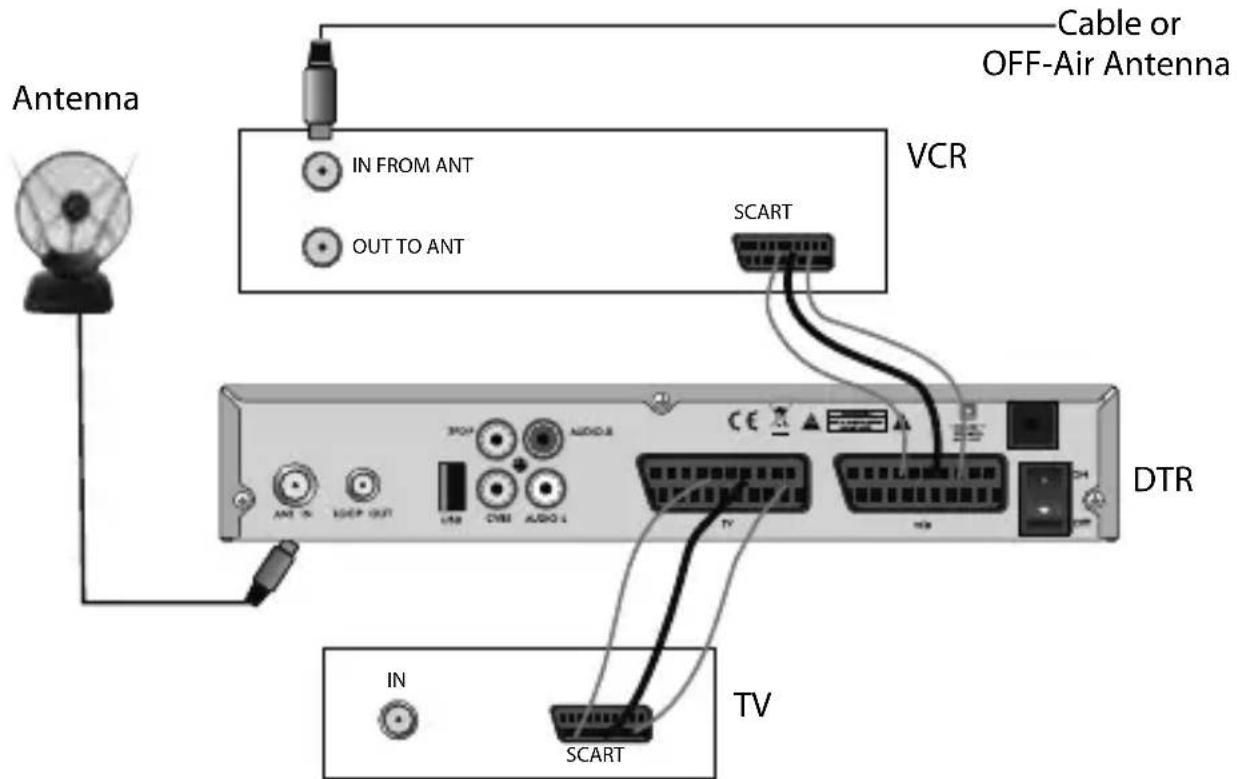
The picture is only for reference, please make the object as the standard.
General information
Connecting to TV using RCA support
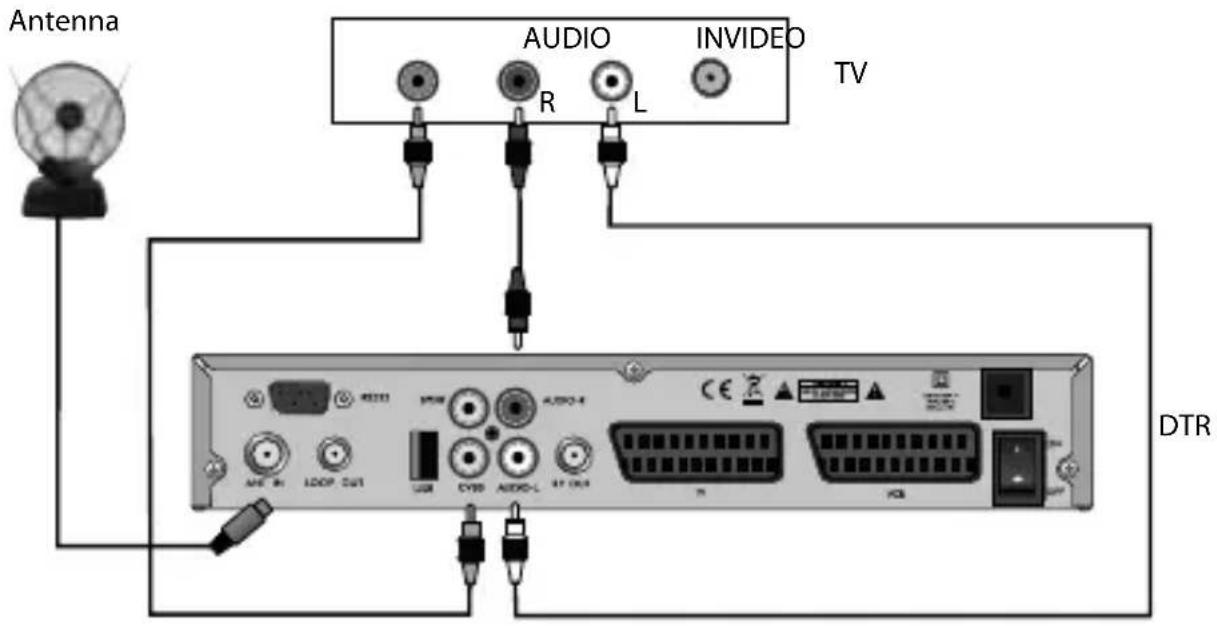
Connecting to Digital Amplifier

The picture is only for reference, please make the object as the standard.
Welcome page
- When power on first time, it will show welcome page like below.
- Press PR+,PR- keys to move highlight to select Region, Display Mode, Aspect Mode and language.
- Press keys to move the cursor to choose your choice.
- Move highlight to [OK] option and press OK key to enter "Auto Scan" menu.
- Press [EXIT] key to exit this menu.

Main Menu
When you press [MENU] key, you can enter Main Menu.
This menu consists of 5 major sub-menus as below.
- Edit Channel
- Installation
- System Setup
- Tools
- Game

1. Edit Channel
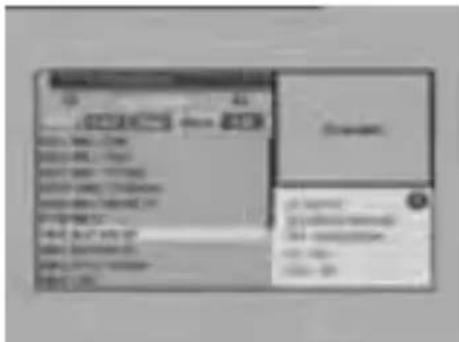
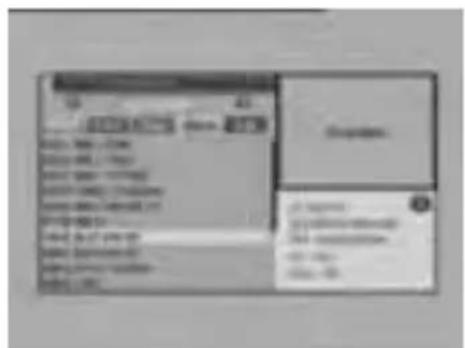
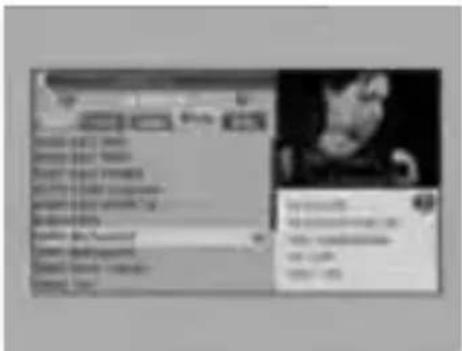
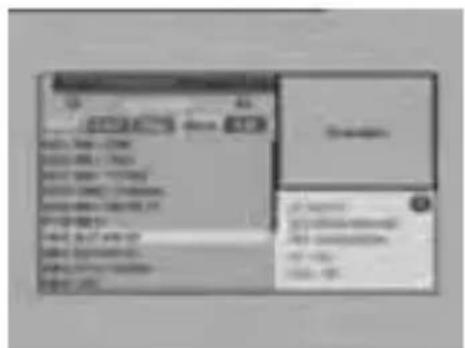
Move highlight on Edit Channel item and press [OK] key to enter Edit Channel menu as besides.
This menu has 3 sub-menus such as: TV Channel list, Radio Channel List and Delete All.
1.1 TV Channel List
- Press ΔΔ+ keys to select satellite.
-
Press PR+, PR- keys to select the program that you want to play, and then press OK key to view it in the small window. If move the yellow cursor to select up or down, you will see a gray line which indicates the playing program in the small window.
-
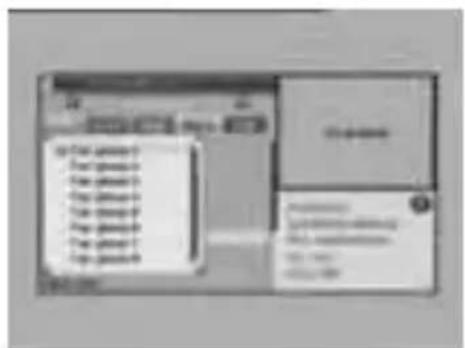
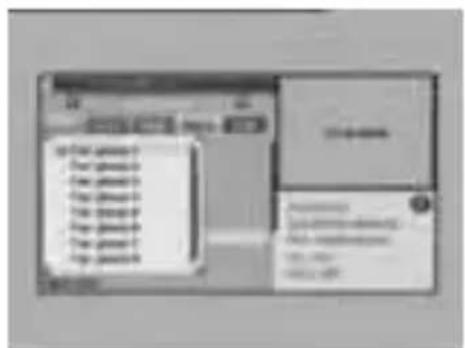
Press FAV key to move the FAV button upward. Select the program and press OK key to pop up the favourite group list. In the list, select the group that you want to add into and press OK key, and then you will find the favourite mark is displayed at the right side of the selected program. Press FAV key again to exit from the fav mode, and you will find the FAV button return to the origin position.
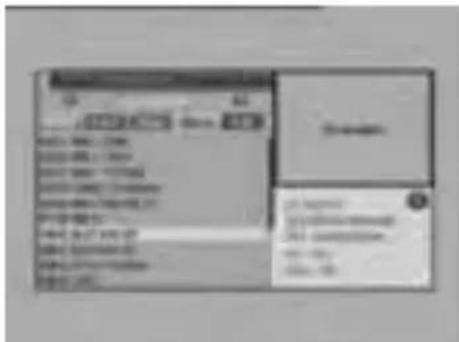
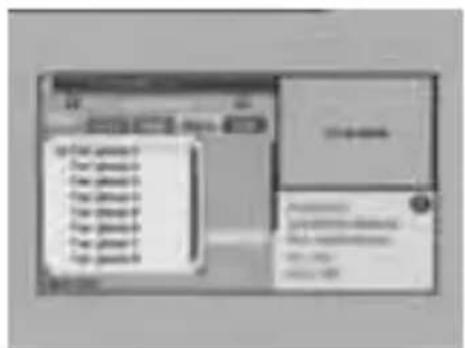
Main menu
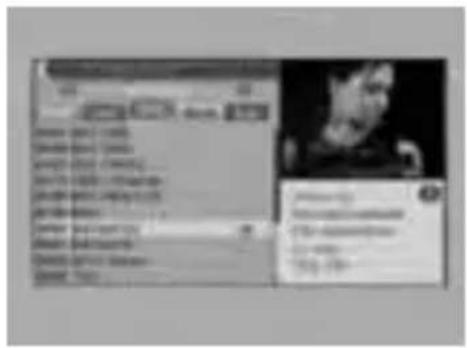
- Press red colour key to move the Lock button upward. Select the program and press OK key to mark this program with the Lock mark. You can cancel this mark by pressing OK key once more. Press red colour key again to exit from the lock mode, and you will find the Lock button return to the origin position.
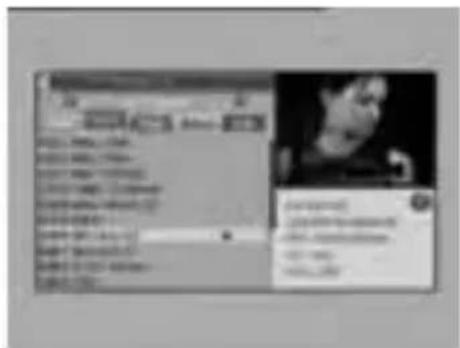
- Press green colour key to move the Skip button upward. Select the program and press OK key to mark this program with the skip mark. You can cancel this mark by pressing OK key once more. Press green colour key again to exit from the skip mode, and you will find the Skip button return to the origin position.

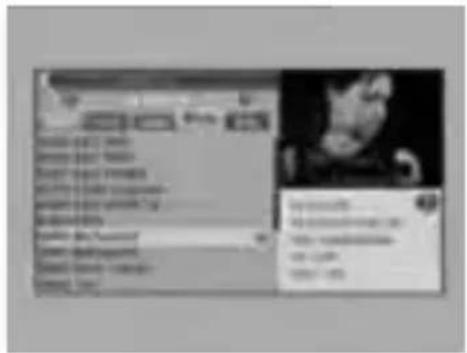
- Press yellow colour key to move the Move button upward. Select the program and press OK key to mark this program with the move mark. Press PR+, PR- keys to move the cursor to the position where you want to locate and press OK key to confirm. Press yellow colour key again to exit from the yellow mode, and you will find the yellow button return to the origin position.
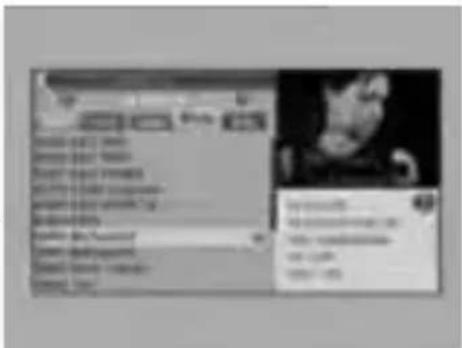
- Press blue colour key to enter into the Edit channel window.

I. Sort (red colour key)
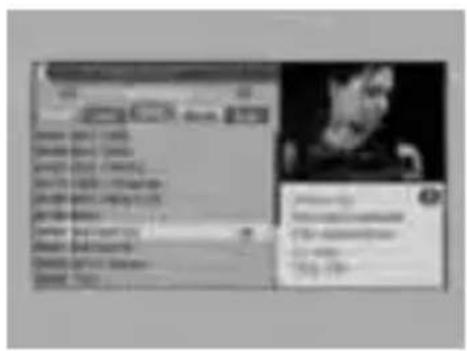
Press red colour key to pop up the Sort drop-down list.
Name(A-Z): The ascending order, omitting the \$ character, the number is ahead, then the capital letter, at last the lowercase.
Name (Z-A): The opposite order of the above Name (A-Z).
Free/Scrabmle: All FTA programs are listed ahead, while all scrambled programs are listed last.
Lock: all locked programs are listed at the last.
Default
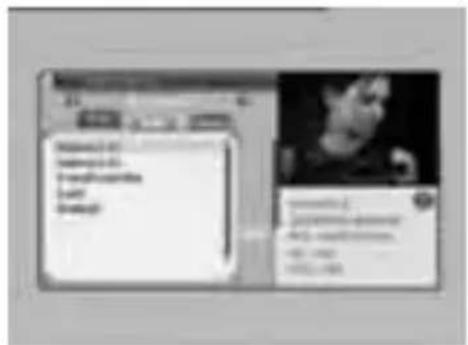
II. Edit (green colour key)
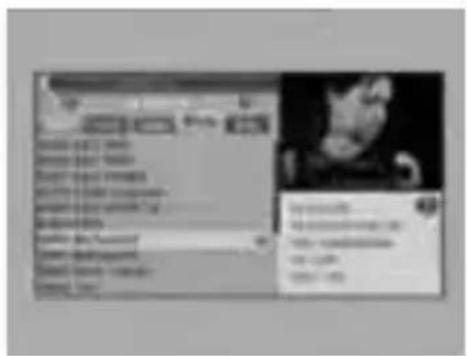
Press green colour key to move the Edit button upward. Select the program and press OK key to pop up the Rename window. In Rename window, press yellow colour key to switch between capital letter and lower letter; press red colour key to delete the character on the cursor; press keys to move the cursor left or right; press numeric keys (0-9) to input the character, please refer to the down table. Press blue colour key to save and exit.

| Numeric keys Press numeric key repeatedly, display in circle | |
| 1 ,,*?!@1 | |
| 2 ABC2 | |
| 3 DEF3 | |
| 4 GHI4 | |
| 5 JKL5 | |
| 6 MNO6 | |
| 7 PQRS7 | |
| 8 TUV8 | |
| 9 WXYZ9 | |
| 0 [space]_-0 | |
If the name is empty, system will pop up a dialogue informing "Name" once yellow colour key is pressed. Press OK key to close this dialogue..
Main menu
III. Delete (blue colour key)
In Delete window, press blue colour key to move the Delete button upward. Select the program and press OK key to mark this program with the deletion mark. You can cancel this mark by pressing OK key again. Press EXIT key to pop up the dialogue "Are you sure to save?". Select Yes button and press OK key to save, or select NO button and press OK key to exit without saving.

1.2 Radio Channel List
Sine the same operation as 1.1 TV ChannelList, here we don't explain any more.
1.3 Delete All
Move cursor to the Delete All item, and press OK Key to pop up the dialogue "Warning! Do you really want to delete all channel?".
Press EXIT key to pop up the dialogue "Are you sure to save?". Select Yes button and press OK key to save, or select NO button and press OK key to exit without saving.

2. Installation
- Press OK key or key to pop up the "Input Password" dialogue, you can not enter into the menu unless the correct password is inputted. The default password is "0000".
- Press PR+, PR- keys to move the cursor up or down.
- Press EXIT key or key to move the focus to the left menu.
2.1 Auto Scan
When you enterAuto Scanmenu, the screenwill display asbelow.
In FTA Only, press [Left/Right] key to choose Yes or No. Move the highlight on the search option, and press [OK] key to start scanning.
Press [EXIT] keyto exit thismenu.
2.2 Channel Scan
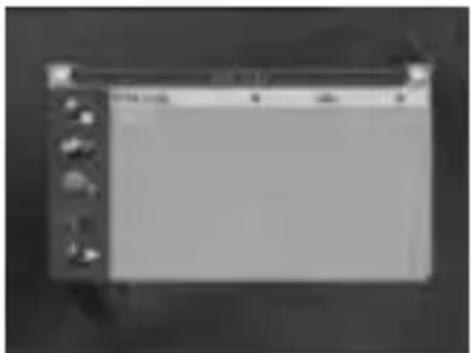
When you enter Channel Scan, the screen will display as beside.There are two scan modes for you. You can choose to scan by channel or by frequency.When scan band is UHF and region is "China", the range of Ch Number is from 13 to 61. When scan band is VHF and region is "China", the range of Ch Number is from 1 to 12. (It's according to region.)When you complete your configuration, move highlight to search option, and press [OK] key to start scanning.Press [EXIT] key to exit the scanning and save the current parameters.
2.3 Aerial Adjustment
When you enter Antenna feeding, the screen will display as beside. In CH No. submenu, press [Left/Right] key to choose the channel.
In Tuner Power submenu, press [Left/Right] key to choose Off and On.
2.4 LCN
Press [Left/Right] keyto choose Onand Off.


Main menu
3. System Setup
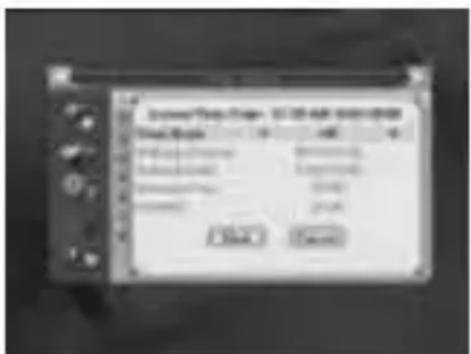
When you enter the System Setup menu, you will see the screen like besides. It contains 8 sub-menus such as: Language, TV System, Local Timer Setting, Timer Setting, Conax Conditional Access, Parental Lock, OSD Setting and Favorite. Press [Up/Down] key to select menu among all the items. Press [OK] key to enter the selected item.
3.1 Language
- Press OK key to enter into the Language window. Press keys to select the language in circle, while press PR+, PR- keys to move the cursor up or down in circle.
- Press MENU key or EXIT key to save and exit.
- The types of the language, pleaser refer to the configuration of the customer.
3.2 TV System
Press PR+, PR- key to move the cursor up or down, while press △ △+ keys to change the setting and the setting will take effect immediately.
- Video Resolution: Select between 480i and 576i.
- Aspect Mode: Select among 4:3LetterBox, 4:3PanScan, 16:9 and Auto.
- Video Output: Select between CVBS+RGB and CVBS+S-Video.
- RF System: Select among PAL-BG, PAL-I, PAL-DK and NTSC
- RF Channel: PAL:21-69, NTSC:14-83.
3.3 Local Time Setting
- Region: Select the region.
- Time Usage: Select between On and Off. If select "Off", the GMT Offset and Summer Time item will turned gray.
- GMT Offset: When select "ON" in GMT Usage item, system will get the date and time information from the screen automatically. Date and Time two items will turn grey. Select the proper option in the GMT Offset item. The default setting is GMT ON.


- Summer Time: Select between ON and OFF. "OFF" delegates the normal time. If select ON, time will add one hour.
- Date, Time: When select "OFF" in GMT Usage, Date and Time two items take effect, while GMT Usage turns grey. Use numeric keys to input the desired value.5. After setting, press MENU key or EXIT key to exit and save. If the value is invalid, system will inform "Invalid input! Continue to edit?". Press OK key at the Yes button to continue the modification, or press OK key at the No button to exit without saving.
3.4 Timer Setting
If there is no program, you can not enter into this window. There are 8 timers that can be set. Select Timer up or down, and press OK key to enter into the setting window.
- Timer mode: The default mode is off. You can set the timer once, daily and Off.
- Wakeup Channel: Select the channel.
- Wakeup Date, Time: Use numeric keys to input the valid date.Duration: Set the gap time. After waking up, system will power off automatically after the duration time.Press MENU or EXIT key to save and exit.
3.5 Conax Conditional AccessSelect Conax Conditional Access item and press OK key, then you will enter into its sub-menu which consists four items of Subscription Status, Even Status, Token Status, Change CA PIN, Maturity Rating and About Conax CA.
3.5.1 Subscription Status
Know the detail information of Subscription Status.
3.5.2 Event Status
Know the detail information of Event Status.
3.5.3 Tokens Status
Know the detail information of Tokens Status.
Main menu
3.5.4 Change CA PIN
Changes CA PIN window is designed for changing the smart card's PIN, which is required if you want change the maturity level settings. In order to change the PIN, you must know the current PIN also called the old PIN. Input the new PIN and twice the PIN (New PIN and Confirm PIN must be the same) your want to set. Move cursor to OK button and press OK key, and then system will pop up a dialogue informing you the changing result.
3.5.5 Maturity Rating
Input the PIN then Move cursor to Select Maturity Rating, you can select A-Over18, X-Erotic, G-General audience, PG-Parental Guidance, move cursor to Change Maturity level button and press OK key, and then system will pop up a dialogue informing you the changing result.
3.5.6 About Conax CA
In About Coanx CA sub-menu, you can know the basic information about this conditional access such as Card Status, CAS System ID, Interface Version, Card Number, Number of sessions, Language and so on.

3.6 Parental Lock
Before entering into the Parental Lock window, you need input the correct password. The default password is 0000.
-
Menu Lock: Press ➞ ➞ keys to select between Off and On. If select "On", you can not enter into the most window before entering the password.
-
Channel Lock: Press keys to select between Off and On. The default value is Off. If select "On", you can not view the locked channel set in Chanel List Edit window until you have inputted the correct password.

- New Password: User numeric key (0-9) to input the new password.
- Confirm Password: Input the new password once again. Confirm password must be the same as the New password. System will inform you "Change password successfully!" while they are the same, or inform you to input the password of Confirm password once again when they are not the same.
3.7 OSD Setting
- OSD Timeout: Press + keys to select from 1 to 10 by step1. The default values is 5.
- OSD Transparency: Press keys to select among Off, 10%, 20%, 30%, 40%. The default option is Off.
Press MENU or EXIT key to save and exit.
3.8 Favorite
There are 32 favorites group listed in this window. Press PR+, PR- keys to select one and press OK key to the Rename window. Since the same operation as the above the Add Satellite window, here we don't explain any more.
4. Tools
- Press OK key or key to pop up the "Input Password" dialogue, you can not enter into the menu unless the correct password is inputted. The default password is 0000.
- Press PR+, PR- keys to move the cursor up or down.
- Press EXIT key or key to move the focus to the left menu.
4.1 Receiver Information
When you enter Receiver Information menu, you should see the screen like it displays on the right. This screen displays receiver information. You should press [EXIT] key to cancel this menu.
4.2 Load FactoryDefault
When you choose the option of Load Factory Default and press [OK] key, there will be a dialogue for you to input the password. The default password is 0000. If you input the correct password, you will see a screenlike beside. If you choose Yes, all the parameters of this receiver will reset to the default value.
Note: Please use this function carefully.




Main menu
4.3 Upgrade By RS-2321.
- Press + keys to select among allcode, main code, card, Radioback, keydate default db, user db. The default option is allcode.
- Press OK key at the Start button to start checking serial port.
4.4 S/W Upgrade by OTA
- Frequency: Use numeric keys to input the proper value.
- Bandwidth: Select among 6, 7, 8 MHz.
- Down load PID: Use numeric keys to input the proper value.
- Start: Press OK key to start upgrading. If no correct searching information, system will inform "Collecting information". You can press Exit button to return to the previous window. System will start upgrading after collecting information successfully. Press OK key at the Download button and press OK key at the Burnflash button to start burning. After booting, press OK key at the Reboot button to reboot.
4.5 Upgrade by USB
-
Upgrade File: Show the Upgrade File.
-
Upgrade Mode: Select between AllCode and Dump. When users switch the upgrade mode, "Upgrade File" will show the corresponding file according to the table below:
Upgrade Mode File feature
All code: File named as "*.abs"
Main Code: File named as "*.bin"
Radio back: File named as "*.m2v", the picture will be used as both radio back and menu back.
Default db: File named as "*.bin"

Select the upgrade mode and upgrade file, then you can start upgrade by USB.
- Press OK key on start button to start receiving the data from USB device. When the USB device is not connected, this itemis grey, you cannot edit itnow.
4.5 USB Device
USB Device menu will be automatically shown when insert U disk to USB port except auto scan, multi picture, upgrade. Or open USB menu according to Menu -> Tools-> USB. Press OK to enter into this window.
USB Device menu will be disabled when no USB device is plugged. Media Play List will not be saved when USB plugout or standbyor power off. Move scroll bar when press up/down key, page up or down by page key. Go into sub-directory when press ok key in the file directory, play the selected file when scroll bar is on the file, automatic return USB menu after play is over.
Function key
Yellow key: Press to show the Play List Blue key: Press to select repeat mode.
- Press number key 0 to add all music to the Play List
- Press number key 1 to add all images to the Play List.
- Press INFO key to display the Setup window.
- Press FIND key to display the Sort window. Function Key FAV: Press FAV key add the image you selected to the Play List.
Play List
Press FAV key to add the image or music to Play List. Press [OK] on Play List button you can see the image or music you selected and in this list you can play and delete them.
Red key: Playing the image in full screen. Yellow key: Delete the image you selected. Blue key: Delete all the image in the list.
Main menu
Music List
Press PR+, PR- key to select the music you want, and press FAV key to added it to the music list, or you can press number key 0 to add all the music to music list. Press yellow key and select the music button in the window, you can see the music you selected and in this list you can play and delete the music.
Red key: Playing the music.
Yellow key: Delete the music you selected.
Blue key: Delete all the music in the list.
When you playing the music press ◀ key to play previous music, and press blue key or ▶ key to play next music. Press “■” keys to stop and play again. Press blue key to switches the circulation mode.
Image List
Press PR+,PR- key to select the iamge you want, and press FAV key to added it to the image list, or you can press number key 1 to add all the images to image list. Press yellow key and select the image button in the window, you can see the iamge you selected and in this list you can play and delete them.
Red key: Playing the music.
Yellow key: Delete the music you selected.
Blue key: Delete all the music in the list.
Setup
Show Image Size: Select between full and real.
Slide Show Time: Select among 1-10 sec.
Slide Show Repeat: Select between onand off.

Sort
Pressing FIND key, it will pop up the Sort drop-down list.
Name(A-Z): The ascending order, omitting the \$ character, the number is ahead, then the capital letter, atlast the lowercase.
Name (Z-A): The opposite order of the above Name (A-Z).
Default
4.6 Remove USB Device safely
Press OK key on Remove USB device safely it will pop up a dialog:"You can safely remove USB device now!". Press OK on Yes button to remove the USB device.
4.7 Mail box
In CA info menu, move cursor to mailbox item and press OK key to enter into mail list window. All E-mails from the operator are listed in this window. Press PR+,PR- keys or ▲▼ keys to look up the E-mails. Once OK key is pressed at the selected E-mail, system will pop up a window where you can know it in detail.

5. Game
- Press OK key or key to enter into the game.
- Press PR+, PR- keys to move the cursor up or down.
- Press EXIT key or -key to move the focus to the left menu.
- Select the game that you want to play and press OK key to enter into the window.
Main menu
6. REC
6.1. Record Manager
- Press PR+, PR- keys to select up or down,
-
Press green color key to lock the file you selected, the lock symbol will be marked behind the file. Before you lock the file you must input the correct password, the default password is 0000.
-
Press blue color key to delete the file you selected.
-
Press red color key to pop up the window for renaming the file you selected, press numeric keys (0-9) to input the character.
-
Press [Play] key to preview. Press [OK] to play the recorder in full screen as below picture.
-
Press [Pause] key to pause. Press [Pause] key repeatedly to realize the step function.
Press ◀◀▶▶ key to fast forward or fast backward. Press ◀key to slow forward or slow backward.

6.2 DVR HDD Information
Show you the information in windows as besides.
6.3 HDD Format
Press OK on Format button to format the disk.
6.4 DVR Configuration
- Timeshift: Select between on and off.
- Record Type: Select between PS and TS.
- Record Selection: Select the USB partition.
6.5 Jump
Select among 30sec, 1min, 5 min, 10 min and 30 min.

Hot Key
Number
Use the numeric keys (0-9) to input the number of the desired channel. If the inputted number is beyond the valid channel number, system will "Invalid number" and press OK key to close this message.
TV/RADIO
In normal mode, press TV/RADIO key to switch between TV mode and Radio mode.
Up/Down (Channel Change)
Press PR+, PR- keys to change the channel up or down.
Left/Righ (Volume+/-)
Press → Δ+ keys to change the volume. Press keys to decrease the volume by step 1, while press keys to add the volume by step 1.
Mute
Press ✗ key to close the volume. You can press key once again to restore the volume, or press keys to open the volume.
Pause
During the viewing, you can press PAUSE key to stop the picture while the volume continues. You can play the picture by pressing PAUSE key once again.
Teletext
Press TXT keys to open the teletext on the screen. If there is no teletext, system will inform "No Teletext Data". Press EXIT key to exit.
OK
- During the viewing or listening, press OK key to pop up the TV program list or the Radio program list.
- Press PR+, PR- keys to select the channel up or down, and then press OK key to play this channel in fullscreen.
- Press ΔΔ+ keys to select the satellite.
- Press MENU or EXIT key to close this window.
Main menu
Audio
- Press key to enter into the Audio window.
- Press keys to select between Left, Right and Stereo.
- Changing the audio mode is only connected with the current channel, not all the channels.
- Press MENU or EXIT key to close this window.
Recall
Press ←PR key to switch the current channel to the previous channel.
Info
Press INFO key to enter into the information Window.
FAV
- Press FAV key to pop up the favourite group window.
- Press + keys to select the favorite group. Press PR+, PR- keys to select the channel up or down. Press OK key at the selected channel to view it in full-screen. Press MENU or EXIT key to exit.
- If there is no favorite channel, system will inform "No FAV Channel!" when you press FAV key.
Multi-picture
Press ☐☐ to multi-picture on the screen. If you want to select channel, use the PR+, PR-,
key on the RCU to select a cell and press OK key to enter.


EPG
Press EPG key to enter into the EPG window.
- Press PR+, PR-, ⚡️ keys to select up or down, left or right.
- Press red colour key to pop up the Time Bar window. Press PR+, PR- keys to select up or down, while press keys to select left or right in the time bar.
←: Press OK key at this button to return to the EPG window.
▲: Press OK key at this button to move the cursor to the current time line.
◀▶: Press OK key to push the time forward or backward by half an hour.
◀◀▶: Press OK key to push the time forward or backward by half an hour.
◀◀◀ ▶▶▶ : Press OK key to push the time forward or backward by a day. From the current day, you can switch among the future 14 days in circle.
3. Detail Information: In the EPG window, press PR+, PR-, keys to select the channel and program, and press OK key to know the detail information of the current program.
4. Press green colour key to enter into the Timer
window. You can add the current program to the Timer. If 8 timers is already, system will inform "Timer is full!".
Teletext
Press TXT/ ☐ keys to open the teletext and subtitle window on the screen.
Trouble Shooting
| Problem Possible causes What to do | ||
| The display on the front panel does not light up. | Main cable is not connected. | Check that the main cable is plugged into the power socket. |
| No sound or picture, but thefront panel shows red light. | The receiver is in standby mode | Press the standby button. |
| Bad picture / blocking error. | Signal is too strong. | Connect a signal attenuator to the antenna input. |
| Antenna noise factor too high. | Change to an antenna with lower noise factor. | |
| The antenna is faulty. Change the antenna. | ||
| The picture is not displayed on the screen, when switching on. | The system is connected by RF leads. | Check the UHF channel fixed in your system and tune the UHF channel properly. |
| There is interference on your terrestrial program or video signal. | The system is connected by RF leads and the output program of the receiver interferes with an existing terrestrial programs or Video signal. | Change the receiver output program to a more suitable program, or connect the system by SCART leads. |
| The RCU is not working. | Battery exhausted. Change the batteries. | |
| RCU is incorrectly aimed. | Aim RCU at the receiver, or check that nothing blocks the front panel. | |
Note: If you have tried all of the actions suggested above, without solving the problem, please contact your dealer or a customer service adviser.
Turinys
Bendra informacija 29
• Nuotolinio valdymo pultas
• Baterijos •
Naudojimo instrukcija
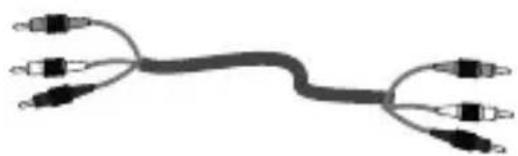
• AV kabelis
Bendri naudojimo principai
Pagrindinis meniu
Pagrindinis meniu
II. Redagavimas (žalias mygtukas)
Pagrindinis meniu
2. Prijungimas


Pagrindinis meniu

3.3 Vietos laiko parametrai
Pagrindinis meniu


Pagrindinis meniu
3.7 OSD nustatymai
- OSD skaidrumas (OSD transparency):


Pagrindinis meniu
4.3 Plètoté RS-232.

| Plètotès režimas | Failo tipas |
| All code : Failo pavadinimas su trumpiniu „*.abs“ | |
| Main Code: Failo pavadinimas su trumpiniu „*.bin“ | |
| Radio back: Failo pavadinimas su trumpiniu „*.m2v“. | |
| Default db: Failo pavadinimas „*.bin“ | |

Grojaraštis
Pagrindinis meniu
Muzikos sąrašas
Vaizdu sarašas
Nustatymai
5. Žaidimai
Pagrindinis meniu
6. Írašymas (Rec)
6.2 DVR HDD informacija (DVR HDD Information)
6.3 HDD formatavimas (HDD Format)
6.4 DVR konfigüracija (DVR Configuration)
Pagrindinis meniu
Garsas

Pagrindinis meniu
Teletekstas
„TXT/ ☐“ mygtukus spauskite teleteksto ir subtitru langui atidaryti..
Trikčių šalinimas
Lai izvairitos no elektriskas strāvas trieciena riska, neatveriet korpusu; uzticiet apkopi tikai kvalificētam personalam.
• Tālvadības pults
• Baterijas

• AV kabelis
Galvenās darbības

1. Edit Channel (Rediğet kanālu)

Galvenā izvēlne

Pagrindinis meniu
1.2. Radio Channel List (Radiokanālu saraksts)
3.1 Language (Valoda)

3.5. Conax Conditional Access (Conax nosacijumpiekluve)
Atlasiet vienumu Conax Conditional Access (Conax nosacijumpiekluve) un nospiediet taustinu OK (LABI), tad noklusiet tā apakšizvelnē, kuru veido vienumi Subscription Status (Abonementa status) Event Status (Notikuma status), Token Status (Pilnvaras status), Change CA PIN (Mainit NP PIN), Maturity Rating (Brieduma vērtējums) un About Conax CA (Par Conax CNP).
3.5.1. Subscription Status (Abonementa status)


Galvenā izvēlne

Funkciju taustiņi
Galvenā izvēlne
Mūzikas saraksts
Setup (lestatīšana)

5. Game (Spēles)
Galvenā izvēlne
6. REC
6.1. Record Manager (lerakstu pärvaldnieks)
6.4. DVR Configuration (DVR konfigurēšana)


← : Nospiediet taustinu OK (LABI) un šo pogu, lai atgrieztos EPG logā.
: Nospiediet taustinu OK (LABI) un šo pogu, lai
TRAUCĒJUMMEKLĒŠANA
- Kaugjuhtimispult
- Patareid

- Kasutusjuhend
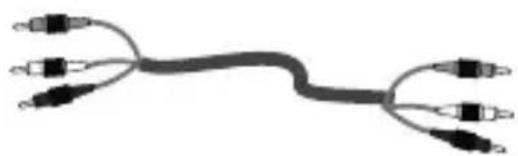
• AV kaabel
Kasutamine

1. Muuda kanalit (edit channel)
Peamenüü

II. Muuda (Edit) (roheline nupp)
| Numbrinupud Vajutage korduvalt numbrinuppu, kuvatakse ringis | |
| 1 .,*?!@1 | |
| 2 ABC2 | |
| 3 DEF3 | |
| 4 GHI4 | |
| 5 JKL5 | |
| 6 MNO6 | |
| 7 PQRS7 | |
| 8 TUV8 | |
| 9 WXYZ9 | |
| 0 [space]_-0 | |
1.2 Raadiokanalite loend (Radio Channel List)
2. Paigaldus (Installation)
2.2 Kanalite skaneerimine (Channel Scan)
2.3 Antenni reguleerimine (Aerial Adjustment)
2.4 LCN
3.1 Keel (Language)
3.2 Telerisüsteem (TV System)
(GMT Offset) menüüst. Vaikimisi on GMT sees (ON).

3.5 Conaxi tingimuslik juurdepääs (Conax Conditional Access)
3.5.5 Vanusepiirang (Maturity Rating)
3.6 Lapselukk (Parental Lock)
Enne lapseluku (Parental Lock) aknasse sisenemist tuleb sisestada õige parool. Vaikimisi parool on 0000.



Peamenüü

4.5 USB seade (USB Device)
Peamenüü


Seadistus (Setup)

Peamenüü
6. REC
6.1. Record manager (Kirjete haldur)
6.3 HDD Format (HDD formaatimine)
6.5 Hüpe
Teletekst (Teletext)

Multipilt (Multi-picture)
Teletekst (Teletext)
1. Edit Channel

2. Installation/Установка
2.3 Aerial Adjustment/Настройка антенны
3.5 Conax Conditional Access/Условный доступ Conax

Главное меню


Play List
Главное меню
5. Game/Игра
Главное меню
6. REC/ЗАПИСЬ
6.4 Конфигурация УЦВ/DVR Configuration
6.5 Переход/Jump
Главное меню
Audio


- DIGITAL TERRESTRIAL RECEIVER
- HOT KEY 24
- TROUBLE SHOOTING
- GENERAL INFORMATION
- MAIN FEATURES
- FOR YOUR SAFETY
- UNPACKING (OPTIONAL)
- GENERAL OPERATION
- CONNECTING TO TV USING RCA SUPPORT
- CONNECTING TO DIGITAL AMPLIFIER
- WELCOME PAGE
- MAIN MENU
- EDIT CHANNEL
- 1.1 TV CHANNEL LIST
- SORT (RED COLOUR KEY)
- DEFAULT
- EDIT (GREEN COLOUR KEY)
- DELETE (BLUE COLOUR KEY)
- 1.2 RADIO CHANNEL LIST
- 1.3 DELETE ALL
- INSTALLATION
- 2.1 AUTO SCAN
- 2.2 CHANNEL SCAN
- 2.3 AERIAL ADJUSTMENT
- 2.4 LCN
- SYSTEM SETUP
- 3.1 LANGUAGE
- 3.2 TV SYSTEM
- 3.3 LOCAL TIME SETTING
- 3.4 TIMER SETTING
- 3.5.1 SUBSCRIPTION STATUS
- 3.5.2 EVENT STATUS
- 3.5.3 TOKENS STATUS
- 3.5.4 CHANGE CA PIN
- 3.5.5 MATURITY RATING
- 3.5.6 ABOUT CONAX CA
- 3.6 PARENTAL LOCK
- 3.7 OSD SETTING
- 3.8 FAVORITE
- TOOLS
- 4.1 RECEIVER INFORMATION
- 4.2 LOAD FACTORYDEFAULT
- 4.3 UPGRADE BY RS-2321
- 4.4 S/W UPGRADE BY OTA
- 4.5 UPGRADE BY USB
- UPGRADE MODE FILE FEATURE
- 4.5 USB DEVICE
- FUNCTION KEY
- PLAY LIST
- MUSIC LIST
- IMAGE LIST
- SETUP
- SORT
- 4.6 REMOVE USB DEVICE SAFELY
- 4.7 MAIL BOX
- GAME
- REC
- RECORD MANAGER
- 6.2 DVR HDD INFORMATION
- 6.3 HDD FORMAT
- 6.4 DVR CONFIGURATION
- 6.5 JUMP
- HOT KEY
- NUMBER
- TV/RADIO
- UP/DOWN (CHANNEL CHANGE)
- LEFT/RIGH (VOLUME+/-)
- MUTE
- PAUSE
- TELETEXT
- OK
- AUDIO
- RECALL
- INFO
- FAV
- MULTI-PICTURE
- EPG
- TURINYS
- BENDRA INFORMACIJA 29
- BENDRI NAUDOJIMO PRINCIPAI
- PAGRINDINIS MENIU
- REDAGAVIMAS (ŽALIAS MYGTUKAS)
- PRIJUNGIMAS
- 3.3 VIETOS LAIKO PARAMETRAI
- 3.7 OSD NUSTATYMAI
- 4.3 PLÈTOTÉ RS-232
- GROJARAŠTIS
- MUZIKOS SĄRAŠAS
- VAIZDU SARAŠAS
- NUSTATYMAI
- ŽAIDIMAI
- ÍRAŠYMAS (REC)
- 6.2 DVR HDD INFORMACIJA (DVR HDD INFORMATION)
- 6.3 HDD FORMATAVIMAS (HDD FORMAT)
- 6.4 DVR KONFIGÜRACIJA (DVR CONFIGURATION)
- GARSAS
- TELETEKSTAS
- GALVENĀS DARBĪBAS
- EDIT CHANNEL (REDIĞET KANĀLU)
- GALVENĀ IZVĒLNE
- RADIO CHANNEL LIST (RADIOKANĀLU SARAKSTS)
- 3.1 LANGUAGE (VALODA)
- CONAX CONDITIONAL ACCESS (CONAX NOSACIJUMPIEKLUVE)
- SUBSCRIPTION STATUS (ABONEMENTA STATUS)
- FUNKCIJU TAUSTIŅI
- MŪZIKAS SARAKSTS
- SETUP (LESTATĪŠANA)
- GAME (SPĒLES)
- RECORD MANAGER (LERAKSTU PÄRVALDNIEKS)
- DVR CONFIGURATION (DVR KONFIGURĒŠANA)
- KASUTAMINE
- MUUDA KANALIT (EDIT CHANNEL)
- PEAMENÜÜ
- MUUDA (EDIT) (ROHELINE NUPP)
- 1.2 RAADIOKANALITE LOEND (RADIO CHANNEL LIST)
- PAIGALDUS (INSTALLATION)
- 2.2 KANALITE SKANEERIMINE (CHANNEL SCAN)
- 2.3 ANTENNI REGULEERIMINE (AERIAL ADJUSTMENT)
- 3.1 KEEL (LANGUAGE)
- 3.2 TELERISÜSTEEM (TV SYSTEM)
- 3.5 CONAXI TINGIMUSLIK JUURDEPÄÄS (CONAX CONDITIONAL ACCESS)
- 3.5.5 VANUSEPIIRANG (MATURITY RATING)
- 3.6 LAPSELUKK (PARENTAL LOCK)
- 4.5 USB SEADE (USB DEVICE)
- SEADISTUS (SETUP)
- RECORD MANAGER (KIRJETE HALDUR)
- 6.3 HDD FORMAT (HDD FORMAATIMINE)
- 6.5 HÜPE
- TELETEKST (TELETEXT)
- MULTIPILT (MULTI-PICTURE)
- INSTALLATION/УСТАНОВКА
- 2.3 AERIAL ADJUSTMENT/НАСТРОЙКА АНТЕННЫ
- 3.5 CONAX CONDITIONAL ACCESS/УСЛОВНЫЙ ДОСТУП CONAX
- ГЛАВНОЕ МЕНЮ
- GAME/ИГРА
- REC/ЗАПИСЬ
- 6.4 КОНФИГУРАЦИЯ УЦВ/DVR CONFIGURATION
- 6.5 ПЕРЕХОД/JUMP
Brand : Acme United
Model : DVBT-01
Category : Receiver