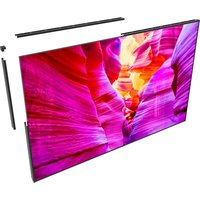
DS-LEDTK-8VX10S - Wall mount for screen Peerless-AV - Free user manual and instructions
Find the device manual for free DS-LEDTK-8VX10S Peerless-AV in PDF.


| Brand | Peerless-AV |
| Model | DS-LEDTK-8VX10S |
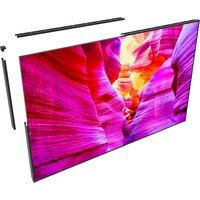
| Product Type | Trim Kit for Video Wall Mounting |
| Compatibility | Unilumin UpanelS video walls with bump-outs |
| Material | Steel |
| Color | Black |
| Installation Surface | Flat, vertical plywood walls (minimum 1/2" thick) |
| Indoor/Outdoor | Indoor use only |
| Maximum Load Capacity | Not applicable (trim kit only) |
| Parts Included | Solid and perforated covers, wall brackets, corner covers, spacers, cutting jigs, screws, nut bars, vinyl stickers, allen wrench |
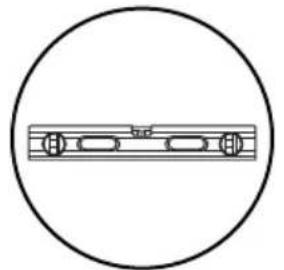
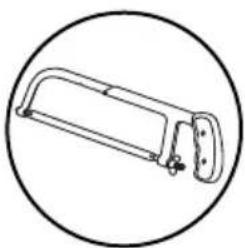
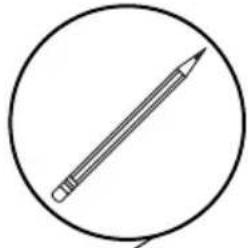
| Tools Required | Drill, saw, screwdriver, wrench, tape measure, pencil, level |
| Installation Type | Wall-mount trim flush with video wall |
| Cutting Required | Yes, for custom fit |
| Warranty | Refer to peerless-av.com/warranty |
| Also Known As | DS-LEDTK-8VX10S Trim Kit |
Frequently Asked Questions - DS-LEDTK-8VX10S Peerless-AV
User questions about DS-LEDTK-8VX10S Peerless-AV
0 question about this device. Answer the ones you know or ask your own.
Ask a new question about this device
Download the instructions for your Wall mount for screen in PDF format for free! Find your manual DS-LEDTK-8VX10S - Peerless-AV and take your electronic device back in hand. On this page are published all the documents necessary for the use of your device. DS-LEDTK-8VX10S by Peerless-AV.
USER MANUAL DS-LEDTK-8VX10S Peerless-AV
natural_image
Isometric line drawing of a rectangular panel or panel with a flat top and diagonal edge (no text or symbols)WARNING
ENG - This product is designed to be installed on plywood walls. Hardware is included for plywood installation. This product is designed to be installed on flat, unobstructed, vertical walls. Do not install on curved or angled walls. Before installing make sure the supporting surface will support the combined load of the equipment and hardware. Screws must be tightly secured. Do not overtighten screws or damage can occur and product may fail. Never exceed the Maximum Load Capacity. Always use an assistant or mechanical lifting equipment to safely lift and position equipment. This product is intended for indoor use only. Use of this product outdoors could lead to product failure or personal injury. Be careful not to pinch fingers when operating the mount. For support please call customer care at 1-800-865-2112.


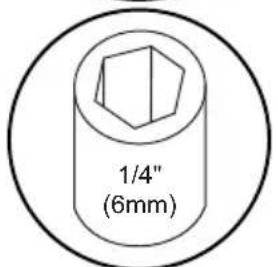
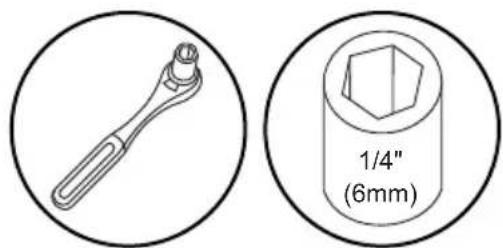
ENG Tools Needed for Assembly.
natural_image
Simple line drawing of a mechanical component inside a circle (no text or symbols)
natural_image
Line drawing of a screwdriver inside a circle (no text or symbols)

natural_image
Line drawing of a handheld electric drill (no text or symbols)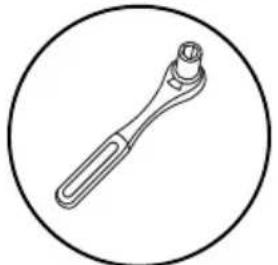
natural_image
Line drawing of a wrench inside a circle (no text or symbols)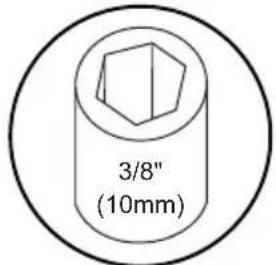

natural_image
Line drawing of a measuring tape inside a circle (no text or symbols)
natural_image
Simple line drawing of a pencil inside a circle (no text or symbols)
natural_image
Line drawing of a saw blade inside a circle (no text or symbols)
ENG Parts (Before beginning, make sure you have all parts shown below).
Parts List
Description Part #
| A solid cover - | |
| B perforated cover - | |
| C right solid wall bracket - | |
| D perforated wall bracket - | |
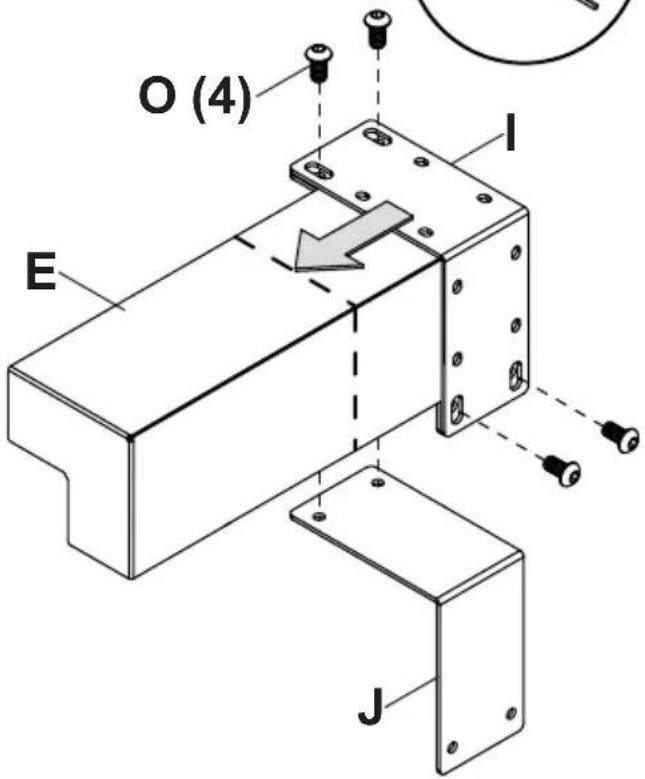
| E corner cover assembly 147-1876 | |
| F nut bar 147-T1881 | |
| G 1/4-20 x 0.375" socket screw 10007616 | |
| H solid wall bracket spacer 147-T1880 | |
| I outer cutting jig 147-T1882 | |
| J inner cutting jig 147-T1883 | |
| K wall plate shim 147-1891 | |
| L 1/4-20 x 25mm screw | 521-0710 |
| M #14-10 x 1.75" wood screw | 521-1688 |
| N M3 x 8mm phillips | 521-0711 |
| O 1/4-20 x 1/2" socket screw | 520-1169 |
| P vinyl sticker | 580-0535 |
| Q 1/4-20 hex nut | 10010403 |
| R #8-18 X 3/4" self drilling screw | 521-0714 |
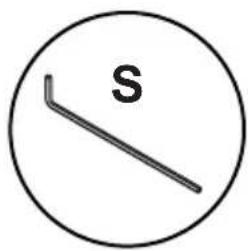
| S 4mm allen wrench | 560-9646 |
| T left solid wall bracket | - |


1

natural_image
Blank gray rectangle with corner markers, no text or symbols present
Standard steps for solid or perforated trim kits.

natural_image
Simple gray rectangular frame with corner handles, no text or symbols present
Steps for Unilumin UpanelS sides with bump-outs.


natural_image
Simple line drawing of a folded paper or document with an arrow indicating rotation (no text or symbols)1a-1
ENG Measure video wall dimensions.


natural_image
Line drawing of a measuring tape inside a circle (no text or symbols)1a-2
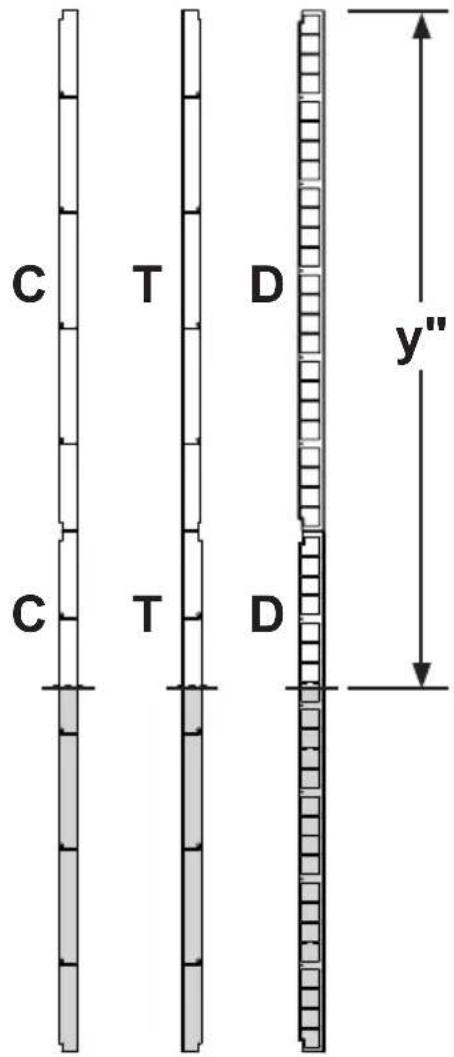
ENG Mark cutting line on covers and wall brackets.
natural_image
Simple line drawing of a pencil inside a circle (no text or symbols)

1a-3
ENG Do not join covers until installing covers to the wall. Leave top and right cover edges uncut for proper alignment.
2a-1
ENG
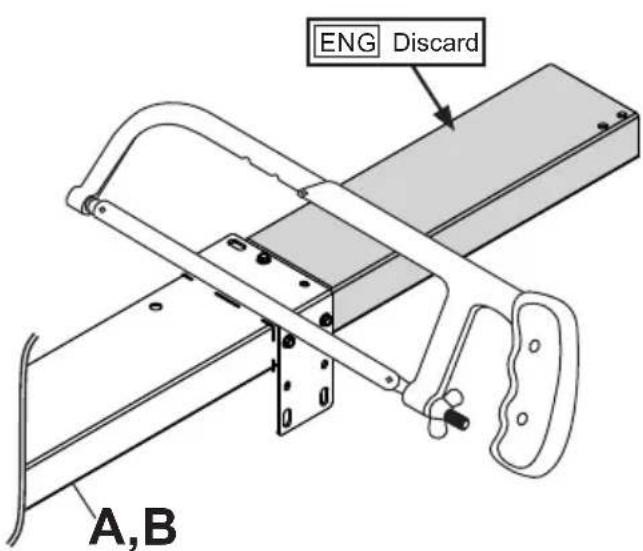
Optional: Clamp or fasten cutting fixture to side of wall bracket or cover being discarded.

R (4)
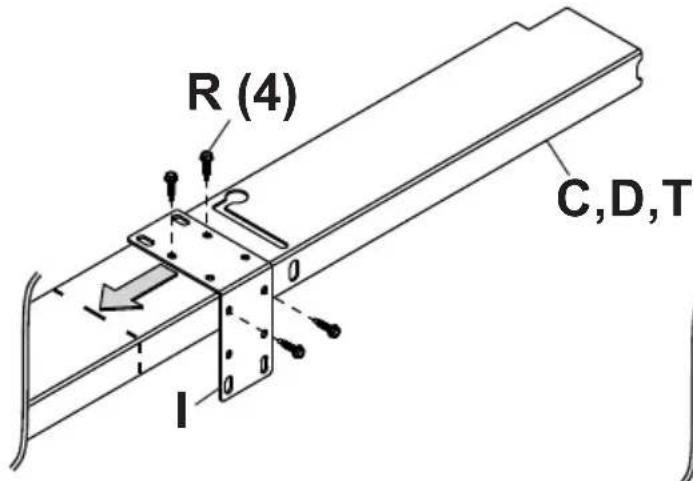
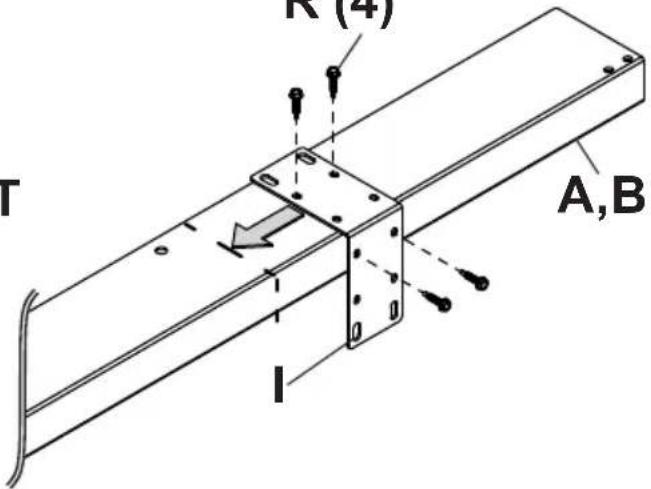
2a-2
natural_image
Simple line drawing of a saw blade inside a circle (no text or symbols)
WARNING
ENG - When installing Peerless wall mounts on a wood stud wall covered with plywood, verify that the wood studs are a minimum of 2" x 4" nominal size and plywood is a minimum Grade BC, 1/2" (13mm) thick. Plywood may be covered by gypsum board (drywall) up to 5/8" thick.
3a-1
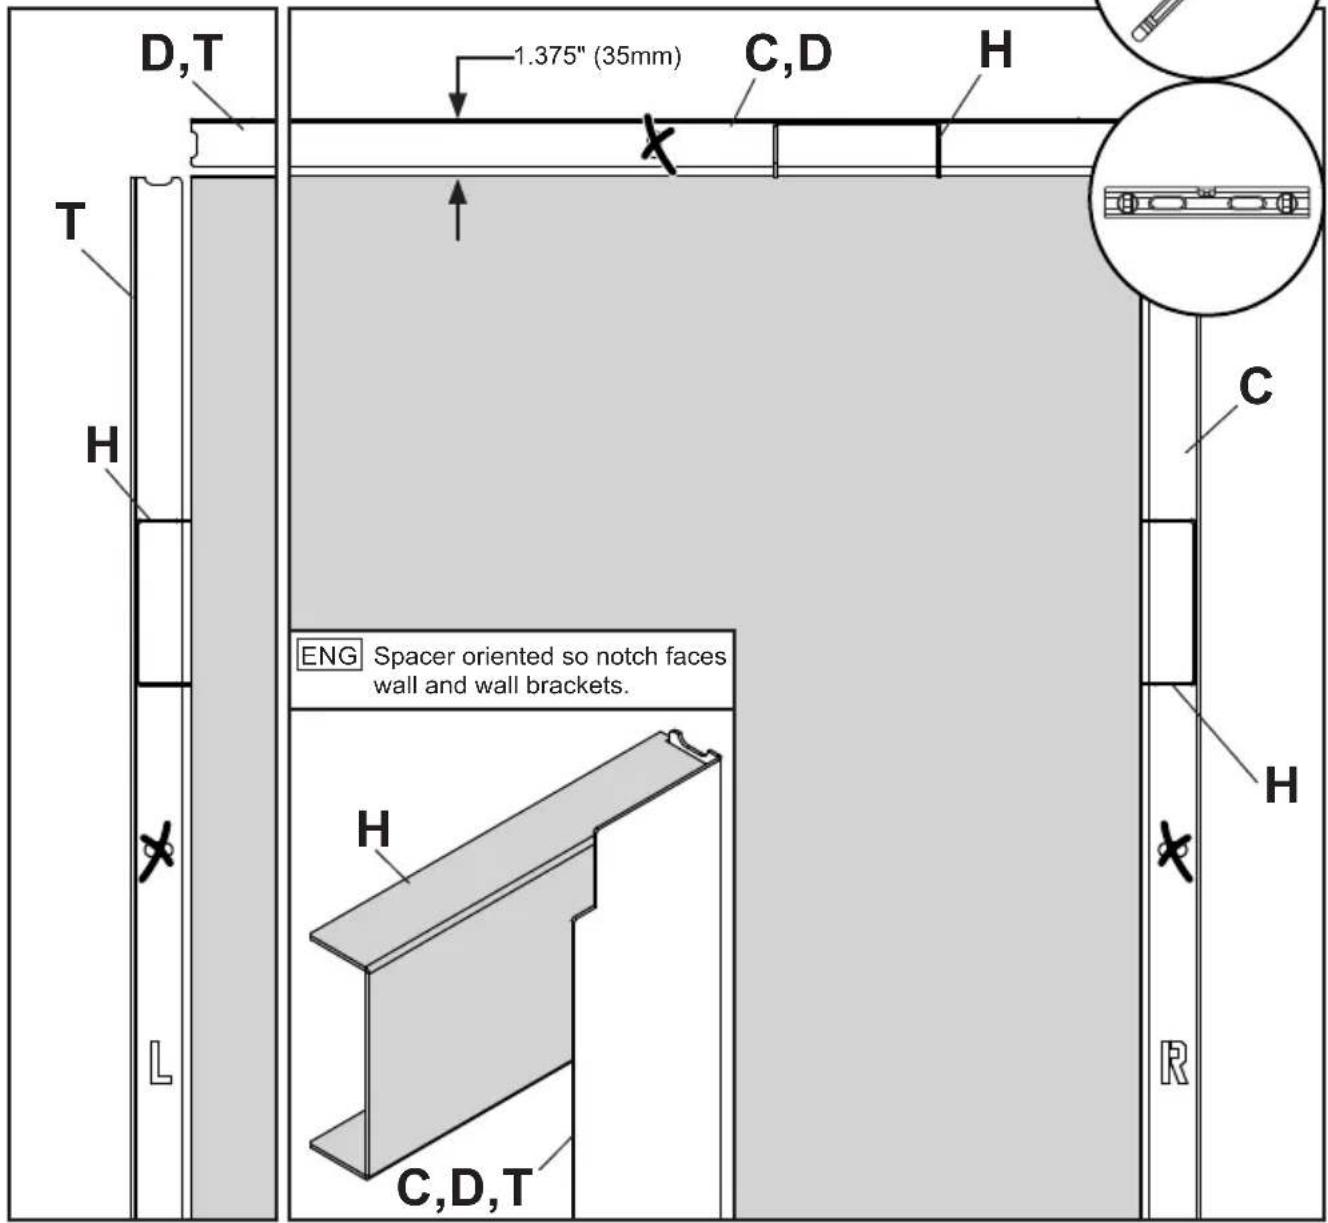
ENG Align wall bracket with edge of video wall. Use spacer to set final position. Mark mounting holes.
3a-2

natural_image
Line drawing of a handheld electric drill (no text or symbols)
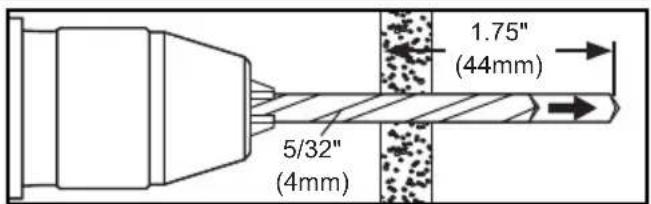
ENG Drill mounting holes into supporting surface (1.75" (44mm) minimum depth required).
3a-3
ENG Install using wood screws provided. Use spacer to set final position of wall bracket.


4

Follow steps for solid or perforated trim kits.


4a-1
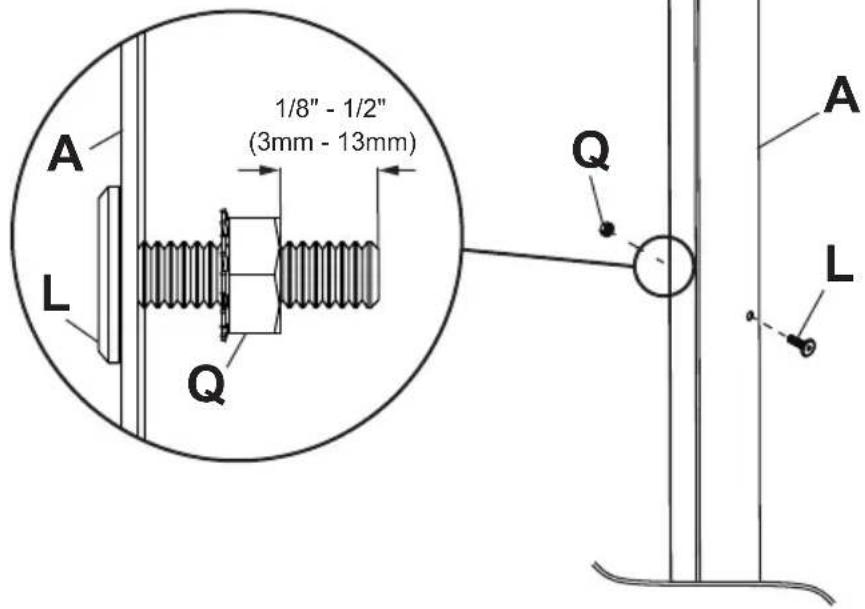
ENG Do not tighten hardware to solid cover.

4a-2
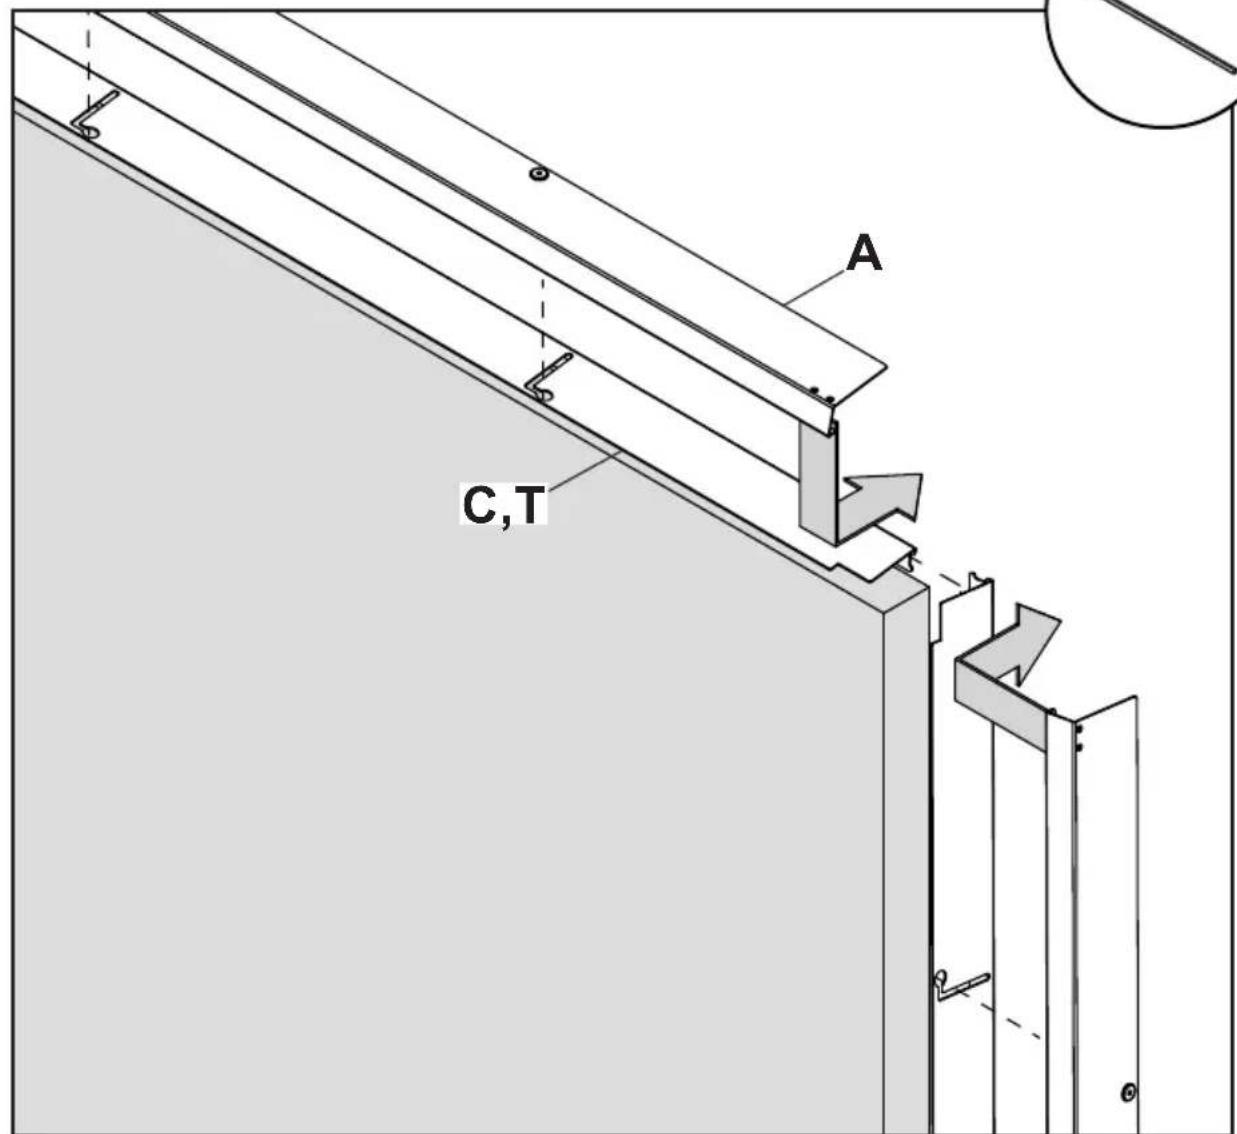
ENG Place wall plate cover over wall bracket. Slide back until flush with front of video wall.
4a-3
ENG
Attach covers with nut bar inside cover. Displays not shown for clarity.
4a-4
ENG
Slide cover back flush with video wall. Tighten screws.

4a-5
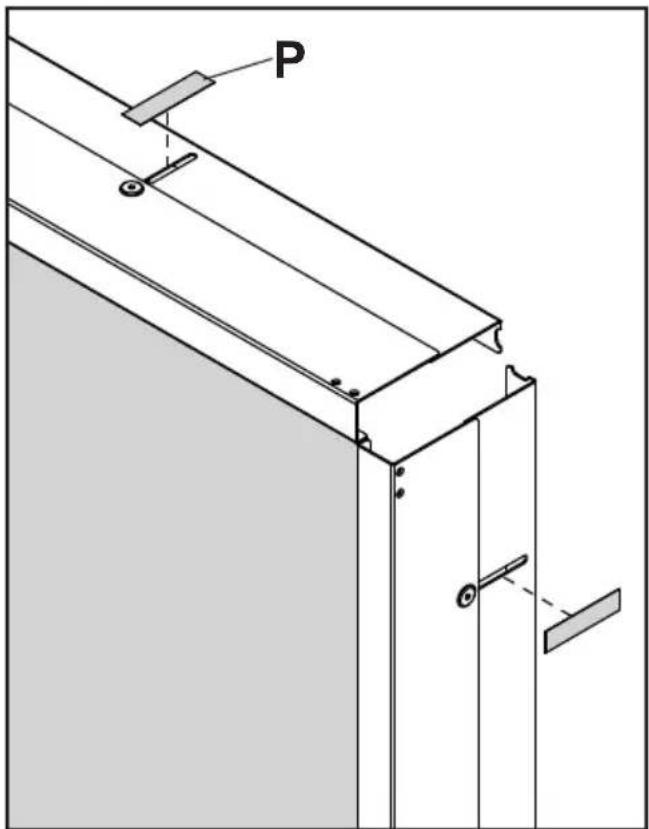
natural_image
Technical line drawing of a structural frame with labeled component 'P' and mounting bracket (no text or symbols beyond label)
4b-2

Attach covers with nut bar inside cover. Displays not shown for clarity.
natural_image
Line drawing of a screwdriver inside a circle (no text or symbols)4b-3

Tighten screws.


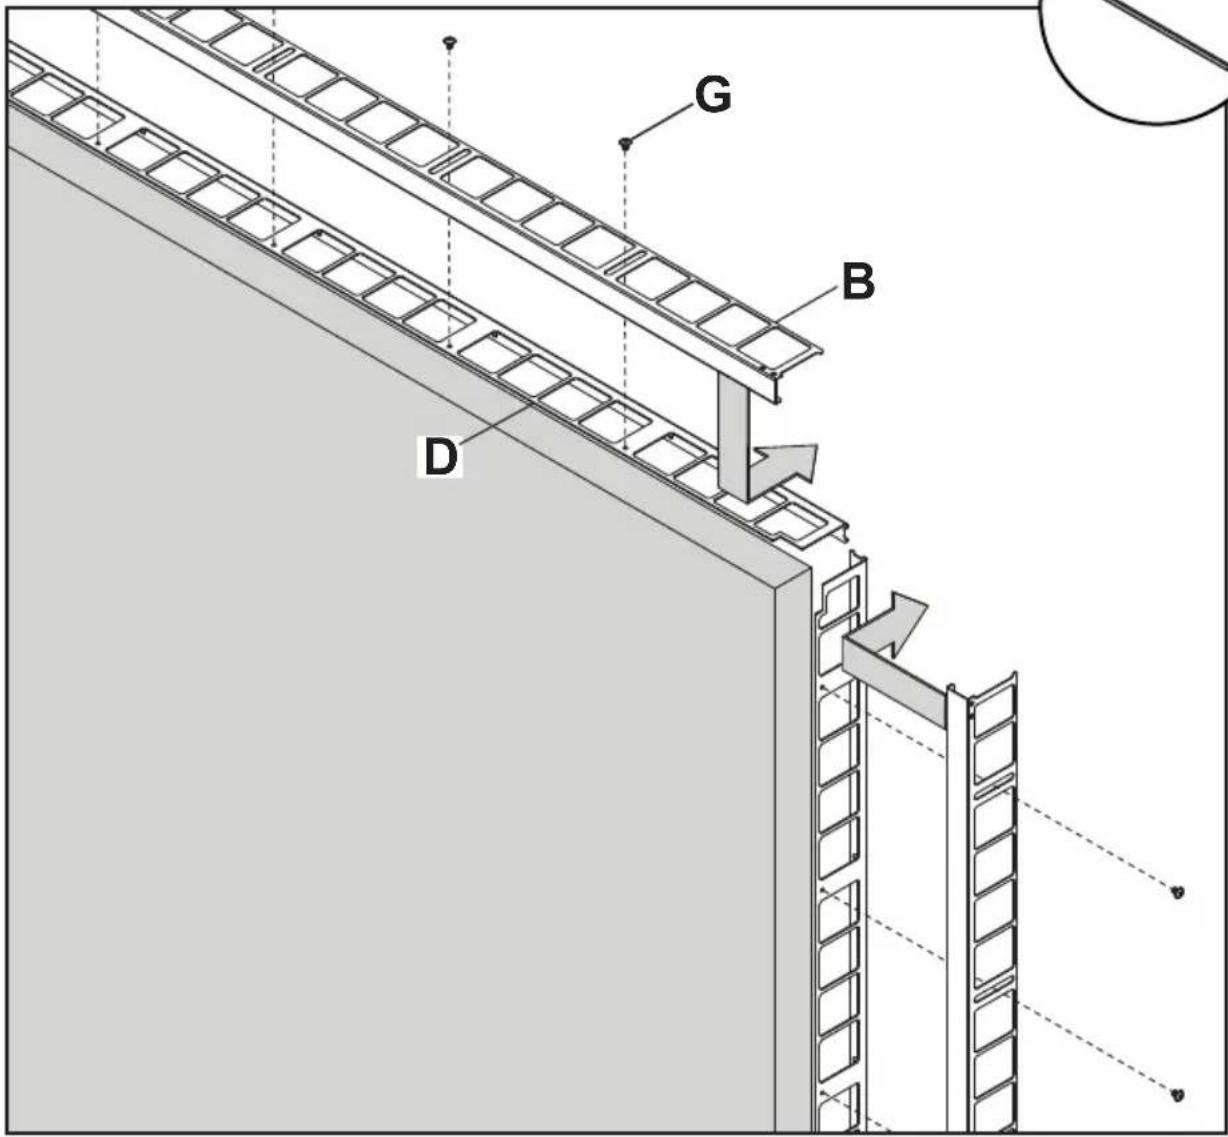
natural_image
Technical line drawing of a structural panel with grid-like cutouts and mounting brackets (no text or symbols)4b-4
ENG
Place corner cover against wall and mark cutting line.
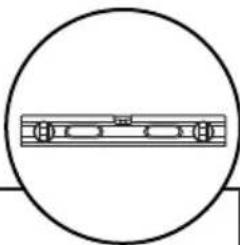
natural_image
Simple line drawing of a mechanical component inside a circle (no text or symbols)
natural_image
Architectural diagram of a building facade with window grilles and a pencil inserted, labeled 'E' (no text or symbols beyond label)4b-5
ENG
Slide corner cutting fixture into place and clamp onto side of cover being discarded.

4b-6
ENG
Cut excess corner cover off.
natural_image
Simple line drawing of a mechanical tool or bracket inside a circle (no text or symbols)
natural_image
Technical line drawing of two mechanical bracket assemblies with no visible text or symbols
Do not clamp fixture on wrong side of cutting line.
4b-7

File sharp edges of corner cover. Remove adhesive backing.
x4

4b-84

Clean surfaces before applying VHB.

natural_image
Technical line drawing of a structural panel with mounting holes and directional arrows indicating assembly (no text or symbols)
Attach four corner covers with VHB.

ENG This page intentionally left blank.
ENG This page intentionally left blank.
Alternate steps for Unilumin UpanelS sides with bump-outs
1d-1
ENG To begin installing solid trim on Unilumin UpanelS edges with bump-outs, create guiding line for the top and right side of the unit using spacer provided.
natural_image
Simple line drawing of a pencil inside a circle (no text or symbols)
natural_image
Blank grid layout with no text, numbers, or symbols


2d-1
ENG
Optional: Clamp or fasten cutting fixture to side of wall bracket or cover being discarded.


2d-2
natural_image
Simple line drawing of a saw blade inside a circle (no text or symbols)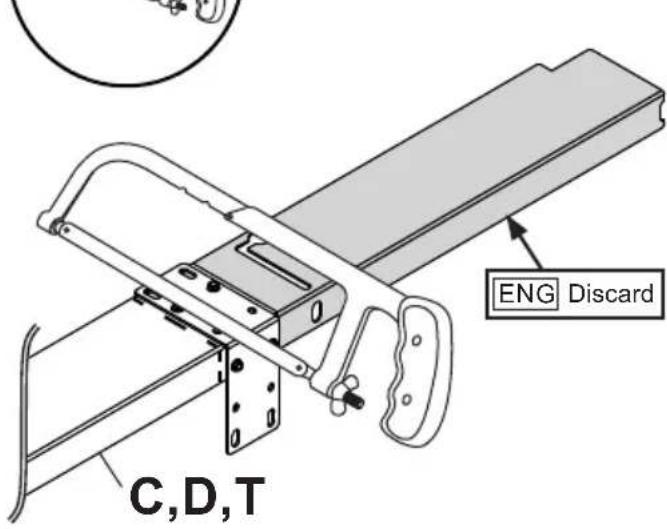

3d
WARNING
ENG - When installing Peerless wall mounts on a wood stud wall covered with plywood, verify that the wood studs are a minimum of 2" x 4" nominal size and plywood is a minimum Grade BC, 1/2" (13mm) thick. Plywood may be covered by gypsum board (drywall) up to 5/8" thick.
3d-1
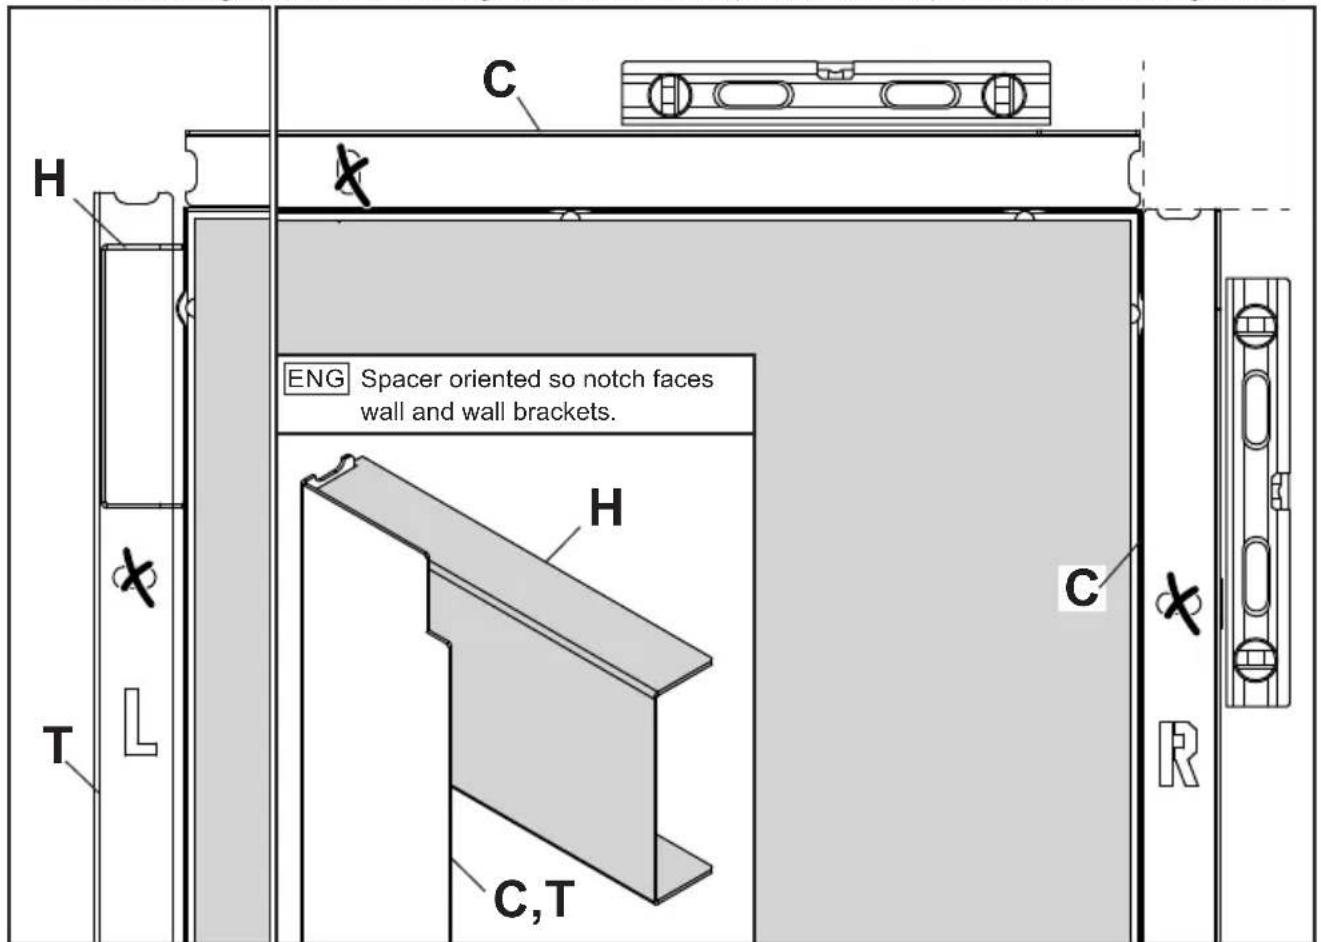
ENG Align top and right wall brackets with display guiding lines. Mark mounting holes. For left and bottom wall brackets, align wall bracket with edge of video wall. Use spacer to set final position. Mark mounting holes.

3d-2

natural_image
Line drawing of a handheld electric drill (no text or symbols)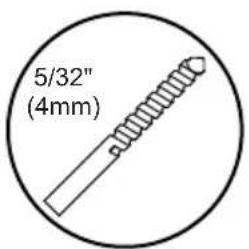
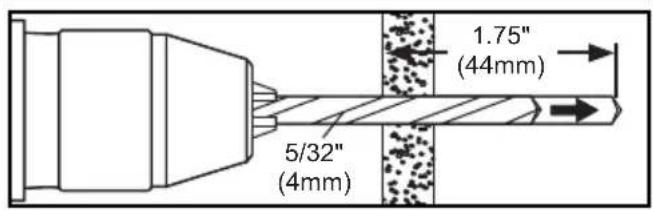
ENG Drill mounting holes into supporting surface (1.75" (44mm) minimum depth required).
3d-3
ENG Install using wood screws provided. Do not fully tighten.


ENG Slide wall brackets in slot until they sit 1.25" from display guiding lines. Level and tighten wood screws. Repeat for left side.


4

Follow steps for solid or perforated trim kits.
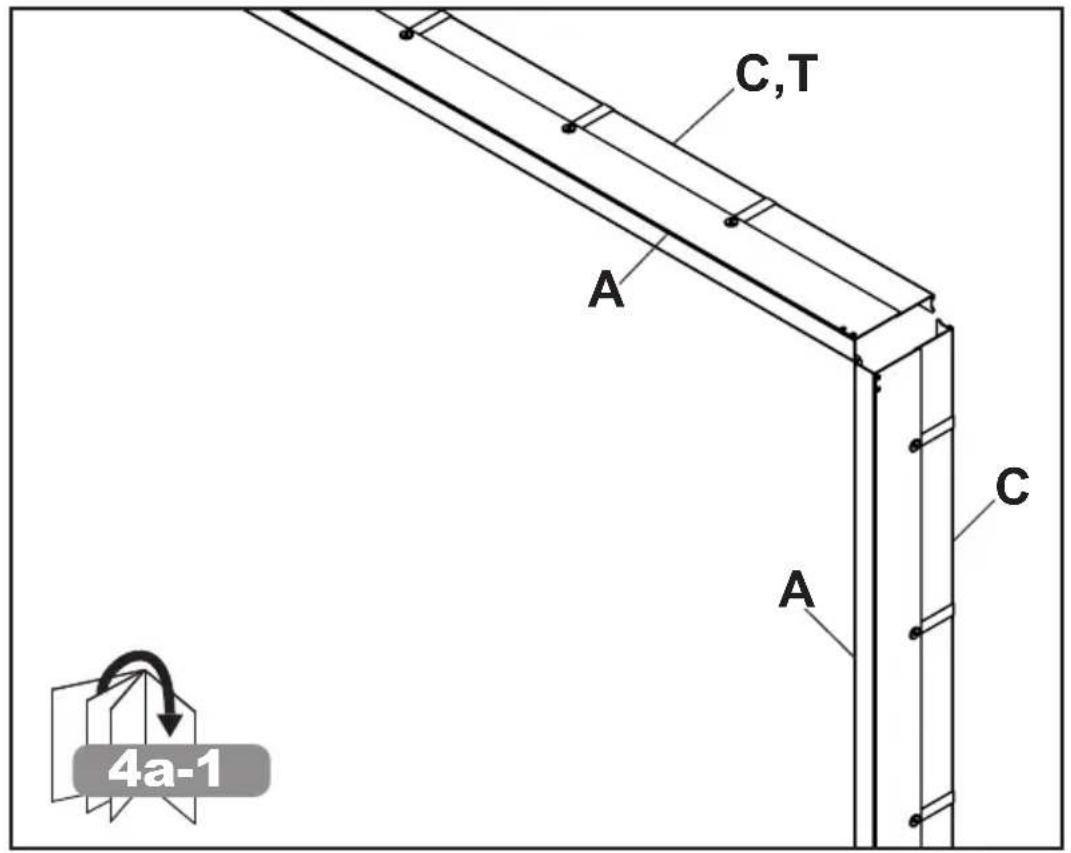

4a-1
ENG Do not tighten hardware to solid cover.

4a-2
ENG Place wall plate cover over wall bracket. Slide back until flush with front of video wall.

4a-3
ENG
Attach covers with nut bar inside cover. Displays not shown for clarity.
4a-4
ENG
Slide cover back flush with video wall. Tighten screws.
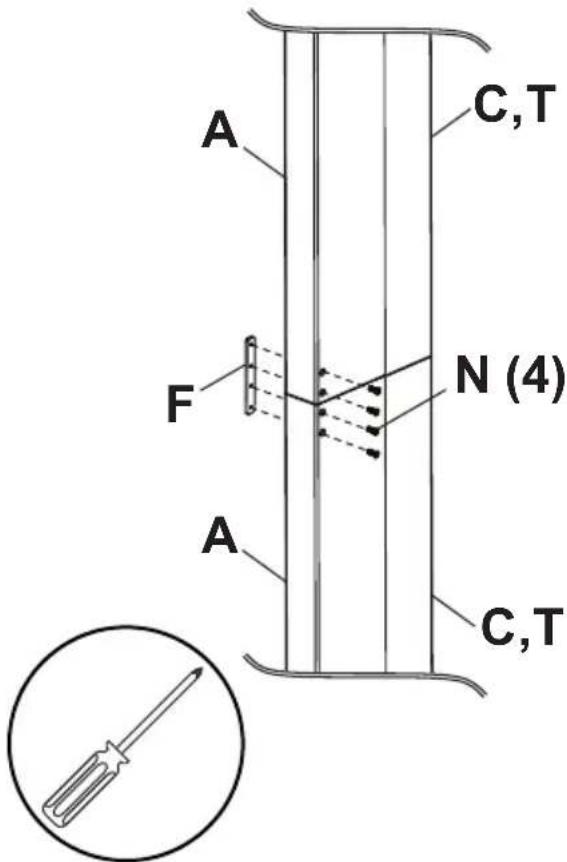

natural_image
Technical line drawing of a structural panel assembly with mounting brackets and a circular inset labeled 'S' (no text or symbols beyond the label)4a-5

natural_image
Technical line drawing of a structural frame with labeled component 'P' and angle marker (no text or symbols beyond basic labels)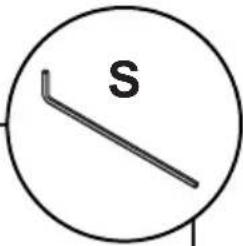

4b-2

Attach covers with nut bar inside cover. Displays not shown for clarity.

natural_image
Line drawing of a screwdriver inside a circle (no text or symbols)4b-3

Tighten screws.


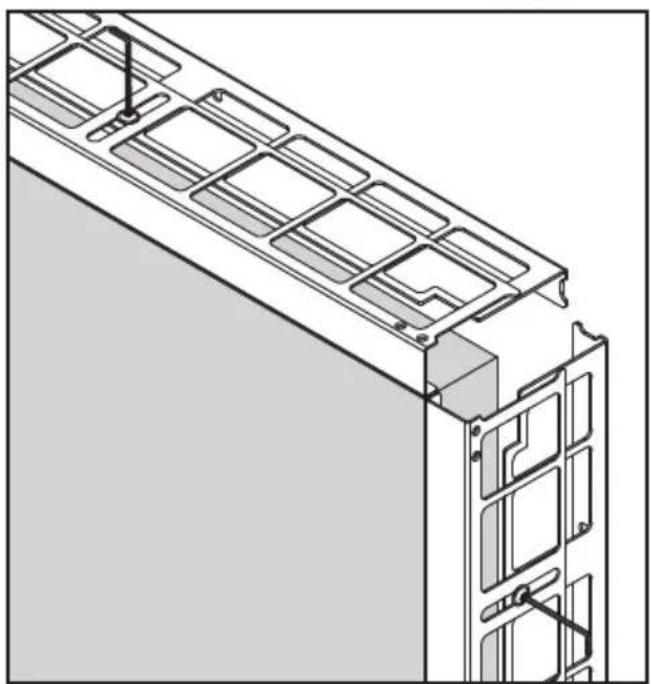
natural_image
Technical line drawing of a structural panel with grid-like cutouts and mounting brackets (no text or symbols)4b-4
ENG
Place corner cover against wall and mark cutting line.

natural_image
Simple line drawing of a mechanical component inside a circle (no text or symbols)
natural_image
Architectural diagram of a building facade with window grilles and a pencil inserted, labeled 'E' (no text or symbols beyond label)4b-5
ENG
Slide corner cutting fixture into place and clamp onto side of cover being discarded.

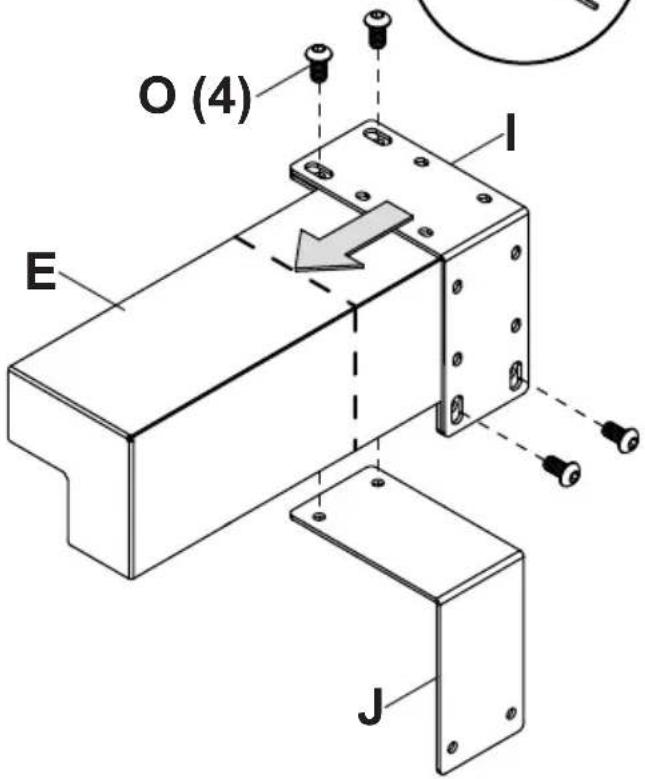
4b-6
ENG
Cut excess corner cover off.

natural_image
Simple line drawing of a mechanical tool or bracket inside a circle (no text or symbols)
natural_image
Technical line drawing of two mechanical bracket assemblies with no visible text or symbols
Do not clamp fixture on wrong side of cutting line.
4b-7

File sharp edges of corner cover. Remove adhesive backing.
x4

4b-84

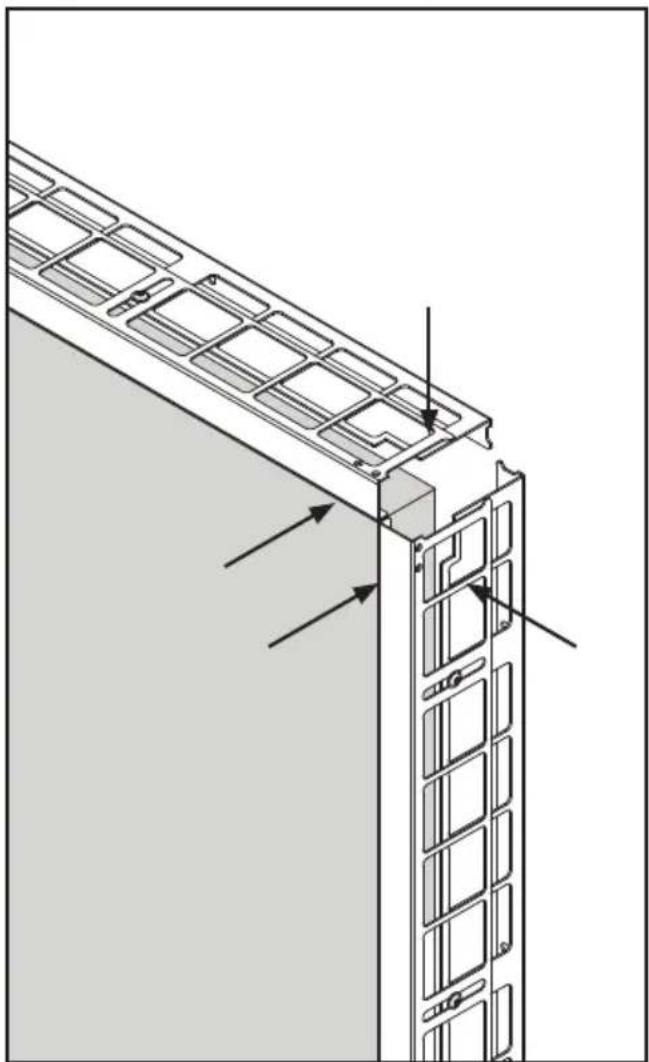
Clean surfaces before applying VHB.
natural_image
Technical line drawing of a structural panel with mounting holes and directional arrows indicating assembly (no text or symbols)
Attach four corner covers with VHB.

www.peerless-av.com/warranty
peerless-AV®
Peerless-AV
2300 White Oak Circle
Aurora, IL 60502
Email: tech@peerlessmounts.com
Ph: (800) 865-2112
Fax: (800) 359-6500
www.peerless-av.com
Peerless-AV Europe
Unit 3 Watford Interchange,
Colonial Way, Watford, Herts,
WD24 4WP, United Kingdom
Customer Care
44 (0) 1923 200 100
www.peerless-av.com
Peerless-AV América Latina

Brand : Peerless-AV
Model : DS-LEDTK-8VX10S
Category : Wall mount for screen