
SWORDFISH - SSD Drive ADATA - Free user manual and instructions
Find the device manual for free SWORDFISH ADATA in PDF.


| Product Type | SSD (Solid State Drive) |
| Brand | ADATA |
| Model | SWORDFISH |
| Form Factor | 2.5 inch |
| Interface | SATA III 6Gb/s |
| Capacity | 240GB (also available in 480GB, 960GB) |
| Sequential Read Speed | Up to 560 MB/s |
| Sequential Write Speed | Up to 520 MB/s |
| NAND Flash Type | 3D NAND |
| Controller | Silicon Motion SM2258XT |
| Dimensions | 100.45 x 69.85 x 7.0 mm (3.94 x 2.75 x 0.28 in) |
| Weight | 42 g |
| Operating Temperature | 0°C to 70°C |
| Storage Temperature | -40°C to 85°C |
| Power Consumption (Active) | 1.2 W typical |
| Power Consumption (Idle) | 0.35 W typical |
| MTBF | 1,000,000 hours |
| Warranty | 3 years limited |
| Shock Resistance | 1500G / 0.5ms |
| Supported Features | TRIM, S.M.A.R.T., NCQ |
Frequently Asked Questions - SWORDFISH ADATA
User questions about SWORDFISH ADATA
0 question about this device. Answer the ones you know or ask your own.
Ask a new question about this device
Download the instructions for your SSD Drive in PDF format for free! Find your manual SWORDFISH - ADATA and take your electronic device back in hand. On this page are published all the documents necessary for the use of your device. SWORDFISH by ADATA.
USER MANUAL SWORDFISH ADATA
INSTALLING A M.2 SSD ON A LAPTOP PC

natural_image
Laptop keyboard with ADATA chip and a physical RAM module, no visible text or symbols on the hardware components.BEFORE INSTALLATION

1. GATHER THE THINGS YOU'LL NEED
PC, Phillips screwdrivers, and ADATA M.2 SSD
*Please use a standard Phillips screwdriver (3.5mm) for disassembling the case; and a smaller Phillips screwdriver for installing the M.2 solid state drive as it uses screws with a diameter of 1.85-1.98mm.
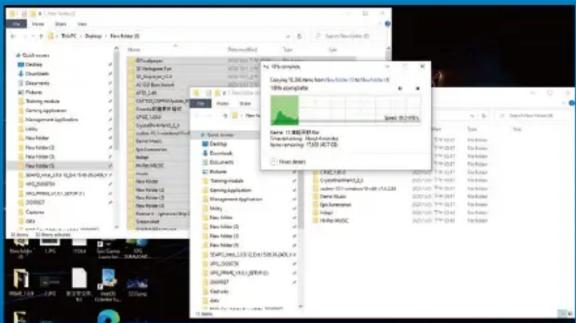
Make sure to backup the important data on your PC to an external device, such as an external HDD, before starting installation.

After backing up your data, power off your PC to avoid data loss or damage to other components during installation.

natural_image
Close-up of two hands resting on a dark surface, with a laptop displaying 'XPE' in the background (no readable text or symbols on the hands themselves)4. UNPLUG POWER CORD AND BATTERY
This action is necessary to discharge residual power that can damage your PC and its components.
*The battery removal step applies only to laptops when it's possible to remove the battery. To see how to remove the battery, refer to your user manual.
INSTALLATION

natural_image
Close-up of hands holding a flashlight next to a laptop back panel (no visible text or symbols)1. REMOVE YOUR PC'S BACK PLATE
Use your standard Phillips screwdriver to remove the screws from the back plate.
*If you are unsure how to do this, refer to your user manual
natural_image
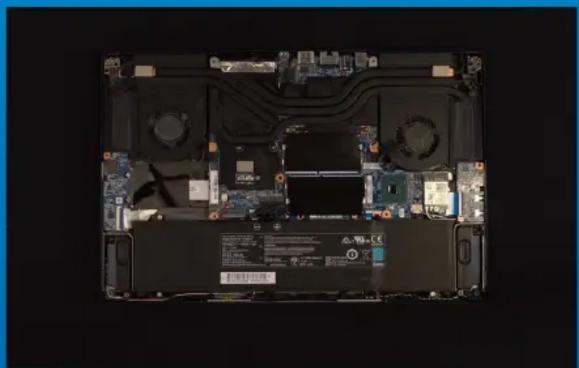
Top-down view of a laptop showing internal circuit board and ventilation ducts (no readable text or symbols)2. LOCATE THE M.2 PCIE SLOT AND CONFIRM THERE ARE SCREWS
Locate the M.2 PCIe slot, ensure the SSD will fit and confirm there are screws present.
*The location of slots may vary by PC. Please check your PC's user manual for more information.
**Generally speaking, the screws that secure the SSD in place will be installed on the motherboard when the laptop is shipped from the factory.
natural_image
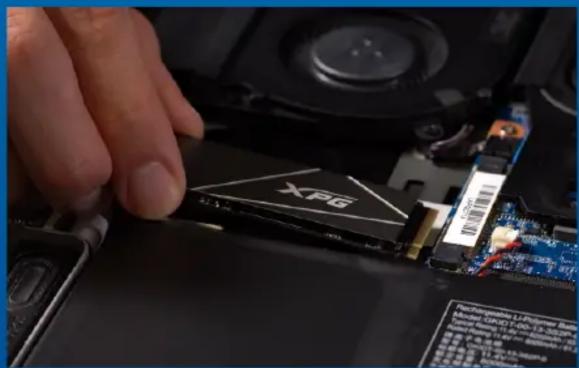
Close-up of a hand inserting a XPG into a computer motherboard with visible drive bays and memory chips (no readable text or symbols)3. ALIGN THE M.2 SLOT AND INSERT THE SOLID STATE DRIVE
Use your small Phillips screwdriver to remove the screws on the motherboard. Align the notches in the SSD with the ridges in the PCIe slot, then insert at a an angle. Give it a final push to ensure it is securely in place.
*The slot has a foolproof design. Please insert the SSD in the direction corresponding to the pins on the solid state drive and the slot. Do not insert it forcibly to avoid damage to the product.

natural_image
Close-up of hands using a screwdriver to repair a black XPG chip on a computer motherboard (no visible text or symbols)4. FASTEN THE SCREWS TO SECURE THE SSD
Use your small Phillips screwdriver to secure the SSD into place.
*Do not overtighten the screws

5. SECURE THE BACK PLATE INTO PLACE
*Do not overtighten the screws as it may cause damage
natural_image
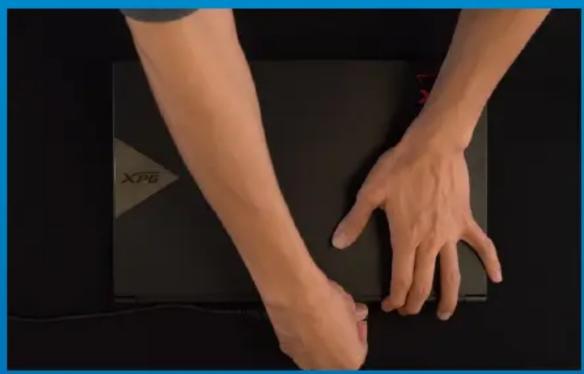
Close-up of hands typing on a black laptop with 'XPG' branding visible (no text or symbols on the device itself)6. PLUG IN THE POWER CORD AND POWER ON THE PC TO COMPLETE INSTALLATION


- INSTALLING A M.2 SSD ON A LAPTOP PC
- BEFORE INSTALLATION
- GATHER THE THINGS YOU'LL NEED
- UNPLUG POWER CORD AND BATTERY
- INSTALLATION
- REMOVE YOUR PC'S BACK PLATE
- LOCATE THE M.2 PCIE SLOT AND CONFIRM THERE ARE SCREWS
- ALIGN THE M.2 SLOT AND INSERT THE SOLID STATE DRIVE
- FASTEN THE SCREWS TO SECURE THE SSD
- SECURE THE BACK PLATE INTO PLACE
- PLUG IN THE POWER CORD AND POWER ON THE PC TO COMPLETE INSTALLATION
Brand : ADATA
Model : SWORDFISH
Category : SSD Drive