
Ultimate SU720 - SSD Drive ADATA - Free user manual and instructions
Find the device manual for free Ultimate SU720 ADATA in PDF.


| Product Type | Solid State Drive (SSD) |
| Model | Ultimate SU720 |
| Brand | ADATA |
| Form Factor | 2.5 inch |
| Interface | SATA III 6Gb/s |
| Capacity | 240 GB (also available in 120GB, 480GB, 960GB) |
| Sequential Read Speed | Up to 560 MB/s |
| Sequential Write Speed | Up to 520 MB/s |
| NAND Flash Type | 3D TLC NAND |
| Controller | Unspecified (typically SMI or Realtek) |
| Dimensions (L x W x H) | 100.45 x 69.85 x 7.0 mm |
| Weight | Approx. 47 g |
| Operating Temperature | 0°C to 70°C |
| Storage Temperature | -40°C to 85°C |
| Power Consumption (Active) | ~2.0 W |
| Power Consumption (Idle) | ~0.3 W |
| Shock Resistance | 1500G/0.5ms |
| MTBF | 1,500,000 hours |
| Warranty | 3 years limited |
| Supported Features | TRIM, S.M.A.R.T., NCQ |
| Operating System Compatibility | Windows, Mac OS, Linux |
| Package Contents | SSD, quick start guide |
| Maintenance & Cleaning | No moving parts; keep dry and clean. Use compressed air for dust. |
| Safety Certifications | CE, FCC, RoHS |
| Spare Parts & Repairability | Not user-serviceable; contact support for issues. |
Frequently Asked Questions - Ultimate SU720 ADATA
User questions about Ultimate SU720 ADATA
0 question about this device. Answer the ones you know or ask your own.
Ask a new question about this device
Download the instructions for your SSD Drive in PDF format for free! Find your manual Ultimate SU720 - ADATA and take your electronic device back in hand. On this page are published all the documents necessary for the use of your device. Ultimate SU720 by ADATA.
USER MANUAL Ultimate SU720 ADATA
SSD Installaon Guide for Desktop Computers
Handling Precautions
Please ground yourself before handling the solid state drive, as electrostatic discharge (ESD) can cause damage to the drive and other computer components. It is recommended to wear an antistatic wrist strap or glove to prevent damage.
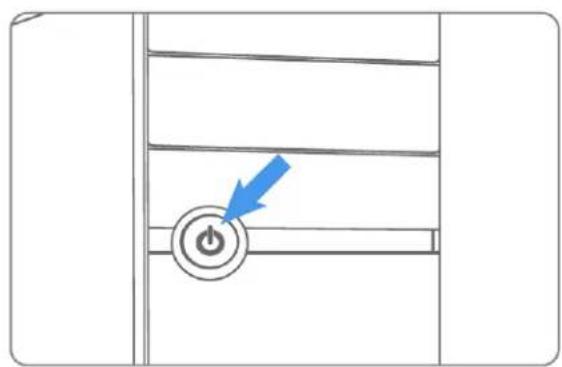
Step 1- Before the installation commences, be sure to shut down your computer system and disconnect the power cord.
natural_image
Simple line drawing of a door with a power button and blue arrow pointing to it (no text or symbols)
natural_image
Line drawing of a hand inserting a plug into a device panel with an arrow indicating the process (no text or symbols present)Step 2- Remove the computer case (refer to computer owner's manual), locate and identify the SATA connectors of your system. Refer to your computer's manual for information on how to remove the existing hard drive.

natural_image
Line drawing of a computer monitor with a blue directional arrow indicating left-side motion (no text or symbols)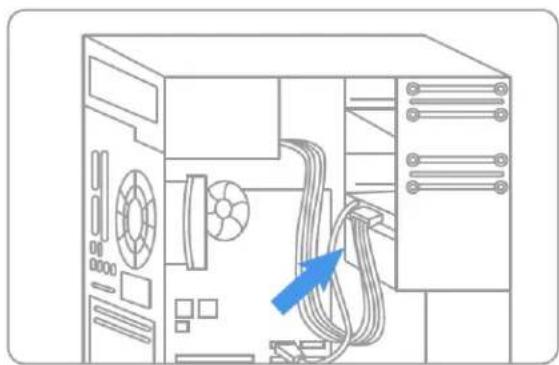
natural_image
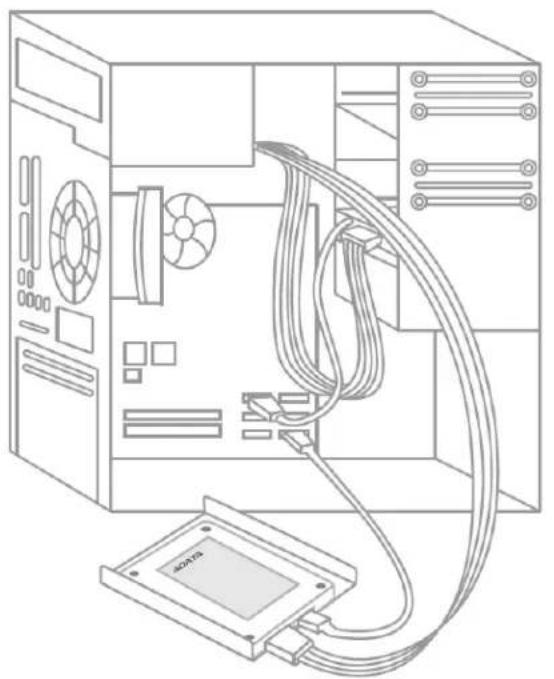
Line drawing of a computer tower internal structure with cable routing and ventilation slots (no text or symbols)Step 3- SATA cables of the motherboard should be connected to the SATA data and power connectors on the solid state drive. Please be aware that the L-shaped SATA connector can only fit in one direction. Before pressing them into position, be sure to align the SATA plugs and solid state drive connectors properly.


natural_image
Diagram showing a screwdriver inserted into a device with three blue arrows indicating downward force (no text or symbols present)
natural_image
Line drawing of a computer tower with connected cables and an attached physical storage unit (no text or symbols)Step 4- The Solid State Drive can be securely mounted with the screws provided.
natural_image
Line drawing of a computer tower with CPU socket and cable connections (no text or symbols)
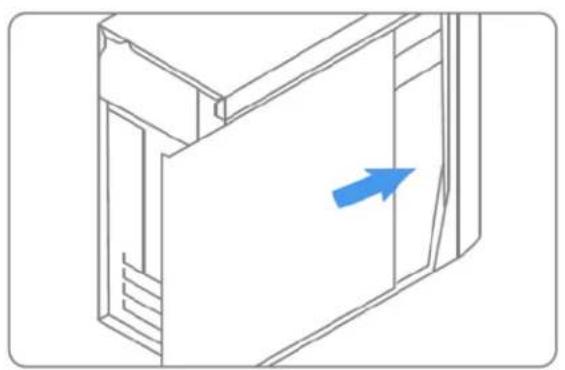
Step 5- After the installation is completed, restore the case to the original position and reconnect the power.
natural_image
Line drawing of a server cabinet with an arrow pointing to the door (no text or symbols)
natural_image
Line drawing of a hand inserting a plug into a wall socket (no text or symbols)
Step 6- Turn on the computer to verify installation.

natural_image
Line drawing of a desktop computer setup with monitor, keyboard, and mouse (no text or symbols)
natural_image
Line drawing of a desktop computer tower case (no text or symbols)Step 7- Configure the BIOS and Partition the drive
A. Power on your computer system normally and follow the on-screen instruction during boot-up to proceed into the BIOS or CMOS configuration menu.
B. Select the Auto function in the BIOS/CMOS menu that represents the SSD. This will allow your system to auto-detect the disk.
C. Locate the SATA settings menu item and ensure the motherboard SATA ports are enabled.
D. To save new settings and exit the BIOS/CMOS setup menu, choose the Save and Exit option.
E. Reboot the system or device allowing the changes to take effect.
F. If you are going to install an OS onto the SSD, please first delete the original partition before repartitioning the SSD during installation of the OS.
G. If you intend to install any backup tools, such as Acronis Migration Utility or others with your SSD, please format the drive prior to installation.
Exclusive Software Download :
Download drivers or software after registering your product with the attached number (the code shown on the tag on back side of package). http://www.adata-group.com/?action=ss_main&page=ss_software&lan=en
Please refer to
http://www.adata-group.com/?action=ss_main&page=ss_prowar&lan=en for complete warranty terms and conditions. Warranty policy on the website supersedes any other information if there is a discrepancy.

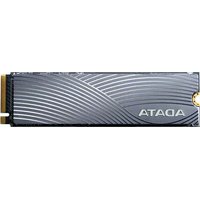


Brand : ADATA
Model : Ultimate SU720
Category : SSD Drive