Toronto - Bed Fantastic - Free user manual and instructions
Find the device manual for free Toronto Fantastic in PDF.

| Product Type | Bed frame |
| Brand | Fantastic |
| Model | Toronto |
| Category | Bed |
| Overall Dimensions | 200 cm x 180 cm (78.7 in x 70.9 in) |
| Height | 45 cm (17.7 in) |
| Weight | 50 kg (110 lbs) |
| Material | Wood and metal |
| Color | White, Black, or Walnut |
| Maximum Load Capacity | 250 kg (551 lbs) |
| Assembly Required | Yes, tools included |
| Included Components | Bed frame, slats, headboard, hardware |
| Recommended Mattress Size | 180 cm x 200 cm (Queen) |
| Warranty | 2 years |
| Care Instructions | Wipe with dry cloth; avoid moisture |
| Safety Features | Non-toxic paint, rounded corners |
| Assembly Time | Approximately 1 hour |
| Bed Type | Platform bed (no box spring needed) |
| Headboard Height | 90 cm (35.4 in) |
| Distance from Floor to Slats | 30 cm (11.8 in) |
Frequently Asked Questions - Toronto Fantastic
User questions about Toronto Fantastic
0 question about this device. Answer the ones you know or ask your own.
Ask a new question about this device
Download the instructions for your Bed in PDF format for free! Find your manual Toronto - Fantastic and take your electronic device back in hand. On this page are published all the documents necessary for the use of your device. Toronto by Fantastic.
USER MANUAL Toronto Fantastic
natural_image
Isometric line drawing of a single wooden bed with slatted backrest and side supports (no text or symbols)TWO PEOPLE

text_image
REQUIREDTORONTO
TORONTO QUEEN BED
www.fantasticfurniture.com.au
Enjoy
Your purchase from Australia's Best Value Furniture Store

text_image
FANTASTI FURNITUREAssembly checklist

natural_image
Simple line drawing of a person reading a box with a paper box nearby (no text or symbols)Read through the instructions carefully before you begin.
text_image
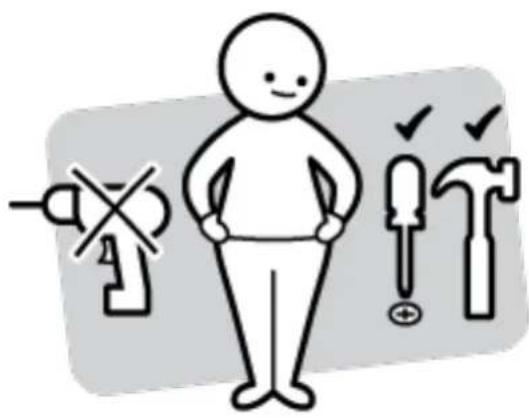
Safety warning symbol with pictogram of a person holding tools and a crossed-out tool, alongside three hand icons for incorrect maintenance.Make sure you have all the required tools. Never use power tools unless instructed.
text_image
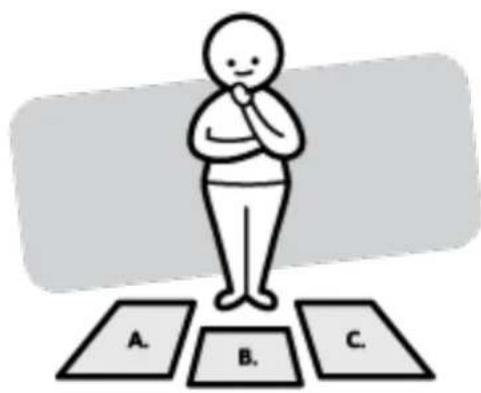
A. B. C.Identify and lay out all of the components before you begin assembly.
natural_image
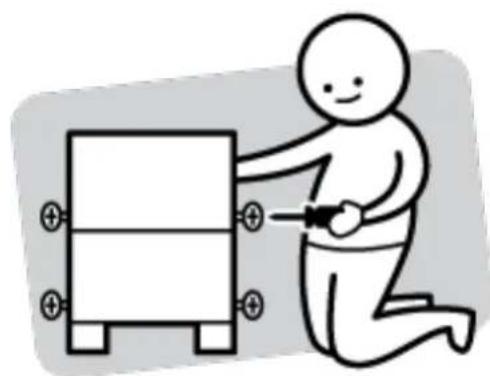
Simple line drawing of a person kneeling beside a rectangular object with plus signs, no text or symbols present.Unless instructed, do not fully tighten screws until the item is fully assembled.
Useful Information
! Never use power tools unless specifically instructed. They can damage your components or hardware if used incorrectly.
! The most common mistakes made during assembly are using the wrong hardware or getting components back to front.
! Always use a soft surface (such as carpet or cardboard) when assembling your product to avoid scratching or damaging the surface of the product.
! Bulky items such as wardrobes and bunk beds should be assembled in the room they will be used in as they may not fit through a door once assembled.
! Never use any glue until you are certain that the parts belong together.
! Periodically check and re-tighten all fasteners. Check the product care label or website for product care instructions.
! If you are having any difficulties assembling your product, missing any hardware or components please visit our website Help Centre for further assistance.
What you need
to assemble the product

DO NOT USE

(Tool not provided)
Hammer

(Tool not provided)
Head screwdriver

(Tool provided)
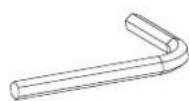
Allen key
natural_image
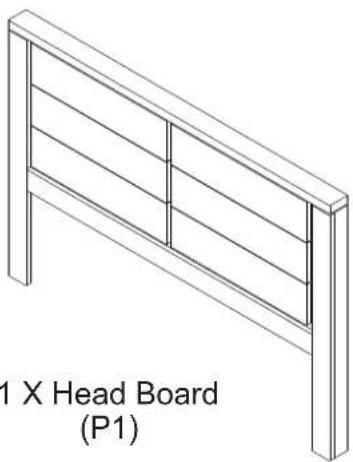
Isometric line drawing of a 1 X Head Board (P1), showing structural beams and supports without any text or symbols.
natural_image
Isometric line drawing of a 1 X foot board (no text or symbols on the diagram itself)1 X Foot Board (P2)

text_image
1 X Side Rail (P3) 1 X Side Rail(R)1 X Side Rail(R) (P3)
1 X Side Rail(L) (P3)

4 X Support Legs (P5)

natural_image
Isometric view of a long rectangular metal rod or beam with grooves and flanges (no text or symbols)3 x Slats (P6)
1 X Center Support Bar (P4)
natural_image
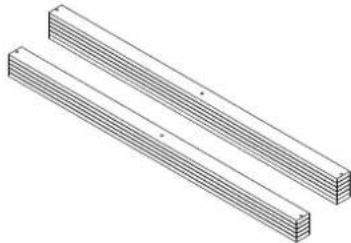
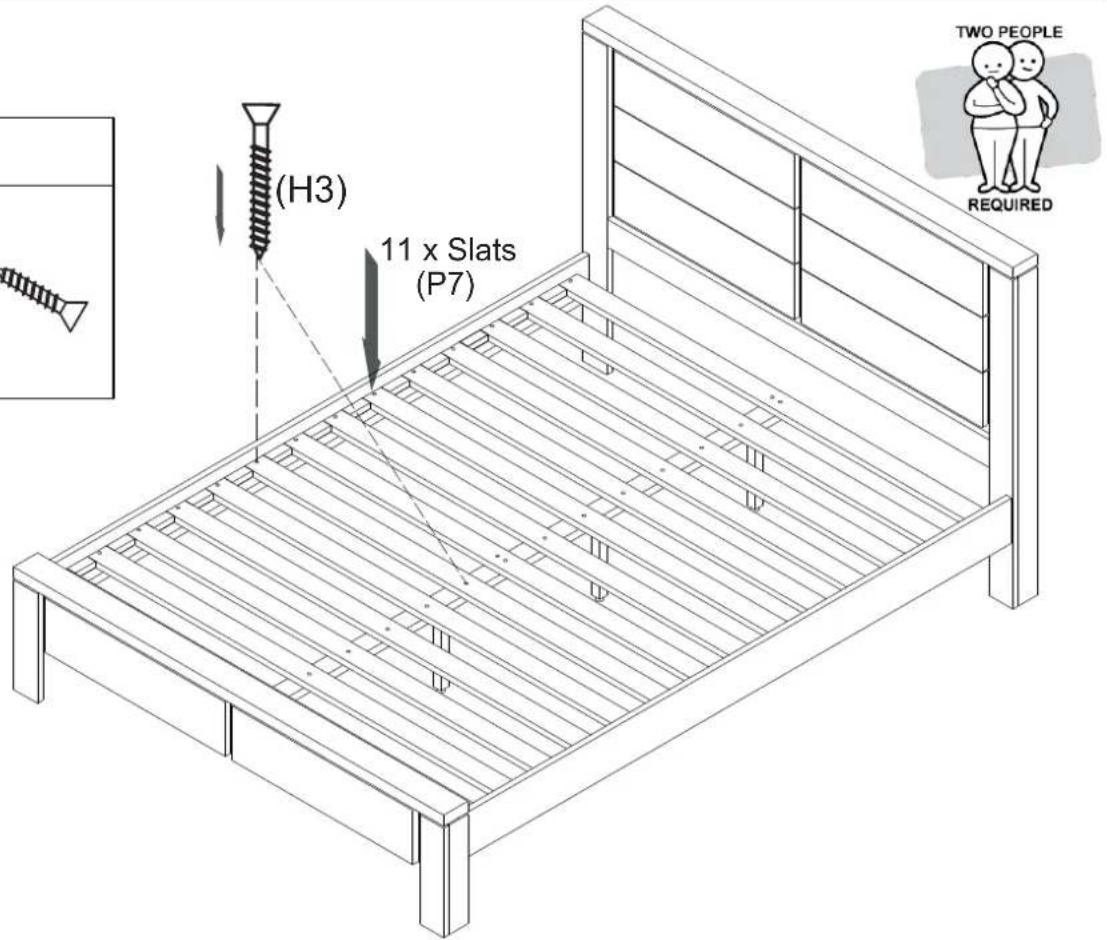
Isometric illustration of two parallel 3D rectangular bars with horizontal grooves (no text or symbols)11 X Slats (P7)

(H1)
8 x Bolts Short
2 x Allen Keys 5mm
(H2)

39 x Short Screws
(H3)

6 x BoltsLong
(H4)

1 x Small Allen Key 4mm
(H5)
Step 1
| You will need | |
| 8 x Short Bolts (H1) |  |
| 2 x Allen Key (H2) | 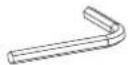 |

text_image
(H1) (H2)Head Board (P1)


text_image
(H1) (H2) Side Rail(L) (P3) Foot Board (P2) Side Rail(R) (P3)THIS STEP REQUIRES 2 PEOPLE
Stand the head board (P1) and foot board (P2) upright, keep them stable and connect them to the side rails (P3) using bolts (H1). Use the allen key (H2) to tighten the short bolts (H1).
Step 2

text_image
Center Support Bar (P4) Support Legs (P5)Fix the support leg (P5) to the center support bar (P4) by turning in clockwise direction until tight.
Step 3
| You will need | |
| 6 x Long Bolts (H4) |  |
| 1 x Small Allen Key (H5) |  |

(Tool not provided)
Head screwdriver

text_image
(H4) (H5) 3 x Slats (P6) TWO PEOPLE REQUIREDAttach slats (P6) to centre-support bar (p4) with long bolts (H4) using the small allen key (H5) to tighten. Then place in position on bed-frame as pictured.
Step 4
| You will need | |
| 39 x Short Screws (H3) | 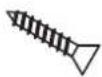 |

(Tool not provided)
Head screwdriver
text_image
(H3) 11 x Slats (P7) TWO PEOPLE REQUIREDPut all slats (P6) into their position on the side rails and attach them to the side rails and Centre support bar, using screws (H3) provided.
natural_image
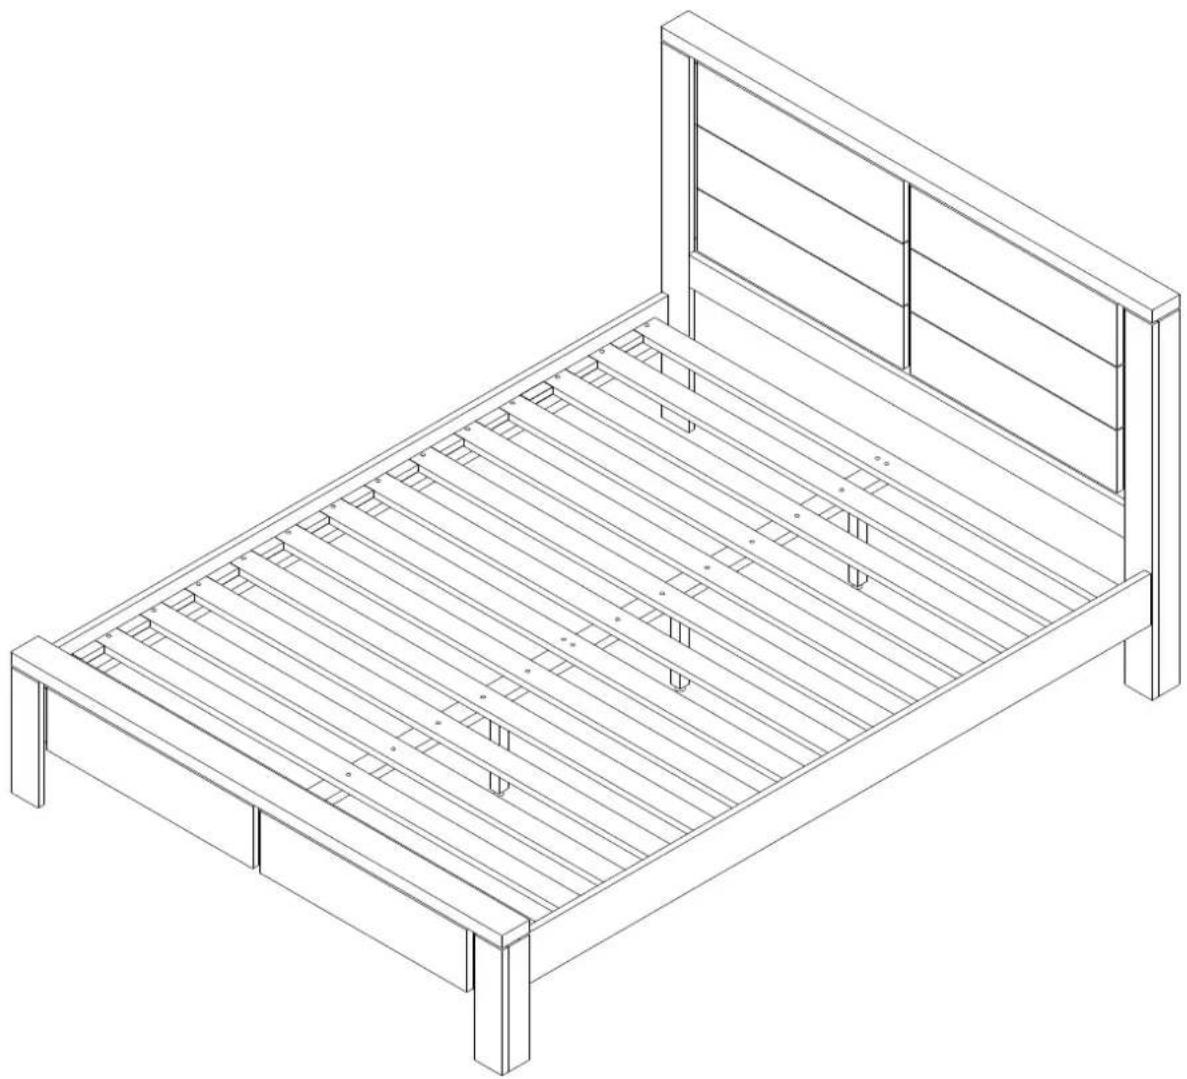
Isometric line drawing of a single wooden bed with slatted backrest and side supports (no text or symbols)Job Complete!
In the interest of our environment please dispose of all packaging thoughtfully