Natural - Breast pump Mebby - Free user manual and instructions
Find the device manual for free Natural Mebby in PDF.


| Product Type | Manual breast pump |
| Brand | Mebby |
| Model | Natural |
| Dimensions (H x W x D) | 190 mm x 90 mm x 90 mm |
| Maximum Suction | -33 kPa |
| Bottle Capacity | 180 ml |
| Suction Levels | MIN and MAX (adjustable) |
| Materials | Plastic, silicone (teat, membrane, cup) |
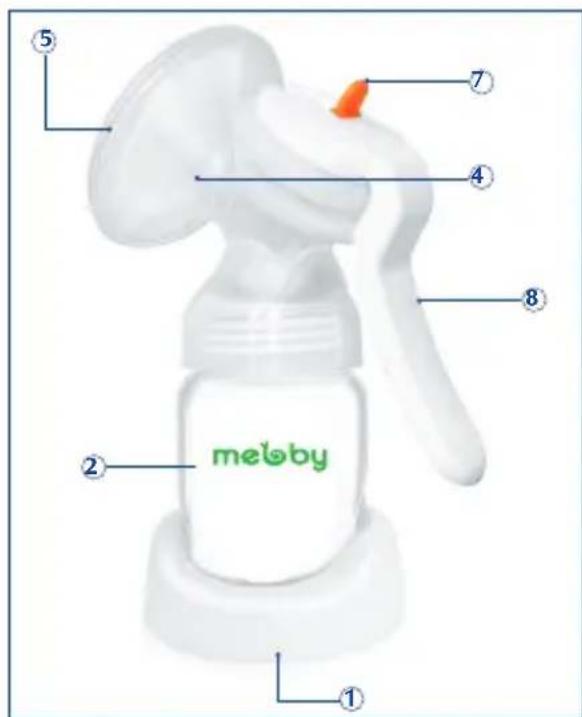
| Components | Base support, feeding bottle, milk pouring valve, cup rigid support, silicone cup, silicone membrane, suction regulator, handle, level 1 silicone teat, bottle ring, lid, closing tap |
| Cleaning Method | Disassemble all parts; wash in hot soapy water; sterilize by boiling 5 min or steam sterilizer; do not use antibacterial detergents |
| Storage Temperature (operation) | +10 °C to +40 °C |
| Storage Temperature (storage) | -20 °C to +60 °C |
| Humidity Range | 10% RH to 95% RH |
| Warranty | 24 months from date of purchase |
| Safety Standards | Complies with EN14350; food contact regulation 1934/2004 |
| Intended Use | Domestic manual milk extraction |
| Personal Use | Parts in contact with milk are strictly personal; not to be shared |
| Repairs | Only by authorized technical service center; use original spare parts |
Frequently Asked Questions - Natural Mebby
User questions about Natural Mebby
0 question about this device. Answer the ones you know or ask your own.
Ask a new question about this device
Download the instructions for your Breast pump in PDF format for free! Find your manual Natural - Mebby and take your electronic device back in hand. On this page are published all the documents necessary for the use of your device. Natural by Mebby.
USER MANUAL Natural Mebby
IT
Sommario
natural_image
White cylindrical object with a pointed tip, resembling a mechanical knob or dial (no text or symbols visible)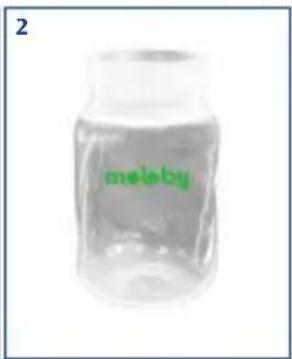
natural_image
White droplet-shaped object on white background (no text or symbols)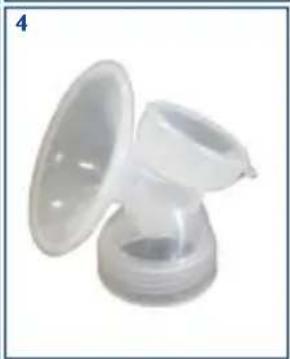
natural_image
White plastic funnel-shaped object with a flared top and base (no text or symbols visible)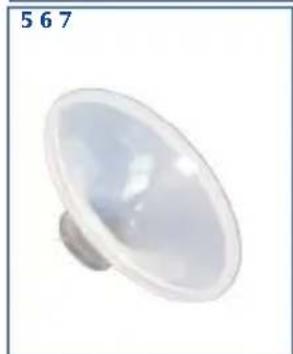
natural_image
Close-up of a small, translucent, oval-shaped object with a metallic base (no text or symbols visible)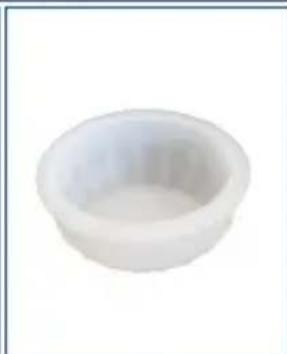
natural_image
White plastic cup or bowl-shaped object with a narrow neck (no text or symbols visible)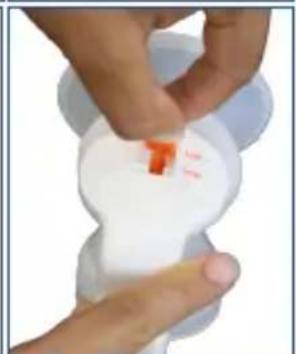
natural_image
Close-up of hands holding a white object with orange markings, possibly a small container or tool (no visible text or symbols)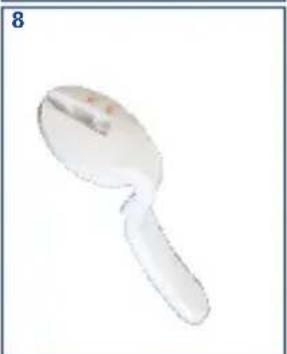
natural_image
White plastic spoon with a handle, shown against a plain background (no text or symbols)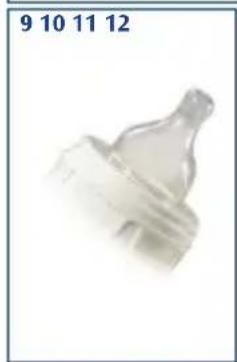
natural_image
Close-up of a small transparent plastic object with no visible text or symbols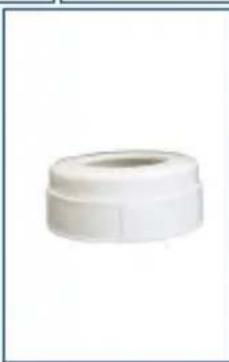
natural_image
White plastic pipe fitting with a circular opening (no text or symbols visible)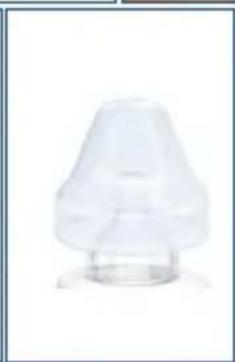
natural_image
Transparent plastic cap or connector component (no text or symbols visible)
natural_image
White plastic cap or knob on a plain background (no text or symbols)3
IT

IMPORTANTE:
natural_image
Close-up of a hand holding a transparent plastic object with a white ribbon, against a plain background (no text or symbols visible)natural_image
Close-up of a hand holding a transparent bottle with a lid, showing a blue arrow indicating rotation (no text or symbols visible)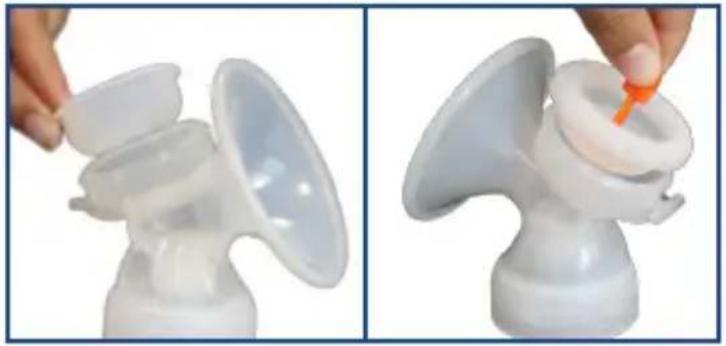
natural_image
Two-step illustration showing a hand holding a white plastic cap, with an orange tool inserted (no text or symbols visible)natural_image
Close-up of a white 3D-printed object being held, showing a small orange object inside and a finger pointing to it (no text or symbols visible)natural_image
Close-up of a hand holding a white plastic spray can with a blue arrow indicating direction (no text or symbols visible)natural_image
Close-up of a hand holding a white object with an orange mark, possibly a medical or laboratory device (no visible text or symbols)

17


natural_image
Color palette bar with grayscale shades and a central crosshair symbol (no text or labels)Summary
GENERAL INFORMATION 20
WARNINGS 20
COMPONENTS 21
HOW TO ASSEMBE THE MEBBY BREAST PUMP 22
CLEANING AND MAINTENANCE 24
HOW TO USE THE MEBBY BREAST PUMP 25
HOW TO STORE BREAST MILK 25
POSSIBLE PROBLEMS AND SOLUTIONS 26
MAINTENANCES AND REPAIRS 27
TECHNICAL SPECIFICATIONS 28
ANTI-COLIC BABY BOTTLE-USER MANUAL 29
WARRANTY CONDITIONS 32




FIG.1
natural_image
White cylindrical object with a central slot, resembling a mechanical knob or dial (no text or symbols visible)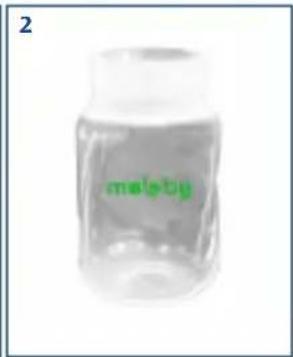
natural_image
White droplet-shaped object on white background (no text or symbols)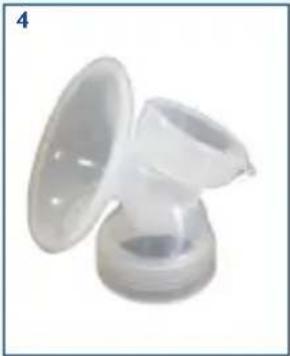
natural_image
Close-up of a white plastic funnel-shaped object with a flared rim, no text or symbols visible.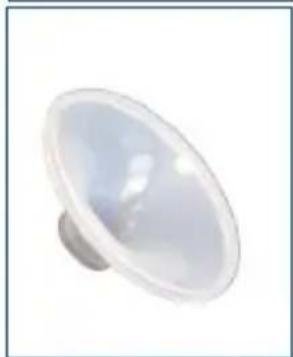
natural_image
Close-up of a small, translucent, dome-shaped object with a metallic base (no text or symbols visible)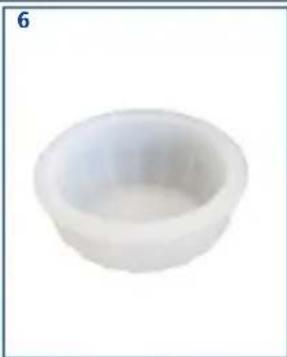
natural_image
White ceramic bowl with a shallow interior, no text or symbols visible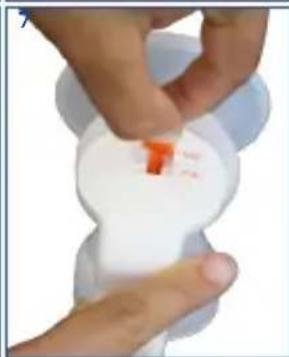
natural_image
Close-up of hands holding a white object with a small orange mark, possibly a medical or laboratory sample (no text or symbols visible)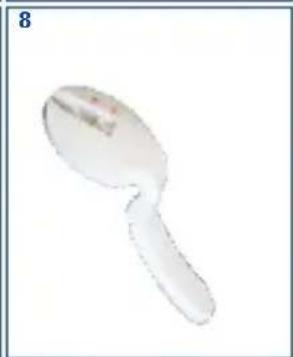
natural_image
Close-up of a single transparent spoon with a small red mark on the handle (no text or symbols visible)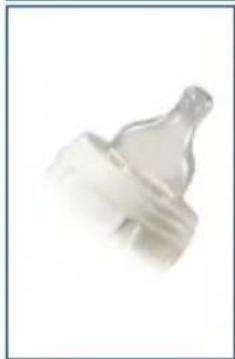
natural_image
Close-up of a small, translucent plastic bottle with a pointed tip (no text or symbols visible)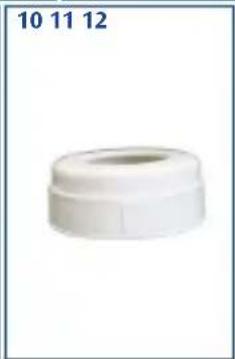
natural_image
White plastic pipe fitting with no visible text or symbols on the body
natural_image
Close-up of a transparent plastic object with a pointed tip and rounded base (no text or symbols visible)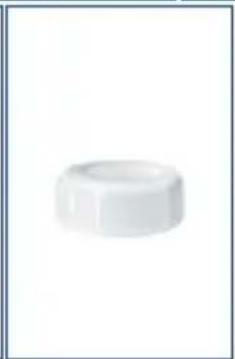
natural_image
White plastic cap on a plain white background (no text or symbols)EN
IMPORTANT:
Read carefully the instructions before use.
GENERAL INFORMATION
The MEBBY NATURAL manual Breast Pump is a milk extraction system for domestic use.
It allows extracting milk easily, storing it in the refrigerator or freezer and using it when needed.
WARNINGS
Use the manual Breast Pump only as described in this Manual and therefore as manual breast pump. Any use other than that for which it is intended is to be considered improper and therefore dangerous; the manufacturer cannot be held liable for damage caused by improper, incorrect and/or unreasonable use.
- Keep this manual for future reference.
- The parts of the Breast Pump that come directly into contact with breast milk are to be deemed strictly personal. It is advised not to use them in common with the other mothers.
- Never use the Breast Pump while you are in the shower or in the bathtub.
- In case of failure and/or malfunction of the Breast Pump, refer to chapter “POSSIBLE PROBLEMS AND SOLUTIONS”.
- For repair operations, it is necessary to contact exclusively a technical service centre authorised by the manufacturer, and request the use of original spare parts. Failure to com-

ply with the above may compromise the safety of the Breast Pump.
- Keep the Breast Pump out of the reach of children;
- If you decide not to use any longer the Breast Pump, dispose of according to current regulations.
- The unit is not intended to be used by persons (including children) whose physical, sensory or mental capacities are reduced, or with lack of experience or knowledge, unless these have been given through a responsible person for their safety, of supervision or instructions concerning use of the unit. Children must be supervised to make sure that they do not play with the unit.

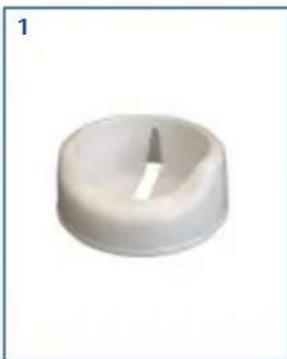
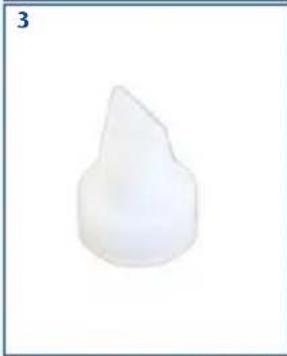
COMPONENTS (PIC.1)
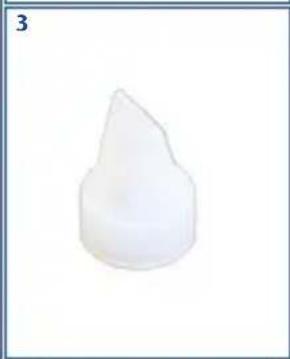
- Base support for feeding bottle
- 180 ml feeding bottle
- Milk pouring out valve
- Cup rigid support
- Silicone cup
- Silicone membrane
- Suction regulator
- Handle
- Level 1 silicone teat
- Feeding bottle ring
- Feeding bottle lid
- Feeding bottle closing tap


EN
HOW TO ASSEMBE THE MEBBY BREAST PUMP
The Mebby manual Breast Pump must be checked before each use, in order to detect malfunctions and/or damage due to transport and/or storage.
- After having removed the Breast Pump from its packaging, check that there are no visible damages.
- Check the integrity of the accessories.
- Before using the Breast Pump, proceed with the cleaning operations as described in Chapter "CLEANING AND MAINTENANCE".
To assemble the Breast Pump, follow the directions as shown below:

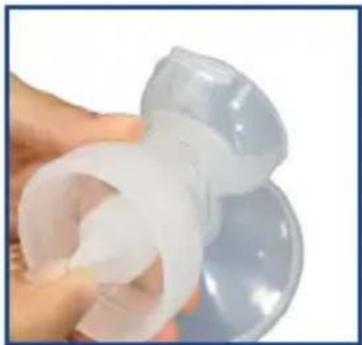
natural_image
Close-up of a hand holding a transparent plastic object with a white ribbon-like structure (no text or symbols visible)- Insert the milk pouring out valve on the cup rigid support

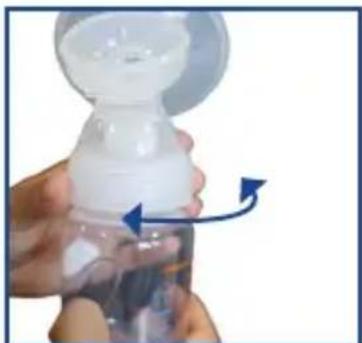
natural_image
Close-up of a hand holding a transparent bottle with blue arrows indicating rotation (no text or symbols visible)- Screw the feeding bottle to the cup rigid support
22


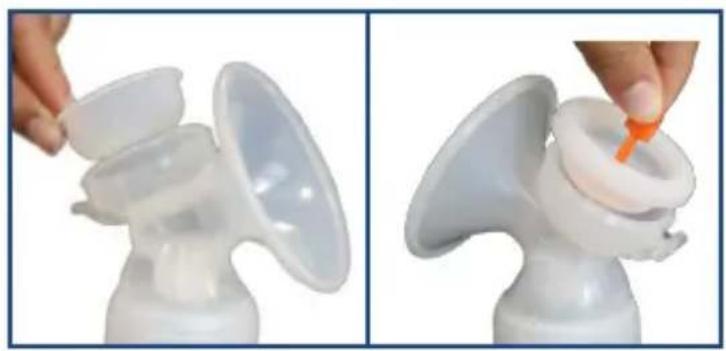
natural_image
Two-step illustration of a white plastic pump dispenser, showing the lid being inserted into a port (no text or symbols visible)- Insert the silicone membrane with the suction regulator on the cup rigid support
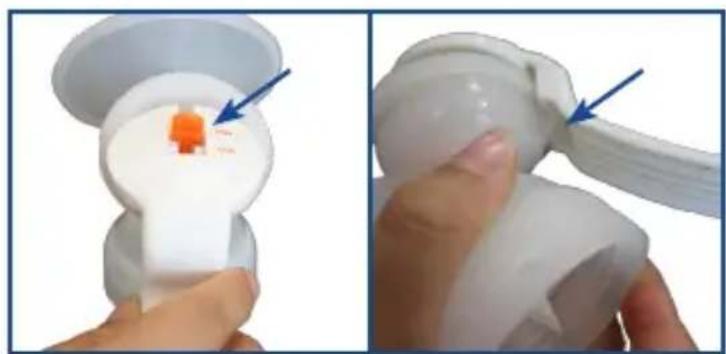
natural_image
Close-up of a white plastic object being held, showing a small orange object inside and a hand adjusting its surface (no text or symbols visible)- Insert the handle in the suction regulator and secure it to the rigid support
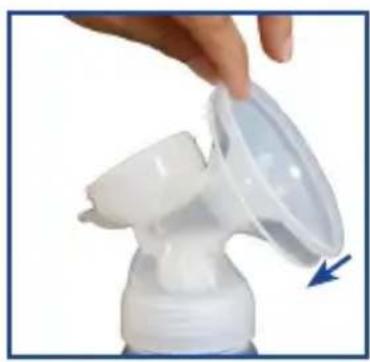
natural_image
Close-up of a hand holding a white plastic spray canister with a blue arrow indicating the tip (no text or symbols visible)- Insert the silicone cup in the cup rigid support
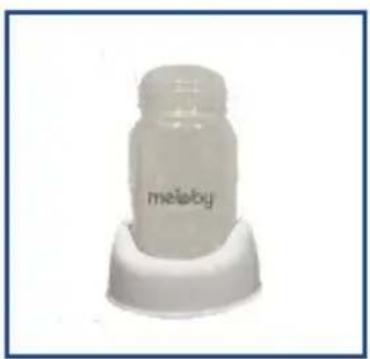
natural_image
White laboratory vial labeled 'melaby' on a base (no additional text or symbols visible)- Insert the feeding bottle in the support base for greater stability
EN
Make sure that the components are tight and/or properly screwed together to avoid jeopardising the proper functioning of the Breast Pump.
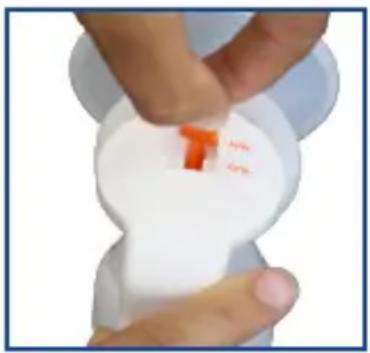
-
Place the suction regulator to the MIN level.
-
If greater suction is desired, shift the suction regulator in the MAX position

CLEANING AND MAINTENANCE
Before using the Breast Pump for the first time, and every time you use it, separate, wash and sterilise all components.
Unscrew the feeding bottle from the rigid support; remove the cup, the handle, the silicone membrane, and the milk pouring out valve.
Do not use antibacterial detersives or detergents since they can degrade the plastic.
It is possible to sterilise all components by boiling them for 5 minutes or by using a steam steriliser (electric, electronic or microwave).
Wait until the components are fully dry before using them.
For Step 1+2 bottle cleaning, please refer to section “CLEANING” in chapter “ANTI-COLIC BABY BOTTLE-USER MANUAL”
HOW TO USE THE MEBBY BREAST PUMP
Afterhavingthoroughlywashedhandsandbreast,sit comfortably with your torso leaning slightly forward (possibly, by using a pillow to support further your back).
- Position the suction regulator in the desired position (it is advised to start from the MIN position):
• MAX (maximum level of suction)
• MIN (minimum level of suction)
It is anyhow possible to modulate the intensity of the vacuum by adjusting at will the intensity of the handle.
- Gently place onto the breast the silicone cup by making sure that the nipple is securely inserted within it and that there is no air leaks.
- Actonthehandlewiththedesiredfrequency and intensity. When the milk reaches 180 ml inside the feeding bottle interrupt suction and empty the feeding bottle or give it directly to the child.
When the milk reaches 180 ml inside the feeding bottle interrupt suction and empty the feeding bottle or give it directly to the child.
HOW TO STORE BREAST MILK
It is possible to store breast milk in the refrigerator or freezer in the feeding bottle.
The extracted milk must be placed immediately in the refrigerator. If you leave it at room temperature, it must be used within 6 hours from its extraction.
It is possible to store the extracted milk in the refrigerator (not
EN
in the refrigerator door) up to 24 hours, or in the freezer up to 3 months. In this case, apply a sticker on the container by writing date and time of the milk extraction.
If during the day you add milk to any other milk already stored in the refrigerator, put it back immediately in the refrigerator and use it within 24 hours after the first extraction, after which it should be consumed immediately or frozen for future use.
Never refreeze unfrozen milk.
Do not add just extracted breast milk to milk previously frozen.

POSSIBLE PROBLEMS AND SOLUTIONS
| PROBLEM SOLUTION | |
| No suction • Check that all the | Breast Pump parts are assembled correctly.Fix the silicone rigid support cup by pressing thoroughly with the fingers to ensure a good hold.Check that the milk pouring out valve is there and well inserted. |
| The milk does not come out • | Check that the milk pouring out valve is there and well inserted.Relax and try again. |
| The extraction causes pain • | Adjust the Breast Pump suction by shifting the lever into the MIN positionConsult your doctor. |
| The milk flows beneath the silicone cup | Remove the silicone cup and insert it once again by making sure that it is positioned correctly and that it adheres perfectly.Lean slightly the torso forward. |

| PROBLEM SOLUTION | |
| Breakage or alteration of the Breast Pump parts | · Avoid contact of the Breast Pump with antibacterial detersives or detergents since these could damage the material. In some cases the combination of detergents, and sterilising, limestone products and sudden temperature changes could crack the plastic material. If one of these parts should break, avoid using the Breast Pump. |
MAINTENANCES AND REPAIRS
In case of failure, contact the qualified personnel authorised by Medel International Srl.
The Breast Pump has no part within it that can be repaired by unqualified personnel. Unauthorised repairs will void the warranty. Do not lubricate any part.
Do not insert into the MEBBY Breast Pump any object or liquid: in case that this should happen, stop using the unit and contact the Medel Customer Service.
EN
TECHNICAL SPECIFICATIONS
Dimensions: 90 mm x 190 mm x 90 mm
Maximum suction: -33 kPa
The technical specifications are subject to change without notice!
ENVIRONMENTAL CONDITIONS
Storage
Temperature: MIN -20 °C to MAX +60 °C
Air humidity: MIN 10% RH to MAX 95% RH
Atmospheric pressure: 700 kPa to 1060 kPa
Operation
Temperature: MIN +10 °C to MAX +40 °C
Air Humidity: MIN 10% RH to MAX 95% RH
Atmospheric pressure: 700 kPa to 1060 kPa
SYMBOLS

Refer to the instructions

Warning!
EN14350 Child use and care articles. Drinking equipment.

Productsintendedtocomeincontactwithfood according to regulation 1934/2004.
28
ANTI-COLIC BABY BOTTLE-USER MANUAL
FIRST USE
For hygiene purposes, before first use, wash all part of Mebby bottle in hot soapy water and then sterilize them by using cold sterilizing solutions, steam or microwave sterilizers. Alternatively you can put all parts in boiling water for 5 minutes.
INSTRUCTIONS FOR USE
- Clean your hands before assembling Mebby bottle.
- Disassemble all pieces of Mebby bottle, wash in non-anti-bacterial detergent and rinse thoroughly. Sterilize all pieces.
- Put the breast milk or formula milk into the Mebby bottle, making sure the formula is mixed according to the manufacturer instructions.
- Do not exceed the MAX limit on Mebby bottle.
- Fit teat into the collar and screw onto the bottle
- As an extra check of the liquid temperature, we recommend that you always shake a few drops onto your hand before feeding.
- Inspect the teat before each use and pull it in all directions. Throw away the teat at first sign of damage or wear and tear. We recommended that you replace the teat every 6-8 weeks for hygiene purposes.
CLEANING
After feeding, disassemble all the parts of Mebby bottle and wash in hot soapy water.
EN
Sterilize all parts.
Mebby bottle components can be cleaned in a dishwasher, top rack, delicate program.

FOR YOUR CHILD'S SAFETY AND HEALTH!

WARNING!
- It is not recommended to use a microwave to heat the liquid as this can cause hot spots.
• Always use Mebby bottle with adult supervision. Keep all components out of reach of children when not in use.
• Always check food temperature before feeding. - Never use the feeding teat as soother.
- Do not dip the teat in sweet substances as they encourage the formation of tooth decay.
- Continuous and prolonged sucking of fluids will cause tooth decay.
- Do not use solvents or abrasive cleaning agents.
- Do not leave a feeding teat in disinfectant (“sterilising solution”) for longer than recommended, as this may weaken the teat.
- Do not place Mebby bottle on work surfaces that have been cleaned with anti-bacterial detergents. Excessive concentrations may cause cracks in the bottle.
- Do not leave Mebby bottle and components exposed to direct sunlight or heat. When not in use, store them in a dry and clean covered container.
- Make sure that the liquid inside Mebby bottle never exceeds 50°C


INSTRUCTIONS FOR TRANSPORT
When travelling use the cap.
We recommended not to store the filled Mebby bottle in suitcases, bags, etc, during transport.
Make sure the teat is not bent inside the travel cap.
ACCESSORIES
Teat
We recommend that you only use Mebby teats that were specifically designed for this bottle. Mebby bottle is supplied with a slow flow teat, stage 1. This is recommended for infants of 0-3 months.
| TEAT STAGE 1 | |
| Slow flow,0-3 months | |
| TEAT STAGE 2 | |
| Medium flow,3-6 months | |
| TEAT STAGE 3 | |
| Fast flow,over 6 months | |
| TEAT Y CUT | |
| Abundant flow,over 6 months | |


EN
WARRANTY CONDITIONS
The equipment is covered by a 24-month warranty from date of purchase for any defects in the design or in the material used.
The warranty consists in the replacement and/or repair free of charge of originally detective components.
The warranty does not cover the accessories supplied with the equipment and those parts subject to normal wear and tear.
The equipment must be repaired by authorized technical service centres only. The equipment must be sent to the authorized technical service centre for repair within 8 days after the defect is noticed. The transport costs for the equipment are at user's charge. Any repair out of the warranty conditions are at user's charge.
The warranty does not cover failures resulting from misuse, abuse of the product or in case the damage is not due to manufacturer's liability (accidental fall, rough transportation, etc...)
The warranty does not involve any compensation for any kind of damages to persons or things, either direct or indirect, occurred when the equipment is not operating.
The warranty is valid from the date of purchase certified by the ticket or the invoice.

natural_image
Color palette bar with grayscale shades and a central crosshair symbol (no text or labels)




natural_image
Color palette bar with grayscale shades and a central crosshair symbol (no text or labels)MEBBY NATURAL_USER MANUAL_REV.00_OTTOBR 2019_CODE 100281



medel® international
Medel International Srl
Via Villapizzone 26 - 20156 Milano / Italy
Tel. +39 02 83451194 / Fax. +39 02 87391065
www.medelinternational.it

- IT
- Sommario
- IMPORTANTE:
- Summary
- EN
- IMPORTANT:
- GENERAL INFORMATION
- WARNINGS
- COMPONENTS (PIC.1)
- HOW TO ASSEMBE THE MEBBY BREAST PUMP
- 22
- CLEANING AND MAINTENANCE
- HOW TO USE THE MEBBY BREAST PUMP
- HOW TO STORE BREAST MILK
- MAINTENANCES AND REPAIRS
- TECHNICAL SPECIFICATIONS
- ENVIRONMENTAL CONDITIONS
- Storage
- Operation
- SYMBOLS
- 28
- ANTI-COLIC BABY BOTTLE-USER MANUAL
- FIRST USE
- INSTRUCTIONS FOR USE
- CLEANING
- FOR YOUR CHILD'S SAFETY AND HEALTH!
- WARNING!
- INSTRUCTIONS FOR TRANSPORT
- ACCESSORIES
- Teat
- WARRANTY CONDITIONS
- medel® international
Brand : Mebby
Model : Natural
Category : Breast pump