IES-2000A - Coffee maker Imarflex - Free user manual and instructions
Find the device manual for free IES-2000A Imarflex in PDF.


| Product Type | Coffee Maker (Drip & Espresso) |
| Brand | Imarflex |
| Model | IES-2000A |
| Rated Voltage | 230V a.c. ~60Hz |
| Functions | Drip Coffee, Espresso, Milk Frothing |
| Carafe Material | Tempered Glass |
| Anti-Drip Feature | Yes |
| Milk Frothing | Yes (Steam Pipe) |
| Steam Control Knob | Yes |
| Function Selector | 3 Positions (Steam, Light, Strong) |
| Filter Type | Detachable Nylon Filter |
| Warming Plate | Yes |
| Power Light Indicator | Yes |
| Water Tank | Separate Tanks for Drip and Espresso |
| Included Accessories | Porta Filter, Measuring Spoon with Tamper |
| Cleaning Method | Wash Filter and Carafe with Soap and Water; Wipe Base with Damp Cloth |
| Safety Features | Do Not Immerse; Use Authorized Parts Only |
| Use | Household Use Only |
Frequently Asked Questions - IES-2000A Imarflex
User questions about IES-2000A Imarflex
0 question about this device. Answer the ones you know or ask your own.
Ask a new question about this device
Download the instructions for your Coffee maker in PDF format for free! Find your manual IES-2000A - Imarflex and take your electronic device back in hand. On this page are published all the documents necessary for the use of your device. IES-2000A by Imarflex.
USER MANUAL IES-2000A Imarflex
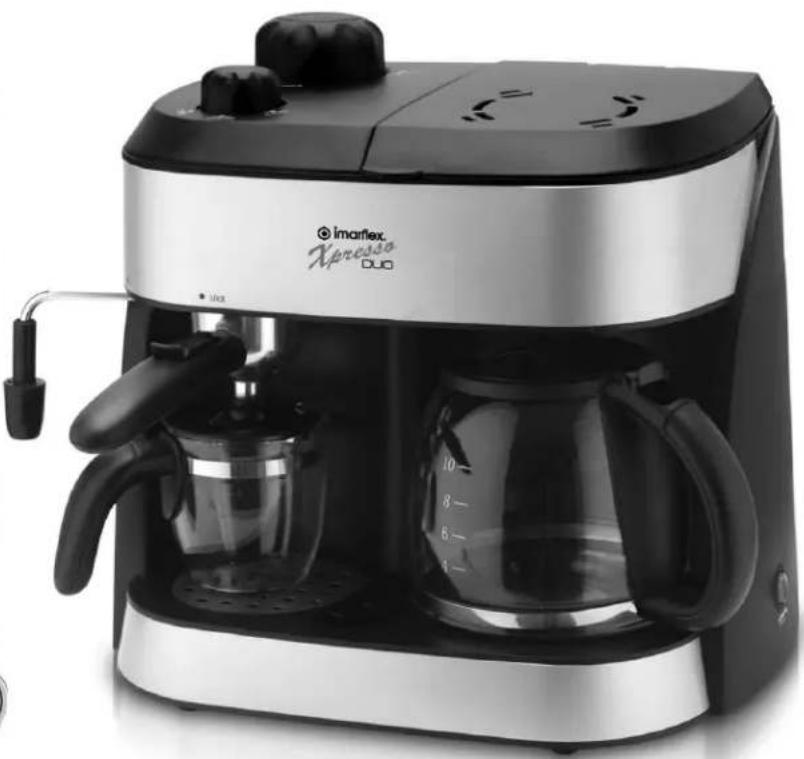
Xpresso DUO
- Power light indicator • Anti-drip Feature • Steam control knob
- Milk frothing steam pipe • 3 Function selector
- Tempered glass crafe • Detachable filter • Warming plate
- Separate ater tank for espresso & coffee brewer



natural_image
Exterior view of a modern coffee maker with glass and coffee cups (no visible text or symbols)SPECIFICATION
MODEL NO. : IES-2000A
RATED VOLTAGE : 230Va.c \~ 60Hz
Before using the electrical appliance, the following basic precautions should always be followed including the following:
- Read all instructions carefully.
- Before using the unit, check if the voltage indicated corresponds with the convenience outlet (230Va.c)
-
Do not use any appliance with a damage cord or plug. if the cord is damaged it should be replaced with same type and size or bring the unit to the nearest Imarflex Authorized Service Center.
-
Do not place the unit on hot surface or beside fire to avoid damage.
-
Do not place the carafe on cold surface e.g., glass, tiles after use to avoid breakage.
-
The use of accessory which is not recommended by manufacturer may cause injury to persons or damage the unit.
-
Place the unit on a flat surface or table, do not hang its power cord over the edge of table or counter.
-
Ensure that the power cord does not touch hot surface of the unit.
-
Some parts of the unit are hot while in use, do not touch with hand directly.
-
Unplug the unit before cleaning and after every use. Allow the unit to cool down before taking OFF or attaching parts or before cleaning.
-
Do not immerse the unit or power cord in water or any other liquid.
-
Children should be supervised to ensure that they do not play with the appliance.
-
This unit is not intended for use by person (including children)
with reduced physical, sensory or mental capabilities or experience and knowledge, unless they have been given supervision or instruction concerning. use of the unit by a person responsible for their safety.
-
Do not use outdoors.
-
Save these instructions booklet for future reference
-
This appliance is for HOUSEHOLD USE ONLY.
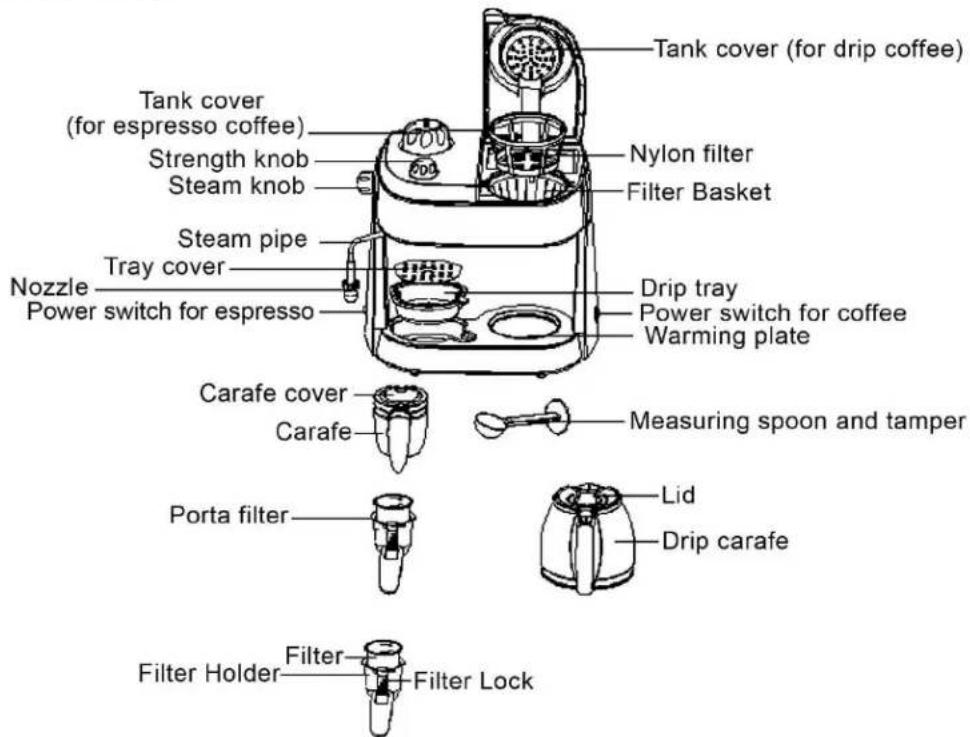
DESCRIPTION OF PARTS
FOR INITIAL USE
Clean the unit before using. Follow these simple steps:
1. DRIP COFFEE
a. Wash Nylon Filter and Filter Basket with soap and water.
b. Rinse thoroughly and put it back into the slot.
c. Follow step 1-5 of DRIP COFFEE PROCEDURE without coffee, repeat it for several times.
2. ESPRESSO:
Wash Porta Filter, Espresso Carafe and Carafe Cover with soap and water. Follow step 1-9 of ESPRESSO PROCEDURE without coffee, repeat it for several times
DRIP COFFEE PROCEDURE:
natural_image
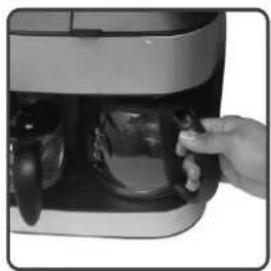
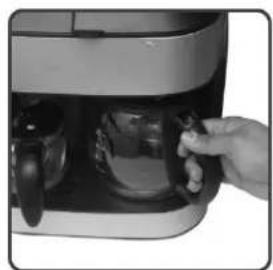
Close-up of a hand inserting a small electronic device into a front-loading air conditioner unit (no visible text or symbols)Remove the drip coffee carafe from the warning plate.
natural_image
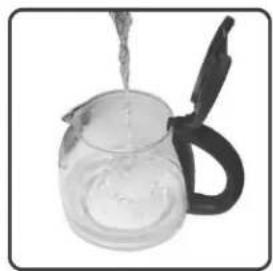
Black and white photo of a teapot with liquid being poured into it (no text or symbols visible)Pour desired amount of water into the the drip coffee carafe (do not fill the 10 level indicator).
natural_image
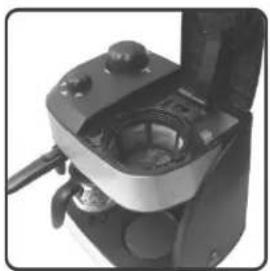
Close-up of a mechanical device with a central component and handle (no visible text or symbols)Lift the tank cover.
natural_image
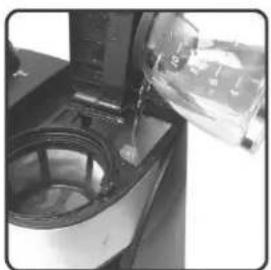
Close-up of a kitchen microwave being poured into a container (no visible text or symbols)Pour the water from the drip coffee carafe into the water tank.
natural_image
Close-up of a hand inserting a small object into an air conditioner unit (no visible text or symbols)Retuned the carafe filter in to warming plate.
natural_image
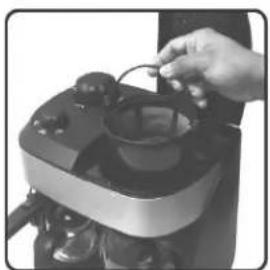
Close-up of a hand operating a small mechanical device with a bowl (no visible text or symbols)Place the washable filter into the filter basket (Make sure it is properly assembled) otherwise the tank cover can not be closed.
natural_image
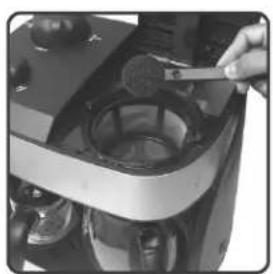
Close-up of a hand using a brush to clean or brush the lid of a kitchen appliance (no visible text or symbols)Scoop desired amount of ground coffee in to nylon filter, according to taste.
natural_image
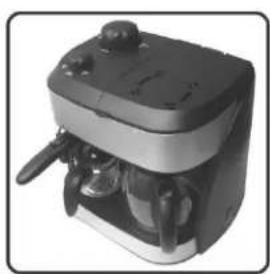
Exterior view of a black and white portable device with control knobs and a handle (no visible text or symbols)Close the tank cover.
natural_image
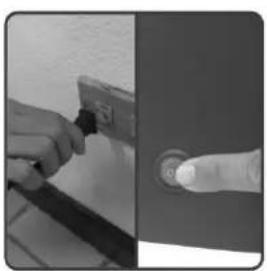
Close-up of hands using a tool to press or install a button, with a finger pointing at it (no visible text or symbols)Plug into the convenience outlet and press the ON/OFF Switch (The power light indicator will turn ON).
Note: This unit has an anti-drip function. Coffee can be served even at any time.
ESPRESSO COFFEE PROCEDURE:
natural_image
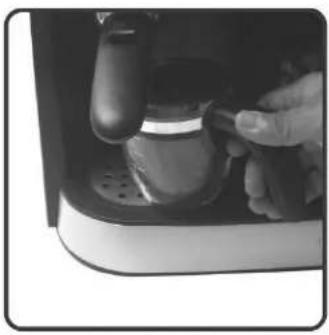
Close-up of a hand using a blender to press or adjust a small object (no visible text or symbols)Remove the espresso carafe into the drip tray.
natural_image
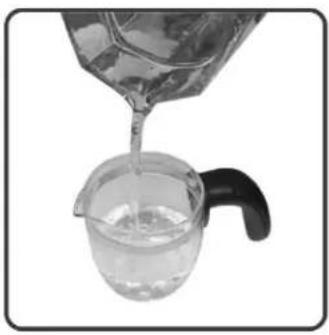
A glass pitcher pouring liquid from a container into a black handle (no text or symbols visible)Pour desired amount of water into the espresso carafe (do not fill more the 4 level indicator).
natural_image
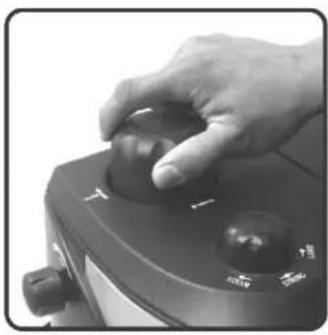
Close-up of a hand pressing down on a black electronic device with a knob (no visible text or symbols)Turn the tank cover to OPEN.
natural_image
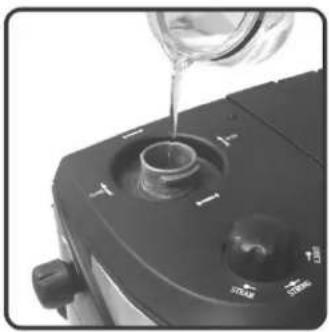
Close-up of a mechanical device with a water droplet pouring liquid into a port, showing control buttons (no text or symbols visible)Pour water tank the espresso carafe to the water tank.
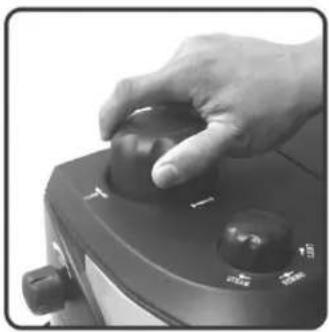
natural_image
Close-up of a hand operating a black industrial control device with a knob (no visible text or symbols)Turn water tank cover to CLOSE
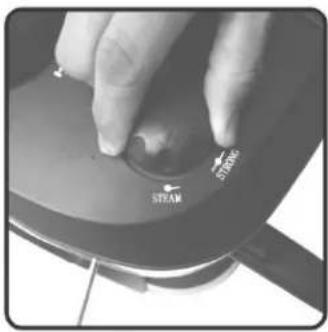
Turn the function selector knob to steam position.
natural_image
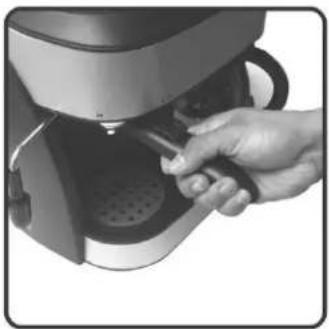
Hand using a hand mixer machine to adjust or install a product (no visible text or symbols)Place the porta filter into the porta filter holder.
natural_image
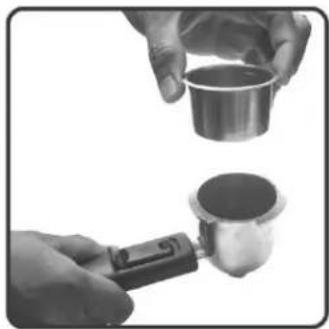
Two hands holding small metal cups, one with a tool and the other holding a container (no text or symbols visible)Assemble the filter to portafilter holder.
natural_image
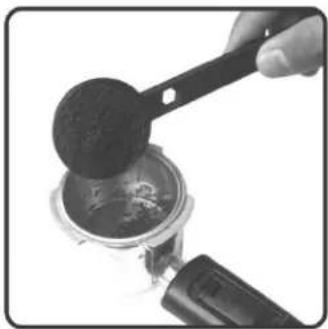
Close-up of a hand using a black ladle to lift a metal container with liquid (no text or symbols visible)Pour the desired amount of ground coffee to the portafilter.
MILK FROTHING
When a cup of espresso coffee is filled with milk froth, you will obtain a cup of cappuccino.
natural_image
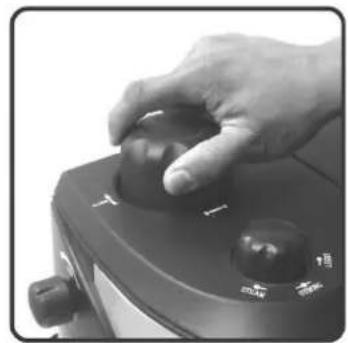
Close-up of a hand operating a black industrial control device with a knob (no visible text or symbols)Turn the water tank cover to open
natural_image
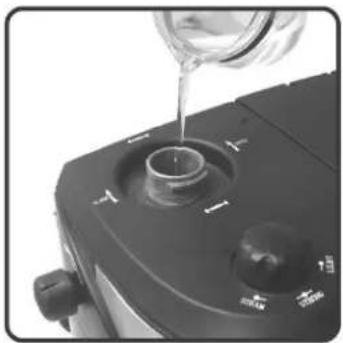
Close-up of a mechanical device with a glass pouring liquid into a port, showing control knobs and a dial (no text or symbols visible)Pour water from the espresso carafe to the water tank.
natural_image
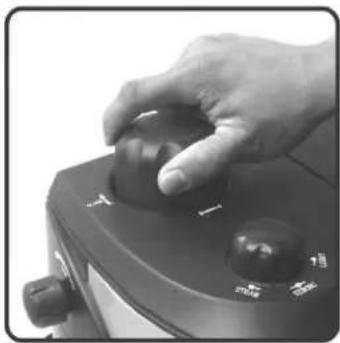
Close-up of a hand pressing a black circular button on a device (no visible text or symbols)Turn water tank cover to close
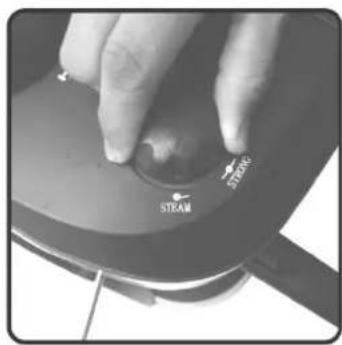
Turn the function knob to steam positon.
natural_image
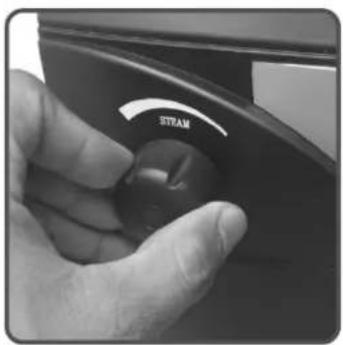
Close-up of a hand pressing a black knob labeled 'STEAM' on a car door (no other text or symbols visible)Turned OFF adjustable team knob
natural_image
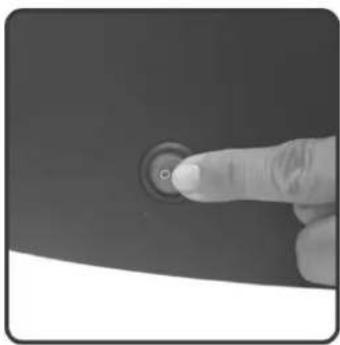
Close-up of a finger pressing a circular button on a dark surface (no text or symbols visible)Switch On
natural_image
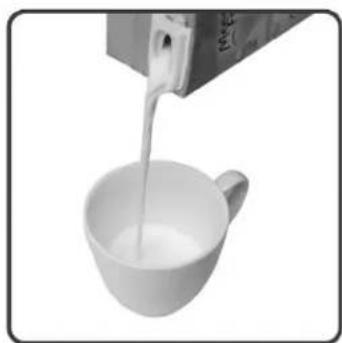
White cup pouring milk from a container into a glass (no text or symbols visible)Pour the milk into the cup
natural_image
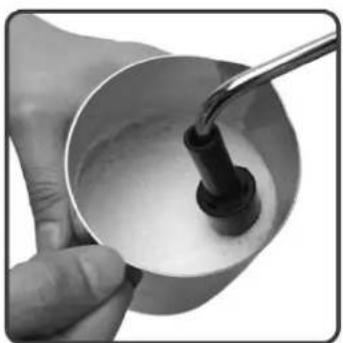
Close-up of a hand pouring liquid into a container with a tool (no visible text or symbols)Put the cup into milk froth steam pipe
natural_image
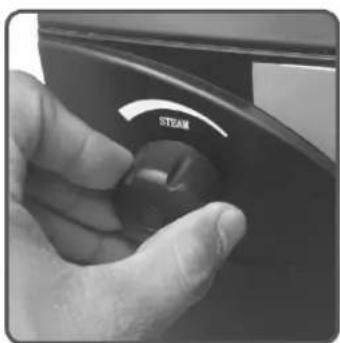
Close-up of a hand pressing a black circular button labeled 'STEAM' on a dark mechanical component (no other text or symbols visible)After 2-3 minutes slowly turn steam knob
natural_image
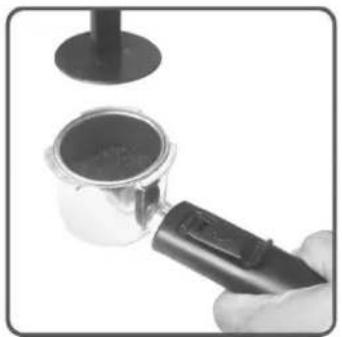
Close-up of a hand holding a small mechanical component with a cylindrical container, next to a black stand (no visible text or symbols)Tamp the coffee using measuring poon with tamper
natural_image
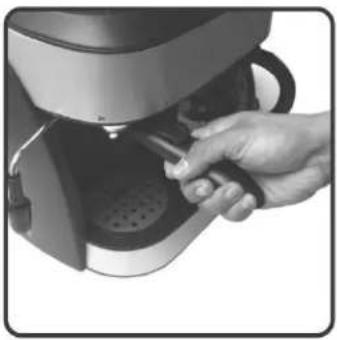
Close-up of a hand using a coffee maker to open the door (no visible text or symbols)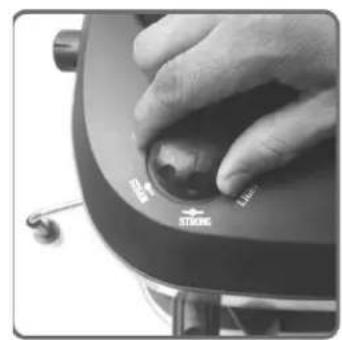
natural_image
Close-up of a hand pressing a button on a device with 'STICK' and 'LINE' labels (no readable text beyond symbols)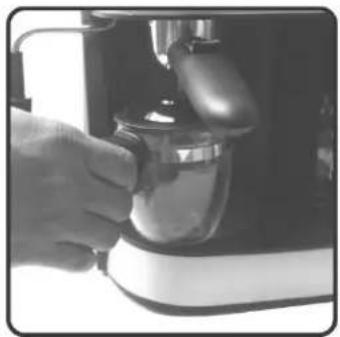
natural_image
Close-up of a hand using a kitchen mixer machine (no visible text or symbols)Retune the espresso carafe into the plate
natural_image
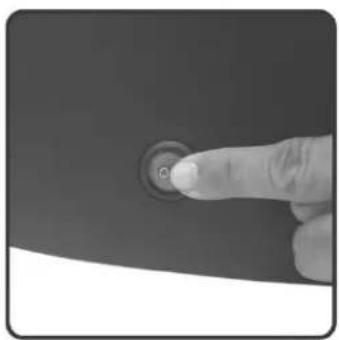
Close-up of a finger pressing a circular button on a dark surface (no text or symbols visible)Switch On the unit.
After 2-3 Minutes turn the function selector knob to your desired positon (strong & light), turn the function knob to steam position after use.
natural_image
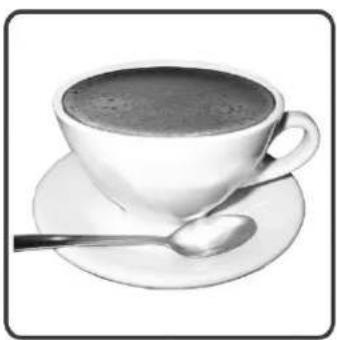
Black-and-white illustration of a teacup with a spoon on a saucer (no text or symbols)RECIPE:
CAPPUCCINO:
INGREDIENTS:
-1 Shot (2oz) Espresso Coffee
-1/3 Whole Milk
- 1/3 Foam Milk
PROCEDURE
After Drip the Espresso Coffee.
Remove Espresso Carafe put 1 Shot Espresso Coffee.
Tilt the coffee in a cup put 1/3 Steam Milk
1/3 Foam Milk in a Top.
COFFEE LATTE:
INGREDIENT:
1 Shot (2oz) Espresso Coffee
1/3 Milk
1/3 Syrup
PROCEDURE:
After Drip the Espresso Coffee.
Put 1/3 Syrup
Remove Espresso Carafe, put 1 Shot Espresso Coffee.
Tilt the Coffee in cup, Add Foam on top.
CLEANING AND MAINTENANCE FOR COFFEE MAKER;
- Turn Switch OFF the unit after use.
- Plug into the Convenience outlet
- Remove the Nylon Filter and dispose the used coffee. Wash then put I back into the slot.
- Remove the carafe from the warming plate and discard Remaining Brewed Coffee.
- Fill water tank with water.
- Turn ON the unit. Let the unit to cool down after the cycle
- After Drip the water.
- Wash the Carafe with soap and water.
- Wipe the base with Damp Cloth.
CLEANING AND MAITENANCE FOR ESPRESSO:
- Turn Switch OFF The unit after use.
- Plug into the Convenience outlet
- Remove the Carafe From the unit.
- Lift and Press the Thumb Filter lock.
- Wash Porta Filter Espresso Carafe Tray Cover with Soap and Water.
- Wipe the base with Damp Cloth.
TROUBLE SHOOTING
| TROUBLE | Cause | REMEDY |
| Carafe leakage water or water leaks out from lid of carafe | The carafe is not located properly | Let centreline of carafe aligns with leakage opening of brew basket well. |
| The level of water in the tank exceeds the scale of MAX. | The water level in the tank should be within the scale of MIN and MAX. | |
| Espresso coffee drops out too slowly (Not only for the coffee maker with pump) | Ground coffee too fine | Use 1# coffee powder. |
| The metal parts in the tank have rust. | The descaler is not recommended type. It may corrode the metal parts in the tank. | Use the descaler recommended by manufacturer. |
| Water leaks from the bottom of coffee maker. | There is much water in the drip tray. | Please clean the drip tray. |
| The coffee maker is malfunction. | Please contact with the authorized service facility for repairing. | |
| Water leaks out of outer side of filter. | There is some coffee powder on filter edge. | Get rid of them. |
| Acid (vinegar) taste exists in Espresso coffee. | No clean correctly after cleaning mineral deposits. | Clean coffee maker per the content in “before the first use” for several times. |
| The coffee powder is stored in a hot, wet place for a long time. The coffee powder turns bad. | Please use fresh coffee powder, or store unused coffee powder in a cool, dry place. After opening a package of coffee powder, reseal it tightly and store it in a refrigerator to maintain its freshness. | |
| The coffee maker cannot work anymore. | The power outlet is not plugged well. | Plug the power cord into a wall outlet correctly, if the appliance still does not work, please contact with the authorized service facility for repairing. |
| The steam cannot froth. | The steam ready indicator is not illuminated. | Only after the steam ready indicator is illuminated, the steam can be used to froth. (Only for the coffee maker with pump) |
| The container is too big or the shape is not fit. | Use high and narrow cup. | |
| You have used skimmed milk | Use whole milk or half-skimmed milk |
Brand : Imarflex
Model : IES-2000A
Category : Coffee maker