
ACAM-003 - Camcorder Gembird - Free user manual and instructions
Find the device manual for free ACAM-003 Gembird in PDF.


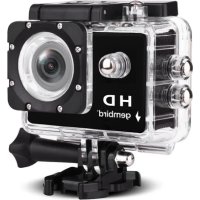
| Product Type | Full HD WiFi Action Camera |
| Model | ACAM-003 |
| Brand | Gembird |
| Video Resolution | 1920x1440 (30fps), 1920x1080 (60fps), 1920x1080 (30fps), 1280x720 (60fps), 1280x720 (120fps) |
| Photo Resolution | 16MP, 12MP, 8MP, 5MP (JPG) |
| Lens | 170° ultra wide angle (fisheye), f/3.1, 2.9mm focal length |
| Image Sensor | CMOS 8 Megapixels, fixed focus |
| Display | 2.0" TFT LCD, 480x240 pixels |
| Waterproof | IP68 waterproof case included |
| WiFi | 802.11 b/g/n, remote control via app (SYMAGIX2) |
| Storage | Micro SD card slot (up to 32GB, Class 6 or higher recommended) |
| Battery | Replaceable 1200mAh lithium battery, approx. 100 minutes recording time |
| Charging Time | Approx. 2-4 hours via USB (5V 1A) |
| Interfaces | USB 2.0 (Micro-USB), HDMI 1.3 (Mini-HDMI) |
| Dimensions | 59 x 44 x 26 mm |
| Weight | 50 g |
| Operating Temperature | -10°C to 60°C |
| Video Format | H.264 (MOV) |
| Electronic Shutter | 1/2 to 1/2000 second |
| Accessories Included | Waterproof case, mounting accessories, USB cable, user manual |
Frequently Asked Questions - ACAM-003 Gembird
User questions about ACAM-003 Gembird
0 question about this device. Answer the ones you know or ask your own.
Ask a new question about this device
Download the instructions for your Camcorder in PDF format for free! Find your manual ACAM-003 - Gembird and take your electronic device back in hand. On this page are published all the documents necessary for the use of your device. ACAM-003 by Gembird.
USER MANUAL ACAM-003 Gembird
natural_image
Abstract logo design with a stylized arrow and 'GE' text, no readable text or symbols beyond the graphic elements.GEMBIRD®
natural_image
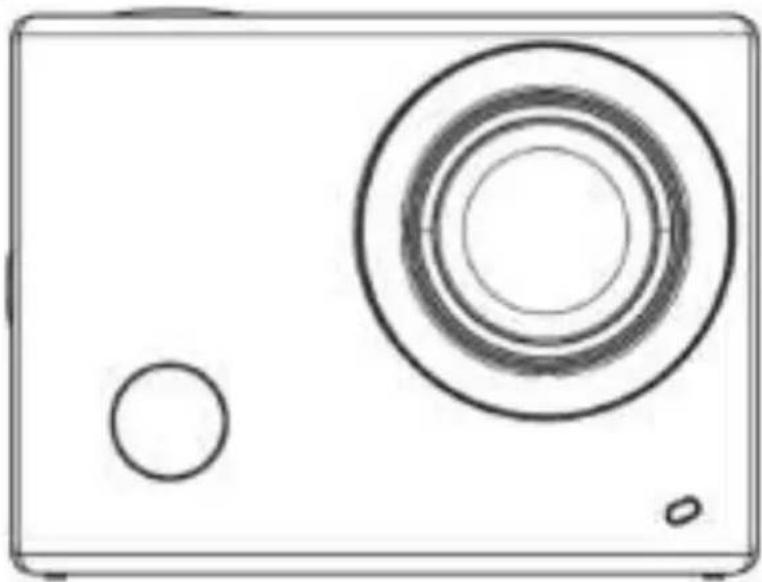
Simple line drawing of a rectangular object with two circular elements, one larger and one smaller, against a plain background (no text or symbols)FULL HD WIFI ACTION CAMERA WITH
WATERPROOF CASE
Features
• Full HD 1080p (60 fps) action camera with built-in microphone and speaker
• IP68 full waterproof case included
• 170 degrees ultra wide angle lens (fisheye)
- WiFi function - for easy wireless control with smartphone or tablet
• Free remote control app available in iOS and android app stores
- Stores hours of video material on removable SD card (not included)
• Built-in 2" color LCD screen
• Supports single-, triple- and interval photo shooting
• Practical instant snapshot button
- Complete set with multiple accessories
Specifications
• Interfaces: USB 2.0, HDMI 1.3
- LCD: 2" TFT display 480 x 240 pixels
- Image sensor: CMOS 8 Mega pixels, fixed focus, 2.9 mm focal length, F3.1 aperture
- Video resolution:1920x1440 (30FPS) / 1920x1080(60FPS) / 1920x1080(30FPS)/1280x720(60FPS)/1280x720(120fps),about 100 MB/minute.
• Video format: H.264 (MOV)
• Photo resolution: 16 / 12 / 8 / 5M Megapixel JPG
• Electronic shutter speed: 1/2 - 1/2000 second - Card slot: supports up to 32 GB SD Card (SDHC Speed class 10)
• Output: Mini-HDMI & Micro-USB - Buzzer with speaker
- WiFi: 802.11 b/g/n
- Battery: replaceable 1200 mA Lithium battery (about 100 mins)
- Charging time: 3 hours
- AC charger: 100 - 240 V AC input, 5 V DC output up to 1 A
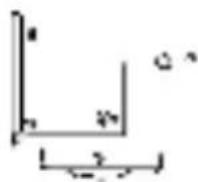
- Dimensions: 59 × 44 × 26 ~mm
- Weight: 50 g
- Operating conditions: -10 - 60 Celsius degrees at 10 - 80% humidity






Introduction to appearance and keys
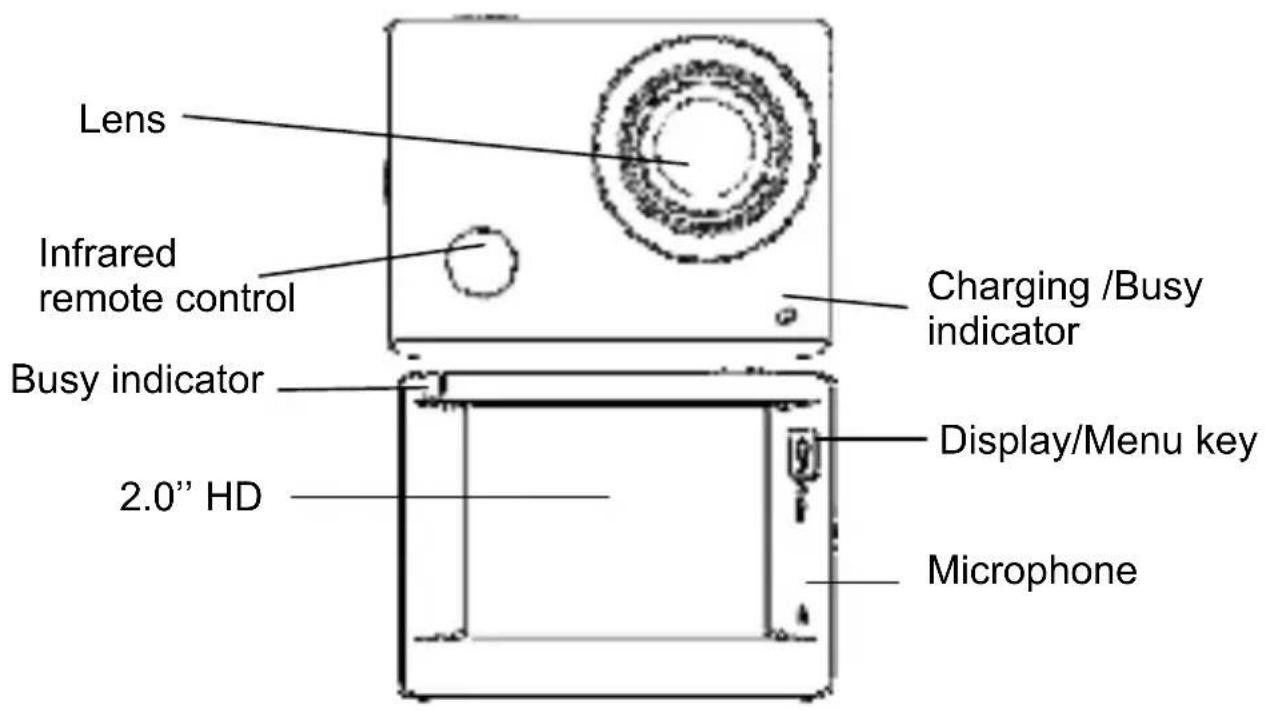
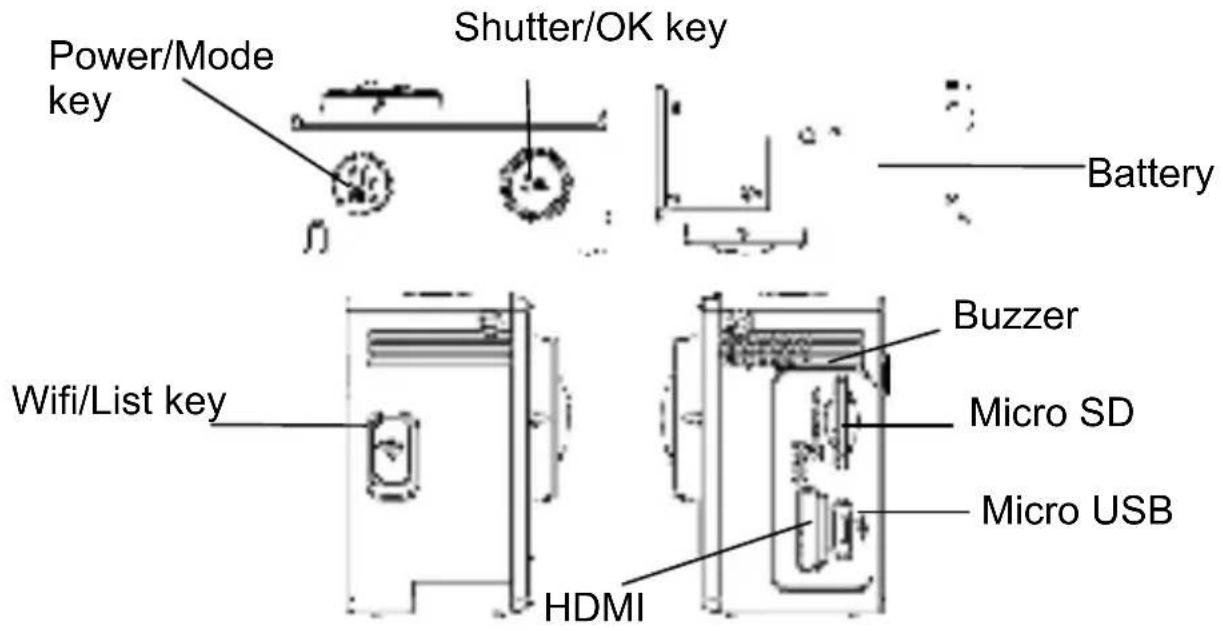
Start using
1. Charge the built-in lithium battery
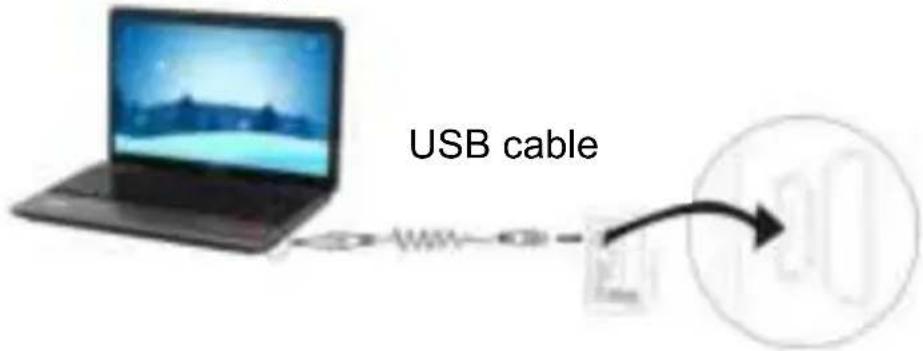
Connect the camera to the computer for charging, at this time, the charging indicator will be in blue, and it will be off after charging. Generally, it takes 2-4 hours to charge the battery.
2. Use the storage card
- Push the Micro SD card into the slot till it is in place as per the instruction in concavely engraved words by the storage card slot.
- To take out the Misco SD card, press the tail of the storage card inwardly softly and it will be popped out.
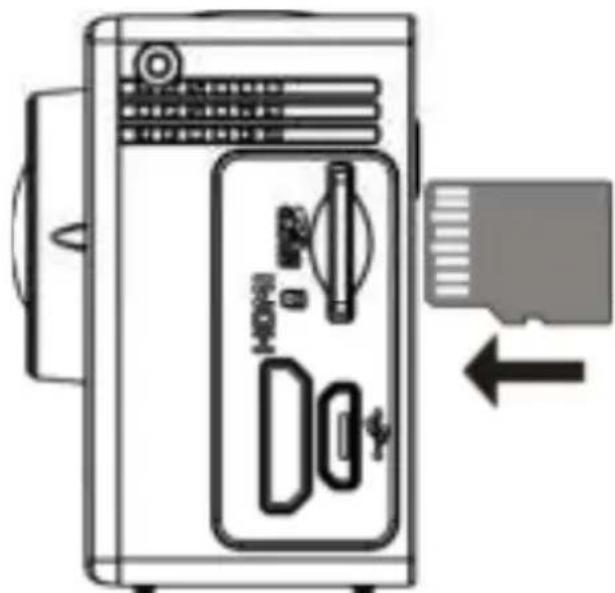
Note: There's no built-in memory unit in
the camera, so make sure to insert a storage card into it prior to use (it is recommended at least Class 6 high speed Misco SD card).
3. Power on/off
3.1 Power on: Press Power key for 3 seconds, the screen will be on and the camera will be started.
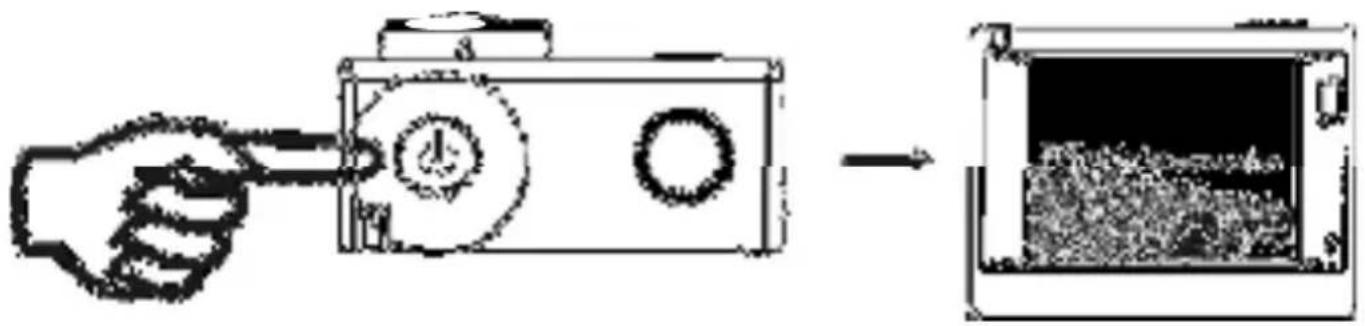
3.2. Power off: Hold on Power key for 3 seconds when the camera is in the idle state to turn it off.
3.3. Auto screen off: The screen will be turned off automatically when the time that the camera is in the idle state for automatic screen off to save power. After that, the lamp for screen off will be on.
3.4. Power off when the camera is lack of electricity. When electrical quantity of the battery is very low, an icon of will be displayed on the LCD screen, prompting you to charge it in time. When the icon turns red and flickers, the camera will be turned off automatically.
4. Shift among functional modes
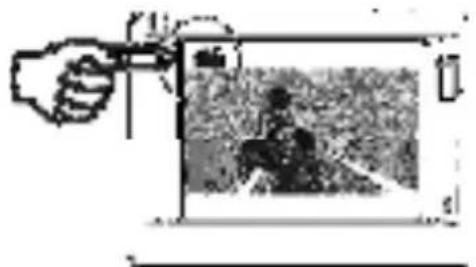
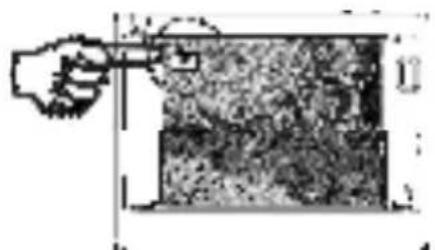
The camera has 4 modes, namely video recording mode, car-carrying mode, shooting mode and replay mode. After power is on, press Power key to shift among them.
natural_image
Illustration of a hand holding a pen over a screen showing a person in motion (no text or symbols visible)Video recording mode
natural_image
Hand pointing at a screen with a small object, no visible text or symbolsCar-carrying mode
natural_image
Simple line drawing of a hand pointing at a textured rectangular object (no text or symbols)Shooting mode
Replay mode
Note: after the shutdown of the system will save the current setting pattern, the next open opportunity automatically entered into the model.
5. Indicators
Busy indicator (red): When the camera is busy such as recording videos, shooting photos and turning off screen automatically, the work indicator will flicker.
Charging indicator (blue): When it is on, the user is prompted that the camera is being charged and it will be off after charging is completed.
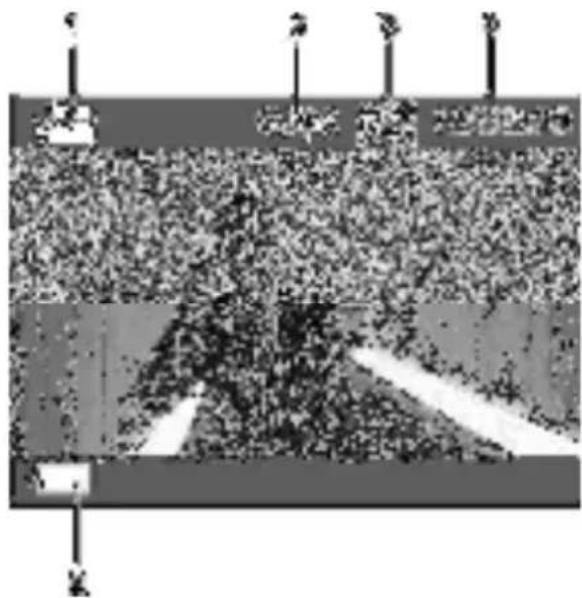
6. Video recording mode
After power is on, the video camera will enter video recording mode directly and in preview mode, press Shutter key to start video recording; Press it again to stop shooting. If the memory card is full or electrical quantity is low, it will also stop shooting:
- Icon of mode, indicating video recording mode;
- Indicate quality of video;
-
Indicate size of video:1440P
(30FPS)/FHD 1080P(60FPS)
/ FHD 1080P(30FPS)/HD 720P(120FPS) / HD 720P(60FPS)
is optional; -
Recording time, indicating recordable length of time;
-
Icon of battery, indicating current electrical quantity;
Note: short press power key to realize the camera video process and save the image.
7. Car-carrying mode
After power is on, press Power key to enter car-carrying mode
- Icon of mode, indicating car-carrying mode;
- Indicate quality of video;
-
Indicate size of video:1440P
(30FPS)/FHD 1080P(60FPS)
/FHD 1080P(30FPS)/HD 720P(120FPS) / HD 720P(60FPS)
is optional. -
Recording time, indicating recordable length of time.
-
Icon of battery, indicating current electrical quantity
Prompt:
- In car-carrying mode, a passage of video is kept every three minutes in recording. After the storage card is full, the earliest passage will be deleted, and video will be recorded in a circulating way.
- Boot after choosing to car-carrying mode, normal shutdown again after boot, connect the car charger will automatically enter the vehicle model and start the video.
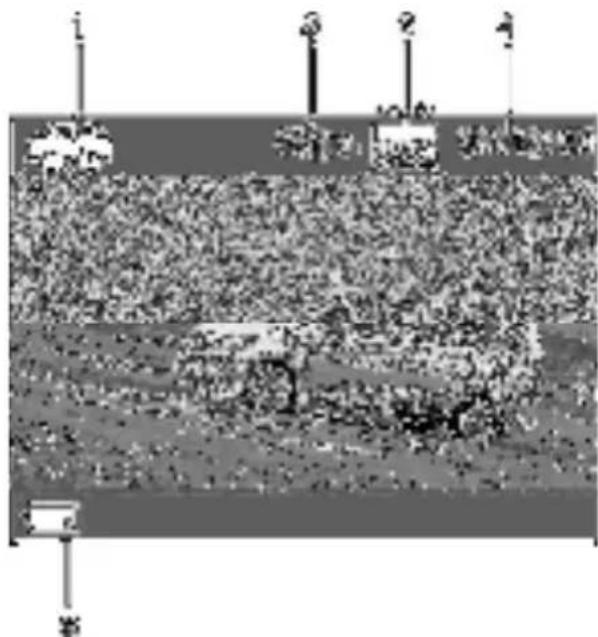
8. Shooting mode
After power is on, press Power key twice to enter shooting mode, and in
preview state, press Shutter key to take a photo:
- Icon of mode, indicating the current is shooting mode;
- Size of video, and 16M / 12M / 8M / 5M is optional;
- Counter, indicating number of photos to be taken;
- Icon of electrical quantity of battery.
9. Replay mode
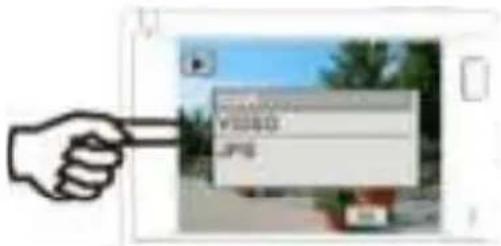
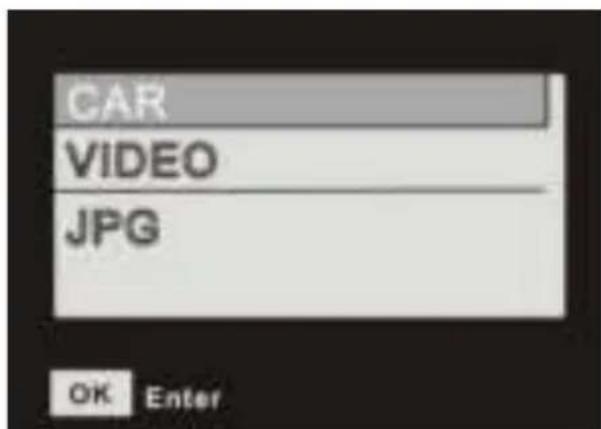
9.1 After power is on and entering Preview state, press Power key continuously to shift to Replay mode. Select the file to be replayed through the menu as follows:
Select CAR to replay files in car-carrying video mode;
Select VIDEO to replay files in general video mode;
Select JPG to replay files in shooting mode;
9.2 Introduction to play screens
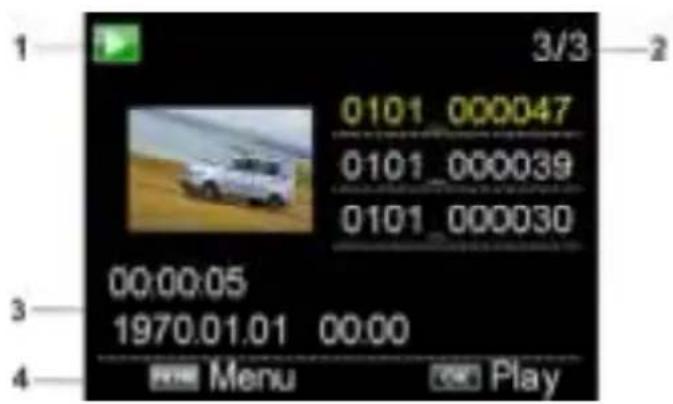
9.2.1 Screens of video files
natural_image
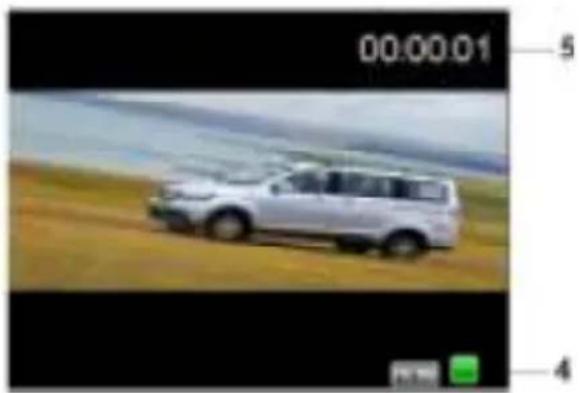
White SUV driving on a dirt road with hills in the background (no visible text or symbols)- Icon of replay mode;
- Indicate serial number of current file/ total number of files;
- Indicate parameter of recording time;
- Operation buttons hint icon
- Indicate recording time point.
When a video file is being played, click Ok key to pause play, and click Menu key to stop playing.
Screen of photos
-
Indicate serial number of current file/ total number of files;
-
Operation buttons hint icon
natural_image
Black and white photo of a crowd with trees in the background (no visible text or symbols)In replaying, Press WIFI key to select other file type, in a circulating way.
10. Menu operation
There is a different menu in each working mode as shown in the following figures:
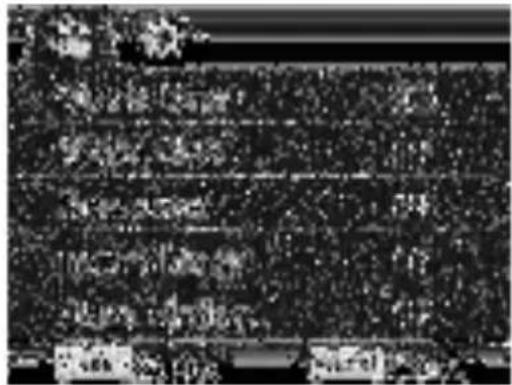
Menu for video recording /car-carrying mode
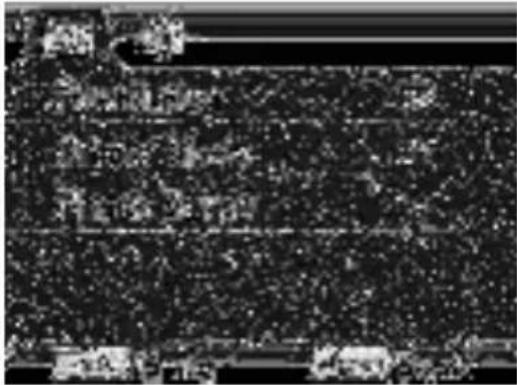
Menu for shooting mode
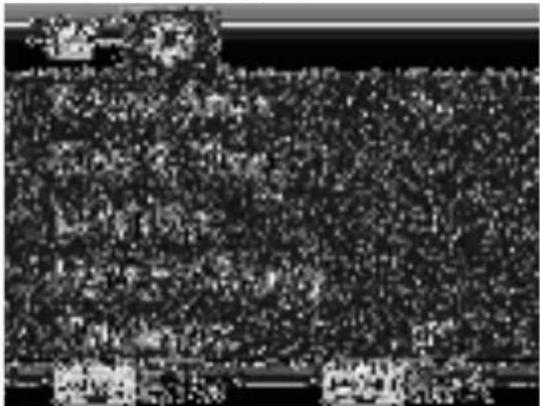
Menu for setting mode
Menu for replay mode
Operation: Press Menu key, the menu for this mode will be displayed on the LCD. At this time, press Power key to move the cursor leftward or rightward and select on the menu, and press WIFI key to move the cursor upward or downward and select on the menu in a circulating way. Press OK key to confirm and press Menu key to return or exit from menu mode.
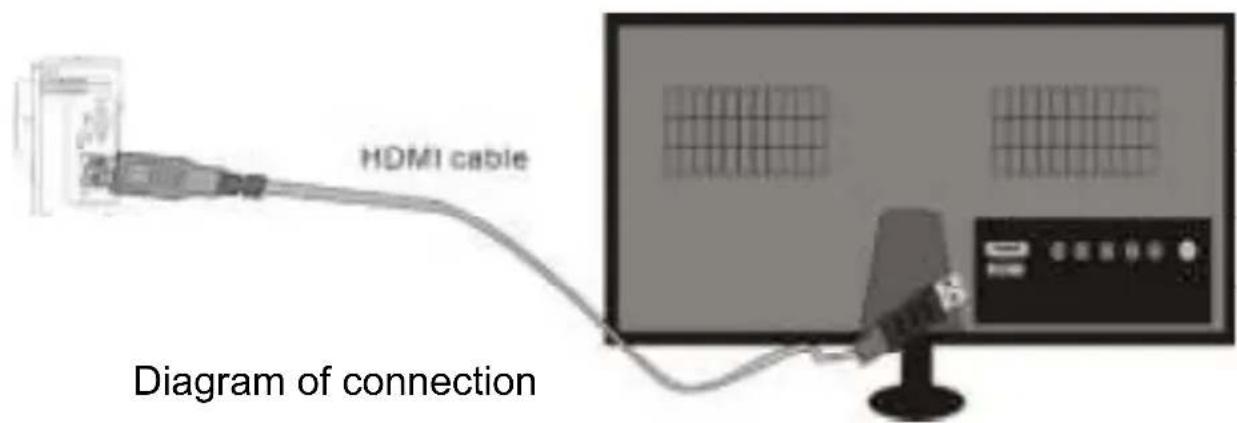
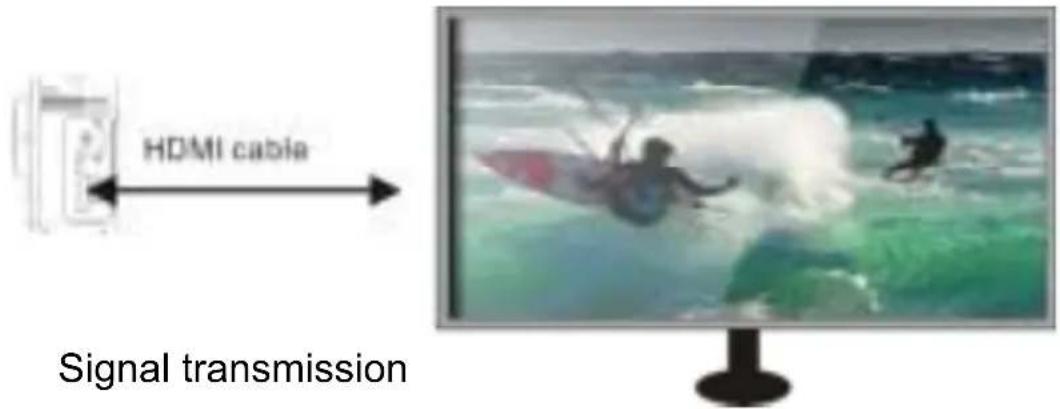
Connect device to HDTV:
Connect the video camera to an HDTV with a HD cable as shown in the following figure, display signals in the camera will be output into the HDTV automatically, and you can browse HD videos and photos that are recorded or taken in the HDTV.
APP (for Android and iOS System)
I. How to Obtain the APP Installation Program
- For the Android System, you can search "SYMAGIX2" in the Play Store to obtain corresponding installation programs, and then you can install them according to the indicated steps or through scanning the two-dimensional code

Link:
https://play.google.com/store/apps/details?id=com.symagix.wificam.app.symagix2
- For the IOS System, you can search "SYMAGIX2" in the APP Store to obtain corresponding installation programs, and then you can install them according to the indicated steps or through scanning the two-dimensional code

Link: https://itunes.apple.com/us/app/symagix2/id931794034
II. Camera WIFI and System Applications Android Applications
- Please install the SYMAGIX2 application program (provided by the Supplier or the Internet) for the Android mobile phone or tablet PC, and then
the Display Screen will show the Icon ;
- Insert a Storage Card into the Camera and then power it on. Press the WIFI key to conduct WIFI connection, and the Screen of the Camera will show the WIFI signal Icon with the external screen revealing WIFI Connecting.
- Enable the WIFI function of the Android mobile phone or tablet PC, and try to find the AP Name ACAM-003; please conduct connection between them till the system reveals a successful connection;
Note: if you are conducting WIFI connection for the first time, please input the password: 1234567890.
- Tap and enable the Application Program Icon on the Android mobile phone or tablet PC; you can directly view the preview picture transmitted by the Camera (see the following picture), and then conduct relevant operations.
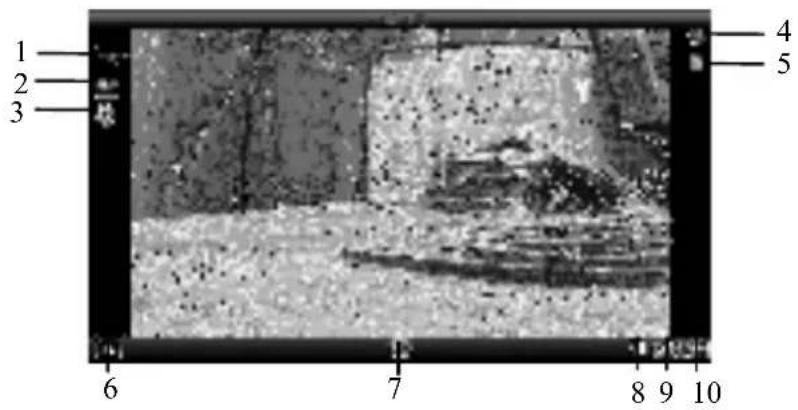
- Resolution
- White Balance
- Settings (Enter Settings Menu)
- Wi-Fi Signal Icon
- Camera's Battery Status Icon
- Enter the Playback Mode
- Shutter Button
- Video Mode
- Photo Mode
- Timelaps Mode
IOS Applications
- Please install the SYMAGIX2 application program (provided by the Supplier or the Internet) for the IOS mobile phone or tablet PC, and then the

Display Screen will show the Icon
- Insert a Storage Card into the Camera and then power it on. Press the WIFI key to conduct WIFI connection, and the Screen of the Camera will show the WIFI signal Icon with the external screen revealing WIFI Connecting.
- Enable the WIFI function of the IOS mobile phone or tablet PC, and try to find the AP Name ACAM-003; please conduct connection between them till the system reveals a successful connection;
if you are conducting WIFI connection for the first time, please input the password: 1234567890.
- Tap and enable the Application Program Icon on the IOS mobile phone or tablet PC; you can directly view the preview picture transmitted by the Camera (see the following picture), and then conduct relevant operations.
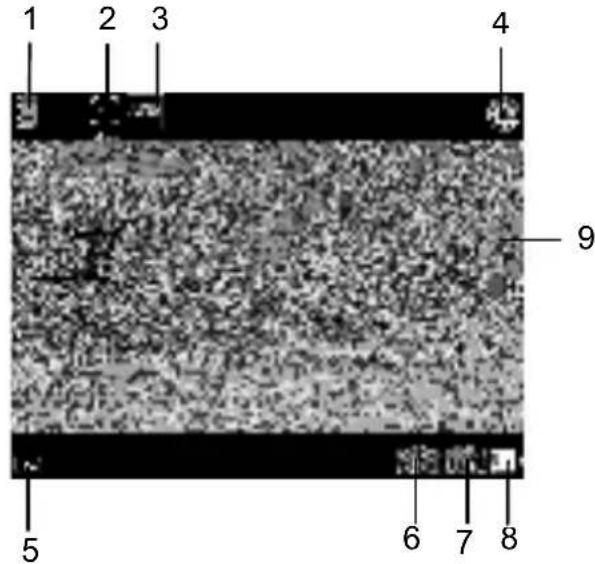
- DV battery icon
- Video resolution
- White balance
- Setup (enter setup menu)
- Enter Playback mode
- Timelaps Mode
- Photo mode
- Video mode
- Shutter button
Notes:
If you need to record videos or download pictures using your mobile phone or tablet PC, please insert one Micro SD card for your camera;
When the Camera has been successfully connected with your mobile phone or tablet PC, the WIFI Indicator Light will be on.
Application on PC
The camera has a plug-and-play function. Connect the power-on device to the computer with the USB cable, and the mode can be automatically
switched to the removable hard disk. Removable disk icon will appear in the "My Computer" window. The pictures you shot stored in the removable disk I: \ jpg folder (I is this equipment removable disk); video files your shot stored in I: \ video folder; vehicle-mounted files you shot saved in I: \ CAR folder. Note: If using a mobile hard disk function on Windows 2000 or later versions of Windows operating system, do not install the driver.
This product is tested and complies with the essential requirements of the laws of member states concerning R&TTE(1999/5/EC). The CE declaration can be found under www.gembird.eu
natural_image
Simple line drawing of a hand washing a box with water droplets falling (no text or symbols)
natural_image
Illustration of a hand using a screwdriver to adjust or repair a tool (no text or symbols present)
natural_image
Simple line drawing of a hand holding a box with a diagonal line crossing through it, no text or symbols present.WASTE DISPOSAL:
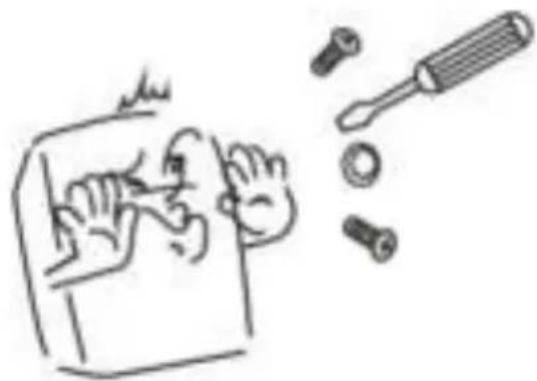
Do not deposit this equipment with the household waste. Improper disposal can harm both the environment and human health. For Information about waste collection facilities for used electrical and electronic devices, please contact your city council or an authorized company for the disposal of electrical and electronic equipment.
WARRANTY CONDITIONS
The receipt must clearly list the date of purchase and the part number, in addition it should be printed. Keep the receipt for the entire warranty period since it is required for all warranty claims. During the warranty period the defective items will be credited, repaired or replaced at the manufacturer's expense. Work carried out under the warranty neither extends the warranty period nor starts a new warranty period. The manufacturer reserves the right to void any warranty claim for damages or defects due to misuse, abuse or external impact (falling down, impact, ingress of water, dust, contamination or break). Wearing parts (e.g. rechargeable batteries) are excluded from the warranty. Upon receipt of the RMA goods, Gembird Europe B.V. reserves the right to choose between replacement of defective goods or issuing a credit note. The credit note amount will always be calculated on the basis of the current market value of the defective products.
Характеристики

natural_image
Simple line drawing of a device with a central display and handle (no text or symbols)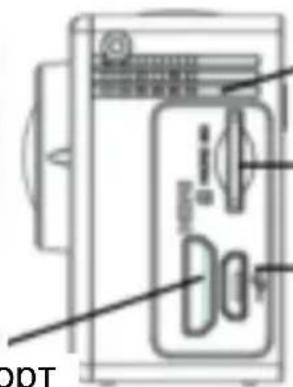
Сигнал
Карта Micro SD
Порт Micro USB
Порт HDMI
natural_image
Abstract grayscale image with vertical lines and a central dark region, no visible text or symbolsnatural_image
Black-and-white photo of a large crowd gathered in the center, with no visible text or symbols.Внимание:
natural_image
White SUV driving on a dirt road with hills in the background (no visible text or symbols)natural_image
Microscopic view of a granular material or biological sample with scattered dark particles (no visible text or symbols)natural_image
Highly pixelated black-and-white image with no discernible text, symbols, or structured content.natural_image
Black and white photo of a dense, noisy floor with horizontal lines and scattered bright spots (no visible text or symbols)https://itunes.apple.com/us/app/symagix2/id931794034

natural_image
Simple line drawing of a hand washing a box with water droplets falling (no text or symbols)
natural_image
Illustration of a hand using a tool to adjust or repair a screwdriver (no text or symbols present)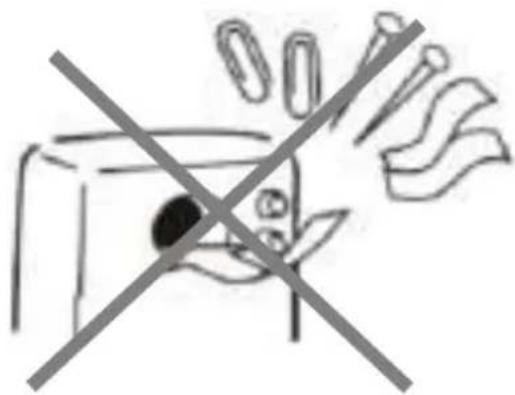
natural_image
Simple line drawing of a container with a hand crossed out, no text or symbols presentУТИЛИЗАЦИЯ:
- Features
- Specifications
- Introduction to appearance and keys
- Charge the built-in lithium battery
- Use the storage card
- Power on/off
- Shift among functional modes
- Indicators
- Video recording mode
- Car-carrying mode
- Prompt:
- Shooting mode
- Replay mode
- Introduction to play screens
- Screens of video files
- Screen of photos
- Menu operation
- Connect device to HDTV:
- IOS Applications
- Notes:
- Application on PC
- WASTE DISPOSAL:
- WARRANTY CONDITIONS
- Характеристики
- Внимание:
- УТИЛИЗАЦИЯ:
Brand : Gembird
Model : ACAM-003
Category : Camcorder