
NVR-TAB7 S2 - Tablet NEVIR - Free user manual and instructions
Find the device manual for free NVR-TAB7 S2 NEVIR in PDF.


| Product Type | Tablet (MID) |
| Model | NVR-TAB7 S2 |
| Brand | Nevir |
| Display Size | 7 inches |
| Display Type | TFT |
| Operating System | Android 4.2 |
| Internal Storage | 8GB |
| External Storage | TF card up to 32GB |
| Front Camera | 0.3 MP |
| Rear Camera | 0.3 MP |
| Battery Capacity | 2200 mAh poly-lithium |
| Power Supply | AC 100-240V 50/60Hz; DC 5V/2A |
| Wireless Connectivity | WiFi 802.11 b/g/n (assumed) |
| USB | Micro USB, USB 2.0 |
| OTG Support | Yes |
| Audio Playback | MP3, WMA, WAV, OGG, APE, FLAC, AAC, etc. |
| Video Playback | Up to 1080p; AVI, MPG, MKV, RM, RMVB, MP4, MOV, etc. |
| E-book Support | Yes |
| Input Method | Soft keyboard |
| Operating Temperature | -20°C to 60°C |
| Languages | Multi-language |
Frequently Asked Questions - NVR-TAB7 S2 NEVIR
User questions about NVR-TAB7 S2 NEVIR
0 question about this device. Answer the ones you know or ask your own.
Ask a new question about this device
Download the instructions for your Tablet in PDF format for free! Find your manual NVR-TAB7 S2 - NEVIR and take your electronic device back in hand. On this page are published all the documents necessary for the use of your device. NVR-TAB7 S2 by NEVIR.
USER MANUAL NVR-TAB7 S2 NEVIR
natural_image
Close-up of a lion's face showing its open mouth and tongue, with no visible text or symbols.MANUAL DE USUARIO
Español
2.2. Brillo
3. Conexión Wi-Fi
natural_image
Night sky with a full moon and silhouetted trees, no text or symbols visiblenatural_image
Grid of 12 colorful and textured images including fruits, vegetables, and plant (no text or symbols)
natural_image
Close-up of fresh fruits including orange slices, kiwi, and a whole citrus (no text or symbols visible)9. Cámara
natural_image
Simple line drawing of a trash bin with crossed lines indicating no waste or discharge (no text or symbols)natural_image
Close-up of a lion's face showing its open mouth and teeth, with no visible text or symbols.User Manual
English
Preface
Thank you for buying the MID. We wish you enjoy using it.
Please read and retain all the operating instructions before operating the unit, we do not assume any liability arising out of improper operation or incidental damages.
For better services, the content of this operation manual may be changed.
If the actual setup and usage of the unit are different from this operation manual, please view the website of our company to inquire about the
latest product information.
Do not allow water or foreign objects to enter the unit.
I. Note:
-
Avoid the unit being dropped. Avoid the display been shake seriously, or the display will be damaged or unusual.
-
Do not use metal object to touch the device to prevent it from short circuit.
-
Please backup your data in case your important data is lost, especially before you upgrade the firmware. The company will not take charge in any loss that caused by lost of data.
-
Do not disassemble. Do not wipe the surface of the unit by alcohol, thinner or benzene.
-
Do not disconnect the unit while it is formatting or uploading/downloading, or the procedures may lead to errors
-
We do not take responsibility to the flash damage caused by product broken, repair or other reasons. Please operate strictly as per the user guide.
-
Avoid water or foreign objects enter the unit.
16.Do not use the unit in places that are extremely hot, cold, dusty, or
humid.
- Avoid the unit being dropped. Avoid the display been shake seriously, or the display will be damaged or unusual.
- Specifications are subject to change and improvement without notice
natural_image
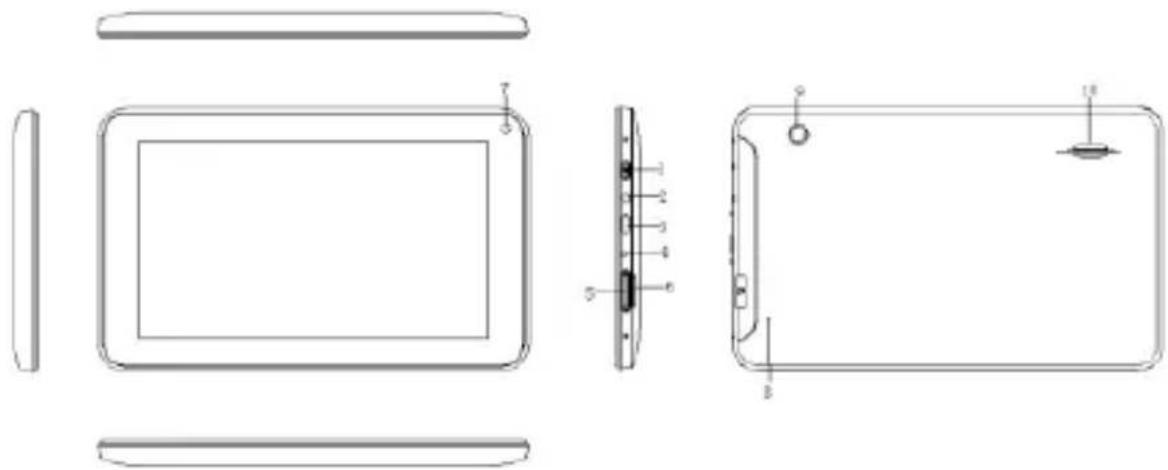
Technical line drawings of a rectangular electronic device with internal components and mounting holes (no text or symbols)II. Introduction of cover:
- Power on/off
- Earphone Jack
- Micro USB interface
- DC charger interface
- Volume+, Volume -
- TF-CARD interface
- Front Camera
- Reset
- Back Camera
- Loudspeaker
III. Operation Instruction
1. Basic Operation
1.1. Power on/Power off
Power on:
Press and hold the power switch for 5 seconds; the unit displays the start-up logo and enters the working mode.
Power off:
Press and hold the power switch for 3 seconds to turn the unit off.
Sleep:
While the device is at working status, press the power switch, it enters the sleeping mode, and the screen will be off then. Press the power switch again, it shift to the normal mode. You may use this function when you don't' use the device temporary to save power.
1.2. Charging
When the device prompts low battery, please charge it by provided charger.
Note:
To improve the longevity of the battery, you may charge for another 15 minutes after it prompts the battery is full.
1.3. Main menu
Click the 📄 icon in the main interface, the main menu is appeared. It including the system setting, music playback, video playback, web browser and other applications you installed in the main menu.
2. Settings
Click “ Settings ” in the main interface to enter the setting interface. Click the corresponding setting items to operate.
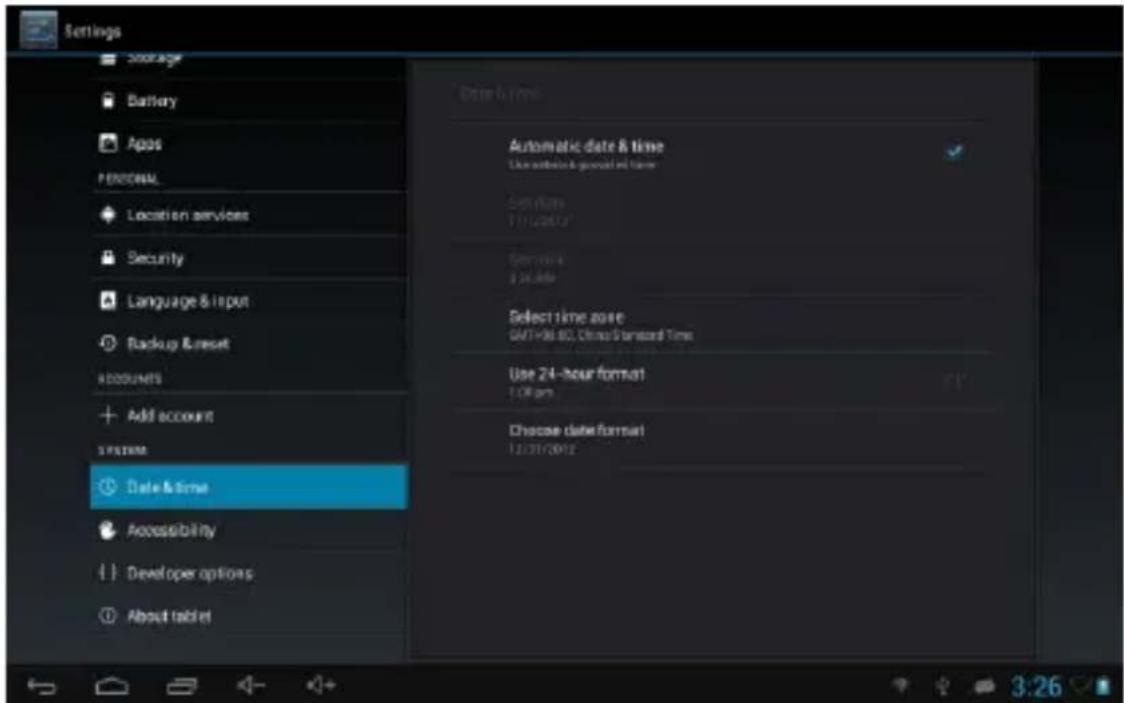
2.1. Date and Time Setting
Click “Date & Time” in the setting interface to set the date and time. You may set
the date, time zone, time, time format and date format etc. in the menu.
2.2. Brightness
Select “Display” in the setting interface. Click “Brightness” to enter, and slide the bar to adjust the brightness.
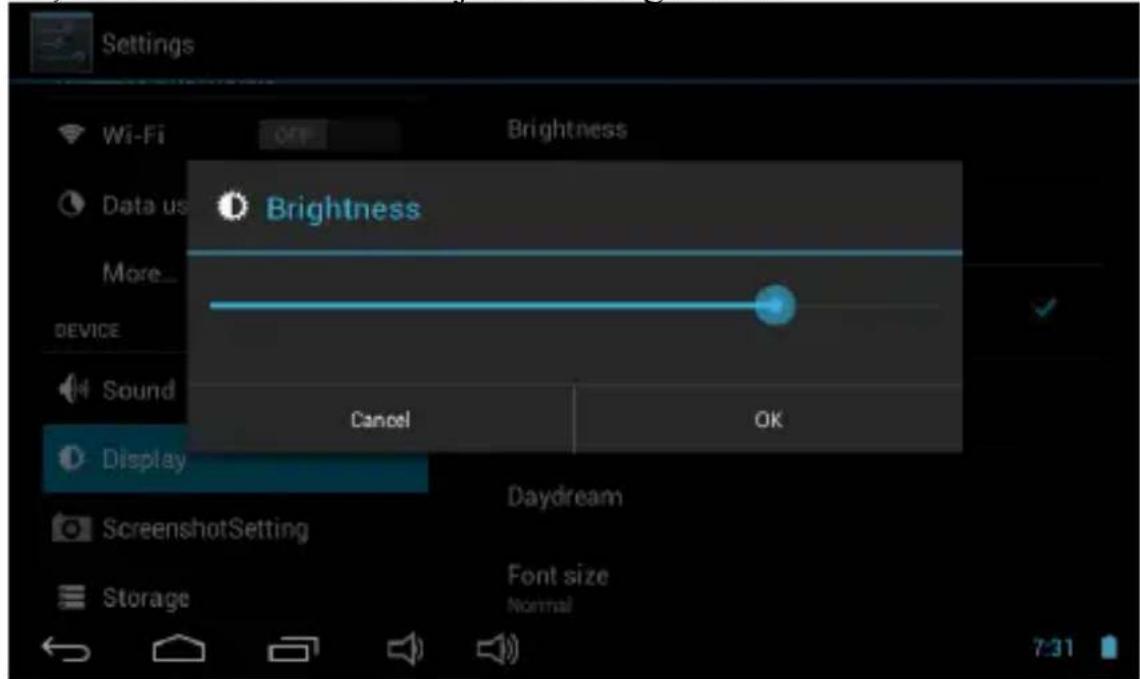
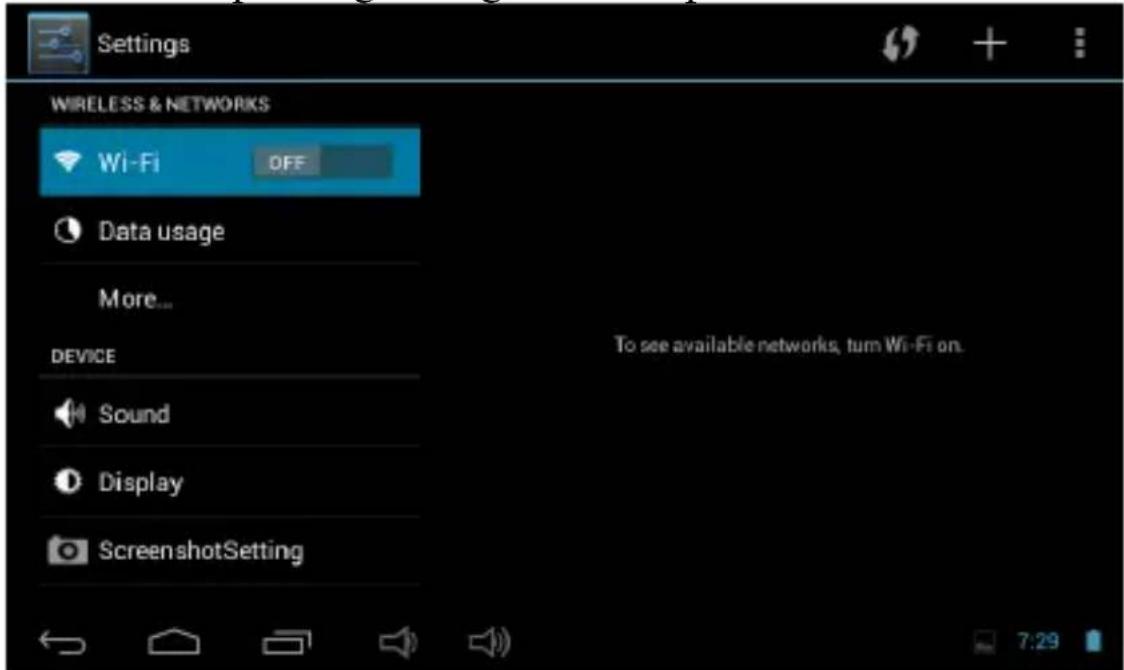
3. Wi-Fi connection
Click “Settings” in the main interface and click “Wireless & network” to enter the wireless and network setting interface. Click Wi-Fi to turn on the WIFI. Click Wi-Fi setting to set and manage wireless access.
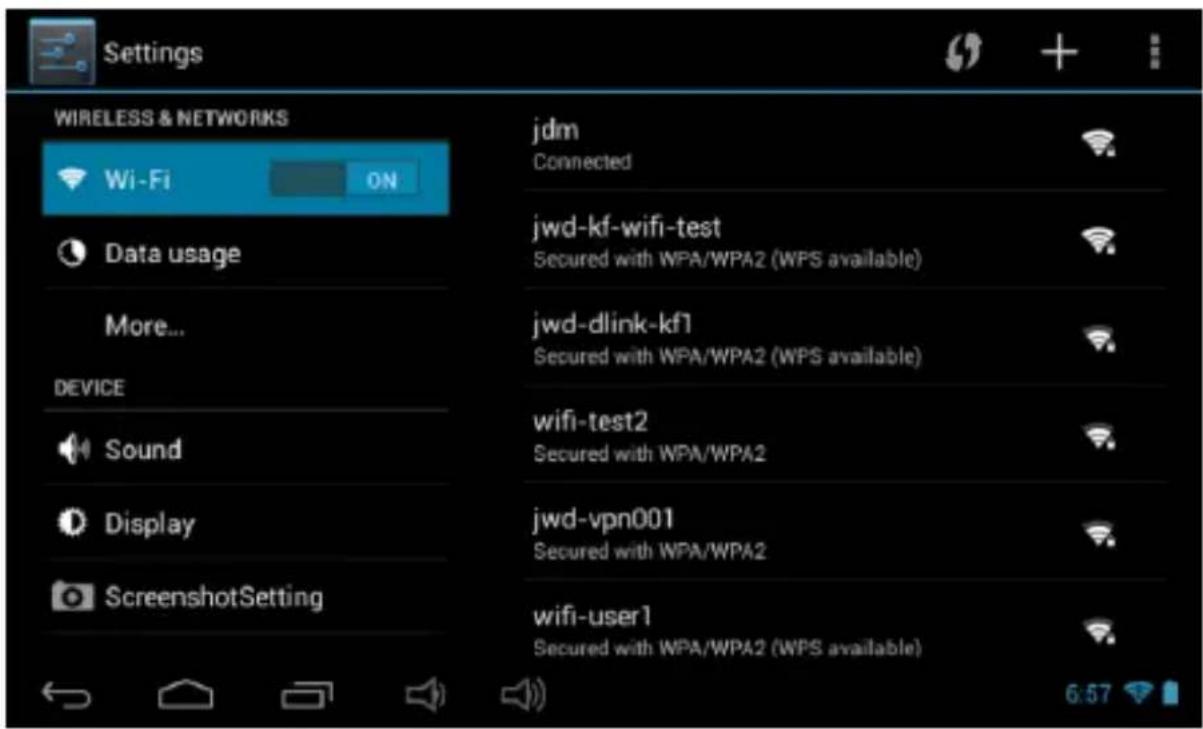
Click “Network Notification”, it lists the open network it searched. Click the name of the network; it pops up the setting window. You may connect it to WIFI according to the prompts. You need to input the user name and password if networks are encrypted.
3.1 Ethernet configuration
The Unit support USB-Net-Card.
4. Install, Uninstall and Run applications
4.1 Install
There are many ways to install applications under Android, such as via USB, by third party program. We introduce installation by Apps Installer here.
Click the “Explorer” or “Apkinstaller” in the main interface.
Select the APK file you want and enter the application installation interface. Click “Install” to install the application automatically. After installation, it prompts “Open” and “Finish”. Click “Open” to open the application. Click “Finish” to exit.
4.2 Uninstall
You may use the corresponding third party software management tool or the installed application management software of the device to install applications.
Select “Setting/Applications/Manage applications” to select the installed applications and check the attribute of it or uninstall it.
5. Connect to internet
5.1. After connecting with WIFI, open the browser and input the web address, you can browse the web then.
5.2. Click the ★ icon to enter the bookmark to view the browse history. Click the web page you want to open it.
To save the web page into bookmark, you may click enter and click “add” to save it.

to
6. Audio and video playback
6.1. Audio playback
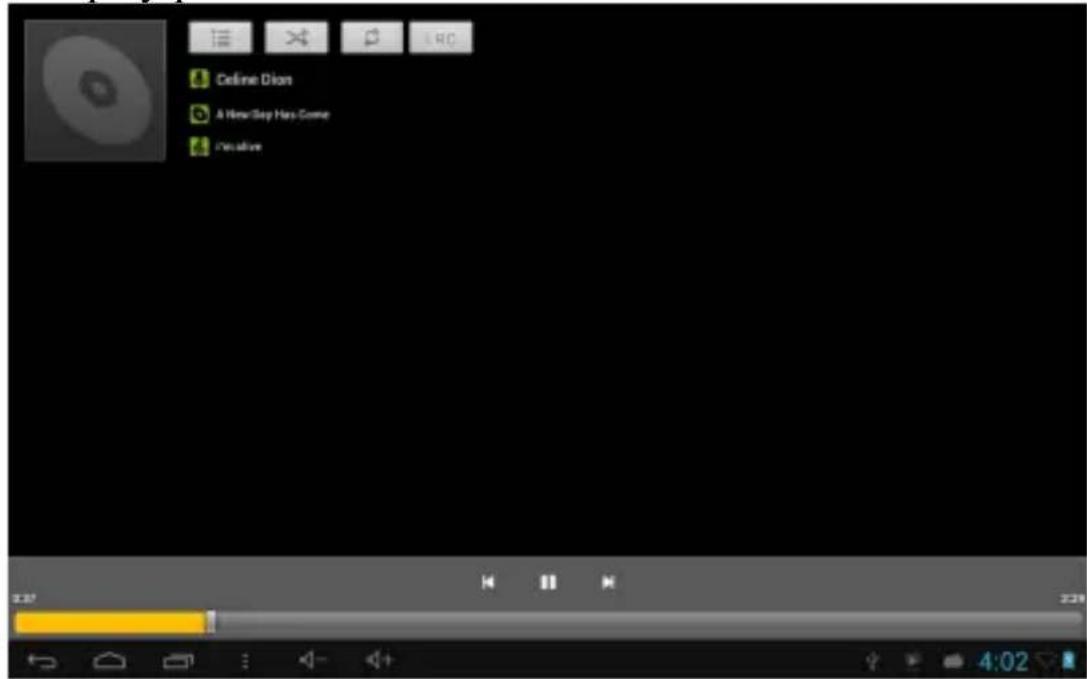
Click the “Music” in the main menu to enter the audio playback interface. It lists the audio files in the device, and you may click the file name to play it. in the audio playing interface, click the icons to play/pause/ increase volume/ decrease volume/ FF/ REW....
6.2. Video Playback
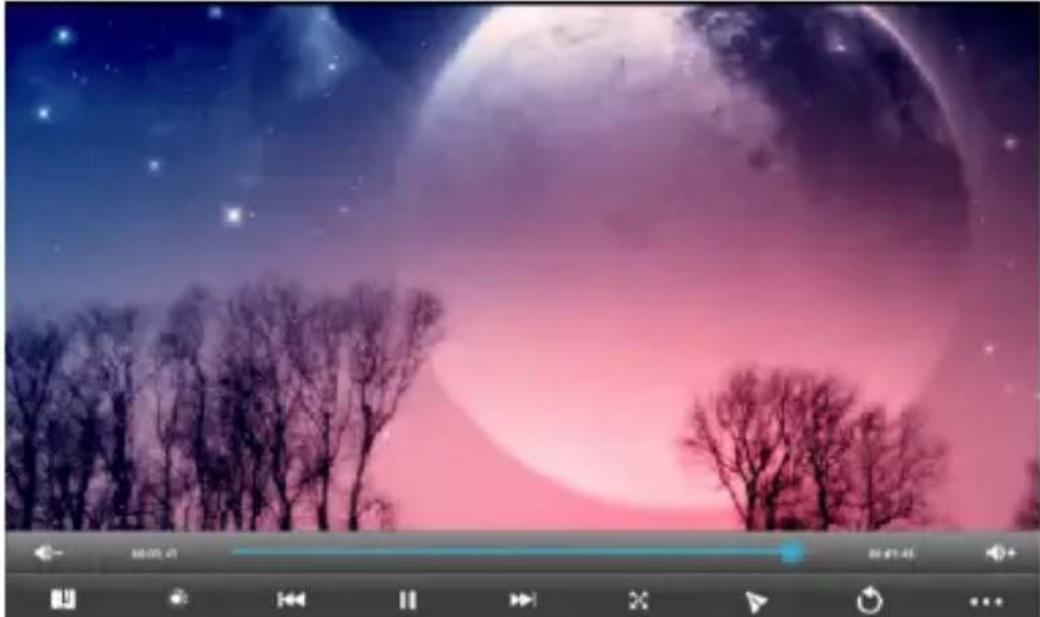
Click the “Video” in the main menu to enter the video playback interface. It lists the video files in the device, and you may click the file name to play it. in the video playing interface, touch the screen to pop-up the operation icons and click the icons to play/pause/ increase volume/ decrease volume/ skip to next file/skip to previous file....
natural_image
Night sky with a full moon and silhouetted trees, no text or symbols visible7. Picture viewing
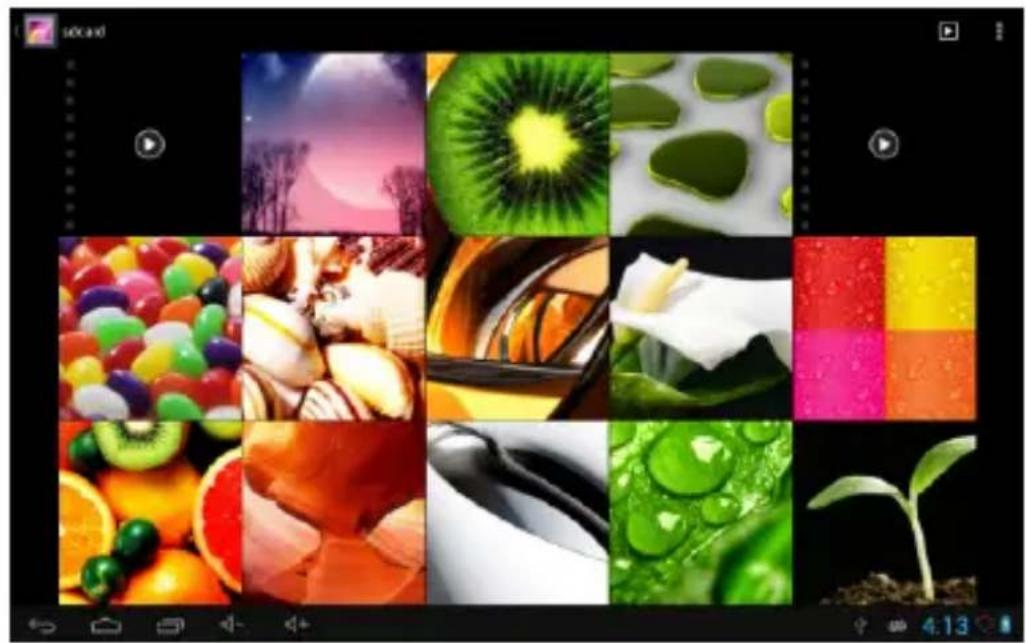
Click “Gallery” in the main menu to enter the picture folder list. Select and click the folder you want to enter, it displays the . click the thumbnail of the picture to view it.
Touch the screen to pop-up the operation icons while viewing the picture, you may zoom in/zoom out/ skip to next picture/skip to previous picture/ rotate/ delete the picture...
natural_image
Grid of 12 colorful and organic imagery tiles including fruits, vegetables, and a seedling (no text or symbols)
natural_image
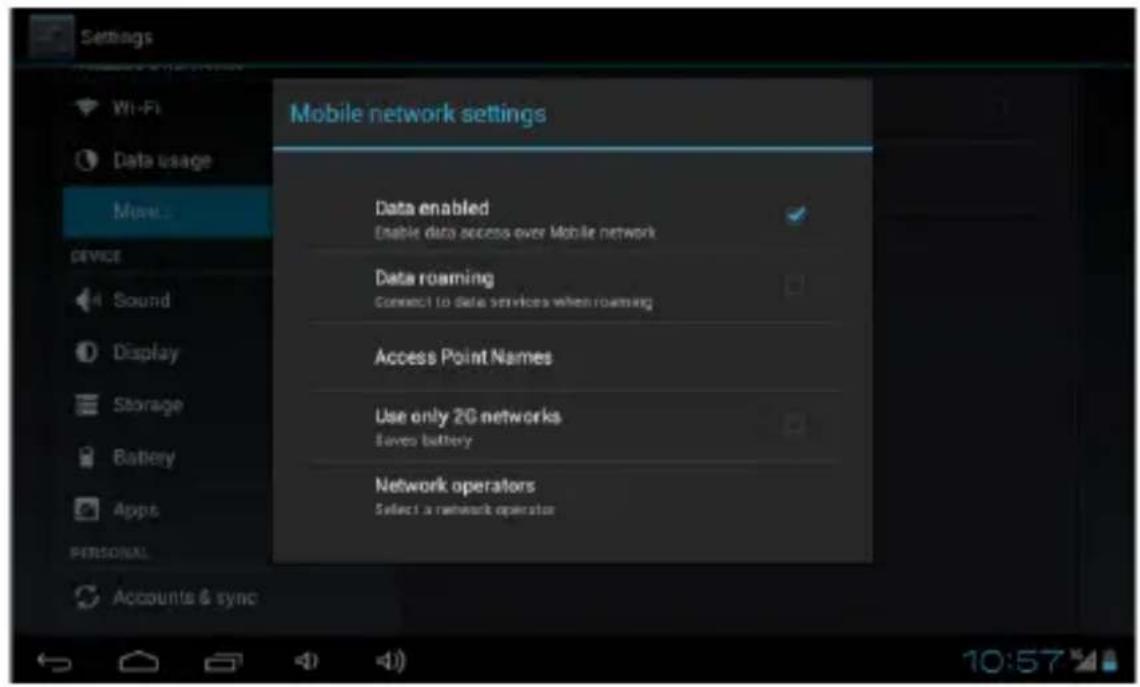
Close-up of assorted fruits including kiwi, orange slices, and a whole citrus (no text or symbols visible)8. 3G DONGLE (not included)
The device supports external 3G Dongle, connect the 3G dongle to the device via the external transfer cable, after the dongle indicator lights, you may use the 3G network normally.
9. Camera
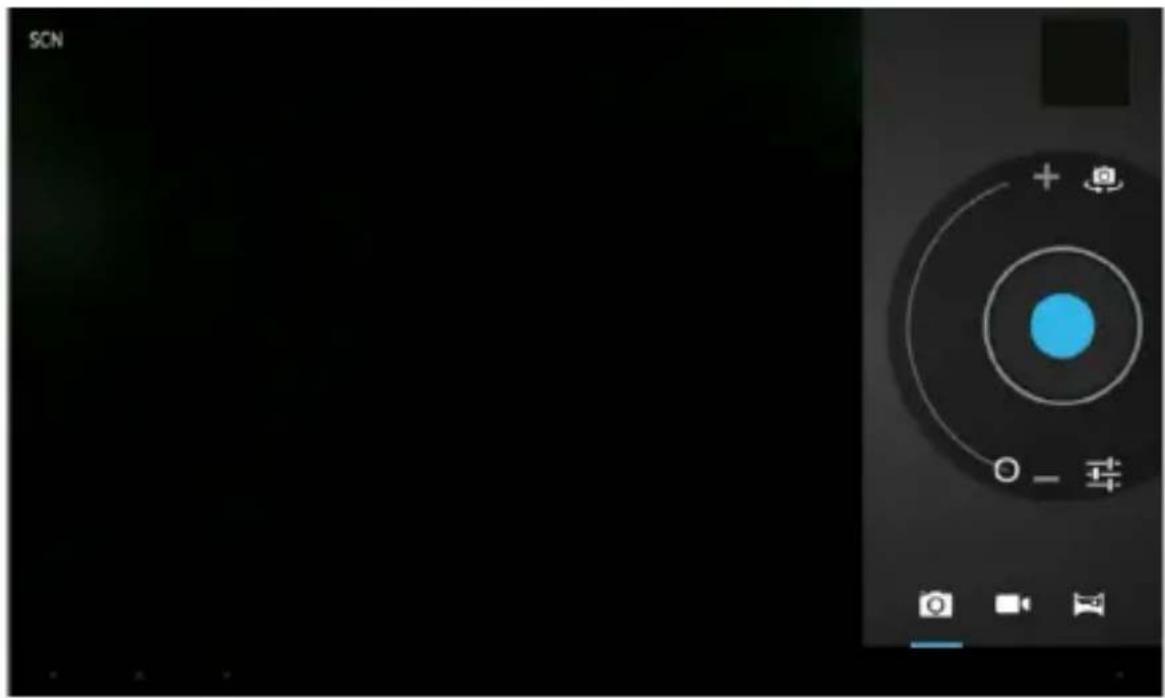
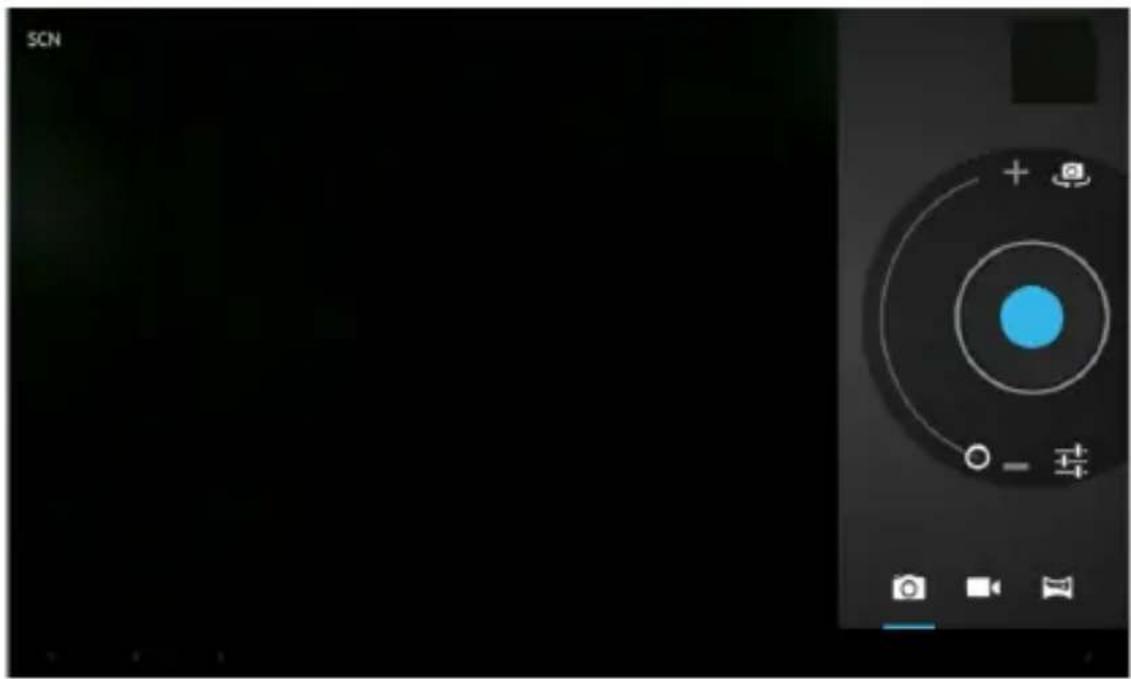
Click "Camera" in the main interface.
9.1 Camera
If the cursor is at position, the device is at Camera mode. Click to take picture.
Click to set the scene mode, Picture size, Picture quality, and color effect.
Click to set white balance.
Click to select back or front camera.

9.2 DV If the cursor is at position, the device is at DV mode.
Click to take picture.
Click 📄 to set the color effect or restore to default settings.
Click to select back or front camera.
10. Connect with external device
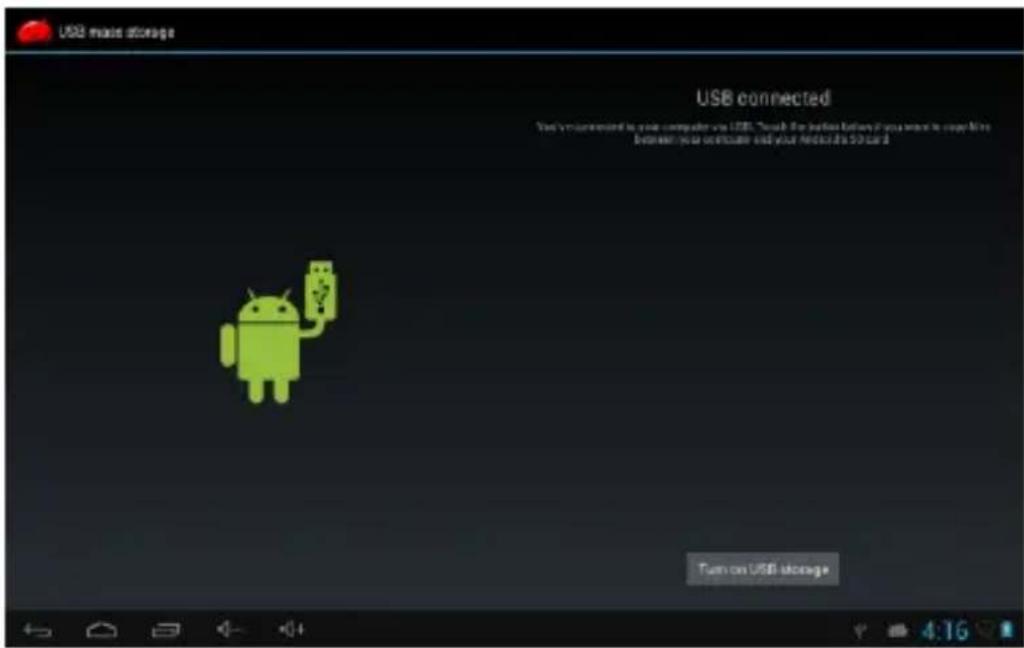
10.1. Connect with PC
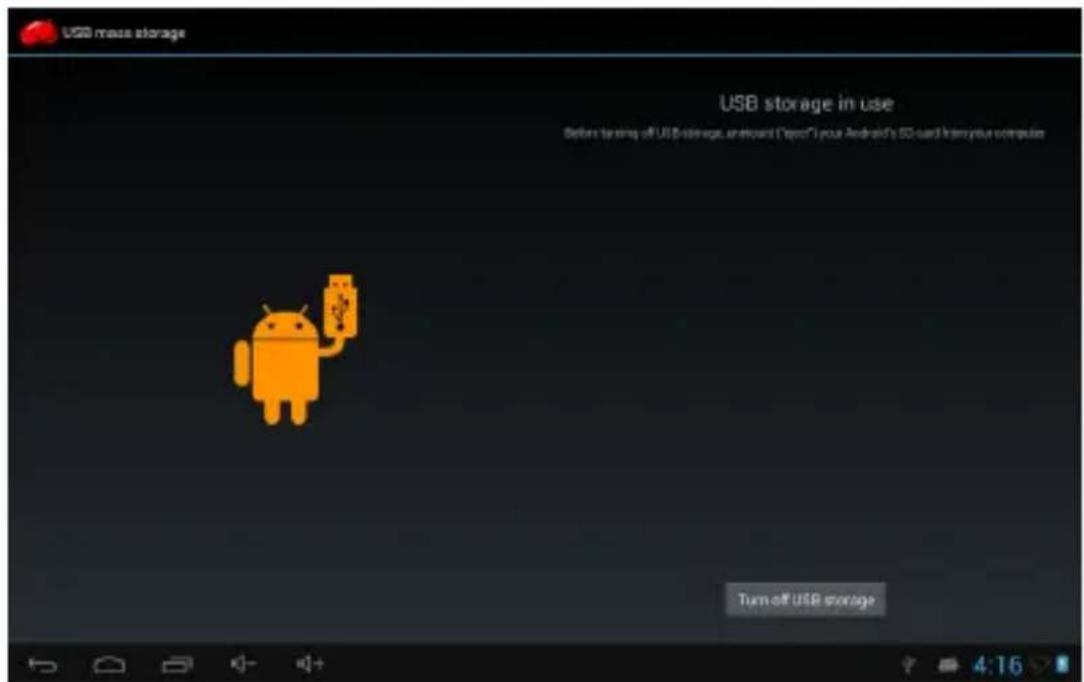
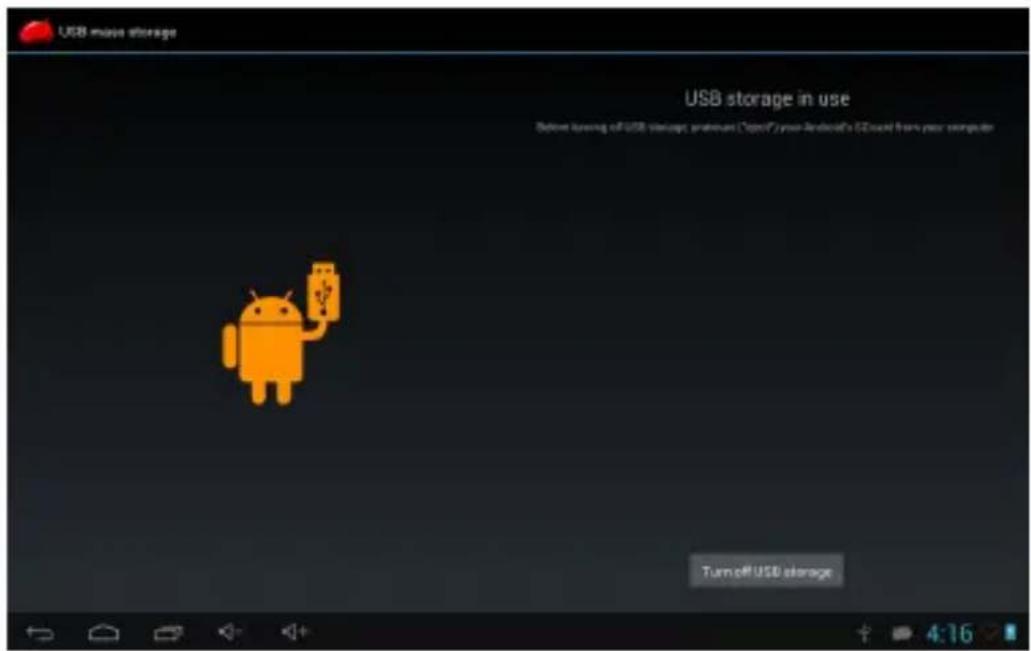
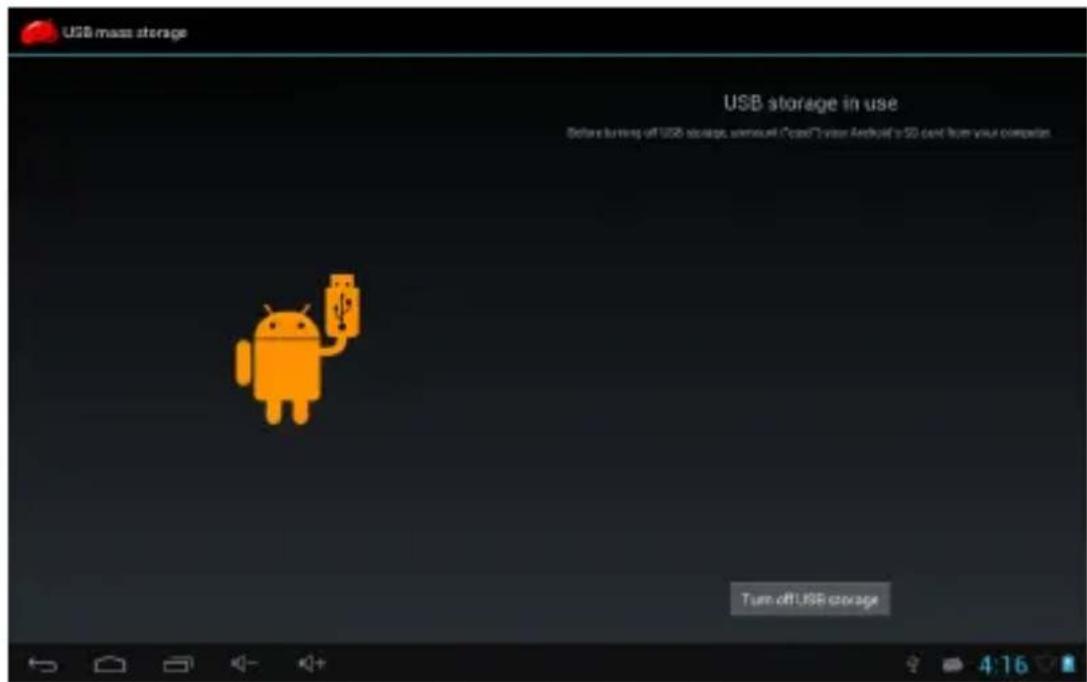
Connect the device with the PC via the USB cable. The PC appears two new disk symbols after connected successfully. One is the TF card, and the other is the built-in flash.
10.2. Use of OTG and USB host
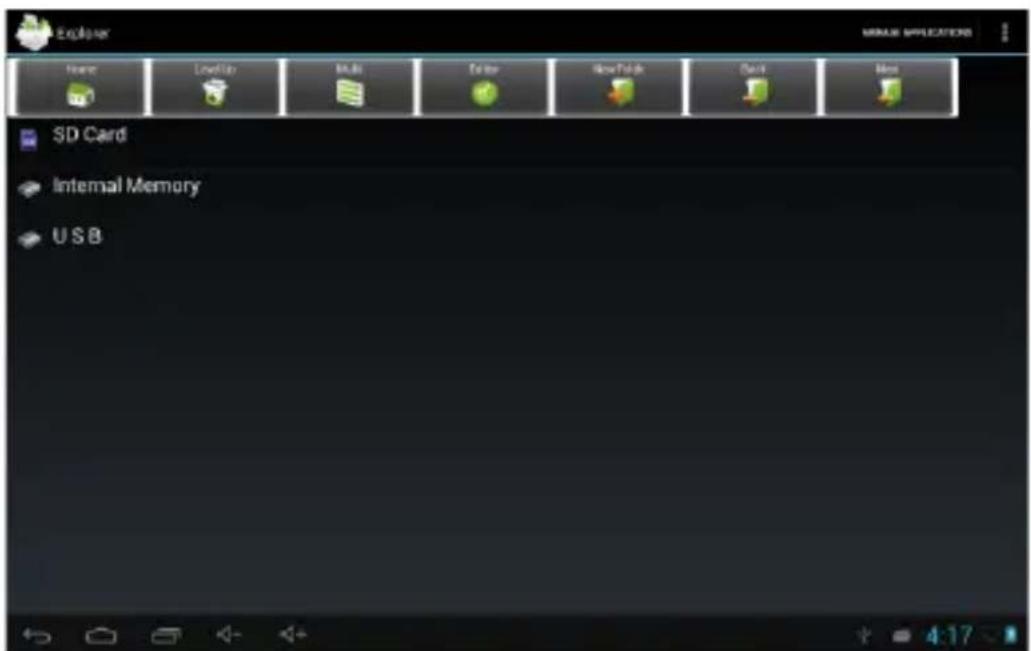
It supports the movable device with FAT32 format, such as U disk and MP3.
Connect the movable device to the MID. (Note: only OTG could support USB mouse and keyboard, USB HOST only support USB2.0 High speed device)
10.3. Applications
For convenient usage, we installed some third party software in the
MID. For detailed operation methods, please check the corresponding instruction. Some of the software may be able to be used in some area because of network service.
IV. Troubleshooting
1. What if the device is abnormal during operation?
Answer:
1). Reboot the device to see if it works OK.
2). Charge the device by the charger to activate the battery. Make sure it has power before you operate it.
3). It is suggested to upgrade the OS of the device by professional.
2. Why the standby time is so short sometimes?
Answer: the use time of the battery is all depend on the temperature and use instance. If the temperature is too high or too low, the use time of the battery might be effected. It is suggest using the device in normal temperature.
The using time is also affected by increased volume and frequently operation.
VI. Specifications
| Item NVR-TAB7 | S2 (8GB) |
| Display | 7” m) TFT,78 such panel |
| Camera | Dual 0.3M Pixel |
| OS | Android 4.2 |
| Input method | Soft dkeypa |
| Capacity | 8GB |
| External Capacity | TF card, up to 32GB |
| Audio | support MP1、MP2、MP3、WMA、WAV、OGG、OGA、APE、FLAC、AAC、M4A、3GPP,etc |
| Video | support up to HD 1080P; support AVI、MPG、MKV、RM、RMVB、MP4、MOV、VOB、DAT、FLV、TS、3GP、WEBM(VP8),etc. 1080p decoder |
| E-book | Support |
| Wireless network | Support WIFI |
| Language | Multi-language |
| USB | USB2.0 d high spee |
| OTG | Support |
| Temperature | -20°C to 60°C |
| Power supply AC | 100~240V 50/60Hz; DC 5V/2 A |
| Battery | 2200mAh poly-lithium batter y |
Note: The pictures list in the manual are for reference only!
The design and the specification of the unit are subject to change without notice.
natural_image
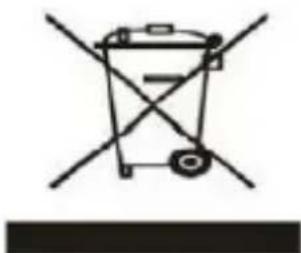
Simple line drawing of a container with crossed lines and no text or symbolsThis symbol indicates that when the end-user wishes to discard this product, it must be sent to separate collection facilities for recovery and recycling. By separating this product from other household-type waste, the volume of waste sent to incinerators or land fields is reduced and natural resources will thus be conserved.
“In order to fulfill ruling UNE EN-60065, we indicate that if the flexible wire is damaged, it can only be substituted by a technical service recognized by NEVIR, S.A., as per special tooling is required”
nevir®
NVR-TAB7 S2 (8GB)
natural_image
Close-up of a lion's face showing its open mouth and tongue, with no visible text or symbols.MANUAL DO USUÁRIO
Portugués
- Câmara frontal
- ON/OFF
- Micro USB
- Auscultadores
- DC charger interface
- Volume+, Volume -
- Interfaz TF-CARD
- Reiniciar
- Cámara trasera
- Altoparlante
2.1. Ajuste de data e hora
2.2. Brilho
3. O acesso Wi-Fi
natural_image
Night sky with a full moon and silhouetted trees, no visible text or symbols7. Visor de imagens
natural_image
Grid of 12 colorful and abstract images including fruits, vegetables, and a plant, displayed in a photo editing interface (no text or symbols on the images themselves)
natural_image
Close-up of fresh fruits including oranges, kiwi, and a whole citrus (no text or symbols visible)9. Cámara
Pulse “Cámara” na ecra principal
9.1 Cámara
10.2. OTG & USB
10.3. Aplicações
natural_image
Simple line drawing of a trash bin with crossed lines indicating no waste or discharge (no text or symbols)- Español
- Brillo
- Conexión Wi-Fi
- Cámara
- English
- Preface
- Do not allow water or foreign objects to enter the unit.
- Note:
- Introduction of cover:
- Operation Instruction
- Basic Operation
- Power on/Power off
- Sleep:
- Charging
- Note:
- Main menu
- Settings
- Date and Time Setting
- Brightness
- Wi-Fi connection
- Ethernet configuration
- Install, Uninstall and Run applications
- Install
- Uninstall
- Connect to internet
- Audio and video playback
- Audio playback
- Video Playback
- Picture viewing
- 3G DONGLE (not included)
- Camera
- Camera
- Connect with external device
- Connect with PC
- Use of OTG and USB host
- Applications
- Troubleshooting
- What if the device is abnormal during operation?
- Answer:
- Why the standby time is so short sometimes?
- nevir®
- NVR-TAB7 S2 (8GB)
- MANUAL DO USUÁRIO
- Portugués
- Ajuste de data e hora
- Brilho
- O acesso Wi-Fi
- Visor de imagens
- Cámara
- OTG & USB
- Aplicações
Brand : NEVIR
Model : NVR-TAB7 S2
Category : Tablet