IB-500FP - Food processor Imarflex - Free user manual and instructions
Find the device manual for free IB-500FP Imarflex in PDF.


| Product Type | Food Processor |
| Brand | Imarflex |
| Model | IB-500FP |
| Dimensions (approximate) | 30 x 20 x 30 cm |
| Weight (approximate) | 4 kg |
| Power Consumption | 750 W |
| Bowl Capacity | 1.8 L |
| Feeding Tube | Yes, large feed chute |
| Functions | Chopping, slicing, shredding, pureeing, mixing, dough kneading |
| Speed Settings | Variable speed with pulse function |
| Material | Plastic body with stainless steel blades |
| Safety Features | Safety lock on bowl and lid, non-slip base |
| Cleaning | Removable parts dishwasher safe (except motor base) |
| Cord Length | 1.2 m with cord storage |
| Accessories | Chopping blade, slicing disc, shredding disc, dough blade, spatula |
| Warranty | 1 year limited warranty |
Frequently Asked Questions - IB-500FP Imarflex
User questions about IB-500FP Imarflex
0 question about this device. Answer the ones you know or ask your own.
Ask a new question about this device
Download the instructions for your Food processor in PDF format for free! Find your manual IB-500FP - Imarflex and take your electronic device back in hand. On this page are published all the documents necessary for the use of your device. IB-500FP by Imarflex.
USER MANUAL IB-500FP Imarflex
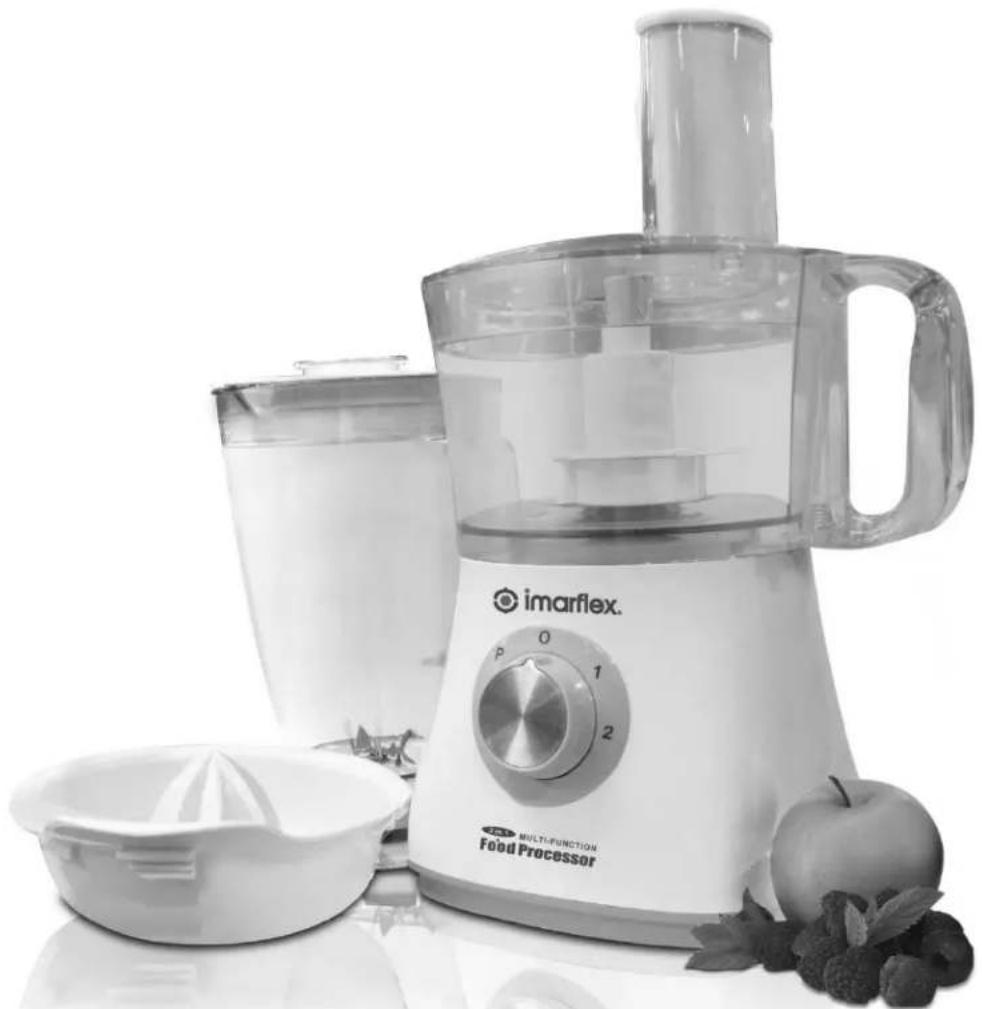
3 in 1
MULTI-FUNCTION
Food Processor
natural_image
Black-and-white photo of a Marflex food processor with a glass bowl, fruit bowl, and apple on the side (no visible text or symbols)SPECIFICATION
MODEL NO. : IB-500FP
RATED VOLTAGE : 230Va.c. / 60Hz
POWER CONSUMPTION : 500watts
IMPORTANT SAFEGUARDS
When using electrical appliances, basic safety precautions should always be followed, including the following:
- Read all instructions carefully.
- Before using the unit, check if the voltage indicated corresponds with the convenience outlet (230Va.c.).
- Do not use any appliance with a damaged cord or plug. If the cord is damaged it should be replaced with the same type and size or bring the unit to the nearest lmarflex authorized service center.
- Do not use two-way socket with another appliance.
- Do not place the blender near gas stove or electric burner.
- Put the blender on flat stable surfaced; keep it away from the edge of counter to avoid accident.
- Children should be supervised to ensure that they do not play with the appliance
- This appliance is not intended to use by person (including children) with reduced physical, sensory or mental capabilities, or lack of experience and knowledge, unless they have been given supervision or instruction concerning the use of the appliances by a person responsible for their safety.
- To protect against electric shock, do not immerse the base in water.
- Blade is sharp, handle it carefully.
- Do not put the blade assembly on the base without the plastic jar.
- Do not use the blender if the plastic jar has a crack.
- Unplug the blender from the convenience outlet before cleaning.
- Do not use the blender other than its intended use.
- Save this instruction manual for future reference.
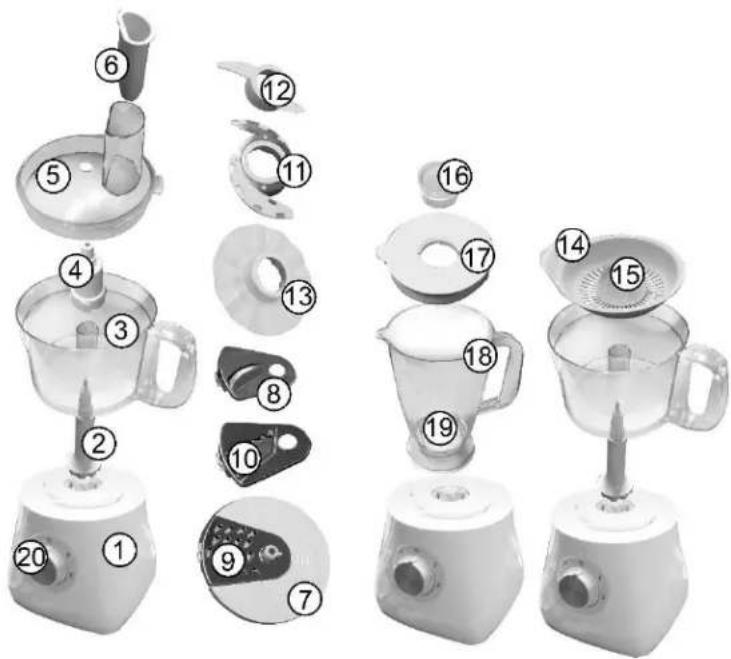
DESCRIPTION OF PARTS
- Motor Base
- Drive Shaft
- Bowl
- Blade Adapter
- Bowl Cover w/ Chute
- Food Pusher
- Disc Holder
- Slicing Disc
- Shredding Disc
- Cutting Disc
- Chopper
- Dough Blade
- Whipping Disc
- Straining Basket
- Cone Reamer
- Center Lid
- Lid
- Plastic Jar
- Blade Assembly
- Speed Control
HOW TO USE/ASSEMBLE
FOOD PROCESSOR
-
For initial use, wash all parts thoroughly except the Motor Base. (1)
-
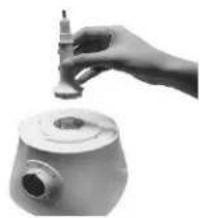
Fit the Drive Shaft (2) on the Motor Base (1) (see pic.1)
-
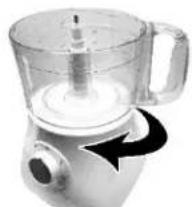
Put the Bowl (3) into the Drive Shaft (2) and turn clockwise to lock. (See pic.2)
-
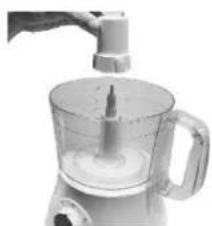
Insert the Blade Adapter (4) on the Bowl's (3) hole. (See pic.3)
-
Select the desired attachment.
a. Chopper (11) - to chop several types of foods. (See pic.4)
natural_image
Hand holding a small mechanical component above a cylindrical housing (no visible text or symbols)Pic.1
natural_image
Close-up of a white kitchen blender with a black arrow indicating rotation (no text or symbols visible)Pic.2
natural_image
Close-up of a kitchen blender with a handle and lid, no visible text or symbolsPic.3
natural_image
White kitchen blender with handle and side arm, no visible text or symbolsPic.4
| Pro c es s ed F oo d | Meas ure m en t Per batc h |
| Choc o late | ≤1 0 0 g |
| Chee s e | ≤2 0 0 g |
| meat | ≤5 0 0 g |
| Te a or Spice | 50~100g |
| F r u i t & Ve g e t a b l | 100~300g |
| Onio n | ≤5 0 0 g |
Tips and Warning
• Always keep the chopper inside the bowl before feeding food.
- Use pulse function for several times to avoid cutting too fine.
Do not run for too long while cutting hard cheese or chocolate. Otherwise, these materials will overheat and begin to melt.
- Standard chopping period: 30-60 sec.
b. Dough Blade (12) - to process flour or soft foods (See pic.5)
| Pro c es s ed Foo d | Meas ure m en t Per batch h |
| Flou r or S oft Chee se | ≤3 0 0 g |
| Egg | ≤5 p i e c e s |
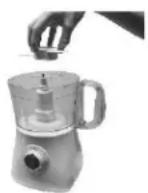
Pic.5
Tips and Warning
• Always keep the dough blade inside the bowl before feeding food.
- Standard processing period: 30-180 sec.
c. Whipping Disc (13) – to mix some soft mixture (See pic.6)
| Pro c es s ed Food | Meas ure m en t Per batc h | Period Per batc h |
| Egg | 2~5 pcs | 30~70sec |
| chee se | 125-350ml | 20es c . |
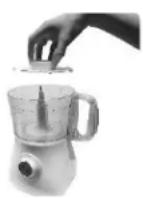
Pic.6
Tips and Warning
- Whipping Disc can be used to mix cheese and egg, to make mayonnaise and pudding rapidly.
- Do not use Whipping Disc to knead flour.
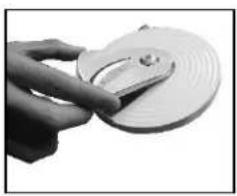
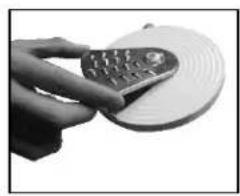
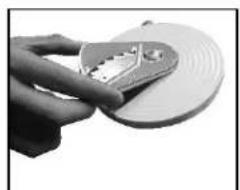
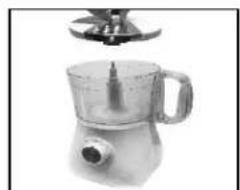
d. Slicing Disc (8) Shredding Disc (9) and Cutting Disc (10) Assembly
- Install desired attachment into the Disc Holder (see pic.7-9)
- Place the disc assembly on the bowl assembly (see pic.10)
natural_image
Hand holding a circular disc with a metallic object, no visible text or symbolsPic.7
natural_image
Hand holding a remote control device with a circular tray (no visible text or symbols)Pic.8
natural_image
Close-up of a hand holding a circular electronic device with a metallic clip (no visible text or symbols)Pic.9
natural_image
White kitchen blender with handle and side blade (no visible text or symbols)Pic.10
Tips and Warning
- Choose desired disc according to the processed food and desired shape of food.
- Push softly when feeding food.
- Pre-cut food into smaller pieces according to the diameter of food chute.
-
Feed gradually for better effect. When cutting soft food, choose lower speed to avoid the food turning soupy. If large quantity food needs to be cut, please cut it for several batches.
• Capacity for one batch is 1200ml. -
Put the Bowl Cover (9), align the slot then slightly turn it clockwise to lock. (See pic.11)
-
Plug the unit in the convenience outlet.
-
Select the desired speed.
-
Insert the food on the chute.
-
Press down the food with the Food Pusher (6). (See pic.12)
-
After use switch OFF and unplug from the convenience Outlet.
CITRUS JUICER
- Fit the Drive Shaft (2) on the Motor Base (1).
- Put the Bowl (3) into the Drive Shaft (2) and turn clockwise to lock.
- Place the Straining Basket (14) with the Cone Reamer (15) into the Bowl (3) and turn clockwise to lock. (See pic.13)
- Cut citrus fruits into halves.
- Turn ON the unit then squeeze the fruits.
- To pour the juice, simply remove the Straining Basket (14) turns the Bowl (3), counter clockwise (please refer to How To Disassemble)
- Turn Off and unplug after use.
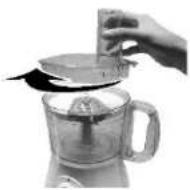
Pic.11
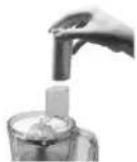
Pic.12
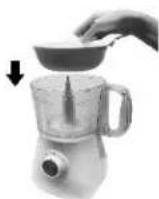
Pic.13
Tips and Warning
Use lower speed for citrus juicer function.
BLENDER
- Assemble Blade Assembly (19) and Plastic Jar (18) then fit it on top of the Motor Base (1). (See pic.14)
- Plug in the convenience outlet.
- Put the desired mixture (be sure to remove the seeds of the fruits/vegetable).
- Insert the Center Lid (16) into the opening on the Lid (17), align the slots and turn clockwise to lock then cover the Plastic Jar (18). (See pic.15)
- Select the desired speed.
- Additional ingredients can be added through the opening in the Lid (6).
- After use switch OFF and unplug from the electric outlet.
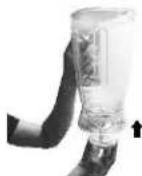
Pic.14
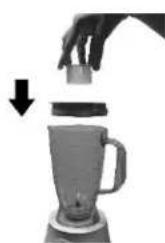
natural_image
Hand pouring liquid into a blender with a downward arrow indicating action (no text or symbols)Pic.15
CAUTION: When using cube ice or tube ice, use the pulse speed first before setting to desired speed.
Tips and Warning
• To achieve the best results when pureeing solid ingredients, place small portions through the opening in the lid one by one.
- When mixing solid ingredients, start with a small amount of liquid. Gradually add more liquid through the opening in the lid.
- For stirring solid or very thick liquid ingredients, we recommend that you use the blender in pulse mode to prevent the blades from stuck up.
- Using PULSE function for pre-mixing is recommended before setting to high speed.
HOW TO DISASSEMBLE
FOOD PROCESSOR
- After use switch OFF and unplug from the electric outlet
- Remove the Food Pusher (6) from the chute. (See pic. 16)
- Turn the Cover (5) counterclockwise then lift. (See pic.17)
- Remove the attachment, Disc Assembly, Chopper (11), Dough Blade (12), Whipping Disc (13). (See pic.18)
- Take out the Blade Adapter (4) from the Bowl (3). (See pic.19)
- Turn the Bowl (3) counterclockwise to remove then lift the Drive Shaft (2) (See pic.20 & 21)
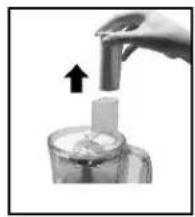
natural_image
Hand pouring liquid into a glass container with an arrow indicating upward motion (no text or symbols)Pic.16
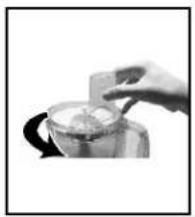
natural_image
Hand pouring liquid into a glass container (no text or symbols visible)Pic.17
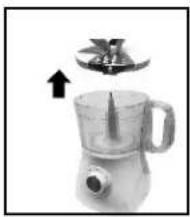
natural_image
White kitchen blender with a lid and handle, showing a black arrow pointing to the lid (no text or symbols visible)Pic.18
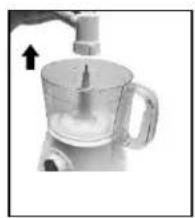
natural_image
Close-up of a kitchen mixer with a handle and lever, showing liquid level (no text or symbols visible)Pic.19
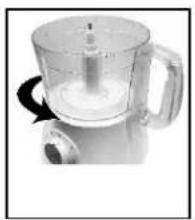
natural_image
Close-up of a clear plastic kitchen blender with handle and side port (no visible text or symbols)Pic.20
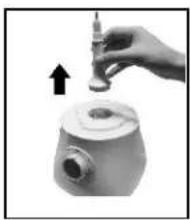
natural_image
Hand holding a small object with an arrow indicating upward motion (no text or symbols visible)Pic.21
CITRUS JUICER
- Remove the Straining Basket (14). (See pic.22)
- Turn the Bowl (3) counterclockwise. (See pic.23)
- Lift the Drive Shaft (2). (See pic.24)
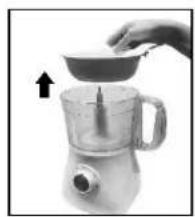
natural_image
Hand pouring liquid into a blender with an arrow indicating motion (no text or symbols)Pic.22
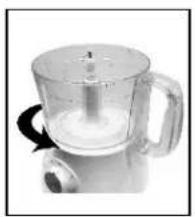
natural_image
Close-up of a transparent kitchen mixer with handle and lid (no visible text or symbols)Pic.23
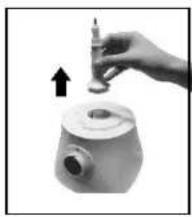
natural_image
Hand holding a small mechanical component with an arrow indicating upward motion (no text or symbols visible)Pic.24
BLENDER
- Lift up the Plastic Jar (18) from the Motor Base (1). (See pic.25)
- Remove the Lid (17) and the Center Lid (16) (see pic.26)
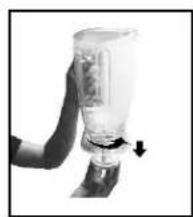
- To remove the Blade, turn counterclockwise. (See pic.27)
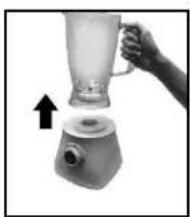
natural_image
Hand holding a blender with an arrow indicating rotation (no text or symbols visible)Pic.25
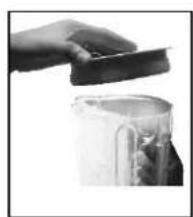
natural_image
Close-up of a hand holding a small container with a lid, partially open to reveal contents (no visible text or symbols)Pic.26
natural_image
Close-up of a hand holding a transparent cylindrical device with a black arrow pointing to it, no visible text or symbols.Pic.27
CLEANING AND MAINTENANCE
- All parts are washable with soap and water except the Motor Base (1).
- Wipe the Motor Base (1) with damp cloth.
- Wipe it all dry before storing.
- Do not use abrasive materials to avoid scratches
TROUBLE SHOOTING
| PROBLEM | POSSIBLE CAUSE | SOLUTION |
| Unit is not working | Power supply | Check the electric supply where the unit is plugged in. |
| Attachment assembly | Install the attachment properly | |
| The unit stop working | Motor gets hot | Unplug the unit then let it cool |
REMINDER: Please do not forget to fill up and send the warranty card
Brand : Imarflex
Model : IB-500FP
Category : Food processor