Calli FK140SVA - Range hood Cylinda - Free user manual and instructions
Find the device manual for free Calli FK140SVA Cylinda in PDF.


| Product Type | Range Hood |
| Installation Type | Wall-mounted |
| Width | 90 cm |
| Depth | 50 cm |
| Height (min/max) | 60 - 110 cm |
| Net Weight | 16 kg |
| Voltage | 220-240 V |
| Frequency | 50/60 Hz |
| Motor Power | 250 W |
| Max Extraction Rate | 750 m³/h |
| Noise Level (max) | 60 dB |
| Control Type | Electronic push buttons |
| Lighting | LED, 2 x 3 W |
| Grease Filter | Aluminum, washable |
| Carbon Filter | Optional, replaceable |
| Duct Diameter | 150 mm |
| Energy Class | B |
| Annual Energy Consumption | 100 kWh |
| Grease Filter Cleaning Indicator | Yes |
| Auto Shut-off Timer | Yes |
| Remote Control | No |
| Warranty | 2 years |
Frequently Asked Questions - Calli FK140SVA Cylinda
User questions about Calli FK140SVA Cylinda
0 question about this device. Answer the ones you know or ask your own.
Ask a new question about this device
Download the instructions for your Range hood in PDF format for free! Find your manual Calli FK140SVA - Cylinda and take your electronic device back in hand. On this page are published all the documents necessary for the use of your device. Calli FK140SVA by Cylinda.
USER MANUAL Calli FK140SVA Cylinda
natural_image
Simple grayscale icon depicting kitchen appliances: oven, refrigerator, and washing machine (no text or symbols)Calli FK140SVA
EN 3
NO 7
DA 11
FI 15
SV 19
EN
1. SAFETY INFORMATION
For your own safety and to ensure proper operation of the appliance, please read this manual carefully before installation and operation. Keep these instructions together with the appliance, even if it is sold or transferred to third parties. It is important that users know all the appliance's operating and safety characteristics.
The cables must be connected by a trained technician.
- The manufacturer shall not be considered responsible for any injury or damage caused by improper installation or use.
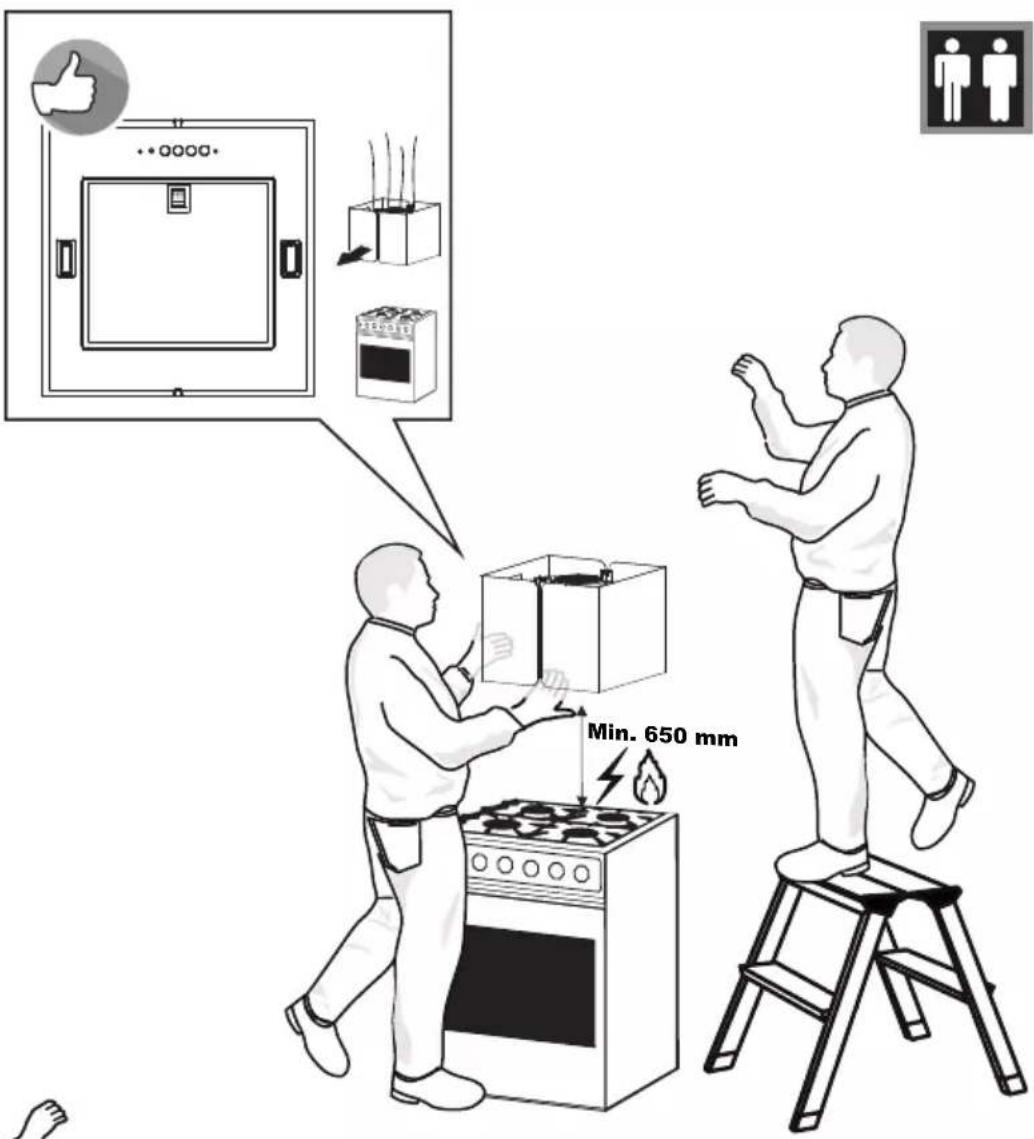
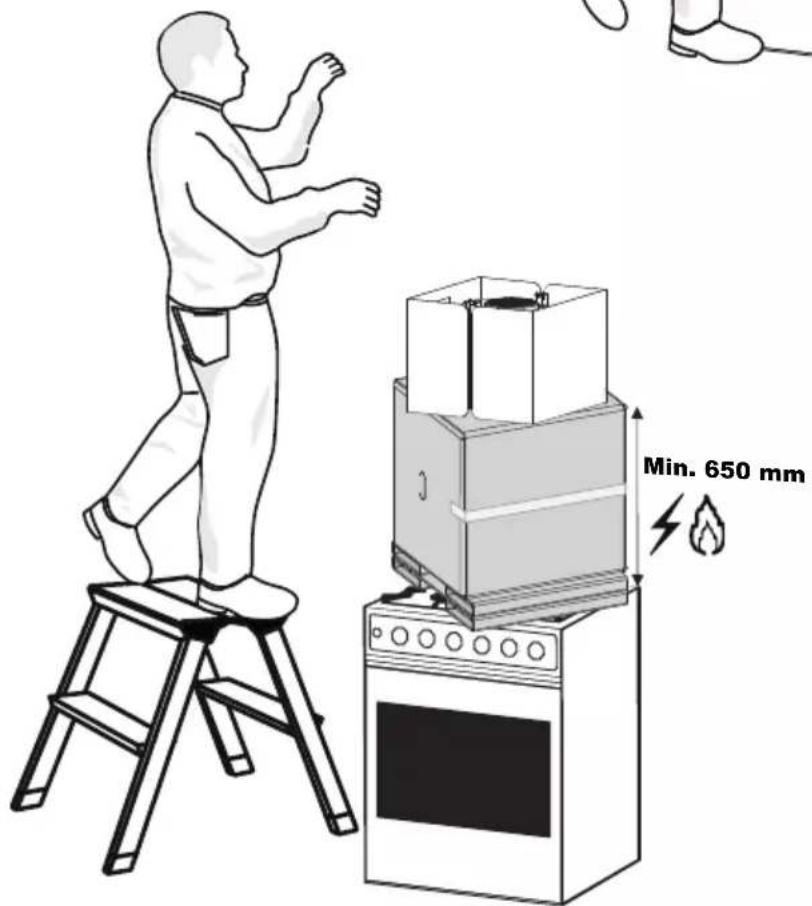
- The minimum safety distance between the hob and the suction hood is 650 mm (some models may be fitted at a lower height; please see the paragraph relating to working dimensions and installation).
- If the instructions for installation of the gas hob specify a distance greater than the one indicated, this must be taken into account.
- Check that the mains power supply corresponds to the one indicated on the data plate affixed inside the hood.
-
The cut-out devices must be installed in the fixed system according to wiring system regulations.
-
For Class I appliances, check that the domestic power supply is adequately earthed.
- Connect the hood to the flue using a pipe with a minimum diameter of 120 mm. The fumes must travel the shortest distance possible.
- All the air venting regulations must be complied with.
- Do not connect the ducting hood to flues that also carry combustion fumes (e.g. boilers, chimneys, etc.).
- If the hood is used in combination with non electric appliances (e.g. gas appliances), a sufficient level of ventilation must be guaranteed in the room to prevent any exhaust backflow. If the kitchen hood is used in combination with appliances that are not electrically powered, the negative pressure in the room must not exceed 0.04 mbar to avoid any risk of the fumes being sucked back into the room by the hood.
- The air must not be extracted through a flue that is also used as an exhaust flue for fumes from gas or other fuel powered combustion devices.
- If it is damaged, the power cable must be replaced by the manufacturer or by a service technician.
- Connect the plug to a socket that complies with current regulations and is in an accessible position.
- As regards the technical and safety measures to be taken for exhausting of fumes, it is important that the regulations set by local authorities be complied with scrupulously.

CAUTION: remove the protective films before installing the hood.
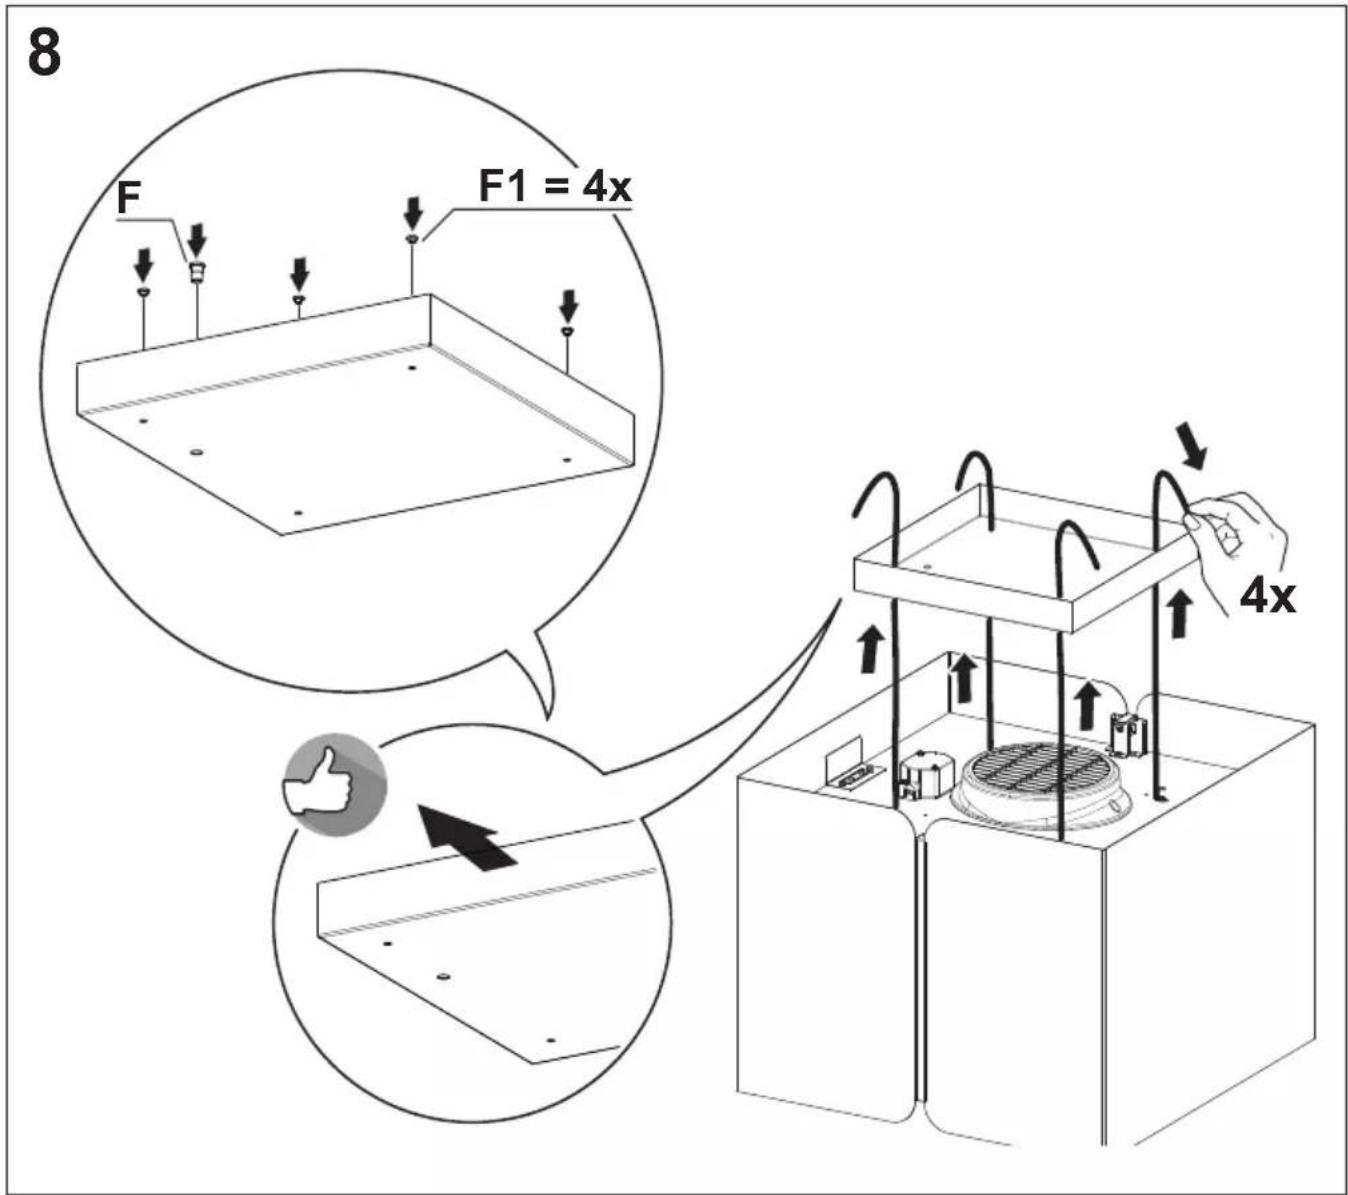
- Only use screws and hardware of a sort suitable for the hood.

CAUTION: failure to install the screws or fixing devices as described in these instructions may mean there is a risk of electric shocks.
- Do not look directly at the light through optical devices (binoculars, magnifying glasses...).
- Do not flambé food under the hood: you might cause a fire.
- This appliance may be used by children over the age of 8 years and by persons with limited psycho-physical and sensory abilities or with insufficient experience and knowledge, provided they are carefully supervised and instructed on how to use the appliance safely and on the dangers that it involves. Make sure that children are not allowed to play with the appliance. Cleaning and maintenance to be performed by the user must not be carried out by children, unless they are under supervision.
- Supervise children, to make sure they do not play with the appliance.
- The appliance must not be used by persons (including children) with limited psychophysical or sensory capacities or with insufficient experience and knowledge, unless they are carefully supervised and instructed.

Accessible parts may become extremely hot during the use of cooking appliances
- Clean and/or replace the fil- ters after the period of time in- dicated (danger of fire). See the paragraph on Mainten- ance and cleaning.
- The room must be adequately ventilated when the hood is used simultaneously with appliances that use gas or other fuels (not applicable to appliances that only discharge air into the room).
- The symbol 📁 on the product or on its packaging indicates that the product must not be disposed of with the normal domestic waste. The product must be disposed of at a specialist re-cycling centre for electrical and electronic components. By making sure that this product is disposed of properly, you will help prevent possible negative consequences for the environment and for health that might result from its improper disposal. For more detailed in-
formation on how to re-cycle this product, please contact your local municipal offices, local waste disposal service or the shop in which the product was purchased.
2. USE
- The suction hood has been designed exclusively for domestic use, to eliminate kitchen odours.
- Never use the hood for purposes other than those for which it was designed.
- Never leave high flames under the hood when it is in operation.
- Adjust the intensity of the flame so that it is directed onto the bottom of the cooking pan, making sure it does not wrap around the sides.
- Deep-fryers must be kept under constant supervision when in use: the oil may catch fire if it gets too hot.
3. CLEANING AND MAINTENANCE
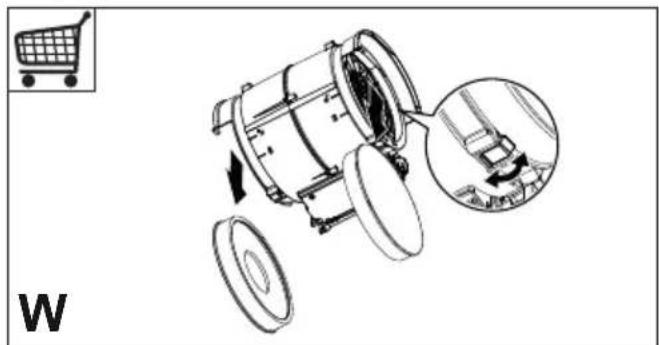
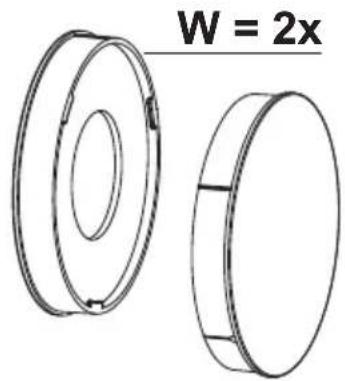
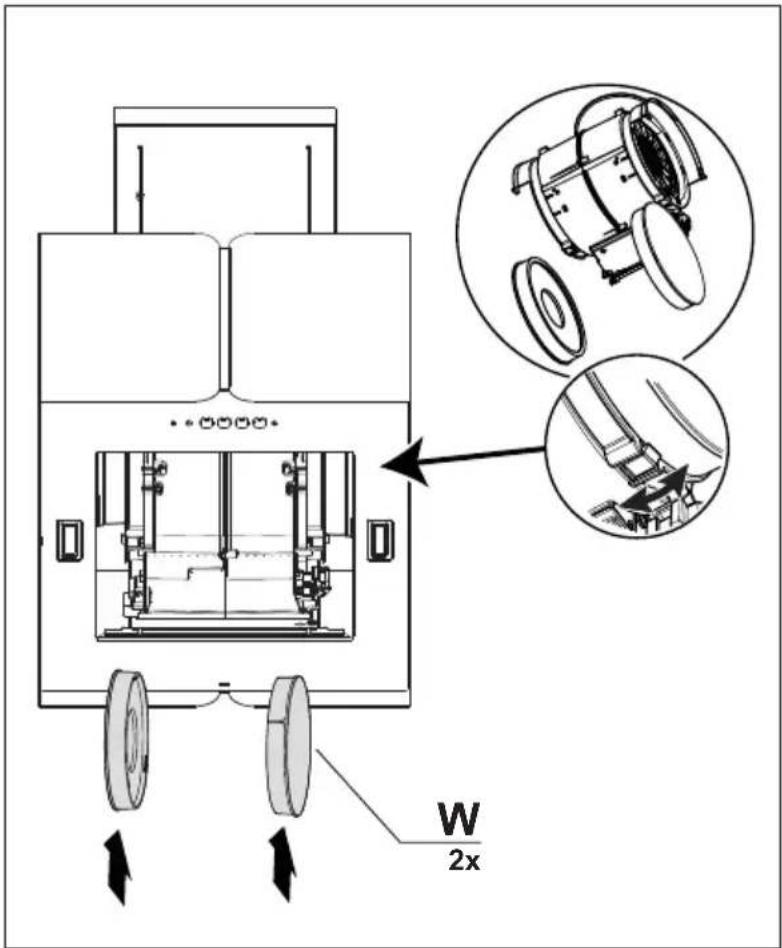
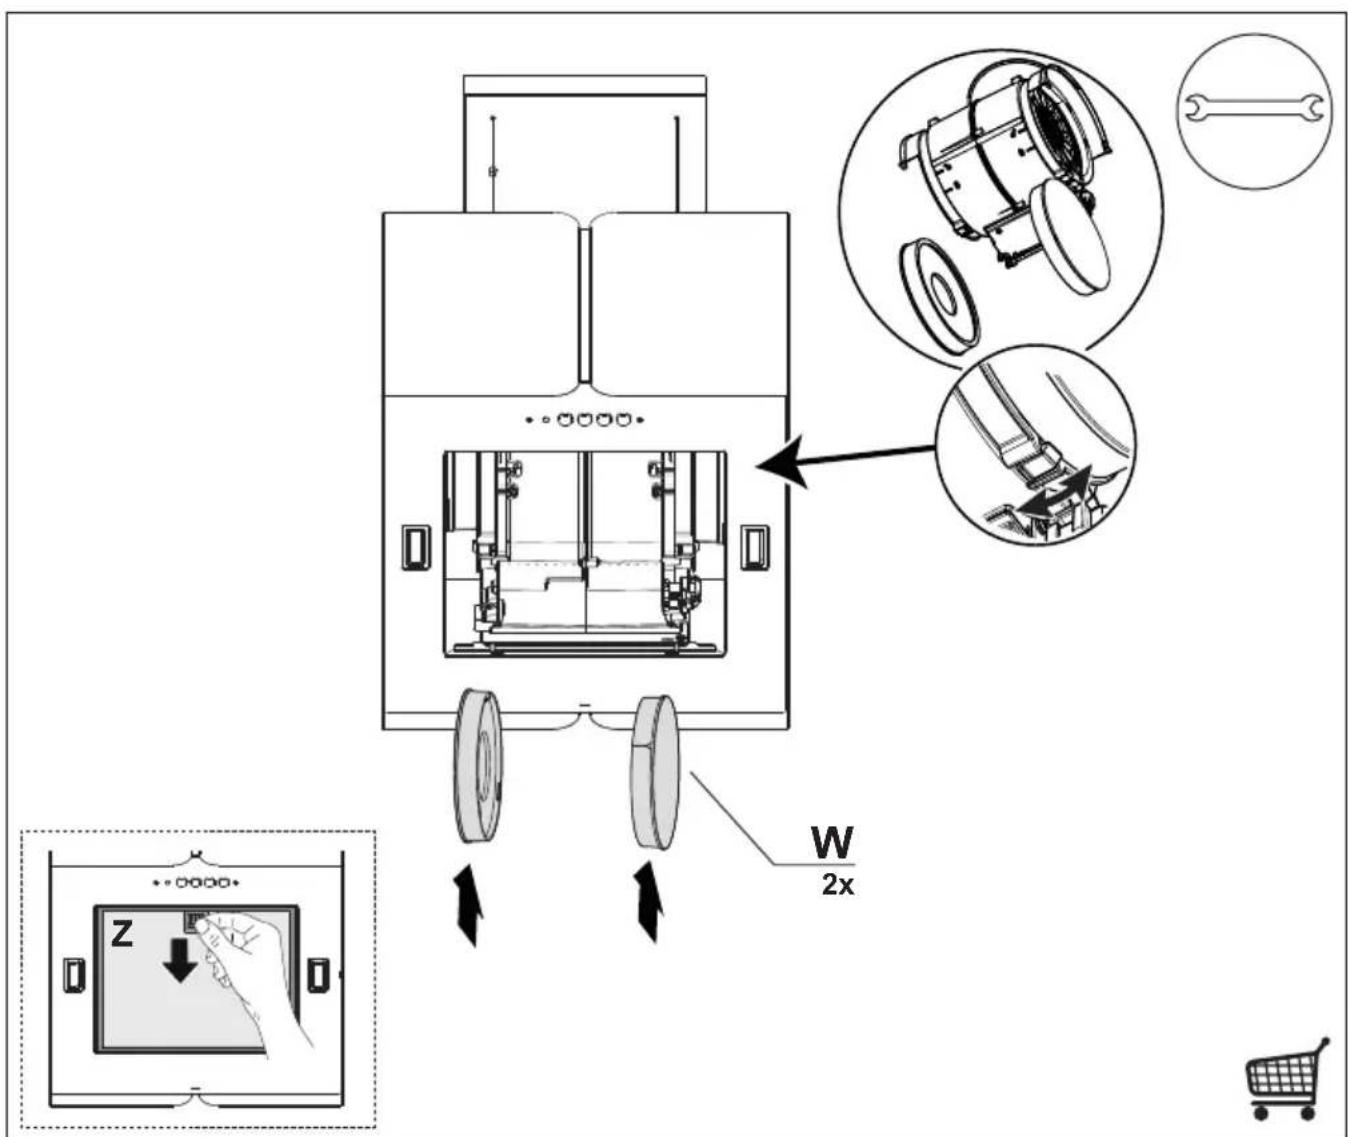
- The activated carbon filter is neither washable nor regenerable and must be replaced approximately every 4 months of operation or more frequently in case of very intense use (W).
natural_image
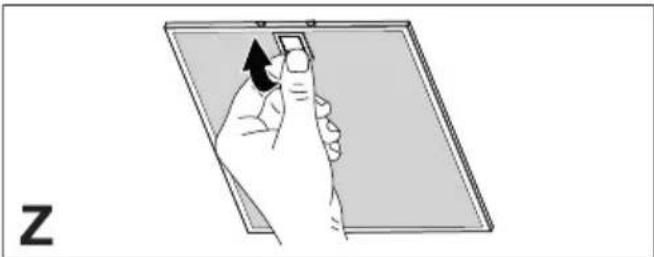
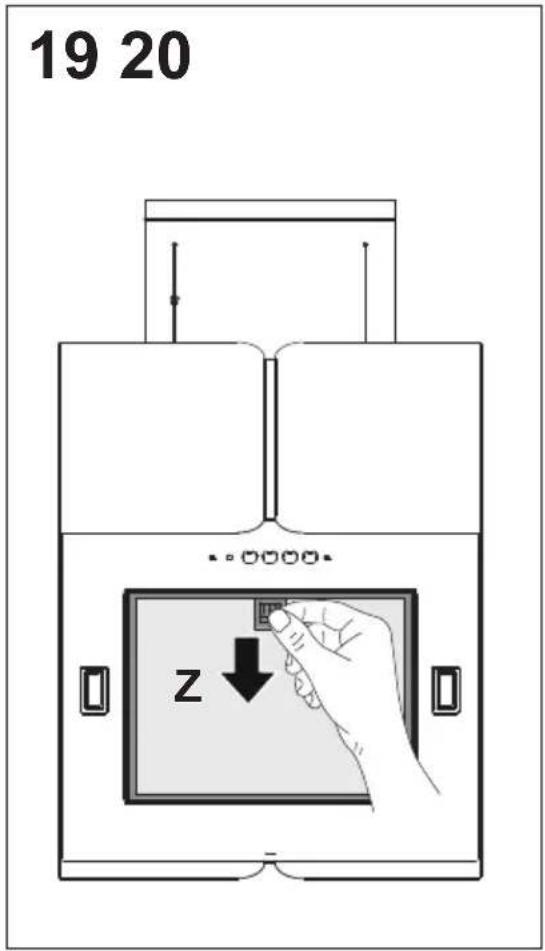
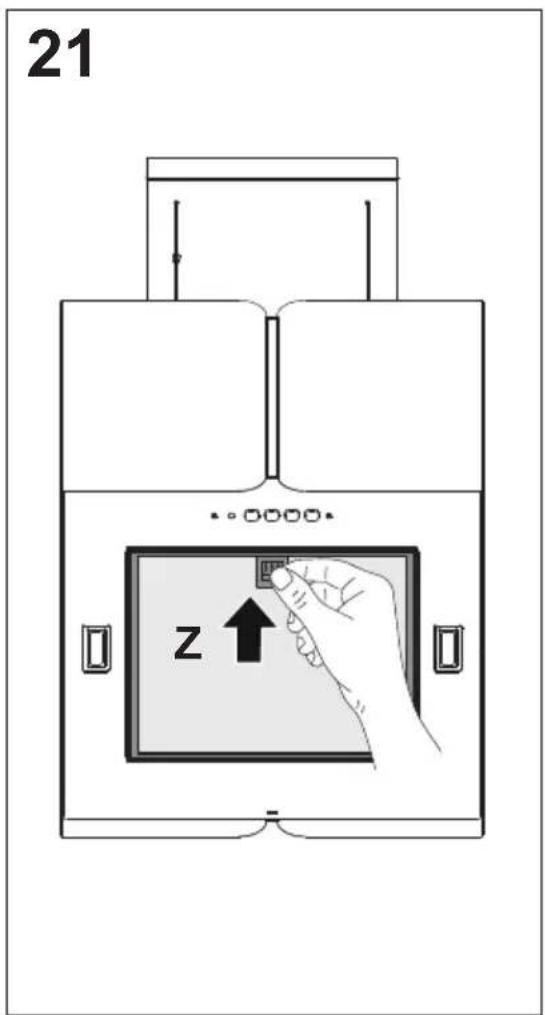
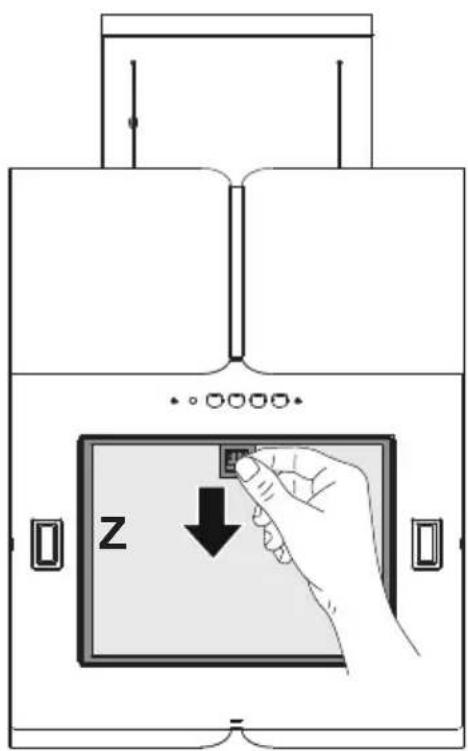
Diagram of a mechanical device with labeled parts and an inset shopping cart icon (no text or symbols on the diagram itself)- The grease filters must be cleaned every 2 months of operation or more frequently in case of very intense use and can be washed in a dishwasher (Z).
natural_image
Illustration of a hand pressing down on a tablet screen with an arrow indicating the press (no text or symbols present)- Clean the hood using a damp cloth and a neutral liquid detergent.
- For external and internal cleaning of the hood avoid alcoholic or silicone products.
If the product or one of its parts is made of stainless steel, use specific non-ab-rasive products for cleaning and follow the lines of the satin finish during cleaning.
4. CONTROLS
 |  | 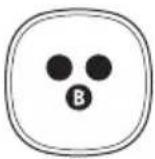 |  | |
| T1 | T2 | T3 | L | |
| Button Functions LED | ||||
| T1Speed | Starts the motor at first speed. On | |||
| Stops the motor. - | ||||
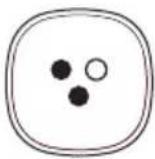
| T2Speed | Starts the motor at second speed. On | |||
| T3Speed | Pressed briefly starts the motor at third speed. Fixed | |||
| Pressed for 2 seconds. Activates the fourth speed for 6 minutes, at the end of which it returns to the previously set speed. Suitable for dealing with peaks of cooking fume emissions. | Blinking | |||
| LLight | Turns the lighting system on and off. - | |||
| Warning: Button T1 always switching to first speed before stopping the motor. | ||||
5. LIGHTING
- Please contact the Service Department to change it ("Please contact the service department to purchase it").
- Lamps in risk group 1 under IEC/EN62471 at a distance of 20cm and in exempt from risk group under IEC/EN62471 at a distance of 30cm.
NO
1. SIKKERHETSINFORMA SJON
natural_image
Diagram of a mechanical device with wheels and internal components, showing a close-up inset of a component (no text or symbols)natural_image
Illustration of a hand holding a tablet device with an arrow indicating the fold (no text or symbols present)natural_image
Diagram of a mechanical device with labeled parts and an inset shopping cart icon (no text or symbols on the diagram itself)natural_image
Illustration of a hand holding a tablet device with an arrow indicating the touch point (no text or symbols present)natural_image
Technical line drawing of a mechanical device with an inset showing a shopping cart and a close-up view of the component (no text or symbols)natural_image
Illustration of a hand holding a tablet device with an arrow indicating the fold (no text or symbols present)natural_image
Diagram of a mechanical device with wheels and an inset showing a close-up view of the component (no text or symbols)natural_image
Illustration of a hand holding a tablet device with an arrow indicating the touch point (no text or symbols present)natural_image
Simple line drawing of a wrench and screwdriver crossed over it (no text or symbols)EN Warning! Before proceeding with installation, read the safety information in the User Manual.
NO Advarsel! Les sikkerhetsinstruksjonene i bruksveiledningen før apparatet installeres.
DA Advarsel! Læs sikkerhedsreglerne i brugsanvisningen inden installation.
FI Varoitus! Ennen laitteen asentamista lue käyttöoppaassa olevat turvallisuustiedot.
SV Varning! Läs säkerhetsföreskrifterna i bruksanvisningen innan apparaten installeras.
natural_image
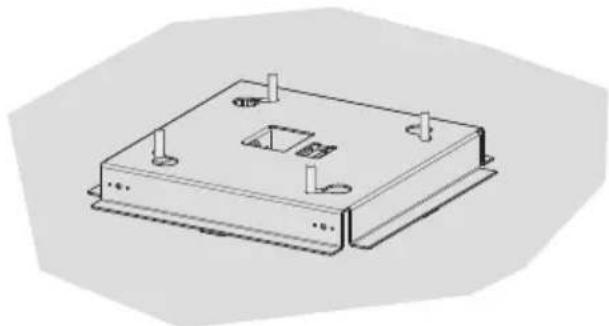
Technical line drawing of a rectangular electronic device casing with mounting holes and internal compartments (no text or symbols)
natural_image
Simple line drawing of a rectangular tray or container with no text, numbers, or symbols


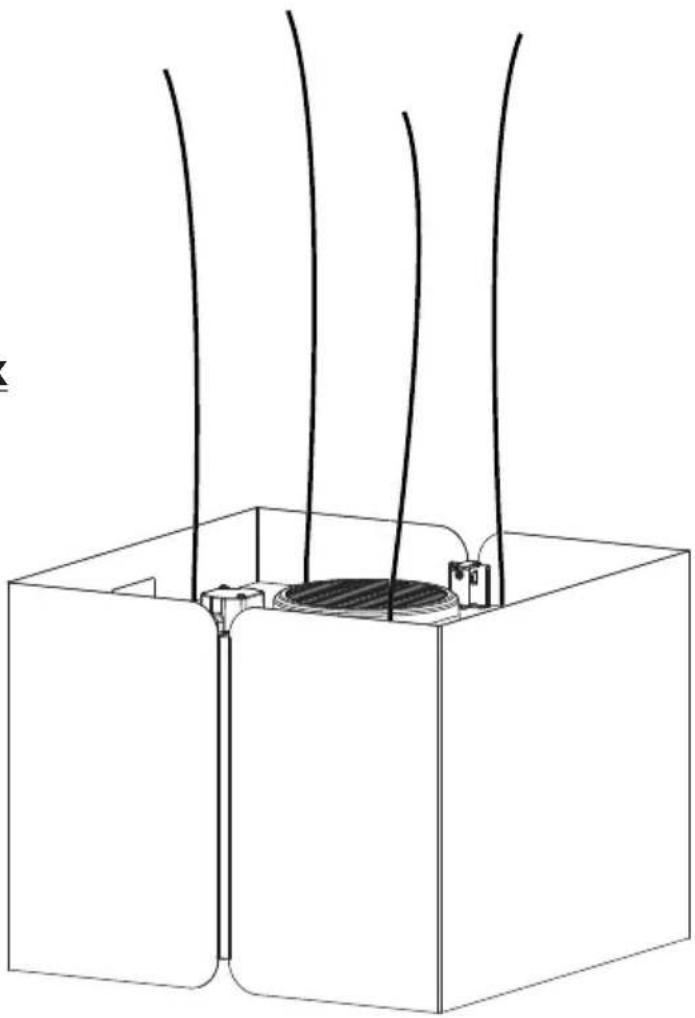
natural_image
Technical line drawing of a mechanical or electrical component with three vertical lines extending upward from a central oval (no text or symbols)

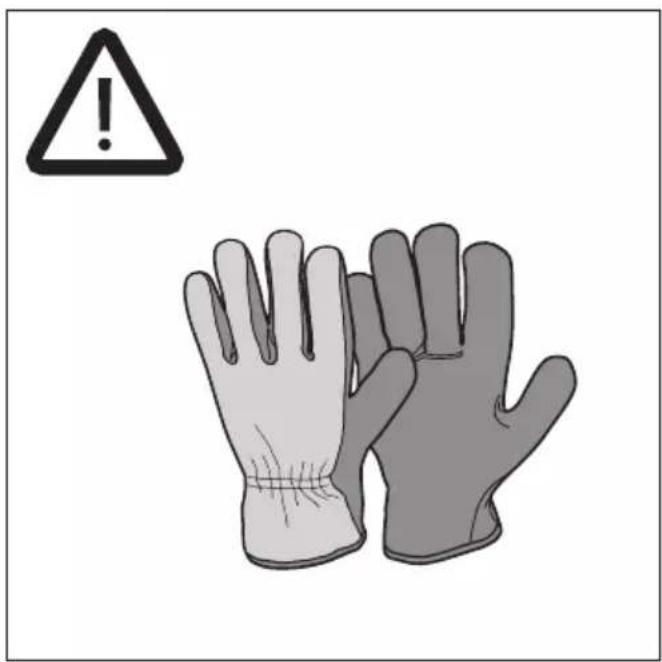
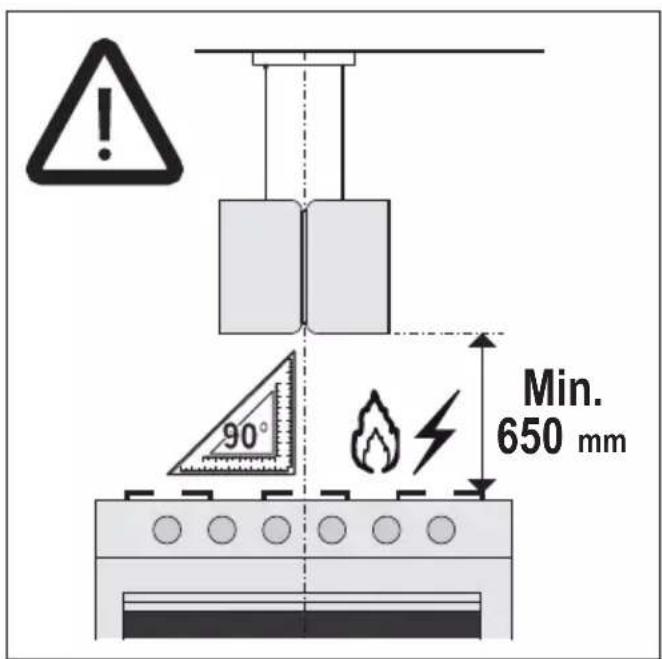
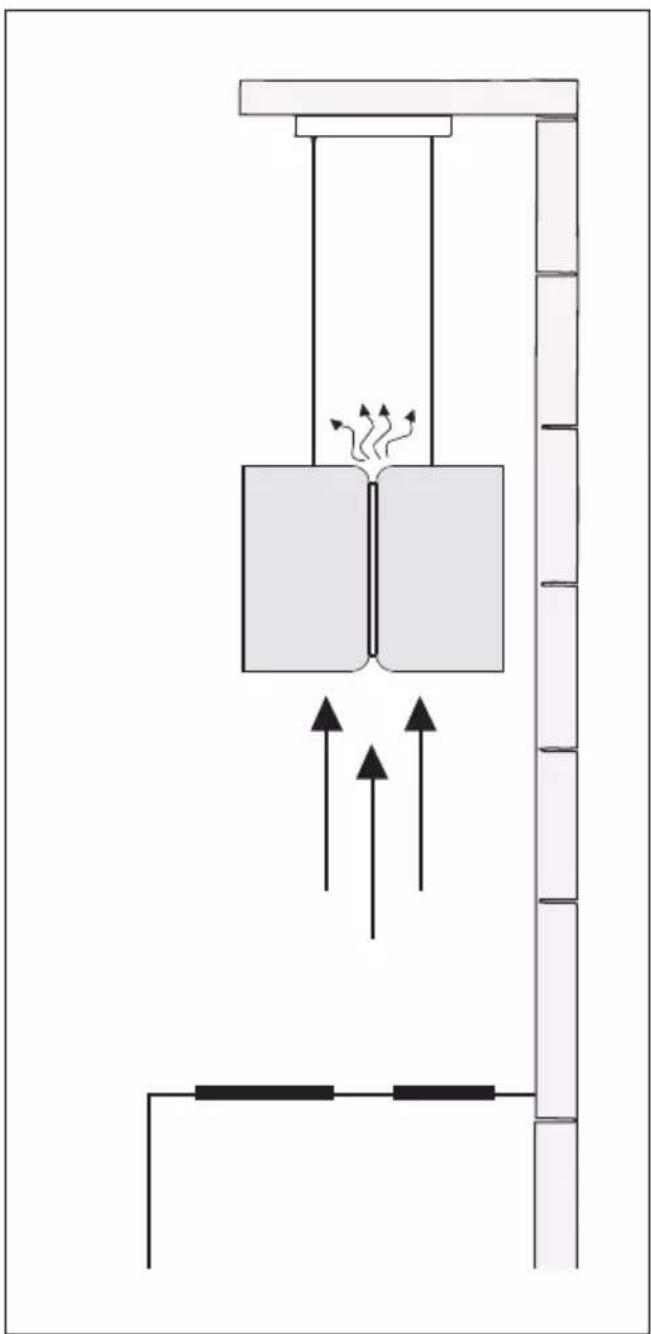
natural_image
Diagram of a vertical structure with two blocks and directional arrows indicating motion or force, no text or symbols present.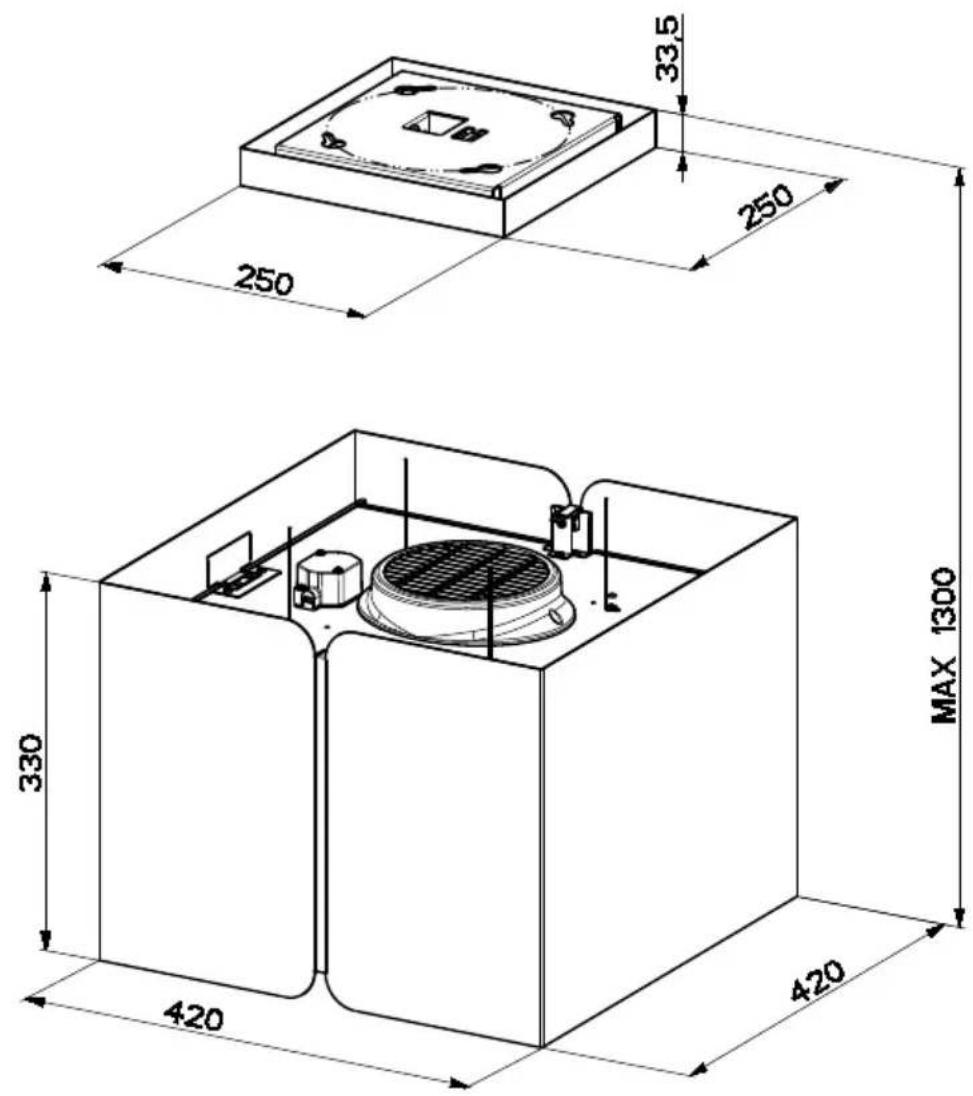
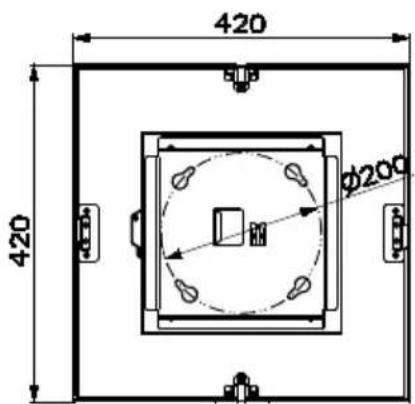
1
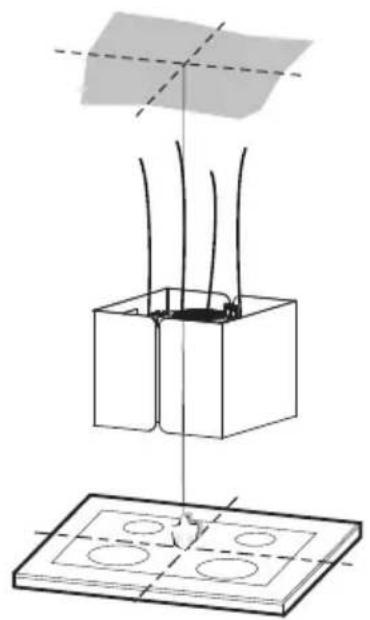
natural_image
Diagram of a mechanical or electrical setup with a rectangular block and four circular components, no visible text or symbols.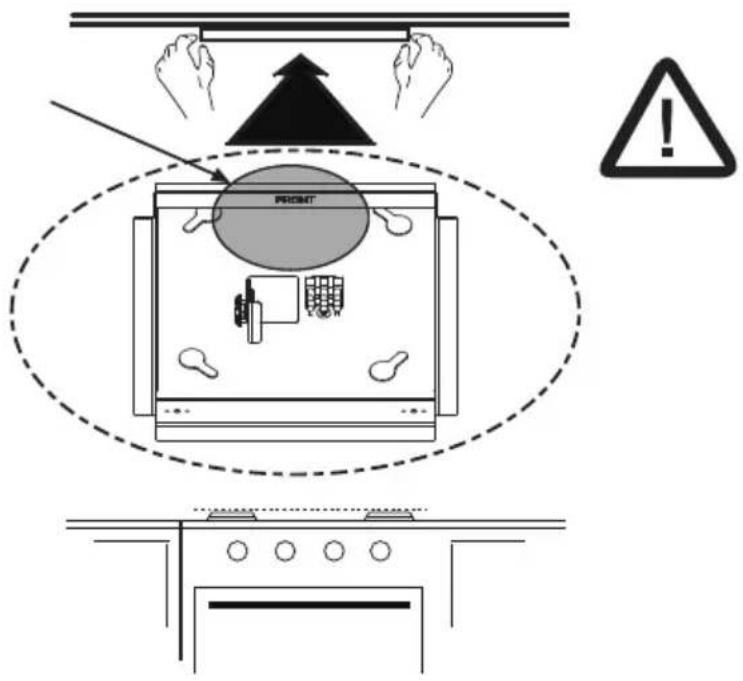
2
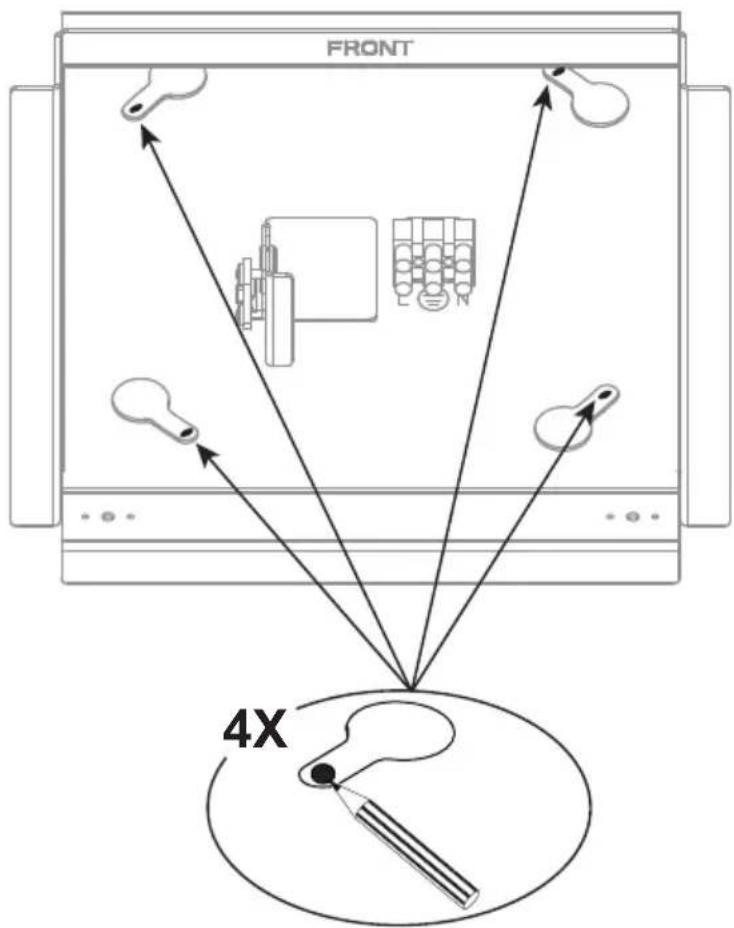
3
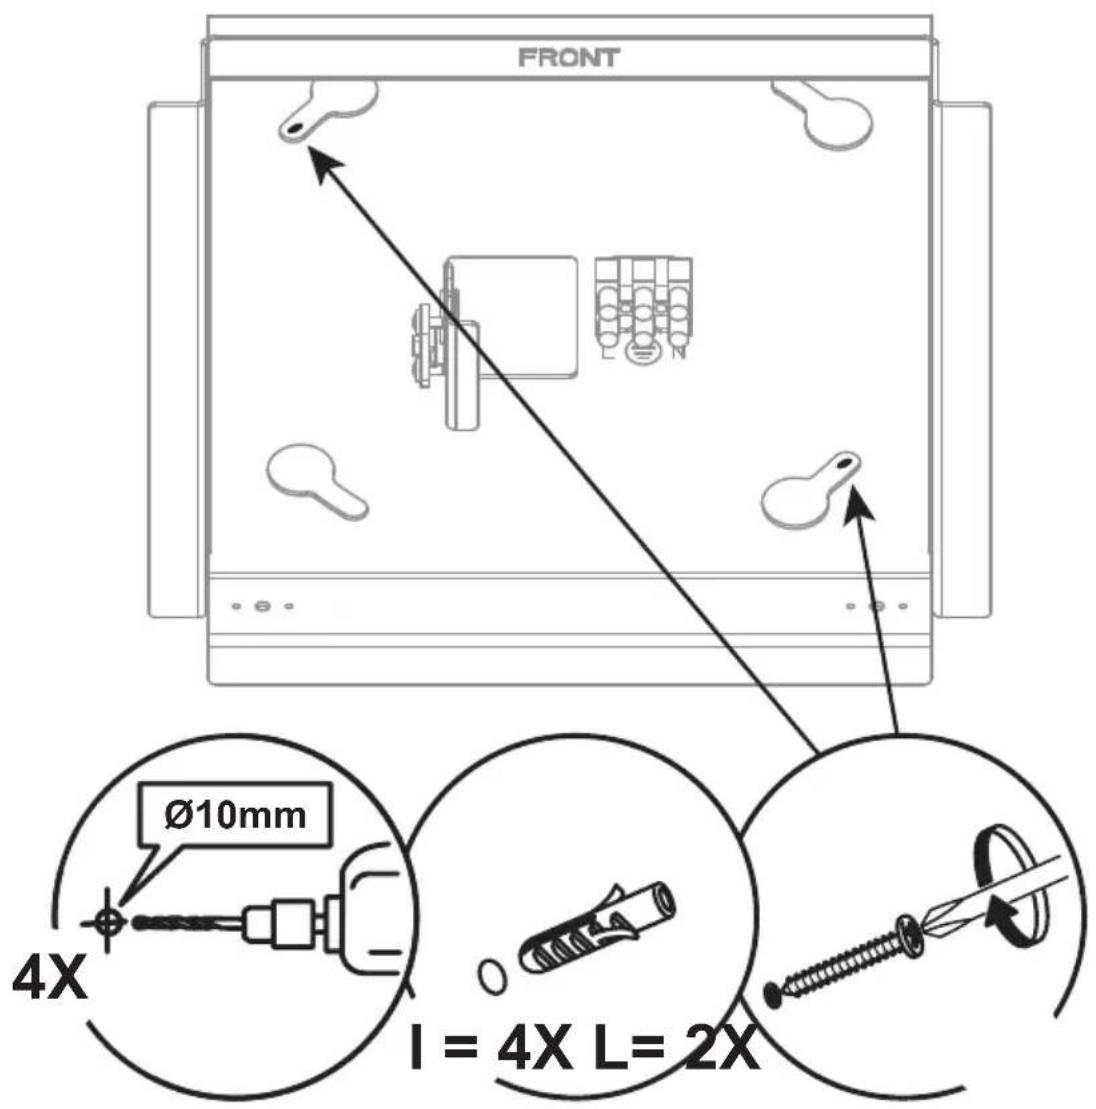
4
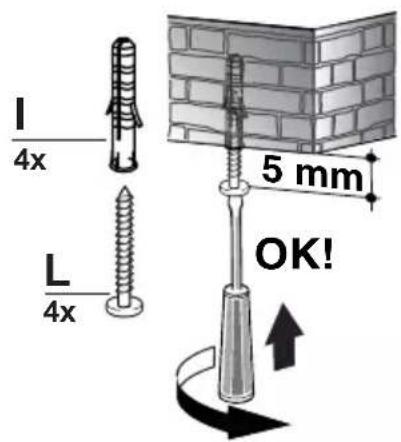
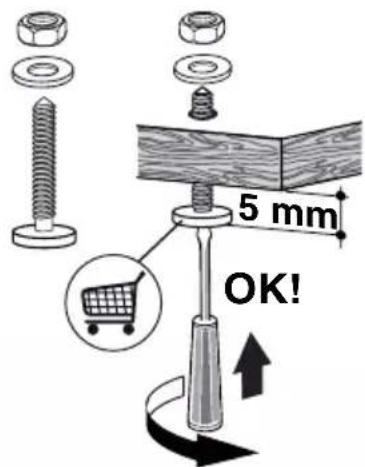
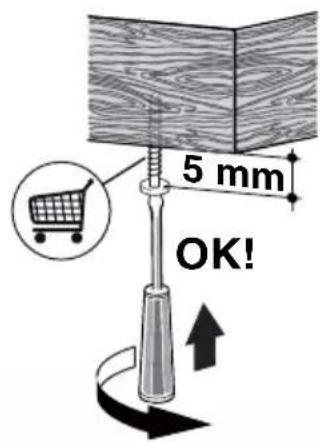
5
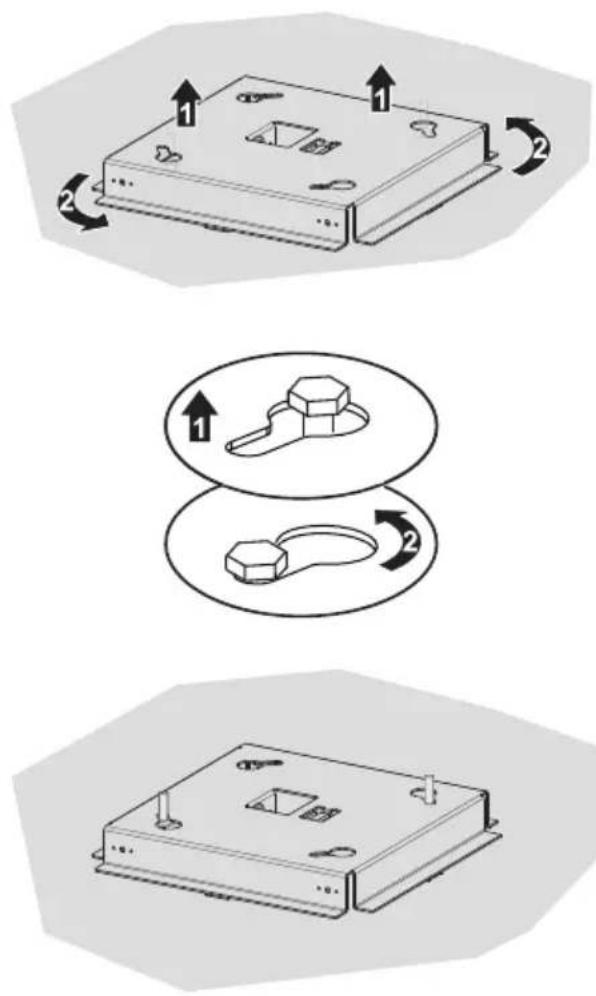
6
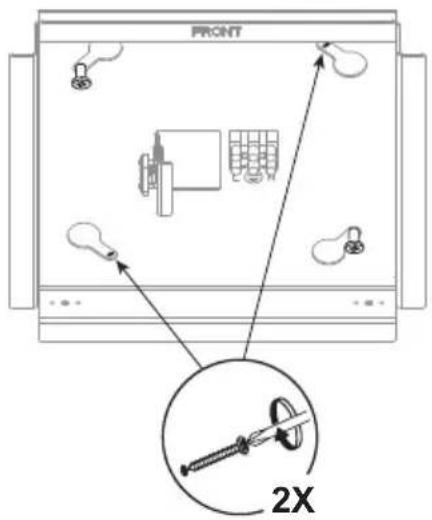
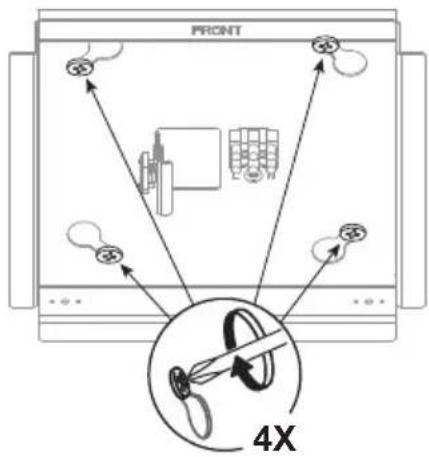
natural_image
Technical line drawing of a rectangular electronic device with mounting holes and internal compartments (no text or symbols)7
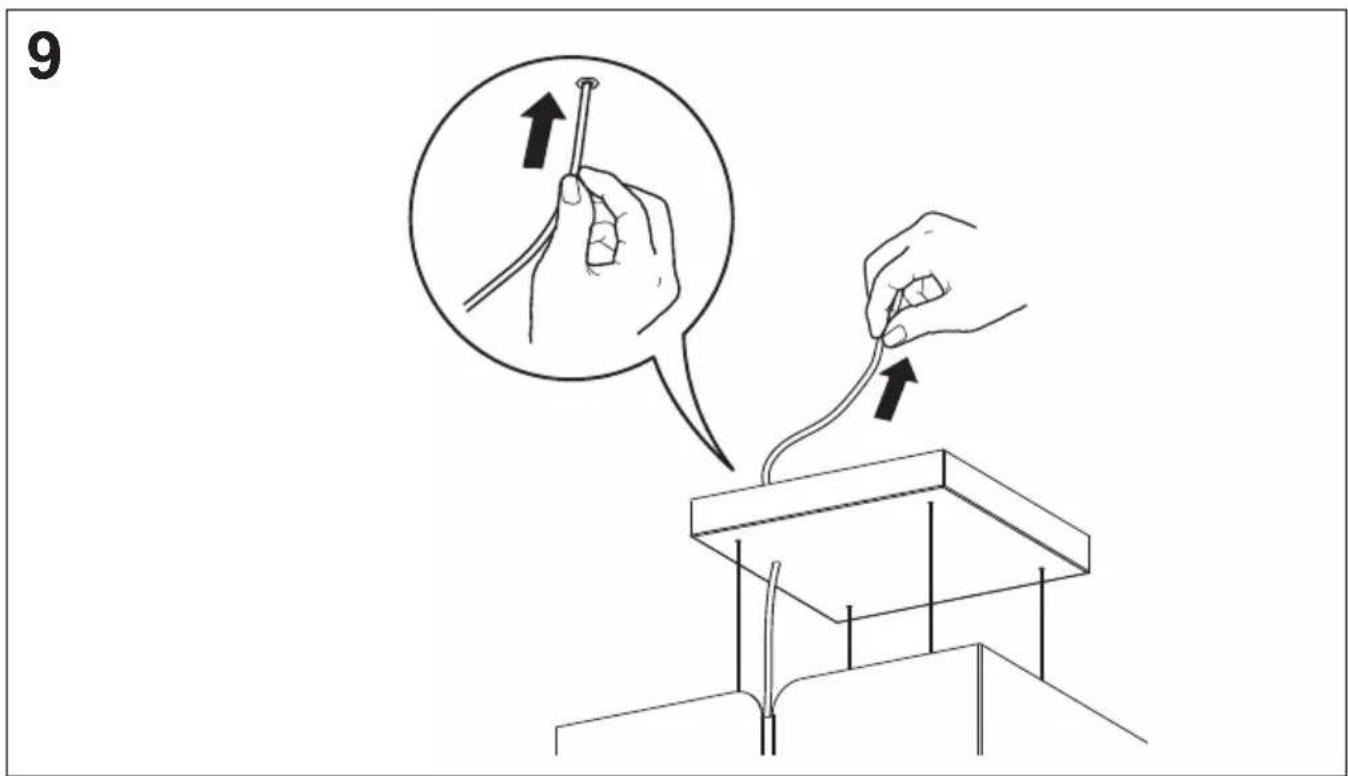
10
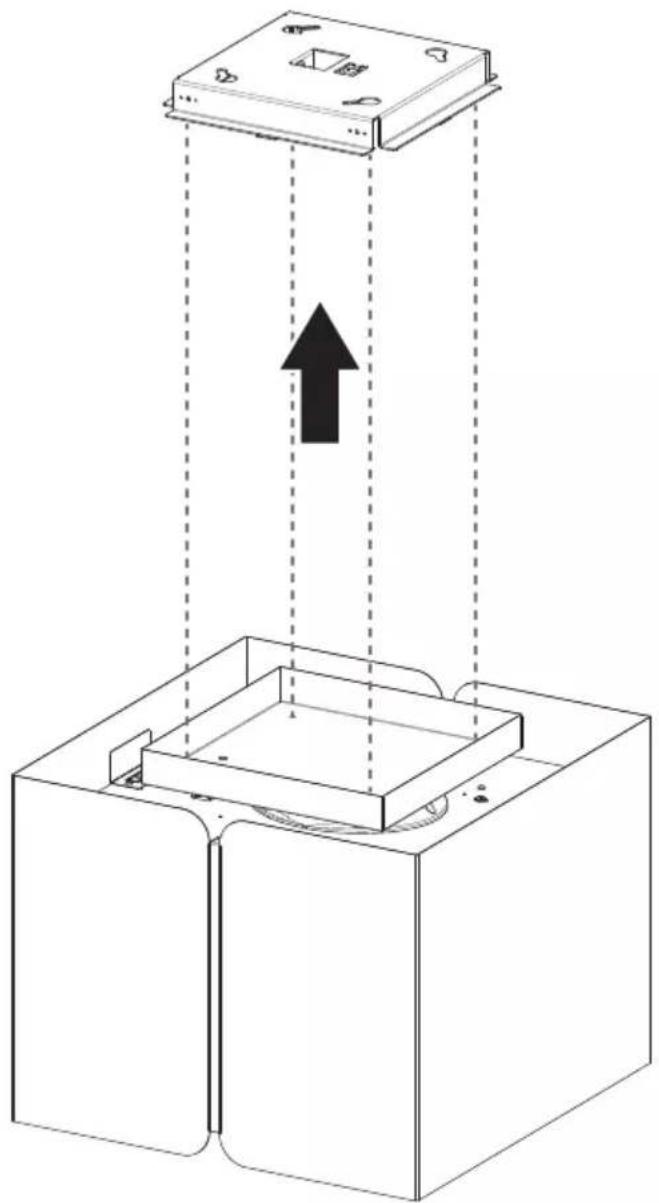
natural_image
Diagram of a device with an upward arrow indicating motion or force, showing internal components and a top panel (no text or symbols present)11
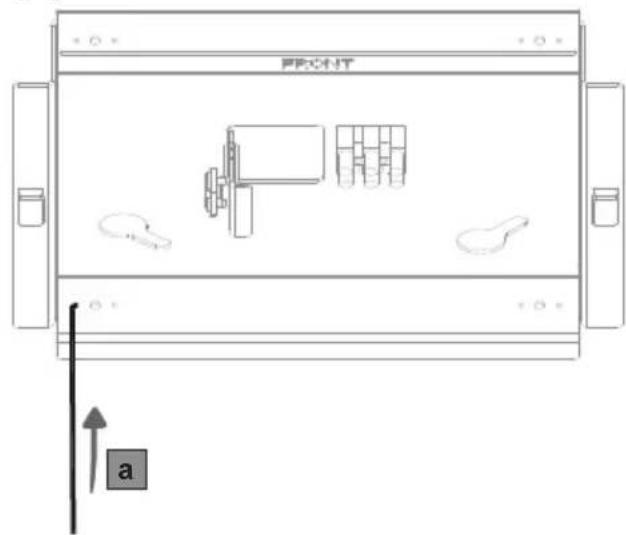
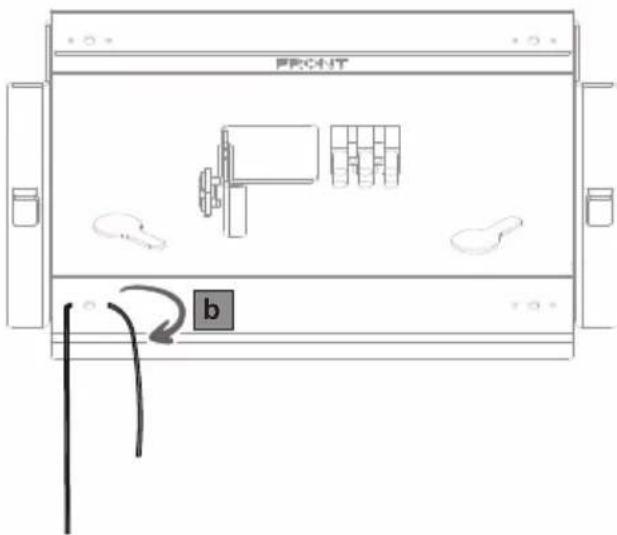
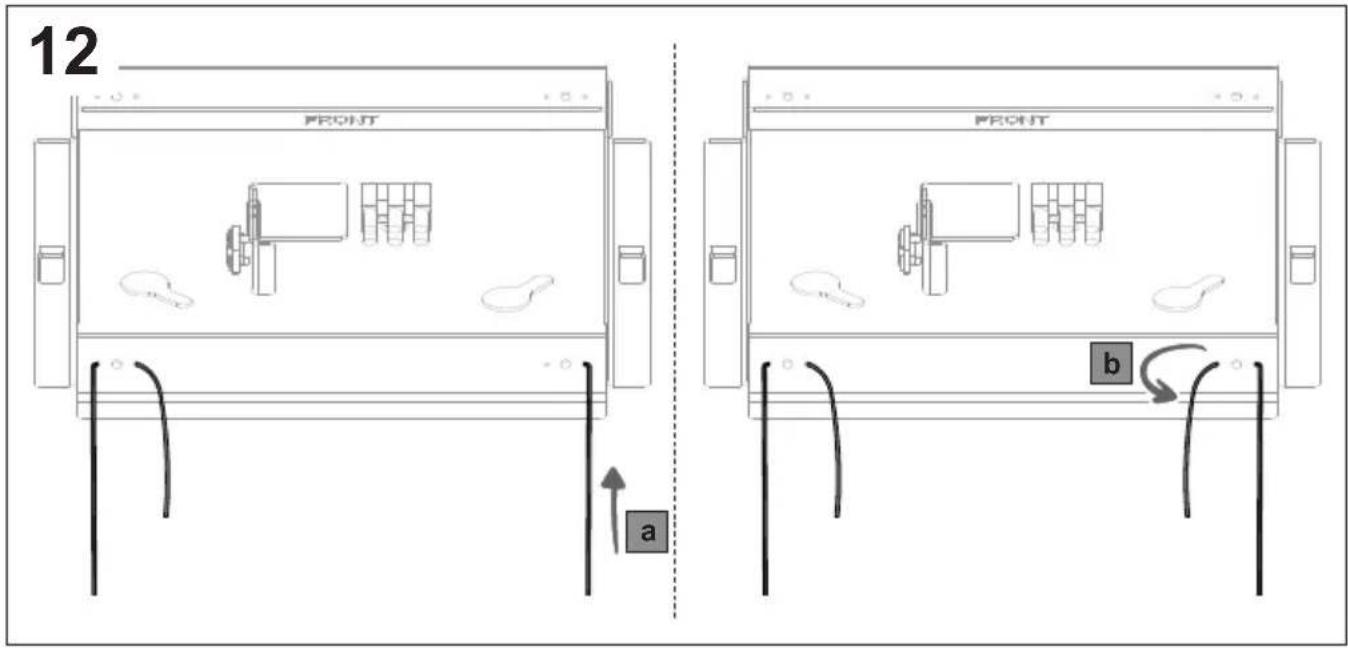
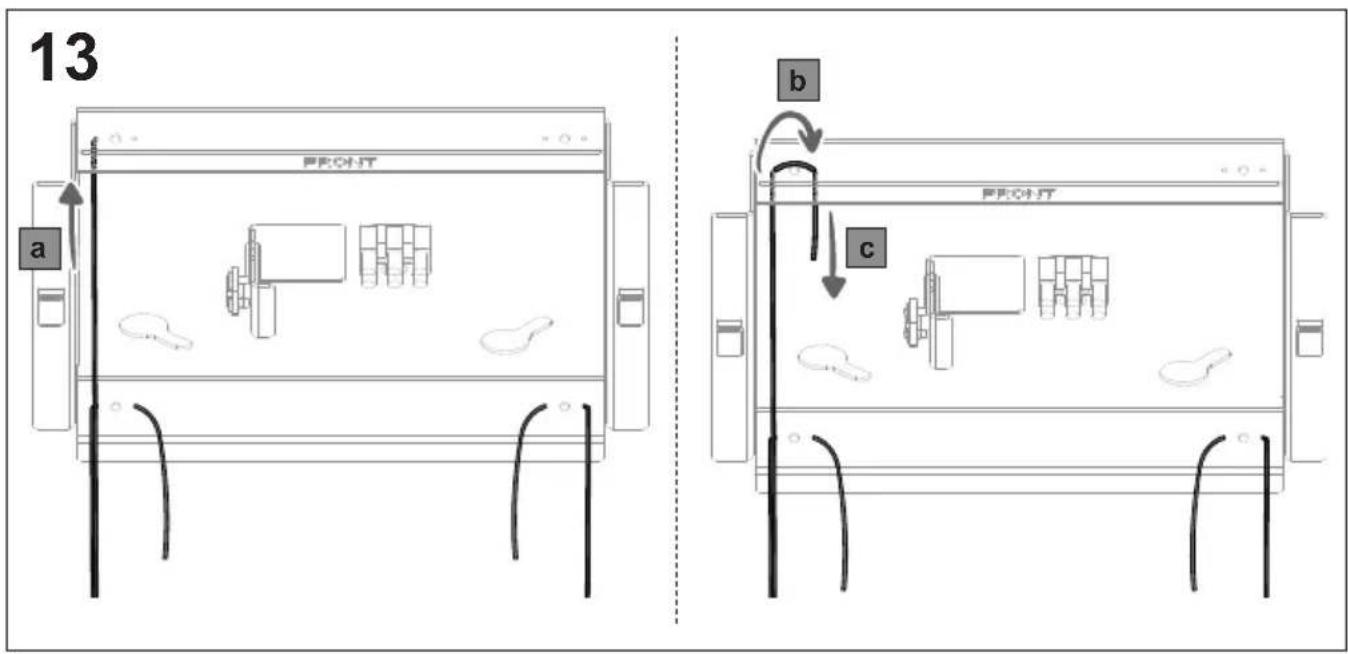
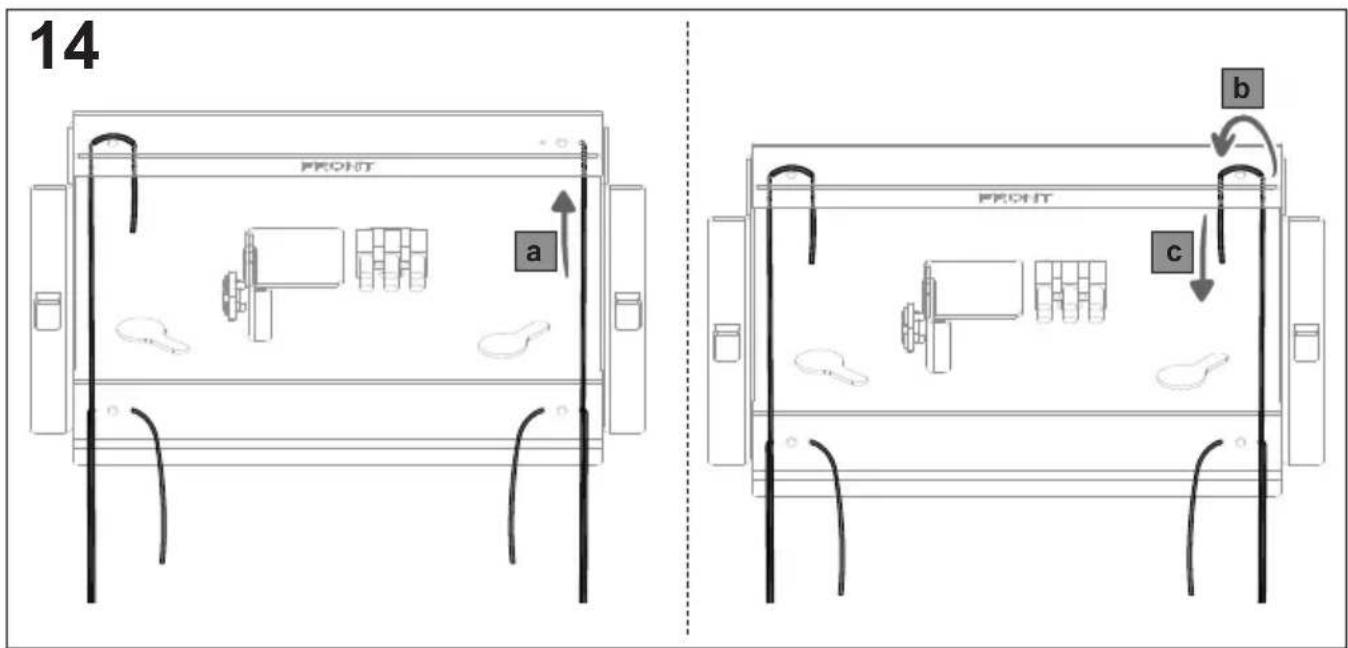
15
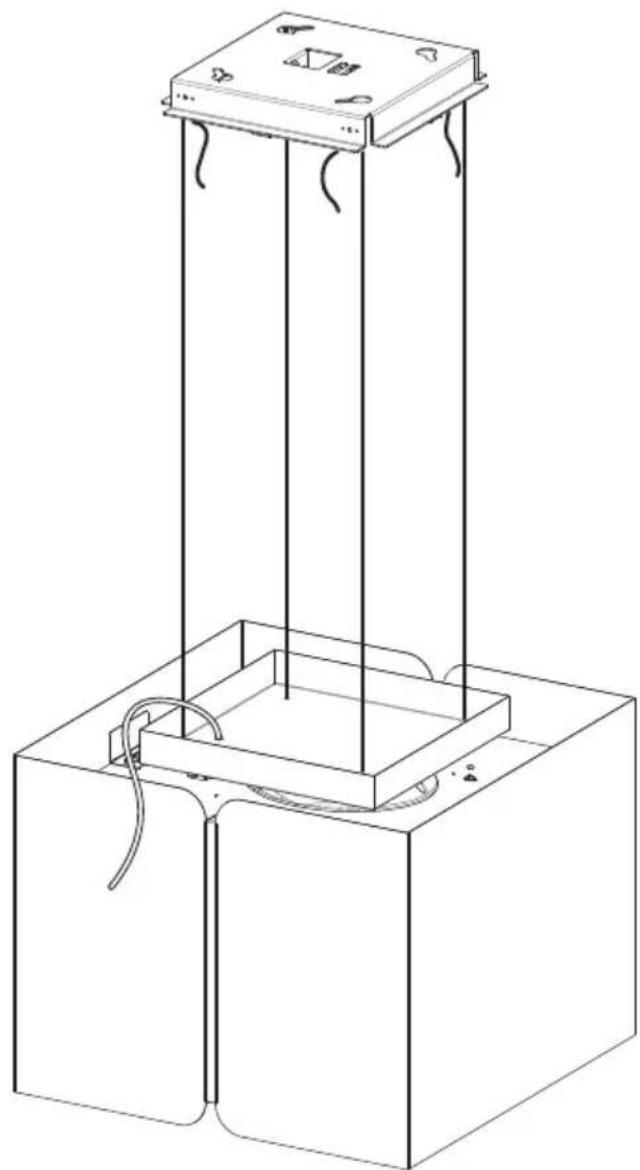
natural_image
Line drawing of a vertical cylindrical device with attached base and top frame, showing internal components and wiring (no text or symbols)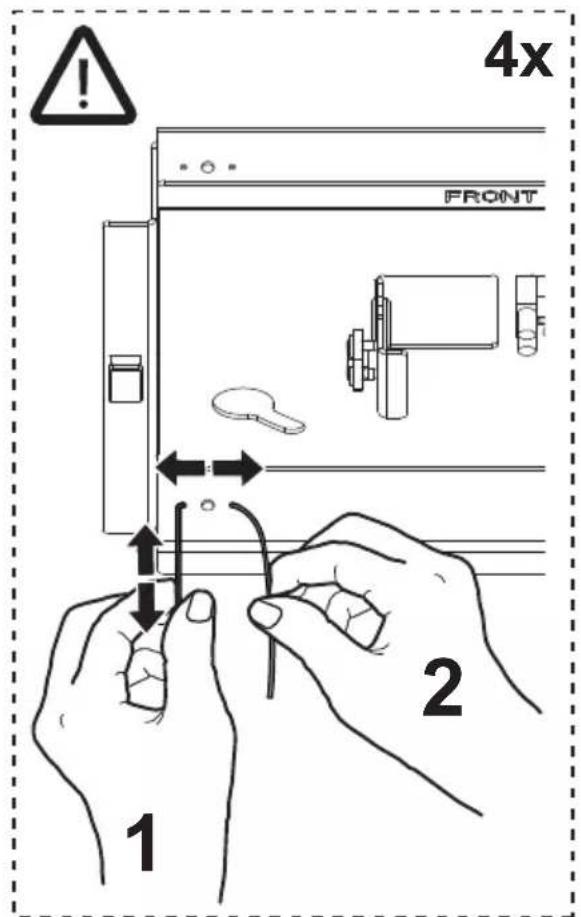
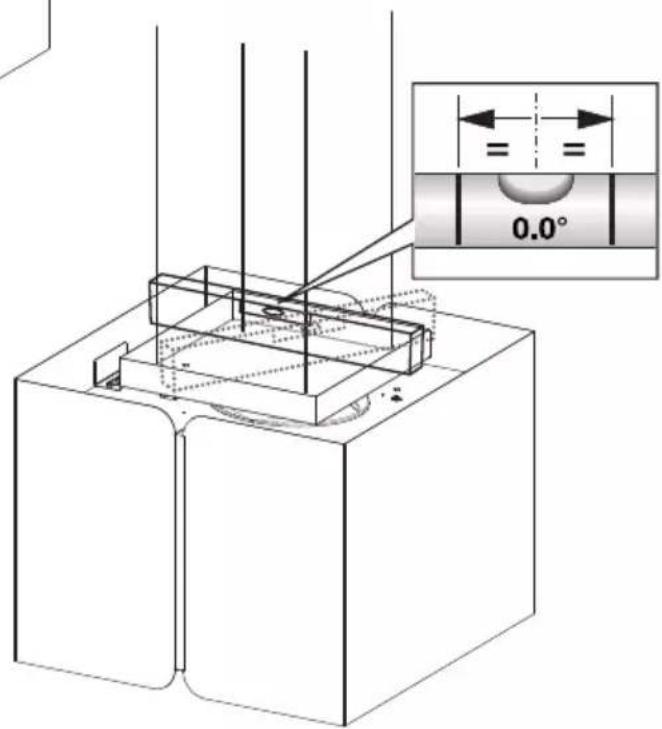
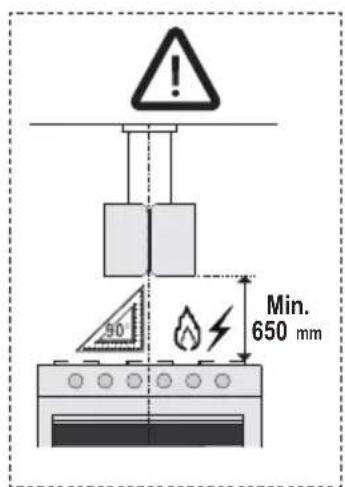
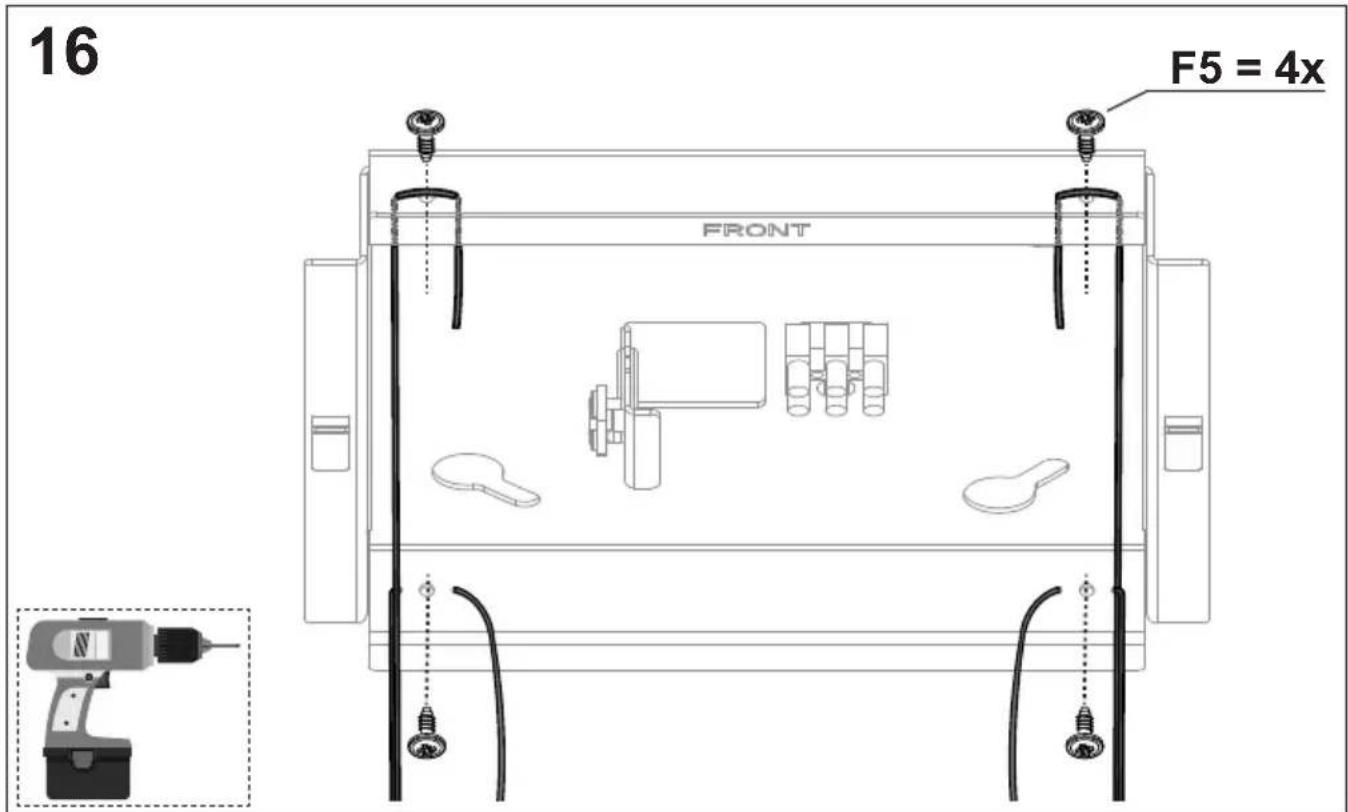
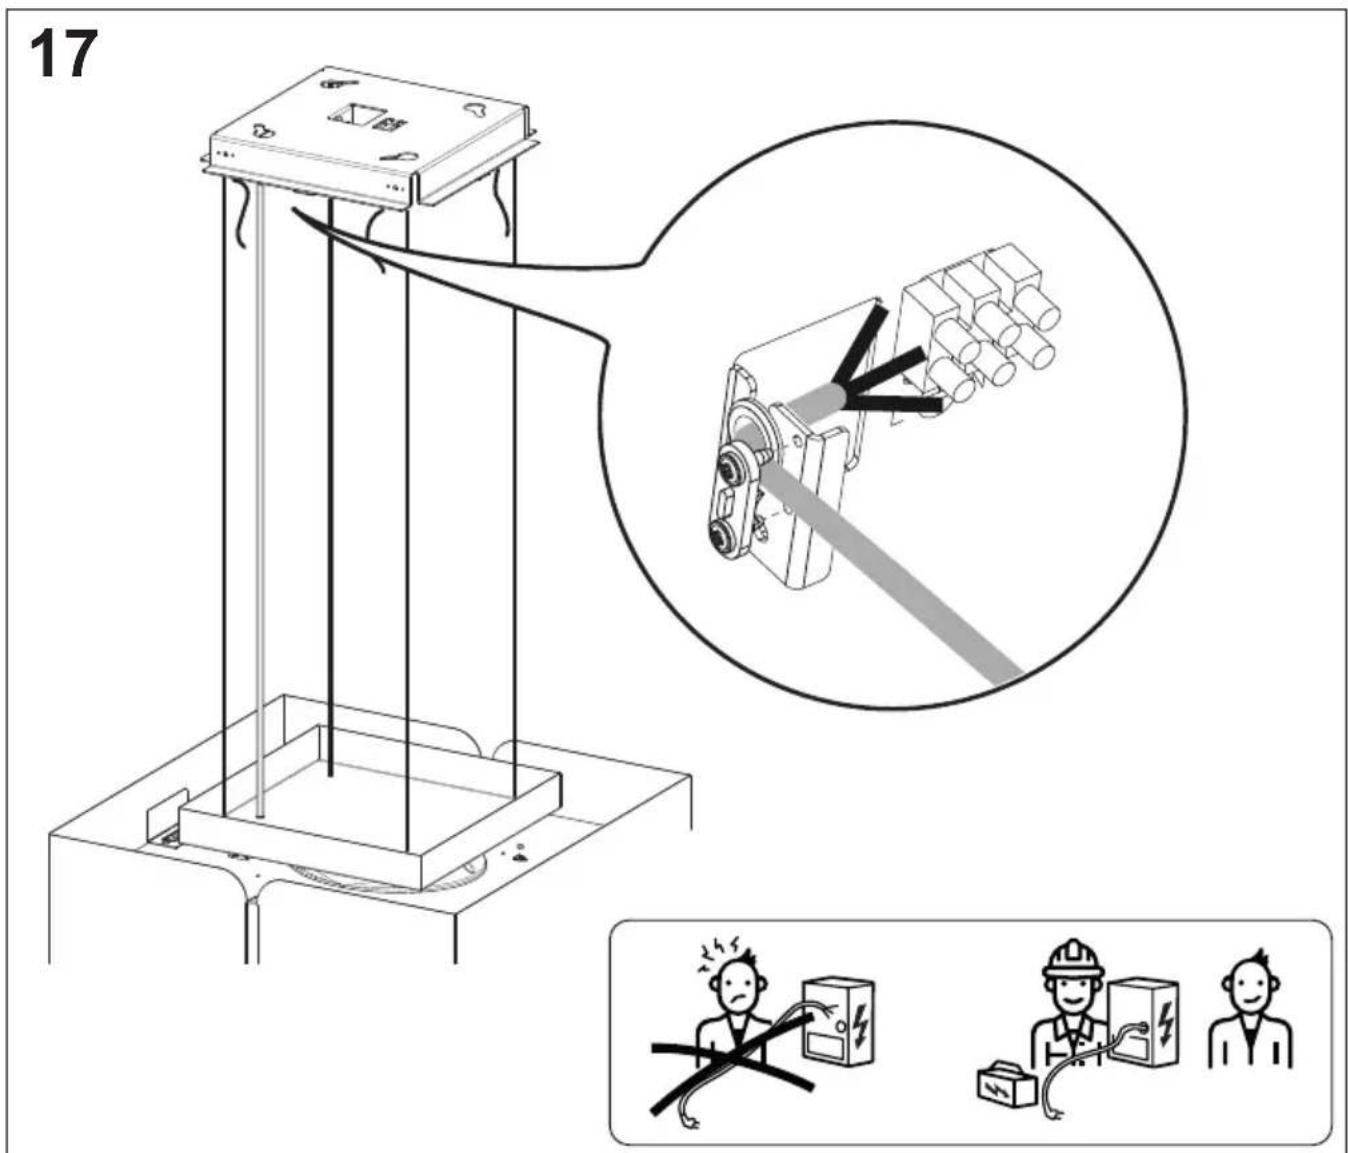
18
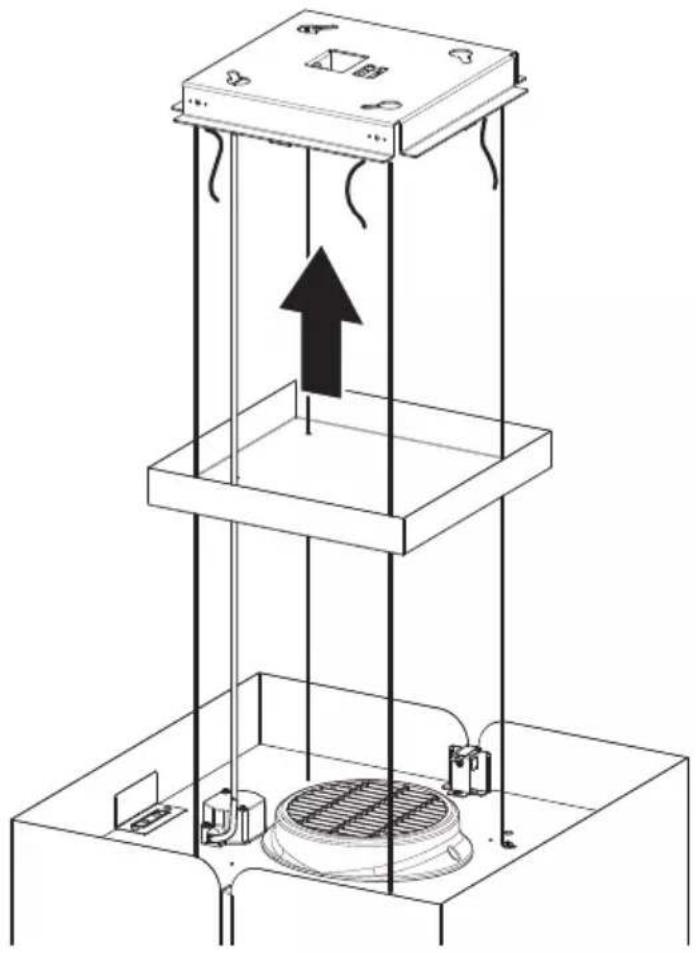
natural_image
Technical line drawing of a mechanical device with a vertical stack and internal components (no text or symbols)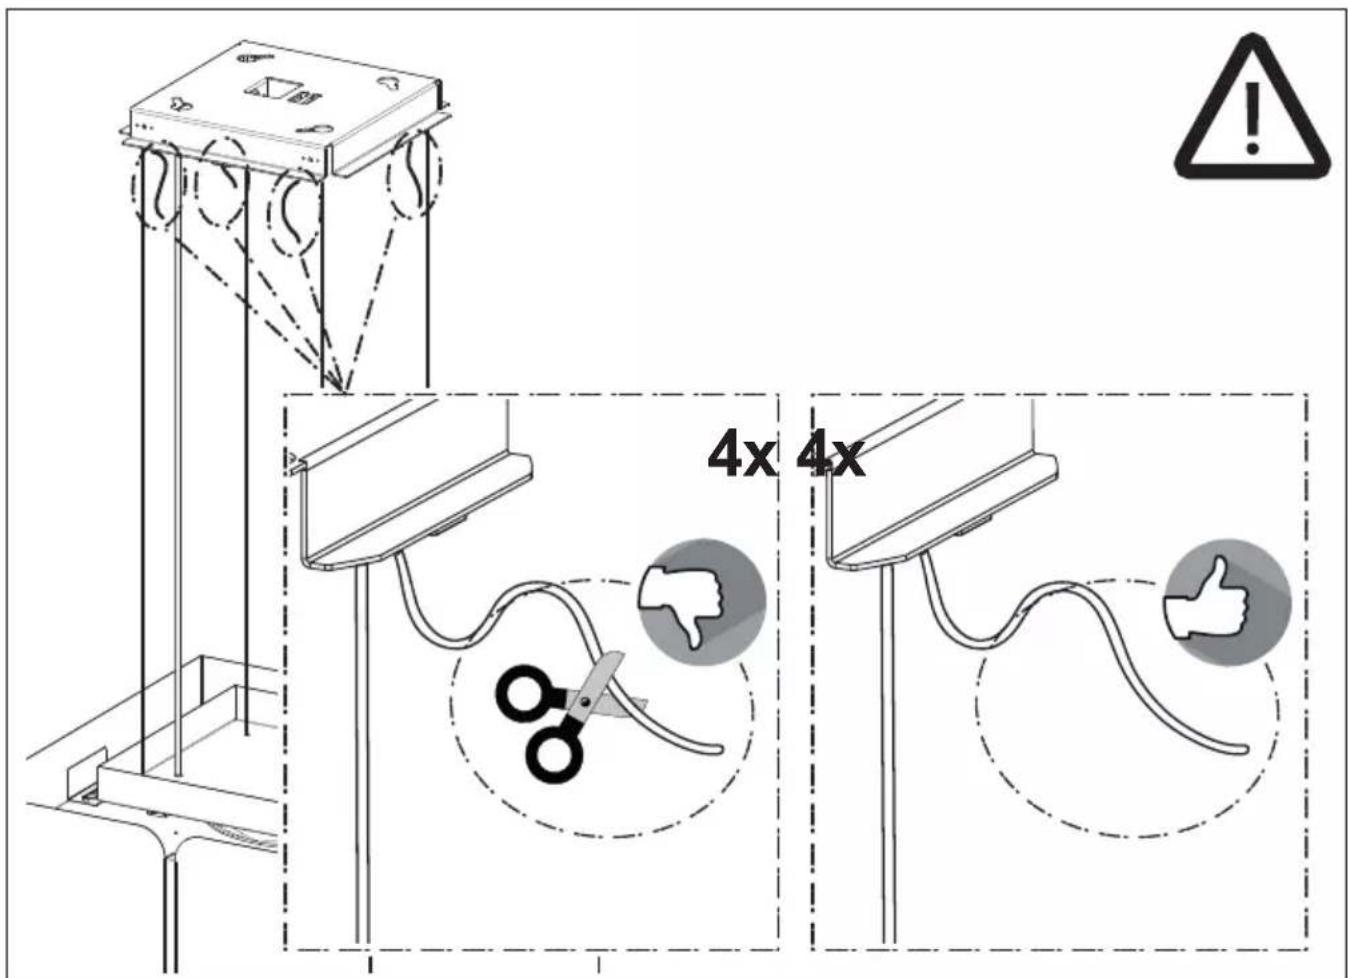
NO
Service: Nationwide service in
Sweden
Visit: www.cylinca.se
Call 0771-25 25 00
Declare: Model code, Serial number, Purchase date, Problem description, Name and address, Phone number
Contact us:
www.cylinda.se
Brand : Cylinda
Model : Calli FK140SVA
Category : Range hood