
AJ3141 - Radio alarm clock PHILIPS - Free user manual and instructions
Find the device manual for free AJ3141 PHILIPS in PDF.
| Product Type | Radio Alarm Clock |
| Brand | Philips |
| Model | AJ3141 |
| Wavebands | FM, MW, LW |
| Number of Alarms | 2 independent alarms |
| Alarm Modes | Radio or buzzer (BUZ) |
| Snooze Function | Yes, repeats every 7 minutes |
| Slumber Function (Sleep Timer) | Yes, adjustable from 1 to 59 minutes |
| Automatic Alarm Stop | After 59 minutes |
| Main Power Supply | AC mains (voltage as per rating plate) |
| Backup Power Supply | 9V battery type 6F22 (not included) |
| Display | Digital with alarm indicators |
| FM Antenna | Telescopic corkscrew antenna |
| MW/LW Antenna | Built-in ferrite antenna |
| Time Setting | ▲ and ▼ buttons with fast function |
| Dimensions (approx.) | 20 x 10 x 15 cm (estimated) |
| Weight (approx.) | 500 g (estimated) |
| Care and Cleaning | Soft, damp cloth; avoid chemicals |
| Safety | Do not expose to rain, humidity, or excessive heat |
| Spare Parts and Repairability | Professional repair only; no spare parts provided |
| General Information | Complies with EU radio interference directives |
Frequently Asked Questions - AJ3141 PHILIPS
User questions about AJ3141 PHILIPS
0 question about this device. Answer the ones you know or ask your own.
Ask a new question about this device
Download the instructions for your Radio alarm clock in PDF format for free! Find your manual AJ3141 - PHILIPS and take your electronic device back in hand. On this page are published all the documents necessary for the use of your device. AJ3141 by PHILIPS.
USER MANUAL AJ3141 PHILIPS
FITTING A MAINS PLUG (U.K. only)
This apparatus is fitted with an approved 13 Amp plug. To change a fuse in this type of plug proceed as follows:
- Remove fuse cover and fuse.
Fix new fuse which should be a BS1362 5A, A.S.T.A. or BSI approved type. - Refit the fuse cover.
If the fitted plug is not suitable for your socket outlets, it should be cut off and an appropriate plug fitted in its place.
If the mains plug contains a fuse, this should have a value of 5A. If a plug without a fuse is used, the fuse at the distribution board should not be greater than 5A.
Note: The severed plug must be disposed to avoid a possible shock hazard should it be inserted into a 13A socket elsewhere.
How to connect a plug
The wires in the mains lead are coloured in accordance with the following code:
BLUE - "NEUTRAL" ("N") and BROWN - "LIVE" ("L").
As these colours may not correspond with the colour markings identifying the terminals in your plug, proceed as follows:
- The BLUE wire must be connected to the terminal which is marked with the letter "N" or coloured BLACK.
- The BROWN wire must be connected to the terminal which is marked with the letter "L" or coloured RED.
- Do not connect either wires to the earth terminal in the plug which is marked by the letter "E" or by the safety earth symbol or coloured green or green-and-yellow.
Before replacing the plug cover, make certain that the cordgrip is clamped over the sheath of the lead - not simply over the two wires.
Copyright in the U.K.
Recording and playback of material may require consent. See Copyright Act 1956 and The Performer's Protection Acts 1958 to 1972.
NORGE
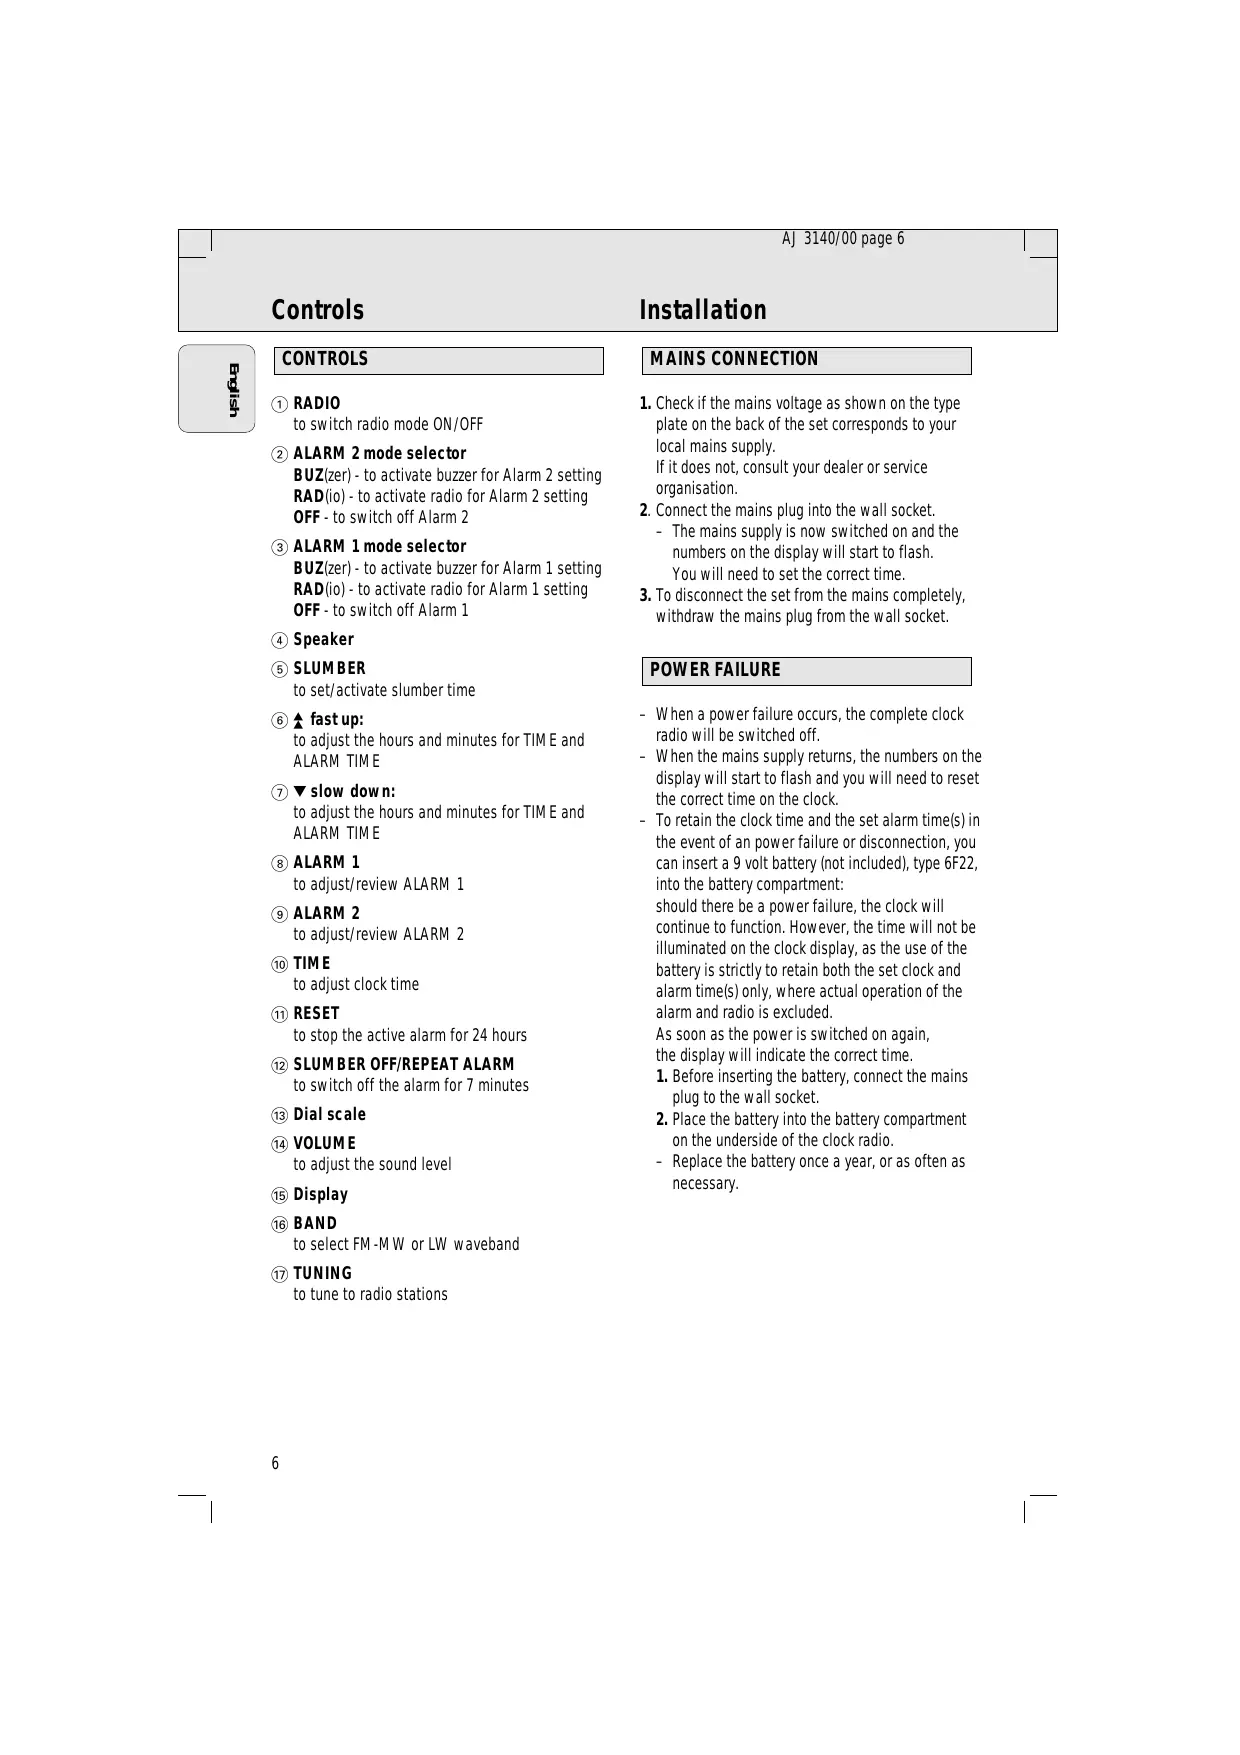
to switch radio mode ON/OFF
② ALARM 2 mode selector
BUZ(zer) - to activate buzzer for Alarm 2 setting
RAD(io) - to activate radio for Alarm 2 setting
OFF - to switch off Alarm 2
③ ALARM 1 mode selector
BUZ(zer) - to activate buzzer for Alarm 1 setting
RAD(io) - to activate radio for Alarm 1 setting
OFF - to switch off Alarm 1
④ Speaker
⑤ SLUMBER
to set/activate slumber time
⑥ fast up:
to adjust the hours and minutes for TIME and ALARM TIME
(7) slow down:
to adjust the hours and minutes for TIME and ALARM TIME
⑧ ALARM 1
to adjust/review ALARM 1
⑨ ALARM 2
to adjust/review ALARM 2
⑩ TIME
to adjust clock time
11 RESET
to stop the active alarm for 24 hours
SLUMBER OFF/REPEAT ALARM
to switch off the alarm for 7 minutes
③ Dial scale
(14) VOLUME
to adjust the sound level.
15 Display
16 BAND
to select FM-MW or LW waveband
17 TUNING
to tune to radio stations
MAINS CONNECTION
- Check if the mains voltage as shown on the type plate on the back of the set corresponds to your local mains supply.
If it does not, consult your dealer or service organisation.
-
Connect the mains plug into the wall socket.
-
The mains supply is now switched on and the numbers on the display will start to flash. You will need to set the correct time.
-
To disconnect the set from the mains completely, withdraw the mains plug from the wall socket.
POWER FAILURE
-
When a power failure occurs, the complete clock radio will be switched off.
-
When the mains supply returns, the numbers on the display will start to flash and you will need to reset the correct time on the clock.
-
To retain the clock time and the set alarm time(s) in the event of an power failure or disconnection, you can insert a 9 volt battery (not included), type 6F22, into the battery compartment:
should there be a power failure, the clock will continue to function. However, the time will not be illuminated on the clock display, as the use of the battery is strictly to retain both the set clock and alarm time(s) only, where actual operation of the alarm and radio is excluded.
As soon as the power is switched on again, the display will indicate the correct time.
- Before inserting the battery, connect the mains plug to the wall socket.
- Place the battery into the battery compartment on the underside of the clock radio.
- Replace the battery once a year, or as often as necessary.
MAINTENANCE
- If you do not intend to use the clock radio for a long time, disconnect the set by removing the plug from the wall socket. The battery should also be removed to prevent danger of leakage which will damage your set.
- To clean your set from fingerprints, dust and dirt, use a clean and soft damp cloth or chamois leather. Do not use cleaning products which contain, benzene, thinner, etc. as these may harm the housing.
- Avoid exposing the clock radio to rain, dampness and extreme heat to prevent a safety hazard as well as damage to the set.
Environmental information
All unnecessary packaging material has been omitted. We have done our utmost to make the packaging easily separable into three monomaterials: cardboard (box), expandable polysyrene (buffer), polyethylene (bags, protective).
Your set consists of materials which can be recycled if disassembled by a specialized company. Please observe the local regulations regarding the disposal of packing materials, exhausted batteries and old equipment.
IMPORTANT NOTE FOR USERS IN THE U.K.: SEE PAGE 2
SETTING THE CLOCK
Clock display
The time is shown and the display also indicates whether you have switched on the alarm(s), and these indicators will light up respectively next to ALARM 1 and ALARM 2 on the display:
- Press and hold down the TIME button.
-
Use the and buttons to set and adjust the hours and minutes.
-
With▲pressed, the time will increase rapidly from minutes to hours. Release▲when you have reached the correct setting.
- Pressing will allow you to adjust the time slowly back minute by minute if necessary.
RADIO
You can use this clock solely as a radio.
- Set the RADIO switch to ON.
- Select your wave band using the BAND switch.
- Tune to desired radio station using the TUNING knob.
- Set the volume by turning the VOLUME knob.
- To turn off the radio, set the RADIO switch to OFF.
Antenna:
- For FM reception, use the built-in pigtail aerial. Adjust the pigtail aerial slightly to obtain optimum reception if needed.
- For MW/LW reception, the set is provided with a built-in aerial. Simply by adjusting the position of your clock radio, optimum reception can be obtained. Place the set on a non-metallic surface to avoid any deterioration of MW/LW reception.
SETTING THE ALARM
You may set two different alarm times with this clock radio. This can be useful when, for example, you need to be woken up at a different time during the week and at the weekend.
Setting alarm time 1 and 2
- Press and hold down the ALARM 1 or ALARM 2 button, to set the alarm time.
-
Use the and buttons to set and adjust the hours and minutes.
-
With▲pressed; the time will increase rapidly from minutes to hours. Release▲when you have reached the correct setting.
-
Pressing will allow you to adjust the time slowly back minute by minute.
-
Release the ALARM 1 or ALARM 2 button and the or buttons when you have reached the correct setting.
-
The clock display goes back to clock time. To review your set alarm time, press the appropriate ALARM 1 or ALARM 2 button.
ALARM ON
The clock radio can awaken you in two ways:
Wake by radio:
- Tune to the desired radio station using the TUNING knob.
Make sure you have adjusted the volume loud enough to wake you up.
-
Set the ALARM 1 mode or ALARM 2 mode selector to RAD(IO).
-
The respective ALARM indicator lights up on the display.
At the set alarm time, the radio will switch on and it will automatically switch off 59 minutes later.
Wake by buzzer:
-
Set the ALARM 1 mode or ALARM 2 mode selector to BUZ(zer).
-
The respective ALARM indicator lights up on the display.
At the set alarm time, the buzzer will switch on and it will automatically switch off 59 minutes later.
ALARM OFF
There are three ways of switching off the alarm:
Switching off the alarm for 24 hours
- Press the RESET button.
The alarm is now switched off for 24 hours and will call again the next day at the same time.
Switching off the alarm temporarily
For both alarm call modes (radio or buzzer) this will repeat your alarm call at 7 minute intervals.
-
Press the SLUMBER OFF/REPEAT ALARM button.
-
The alarm will temporarily switch off. 7 minutes later, the alarm (radio or buzzer) will call again.
-
Press the SLUMBER OFF/REPEAT ALARM button again if you wish to repeat the alarm call.
-
If the SLUMBER OFF/REPEAT ALARM button is not pressed again, the alarm will automatically switch off 59 minutes later. Your alarm time setting will then automatically enter the RESET mode and will call at the same time next day.
Switching off the alarm completely
-
Push the ALARM 1 mode or ALARM 2 mode selector to the OFF position, before or during the set alarm time goes off.
-
The alarm indicator will disappear from the display.
SLUMBER TIME
The clock radio has a built-in SLUMBER function. This function enables you to listen to the RADIO at bed time without having to get up to switch the radio off. The radio will automatically switch off at the time set. The maximum slumber time is 59 minutes.
Setting the slumber time
The period which you continue to listen to the radio before you fall asleep is called the slumber time.
-
Set the RADIO switch to OFF.
-
Set your slumber time by pressing on the SLUMBER button.
-
If you press the SLUMBER button once, 59 will appear on the display indicating that you have a slumber time of 59 minutes.
- If you keep the SLUMBER button pressed, the display will slowly begin to count down from 59 to 00 minutes. Release the button as soon as the required slumber time is reached.
Cancelling the slumber time
You can switch off the radio before the slumber time has elapsed.
- Press the SLUMBER OFF/REPEAT ALARM button to cancel the slumber function.
Note:
- The slumber function does not affect the alarm setting(s).
- If you have an alarm set in the radio mode, make sure you have adjusted the volume loud enough to wake you up before you set the slumber time.
If a fault occurs, first check the points listed below before taking the set for repair.
If you are unable to remedy a problem by following these hints, consult your dealer or service centre.
WARNING:
Under no circumstances should you try to repair the set yourself, as this will invalidate the guarantee.
Problem
- Possible Cause
- Remedy
No sound
- Volume not adjusted.
- Adjust the VOLUME.
- Mains lead not securely connected.
- Connect the mains lead properly.
MW/LW broadcast cannot be received
- Set too close to electrical equipment e.g. TVs, computer, fluorescent lamps.
- Move the clock radio away from electrical equipment.
Intermittent crackling sound during FM reception
- Weak signal.
- Adjust the pigtail aerial.
The alarm does not function
- The alarm is not set.
- Set the alarm time and the alarm switch to BUZ or RAD.
Volume too low for radio.
- Increase the volume.
This set complies with the radio interference requirements of the European Community.
The model and production number are located on the rear of the set.
CONTROLES
③ ALARM 1 mode selector
SLUMBER OFF/REPEAT ALARM
③ ALARM 1 mode selector
SLUMBER OFF/REPEAT ALARM
SLUMBER OFF/REPEAT ALARM
SLUMBER OFF/REPEAT ALARM
Regular as hours de despertar 1 e 2
SLUMBER OFF/REPEAT ALARM
HERATYSTOIMINNON KATKAISU
OFF - anvepyonoie to Eunvtip 2.
③ ALARM 1
OFF - anevepyonoie to eunvntnp1.
Meyapwvo
⑤ SLUMBER
SLUMBER OFF/REPEAT ALARM
IIaepoepiecs yia to npiaalov
'Exi anoepuxtheta Kaae Nepitto uliko otny ouokuaia. Exi kataaeta kao duvat npoa3eia, etoi, oote n ouokuaia va eiva ukoala diaxpiuon oetia mvo baika uikai: xapotvi (kouti), oykwuevni noluotepivn kai nouatulaiivio (aokoUc, npoataeutiká).
H oukeun aoc anotetai ano uikα, nou o p o v v'avakukwOuv, av
anooovapmooynoov ano ma Eeiokeuevn
Etapeia. Napakaoluea kolooueiot touc
toniokc kavovioouc, oxetika e Tnv
di8eon uikow oukveuaia, mataipiW kai
palaivv oukeuwv.
PYOMIENTOYPOAOTIOY
ObovTu poLoyoiou
Euavicetai To kavtpav pooyoi Ku obov
deltavi av exouv evpyoiointhetai ta uunvtipia Ka i ol avtioixc evdeieic tha evpyoioinbouv dinla
Otic evdeieic ALARM 1 KAI ALARM 2.
- Pataotekai Kpatote pntmuEvo to nIjktpo TIME.
- Xpnoiounoiote Ta niktpa kai yia va puoioeTe Tc wpck ta aeTTa.
-MeTo pAnkTpo Apatnueo,oxpovoc 0auEavεI ynpnyopa ano λεπτa σ εwρε. EλeuθερωεTE TO pAnkTPO A mλic φθaεTE Tyn oωotη Evδειη.
- Patawvtao TnAaKtpo 70 aoc eNtpepsi va puOmuiaeTe nV wpa apya npoc ta niaw AenTto npoc AenTo av Eivai anapaitnto.
PA△IOΦΩNO
Mnpoeite va xpnouonoe To poIo auto movo aov pabiopwo.
To paioqwo to pooyoiu npoei va evepyonoiogei u e doo tponouc;
Aunion paioovo:
- Suvtoviote stov paiooviko taohou eithe ie t o koumi TUNING. Bepaiwte iTe oExte puthetai tv Evtaon apketa duvata yia va Eunvnoe.
- Eπιλεξτο Εινυνητήρι 1 ἡ 2 anò tov επιλογέα RAD(IO).
Havtoiyn ev8iN oovn 0epyoioNt.
Tnv npou exi npopuOioTe, 0a evepyonoiOei to paiooovkai 0a kIeoi autouata 59 IeTTa apoyotepa.
Aqunvion BouBnT:
Meet Philips at the Internet
http://www.philips.com
- FITTING A MAINS PLUG (U.K. only)
- How to connect a plug
- NORGE
- MAINS CONNECTION
- POWER FAILURE
- MAINTENANCE
- Environmental information
- SETTING THE CLOCK
- Clock display
- RADIO
- Antenna:
- SETTING THE ALARM
- Setting alarm time 1 and 2
- ALARM ON
- Wake by radio:
- Wake by buzzer:
- ALARM OFF
- Switching off the alarm for 24 hours
- Switching off the alarm temporarily
- Switching off the alarm completely
- SLUMBER TIME
- Setting the slumber time
- Cancelling the slumber time
- Note:
- WARNING:
- Problem
- No sound
- MW/LW broadcast cannot be received
- Intermittent crackling sound during FM reception
- The alarm does not function
- CONTROLES
- Regular as hours de despertar 1 e 2
- HERATYSTOIMINNON KATKAISU
- IIaepoepiecs yia to npiaalov
- PYOMIENTOYPOAOTIOY
- ObovTu poLoyoiou
- PA△IOΦΩNO
- Aunion paioovo:
- Aqunvion BouBnT:
Brand : PHILIPS
Model : AJ3141
Category : Radio alarm clock