LDWM13E - Waffle Maker Logik - Free user manual and instructions
Find the device manual for free LDWM13E Logik in PDF.
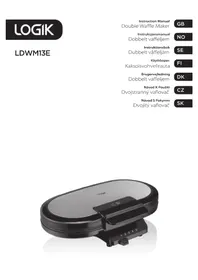


| Product Type | Waffle Maker |
| Brand | Logik |
| Model | LDWM13E |
| Dimensions (approx.) | 25 x 20 x 10 cm |
| Weight (approx.) | 1.5 kg |
| Power Supply | 220-240V ~ 50/60Hz, 900W |
| Non-Stick Coating | Yes, on both plates |
| Indicator Lights | Power and ready lights |
| Temperature Control | Adjustable thermostat for browning |
| Capacity | 2 slices (one waffle) |
| Waffle Type | Belgian-style deep pocket |
| Material | Stainless steel and plastic housing |
| Cool-Touch Handle | Yes, for safe operation |
| Auto Shut-Off | Yes, after prolonged idle |
| Cleaning | Wipe with damp cloth; do not immerse |
| Storage | Upright storage with cord wrap |
| Accessories | Measuring cup for batter |
| Warranty | 1 year limited |
| Replacement Parts Available | Yes, contact Logik support |
Frequently Asked Questions - LDWM13E Logik
User questions about LDWM13E Logik
0 question about this device. Answer the ones you know or ask your own.
Ask a new question about this device
Download the instructions for your Waffle Maker in PDF format for free! Find your manual LDWM13E - Logik and take your electronic device back in hand. On this page are published all the documents necessary for the use of your device. LDWM13E by Logik.
USER MANUAL LDWM13E Logik
Contents
GB
Safety Warnings 5
Unpacking....9
Product Overview....10
First Time Use....10
Waffle Making....12
Cleaning and Maintenance....14
Hints to Make Perfect Waffles....14
Specifications....15
Do not touch the surface of the appliance during operation.
- This appliance can be used by persons aged from 8 years and above and persons with reduced physical, sensory or mental capabilities, or lack of experience and knowledge if they have been given supervision or instructions concerning the use of the appliance in a safe way and understand the hazards involved. Children should not play with the appliance. Cleaning and user maintenance should not be made by children unless they are older than 8 years and are supervised.
- Keep the appliance and its mains cable out of the reach of children less than 8 years.
- Your appliance should be used in such a way that it is protected from moisture e.g., condensation, splashed water etc. Do not place or store your appliance where it can fall or be pulled into water or any other liquid. Do not reach for the appliance if it has fallen in any water or any other liquid. Unplug immediately. Stand your appliance on a stable, level surface during use. Do not allow your appliance to sit on top of the mains cable. • Make sure that children cannot touch the appliance when hot or pull the mains cable.
- It is dangerous to insert fingers or objects other than bread into the appliance.
- Bread may burn. Your appliance must not be used near or below curtains or other combustible materials. It must be watched when in use. Do not leave your appliance unattended. Your appliance should be placed away from heat sources such as radiators, gas/electric fires and direct sunlight.
- Keep the mains cable away from any heated surfaces.
- Use the appliance only for its intended use, as described in this manual. • Do not use outdoors.
- Never use your appliance if it is damaged in any way. Do not remove any fixed covers.
- Never use this appliance if it is not working properly, or if it has been dropped or damaged.
- If the mains cable is damaged it must be replaced by the manufacturer, its service agent, or similarly qualified persons in order to avoid a hazard.
CAUTION: Hot surface
Thank you for purchasing your new Logik Waffle Maker.
We recommend that you spend some time reading this instruction manual in order to fully understand all the operational features it offers.
Read all the safety instructions carefully before use and keep this instruction manual for future reference.

Unpacking
Remove all packaging from the unit. Retain the packaging. If you dispose of it please do so according to local regulations.
The following items are included:
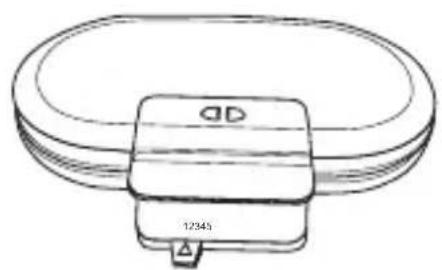
The Main Unit Instruction Manual
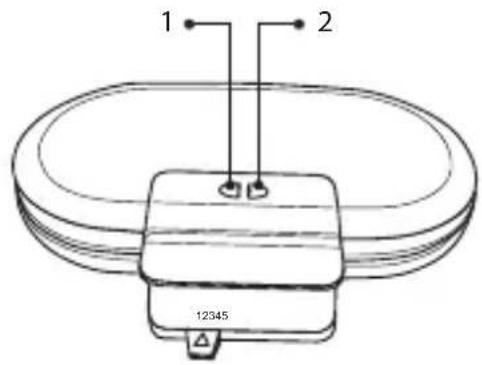
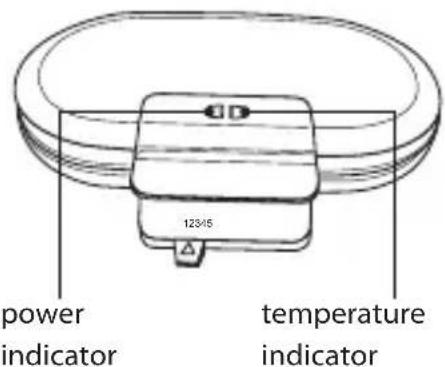
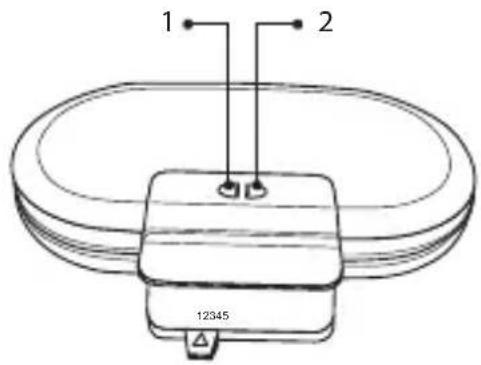
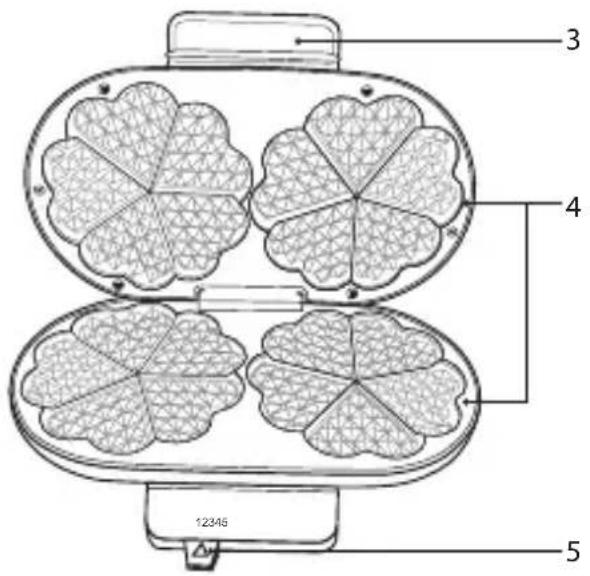
- Power Indicator
- Temperature Indicator
- Handle
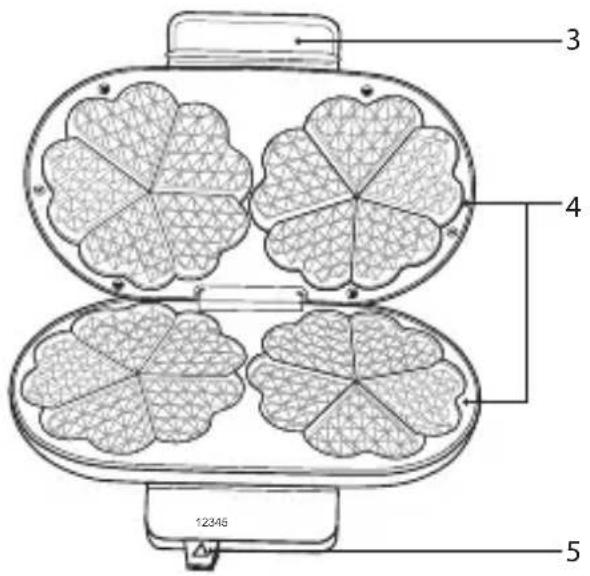
- Cooking Plate
- Temperature Control Lever

First Time Use
Always watch your waffle maker when in use.
1.

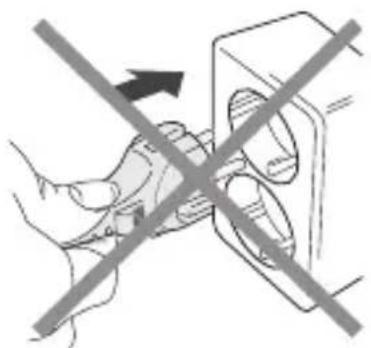
Do not connect to the mains socket yet.
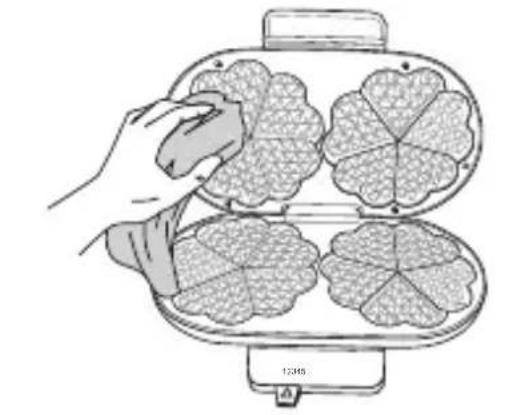
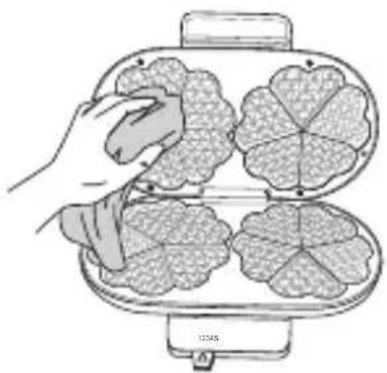
- Lift the lid of the waffle maker. Clean the surface of the cooking plates with a damp cloth and wipe dry.
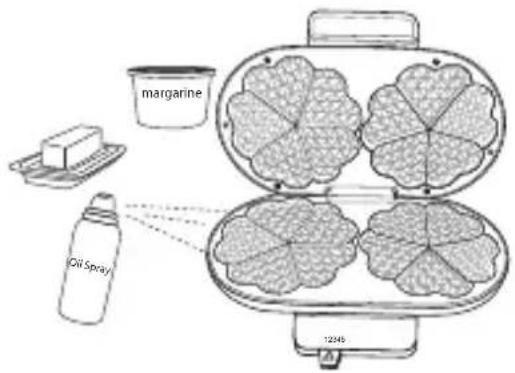
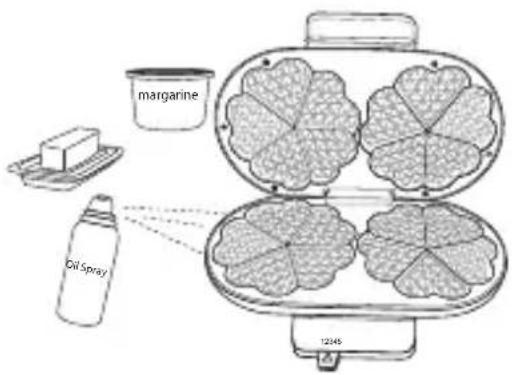
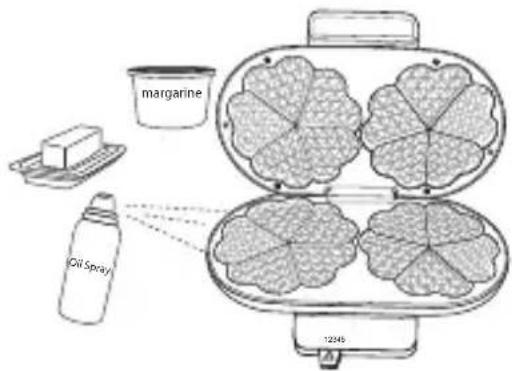
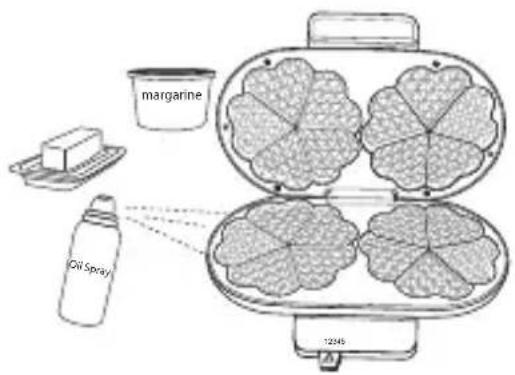
- Smear a layer of butter, margarine or cooking fat over the cooking plates.
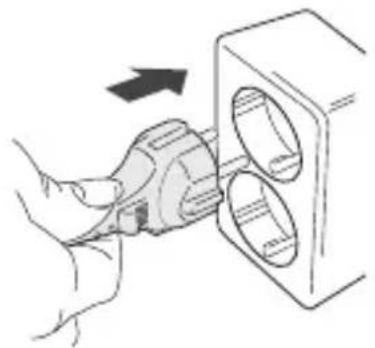
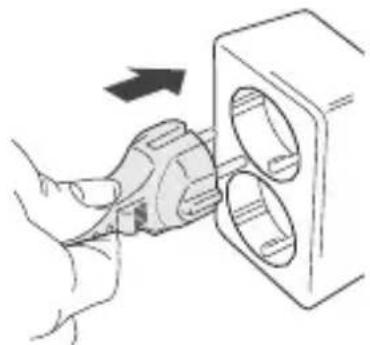
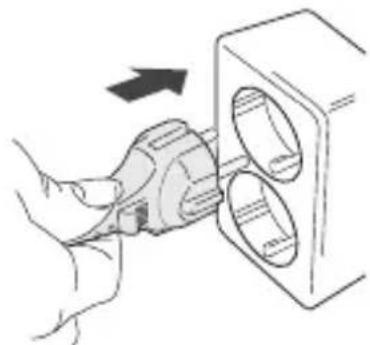
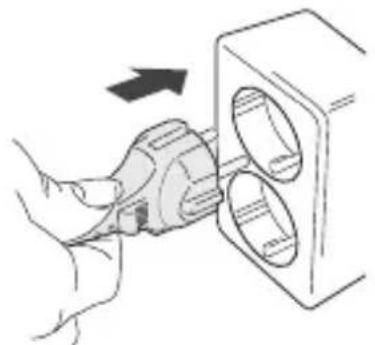
- Close the waffle maker and connect the plug to the mains socket.
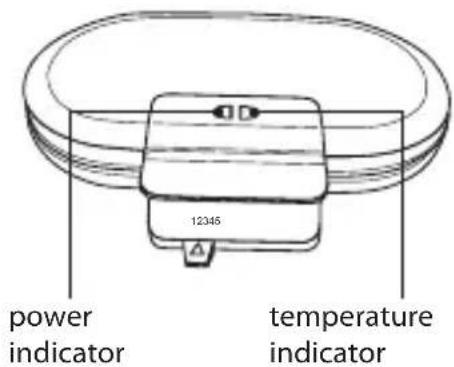
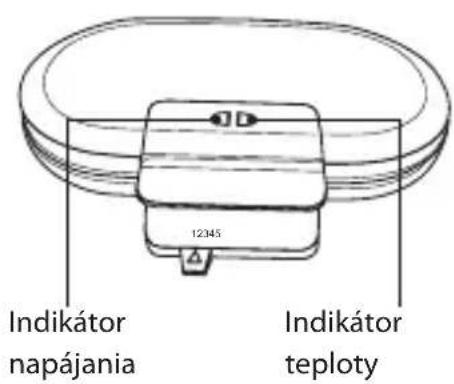
- Turn the power on at the mains socket. The red power indicator will light up. After several minutes, the green temperature indicator will light up.
GB
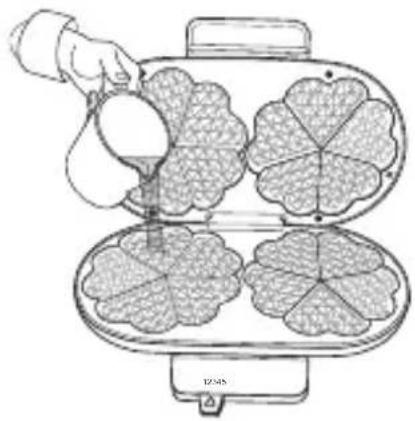
- Lift the lid and pour a small ladle of batter onto the centre of the lower waffle grid. Use a heat-proof plastic spatula to spread batter evenly over the grids. Close the lid and press for a short while, the green indicator will blink out.

Do not touch the surface of the cooking plates as they get very hot.
- Wait until the green temperature indicator lights up again. Open the lid and remove the waffle from the cooking plates with a wooden utensil.

Never use a metal object to remove your waffle as it may damage the cooking plates.

Please do not eat the first waffle.

Waffle Making
This unit makes 2 waffles each time.
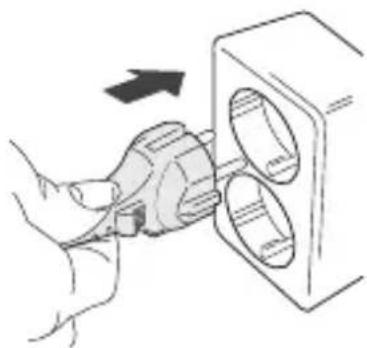
- Close the lid and connect the plug to the mains socket and switch on.
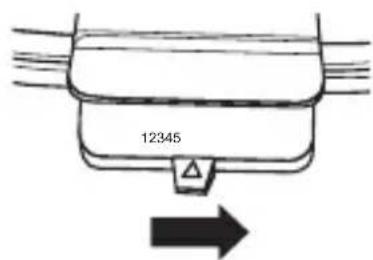
- The power indicator will light up red. Slide the Temperature Control Lever to choose how hot you want the unit to be. When the temperature indicator lights up green, the unit is ready to make waffles.

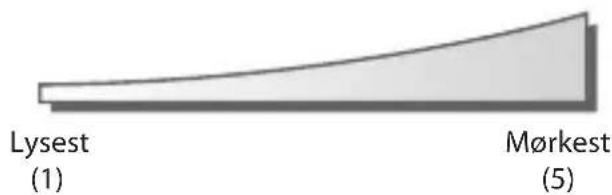
Levels 1 - 3 are recommended for pre-heating the unit.
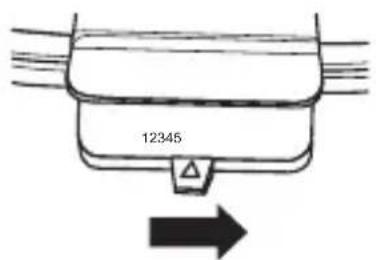
- Select the level of browning by sliding the Temperature Control Lever left or right. There are 5-setting levels:
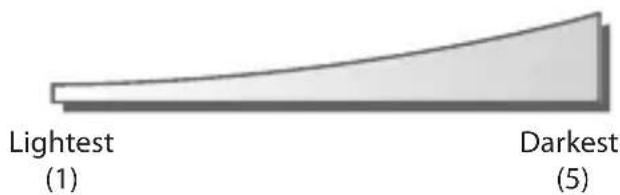

Levels 4 - 5 are recommended for making waffles.
- Lift up the lid and pour a small amount of batter onto the centre of the lower waffle grid. Use a heat-proof utensil (not metal) to spread the batter evenly over the grid.

- Do not touch the surface of the cooking plates as they get very hot. • Fill the grid(s) quickly, or the waffles will not brown evenly.
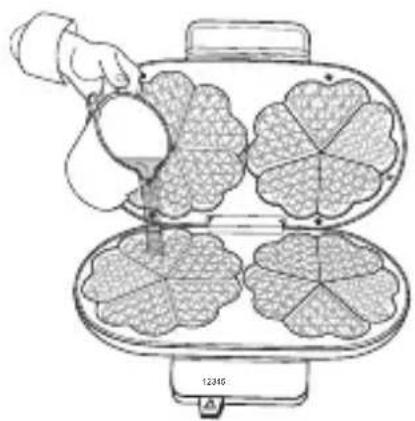
- Close the lid and press for a moment. Depending on the browning level selected, the temperature indicator will wink out. Once the waffles are ready, the temperature indicator will light up green. Leave the unit closed for another 1 - 2 minutes to ensure food is thoroughly cooked.
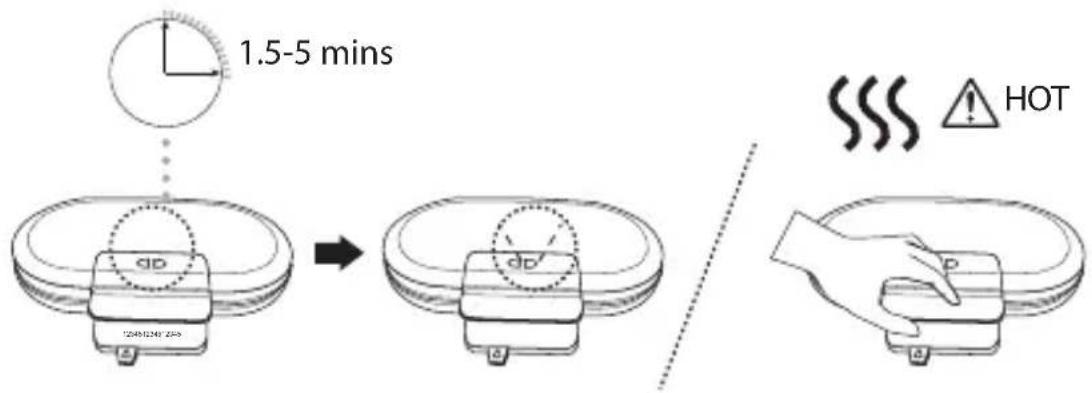
- Remove the waffles from the unit using a wooden or heat-resistant utensil (not metal). Pour more batter to continue making waffles, or unplug the unit.
Cleaning and Maintenance
Do not use harsh cleaners, solvents or scouring pads as they may damage the casing.
- Fully unplug the plug from the mains socket. Wait until the unit has cooled down before cleaning.
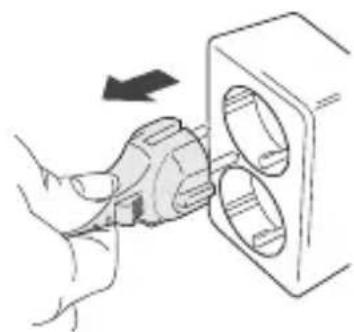
- Use a dry paper towel or a damp cloth to wipe away crumbs and soak up excess oil on the waffle grid. Clean the surface of the cooking plates with a damp cloth and wipe dry. Make sure you do not allow water to seep into the controls or heating elements.
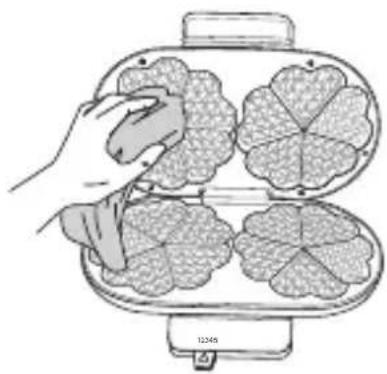

A non-metal, heat-resistant utensil and a paper towel can help clean the waffle maker thoroughly. A metal utensil may damage the cooking plates.

Hints to Make Perfect Waffles
- For evenly filled waffles, pour the batter onto the centre of the waffle grid and close the lid immediately.
- Baked waffles will accumulate steam between them and lose their crispness if stacked or cooled on a solid surface. For best results, move waffles to a wire cooling rack and do not stack.
- Finished waffles may be kept warm by placing them directly on a rack in a 100°C oven.
- Place in a baking pan while in the oven. Waffles wrapped in foil may lose their crispiness.
- Cooked waffles may be frozen. Stack the waffles, separating each layer with grease-proof paper then insert into a suitable container. Heat up in a toaster or toaster oven.
| Model LDWM13E | |
| Mains supply 220V-240V ~50Hz | |
| Power consumption 1200W | |
Features and specifications are subject to change without prior notice.

Product Overview
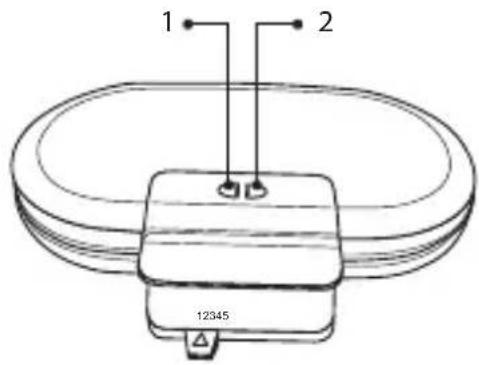
- Power Indicator
- Temperature indicator
- Handle
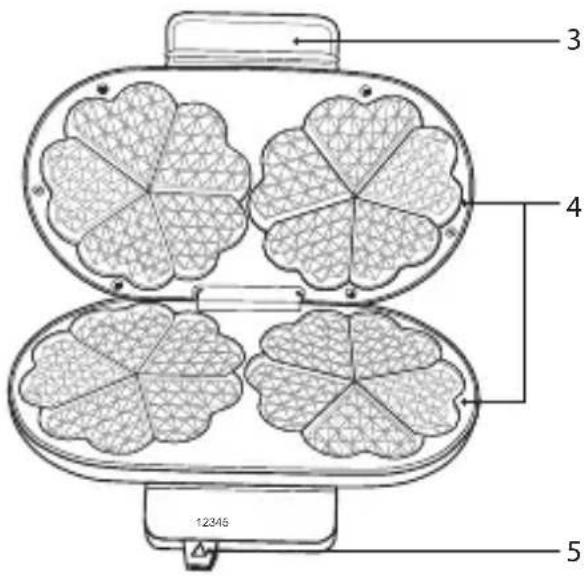
- Cooking plate
- Temperature control

First use
NO
Power indicator, temperature indicator
NO
Power indicator, temperature indicator
NO
- Select the browning level by turning the temperature control. There are 5 setting levels:


Product overview
SE
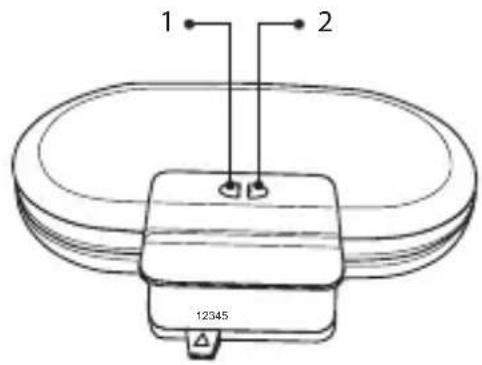
SE
Power indicator, temperature indicator
current indicator temperature indicator

Device User Guide

FI

FI

DK
Current indicator Temperature indicator
Current indicator Temperature indicator


Product overview

Main device Instruction manual

Product overview
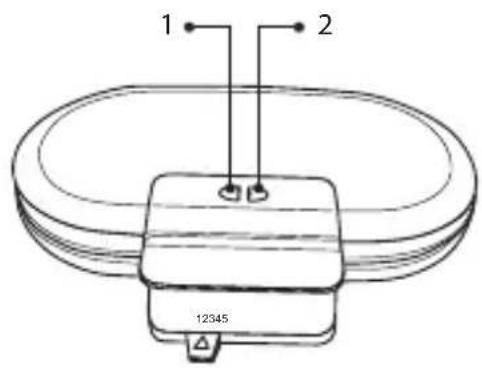
- Power indicator
- Temperature indicator
- Handle

This symbol on the product or in the instructions means that your electrical and electronic equipment should be disposed at the end of its life separately from your household waste. There are separate collection systems for recycling in the EU.
For more information, please contact the local authority or your retailer where you purchased the product.
NO
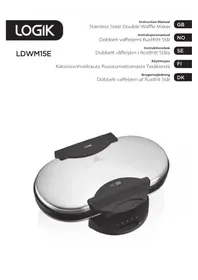
Brand : Logik
Model : LDWM13E
Category : Waffle Maker