XPG ATOM 50 - SSD

ATOM 50 - SSD XPG - 免费用户手册

免费查找设备手册 ATOM 50 XPG PDF格式.

📄 156 页 中文 ZH 下载 💬 AI提问 10 问题 ⚙️ 规格
Notice XPG ATOM 50 - page 3
请选择您的语言并填写邮箱:我们将为您发送专门翻译的版本。
产品类型 内置固态硬盘(SSD)
外形尺寸 M.2 2280
接口 PCIe Gen3x4(NVMe 1.3)
容量 可选容量:250GB、500GB、1TB、2TB
读取速度 高达 2,400 MB/s
写入速度 高达 1,800 MB/s
NAND 闪存 3D NAND
控制器 自研 XPG 控制器
尺寸(长 x 宽 x 高) 80.0 mm x 22.0 mm x 2.15 mm
重量 8.5 g
工作电压 3.3V ±5%
工作温度 0°C 至 70°C
存储温度 -40°C 至 85°C
抗震性 1500 G / 0.5 ms
抗振动性 20 G(20-2000 Hz)
MTBF(平均故障间隔时间) 2,000,000 小时
保修 5 年有限保修
兼容性 台式电脑、笔记本电脑、PlayStation 5
支持的操作系统 Windows、macOS、Linux、PS5
维护 无需维护;保持固件更新
所需安装工具 十字螺丝刀(开箱用 3.5mm,M.2 螺丝用 1.85-1.98mm)
包装内容 XPG ATOM 50 固态硬盘、安装螺丝、用户手册

常见问题 - ATOM 50 XPG

什么是 XPG ATOM 50 固态硬盘?
XPG ATOM 50 是一款 M.2 NVMe PCIe Gen3x4 固态硬盘,专为个人电脑、笔记本电脑和 PlayStation 5 游戏主机的高速存储而设计。
ATOM 50 与 PlayStation 5 兼容吗?
是的,ATOM 50 支持 PS5 M.2 扩展。请确保拥有最新 PS5 软件,并遵循手册中的安装指南。
安装需要什么螺丝刀?
使用 标准十字螺丝刀(3.5mm) 打开机箱,使用 较小的十字螺丝刀(1.85-1.98mm) 拧紧 M.2 螺丝。
如何在台式电脑中安装 ATOM 50?
备份数据并关机后,打开机箱,找到 M.2 插槽,对齐 SSD 缺口,以一定角度插入,用螺丝固定,然后重新组装。
可以在笔记本电脑中安装此固态硬盘吗?
可以。对于笔记本电脑,取下后盖,找到 M.2 插槽,插入 SSD,固定好,然后装回后盖。如有可能,请断开电池连接。
ATOM 50 是否需要特殊软件?
不需要特殊软件,但建议通过 XPG 工具保持 SSD 固件更新 以获得最佳性能。
ATOM 50 的关键规格是什么?
它采用 3D NAND,支持高达 2,400 MB/s 的读取速度和 1,800 MB/s 的写入速度,容量从 250GB 到 2TB 不等。
插入后如何固定 SSD?
使用 小号十字螺丝刀 拧紧支架上的螺丝。不要过度拧紧,以免损坏。
SSD 需要什么维护?
SSD 无需物理维护。定期检查固件更新并确保充分散热。
ATOM 50 支持 TRIM 吗?
是的,该硬盘支持 TRIM 命令,可在兼容操作系统上保持持续性能。

用户关于以下问题的提问 ATOM 50 XPG

0 问题 关于此设备。回答您知道的问题或提出自己的问题。

提出关于此设备的新问题

电子邮件保持私密:仅用于在有人回复您的问题时通知您。

还没有问题。成为第一个提问的人。

下载您的设备说明 SSD 免费PDF格式!查找您的手册 ATOM 50 - XPG 并重新掌握您的电子设备。本页发布了使用您的设备所需的所有文档。 ATOM 50 品牌 XPG.

用户手册 ATOM 50 XPG

主機、螺絲起子、新的ADATA M.2固態硬碟。

*請準備一支一般大小的螺絲起子(牙頭直徑約3.5mm),用來拆卸機殼;以及一支較小的拿來拆卸固態硬碟,由於鎖M.2固態硬碟的螺絲是比較小顆的,螺絲起子的牙頭建議使用直徑1.85-1.98mm左右。
XPG ATOM 50 - 1

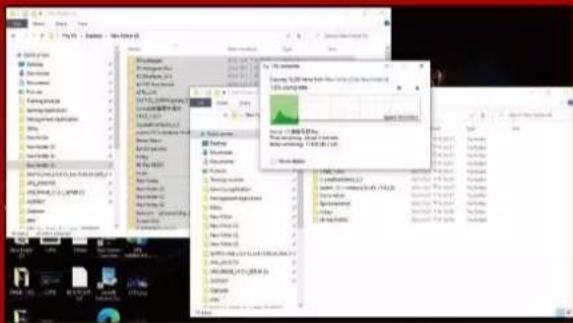
在更換新的固態硬碟之前,建議先將電腦中的資料備份到外接式硬碟中。

*建議另外準備一顆外接式硬碟,讓更換固態硬碟的過程不會遺失任何重要資料。
21 System Status: System to access Windows 7.0.1.1 (Windows 7.0.1.1) Windows 7.0.1.2 (Windows 7.0.1.2) Windows 7.0.1.3 (Windows 7.0.1.3) Windows 7.0.1.4 (Windows 7.0.1.4) Windows 7.0.1.5 (Windows 7.0.1.5) Windows 7.0.1.6 (Windows 7.0.1.6) Windows 7.0.1.7 (Windows 7.0.1.7) Windows 7.0.1.8 (Windows 7.0.1.8) Windows 7.0.1.9 (Windows 7.0.1.9) Windows 7.0.2 (Windows 7.0.2) Windows 7.0.2 (Windows 7.0.2) Windows 7.0.2 (Windows 7.0.2) Windows 7.0.2 (Windows 7.0.2) Windows 7.0.2 (Windows 7.0.2) Windows 7.0.2 (Windows 7.0.2) Windows 7.0.2 (Windows 7.0.2) Windows 6.9 (Windows 6.9) Windows 6.9 (Windows 6.9) Windows 6.9 (Windows 6.9) Windows 6.9 (Windows 6.9) Windows 6.9 (Windows 6.9) Windows 6.9 (Windows 6.9) Windows 6.9 (Windows 6.9) Windows 6.9 (Windows 6.9) Windows 6.9 (Windows 6.9) Windows 5.8 (Windows 5.8) Windows 5.8 (Windows 5.8) Windows 5.8 (Windows 5.8) Windows 5.8 (Windows 5.8) Windows 5.8 (Windows 5.8) Windows 5.8 (Windows 5.8) Windows 5.8 (Windows 5.8) Windows 5.8 (Windows 5.8) Windows 5.8 (Windows 5.8) Windows 4.8 (Windows 4.8) Windows 4.8 (Windows 4.8) Windows 4.8 (Windows 4.8) Windows 4.8 (Windows 4.8) Windows 4.8 (Windows 4.8) Windows 4.8 (Windows 4.8) Windows 4.8 (Windows 4.8) Windows 4.8 (Windows 4.8) Windows 4.8 (Windows 4. ) System to access

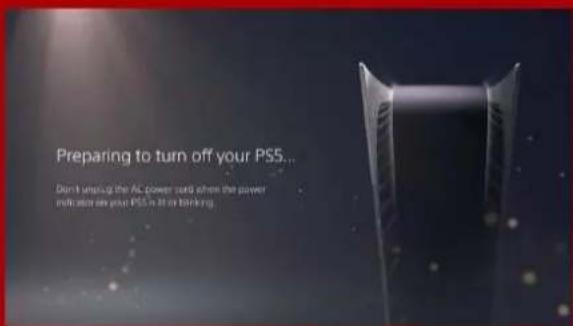
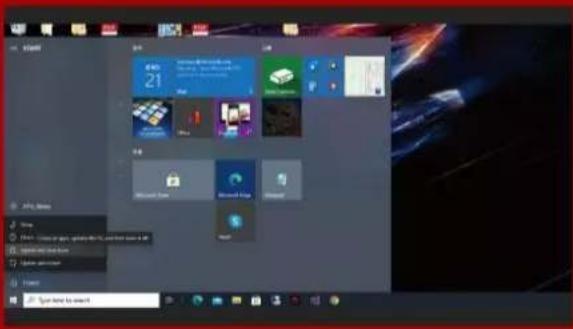
3. 請確實關機

完成備份後,請確實將主機關機,避免更換過程中資料的遺失,或是對系統及各零組件的損害。

XPG ATOM 50 - 請確實關機 - 1

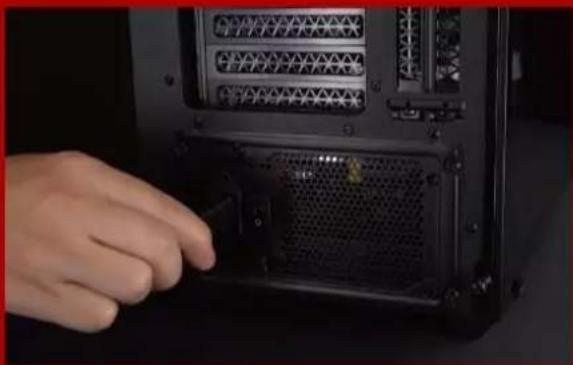
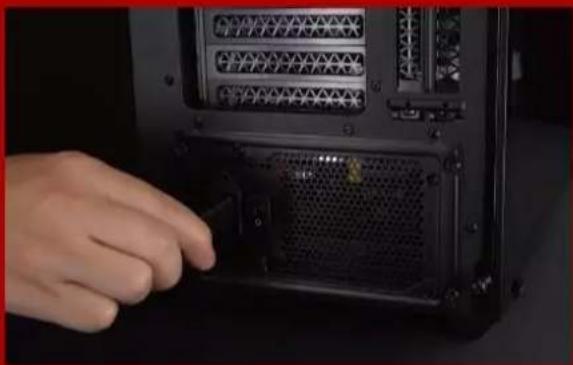
4. 關閉主機後方的電源鍵,並將電源線拔除

此動作是避免微量的電流通過,會造成系統及零件合資料損害。

*每一台主機的電源鍵位置不盡相同,請參照該主機的使用者說明書。

安裝固態硬碟步驟

XPG ATOM 50 - 安裝固態硬碟步驟 - 1

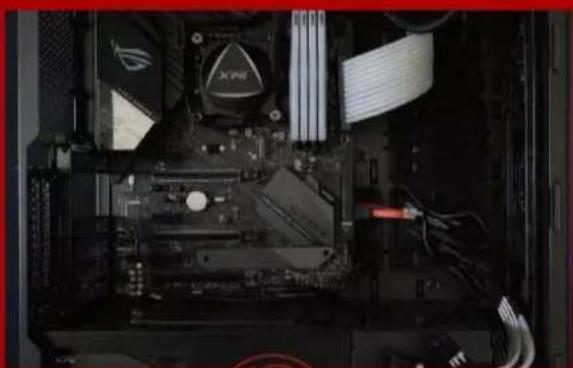
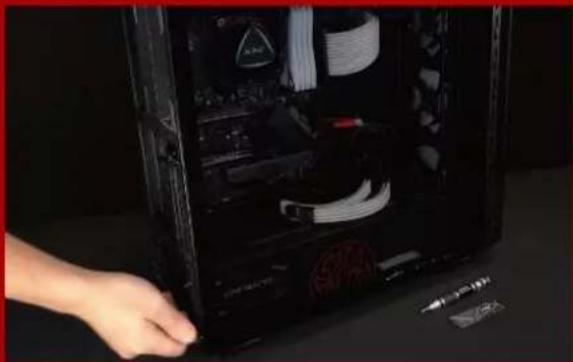
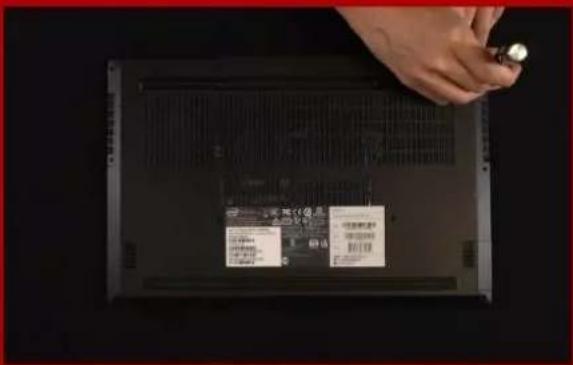
使用正常牙頭直徑的螺絲起子,將機殼上的螺絲取下。

XPG ATOM 50 - 安裝固態硬碟步驟 - 2

2. 確認M.2固態硬碟的插槽位置以及螺絲

確認新購買的M.2固態硬碟符合插槽大小,以及主機板上有無螺絲。

*每一台主機的固態硬碟插槽位置不盡相同,也可以參閱使用者手冊尋找該位置所在。

**一般來說,固定固態硬碟的螺絲會在主機出廠時裝載在主機板上。
XPG ATOM 50 - 確認M.2固態硬碟的插槽位置以及螺絲 - 1

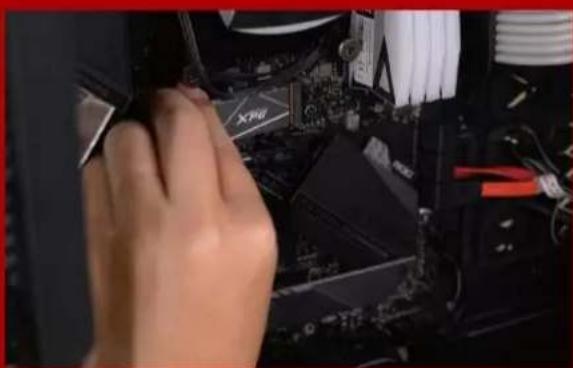
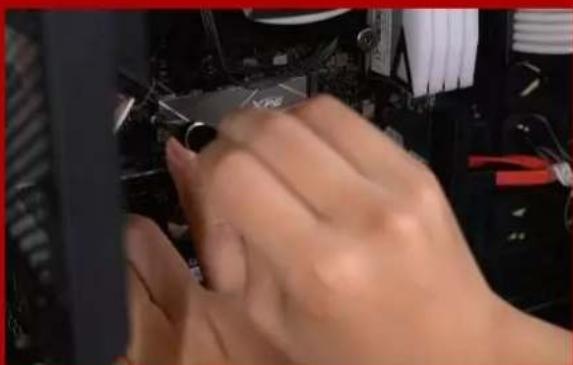
使用牙頭較小直徑的螺絲起子,將主機板上的螺絲取下,接著將固態硬碟的金手指對準插槽上的金色凹槽,並確認固態硬碟上的金手指缺口與PCIe插槽凹口對齊,表示方向正確,以傾斜角度插入後,並推到底確認裝得穩妥。

*請小心握住固態硬碟的側面,M.2插槽上的接口有防呆設計,請依固態硬碟金手指與接口對應之方向插入,如有干涉切勿強行插入,以免造成產品損壞。
XPG ATOM 50 - 確認M.2固態硬碟的插槽位置以及螺絲 - 2

*勿過度拴緊螺絲,造成螺牙或是產品毀損。

XPG ATOM 50 - 確認M.2固態硬碟的插槽位置以及螺絲 - 3

*勿過度拴緊螺絲,造成螺牙或是背蓋毀損。

XPG ATOM 50 - 確認M.2固態硬碟的插槽位置以及螺絲 - 4

6. 將電源線重新裝上,並開啟電源鍵即完成安裝

如何在台式电脑安装

M.2固态硬盘

XPG ATOM 50 - M.2固态硬盘 - 1

电脑主机、螺丝起子、新的XPG M.2固态硬盘。

*请准备一支一般大小的螺丝起子(牙头直径约3.5mm),用来拆卸机箱;以及一支较小的拿来拆卸固态硬盘,由于锁M.2固态硬盘的螺丝是比较小颗的,螺丝起子的牙头建议使用直径1.85-1.98mm左右。

XPG ATOM 50 - M.2固态硬盘 - 2

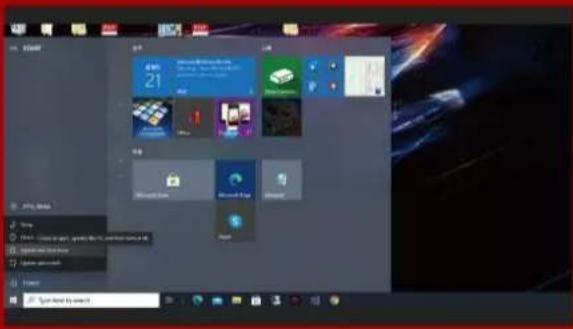
在更换新的固态硬盘之前,建议先将电脑中的数据备份到外接式硬盘中。

*建议另外准备一颗外接式硬盘,让更换固态硬盘的过程不会遗失任何重要数据。
21 Microsoft Word Microsoft Word Microsoft Word Windows Windows Windows Windows Windows Windows Windows Windows Windows Windows Windows Windows Windows Windows Windows Windows Windows Windows Windows Windows Windows Windows Windows Windows Windows Windows Windows Windows Windows Windows Windows Windows Windows Windows Windows Windows Windows Windows Windows Windows Windows Windows Windows Windows Windows Windows Windows Windows Windows Windows Microsoft Word Microsoft Word Microsoft Word Microsoft Word Microsoft Word Microsoft Word Microsoft Word Microsoft Word Microsoft Word Microsoft Word Microsoft Word Microsoft Word Microsoft Word Microsoft Word Microsoft Word Microsoft Word Microsoft Word Microsoft Word Microsoft Word Microsoft Word Microsoft Word Microsoft Word Microsoft Word Microsoft Word Microsoft Word Microsoft Word Microsoft Word Microsoft Word Microsoft Word Microsoft Word Microsoft Word Microsoft Word Microsoft Word Microsoft Word

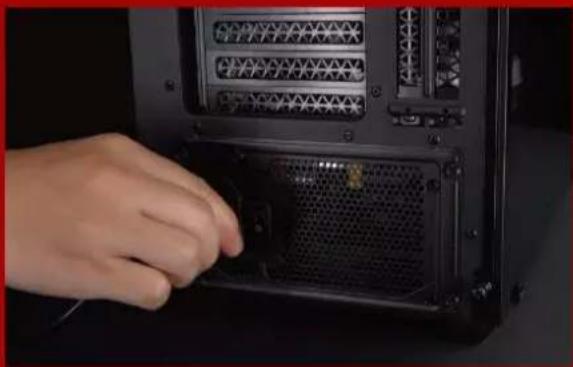
3.请确认关机

完成备份后,请确认已将主机完全关闭,而非休眠。避免更换过程中数据的遗失,或是对系统及各零组件的损害。
XPG ATOM 50 - 3.请确认关机 - 1

4. 关闭主机后方的电源开关,并将电源线拔除

此动作是避免微量的电流通过,会造成系统及零件和数据损害。

*每一台主机的电源开关位置不尽相同,请参照该主机的用户说明书。

安装固态硬盘步骤

XPG ATOM 50 - 安装固态硬盘步骤 - 1

使用正常牙头直径的螺丝起子,将侧板上的螺丝取下。

XPG ATOM 50 - 安装固态硬盘步骤 - 2

2.确认M.2固态硬盘的插槽位置以及螺丝

确认新购买的M.2固态硬盘符合插槽大小,以及主板上有无螺丝。

*每一台主机的固态硬碟插槽位置不尽相同,也可以参阅用户手册寻找该位置所在。

**一般来说,固定固态硬盘的螺丝会在笔电出厂时装载在主板上。
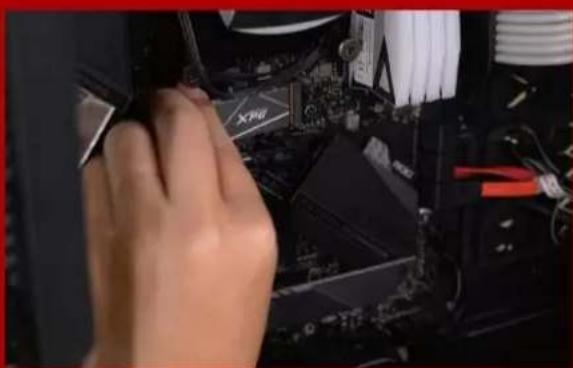
XPG ATOM 50 - 2.确认M.2固态硬盘的插槽位置以及螺丝 - 1

使用牙头较小直径的螺丝起子,将主板上的螺丝取下,接著将固态硬盘的金手指对准插槽上的金色凹槽,并确认固态硬盘上的金手指缺口与PCIe插槽凹口对齐,表示方向正确,以倾斜角度插入后,并推到底确认装得稳妥。

*请小心握住固态硬盘的侧面,M.2插槽上的接口有防呆设计,请依固态硬盘金手指与接口对应之方向插入,如有干涉切勿强行插入,以免造成产品损坏。
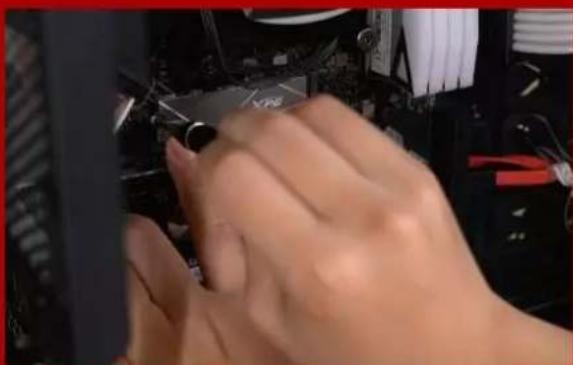
XPG ATOM 50 - 2.确认M.2固态硬盘的插槽位置以及螺丝 - 2

*勿过度拧紧螺丝,造成螺牙或是产品毁损。

XPG ATOM 50 - 2.确认M.2固态硬盘的插槽位置以及螺丝 - 3

*勿过度拧紧螺丝,造成螺牙或是背盖毁损。

XPG ATOM 50 - 2.确认M.2固态硬盘的插槽位置以及螺丝 - 4

6. 将电源线重新装上,并开启电源键即完成安装

INSTALLINGAM.2SSD ONADESKTOPPC

XPG ATOM 50 - INSTALLINGAM.2SSD ONADESKTOPPC - 1

主機、螺絲起子、新的XPG M.2固態硬碟。

*請準備一支一般大小的螺絲起子(牙頭直徑約3.5mm),用來拆卸機殼;以及一支較小的拿來拆卸固態硬碟,由於鎖M.2固態硬碟的螺絲是比較小顆的,螺絲起子的牙頭建議使用直徑1.85-1.98mm左右。
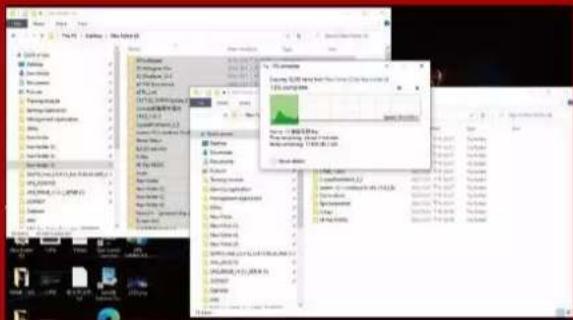
XPG ATOM 50 - INSTALLINGAM.2SSD ONADESKTOPPC - 2

在更換新的固態硬碟之前,建議先將電腦中的資料備份到外接式硬碟中,以防更換固態硬碟的過程不會遺失任何重要資料。

Start Microsoft Word Microsoft Teams Windows Windows 21 Windows 21 Windows 21 Windows 21 Windows 21 Windows 21 Windows 21 Windows 21 Windows 21 Windows 21 Windows 21 Windows 21 Windows 21 Windows 21 Windows 21 Windows 21 Windows 21 Windows 21 Windows 21 Windows 21 Windows 20 Windows 20 Windows 20 Windows 20 Windows 20 Windows 20 Windows 20 Windows 20 Windows 20 Windows 20 Windows 20 Windows 20 Windows 20 Windows 20 Windows 20 Windows 20 Windows 20 Windows 20 Windows 20 Windows 20 Windows 21 Windows 21 Windows 21 Windows 21 Windows 21 Windows 21 Windows 21 Windows 21 Windows 21 Windows 21 Windows 21 Windows 21 Windows 21 Windows 21 Windows 21 Windows 21 Windows 21 Windows 21 Windows 21 Windows 22 Windows 22 Windows 22 Windows 22 Windows 22 Windows 22 Windows 22 Windows 22 Windows 22 Windows 22 Windows 22 Windows 22 Windows 23 Windows 23 Windows 23 Windows 23 Windows 23 Windows 23 Windows 23 Windows 23 Windows 23 Windows 23 Windows 23 Windows 23 Windows 23 Windows 23 Windows 23 Windows 23 Windows 23 Windows 23 Windows 23 Windows 23 Windows 24 Windows 24 Windows 24 Windows 24 Windows 24 Windows 24 Windows 24 Windows 24 Windows 24 Windows 24 Windows 24 Windows 24 Windows 24 Windows 24 Windows 24 Windows 24 Windows 24 Windows 24 Windows 24 Windows 24 Windows 25 Windows 25 Windows 25 Windows 25 Windows 25 Windows 25 Windows 25 Windows 25 Windows 25 Windows 25 Windows 25 Windows 25 Windows 25 Windows 25 Windows 25 Windows 25 Windows 25 Windows 25 Windows 25 Windows 25 Windows 26 Windows 26 Windows 26 Windows 26 Windows 26 Windows 26 Windows 26 Windows 26 Windows 26 Windows 26 Windows 26

3.請確實關機

完成備份後,請確實將主機關機,避免更換過程中資料的遺失,或是對系統及各零組件的損害。

XPG ATOM 50 - 3.請確實關機 - 1

此動作是避免微量的電流通過,會造成系統及零件合資料損害。

*此動作是避免微量的電流通過,會造成系統及零件合資料損害。

安裝固態硬碟步驟

XPG ATOM 50 - 安裝固態硬碟步驟 - 1

使用正常直徑的螺絲起子,將背板的螺絲取下。

*若不知道自己的主機該如何操作,請查閱該主機的使用者手冊。

XPG ATOM 50 - 安裝固態硬碟步驟 - 2

2. 確認M.2固態硬碟的插槽位置以及螺絲

確認新購買的M.2固態硬碟符合插槽大小,以及主機板上有無螺絲。

*每一台主機的固態硬碟插槽位置不盡相同,也可以參閱使用者手冊尋找該位置所在。

**一般來說,固定固態硬碟的螺絲會在筆電出廠時裝載在主機板上。

XPG ATOM 50 - 確認M.2固態硬碟的插槽位置以及螺絲 - 1

使用牙頭較小直徑的螺絲起子,將主機板上的螺絲取下,接著將固態硬碟的金手指對準插槽上的金色凹槽,並確認固態硬碟上的金手指缺口與PCIe插槽凹口對齊,表示方向正確,以傾斜角度插入後,並推到底確認裝得穩妥。

*請小心握住固態硬碟的側面,M.2插槽上的接口有防呆設計,請依固態硬碟金手指與接口對應之方向插入,如有干涉切勿強行插入,以免造成產品損壞。

XPG ATOM 50 - 確認M.2固態硬碟的插槽位置以及螺絲 - 2

*勿過度拴緊螺絲,造成螺牙或是產品毀損。

XPG ATOM 50 - 確認M.2固態硬碟的插槽位置以及螺絲 - 3

*勿過度拴緊螺絲,造成螺牙或是背蓋毀損。

XPG ATOM 50 - 確認M.2固態硬碟的插槽位置以及螺絲 - 4

6.將電源線重新裝上,並開啓電源鍵即完成安裝

如何在笔记本电脑安装

M.2固态硬盘

更换前准备步骤
XFG XFG

1. 准备工具

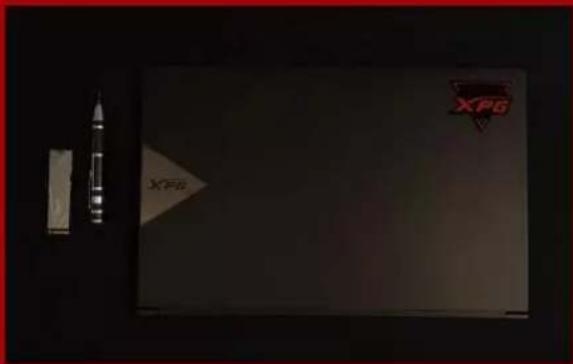
电脑主机、螺丝起子、新的XPG M.2固态硬盘。

*请准备一支一般大小的螺丝起子(牙头直径约3.5mm),用来拆卸电脑外壳;以及一支较小的拿来拆卸固态硬盘,由于固定M.2固态硬盘的螺丝是比较小颗的,螺丝起子的牙头建议使用直径1.85-1.98mm左右。

XPG ATOM 50 - 准备工具 - 1

在更换新的固态硬盘之前,建议先将电脑中的数据备份到外接式硬盘中,以防更换固态硬盘的过程不会遗失任何重要数据。

Start Microsoft Word Microsoft Teams Microsoft Word Microsoft Teams Microsoft Teams Microsoft Teams Microsoft Teams Microsoft Teams Microsoft Teams Microsoft Teams Microsoft Teams Microsoft Teams Microsoft Teams Microsoft Teams Microsoft Teams Microsoft Teams Microsoft Teams Microsoft Teams Microsoft Teams Microsoft Teams Microsoft Teams Microsoft Teams Microsoft Teams Microsoft Teams Microsoft Teams Microsoft Teams Microsoft Teams Microsoft Teams Microsoft Teams Microsoft Teams Microsoft Teams Microsoft Teams Microsoft Teams Microsoft Teams Microsoft Teams Microsoft Teams Microsoft Teams

3.请确认关机

完成备份后,请确认已将主机完全关闭,避免更换过程中数据的遗失,或是对系统及各零组件的损害。

XPG ATOM 50 - 3.请确认关机 - 1

此动作是避免微量的电流通过,会造成系统及零件和数据损害。

*此动作是避免微量的电流通过,会造成系统及零件合资料损害。

安装固态硬盘步骤
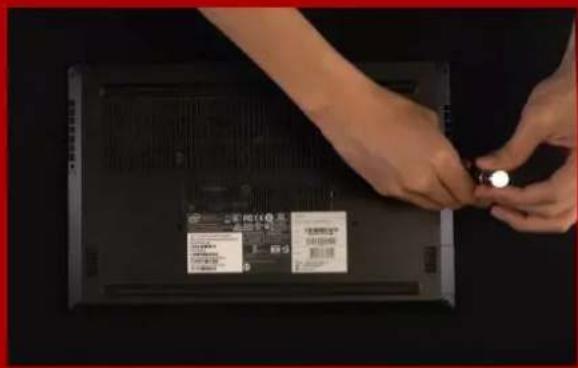
XPG ATOM 50 - 安装固态硬盘步骤 - 1

使用正常直径的螺丝起子,将背板的螺丝取下。

*若不知道自己的电脑该如何操作,请查阅该主机的使用者手册。

XPG ATOM 50 - 安装固态硬盘步骤 - 2

2. 确认M.2固态硬盘的插槽位置以及螺丝

确认新购买的M.2固态硬盘符合插槽大小,以及主板上有无螺丝。

*每一台电脑的固态硬碟插槽位置不尽相同,也可以参阅用户手册寻找该位置所在。

**一般来说,固定固态硬盘的螺丝会在笔电出厂时装载在主板上。

XPG ATOM 50 - 确认M.2固态硬盘的插槽位置以及螺丝 - 1

使用牙头较小直径的螺丝起子,将主板上的螺丝取下,接著将固态硬盘的金手指对准插槽上的金色凹槽,并确认固态硬盘上的金手指缺口与PCIe插槽凹口对齐,表示方向正确,以倾斜角度插入后,并推到底确认装得稳妥。

*请小心握住固态硬盘的侧面,M.2插槽上的接口有防呆设计,请依固态硬盘金手指与接口对应之方向插入,如有干涉切勿强行插入,以免造成产品损坏。
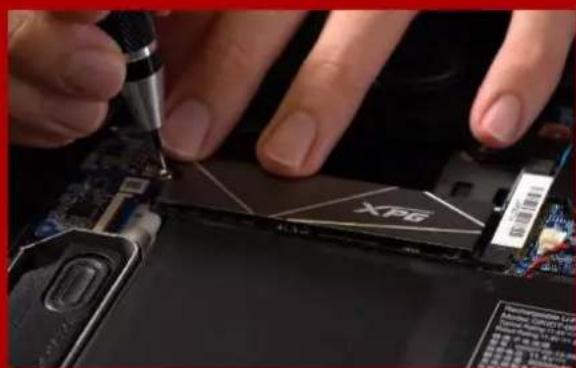
XPG ATOM 50 - 确认M.2固态硬盘的插槽位置以及螺丝 - 2

*勿过度拴紧螺丝,造成螺牙或是产品毁损。

XPG ATOM 50 - 确认M.2固态硬盘的插槽位置以及螺丝 - 3

*勿过度拴紧螺丝,造成螺牙或是背盖毁损。

XPG ATOM 50 - 确认M.2固态硬盘的插槽位置以及螺丝 - 4

6. 将电源线重新装上,并开启电源键即完成安装

INSTALLING A M.2 SSD ON A LAPTOP PC

BEFORE INSTALLATION

XFG XFG

  • XPG M.2固態硬碟
  • 十字型螺絲起子
  • PS5主機

XPG ATOM 50 - BEFORE INSTALLATION - 2

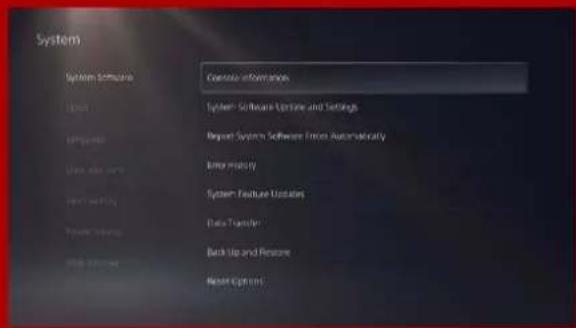
  1. 確保您的PS5主機以更新到最新的軟體版本。

XPG ATOM 50 - BEFORE INSTALLATION - 3

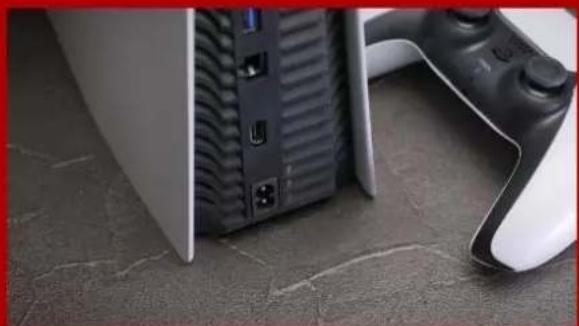
  1. 將PS5主機平放,使帶有標誌的一面朝下。

XPG ATOM 50 - BEFORE INSTALLATION - 4

  1. 用右手拉動,然後向左滑動背板以拆除機殼上蓋。

XPG ATOM 50 - BEFORE INSTALLATION - 5

4.鬆開螺絲以拆除固態硬碟擴充槽的蓋子。

XPG ATOM 50 - BEFORE INSTALLATION - 6

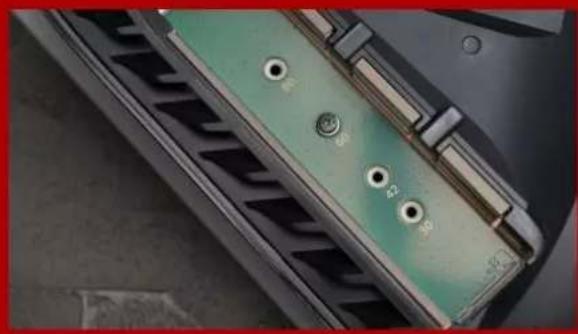
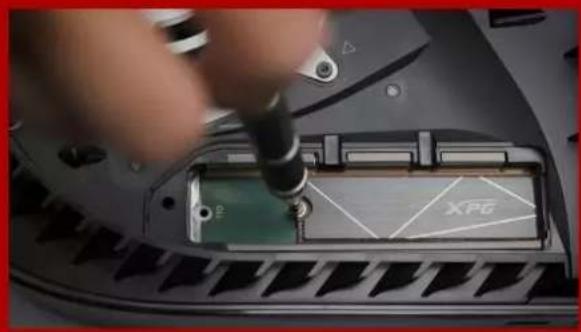
  1. 拆除固定固態硬碟的螺絲和下方的墊圈支架。

XPG ATOM 50 - BEFORE INSTALLATION - 7

  1. 將墊圈支架放入與M.2固態硬碟長度對應的孔洞中。

XPG ATOM 50 - BEFORE INSTALLATION - 8

  1. 將固態硬碟的金色連接器,插入相容的插槽中。

XPG ATOM 50 - BEFORE INSTALLATION - 9

  1. 通過向後滑動並下壓,來重新安裝PS5主機背板。

XPG ATOM 50 - BEFORE INSTALLATION - 10

現在您可以將遊戲和應用程式儲存到固態硬碟上了。

如何在PS5主机安装M.2固态硬盘
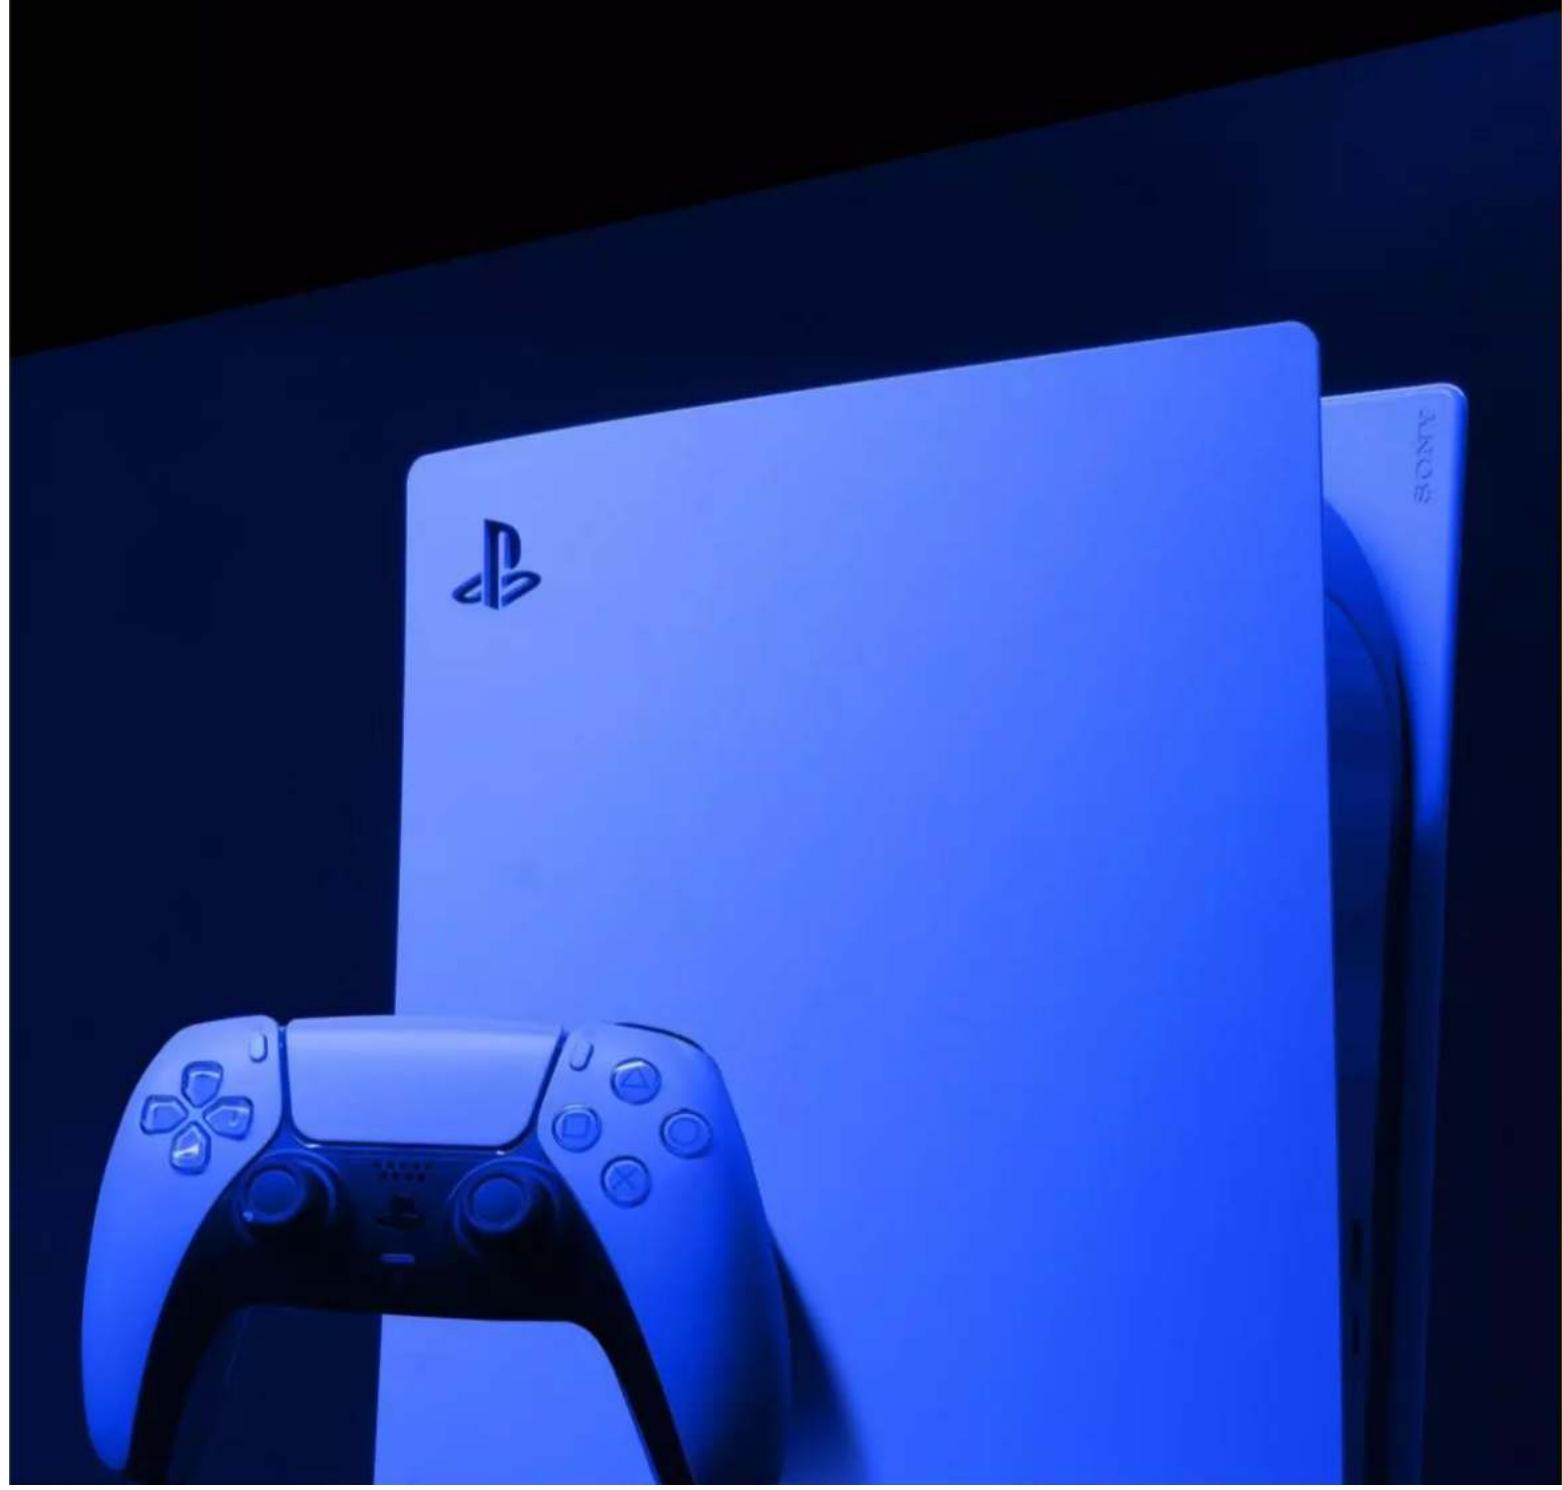
XPG ATOM 50 - 如何在PS5主机安装M.2固态硬盘 - 1

  1. 确保您的PS5主机已更新到最新的软件版本。

XPG ATOM 50 - 如何在PS5主机安装M.2固态硬盘 - 2

  1. 将PS5主机平放,使带有标志的一面朝下。

XPG ATOM 50 - 如何在PS5主机安装M.2固态硬盘 - 3

  1. 拆除固定固态硬盘的螺丝和下方的垫圈支架。

XPG ATOM 50 - 如何在PS5主机安装M.2固态硬盘 - 4

  1. 将垫圈支架放入与M.2固态硬盘长度对应的孔洞中。

XPG ATOM 50 - 如何在PS5主机安装M.2固态硬盘 - 5

  1. 将固态硬盘的金色连接器,插入相容的插槽中。

XPG ATOM 50 - 如何在PS5主机安装M.2固态硬盘 - 6

  1. 通过向后滑动并下压,来重新安装PS5主机背板。

XPG ATOM 50 - 如何在PS5主机安装M.2固态硬盘 - 7

14. 您已完成!现在您可以将游戏和应用程序储存到固态硬盘上了。

HOW TO INSTALL AN M.2 SSD ON PLAYSTATION5

XPG ATOM 50 - HOW TO INSTALL AN M.2 SSD ON PLAYSTATION5 - 1

手册助手
由Anthropic提供支持
等待您的消息
产品信息

品牌 : XPG

型号 : ATOM 50

类别 : SSD