Tyxia 2600 - Télécommande DELTA DORE - Notice d'utilisation et mode d'emploi gratuit
Retrouvez gratuitement la notice de l'appareil Tyxia 2600 DELTA DORE au format PDF.
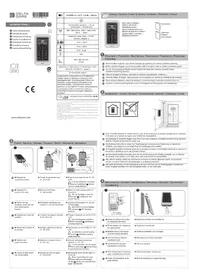
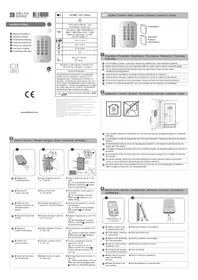
| Type de produit | Télécommande multifonction sans fil |
| Marque | Delta Dore |
| Modèle | Tyxia 2600 |
| Dimensions | 41 x 36 x 8 mm |
| Alimentation | Pile lithium CR2032 3 V |
| Autonomie de la pile | Jusqu'à 8 ans selon l'utilisation |
| Indice de protection | IP 40 (dans boîte d'encastrement) |
| Température de fonctionnement | -10 °C à +40 °C |
| Température de stockage | -10 °C à +50 °C |
| Isolation | Classe III |
| Fréquence radio | 868,7 MHz à 869,2 MHz |
| Puissance radio maximale | < 10 mW |
| Catégorie récepteur | Catégorie 2 |
| Fonctions principales | Commande d'éclairage ON/OFF et variation, commande de volet roulant, routines, compatible avec Tydom (sauf Tydom 1.0 et 2.0) |
| Types de commande compatibles | Interrupteur simple/double, poussoir simple/double, interrupteur 3 positions volet roulant |
| Remplacement de la pile | Utiliser un outil pour retirer la pile, insérer une nouvelle pile CR2032 |
| Entretien et nettoyage | Nettoyer avec un chiffon sec et doux |
| Pièces détachées | Pile CR2032 |
| Réparabilité | Remplacement de pile par l'utilisateur, autres réparations par un professionnel |
| Informations générales | Télécommande sans fil pour systèmes domotiques Delta Dore |
FOIRE AUX QUESTIONS - Tyxia 2600 DELTA DORE
Questions des utilisateurs sur Tyxia 2600 DELTA DORE
0 question sur cet appareil. Repondez a celles que vous connaissez ou posez la votre.
Poser une nouvelle question sur cet appareil
Téléchargez la notice de votre Télécommande au format PDF gratuitement ! Retrouvez votre notice Tyxia 2600 - DELTA DORE et reprennez votre appareil électronique en main. Sur cette page sont publiés tous les documents nécessaires à l'utilisation de votre appareil Tyxia 2600 de la marque DELTA DORE.
MODE D'EMPLOI Tyxia 2600 DELTA DORE

DELTA DORE

Tyxia 2600
EN Battery powered multifunction transmitter

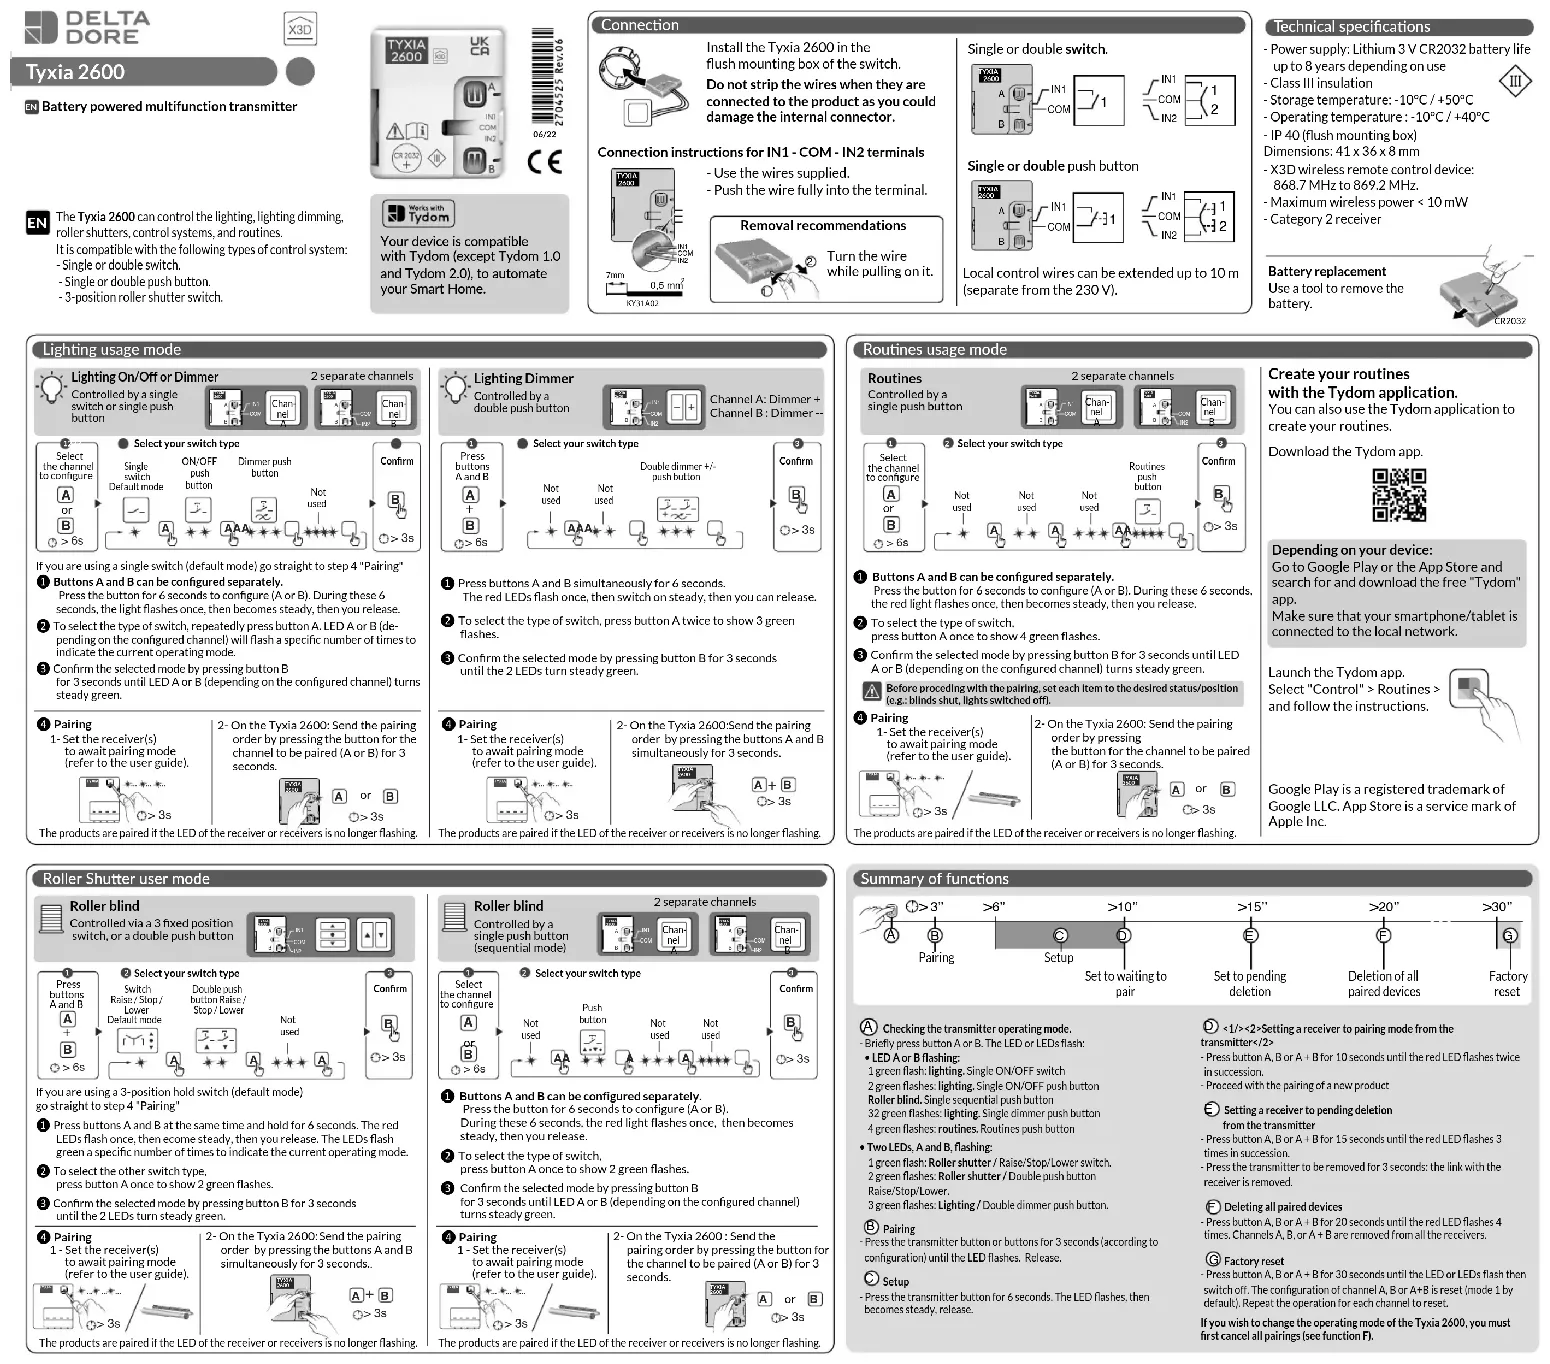
The Tyxia 2600 can control the lighting, lighting dimming, roller shutters, control systems, and routines.
It is compatible with the following types of control system: - Single or double switch.
- Single or double push button.
- 3-position roller shutter switch.


CE

Your device is compatible with Tydom (except Tydom 1.0 and Tydom 2.0), to automate your Smart Home.
Connection

Install the Tyxia 2600 in the flush mounting box of the switch. Do not strip the wires when they are connected to the product as you could damage the internal connector.
Connection instructions for IN1 - COM - IN2 terminals

- Use the wires supplied. - Push the wire fully into the terminal.

Single or double switch.


Single or double push button


Local control wires can be extended up to 10 m (separate from the 230 V).
Technical specifications
- Power supply: Lithium 3 V CR2032 battery life up to 8 years depending on use - Class III insulation
- Storage temperature: -10°C / +50°C - Operating temperature : -10°C / +40°C
- IP 40 (flush mounting box)
Dimensions: 41 x 36 x 8 mm
- X3D wireless remote control device:
868.7 MHz to 869.2 MHz.
- Maximum wireless power < 10 mW
- Category 2 receiver
Battery replacement
Use a tool to remove the battery.

Lighting usage mode

If you are using a single switch (default mode) go straight to step 4 "Pairing"
① Buttons A and B can be configured separately.
Press the button for 6 seconds to configure (A or B). During these 6
seconds, the light flashes once, then becomes steady, then you release.
② To select the type of switch, repeatedly press button A. LED A or B (depending on the configured channel) will flash a specific number of times to indicate the current operating mode.
3 Confirm the selected mode by pressing button B for 3 seconds until LED A or B (depending on the configured channel) turns steady green.
4 Pairing
1- Set the receiver(s) to await pairing mode (refer to the user guide).

The products are paired if the LED of the receiver or receivers is no longer flashing.

Lighting Dimmer
Controlled by a
double push button

Channel A: Dimmer +
Channel B : Dimmer -

- Select your switch type


① Press buttons A and B simultaneously for 6 seconds. The red LEDs flash once, then switch on steady, the
② To select the type of switch, press button A twice to show 3 green flashes.
③ Confirm the selected mode by pressing button B for 3 seconds until the 2 LEDs turn steady green.
4 Pairing
1- Set the receiver(s) to await pairing mode (refer to the user guide).

2- On the Tyxia 2600: Send the pairing order by pressing the buttons A and B simultaneously for 3 seconds.

The products are paired if the LED of the receiver or receivers is no longer flashing.
Routines usage mode
Routines
Controlled by a single push button
2 separate channels


2 Select your switch type

① Buttons A and B can be configured separately.
Press the button for 6 seconds to configure (A or B). During these 6 seconds, the red light flashes once, then becomes steady, then you release.
② To select the type of switch.
press button A once to show 4 green flashes.
3 Confirm the selected mode by pressing button B for 3 seconds until LED A or B (depending on the configured channel) turns steady green.
Before proceeding with the pairing, set each item to the desired status/position (e.g.: blinds shut, lights switched off).
4 Pairing
1- Set the receiver(s) to await pairing mode (refer to the user guide).

2- On the Tyxia 2600: Send the pairing order by pressing the button for the channel to be paired (A or B) for 3 seconds.

The products are paired if the LED of the receiver or receivers is no longer flashing.
Create your routines
with the Tydom application.
You can also use the Tydom application to
create your routines.
Download the Tydom app.

Depending on your device:
Go to Google Play or the App Store and search for and download the free "Tydom" app.
Make sure that your smartphone/tablet is connected to the local network.
Launch the Tydom app.
Select "Control" > Routines and follow the instructions.

Google Play is a registered trademark of Google LLC. App Store is a service mark of Apple Inc.
Roller Shutter user mode

Roller blind
Controlled via a 3 fixed position
switch, or a double push button


② Select your switch type
Switch Double push
Raise/Stop/ button Raise
Lower Stop/Lower Default mode
- T T
|T+1: | 5-5-
→ * A
5

If you are using a 3-position hold switch (default mode) go straight to step 4 "Pairing"
1 Press buttons A and B at the same time and hold for 6 seconds. The red LEDs flash once, then ecome steady, then you release. The LEDs flash green a specific number of times to indicate the current operating mode
② To select the other switch type,
press button A once to show 2 green flashes.
③ Confirm the selected mode by pressing button B for 3 seconds until the 2 LEDs turn steady green.
4 Pairing
1 - Set the receiver(s) to await pairing mode (refr to the waywide).

2- On the Tyxia 2600: Send the pairing order by pressing the buttons A and B simultaneously for 3 seconds..

The products are paired if the LED of the receiver or receivers is no longer flashing.

Roller blind
Controlled by a
single push button
(sequential mode)
2 separate channels

② Select your switch type


① Buttons A and B can be configured separately.
Press the button for 6 seconds to configure (A or B).
During these 6 seconds, the red light flashes once, then becomes steady, then you release.
② To select the type of switch,
press button A once to show 2 green flashes.
3 Confirm the selected mode by pressing button B for 3 seconds until LED A or B (depending on the configured channel) turns steady green.
4 Pairing
1 - Set the receiver(s) to await pairing mode (refer to the user guide)

2- On the Tyxia 2600 : Send the pairing order by pressing the button for the channel to be paired (A or B) for 3 seconds

The products are paired if the LED of the receiver or receivers is no longer flashing.
Summary of functions


(A) Checking the transmitter operating mode.
- Briefly press button A or B. The LED or LEDs flash:
• LED A or B flashing:
1 green flash: lighting. Single ON/OFF switch
2 green flashes: lighting. Single ON/OFF push button
Roller blind. Single sequential push button
32 green flashes: lighting. Single dimmer push button
4 green flashes: routines. Routines push button
- Two LEDs, A and B, flashing:
1 green flash: Roller shutter / Raise/Stop/Lower switch.
2 green flashes: Roller shutter / Double push button
Raise/Stop/Lower
3 green flashes: Lighting / Double dimmer push button.
③ Pairing
- Press the transmitter button or buttons for 3 seconds (according to configuration) until the LED flashes. Release.
© Setup
- Press the transmitter button for 6 seconds. The LED flashes, then becomes steady, release.
(D) <1/><2>Setting a receiver to pairing mode from the
transmitter</2>
- Press button A, B or A + B for 10 seconds until the red LED flashes twice in succession.
- Proceed with the pairing of a new product
E Setting a receiver to pending deletion
from the transmitter
- Press button A, B or A + B for 15 seconds until the red LED flashes 3 times in succession.
- Press the transmitter to be removed for 3 seconds: the link with the receiver is removed.
F) Deleting all paired devices
- Press button A, B or A + B for 20 seconds until the red LED flashes 4 times. Channels A, B, or A + B are removed from all the receivers.
© Factory reset
- Press button A, B or A + B for 30 seconds until the LED or LEDs flash then switch off. The configuration of channel A, B or A+B is reset (mode 1 by default). Repeat the operation for each channel to reset.
If you wish to change the operating mode of the Tyxia 2600, you must first cancel all pairings (see function F).
The Ground Truth image displays a single, solid horizontal line. According to Rule 2 (UNDERSCORE & LINE RULES), this is a stylistic or background line, not a placeholder underscore. Therefore, the OCR result must ignore it and output nothing or only meaningful text. The provided OCR content is "____", which consists of four underscores. This is an incorrect interpretation of the line as a placeholder, violating the rule that stylistic lines must be ignored. The OCR has hallucinated underscores where none should exist based on the GT's visual context. Hence, the OCR result is inconsistent with the Ground Truth.
[Non-Text]
[Non-Text]
[Non-Text]
[Non-Text]
[Non-Text]
[Non-Text]
[Non-Text]
[Non-Text]
[Non-Text]
[Non-Text]
[Non-Text]
[Non-Text]
[Non-Text]
[Non-Text]
[Non-Text]
[Non-Text]
[Non-Text]
[Non-Text]
[Non-Text]
[Non-Text]
[Non-Text]
[Non-Text]
[Non-Text]
[Non-Text]
[Non-Text]
[Non-Text]
[Non-Text]
[Non-Text]
[Non-Text]
[Non-Text]
[Non-Text]
[Non-Text]
[Non-Text]
[Non-Text]
[Non-Text]
[Non-Text]
[Non-Text]
[Non-Text]
[Non-Text]
[Non-Text]
[Non-Text]
[Non-Text]
[Non-Text]
[Non-Text]
[Non-Text]
[Non-Text]
[Non-Text]
[Non-Text]
[Non-Text]
[Non-Text]
[Non-Text]
[Non-Text]
[Non-Text]
[Non-Text]
[Non-Text]
[Non-Text]
[Non-Text]
[Non-Text]
[Non-Text]
[Non-Text]
[Non-Text]
[Non-Text]
[Non-Text]
[Non-Text]
[Non-Text]
[Non-Text]
[Non-Text]
[Non-Text]