CONNLOCKPK10 - Serrure StarTech.com - Notice d'utilisation et mode d'emploi gratuit
Retrouvez gratuitement la notice de l'appareil CONNLOCKPK10 StarTech.com au format PDF.


| Type de produit | Lot de 10 verrous de sécurité pour connecteurs |
| Marque | StarTech.com |
| Modèle | CONNLOCKPK10 |
| Catégorie | Serrure pour câbles et connecteurs |
| Usage principal | Empêcher le débranchement non autorisé de câbles réseau, USB, HDMI ou autres connecteurs |
| Matériau | Plastique ABS renforcé avec insert métallique |
| Couleur | Noir |
| Dimensions (chaque verrou) | 30 x 25 x 15 mm |
| Poids unitaire | Environ 8 g |
| Conditionnement | Lot de 10 verrous vendus avec clés |
| Type de serrure | À clé (cylindre à goupilles) |
| Nombre de clés fournies par verrou | 2 clés identiques |
| Verrouillage identique ou différent | Chaque verrou possède sa propre clé (non interchangeable) |
| Compatibilité | Connecteurs RJ45, USB, HDMI, DisplayPort et autres formats compacts |
| Installation | Clipser directement sur le connecteur, puis verrouiller avec la clé |
| Niveau de sécurité | Protection modérée contre les manipulations non autorisées |
| Résistance à l'arrachement | Environ 5 kg (force de traction maximale) |
| Entretien | Nettoyer avec un chiffon sec, ne pas utiliser de solvants |
| Garantie | 2 ans |
| Réparabilité | Non réparable, remplacer le verrou si défectueux |
FOIRE AUX QUESTIONS - CONNLOCKPK10 StarTech.com
Questions des utilisateurs sur CONNLOCKPK10 StarTech.com
0 question sur cet appareil. Repondez a celles que vous connaissez ou posez la votre.
Poser une nouvelle question sur cet appareil
Téléchargez la notice de votre Serrure au format PDF gratuitement ! Retrouvez votre notice CONNLOCKPK10 - StarTech.com et reprennez votre appareil électronique en main. Sur cette page sont publiés tous les documents nécessaires à l'utilisation de votre appareil CONNLOCKPK10 de la marque StarTech.com.
MODE D'EMPLOI CONNLOCKPK10 StarTech.com
Connectivity Lock - Steel Cable Tether
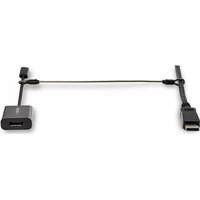
Product Diagram (CONNLOCKPK)

| Part Function | ||
| 1 | Steel Cable Tether | • Tether A/V Cables to A/V Adapters |
| 2 | Aluminum Ferrule | • Create a loop by routing the Steel Cable Tether through each opening• Crimp to secure the Steel Cable Tether loop |
| 3 | Heat Shrink Tubing • Shrink around the crimped Aluminum Ferrules | |
Requirements
- Swaging Tool x 1
• (Optional) Heat Gun x 1
• (Optional) Wire Cable Cutter x 1
For the latest requirements please visit: www.startech.com/CONNLOCKPK.
Installation
- (Optional) Thread the Heat Shrink Tubing onto the center of the Steel Cable Tether.
Note: This step is necessary if you plan to utilize the Heat Shrink Tubing.
- Thread the Aluminum Ferrules onto each end of the Steel Cable Tether.
-
Wrap one end of the Steel Cable Tether around the A/V Cable.
-
Route the working end of the Steel Cable Tether back into the second hole in the Aluminum Steel Ferrule.
- Cinch the Steel Cable Tether until it fits snugly around the A/V Cable.
Note: Do not cinch the Steel Cable Tether down all the way. Cinch the Steel Cable Tether until it is no longer possible to slip the loop over the connectors of the AV Cable.
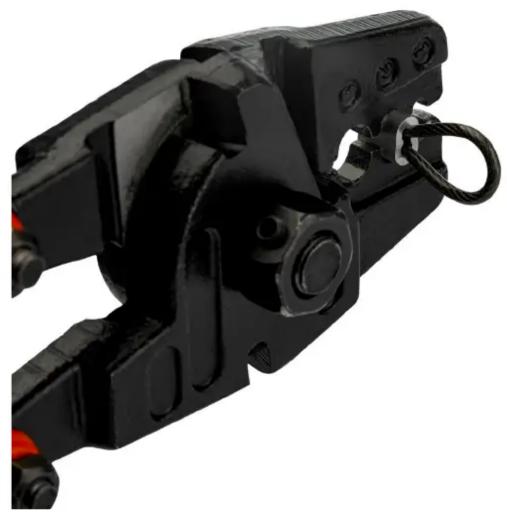
- Crimp the Aluminum Steel Ferrule in the appropriate fitting of a Swaging Tool. (Figure 1)
Note: It may be necessary to crimp the Aluminum Steel Ferrule a few times to create a strong and circular shaped crimp.
Figure 1
-
Wrap the other end of the Steel Cable Tether around the cable portion of the A/V Adapter.
-
Repeat steps 4 to 6 to secure the Connectivity Lock to the cable portion of the A/V Adapter. (Figure 2)

-
(Optional) Slide the Heat Shrink Tubing over the crimped Aluminum Ferrules.
-
(Optional) Apply heat to the Heat Shrink Tubing using a Heat Gun. Always keep the Heat Gun moving to ensure the heat is evenly distributed over the Heat Shrink Tubing. (Figure 3)
Note: Apply just enough heat to shrink the Heat Shrink Tubing. Excessive heat will melt the nylon sheath that covers the Steel Cable Tether.

Removal
- Cut both ends of the Steel Cable Tether using a Wire Cable Cutter.
Note: Ensure the cut is made close to the Aluminum Steel Ferrule to prevent any damage to the Cables.
Use of Trademarks, Registered Trademarks, and other Protected Names and Symbols
This manual may make reference to trademarks, registered trademarks, and other protected names and/or symbols of third-party companies not related in any way to StarTech.com. Where they occur these references are for illustrative purposes only and do not represent an endorsement of a product or service by StarTech.com, or an endorsement of the product(s) to which this manual applies by the third-party company in question. StarTech.com hereby acknowledges that all trademarks, registered trademarks, service marks, and other protected names and/or symbols contained in this manual and related documents are the property of their respective holders.
Warranty Information
This product is backed by a five-year warranty.
For further information on product warranty terms and conditions, please refer to www.startech.com/warranty.
Limitation of Liability
In no event shall the liability of StarTech.com Ltd. and StarTech.com USA LLP (or their officers, directors, employees or agents) for any damages (whether direct or indirect, special, punitive, incidental, consequential, or otherwise), loss of profits, loss of business, or any pecuniary loss, arising out of or related to the use of the product exceed the actual price paid for the product. Some states do not allow the exclusion or limitation of incidental or consequential damages. If such laws apply, the limitations or exclusions contained in this statement may not apply to you.
| StarTech.com Ltd. | StarTech.com LLP | StarTech.com Ltd. | FR: fr.startech.com |
| 45 Artisans Cres | 2500 Creekside | Unit B, Pinnacle 15 | DE: de.startech.com |
| London, Ontario | Parkwy | Gowerton Rd, | ES: es.startech.com |
| NSV 5E9 | Lockbourne, Ohio | Brackmills | NL: nl.startech.com |
| Canada | 43137 | Northampton | IT: it.startech.com |
| U.S.A. | NN4 7BW | JP: jp.startech.com | |
| United Kingdom |
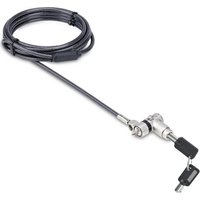
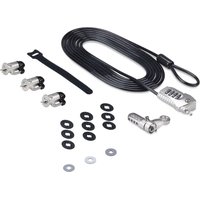
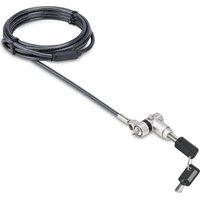
Marque : StarTech.com
Modèle : CONNLOCKPK10
Catégorie : Serrure