
MIB i3140 - Unite Centrale GIGABYTE - Notice d'utilisation et mode d'emploi gratuit
Retrouvez gratuitement la notice de l'appareil MIB i3140 GIGABYTE au format PDF.


| Type de produit | Unité centrale |
| Marque | Gigabyte |
| Modèle | MIB i3140 |
| Dimensions (approx.) | 20 x 45 x 40 cm |
| Poids (approx.) | 8 kg |
| Alimentation | Secteur 230 V, 50 Hz |
| Consommation électrique | 250 W (max) |
| Processeur | Intel Core i5 de 10e génération ou équivalent |
| Mémoire RAM | 8 Go DDR4 |
| Stockage | Disque dur 1 To + SSD 256 Go |
| Connectivité | Wi-Fi 5, Bluetooth 4.2, Ethernet Gigabit |
| Ports avant | 2 x USB 3.0, 1 x USB-C, prise microphone/casque |
| Ports arrière | 4 x USB 3.0, 2 x USB 2.0, HDMI, VGA, audio |
| Fonctions principales | Bureautique, navigation web, multimédia, jeux légers |
| Entretien et nettoyage | Dépoussiérer avec un chiffon sec ; éviter les produits liquides |
| Sécurité | Débrancher avant nettoyage ; ne pas obstruer les ventilations |
| Pièces détachées et réparabilité | RAM, disque dur, carte graphique, alimentation sont remplaçables |
| Température de fonctionnement | 10 °C à 35 °C |
| Humidité de fonctionnement | 20 % à 80 % (sans condensation) |
FOIRE AUX QUESTIONS - MIB i3140 GIGABYTE
Questions des utilisateurs sur MIB i3140 GIGABYTE
0 question sur cet appareil. Repondez a celles que vous connaissez ou posez la votre.
Poser une nouvelle question sur cet appareil
Téléchargez la notice de votre Unite Centrale au format PDF gratuitement ! Retrouvez votre notice MIB i3140 - GIGABYTE et reprennez votre appareil électronique en main. Sur cette page sont publiés tous les documents nécessaires à l'utilisation de votre appareil MIB i3140 de la marque GIGABYTE.
MODE D'EMPLOI MIB i3140 GIGABYTE
GIGABYTE™
Casing's Panel Structure
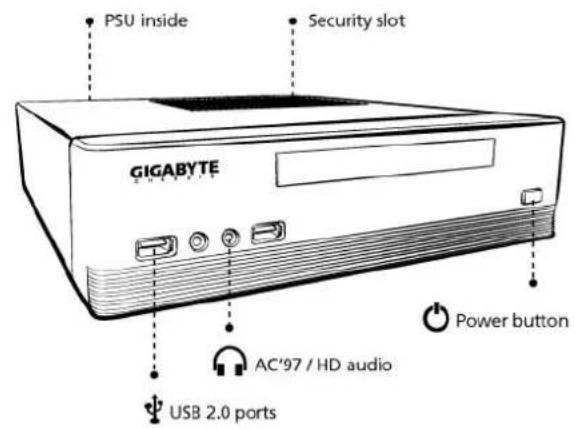

Product is not warranted if the products is modified, altered or repaired without authorization by GIGABYTE. Specifications and pictures are to change without notice.
Casing's Internal Structure

Accessory Box

Installation of Front Multi-Media I/O ports
USB 2.0 ports & AC'97 / HD audio

STEP 1
Remove top cover
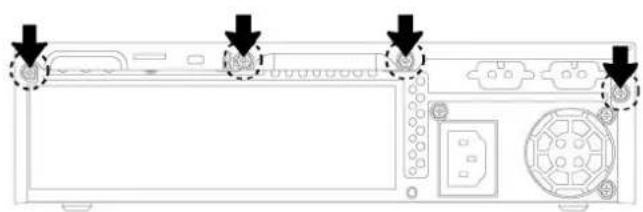
natural_image
Diagram of a computer monitor front panel with three arrows pointing to key ports (no text or labels present)STEP 2
Installation of Motherboard

natural_image
Technical line drawing of a computer chassis with internal components and wiring (no text or symbols)STEP 3
Installation of 3.5" HDD & Slim ODD
▼ Remove screws and Drive Bay
▼ 3.5" HDD
▼ Slim ODD

flowchart
graph LR
    A["Initial assembled part"] --> B["Step 1: Dashed line with arrows indicating assembly"]
    B --> C["Step 2: Solid line with arrows indicating assembly"]
    C --> D["Step 3: Dashed line with arrows indicating assembly"]
    D --> E["Final assembled part with dashed arrow indicating assembly"]
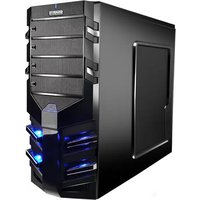
Marque : GIGABYTE
Modèle : MIB i3140
Catégorie : Unite Centrale