
12.301040-13 - Bilradio PIONEER - Gratis bruksanvisning og manual
Finn enhetens veiledning gratis 12.301040-13 PIONEER i PDF-format.


Brukerspørsmål om 12.301040-13 PIONEER
0 spørsmål om dette apparatet. Svar på dem du kjenner, eller still ditt eget.
Still et nytt spørsmål om dette apparatet
Last ned instruksjonene for din Bilradio i PDF-format gratis! Finn veiledningen din 12.301040-13 - PIONEER og ta den elektroniske enheten tilbake i hendene. På denne siden er alle dokumenter som er nødvendige for bruken av enheten din publisert. 12.301040-13 av merket PIONEER.
BRUKSANVISNING 12.301040-13 PIONEER
Pioneer
sound. vision. soul
Installation manual for:
Peugeot 308 2007-->

natural_image
Exterior view of a car body panel assembly with metal brackets and terminal blocks (no text or symbols visible)Installation kit includes the following items:
* 1X 2-ISO 100 mm. metal bracket
* 1X Radio trim
* 1X Replacement Panel
* 2X Mounting plates
* 2X Mounting spacers
* 2X Radio removal keys
* 4X Screws
* 2X Cushion

natural_image
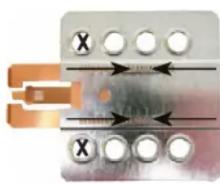
Pure electrical circuit lines without any symbolsPioneer HD1BT
We advice to use the following positions. Other positions are also possible.
Use position 1 marked with a cross. Use position 14 & 16 marked with an arrow. Measured from left to right.

natural_image
Close-up of a mechanical device with multiple ports and mounting holes (no visible text or symbols)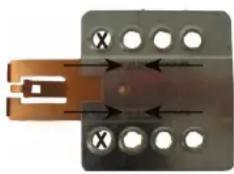
natural_image
Close-up of a metallic connector with two labeled terminals (X) and directional arrows indicating internal structure (no text or symbols beyond labels)Pioneer Avic D3
We advice to use the following positions. Other positions are also possible.
Use position 1 marked with a cross. Use position 10 & 12 marked with an arrow Measured from left to right.
2-DIN BKX-1321-04 2-DIN
Pioneer
sound. vision. soul
1

natural_image
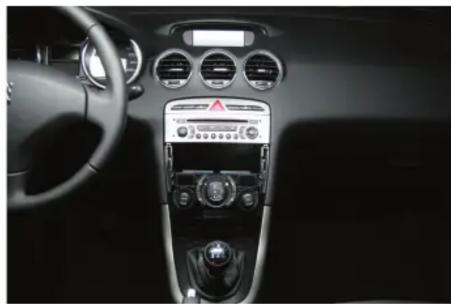
Interior view of a car dashboard with air conditioners and control panel (no visible text or symbols)Remove the ashtray and the rubber plate.
2

natural_image
Interior view of a car dashboard with control panel and steering wheel (no visible text or symbols)Remove the panel around the climate control.
3
natural_image
Interior view of a car dashboard with air conditioners and steering wheel (no visible text or symbols)5
natural_image
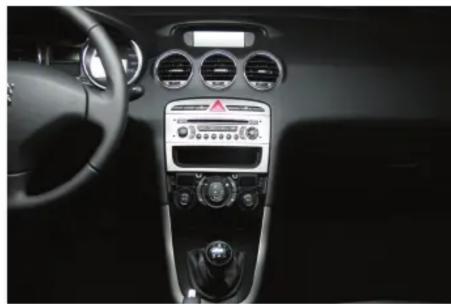
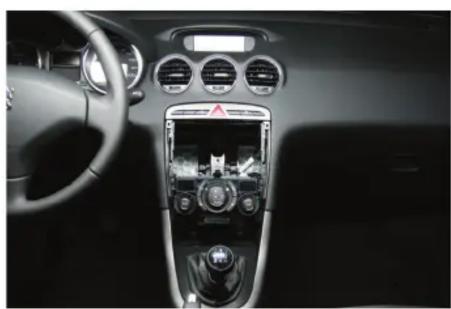
Interior view of a car dashboard with airbags and steering wheel (no visible text or symbols)Remove the OEM radio by using the original radio keys.
4
natural_image
Interior view of a car dashboard with air conditioners and steering wheel (no visible text or symbols)Remove the storage bin.
7

natural_image
Interior view of a car dashboard with steering wheel, dashboard, and air vent (no visible text or symbols)Place the replacement panel and the metal bracket.
Place the original panels back in reverse order.
6

natural_image
Interior view of a car dashboard with visible wiring, switches, and a warning triangle (no text or symbols)Remove the plastic edges at the side and the plastic trim in the middle.
8

natural_image
Interior view of a car dashboard with air conditioners and a digital display (no visible text or symbols)Place the new head unit and the radio trim.




Merke : PIONEER
Modell : 12.301040-13
Kategori : Bilradio