
BPTA-WDPO11DS-P5D - Computer component Bitspower - Free user manual and instructions
Find the device manual for free BPTA-WDPO11DS-P5D Bitspower in PDF.


| Product Type | Reservoir/Pump Combo for Water Cooling |
| Brand | Bitspower |
| Model | BPTA-WDPO11DS-P5D |
| Compatibility | LIAN LI O11 Dynamic MINI Series |
| Rated Voltage | 12V DC |
| Power Consumption | 20W |
| Maximum Flow Rate | 14.5 L/min (±15%) |
| Noise Level | ≤40 dBA |
| Operating Temperature | -25 to 70°C |
| PWM Support | Yes |
| MTBF | 15,000 hours |
| Warranty | 2 years |
| Connectors | Digital RGB (3-pin/4-pin), PWM fan header |
| Included Accessories | 1x Reservoir/Pump, 8x M6x32 Screws, 1x BPTA-EXAIR-GS, 1x BPTA-EFW-GS, 1x 3-pin/4-pin Adapter |
| Maintenance | Use distilled water with Bitspower dye; do not disassemble reservoir/pump; 24-hour leak test before use |
| Safety Warnings | Do not run pump dry; max pressure 0.5 kg/cm² for leak tester; avoid inappropriate liquids |
Frequently Asked Questions - BPTA-WDPO11DS-P5D Bitspower
User questions about BPTA-WDPO11DS-P5D Bitspower
0 question about this device. Answer the ones you know or ask your own.
Ask a new question about this device
Download the instructions for your Computer component in PDF format for free! Find your manual BPTA-WDPO11DS-P5D - Bitspower and take your electronic device back in hand. On this page are published all the documents necessary for the use of your device. BPTA-WDPO11DS-P5D by Bitspower.
USER MANUAL BPTA-WDPO11DS-P5D Bitspower
Bitspower Sedna O11DS for LIAN LI O11 Dynamic MINI Series (P5D)
V1
Accessories
① BPTA-WDPO11DS-P5D 1 SET
2 M6x32 Screw 8 PCS

3 BPTA-EXAIR-GS 1 PC

4 BPTA-EFW-GS 1PC

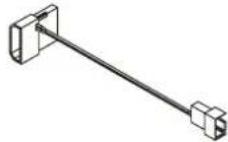
5 3PIN/4PIN transfer 4PIN 1 PC
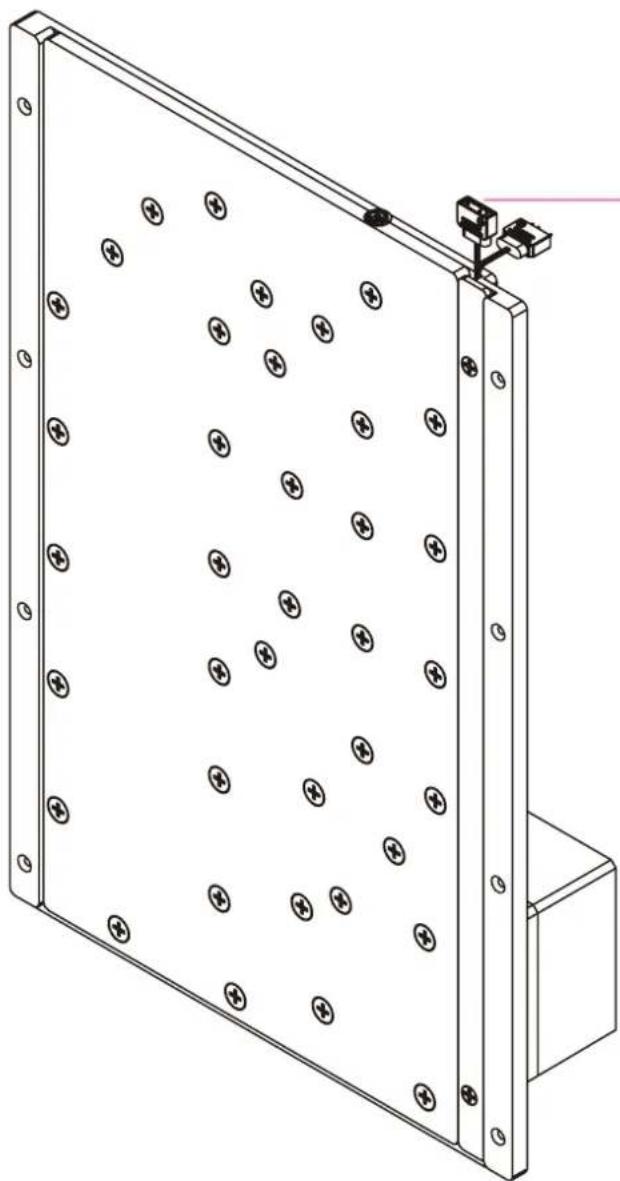
natural_image
Technical line drawing of a rectangular panel with circular holes and a small mechanical component attached (no text or symbols)★Digital RGB PIN on ① motherboard or ② other equipment.
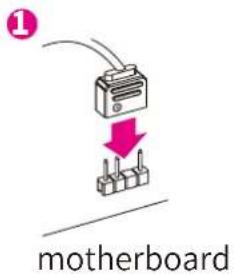
② BPTA-DRGBMFC

natural_image
Isometric line drawing of a mechanical or electrical connector assembly with multiple pins and connectors (no text or symbols)DRGB Multi Function Controller (Not included)
Power Supply and Pump
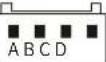
A: Negative electrode -
B: Positive electrode +
C:Speed signal
D:Speed control signal
Pump Spec
Rated voltage : 12V DC
Power consumption : 20W
Maximum flow : 14.5±15% L/min
Noise : ≤ 40dBA
Ambient temperature : -25\~70°C
PWM:Yes
MTBF:15,000 hours
Warranty : 2 years

natural_image
Technical line drawing of a mechanical assembly with a component and wiring (no text or symbols)Power cord
★ The water tank and pump can't be disassembled! Once disassembled, there is no guarantee.


It is recommended to install the air-exhaust fitting on the reservoir, above the water line.
BP-ETWT

It is recommended to install the water-exhaust fitting at the lowest point of the water cooling system.

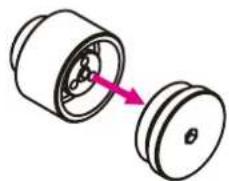
Press the button to release the air.
natural_image
Diagram of a mechanical component with two views, one showing internal structure and the other showing a flanged part (no text or symbols)Unscrew the top of the water-exhaust fitting.
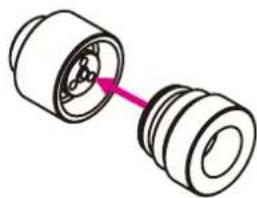
natural_image
Diagram of two mechanical components with a pink arrow pointing to one (no text or symbols)Replace with the water-exhaust part. When screwing in the part, water will start to discharge, it is recommended to connect tubing beforehand to control the water outflow.
Water
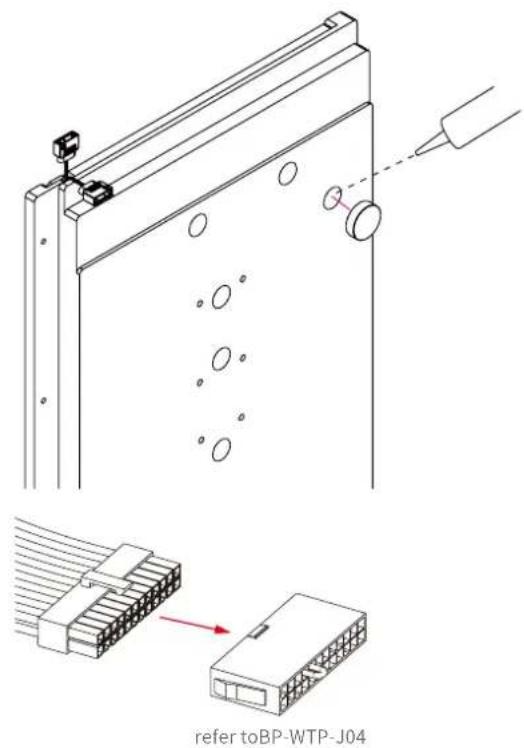
Choose your desired dye color and mix it with pure distilled water. Pour the water mix into the reservoir via the water filling hole. Once the reservoir is 90% full, turn on the power supply for the pump to run and let the air exit the loop. Turn off the power supply when the reservoir is near empty. Repeat until all the air has exited the loop.
(In order to power the pump only, connect the power switch connector to the 24 pin cable of the power supply. This will allow the power supply to bypass the motherboard and make the pump work alone.)
Product Warranty Rules
The warranty will be void if any of the situations below happen.
Water Block
- The CPU block and the screws in it has any trace of disassemble.
- The top plate inlet and outlet ports, due to improper use of external forces, are cracked.
Radiator
- The fin of the radiator are broken or deformed due to improper use of external forces.
- The inlet and outlet of the radiator are cracked due to improper use of external forces.
Fitting
- There are signs of damage caused by instrument clamping on the fittings.
PUMP
- Pump damage from pump operation without any liquid.
- Pump damage caused by water leak on the pump's PCB.
- Water tank has been separated from the pump.
Fan
- Fan damaged by water leak.
step 1
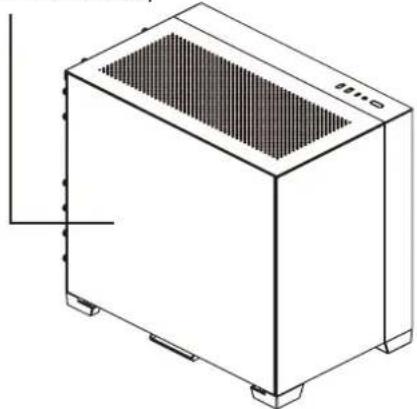
PC-011 Dynamic (Not included)
natural_image
Isometric line drawing of a white industrial air purifier unit with ventilation grille and mounting base (no text or symbols)step 2

step 3


Product Presentation
Recommended installation method

BP-VG3090MV
(Not Included)
★ See 「Accessories」 for a list of included parts with the BPTA-WDPO11DS-P5D, other accessories are sold separately.
⚠ Notice
- Before filling in the water, please make sure all the components are installed correctly. To prevent any leakage which may damage the PC components, please perform a 24-hour leaking test with only the pump connected to the power supply.
- Bitspower reserves the right to change the product design and interpretations. These are subject to change without notice. Product colors and accessories are based on the actual product.
- When using leak tester on water cooling loop, in order to avoid product damage due to excessive pressure, the input pressure should not exceed 0.5kg/cm2 (Bar). If the product is damaged due to excessive pressure, it will be borne by the customer. Forbidden to use the leak tester when there is water in the loop or the pump is runing.
- Bitspower recommends that consumers add the Bitspower dye to distilled water or purified water for their water-cooling liquid. If the consumer chooses different water-cooling liquids, the resulting impurities may cause peeling of the coating on some of the hardware, water channels blockage by built-up residue, improper operation of the water pump, water tank tube breakage, and o-rings deformation leading to leakage. Any issues related to the use of inappropriate water-cooling liquid will be the responsibility of the consumer. Do not turn on the pump if the reservoir is empty.
Bitspower Sedna O11DS for LIAN LI O11 Dynamic MINI Series (P5D)
V1
配件
natural_image
Technical line drawing of a rectangular panel with circular holes and a small mechanical component attached (no text or symbols)natural_image
Isometric line drawing of a mechanical or electrical component with multiple pins and connectors (no text or symbols)DRGB 控制器 (不包括)
供電與馬達

natural_image
Technical line drawing of a mechanical assembly with a housing, mounting bracket, and wiring (no text or symbols)電源線
natural_image
Diagram of a mechanical component with two views, one showing internal structure and the other showing a flanged part (no text or symbols)將洩水接頭上蓋旋起。

natural_image
Diagram of two mechanical components with a pink arrow pointing to one (no text or symbols)natural_image
Technical line drawing of a mechanical assembly with a close-up view of a connector (no text or symbols present)参考 BP-WTP-J04
產品保修規範
natural_image
Isometric line drawing of a computer tower case with ventilation grille and base mount (no text or symbols)步驟2

步驟3步


產品介紹
建議安裝方式

Bitspower Sedna O11DS for LIAN LI O11 Dynamic MINI Series (P5D)
V1
配件
natural_image
Technical line drawing of a rectangular panel with circular holes and a small mechanical component attached (no text or symbols)natural_image
Pure electrical circuit lines without any symbolsDRGB 控制器 (不包括)
供电与马达

natural_image
Technical line drawing of a mechanical assembly with a component and wiring (no text or symbols)电源线
natural_image
Diagram of a mechanical component with two views, one showing internal structure and the other showing a flanged part (no text or symbols)将泄水接头上盖旋起。

natural_image
Diagram of two mechanical components with a pink arrow pointing to one (no text or symbols)natural_image
Isometric line drawing of a desktop computer case with ventilation grille and mounting feet (no text or symbols)步骤2
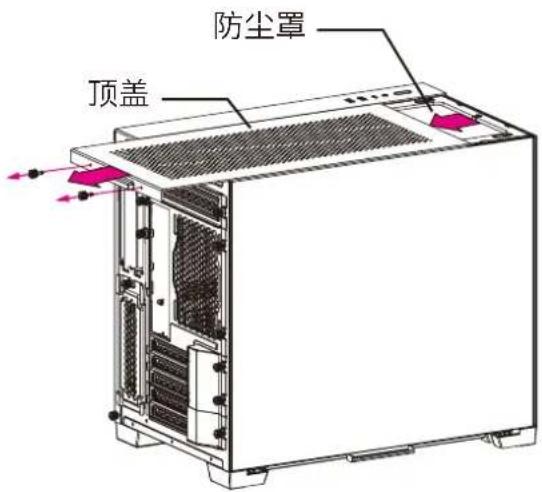
步骤3步


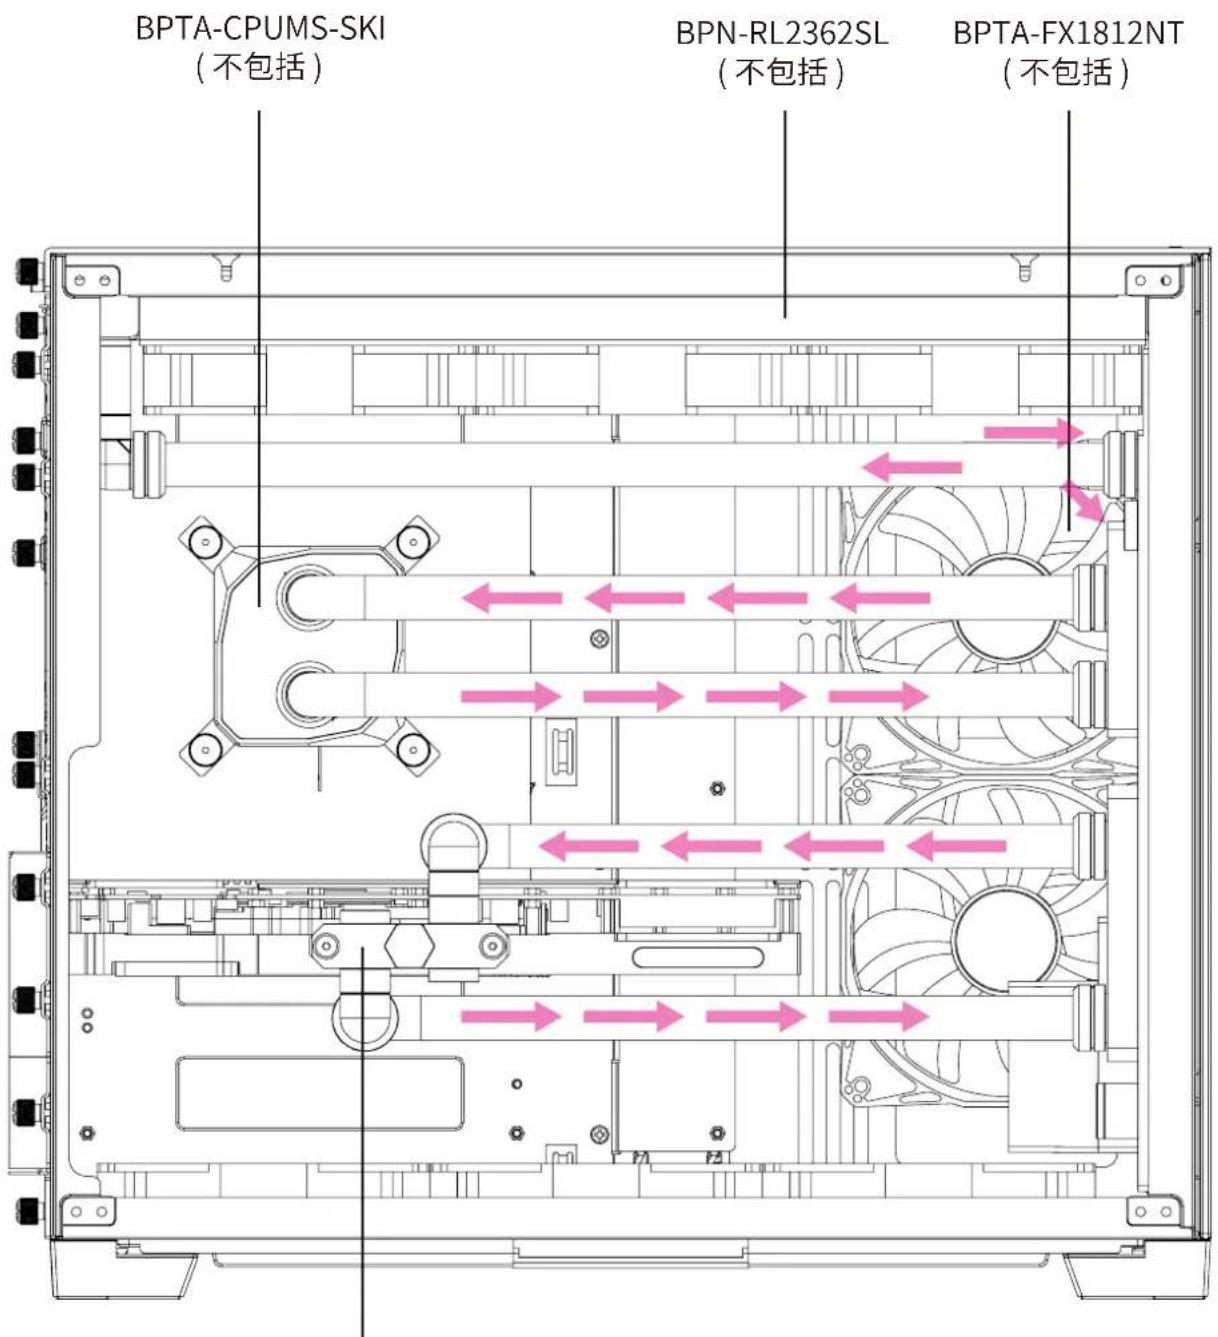
产品介绍
建议安装方式
- Bitspower Sedna O11DS for LIAN LI O11 Dynamic MINI Series (P5D)
- Accessories
- Power Supply and Pump
- Pump Spec
- BP-ETWT
- Water
- Product Warranty Rules
- Water Block
- Radiator
- Fitting
- PUMP
- Fan
- step 1
- step 2
- step 3
- Product Presentation
- Recommended installation method
- ⚠ Notice
- 配件
- 供電與馬達
- 產品保修規範
- 步驟2
- 步驟3步
- 產品介紹
- 建議安裝方式
- 供电与马达
- 步骤2
- 步骤3步
- 产品介绍
- 建议安装方式
Brand : Bitspower
Model : BPTA-WDPO11DS-P5D
Category : Computer component