K-310 - Toy Steren - Free user manual and instructions
Find the device manual for free K-310 Steren in PDF.


| Product Type | Toy |
| Brand | Steren |
| Model | K-310 |
| Suitable Age | 3 years and up |
| Dimensions (L x W x H) | Approx. 20 x 15 x 10 cm |
| Weight | Approx. 0.5 kg |
| Power Source | 2 AA batteries (not included) |
| Material | Non-toxic plastic |
| Functions | Interactive play, lights, sounds |
| Color | Multi-color |
| Assembly Required | No |
| Maintenance & Cleaning | Wipe with a damp cloth; do not submerge |
| Safety Warnings | Contains small parts; choking hazard for children under 3 |
| Spare Parts Availability | Contact Steren customer service |
| Warranty | 1 year limited warranty |
| Language of Manual | English, Spanish |
| Country of Origin | China |
Frequently Asked Questions - K-310 Steren
User questions about K-310 Steren
0 question about this device. Answer the ones you know or ask your own.
Ask a new question about this device
Download the instructions for your Toy in PDF format for free! Find your manual K-310 - Steren and take your electronic device back in hand. On this page are published all the documents necessary for the use of your device. K-310 by Steren.
USER MANUAL K-310 Steren
natural_image
Simple line drawing of a rectangular device with three circular ports and a curved cable (no text or symbols)natural_image
Two identical empty white cups on a light green background (no text or symbols)Vasos
natural_image
Simple line drawing of two overlapping ovals with curved lines, no text or symbols present.Cable de conexión
Calcomanías transparentes
natural_image
Three parallel diagonal gray bars with circular holes, arranged horizontally (no text or symbols)natural_image
Three-step diagram showing a cable being lifted, rotating around a square object, and hanging from a spring (no text or symbols)natural_image
Technical line drawing of a medical or laboratory setup with a device, tubing, and a tool (no text or symbols)www.steren.com
Green energy experiment kit
K-310
V0.0
0717A
Instruction manual
Read this instruction manual carefully before you begin

Due to updates there may be differences.
Please refer to our website www.steren.com for the latest version of this manual.
- Do not use or store this product in dripping or splashing places.
- This appliance is NOT intended for use by persons with different capacities, unless properly prepared and supervised.
To Parents: Read all instructions before providing guidance to your children.
• Adult supervision and assistance is required at all times.
• Intended for children over 10 years of age
- This kit and its finished product contain small parts that can cause suffocation if used improperly. Keep children under 3 years of age.
- Metal parts may have sharp edges. Adult assistance is required when assembling these parts.
- Do not connect any of the supplied parts to any receptacles or batteries. This may cause electric shock or short circuit.
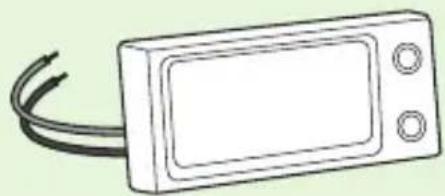
- The wired digital clock may temporarily lose its function in the electrostatic discharge environment, disconnect it and reconnect it to resume its functions.
natural_image
Simple line drawing of a rectangular device with three circular ports and a coiled cable (no text or symbols)Digital clock with cables
natural_image
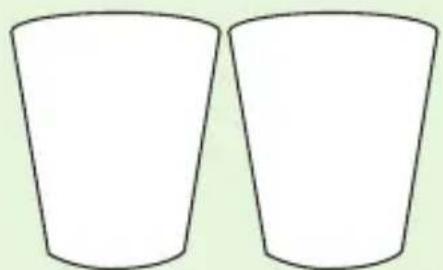
Two identical empty white cups on a light green background (no text or symbols)Glasses
natural_image
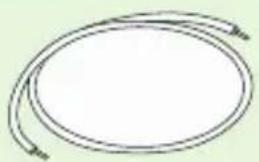
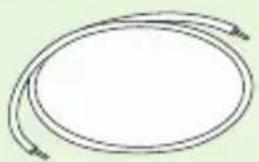
Simple line drawing of two curved, elongated loops with small protrusions (no text or symbols)Connection cable
Transparent decals
natural_image
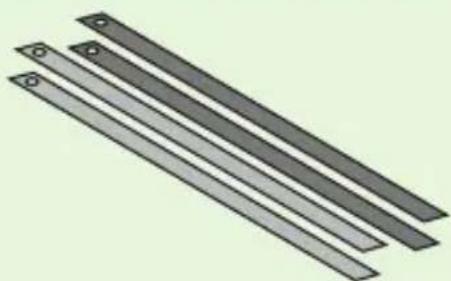
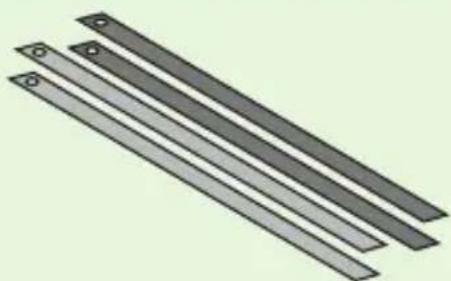
Four parallel diagonal gray bars with circular holes, arranged horizontally (no text or symbols)Copper and magnesium bars
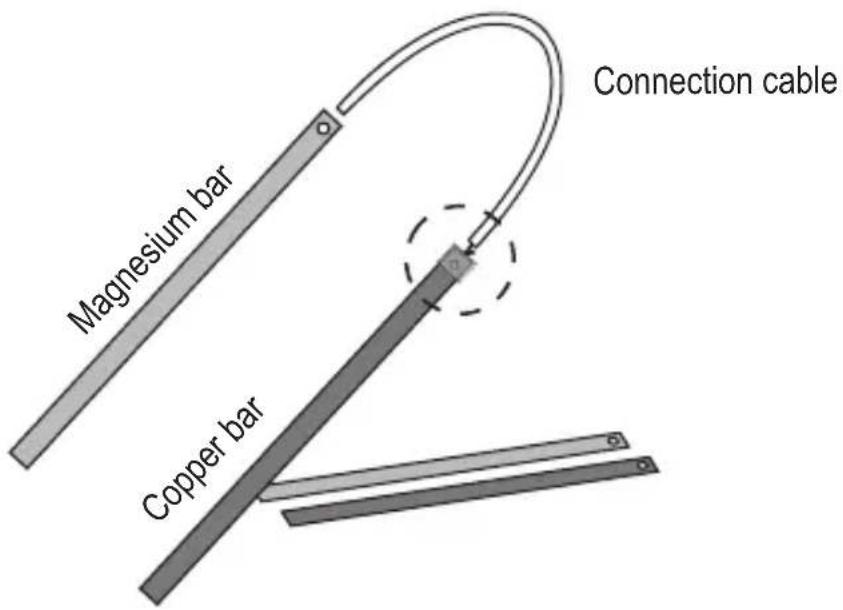
- Attach a pair of copper and magnesium rods with a connecting cable as shown in the picture.
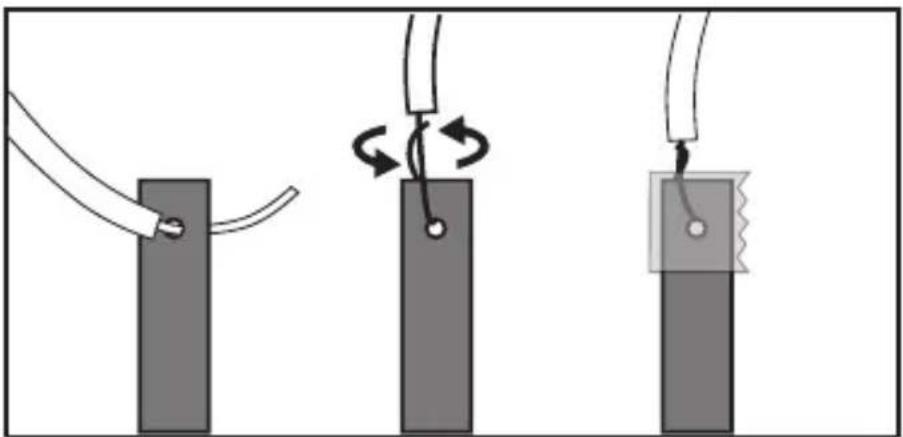
Carefully screw in exposed metal cables through the hole in the bar. Gently rotate the wire to secure it to the rod. Cover and secure connection with transparent decals.
natural_image
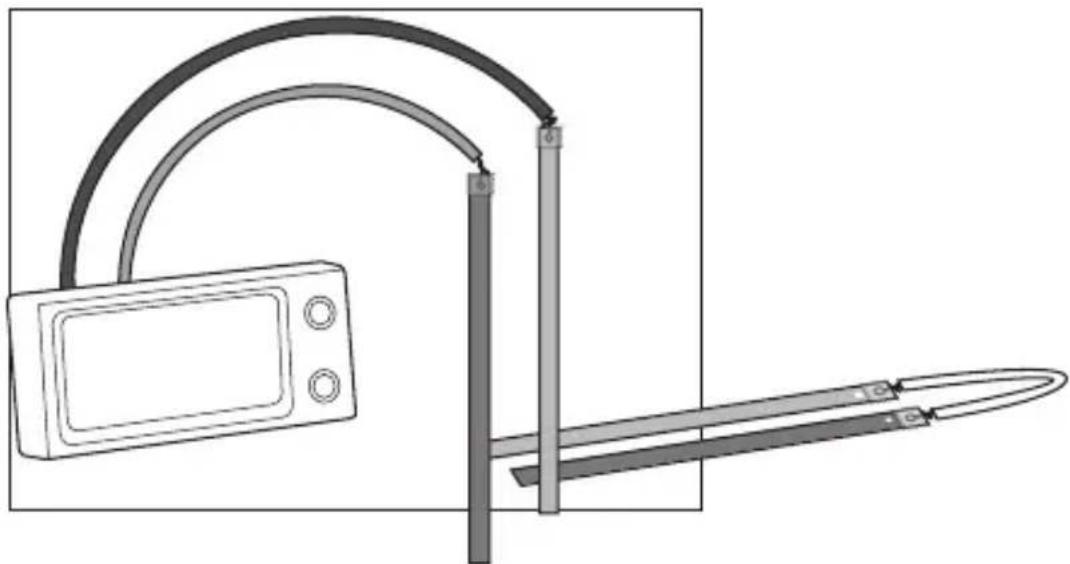
Three-step diagram showing a cable being lifted, rotating around a square object, and hanging from a wire (no text or symbols)- Connect the black (LCD) clock cable to one of the magnesium bars. Then connect the red cable from the LCD (positive) clock to the copper bar. All components are now connected.
natural_image
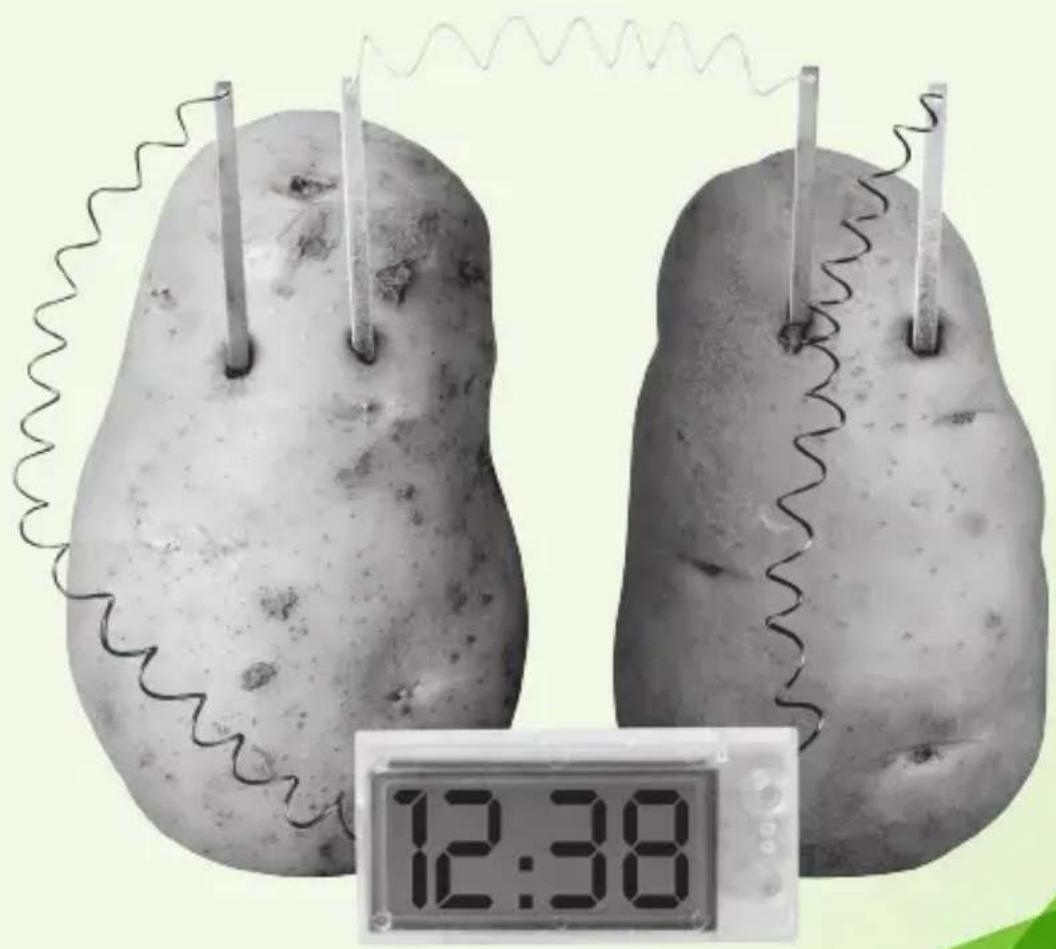
Technical illustration of a medical or laboratory setup with a monitor, curved tubing, and a pen-like tool (no text or symbols)- Insert the copper and magnesium bars into the potatoes, as shown in the picture, be careful that the metal bars do not touch each other. The watch should start working.
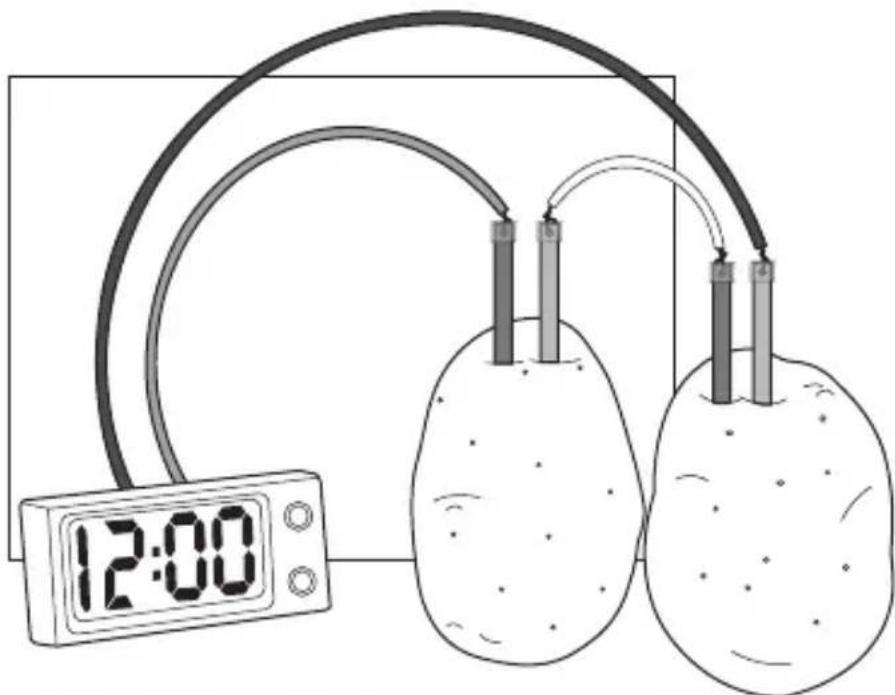
MAKE THE EXPERIMENT
OTHER EXPERIMENTS
Put some soda in the glasses provided. Insert the copper and magnesium bars into the cups, as shown in the picture, taking care that the metal bars do not touch each other. The watch should start working.
You can experiment with different liquids like salt water, fruit juices; Or fruits such as lemon, orange, tomato, etc. The fun is unlimited
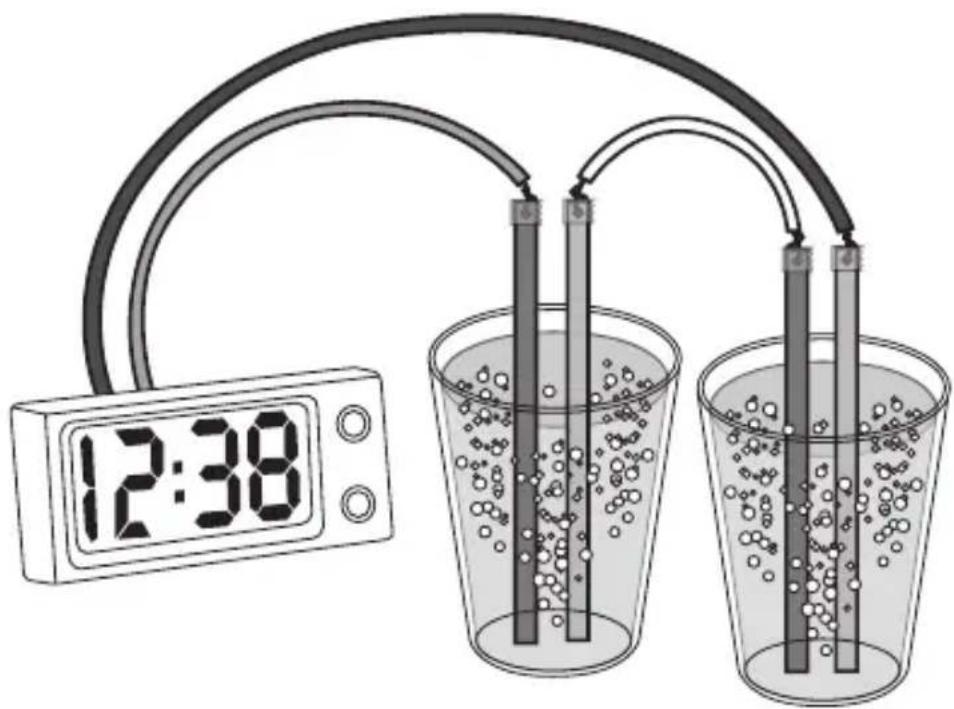
CLOCK
When the metal bars are first inserted into the potatoes, the LED display will light up and display "12:00"
Press A once. The clock will start to run. You will see that the two points in the center start to blink.
Press B twice to set the month, then press A to set the correct month. Press B to confirm and the display changes to the day setting.
Press A to set the correct day. Press B to confirm and change to the time setting.
Press A to set the correct time. Press B to confirm and change to the minute settings.
Press A to set the minutes and press B to confirm.
After the minutes are confirmed, press A once. The current time will be displayed.
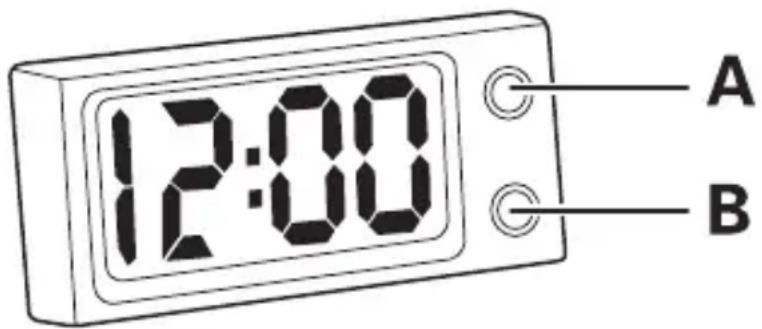
SEEING THE WATCH
By default, the clock display shows the current time.
To view the date: Press A once. The clock display will return to the current time after 2 seconds.
To view seconds, press A twice. To return to the current time, press A again.
If the watch shows a weak display, try one of the following solutions:
Give it time, the signal is sometimes weak at first, but it gets stronger after a short time.
Examine metal bars if they are oxidized, use paper to remove rust.
Try to place the metal bars closer (but not touching). Driving will be best if the distance between the plates is shorter.
If there is no reaction, check all the connection points. Make sure that the connection points are correctly and securely in place. Also check that the polarities are correct. Make sure that the negative (black wires) and positive (red wires) terminals are connected correctly.
Check if the metal bars are in contact, causing short circuits, if so, separate them.
HOW DOES IT WORK
Metal bars and potatoes make a simple battery that creates electricity to run the clock. Each potato acts as a device called an electrochemical cell. It converts the chemical energy stored in the metal bars into electrical energy. It takes two potatoes to make the electricity strong enough to run the clock.
A cell works because of the chemical properties of the metals inside (in this case copper and magnesium). The different properties cause small charged particles of electricity (called ions) to move between the two metal bars. This flow is an electric current. The potato contains the particles that allow the current to flow, but it stops the contact of the metals. The electric current also flows along the wires between the magnesium, copper and clock bars. This current makes the clock work.

www.steren.com

Brand : Steren
Model : K-310
Category : Toy