Siren - Home Automation Hive - Free user manual and instructions
Find the device manual for free Siren Hive in PDF.


| Product Type | Smart Home Siren / Alarm |
| Brand | Hive |
| Model | Siren |
| Color | White |
| Dimensions (H x W x D) | 90 x 90 x 40 mm |
| Weight | 150 g |
| Power Source | 2 x AA batteries (1.5V) or mains powered via micro USB |
| Battery Life | Up to 2 years (typical usage) |
| Connectivity | Zigbee (Hive Hub required) |
| Wireless Range | Up to 30 meters indoors |
| Sound Output | Up to 105 dB at 1 meter |
| Operating Temperature | 0°C to 40°C |
| Compatibility | Hive Hub, Hive app (iOS/Android) |
| Functions | Intruder alarm, panic alarm, tamper alert, status indicator |
| Installation | Wall mountable with screws (included) |
| Maintenance & Cleaning | Wipe with dry cloth; replace batteries when low |
| Security | Tamper protection, encrypted Zigbee communication |
| Certifications | CE, RoHS |
| Warranty | 2 years |
Frequently Asked Questions - Siren Hive
User questions about Siren Hive
0 question about this device. Answer the ones you know or ask your own.
Ask a new question about this device
Download the instructions for your Home Automation in PDF format for free! Find your manual Siren - Hive and take your electronic device back in hand. On this page are published all the documents necessary for the use of your device. Siren by Hive.
USER MANUAL Siren Hive
natural_image
White HIVE sensor mounted on a brick wall with green ivy-covered vines (no text or symbols visible on the device itself)Siren user guide
Welcome to Hive. This guide tells you everything you need to know to set up your Hive Siren.
What's in the box
Please check the contents of your Hive Siren's packaging before proceeding to install your Hive Siren. If you're missing any parts please get in touch with our customer care team by visiting www.hivehome.com/contact-us
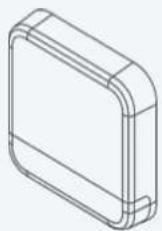
Siren
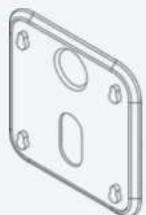
Wall mount
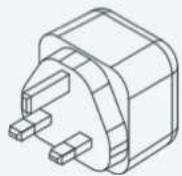
Power adapter
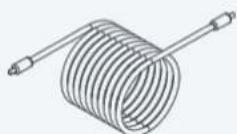
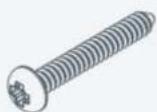
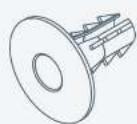
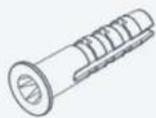
8m cable 4x Wall plugs 4x Screws 2x Wall finisher
Tools you may need
If you need to arrange for a professional installer to set-up your Hive Siren please contact our customer care team by visiting www.hivehome.com/install
Important: If you are installing the Siren yourself you should be competent using power tools and working at heights. If you need to drill into brick or stone, you'll need an SDS power drill and masonry bits.
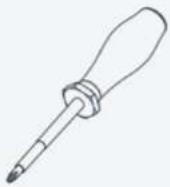 | 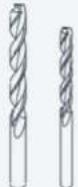 | 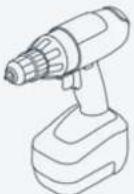 |
| Phillips screwdriver #1 | Drill bits 6mm, 12mm | Power drill |
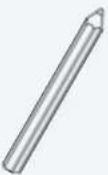 |  | 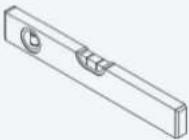 |
| Pencil/marker Spirit level | Ladder |
Where to place
The siren is best placed between the first and second floors of your home.
You will need to place the Siren within 8m (26ft) of an internal power socket.

natural_image
Man cleaning a red car with a cloth on the roof, in front of a brick building (no visible text or symbols)Important: Make sure that you comply with all local building regulations, install in accordance with building and installation codes where you live, and that you know where all in-wall pipes and electrical wires are before drilling. If you don't feel comfortable drilling through an exterior wall, contact Hive by visiting www.hivehome.com/install to arrange a professional installation. Always use safety and protective gear appropriate for the type of work and tools being used.
To install your Siren follow the steps below:
STEP 1
Positioning
Assess where best to position the Siren in your chosen location. It should be at a height between 2.5m to 3.5m. Ensure that there is an internal power supply within 8m of this location.
STEP 2
Drill hole
Position the ladder safely and ensure you have appropriate safety equipment before drilling. Drill a 6mm pilot hole from the outside to the inside. Use a 12mm drill bit to increase the diameter of the pilot hole.
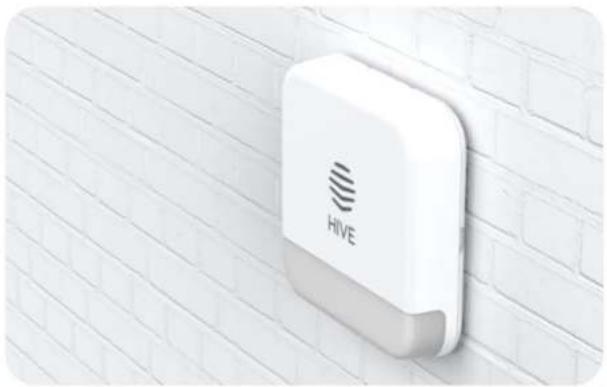
natural_image
White HIVE device mounted on a white brick wall (no text or symbols visible)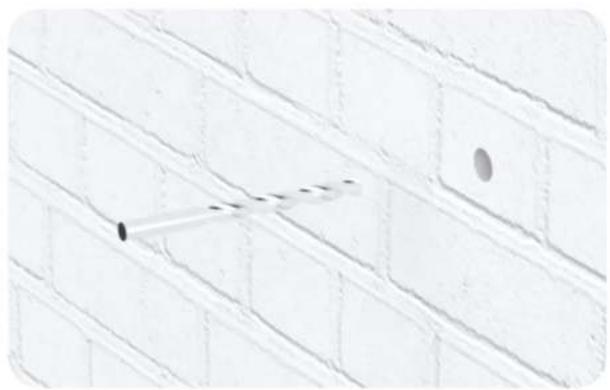
natural_image
Close-up of a white brick wall with a metal rod and circular hole, no text or symbols visibleSTEP 3
Thread the cable
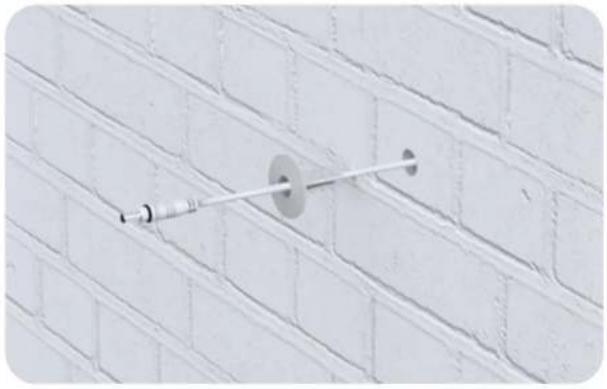
Cover the end of the power cable with tape to prevent the ingress of dust or debris. Thread the cable from the inside of the property to the outside. Now connect the cable to the power supply and plug it into the internal socket and switch on.
natural_image
Close-up of a metal wall-mounted fixture mounted on a brick wall (no text or symbols visible)Important: Remember to place a wall finisher over the cable before threading through the wall. Then place the second wall finisher over the cable from the outside.
STEP 4
Fit the mounting plate
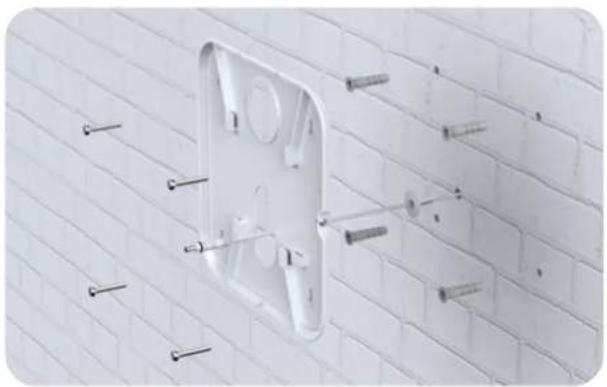
Slide the Siren up off of the mounting plate and use a pencil or marker and a sprit level to mark out the four holes, for drilling, on the wall.
Drill the holes you've marked, insert the wall plugs, then screw the four screws into the wall. Make sure that at least 12mm of the screw protrudes from the surface of the wall.
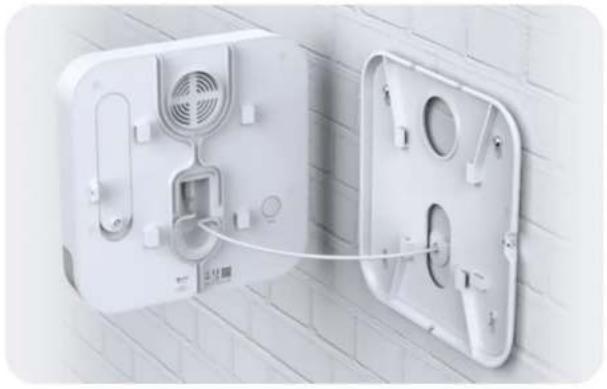
Thread the power cable though the middle of the mounting plate. Now place the mounting plate onto the screws, sliding down to lock into place.
Lightly tighten the four mounting screws to secure the backplate.
natural_image
White electrical outlet wall with multiple metal screws installed, set against a brick wall (no text or symbols visible)STEP 5
Prepare the Siren for fitting
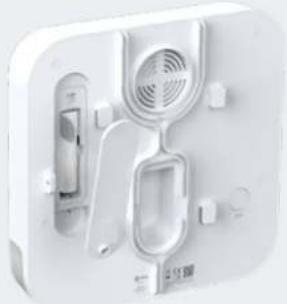
While at ground level, unscrew the battery compartment on the Siren and remove the battery tab. The Siren will beep and the security light will flash. You can now replace the battery compartment and tighten the securing screw. This will protect the Siren from water ingress.
natural_image
White electronic device with ventilation slots and buttons, no visible text or symbolsImportant: You must unscrew the battery compartment before removing the battery tab.
STEP 6
Fit the Siren
Taking the Siren up the ladder safely, insert the power cable into the Siren. Wrap the cable around the cable management guide and push any excess cable back through the hole, leaving enough slack to fit the Siren onto the mounting plate. Now slide the Siren onto the mounting plate.
natural_image
Interior view of a white wall-mounted appliance with ventilation slots and a cable inserted (no text or symbols visible)STEP 7
Tidy up
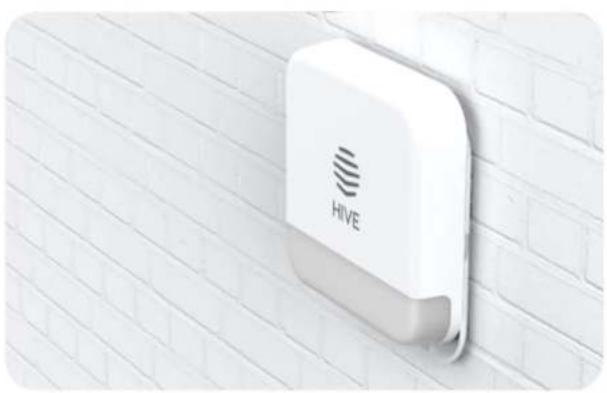
Head back inside, pull though any excess cable gently, placing in a safe location, out of the way, so that it is not a trip hazard. Before finishing installation, make sure that the power supply is connected and switched on.
natural_image
White HIVE device mounted on a white brick wall (no text or symbols visible)Triggering the Siren
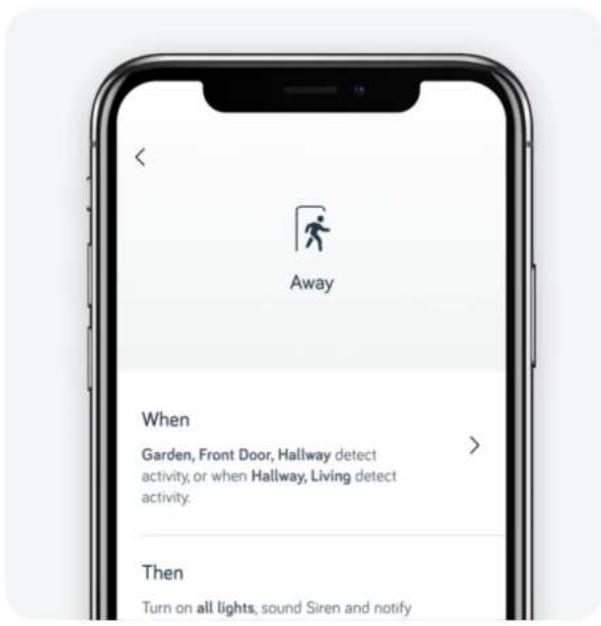
To ensure your Siren will sound in the event of an alarm, it must be added to a Mode. Your siren will be included as an output in Away mode as a default.
1 Go to HomeShield Settings > Modes.
2 Make sure that Siren is added to Then within your chosen Mode, so that it sounds when the Alarm is raised.
Tip: Also consider turning on a Hive light to act as an additional deterrent.
Siren Light
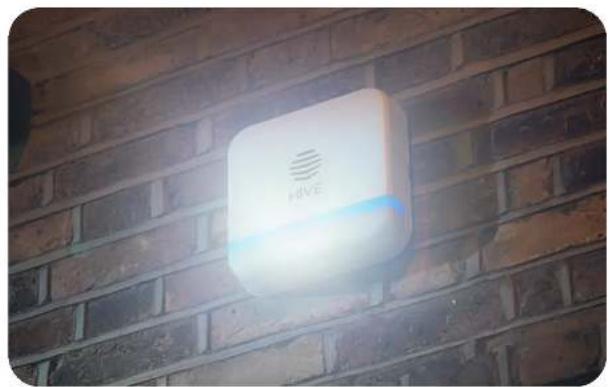
The Siren light will also automatically flash when the Siren sounds.
The Siren light can also be used as a Hive Light. You can turn the Siren light on during an Alarm event by adding it to Then within your chosen Mode.
natural_image
White HIVE-branded smart home mounted on a brick wall, illuminated by warm lighting (no text or symbols visible)Siren chirp
The Siren can 'chirp' to remind you to deactivate HomeShield when you return home. You can enable or disable Siren chirp in Settings.

natural_image
Exterior view of a brick building with two people standing outside, one holding a smartphone (no visible text or symbols)How to turn off Tamper alarm
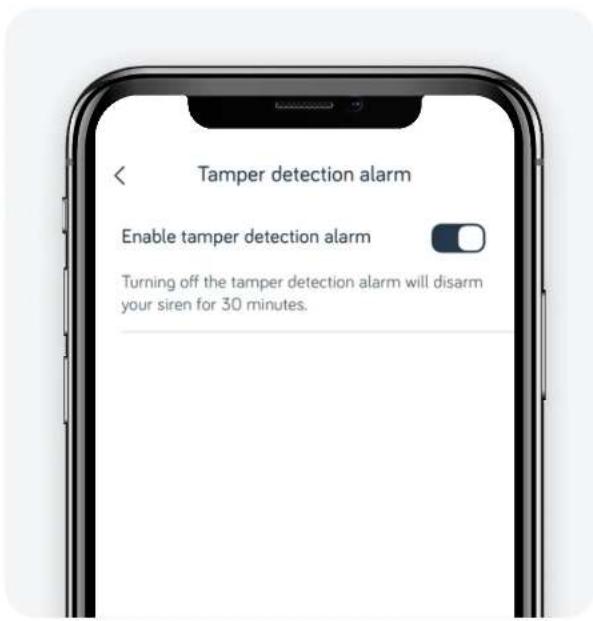
You may want to switch off the tamper detection alarm in the event that you want to move the siren, or change batteries – to do this you can disable tamper detect for 30 minutes.
1 Go to Siren Settings > Tamper detection alarm.
2 Then switch the toggle to off to disable the tamper detection alarm for 30 minutes.
3 Tamper detect will be automatically be switched back on after 30 minutes.
Reset Siren
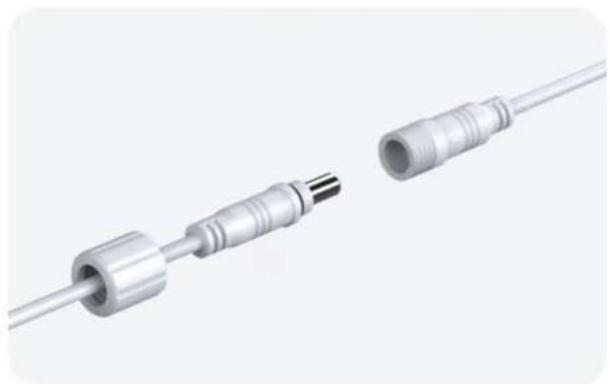
To reset your Siren, find the connector joining the power cable to the power supply (as shown to the right). Quickly disconnect and reconnect 5 times.
The Siren should long beep once, and will go back into pairing mode. Use your Hive app to install your Siren again.
natural_image
Two metallic electrical connectors with threaded ends, shown from different angles (no text or symbols visible)
HIVE
- Siren user guide
- What's in the box
- Tools you may need
- Where to place
- STEP 1
- Positioning
- STEP 2
- Drill hole
- STEP 3
- Thread the cable
- STEP 4
- Fit the mounting plate
- STEP 5
- Prepare the Siren for fitting
- STEP 6
- Fit the Siren
- STEP 7
- Tidy up
- Triggering the Siren
- Siren Light
- Siren chirp
- How to turn off Tamper alarm
- Reset Siren
Brand : Hive
Model : Siren
Category : Home Automation