
HTAS610T-XAC - Home theater audio system SAMSUNG - Free user manual and instructions
Find the device manual for free HTAS610T-XAC SAMSUNG in PDF.
Download the instructions for your Home theater audio system in PDF format for free! Find your manual HTAS610T-XAC - SAMSUNG and take your electronic device back in hand. On this page are published all the documents necessary for the use of your device. HTAS610T-XAC by SAMSUNG.
USER MANUAL HTAS610T-XAC SAMSUNG
Digital Surround AV Receiver System HT-AS610 Instruction Manual le:
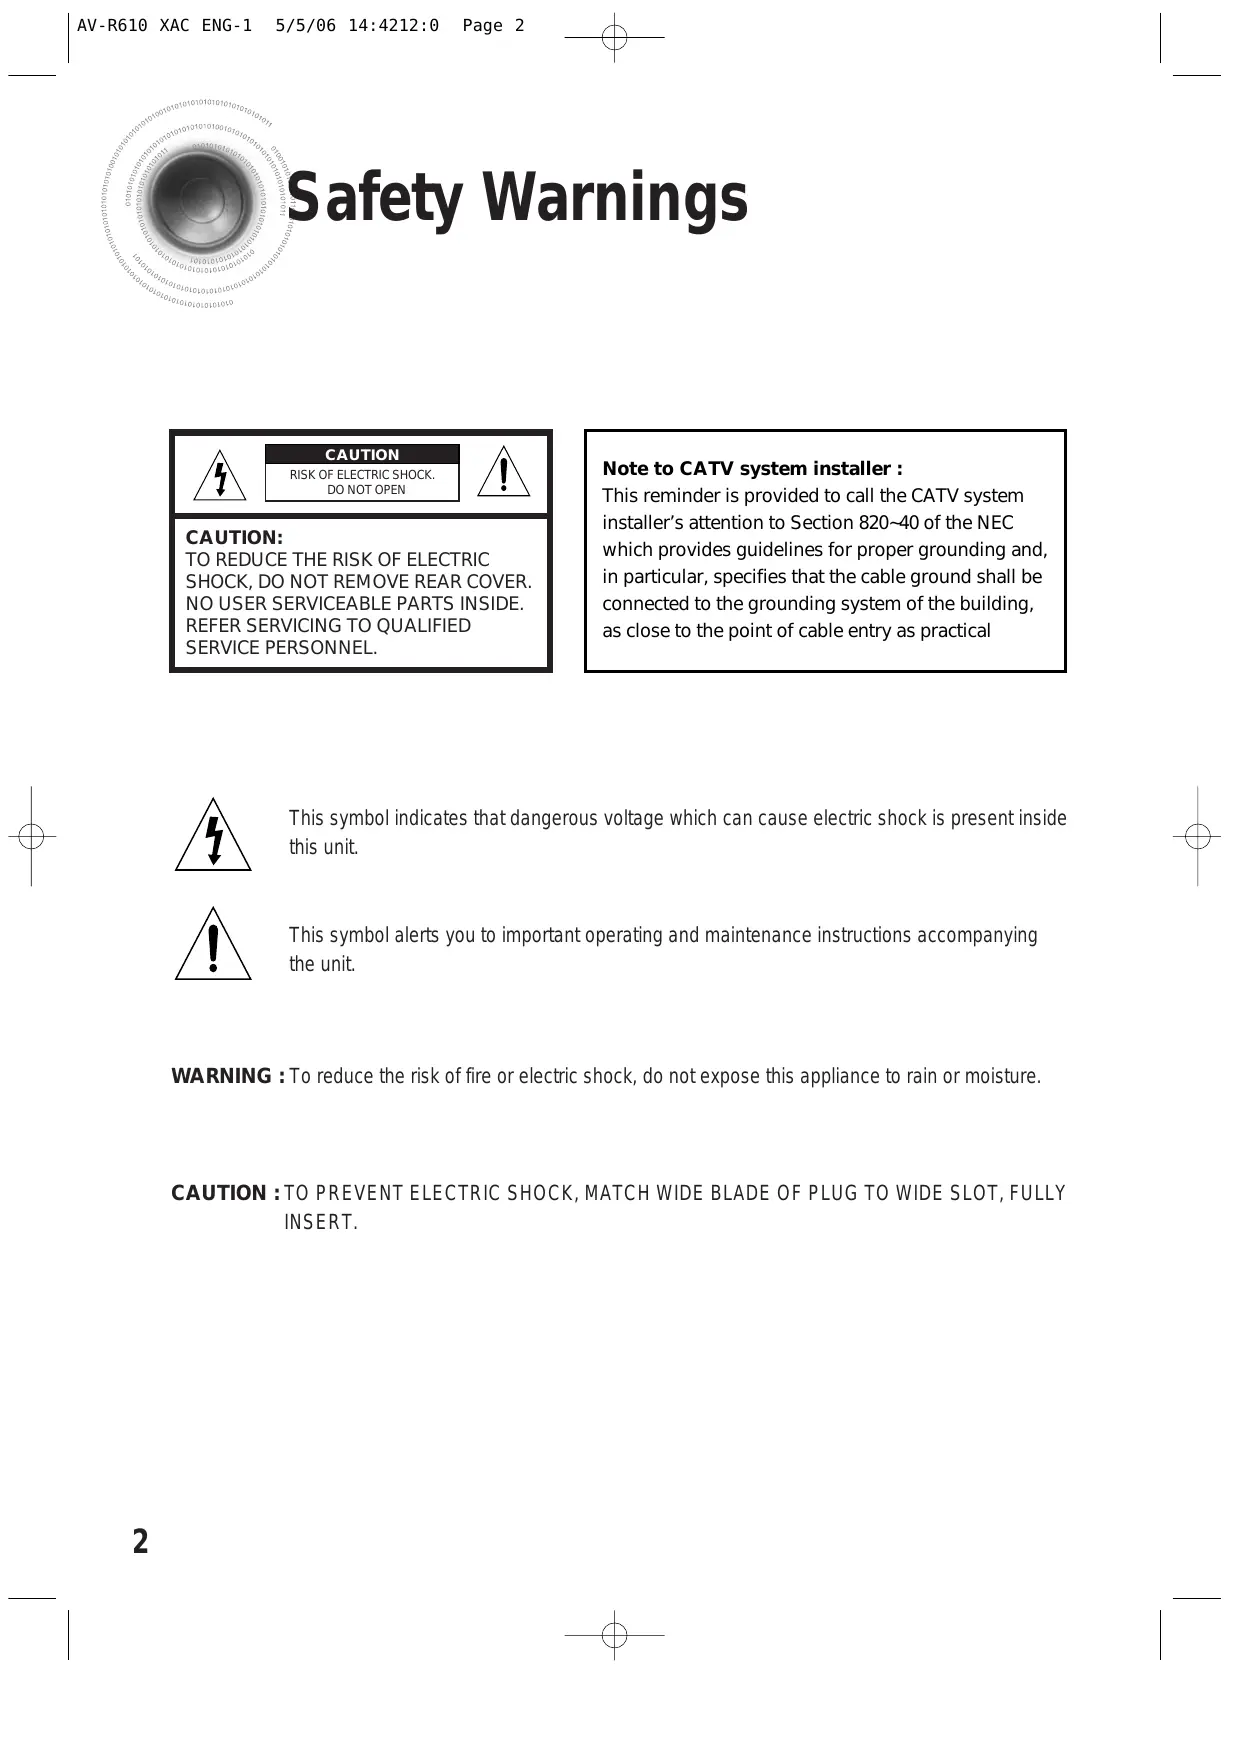
AV-R610 XAC ENG-1 5/5/06 14:4212:0 Page 2 & Lo) Safety Warnings CAUTION ) A Note to CATV system installer : DO NOT OPEN This reminder is provided to call the CATV system installer's attention to Section 820-40 of the NEC which provides guidelines for proper grounding and, CAUTION:
TO REDUCE THE RISK OF ELECTRIC
SHOCK, DO NOT REMOVE REAR COVER. in particular, specifies that the cable ground shall be NO USER SERVICEABLE PARTS INSIDE. connected to the grounding system of the building, REFER SERVICING TO QUALIFIED as close to the point of cable entry as practical SERVICE PERSONNEL. This symbol indicates that dangerous voltage which can cause electric shock is present inside this unit. This symbol alerts you to important operating and maintenance instructions accompanying the unit.
WARNING : To reduce the risk of fire or electric shock, do not expose this appliance to rain or moisture.
AV-R610 XAC ENG-1 5/5/06 14:4212:0 Page 3 & Precautions Ensure thatthe AC power supply in your house complies with the identfication sticker located on te back of your player. Install your player horizontally, on a suitable base (fumiture), with enough space around it for ventilation (3-Ainches). Make sure the ventilation slots are not covered. Do not stack anything on top of the player. Do not place the player on amplifiers or other equipment which may become hot. Before moving the player, ensure the disc tray is empty. This player is designed for continuous use. Switching off the DVD player to the stand-by mode does not disconnectthe electrical supply. In order to disconnectthe player completely from the powrer supply, remove the main plug from the wall out, especially when left unused for à long period of time. During thunderstorms, disconnect AC main plug from the wall outtet. Voltage peaks due to lighining could damage the unit. Protectthe player from moistureli.. vases) , and excess heatle.g.freplace) or equipment creating strong magnetic or electric fields (Le.speakers... Disconnectthe pour cable from the AC supply ifthe player malfunctions. Your playeris not intended for industrial use. Use of this product is for personal use on. Condensation may occurif your player or disc have been stored in cold temperatures. Iftransportng the player during the winter, wait approximately 2 hour until te unithas reached room temperature before using Do not expose the unit to direct sunlight or other heat sources. This could lead to overheating and malfunction of the unit The battery used with this product contain chemicals that are harmful to the environment. Do not dispose of batteries in the general household trash. NOLLVAVd 14d
AV-R610 XAC ENG-1 5/5/06 14:4212:0 Page 4 D eatures Q) Digital AV Receiver 2 © — | This product is a pure digital receiver that performs digital signal processing to minimize signal distortion and loss.
Q SFE(Sound Field Effect) Using — Provides more realistic surround sound with normal stereo audio sources.
Listening to Radio Presetting Radio Stations . © MISCELLANEOUS Convenient Functions Operating TV with Remote Control Operating your VCR (DVD) with Remote Control. Before Calling for Service Specifications … WARRANTY nn
VCR/SAT AUDIO INPUT J ACKS — + VCR AUDIO OUTPUT J ACKS CD AUDIO INPUT J ACKS ——#@# SUBWOOFER OUTPUT J ACKS 1, 2 D» Accessories 44 Remote Control AM Antenna FM Antenna Users Manual
AV-R610 XAC ENG-1 5/5/06 14:4212:0 Page 9 & Insert Remote Batteries ( à 1 Remove the battery 2 Insert two 1.5V AAA 3 Replace the battery cover in the direction batteries, paying cover. of the arrow. attention to the correct polarities (+ and -).
Follow these precautions to avoid leaking or cracking batteries: + Place batteries in the remote control so they match the polarity:(+ to (+}and (-)to (-). + Use the correct type of batteries.Batteries that look similar may differ in voltage. + Always replace both batteries atthe same time. + Do not expose batteries to heat or flame. Range of Operation of the Remote Control The remote control can be used up to approximately 23 feet/7 meters in a straight line. It can also be operated at a horizontal angle of up to 30° from the remote control sensor.
Q@ Position of AV Receiver + Place AV Receiver on a dedicated stand or rack. © FrontSpeakers B@Q + Place these speakers in front of your listening posion, facing inwards (about 45°) toward you. + Place the speakers so thattheir tweeters wil be at the same height as your ear. + Align the front face of the front speakers with the front face ofthe center speaker or place them slighty in front of the center speakers © Center Speaker Q + Itis best to install it atthe same height as the front speakers + You can also install it directly over or under the TV. © Surround Speakers © Place these speakers behind your listening position. + Ifthere isntenough room, place these speakers so they face each other. + Place them about 60 to 90cm (2 to 3feet) above your ear, facing Slighty dounware. k Uniike the front and center speakers, the surround speakers are used to handle mainly sound effects and sound wil not come from them all the time. © Subwoofer @ The position ofthe subwoofer is notso critical. Place itanyuhere you Ike Ne? + When you attach the speakers to a wall, make sure to fasten them ighty so they do notfal of
ACTIVE SUBWOOFER {not supplied) « lfmore bass is desired, you can (1) FRONT(R) FRONT (L) connect an additional active LAND ED subwoofer not supplied) to the + Subwoofer Lor 2 port. Since the signal on the Subwoofer Land 2 ports is not stereo, you will hear the same mono bass sound regardless ofthe port you connectto. AV-R610 XAC ENG-1 5/5/06 14:4212:0 Page 11 é SURROUND R) SURROUND £)
SURROUND SPEAKER PS-AR610
PASSIVE SUB WOOFER PS-AW610
> Connecting Speaker Wire CENTER PSAC610 2 1nserttne black wire into the black(-) Press the tab ofthe speaker connector. terminal and the gray wire into the red(+) terminal.
+ Do nothang on the wall through the duct (hole).
- Never touch speaker teminals while the power is on. Doing 50 could result in electric shock. + Make sure the polares (+and -) are correct
PASSIVE SUBWOOFER PSAW610 + Keep the subwoofer speaker out of reach of children so as to prevent children from insertng their hands or alien substances into the duct (hole) ofthe subwoofer speaker.
AV-R610 XAC ENG-1 5/5/06 14:4212:0 Page 13 & SAT(Settop Box) 2 + Ifusing VCR, connect Analog Audio Outto VCR/SAT Audio In on this unit. Ifusing STB, connect Digital Out to the SAT Optical connector on this unit. + The Analog Audio and Video In jacks of the main unit are used for SAT and VCR. You cannot connect both devices at the same time. + Ifthere is a Digital Out for the satellite/cable STB, it can be connected to the SAT Optical connector on the rear panel to provide multi-channel surround. If there is no Digital Out connector on the STB, connect the Analog Audio Out connector to the VCR/SAT Audio In on the unit. + Ifthe extemal component has only one Audio Output jack, connect it to either the right or left Audio Input jack of the main unit. + Connect the audio cable's red plug to the red jack and white cable to the white jack. co ©
j'y XAC ENG-1 5/5/06 14:4212:0 Page 14 d Lo) Connecting External Components | Connecting Audio Component Before moving orinstalling the product, be sure to turn off the power and disconnect the power cord. CD Player
AV-R610 XAC ENG-1 5/5/06 14:4212:0 Page 15 d | Lo) Connecting the FM and AM Antennas IFAM reception is poor, connect an outdoor AM antenna(not supplied). RADIO ANT Snap the tabs on the loop into the slots ofthe base to assemble the AM loop antenna.
| FM antenna connection | AM antenna connection
1. Connectthe FM antenna supplied to the FM 1. Connect the AM loop antenna supplied to the AM
75 COAXIAL terminal as a temporary measure. #r and terminals.
2. Slowly move the antenna wire around until you 2. Ifreception is poor, connect an outdoor single
find a location where reception is good, then vinyk-covered wire to the AM terminal. fasten it to a wall or other rigid surface. {Keep the AM loop antenna connected). The cooling fan dissipates the heat generated inside the unit so that the unit can COOLING FAN be operated normally. The cooling fan is activated automatically to supply cool air to the unit. Please observe the following cautions for your safety. + Make sure the unitis well-ventilated. Ifthe unit has poor ventilation, the temperature inside may rise and cause damage to it + Do not obstructthe cooling fan or ventilation holes. (Ifthe cooling fan or ventilation holes are covered with a newspaper or cloth, heat may build up inside the unit and fire may result)
AV-R610 XAC ENG-1 5/5/06 14:4212:0 Page 16 d \ Before Using the AV Receiver Turning On/Off @ REMOTE CONTROL Press the POWER button of the remote control. + This unit will be tumed on or setto Standby mode. @ MAIN UNIT 1 Connect the power plug to the outlet. 2 Press the POWER button ofthe main unit. < This unit will be tumed on or setto Standby mode. Functions of Dedicated Remote Control You can operate your AMP, TV, DVD, VCR with one remote control. See pages 42-45 for more details.
@ MAIN UNIT For DVD Function Press the INPUT MODE button. + DVD OPTICAL or COAXIAL and DVD ANALOG il be selected repetitively. oo ©
+ You can enjoy Dolby Digital only if you connect the Digital Audio Output jack of an external audio component to the optical/coaxial Digital Audio Input jack on the main unit. + The digital input mode is set to either OPTICAL or COAXIAL, depending on the setting of SETUP> + <DIGITAL IN>.
AV-R610 XAC ENG-1 5/5/06 14:4212:0 Page 20 & } Setting the Speaker Mode Before moving or installing the product, be sure to tu offthe power and disconnect the power cord. Frequency response from the speaker will be adjusted according to your speaker configuration and whether certain speakers are used or not.
OFrete LC LC D © o L Press SPK SELECT button to select the speaker you want. LOT O7 + Each time you press this button, F.SPK -» C.SPK -+» S.SPK -» SW SPK — @ ® @) CROVR - SPK MODE OFF will be selected in tum. KL 2 O @) © 2 Press AY button to set the speaker mode. a à) , 7) e Î To Exit Setup Mode + Wait for about 5 seconds or press the SPK SELECT button of the remote control to select SPK MODE OFF ÎTo tum the SUBWOOFER On or Off. Press SUBWOOFER button. + Each time you press this button, SW SPK : YES, SW SPK : NO will be selected in tum. + If you play in 2 Channel Stereo, select YES' to use Subwoofer and 'NO' not to use.
-IfF.SPK is setto ‘SMALL’, SW SPK is automatically setto YES”.
AV-R610 XAC ENG-1 5/5/06 14:4212:0 Page 21 & @ MAIN UNIT L Press SETUP button. +*SETUP MODE "appears on the display and enters into Setup Mode. 2 Press FUNCTION button 1 time, +*SPK SETUP” appears in the display. / 3 Press SURROUND button to select the speaker you Ÿ want. + Each time you press this button, F.SPK -» C.SPK -+ S.SPK + SW SPK —+ CROVR will be selected in tum. 4 Press SELECT (V,4 ) button to set the speaker mode. To Exit Setup Mode + Wait for about 5 seconds or press SETUP button. “SETUP MODE OFF"appears on the display and exits Setup Mode. setting + LARGE : Select when you use large speaker. Y ou can listen to full S the Speaker range sound. + E.SPK (Front): LARGE, SMALL + SMALL : Select this when you use small speaker. Bass below 100Hz will not be output
- C.SPK (Center): LARGE, SMALL, NONE + NONE : Selectthis when you use no speaker.
- S.SPK (Surround): LARGE, SMALL, NONE + YES(Subwoofer) : Select this when you use Subwoofer + SW SPK (Subwoofer): YES, NO Speaker. + CROVR (Crossover Frequency) : 60, 80, 100, 120, 150, 180, 200Hz + NO(Subwoofer) : Select when you do notuse Subwoofer Speaker. + CROVR: Select the crossover frequency for the best bass response in your room.
+ForF.L, CEN,F.R,S.W,S.R, S.L Speaker, you can setthe distance from the speaker to listening position between 1--30 feet in intervals of 1 feet. E To Exit Setup Mode + Wait for about 5 seconds or press the SPK DISTANCE button of remote control to select DIST OFF.
+ Ifthe listening position is beyond the range of speaker distance setup when you place the speaker, setthe speaker distance to the maximum.
AV-R610 XAC ENG-1 5/5/06 14:4212:0 Page 23 & [SAMSUN 6] @ MAIN UNIT L Press SETUP button. +"SETUP MODE "appears on the display and enters into Setup Mode. 2 Press FUNCTION button 2 times. + “DIST SETUP" appears on the display. 3 Press SURROUND button to select the speaker you want. L + Each time you press this button, F.L -» CEN + F.R -> SR + SL + 7 S.W will be selected in tum. 4 Press SELECT(,.,A ) button to set the speaker distance. +ForF.L,CEN,F.R,S.W,S.R, S.L Speaker, you can setthe distance from the speaker to listening position between 1-30 feet in intervals of 1 feet. Eo Exit Setup Mode + Wait for about 5 seconds or press SETUP button “SETUP MODE OFF"appears on the display and exit Setup Mode. Setting Speaker Distance Setthe distance from the speaker to listening position in intervals of 1 feet. + F.L (Front-Left) : 1 feet - 30 feet + CEN (Center): 1 feet — 30 feet + FR (Front-Right) : 1 feet — 30 feet + S.R (Surround-Right) : 1 feet —30 feet + S.B (Surround Center) : 1 feet - 30 feet + S.L (Rear-Left) : 1 feet - 30 feet + SW (Subwoofer) : 1 feet — 30 feet
@ MAIN UNIT L Press SETUP button. +"SETUP MODE" appears on the display and enters into Setup Mode. 2 Press FUNCTION button 3 times. + “DIGITAL IN" appears on the display. 3 Press SURROUND button to select the DVD or CD function. + Each time this button, DVD 4} CD will be selected in tum. 4 Press SELECT( V,/A) button to set the digital input. + Each time you press this button, OPTICAL =} COAXIAL will be selected in tu. [To Exit Setup Mode + Wait for about 5 seconds or press SETUP button *“SETUP MODE OFF"appears on the display and the unit exits Setup Mode.
AV-R610 XAC ENG-1 5/5/06 14:4212:0 Page 25 & | } Setting DRC (Dynamic Range Compression) "You can use this function to enjoy Dolby Digital sound when watching movies at low volume at night. | FOIE | USE Tseess | e) o © © ®
- MIN: Sets DRC effect to minimum.
SA + "SETUP MODE” appears on the display and enters into Setup Mode.
2 Press FUNCTION button 5 times. Ve” +TEST-T AUTO” appears in the display. Des mongorn nreneer 3 Press SURROUND button. pr rs O O © Testsignal will be automatically outputas follows: FL - CEN — FR -+ Doc SR +SL SW. + During test signal output, press SELECT ( w,,A) button to adjustthe speaker output level from -10 to +10 dB by 1 step. Ho Stop Test Tone Press SETUP button 1 time. +"SETUP MODE OFF"appears on the display and test tone stops.
AV-R610 XAC ENG-1 5/5/06 14:4212:0 Page 27 & EAMSUNE] Te. Manually Output Test Tone TEST-T HAN F.L: +051 e © MAIN UNIT 2 Ï L Press SETUP button. o J +*SETUP MODE" appears on the display and the unit enters into Setup Mode. 2 Press FUNCTION button 6 times. +TEST-T MANU" appears in the display. 3 Press SURROUND button. + Each time you press this button, F.L -+ CEN + F.R + SR SL - S.W will be selected in turn. 4 Press SELECT(V,A) button to set the test tone as you want. + You can adjustthe speaker output level from -10 to +10dB by 1 step. + The sound gets quieter at-10dB and louder at +10dB. ETo Stop Test Tone Press SETUP button 1 time. +*SETUP MODE OFF"appears on the display and test signal stops. Test Tone Output + F.L (Front-Left) : -10 - +10dB + CEN (Center): -10 -+10dB + E.R (Front-Right) :-10 -+10dB + S.R (Surround-Right) : -10 -+10dB + S.L (Surround-Left}: -10 -+10dB + S.W (Subwoofer): -10 -+10dB
AV-R610 XAC ENG-1 5/5/06 14:4212:0 Page 28 & } Setting Speaker Level You can setthe balance and level of speakers = SE @ Remote Control LU LC : UN 1 Press SPK LEVEL button to select the speaker you want. 7 + Each time you press this button, F.L -+ CEN -» F.R + S.R -» S.L -+ S.W + @) SPK LVL OFF will be selected in tum. ©) 2 Press AY button to set the speaker level you want. _ + You can adjustit from -10 to +10dB by 1 step. ©) + The sound gets quieter at-10dB and louder at +10dB. a + Default setting value is O0dB.
+ F.L (Front-Left) : -10 -+10dB + CEN (Center): -10 -+10dB + ER (Front-Right) : -10 -+10dB + S.R (Surround-Right) : -10 -+10dB + S.L (Surround-Left}: -10 -+10dB + S.W (Subwoofer): -10 -+10dB @ MAIN UNIT 1 Press SETUP button. +*SETUP MODE "appears on the display and enters into Setup Mode. 2 Press FUNCTION button 8 times. + ‘LEVEL SETUP "appears on the display. 3 Press SURROUND button. + Each time you press this button, F.L -» CEN — F.R -» S.R -> SL > SW will be selected in tum. 4 Press SELECT(V,/A) button to set to the speaker level you want. + You can adjustit from -10 to +10dB by 1 step. + The sound gets smaller at-10dB and louder at +10dB + Default setting value is O0dB To Exit Setup Mode + Wait for about 5 seconds or press SETUP button. “SETUP MODE OFF"appears on the display and exits Setup Menu. NOILLVY43dO
TES © O © © TT > UE li 1 CINEMA CO DRE 2
LA _ KZ DOC © O © es © pue
To Exit Setup Mode + Wait for about 5 seconds.
5/5/06 14:4212:0 Page 31 & Dolby Pro Logic Il Mode + MUSIC : Provides 5.1 Channel Surround sound to digital, analog or existing stereo sources such as CD, TAPE, FM, TV and Stereo VCR.
- CINEMA : Adds realism to the movie soundtrack. + MATRIX : You will hear 5.1 Channel Surround sound. + GAME : Enhances the excitement of the game's sound. @ MAIN UNIT 1 Press SURROUND button to select “DPL Il” Mode. + Each time you press this button, DPL Il -> SFE -» STEREO will be selected in tum 2 Press SELECT(V, A) button. + Each time you press SELECT (A) button, CINEMA -+ MATRIX + GAME -PROLOGIC -+ MUSIC will be selected in tum. + Each time you press SELECT (W ) button, MUSIC -» PROLOGIC + GAME + MATRIX + CINEMA will be selected in turn. E To Exit Setup Mode + Wait for about 5 seconds.
signals such as Dolby Digital and DTS. + Pro Logic works only for PCM audio signals with samplin frequencies of 32KHz, 44KHz or 48KHz. + Sound will not be output from rear center speaker if PCM + PROLOGIC : You will experience a surround effect with justthe audio signal is mono. front left and right speakers.
+ You cannot use Dolby Pro Logic I! Mode for multi channel
@ MAIN UNIT LPress SETUP button. +*SETUP MODE "appears on the display and enters into Setup Mode. 2 Press FUNCTION button 10 times. +“DPL II MODE "appears on the display. 3 Press SURROUND button. € + Each time you press this button, C-WIDTH -> DIMENSION + PANORAMA will be selected in tum. A Press SELECT(, A) button to select Dolby Pro Logic Il effect you want. I To Exit Setup Mode + Wait for about 5 seconds or press SETUP button. “SETUP MODE OFF"appears on the display and exits Setup Mode Iby Pro Logic Iix Effect + C-WIDTH : This sets the width of the center image. The higher the setting, the less sound comes from the center speaker. + DIMENSION : Incrementally adjusts the sound field (DS P }from the front or rear. + PANORAMA : This mode extends the front stereo image to include the surround speakers for an exciting "wraparound'" effect with side wall imaging.
AV-R610 XAC ENG-1 5/5/06 14:4212:0 Page 34 & À SFE Mode _ Refer to the unique sound existing at specific place and you can feel live sound as if you are listening at actual site.
+ Wait for about 5 seconds.
@ REMOTE CONTROL @ MAIN UNIT
Press STEREO button. Press SURROUND button to select 'STEREO’. + "STEREO"appears in the display and Stereo Mode is + Each time you press this button, DPL Il» SFE -+ STEREO LT selected. will be selected in turn. © œ
To Exit Setup Mode To Exit Setup Mode + Wait for about 5 seconds. + Wait for about 5 seconds. NtD + When PCM and Analog Stereo signals are input, the left and right channels are played back in Stereo Mode.
+ Channel status display are dependent on ‘S peaker Configuration". + SFE Mode works 2ch signal.
AV-R610 XAC ENG-1 5/5/06 14:4212:0 Page 38 & Lo) Listening to Radio You can listen to the chosen band (FM, AM broadcast stations) by using either the automatic or manual tuning operation. | TMS UNS RS Sssée | L press TUNER button. 1 press FUNCTION button to select r . FM orAM. D + Each time you press this button, FM -> AM will be repetiively selected. 2 Select the frequency. 2 Select frequency. * Automatic Tuning : “Rama pe TG
automatically tune in frequency. + Manual Tuning :
1) Press TUNER MODE button to select MANUAL.
2) Press TUNING/CH ( ,,A ) button briefiy to increase or
decrease frequency by step by step. To Listen to Mono/Stereo E How to select MAIN, UNIT, PRESET, Press MO/ST button on the remote. MANUAL + Each time you press this button, STEREO, MONO will be selected in tum 1. Press the SETUP button. . + Ifyou select MONO in the area with weak reception, 2. Press the FUNCTION button 9 times. itwill help to reduce noise. + TUNER SETUP" appears in the display. + This function works only with the Remote Control. 3. Press the SURROUND button.
AV-R610 XAC ENG-1 5/5/06 14:4212:0 Page 40 & } Convenient Functions Sleep Timer Functi You can setthe time that this unit will shut itself off. @ REMOTE CONTROL Press the SLEEP button. + SLEEP :OFF + 15-+ 30 > 45 -+ 60 + 90 + 120MIN wilbe selectedintum To Check Sleep Timer Press SLEEP button. + The remaining time before this unit will shutitself off is shown on the display. + Pressing the button again changes the sleep time from what you have set earlier. [To Cancel Sleep Timer + Press SLEEP button until SLEEP : OFF appears on the display. This function is useful when answering a doorbell or telephone call.
, PS @,—<0 REMOTE CONTROL Le | le ONE _ E To Output Sound Again Press MUTE button again. + MUTE will disappear and sound will Output.
+ SLEEP, Mute and Adjust Display function can only be operated with the remote control.
AV-R610 XAC ENG-1 5/5/06 14:4212:0 Page 41 & @ REMOTE CONTROL Press the MUTE button. + MUIE appears on the display. press ENTER button. You can adjustthe brightness ofthe display. Press the DIMMER button. to music. may damage your hearing. Press “0” button five times and then O © LT 4 L} AR A Press AY buttons to select “YES”. (4) 6) (6) + The unit will turn automatically back on in 5 seconds. © © © EE _ : _ + Using the RESET function will erase all stored settings. e Ç ) + Do notuse this unless necessary. Adjust the Displa @ REMOTE CONTROL + Each time you press this, the brightness ofthe display will be adjusted Using Headphone Use headphones (not supplied) for private listening pleasure. Connect the headphone to the headphone jack and listen ND + Do nottum the volume up too high when you use headphones as It
Operating your TV with the Remote Control Press TV button to set the remote to TV mode, ÔO À 2? Press POWER button to tum AE on the TV. oO © 3 Point the remote control toward the TV. While holding down POWER button, enter the code corresponding to your brand of TV + lfthe code matches the TV's code, the TV will be tumed off. + Ifthere is more than one code listed for your TV in the table, enter one ata time to determine which code works. TV is tumed on or off when you press the power button of the remote control, the setting is completed. + You canusethe TV POWER, VOLUME, CHANNEL, MENU and Numeric buttons (0-9). + The remote control may not work on some brands of TVs. Also, some operation may not be possible depending on your brand of TV. + The remote control will work with Samsung TVs by default
Operating your DVD (VCR) with Remote Control ER WU NN M
*Therel Press DVD button to set the remote to DVD mode, + Ifyou operate VCR, press VCR button to setthe remote to VCR mode. Press POWER button to turn on the DVD NCR). Point the remote control toward the DVD NCR). While holding down POWER button, enter the code corresponding to your brand of DVD (VCR). + Ifthe code matches the DVD (VCR)'s code, the DVD (VCR) willbe tumed off. + Ifthere is more than one code listed for your DVD (VCR) in the table, enter one at a time to determine which code works. If DVD (VCR) is tumed on or off when you press the power button of the remote controller, the setting is completed. *You can use DVD (VCR)POWER, VOLUME, PLAY, PAUSE, STOP,SKIP,MENU and Numeric button (0-9). mote control may not work on some brands of DVD (VCR)s. Also, some operations may not be possible depending on your brand ofDVD (VCR). The rei mote control will work with Samsung DVDs (VCRs) by default.
AV-R610 XAC ENG-1 5/5/06 14:4212:0 Page 46 & + Symptom Can'ttumiton. It does not work when the button is pressed. Sound is not produced. Picture does notappearwhen + Isn'tthe external component connected the function is selected. Remote controller does not work. The sound from each device is changed during stereo playback. Can't receive broadcasting. There is no sound from surround speaker. There is no sound from center speaker Check +_Isthe powercode plugged into the outlet? + Is there static electricity in the air? + Are the speaker and extemal component connected propery? + Does the Mute function work? + Is the volume setto minimum? + Is the speaker setup selected to NONE? properly? - Are the batteries exhausted? + Is the distance between remote control and main unit proper? + Is the leftright speaker or leftright input/output code connected properly? + IS AM orFM antenna connected properly?
- Is the surround speaker connected properly? + Is S.SPK (Surround) setto NONE in Speaker Setup? + ls Surround Mode selected to Stereo? + ls the center speaker connected proper? + Is C.SPK (Center) selected tn NONE in Speaker Setup? +_Isthe Surround Mode selected in Stereo?
) Before Calling for Service Remedy + Connectthe power plug to the outlet. + Disconnectthe power plug and connect it again. + Properly connectit + Press Mute button to cancel the function. + Adjustthe volume. + Refer to pages 20-21 to select LARGE, SMALL or YES. + Properly connect it. + Replace with new batteries. + Operate at close distance. + Check the leftright channel and properly connect it. + Propery connectthe antenna. +_lfthe input strength of antenna connector is weak, install the FM antenna in a place with good reception. + Refer to pages 10-11 to connect it properly. + Refer to pages 20-21 to selectLARGE or SMALL. + Refer to pages 30-37 to select other Surround Mode. + Refer to pages 10-11 to connect it properly. + Refer to pages 20-21 to selectLARGE or SMALL. + Refer to pages 30-37 to select other Surround Modes.
AV-R610 XAC ENG-1 5/5/06 14:4212:0 Page 47 & + Symptom Check Can't select Dolby Pro Logic Il Mode, There is no sound when + Is analog input selected? playing DTS encoded DVD and CD. @ Product Protection Function Heat Protection + Protection function works ifthe main unit is overheated or power overheated.
- appears in the display when this function - lÉspeaker terminal is shorted - If speaker cord is shorted Ifthere is no problem when you turn it on again after turning it off, PROTECTION mark will disappear on the display and the unit will work properiy. + !s the input signal selected properly? Remedy + Select 2 channel Dolby Digital, PCM, and Analog input signal. + Check whether digital external component is properly connected and refer to page 22 to selectthe digital input tt? + IFPROTECTION appears on the display, check whether speaker terminal is shorted and then turn on the device. SNONANVT132SM
j'y XAC ENG-1 5/5/06 14:4212:0 Page 49 é Samsung Limited Warranty Samsung Electronics Canada Inc. (SECA), warrants that this product is free from defective material and workmanship. SECA further warrants that if this product fails to operate properly within the specified warranty period and the failure is due to improper workmanship or defective material SECA will repair or replace the product at its option. All warranty repairs must be performed by a SECA authorized service centre. (The name and address of the location nearest you can be obtained by calling toll free 1-800-726-7864 or visiting our web site at WWW.samsung.ca) Labour Parts one (1) year (carry-in) one (1) year On carry-in models, transportation to and from the service centre is the customers responsibility. The original dated sales receipt must be retained by the customer and is the only acceptable proof of purchase. It must be presented to the authorized service centre at the time service is requested. Exclusions This warranty does not cover damage due to accident, fire flood and/or other acts of God; misuse, incorrect line voltage, improper installation, improper or unauthorized repairs, commercial use, or damage that occurs in shipping. Exterior and interior finish, lamps and glass are not covered under this warranty. Customer adjustments which are explained in the instruction manual are not covered under the terms of this warranty. This warranty will automatically be voided for any unit found with a missing or altered serial number. This warranty is valid only on products purchased and used in Canada. SNONANVT132SM