KSM2612 - Sewing machine Kunft - Free user manual and instructions
Find the device manual for free KSM2612 Kunft in PDF.


| Product Type | Sewing Machine |
| Brand | Kunft |
| Model | KSM2612 |
| Power Supply | 230 V ~ 50 Hz |
| Stitch Patterns | 16 (12 ordinary + 4 buttonhole) |
| Sewing Speed | Variable via foot pedal |
| Buttonhole Type | 4-step automatic |
| Presser Feet Included | Standard, buttonhole, zipper |
| Needle Type | Standard household sewing needle |
| Bobbin Type | Standard drop-in bobbin |
| Thread Tension | Adjustable (0-9) |
| Reverse Sewing | Yes, with reverse button |
| Accessories Included | 2 needles, 2 bobbins, screwdriver, seam ripper, threader, thread stand |
| Safety Features | Read manual before use; keep away from humidity; unplug before cleaning |
Frequently Asked Questions - KSM2612 Kunft
User questions about KSM2612 Kunft
0 question about this device. Answer the ones you know or ask your own.
Ask a new question about this device
Download the instructions for your Sewing machine in PDF format for free! Find your manual KSM2612 - Kunft and take your electronic device back in hand. On this page are published all the documents necessary for the use of your device. KSM2612 by Kunft.
USER MANUAL KSM2612 Kunft
natural_image
White Kuwait Kurofet sewing machine with digital control panel and brand logo (no visible text or symbols on device body)
sewing machine
is perfectly enough
KSM2612
kunft.®
Dear client,
Thank you for purchasing this product.
The quality of this appliance has been certified by several laboratory tests. This instructions manual is provided to simplify the use of the appliance as well as to guarantee a safe use.
Please read carefully the instructions and safety measures described in this manual.
We sincerely hope you will be satisfied when using your new appliance.
2
sewing machine
KSM2612
EN
INDEX
- SAFETY INSTRUCTIONS 4
1.1. Power Supply 5
1.2. Power Cord and Other Cables ...... 6
1.3. Humidity and Water ...... 6
1.4. Cleaning 6
- OPERATING INSTRUCTIONS 8
2.1. Product Description....8
2.2. Product usage 10
2.3. Troubleshooting 22
- TECHNICAL SPECIFICATIONS 23
- POST-SALE SERVICE 24
- ENVIRONMENTAL PROTECTION 24
kunft.®
1. SAFETY INSTRUCTIONS
 | WARNING |  |
| Risk of Electric ShockDo Not Open | ||
| Warning: to avoid the risk of electric shock, do not remove the cover.The interior does not contain any parts that can be repaired by the user.Ask for assistance from the Customer Support Service. | ||
Important Warnings
Before using your appliance read these instructions manual carefully and keep it in a safe place as you may need to consult it in the future.
Before turning on your appliance, and to ensure a safe and correct operation, do not use if:
- It has fallen to the ground;
- You notice any evidence of damage;
- Any anomaly occurs during its operation.
To avoid hazards or deterioration of your appliance through incorrect use it is advisable to read these instructions thoroughly.
Your appliance should not be used for other purposes than the ones intended and solely for household use. Any damage resulting from using the appliance outside this scope,
sewing machine
KSM2612
EN
any incorrect use, as well as any manual modifications to the product will not be covered and automatically voids the warranty.
Assistance
In case of malfunction, take your appliance to the Customer Support Service for assistance.
This appliance can be used by children from the age of 8 and by people with reduced physical, sensorial or mental capabilities and/or lack of experience and knowledge if they have been given instructions on using the appliance safely and if they understand the hazards involved. Children may not play with the appliance. Cleaning and maintenance must not be carried out by children without supervision.
These instructions are also available at www.suporteworten.pt
1.1. Power Supply
Make sure the main voltage is compatible with the appliance's. If this is not the case, please consult the Customer Support Service.
kunft.®
1.2. Power Cord and Other Cables
Do not tangle the cord or pull it to disconnect the appliance. Also, keep the cord away from warm surfaces.
Never use the appliance if it has a damaged cable or socket.
Take it to the Customer Support Service for replacement.
1.3. Humidity and Water
Do not use your appliance in humid places. Do not allow the appliance to become wet under any circumstances as this may be dangerous. To avoid fire hazard or electric shock do not expose your appliance to humidity or water. Furthermore, do not place your appliance under water (e.g. for cleaning).
1.4. Cleaning
Before cleaning, be sure to switch off the appliance and remove the plug from the main power supply. Always allow the unit to cool down before cleaning.
To clean the exterior of the product, use a dry soft cloth only.
1.5. General Precautions
- Please follow the instructions in the user manual which will help you to properly install and operate this product and enjoy its advanced features. Please keep the instructions for future reference.
sewing machine
KSM2612
EN
- Read all instructions before using the product.
- Maintenance and service operations are only to be carried out by authorized professionals.
- Any damage caused by manual modifications to the product is not covered by the warranty.
- If this product is used for other purposes than the ones originally intended, or if it is not correctly connected, the product may become damaged and the warranty will be voided.


kunft.®
2. OPERATING INSTRUCTIONS
2.1. Product Description
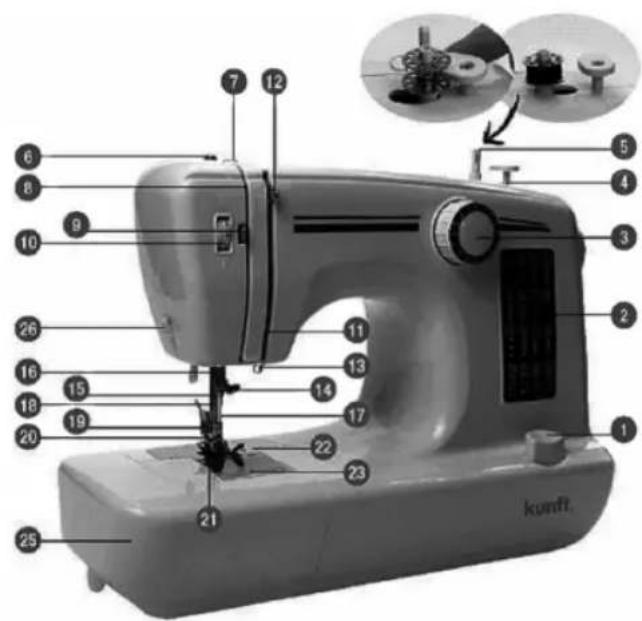
8
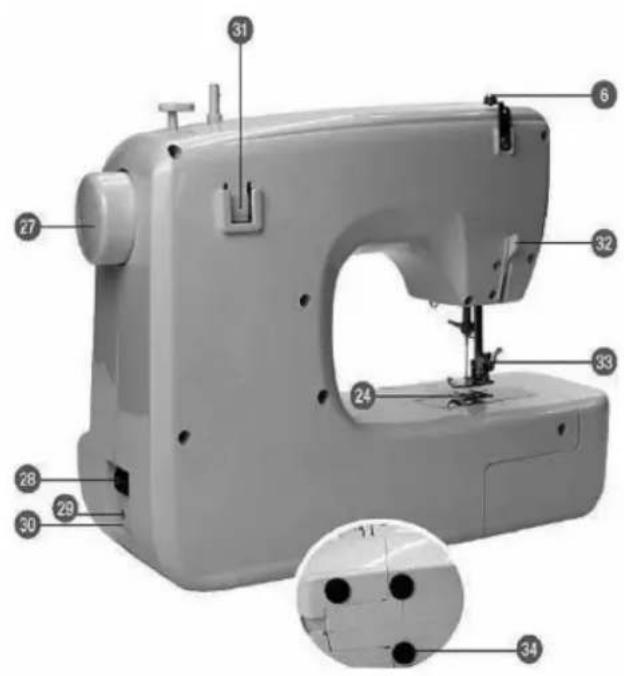
sewing machine
KSM2612
EN
natural_image
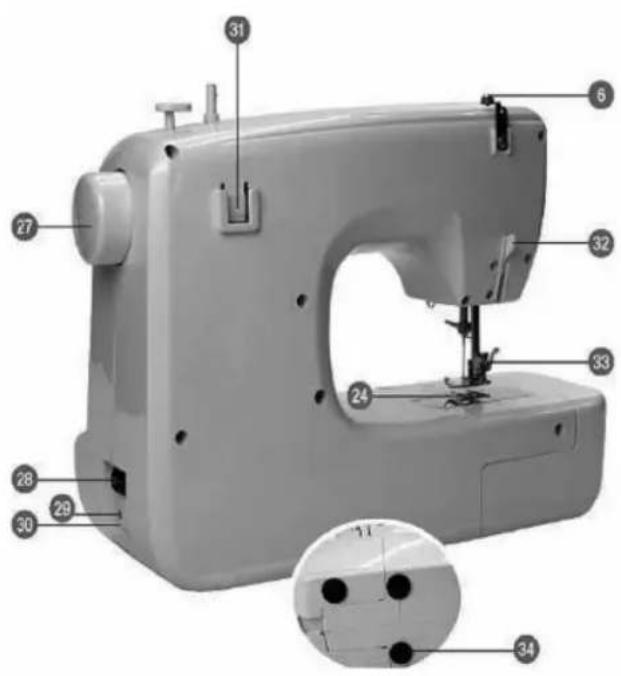
Two electronic devices with labeled connectors (35 and 36) shown in black, connected by wires (no visible text or symbols beyond labels)- Reverse button
- Function indication panel
- Function adjustment wheel
- Winding stop block
- Winding bar
- Winding slice
- Upper thread protect bar
- Thread guide 1
- Thread clamp
- Thread tension adjustment wheel
- Thread guide 2
- Take-up lever
- Thread guiding spring 1
- Thimble screw
- Thread guiding spring 2
- Needle bar
- Sewing needle
-
Presser bar
-
Presser set screw
- Presser support
- Presser foot
- Needle plate
- Transparent cover
- Thread feeder
- Accessories box
- Thread cutter
- Hand wheel
- Power switch
- Presser switch socket
- Power socket
- Thread stand groove
- Presser bar lifter
- Poke button
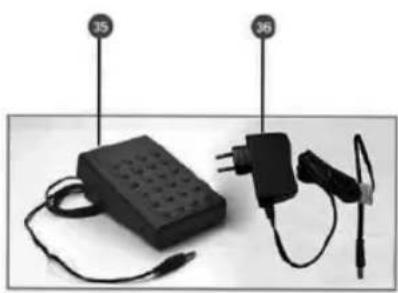
- Foot pad
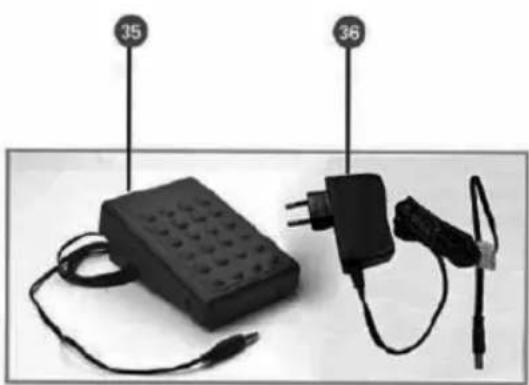
- Foot switch
- Power adapter


Attention
- The power adapter and foot switch shall comply with the socket.
- The power adapter and foot switch can only be applied with this product. They are not to be used with other products.
- It is forbidden to apply other power adapters to this product.
Accessories
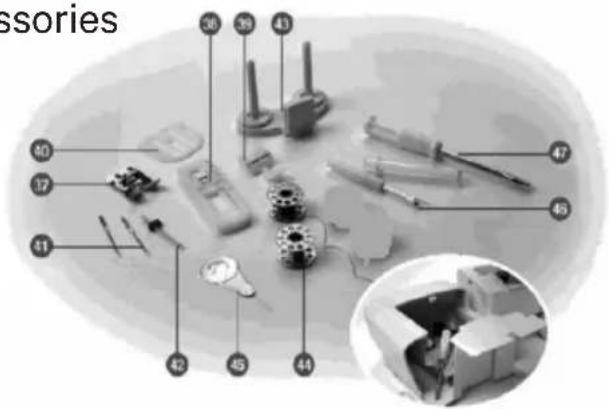
9
kunft.®
-
Presser foot
-
Button hole presser foot
-
Zipper presser foot
-
Button sewing plate
-
Sewing needle [2 pieces]
-
Double stitch needle
-
Thread stand
-
Bobbin [2 pieces]
-
Threader
-
Stitches remover
-
Screw driver
2.2. Product usage
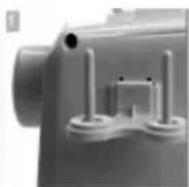
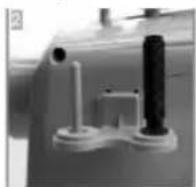
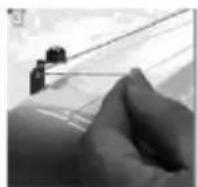
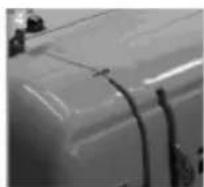
2.2.1. Extracting and installing the accessories box [25]:
![Kunft KSM2612 - Extracting and installing the accessories box [25]: - 1](/content/2026/05/935363/images/4d0e0ac77733baf0287e1fcfee53d3a6e295e7991131bf7021602037b212090a.jpg)
![Kunft KSM2612 - Extracting and installing the accessories box [25]: - 2](/content/2026/05/935363/images/fbd2ecb8f456ac31db9e7a525af7aadbc847cc07b45b7aad8b8379c24ebc7b0b.jpg)
![Kunft KSM2612 - Extracting and installing the accessories box [25]: - 3](/content/2026/05/935363/images/435f692c54dc03a2035139372c42f9c70ffecbff6164a2512280eb5e71aad4ff.jpg)
![Kunft KSM2612 - Extracting and installing the accessories box [25]: - 4](/content/2026/05/935363/images/d7da4323a9e7116f38718bf7b78000cb665d2300e66718380e87ea72dd9db5a2.jpg)
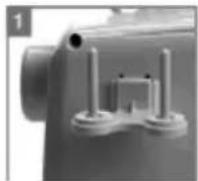
- Extract the accessories box [25] in the direction shown in Fig. 1.
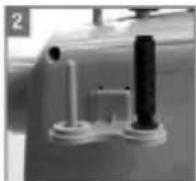
- Extracted accessories box is shown in Fig. 2.
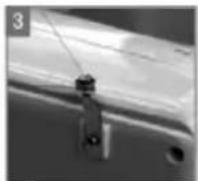
- Gently push the accessories box cover according to Fig. 3 and follow the marking on the box to open it.
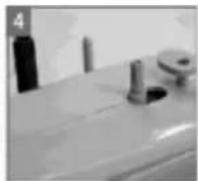
- Pick out the corresponding accessory according to your sewing need.
2.2.2. Power connection:
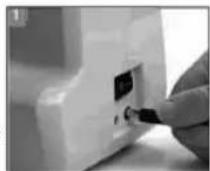
- The power jack of the sewing machine is located at the bottom right side, as shown in Fig. 1. Plug the power adapter [36] into the corresponding jack [30].
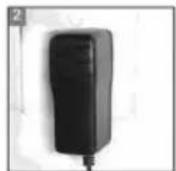
- Connect the power plug of the power adapter [36] to an AC socket, as shown in Fig. 2.
2.2.3. foot switch connection:
- The foot switch jack lies at the bottom right side of the sewing machine, as shown in Fig. 1. Plug the foot switch [35] into the corresponding jack [29].
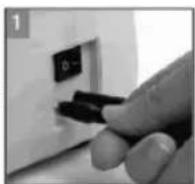
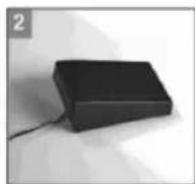
- The foot switch [35] shall be put on the ground for stamping and control convenience.


sewing machine
KSM2612
EN
2.2.4. Presser foot support configuration
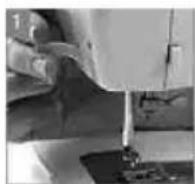
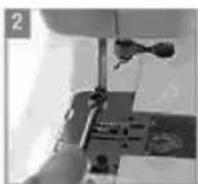
- As shown in Fig. 1, lift the presser bar lifter [32] so to lift the presser bar [18].
- Screw off the presser set screw [19] with a screw driver.
- Install the presser support [20] into the presser bar [18] by sliding it bottom-up.
- Screw the presser set screw [19] with a screw driver to fix the presser support [20].
2.2.5. Installing and changing the presser foot
A. Use the metal presser foot [37] for ordinary sewing:
natural_image
Close-up of hands using a sewing machine to cut fabric or metal (no visible text or symbols)
natural_image
Close-up of a hand operating a sewing machine needle (no visible text or symbols)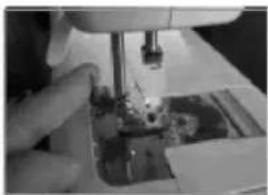
natural_image
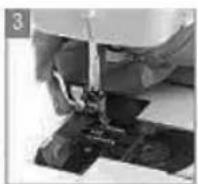
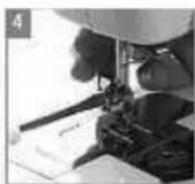
Close-up of hands using a sewing machine to print or fabric (no visible text or symbols)- Put the presser foot [37] under the presser support [20], aligning the presser foot's axle [37] with the presser support's groove [20].
- Place the presser bar lifter [32] downward and the axle of the presser foot [37] will be installed automatically on the presser support [20].
- Presser foot [37] disassembly: slide the presser support's poke button [33] and the lift presser bar lifter [32] inwards to remove the presser foot [37].
natural_image
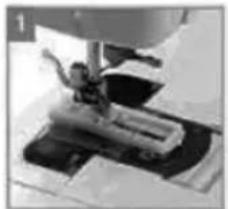
Close-up of a sewing machine needle stitching fabric (no visible text or symbols)- Use the button hole presser foot [38] for button hole sewing;
-
The procedure of installing and disassembling the button hole presser foot [38] is the same as for the metal presser foot [37]. Fig. 1 above shows the installed button hole presser foot [38];
-
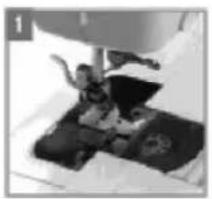
Use the zipper presser foot [39] for zipper sewing;
- The procedure of installing and disassembling the zipper presser foot [39] is the same as for the metal presser foot [37].
• The following Figures show the installed zipper presser foot [39]
kunft.®
natural_image
Close-up of a sewing machine needle stitching fabric (no visible text or symbols)
natural_image
Close-up of a robotic arm operating a machine with a glowing paper airplane (no visible text or symbols)2.2.6. Installing and changing the sewing needle
To extract and install the sewing needle, please turn the machine off and comply with the following steps:
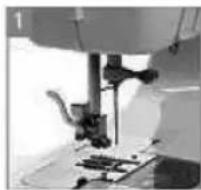
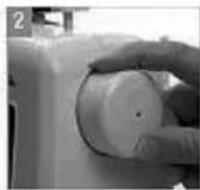
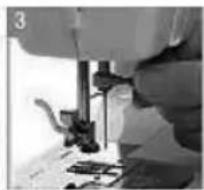
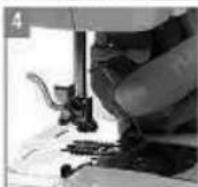
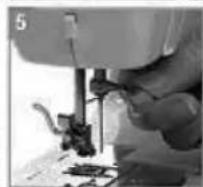
- Turn the power OFF and rotate the hand wheel [27].
- Lift the needle bar [16] and sewing needle [17] to the height shown in Fig. 1. Afterwards, rotate the hand wheel [27], and then stop it to keep it in a static position.
- Unscrew counter clockwise to unscrew the thimble screw [14].
- Take out the sewing needle [17] to be replaced.
- Pass the sewing needle [17] through the thread guiding spring 2 [15] by sliding it bottom-up and insert the needle bar [16] to its bottom. Then screw clockwise to screw the thimble screw.
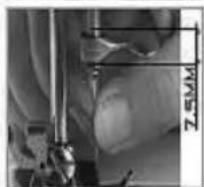
- Make sure you install the sewing needle in place until it cannot be inserted further in. To install a normal sewing needle [17] you must insert 7.5 mm into the end of the needle bar [16] [as shown in Fig. 5]. Otherwise, it will cause damage or skipped stitches.
Attention:
Pay attention to the following points during the installation of the sewing needle:
- Make sure the sewing needle is in perfect conditions.
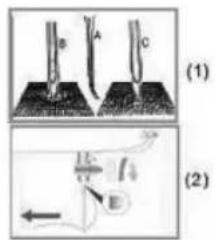
The sewing needles shown in Fig. 1 below will cause problems:
A: curved needle
B: blunt needles
C: needle with damaged pinpoint
sewing machine
KSM2612
EN
- The flat part of the sewing needle shall be installed by turning the upper side, as shown in Fig. 2.
2.2.7. threadings
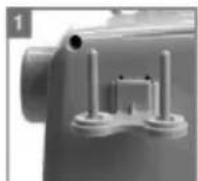
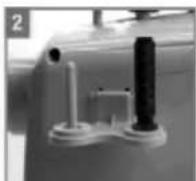
- Insert the thread stand [43] stored in the accessories box [25] onto the groove [31] on the back of the machine, as shown in Fig. 1 above.
- Put the bobbin on the thread stand [43], as shown in Fig. 2.
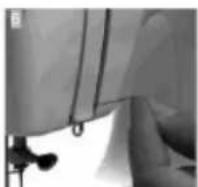
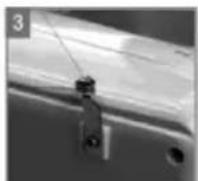
- Pass the thread of the bobbin through the hole of the winding slice [6] from back to front, as shown in Fig. 3.
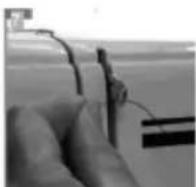
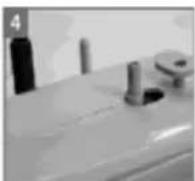
- Pull the thread to the thread guide 1 [8], as shown in Fig. 4.
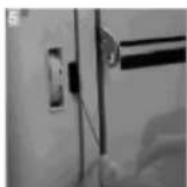
- Put the thread into the thread clamp [9] after passing through the thread guide 1(8), as shown in Fig. 5.
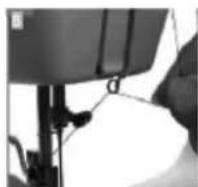
- Wrap the thread from the thread guide 1 [8] to the thread guide 2 [11] after passing through the thread clamp [9], as shown in Fig. 6.
- Slide the end of the thread through the take-up lever [12], as shown in Fig. 7.
- Slide the thread through the thread guiding spring 1 [13] after passing through the take-up lever [12], as shown in Fig. 8.
natural_image
Close-up of a hand holding a water bottle with a metal stand (no visible text or symbols)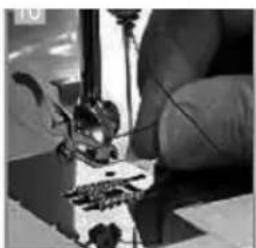
natural_image
Close-up of a hand using a sewing machine to work on a metal surface (no visible text or symbols)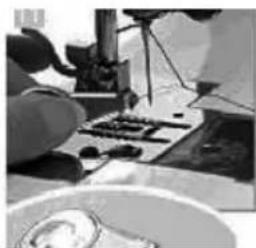
natural_image
Close-up of a person using a sewing machine on a workbench (no visible text or symbols)kunft®
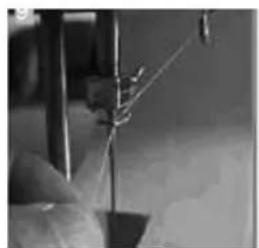
- Slide the thread through the thread guiding spring 2 [15] after passing through the thimble ring [14], as shown in Fig. 10.
- Wrap the thread end through the thread guiding spring 2 [15] to the pinhole of the sewing needle [17], as shown in Fig. 11.
- Threading can be assisted by the threader [45], as shown in Fig. 12. Thread the steel wire of the threader [45] and pass it through the pinhole of the sewing needle [17]. Hold the thread end by hand and pull back the threader [45]. The thread end will pass through the pinhole of the sewing needle [17].
Attention
- Make sure the thread passes through the thread clamp [9]. When the thread passes through thread clamp [9], poke slightly the thread clamp [9] to make sure there is no thread jamming.
- It is strictly required to follow the steps above during threading.
2.2.8. Installing and extracting the Bobbin thread
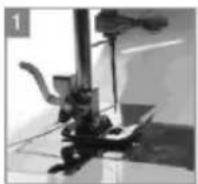
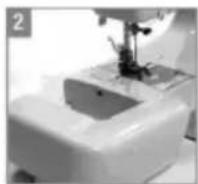
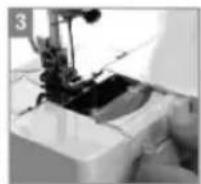
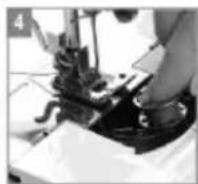
- Lift the presser foot and hold the upper thread by hand with an extraction length of about 10 cm, as shown in Fig. 1.
-
Extract the accessories box [25] from right to left, as shown in Fig. 2.
-
Take down the transparent cover [23], as shown in Fig. 3.
-
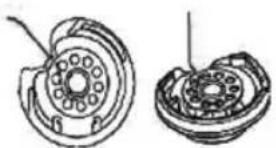
Put the bobbin [44] into the rotating shuttle of the bobbin thread, as shown in Fig. 4.
natural_image
Technical line drawing of two mechanical components, one showing a circular housing with bolt holes and the other showing a cross-sectional view (no text or symbols)Attention
Make sure that when you put the bobbin, the direction of the thread end is clockwise, as shown in the above Fig.
natural_image
Close-up of mechanical components including a foot and a gear-like structure (no visible text or symbols)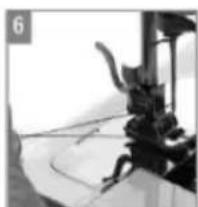
natural_image
Close-up of a mechanical device with no visible text or symbols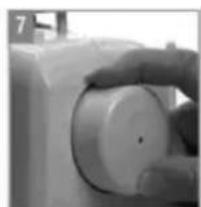
natural_image
Close-up of a hand operating a cylindrical device with a circular button (no visible text or symbols)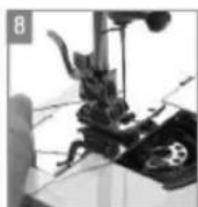
natural_image
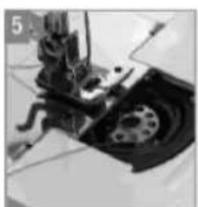
Close-up of a mechanical device with a hand and foot, no visible text or symbols- Pull out 10 cm of the thread end from the bobbin, as shown in Fig. 5.
sewing machine
KSM2612
EN
-
Put the pulled bobbin thread and upper thread to the left by hand, as shown in Fig. 6.
-
Rotate the hand wheel [27] counter clockwise in order to make the needle move up and down after the bobbin thread and upper thread have been put to the left, as shown in Fig. 7.
-
Hold the upper thread on the left hand during the rotation of the hand wheel [27] to make the needle move up and down, as shown in Fig. 8.
-
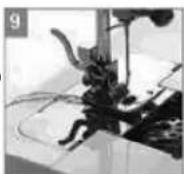
The upper thread will lift the bobbin thread when the needle moves down and up. Pull both to the back and press them under the presser foot [21] with 10 cm pulled out, as shown in Fig. 9.
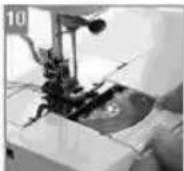
- Put the transparent cover [23] on after the bobbin thread and upper thread are pressed under the presser foot [21], as shown in Fig. 10.
2.2.9. Introduction to applicable functions
- Please use them in strict accordance with the following steps in sewing.
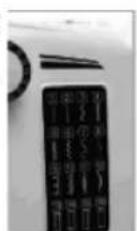
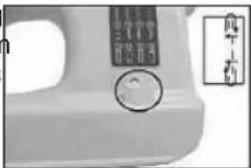
- On the function indication panel, functions from 1-12 are for ordinary sewing while functions from 13-16 are for button eyes sewing. Please choose function 1 and 2 for zipper sewing.
- The function adjustment wheel [3] is not allowed to rotate when the machine is running.
- Adjusting the function adjustment wheel [3] requires rotating hand wheel [27] counter clockwise to lift the sewing needle [17] to the highest position.
2.2.10. Texture-relative attentions:
- The machine cannot provide ordinary sewing to elastic textures, such as towel cloth, lint, elastic knitted fabric, etc.
- Texture thickness recommended: 0.3 mm-1.8 mm.
2.2.11. Ordinary sewing
-
Use the presser foot [37] for ordinary sewing.
-
It requires accomplishing "preparation before operation" step by step as described in the instructions before sewing.
-
Different stitches of ordinary sewing can be selected with the function adjustment wheel whose numbers correspond to the figure shown on functions indication panel [2], enabling you to choose different stitches according to different needs. Please refer to the following Figs. for more information.
kunft.®
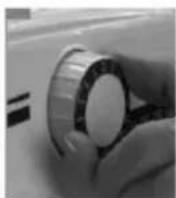
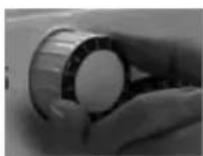
It requires adjusting the function adjustment wheel [3] to function 1 or 2 for straight sewing.
natural_image
Close-up of a hand adjusting a circular mechanical component (no visible text or symbols)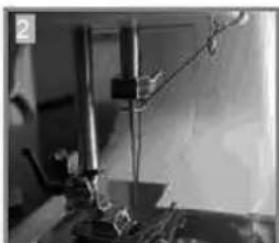
natural_image
Laboratory setup with equipment and glassware (no visible text or symbols)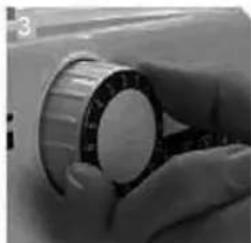
natural_image
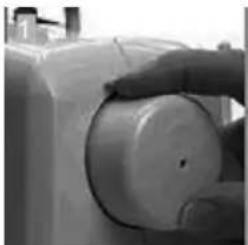
Close-up of hands holding a cylindrical mechanical component (no visible text or symbols)- Rotate the hand wheel [27] counter clockwise, as shown in Fig. 1.
- Rotate the hand wheel [27] counter clockwise to lift the pinpoint of the sewing needle [27] above the presser foot [21], as shown in Fig. 2.
- Adjust the function adjustment wheel [3] to function 1 or 2, as shown in Fig. 3.
natural_image
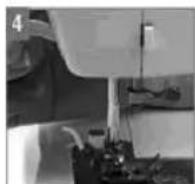
Close-up of a medical device with black connectors and a foot resting on a device (no visible text or symbols)- Move the presser bar lifter [32] upward, lift the presser foot [21] and pull the bobbin thread and upper thread backwards for about 10 cm, as shown in Fig. 4.
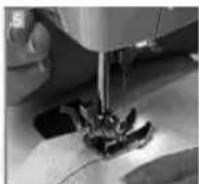
- Put the fabric under the presser foot [21] and move the presser bar lifter [32] downward to hold the fabric, as shown in Fig. 5.
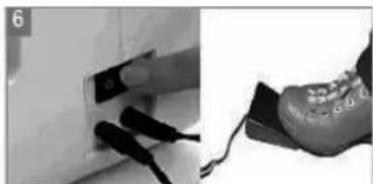
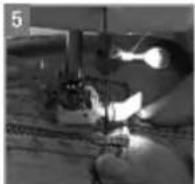
- Turn the power switch [28] "ON" and stamp the foot switch [35] gently to start sewing, as shown in Fig. 5.
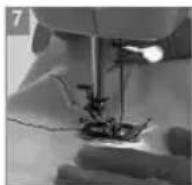
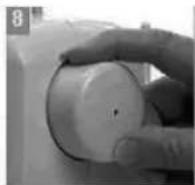
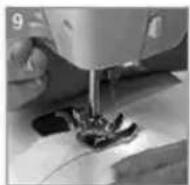
- Guide the fabric gently during sewing, as shown in Fig. 7.
- Rotate the hand wheel [27] counter clockwise after finishing sewing to lift the sewing needle to the highest position, as shown in Fig. 8.
- Move the presser bar lifter [32] upwards and lift the presser foot [21], as shown in Fig. 9.
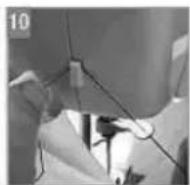
- Move out the fabric and cut the thread with the thread cutter [26], as shown in Fig. 10.
sewing machine
KSM2612
EN
2.2.13. "Zigzag" sewing
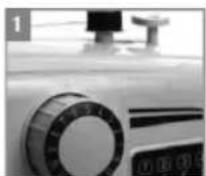
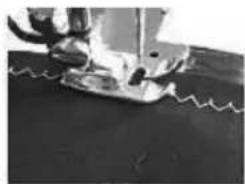
The "Zigzag" stitch sewing method is the same as for straight sewing except for adjusting the function adjustment wheel [3] to function 4, 5, and 6.
- Adjust the function adjustment wheel [3] to function 4, 5, and 6, as shown in Fig. 1.
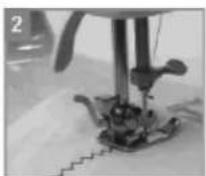
- The sewing procedure is the same as steps for straight sewing [Please refer to chapter 2.12. of this instruction].
2.2.14. Three-needle "Zigzag" sewing
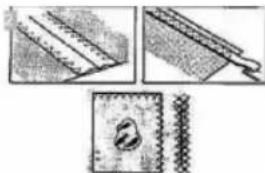
The three-needle "Zigzag" stitch sewing method is the same as for straight sewing except for adjusting the function adjustment wheel [3] to function 8.
natural_image
Three technical illustrations showing different types of fabric or material patterns: a triangular block, a diagonal line with a handle, and a textured square with a central hole (no text or symbols present)- Adjust the function adjustment wheel [3] to function 8, as shown in Fig. 1.
- The sewing procedure is the same as steps for straight sewing [Please refer to chapter 2.12. of this instruction].
2.2.15. Blind sewing
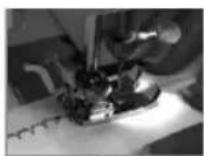
The blind stitch sewing method is the same as for straight sewing except for adjusting the function adjustment wheel [3] to function 9 and 10.
-
Adjust the function adjustment wheel [3] to function 9 and 10, as shown in Fig. 1.
-
The sewing procedure is the same as steps for straight sewing [Please refer to chapter 2.12. of this instruction].
(1)
(2)
2.2.16. Button Hole sewing
Button hole sewing requires the button hole presser foot [38].
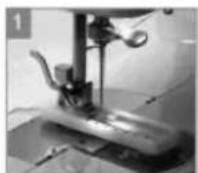
- Change the button hole presser foot [38] according to the instructions described on 2.5.
kunft.®
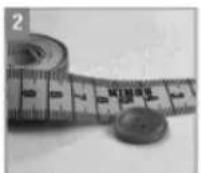
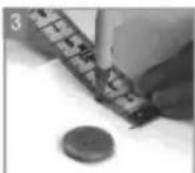
- Measure the diameter of the button.
- Draw a straight line a little longer than the button diameter on the fabric where the button hole sewing is needed.
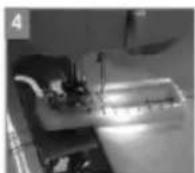
- Lift the presser foot and put the fabric with the straight line under the presser foot, make the straight line on the fabric correspond to the sewing needle [17] as well as the button hole presser foot [38].
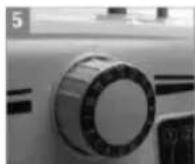
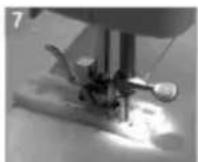
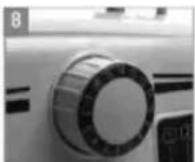
- Rotate the hand wheel [27] to lift the sewing needle [17] to the highest position and then adjust the function adjustment wheel [3] to function 13.
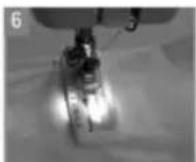
- Stamp the foot switch [35] gently to start sewing.
- The sewing machine will sew at medium speed. Release the foot switch until the end of the marking line to stop sewing.
- Rotate the hand wheel [27] to lift the sewing needle [17] to the highest position and then adjust the function adjustment wheel [3] to function 14.
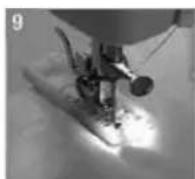
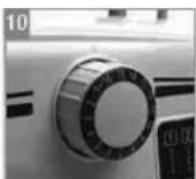
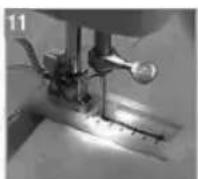
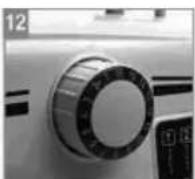
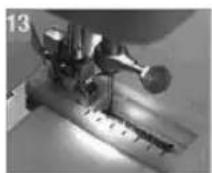
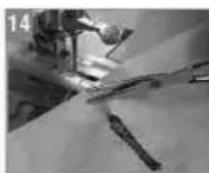
- Stamp the foot switch [35] gently to start sewing. Finish by sewing for 5-6 stitches horizontally and then release the foot switch to stop sewing.
- Rotate the hand wheel [27] to lift the sewing needle [17] to the highest position and then adjust the function adjustment wheel [3] to function 15.
- Stamp the foot switch [35] gently to start the right hole sewing and the sewing needle will move further and further from the button hole. Release the foot switch until the end of the marking line to stop sewing.
- Rotate the hand wheel [27] to lift the sewing needle [17] to the highest position and then adjust the function adjustment wheel [3] to function 16.
- Stamp the foot switch [35] gently to start sewing. Finish by sewing for 5-6 stitches horizontally and then release the foot switch to stop sewing.
- Lift the presser foot, take out the fabric and cut the thread.
sewing machine
KSM2612
EN
2.2.17. Zipper sewing
Zipper sewing requires the zipper presser foot [39].
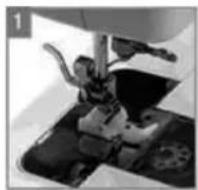
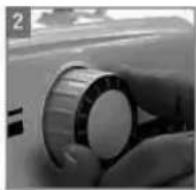
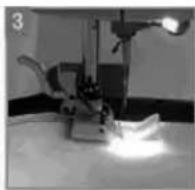
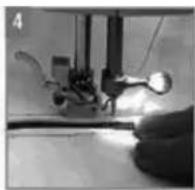
- Change the zipper presser foot [39] according to the instructions described on 2.5. (The zipper presser foot can be installed on both left and right sides according to your convenience.)
- Rotate the hand wheel [27] to lift the sewing needle [17] to the highest position and then adjust the function adjustment wheel [3] to function 1 or 2.
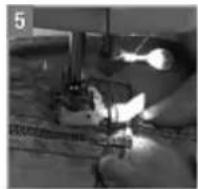
- Lift the presser foot and unzip the zipper to make the zipper teeth of a single side well matched with the fabric. Put them under the presser foot and place the pinpoint of the sewing needle [17] 6-8 mm away from the zipper edge. Move the presser foot lifter [32] downwards to lower the presser foot.
- Stamp the foot switch [35] gently to start sewing.
- When sewing up to the zipper head, stop the sewing machine to take out the sewing fabric and move the zipper head to the previously sewed position so to avoid uneven zipper head sewing. Then continue sewing. Sew the other side of the zipper using the same method. Pay attention to the match between the two sides of the zipper.
2.2.18. Reverse
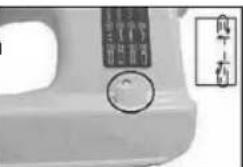
Press the reverse button when finishing sewing and sew several stitches to strengthen them and avoid stitches from becoming loose, as shown in below Fig. Reverse stitches shall not exceed 5 cm. Release the reverse button and the sewing machine will start sewing forward again.
2.2.19. Thread cutting
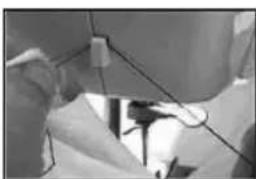
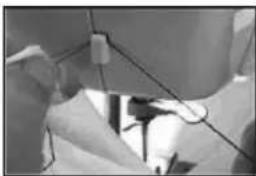
Use the thread cutter [26] to cut the thread, as shown in below Fig.
natural_image
Close-up of a person's arm holding a tool, possibly a device or tool, with no visible text or symbols.kunft.®
2.2.20. Winding
- Insert the thread stand [43] stored in the accessories box [25] onto the groove [31] on the back of the sewing machine, as shown in Fig. 1.
- Put the bobbin on the thread stand [43], as shown in Fig. 2.
- Wind the bobbin thread through the clamp above the winding slice [6], as shown in Fig. 3.
- Move the winding bar [5] to the left, as shown in Fig. 4.
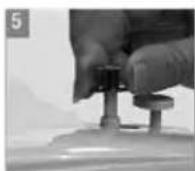
- Insert the empty bobbin onto the winding bar [5], as shown in Fig. 5.
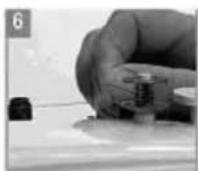
- Wind the thread that passed through the clamp above the winding slice [6] on the empty bobbin for several cycles, as shown in Fig. 6.
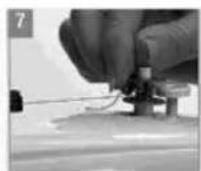
- Move the winding bar [5] in which you inserted the bobbin to the left, as shown in Fig. 7.
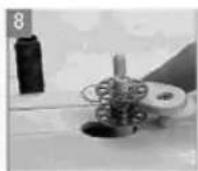
- Move the stop block [4] to different positions according to different needs. [Or keep the stop block at its original position].
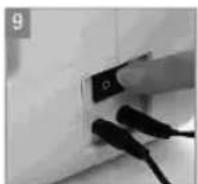
- Turn the power "ON", as shown in Fig. 9.
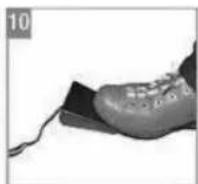
- Stamp the foot switch [35] to start winding, as shown in Fig. 10.
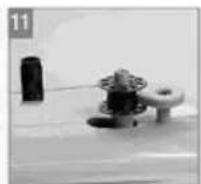
- The empty bobbin will automatically move to the left under the impact of the stop block as soon as the bobbin is full, as shown in Fig. 11.
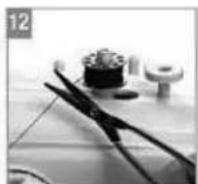
- Release the foot switch and the sewing machine will stop. Cut the thread end from the winded bobbin.
2.2.21. Thread tension adjustment
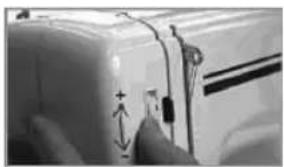
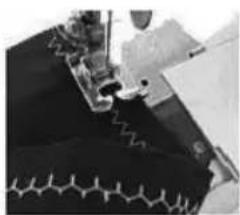
Just as shown in below Fig., a slight adjustment to the thread tension is required due to different sewing fabric's flexibility and materials, sewing thickness, and fabric layers. The thread tension adjustment wheel [10] is used to adjust thread tension [as shown in below Fig.].
sewing machine
KSM2612
EN
natural_image
Close-up of a hand pressing down on a white object with measurement arrows (no visible text or symbols)Please refer to the following pictures for judgment on the thread tension:
natural_image
Close-up of a sewing machine needle and base mount (no visible text or symbols)(A)
natural_image
Close-up of a sewing machine needle stitching fabric (no visible text or symbols)(B)
natural_image
Close-up of a sewing machine needle stitching dark fabric with visible stitching pattern (no text or symbols)(C)
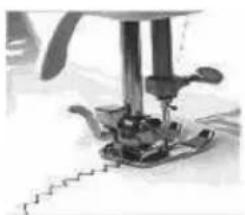
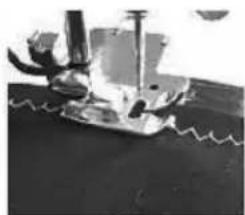
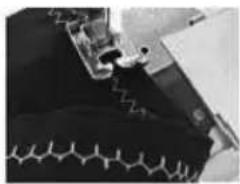
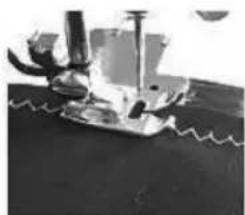
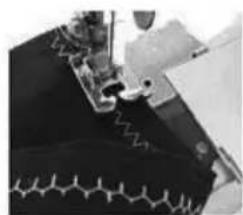
A. Normal tension [The upper thread and bobbin thread show consistency between the front and the back]
B. Over tension [The bobbin thread shows cycles on the fabric's front side]
C. Over loose [The upper thread shows cycles on the fabric's back side]
Adjusting the upper thread's tension:
- First, poke the thread clamp [9] to make sure if the thread is jammed or not.
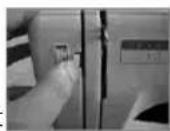
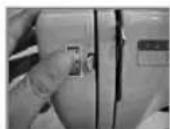
- Push the thread tension adjustment wheel [10] and sew. Adjust to the best stitching effect while sewing, as shown in Fig. 2.
(1)
(2)
Adjusting the above mentioned "B: Over tension [The bobbin thread shows cycles on the fabric's front side]": Adjust the thread tension adjustment wheel [10] from 9 to 0, or adjust the thread tension adjustment wheel from a large number to a small number.
Adjusting the above mentioned "C: Over loose [The upper thread shows cycles on the fabric's back side]": Adjust the thread tension adjustment wheel [10] from 0 to 9, or adjust the thread tension adjustment wheel from a small number to a large number.
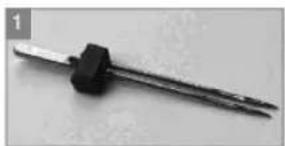
2.2.22. Double sewing
-
Double sewing requires applying the presser foot [37].
-
Only function 1 and 2 on the function adjustment wheel [3] can be applied during double sewing.
-
Change to the double needle [42] according to the instructions on 2.6.
natural_image
Close-up of a black mechanical tool with a handle and central knob (no visible text or symbols)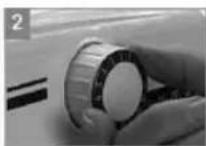


kunft.®
- Rotate the hand wheel [27] to lift the sewing needle [17] to the highest position and then adjust the function adjustment wheel [3] to function 1 or 2.
- The sewing procedure is the same as steps for straight sewing [Please refer to chapter 2.12. of this instruction].
2.3. Troubleshooting
Fault Reason Correction
| Upper thread breakages | 1. Incorrect threading;2. The thread is over tensioned;3. The thread is too thick to the needle;4. The sewing needle is incorrectly inserted;5. Defective bobbin;6. Damaged needle. | 1. Re-threading;2. Reduce tension;3. Choose a bigger needle;4. Remove and reinsert the needle;5. Replace with a better bobbin;6. Replace with a better needle. |
| Skipped stitch | 1. The sewing needle is incorrectly inserted;2. Damaged needle;3. Incorrect size of needle;4. Improper cooperation of the presser foot;5. Threading did not follow the requirements. | 1. Change the needle and reinsert;2. Replace with a good needle;3. Choose an appropriate needle to the thread and fabric;4. Check and correct the presser foot configuration;5. Re-threading according to the above correct method. |
| Needle breakages | 1. Damaged needle;2. The sewing needle is incorrectly inserted;3. Incorrect size of needle [for fabric];4. Improper cooperation of the presser foot;5. Over tension of the thread feeding;6. It is forbidden to pull the fabric hard during operation;7. Threading did not follow the requirements. | 1. Replace with a good needle;2. Insert the needle correctly [flat part backwards];3. Choose the appropriate needle;4. Install the presser foot correctly;5. Adjust to the appropriate tension;6. Do not operate like this;7. Re-threading according to the above correct method. |


Fault Reason Correction
| Loose stitch[looping stitches] | 1. Incorrect threading;2. Incorrect bobbin installation;3. Unreasonable adjustment of the stitch length;4. Over tension | 1. Check the threading;2. Place the bobbin correctly;3. Choose a sewing needle with the right specification;4. Adjust the tension; |
| Puckers or folding | 1. The needle is too big for the fabric;2. Unreasonable adjustment of the fabric's feeding length;3. Over tension of the upper thread. | 1. Choose a better needle;2. Choose appropriate functions for short fabric feeding;3. Adjust to the upper thread's appropriate tension. |
| Unsmooth stitches and uneven fabric feeding | 1. Poor thread quality;2. Wrong bobbin threading;3. The fabric was jammed. | 1. Choose a better thread;2. Re-threading correctly;3. Do not pull and drag the fabric during sewing. |
| Thread jamming | 1. The upper thread was hooked on the hook plate;2. The upper thread was hooked on the bobbin. | 1. It is mainly caused by incorrect threading. Cut the upper part of the thread, remove the bobbin and smooth the hooked thread;2. Put on the transparent cover while sewing. |
Attention:
The sewing needle, the thread and fabrics must be well-matched.
3. TECHNICAL SPECIFICATIONS
Power supply: 230 V \~ 50 Hz
kunft.®
4. PoSt-SalE SErvlcE
KUNFT has designed this appliance in order to guarantee maximum reliability. However, if a problem occurs do not attempt to open the appliance - there is a risk of electrical shock. If you are not able to solve the problem, please contact the Customer Support Service of any Worten, Modelo or Continente store in order to be assisted. Worten Equipamentos para o Lar provides a 2-year warranty for manufacturing defects from the date of purchase of the appliance.
WARNING: any attempt to repair the appliance without contacting the manufacturer or seller will void the warranty.
All users must be familiar with these instructions. Knowing what could go wrong can help prevent problems from occurring.
5. ENvlroNmENtal ProtEctIoN
In order to protect the environment, we strive to reduce the volume of packaging used, limiting it to three easily sorted materials: cardboard, paper and plastic.

The appliance is manufactured using recyclable materials after disassembled by a specialized company. Please comply with local regulations concerning the recycling of all materials.

24
máquina de coser
KSM2612
ES
Estimado cliente:


31
kunft.®
natural_image
Black electronic device with two labeled connectors (35 and 36) and a power adapter, shown against a plain background (no text or symbols on the device itself)- Prensa-telas
- Pie para ojales para prensa-telas
- Pie para cremalleras
- Placa para coser botones
- Agujas [2 unidades]
-
Aguja para punto doble
-
Espiga para carrete auxiliar
- Bobinas [2 unidades]
- Placa para el enhebrado de aguja
- Corta-hilos
- Destornillador
natural_image
Close-up of hands operating a sewing machine needle over fabric (no visible text or symbols)
natural_image
Close-up of a hand using a sewing machine to press small metal parts (no visible text or symbols)
natural_image
Close-up of hands using a sewing machine to print or fabric (no visible text or symbols)
máquina de coser
KSM2612
ES
natural_image
Close-up of a sewing machine needle stitching fabric (no visible text or symbols)natural_image
Close-up of a sewing machine needle stitching fabric (no visible text or symbols)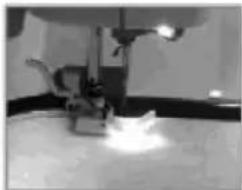
natural_image
Close-up of a robotic arm operating a machine, with motion blur visible (no text or symbols)
natural_image
Close-up of a hand pouring liquid from a metal pipe into a container (no visible text or symbols)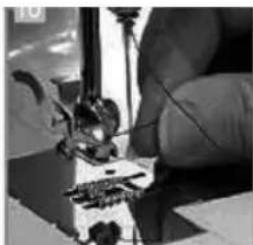
natural_image
Close-up of a hand operating a sewing machine needle (no visible text or symbols)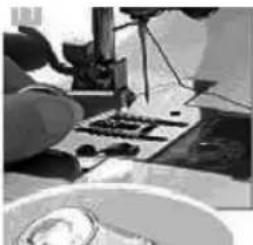
natural_image
Close-up of hands using a sewing machine to work on fabric (no visible text or symbols)natural_image
Close-up of a mechanical component with no visible text or symbols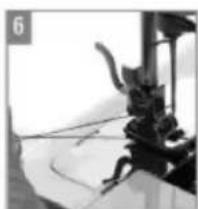
natural_image
Close-up of a mechanical device with visible components and wiring (no text or symbols)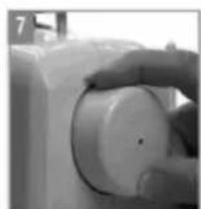
natural_image
Close-up of a hand pressing down on a white cylindrical component (no visible text or symbols)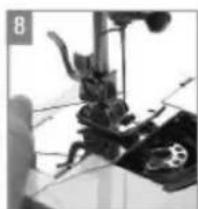
natural_image
Black-and-white illustration of a mechanical device with gears and a handle (no visible text or symbols)natural_image
Close-up of a hand operating a cylindrical mechanical component (no visible text or symbols)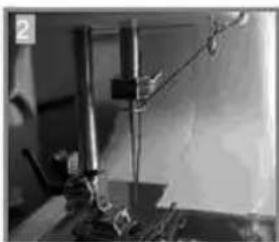
natural_image
Interior view of a laboratory or lab setup with equipment and tubing (no visible text or symbols)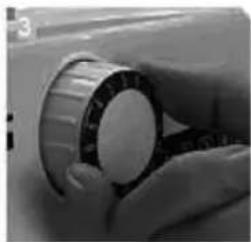
natural_image
Close-up of a hand holding a cylindrical object, possibly a mechanical part or tool, with no visible text or symbols.natural_image
Close-up of a medical device with attached wires and a foot, no visible text or symbolsnatural_image
Three technical illustrations of fabric or textile components: diagonal stripes, needle, and textured square (no text or symbols)- Change the zipper presser foot [39] according to the instructions described on 2.5. (The zipper presser foot can be installed on both left and right sides according to your convenience.)
Press the reverse button when finishing sewing and sew several stitches to strengthen them and avoid stitches from becoming loose, as shown in below Fig. Reverse stitches shall not exceed 5 cm. Release the reverse button and the sewing machine will start sewing forward again.
Use the thread cutter [26] to cut the thread, as shown in below Fig.
natural_image
Close-up of hands interacting with a device (no visible text or symbols)2.2.20. Bobinado
natural_image
Close-up of a hand pressing down on a white surface with a small component and directional arrows (no text or symbols visible)natural_image
Close-up of a mechanical device with no visible text or symbols(A)
natural_image
Close-up of a sewing machine needle stitching a dark fabric surface (no visible text or symbols)(B)
natural_image
Close-up of a sewing machine needle stitching dark fabric, with no visible text or symbols(C)
natural_image
Close-up of a black mechanical tool with a handle and base, isolated on white background (no text or symbols visible)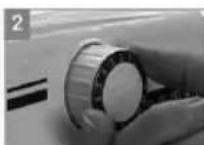
natural_image
Close-up of hands using a sewing machine to cut fabric or material (no visible text or symbols)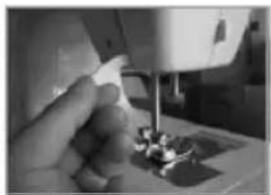
natural_image
Close-up of a hand operating a sewing machine needle (no visible text or symbols)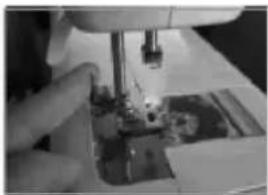
natural_image
Close-up of hands using a sewing machine to print or fabric (no visible text or symbols)natural_image
Close-up of a sewing machine needle stitching fabric (no visible text or symbols)natural_image
Person operating a sewing machine on a fabric mat (no visible text or symbols)
natural_image
Close-up of a sewing machine needle stitching a light-colored fabric (no visible text or symbols)

máquina de costura
KSM2612
PT
natural_image
Four-panel black-and-white photo showing mechanical components and a hand holding a tool, no visible text or symbolsnatural_image
Four-panel black-and-white photo showing a sewing machine needle stitching fabric, with no visible text or symbols.natural_image
Three-panel black-and-white photo sequence showing hands operating a small electronic component, with no visible text or symbols.
máquina de costura
KSM2612
PT
natural_image
Close-up of a mechanical device with gears and a foot (no visible text or symbols)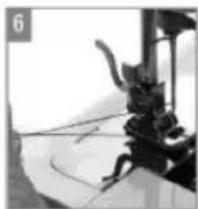
natural_image
Black-and-white photo of a sculpted figure with ornate details, possibly a dragon or phoenix, on a curved surface (no visible text or symbols)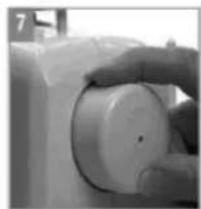
natural_image
Close-up of a hand pressing down on a circular mechanical component (no visible text or symbols)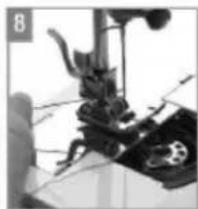
natural_image
Close-up of a mechanical device with no visible text or symbolskunft.®
natural_image
Two-panel black-and-white photo showing a robotic arm in operation, labeled 9 and 10 (no visible text or symbols)natural_image
Close-up of a hand pressing down on a cylindrical mechanical component (no visible text or symbols)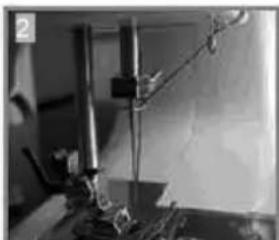
natural_image
Close-up of a laboratory setup with equipment and tubing (no visible text or symbols)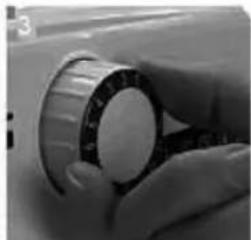
natural_image
Close-up of a hand holding a cylindrical object with a dark border (no visible text or symbols)natural_image
Close-up of a medical device with attached wires and a foot, no visible text or symbolsnatural_image
Three technical diagrams showing different mechanical or structural components (no text or symbols present)natural_image
Four-panel black-and-white photo sequence showing mechanical testing setup, measuring tape, measuring cup, and measuring tool (no visible text or symbols)natural_image
Four-panel sequence showing a sewing machine with a knob, labeled 5 to 8 (no visible text or symbols)natural_image
Four-panel sequence showing a sewing machine needle and a close-up of the needle, labeled 9 to 12 (no text or symbols on the diagrams themselves)natural_image
Close-up of hands operating a sewing machine with a focused lens (no visible text or symbols)natural_image
Close-up of a white electronic device with a keypad and circular button (no visible text or symbols)natural_image
Close-up of a person's arm holding a large object, possibly a device or tool, with no visible text or symbols.natural_image
Close-up of a car's front panel with a hand pointing to a component, showing no visible text or symbols.natural_image
Close-up of a sewing machine needle and base mount (no visible text or symbols)(A)
natural_image
Close-up of a sewing machine needle stitching fabric (no visible text or symbols)(B)
natural_image
Close-up of a sewing machine stitching fabric with visible stitching pattern (no text or symbols)(C)
natural_image
Close-up of a black mechanical tool with a handle and base, isolated on white background (no text or symbols visible)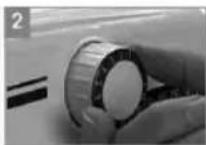
natural_image
Color calibration bar with grayscale gradient and a central crosshair symbol (no text or labels)NOTES / NOTAS


73

kunft®


sewing machine
is perfectly enough
KSM2612
- sewing machine
- kunft.®
- INDEX
- SAFETY INSTRUCTIONS
- Important Warnings
- Assistance
- Power Supply
- Power Cord and Other Cables
- Humidity and Water
- Cleaning
- General Precautions
- OPERATING INSTRUCTIONS
- Product Description
- Attention
- Product usage
- Extracting and installing the accessories box [25]:
- Power connection:
- foot switch connection:
- Presser foot support configuration
- Installing and changing the presser foot
- Installing and changing the sewing needle
- Attention:
- threadings
- kunft®
- Installing and extracting the Bobbin thread
- Introduction to applicable functions
- Texture-relative attentions:
- Ordinary sewing
- "Zigzag" sewing
- Three-needle "Zigzag" sewing
- Blind sewing
- Button Hole sewing
- Zipper sewing
- Reverse
- Thread cutting
- Winding
- Thread tension adjustment
- Double sewing
- Troubleshooting
- TECHNICAL SPECIFICATIONS
- PoSt-SalE SErvlcE
- ENvlroNmENtal ProtEctIoN
- máquina de coser
- KSM2612
- ES
- Bobinado
- máquina de costura
- PT
- NOTES / NOTAS
Brand : Kunft
Model : KSM2612
Category : Sewing machine