Kirribilli Bed - Bed Koala - Free user manual and instructions
Find the device manual for free Kirribilli Bed Koala in PDF.


| Product Type | Bed frame |
| Model | Kirribilli Bed |
| Brand | Koala |
| Compatible Mattress Sizes | Double and Queen |
| Frame Material | Steel frame with engineered wood slats |
| Assembly Required | Yes, instructions included |
| Tools Included | Allen key and Gumnut fasteners |
| Headboard Included | Yes, attachable |
| Slat System | Platform base with slats |
| Weight Capacity | Up to 300 kg (estimated) |
| Cleaning | Wipe with a damp cloth; do not use harsh chemicals |
| Maintenance | Periodically check and tighten Gumnuts |
| Safety Notes | Ensure felt pads face inward; do not remove u-clips |
| Spare Parts Availability | Available from Koala customer service |
| Recyclable | Yes, please recycle packaging and old parts |
Frequently Asked Questions - Kirribilli Bed Koala
User questions about Kirribilli Bed Koala
0 question about this device. Answer the ones you know or ask your own.
Ask a new question about this device
Download the instructions for your Bed in PDF format for free! Find your manual Kirribilli Bed - Koala and take your electronic device back in hand. On this page are published all the documents necessary for the use of your device. Kirribilli Bed by Koala.
USER MANUAL Kirribilli Bed Koala
natural_image
Line drawing of a simple bench with a backrest and side supports (no text or symbols)DOUBLE & QUEEN KIRRIBILLI BED
log
What's in the box\*:
*Not to scale

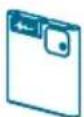
x2 Head end leg
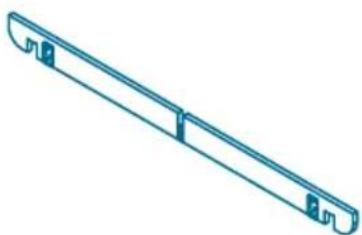
natural_image
Isometric line drawing of a mechanical component with two notches and a central slot (no text or symbols)x2 End support panel
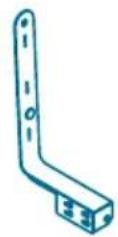
x2 Bedhead bracket
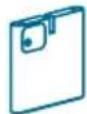
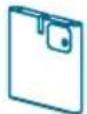
x2 Foot end leg
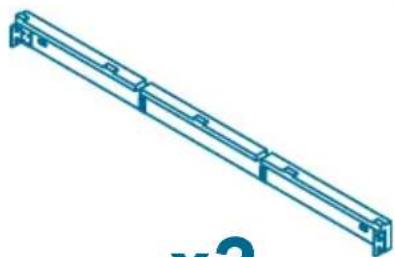
natural_image
Isometric line drawing of a long rectangular structure with evenly spaced notches (no text or symbols)x2 Side support panel
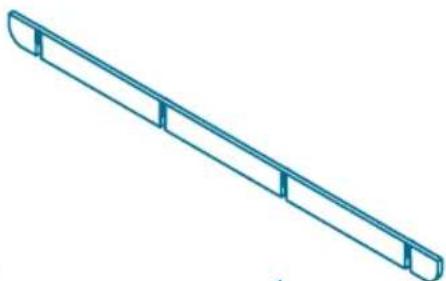
natural_image
Isometric line drawing of a diagonal metal beam with four flanged ends (no text or symbols)x1 Centre support frame
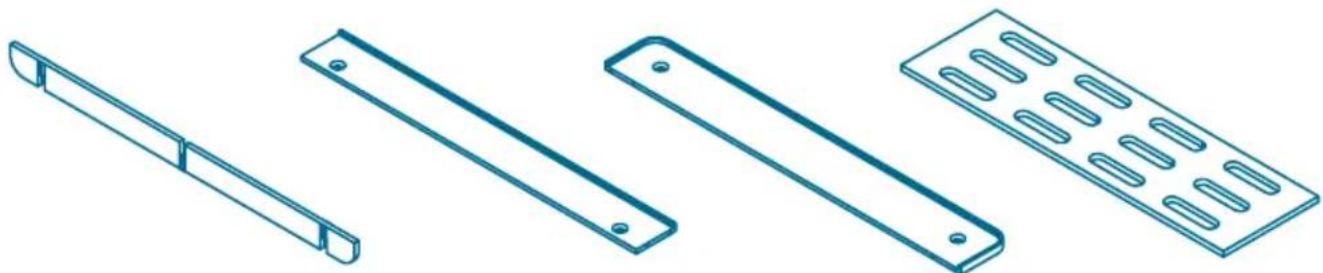
natural_image
Four technical line drawings of metal hardware components, including a cantilever beam and a multi-pin tray (no text or symbols)x2 Middle support frame
x2 End platform
x2 End platform
x4 Base platform
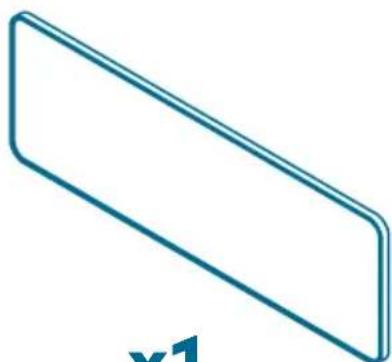
natural_image
Simple 3D rectangular prism diagram with no text or symbolsx1 Bedhead
x8 Tapered Gumnut
x4 Bedhead Gumnut
x4 Leg Gumnut
Pre-assembly check
Click the button to watch the assembly video

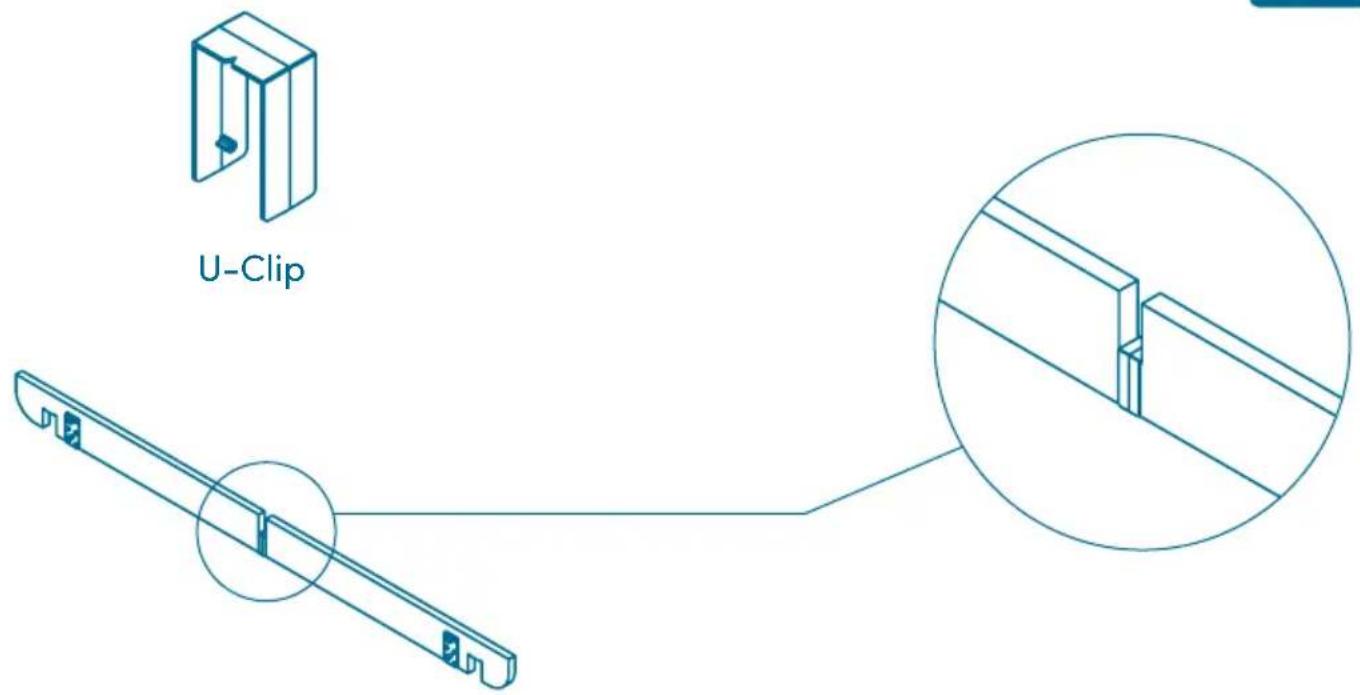

NOTE - Do not remove u-clip from any of the panels
Lay out all parts in the desired orientation for the room
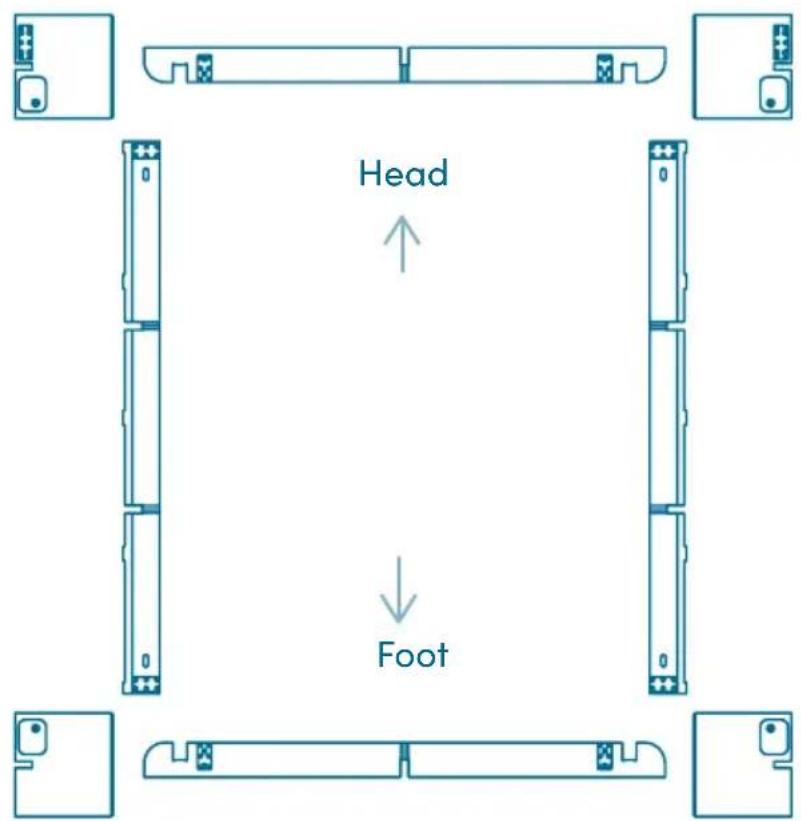
1. Slot head-end legs onto the end support panel
Click the button to watch the assembly video

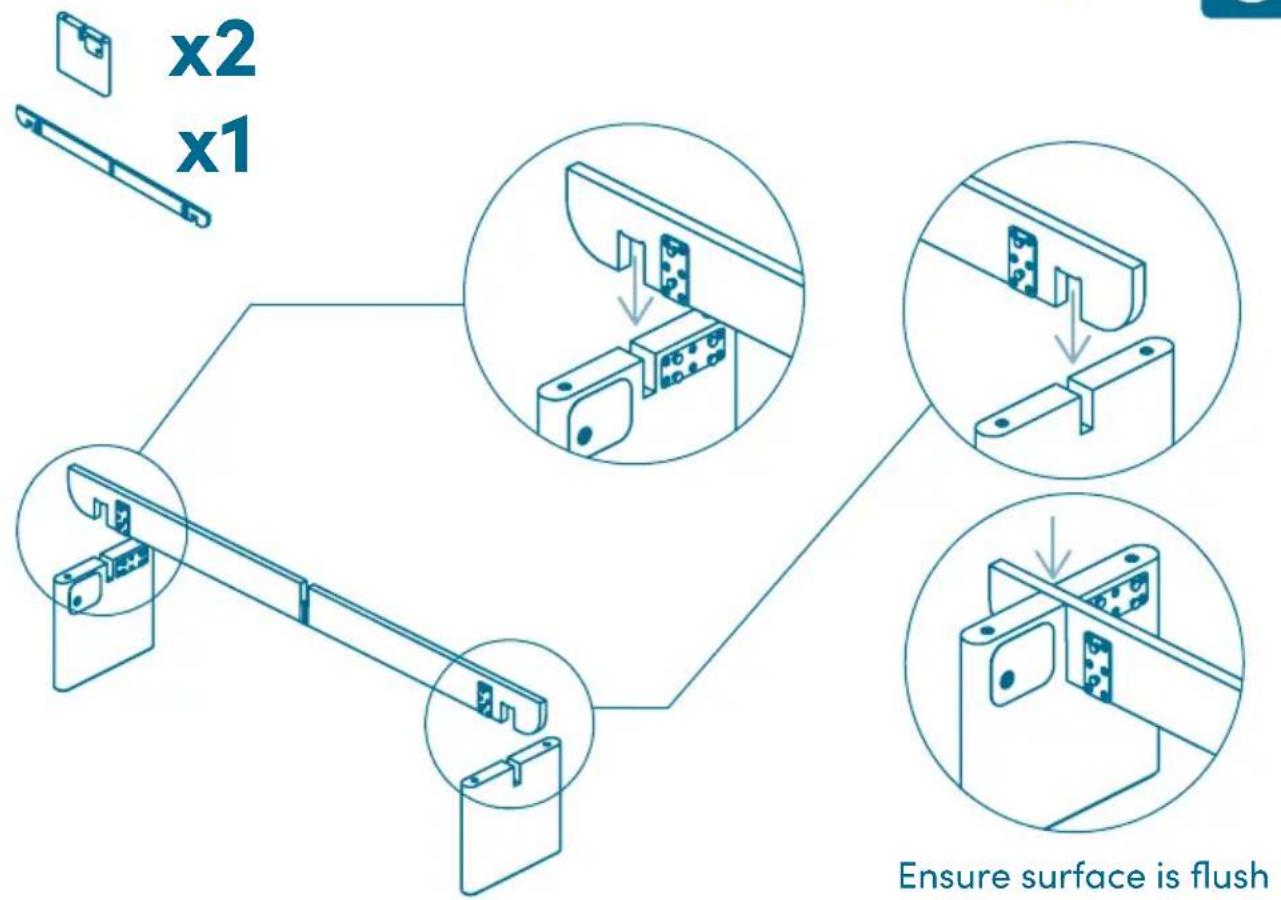
2. Attach the bedhead brackets onto the end support panel
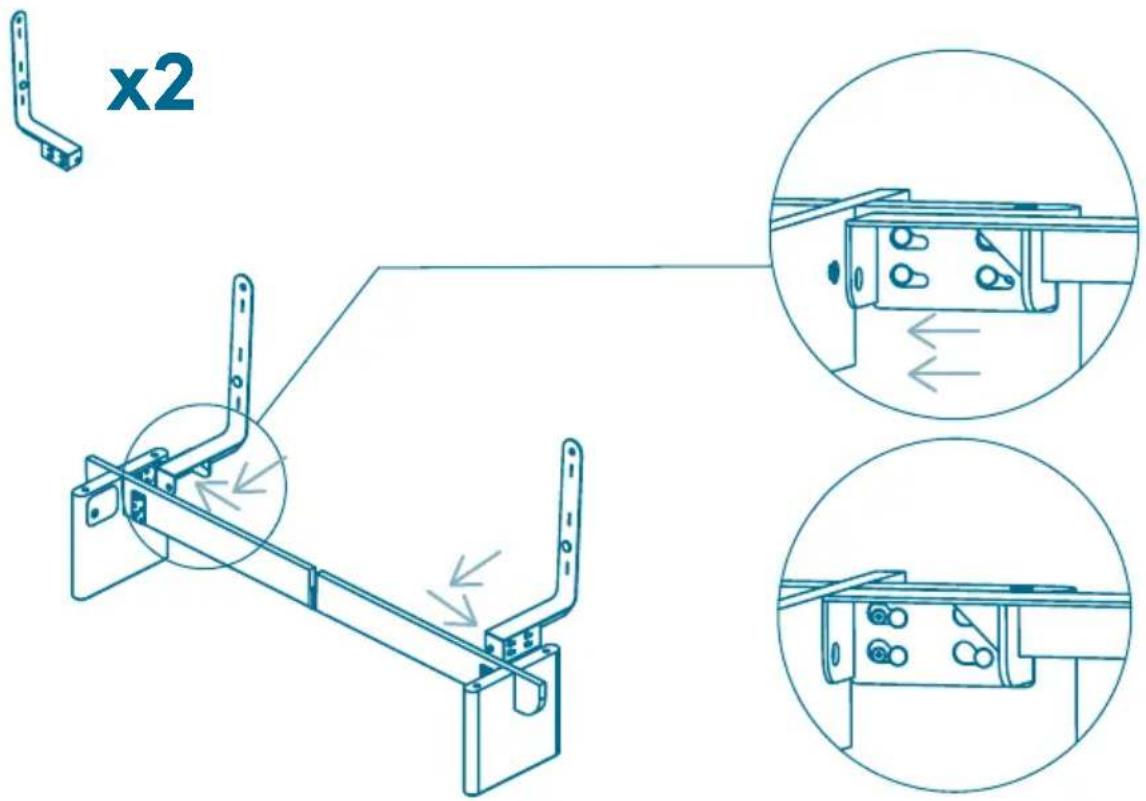
3. Fasten the bedhead brackets to the end support panel using the Gumnuts
Click the button to watch the assembly video

x2
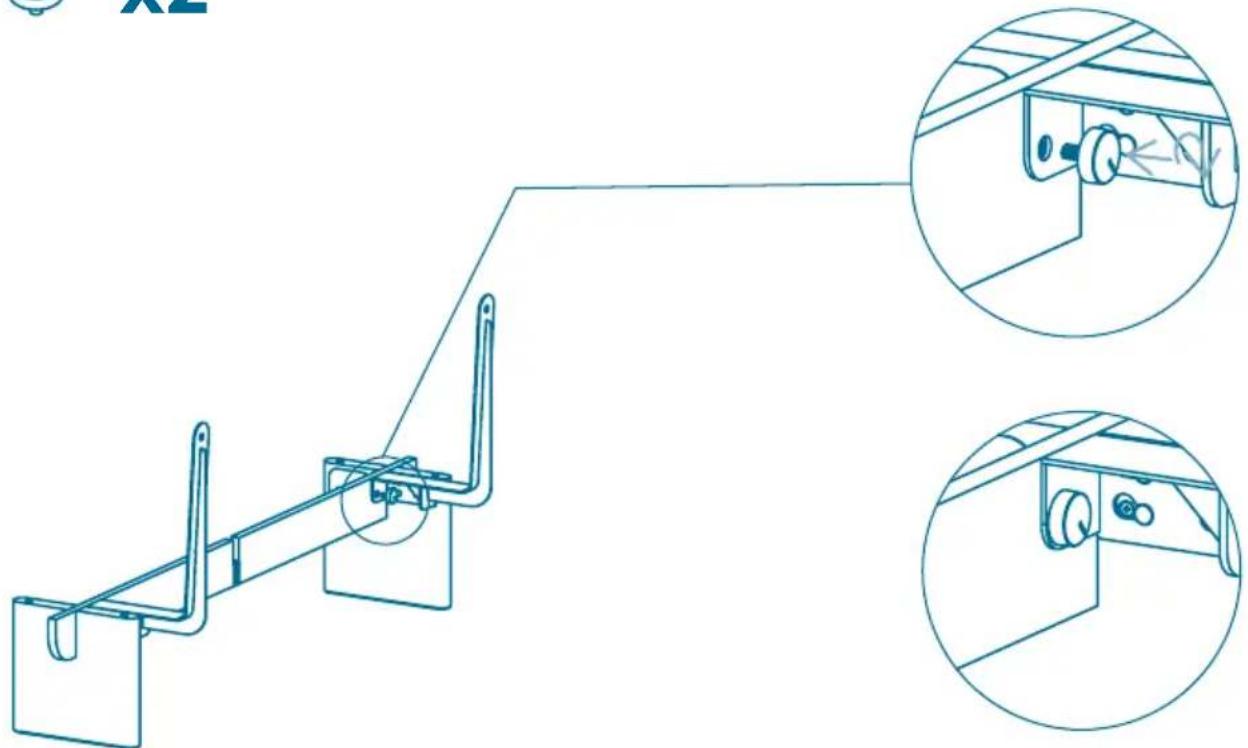
natural_image
Technical line drawing of a mechanical bracket assembly with two circular insets showing close-ups of internal components (no text or symbols)4. Slot the end panel to the foot-end legs
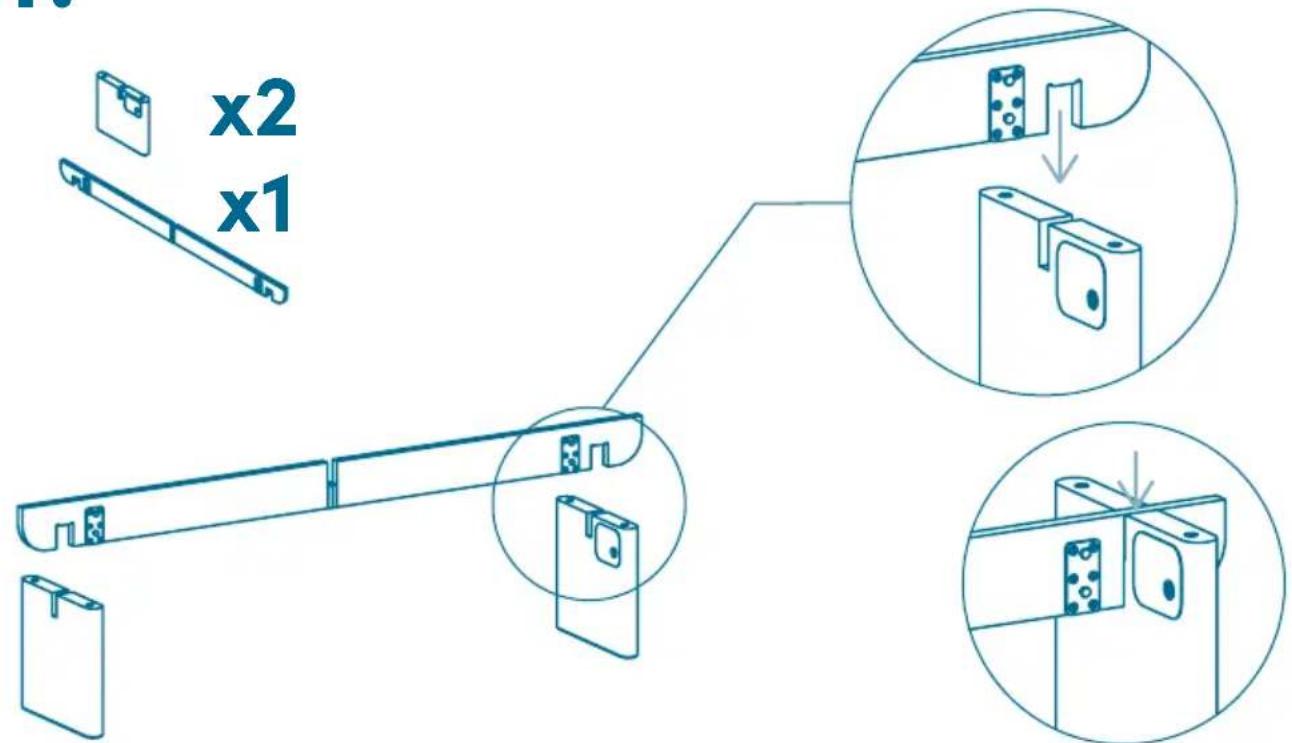
Ensure surface is flush
- Attach the side support panel using the metal brackets. repeat for other side
Click the button to watch the assembly video

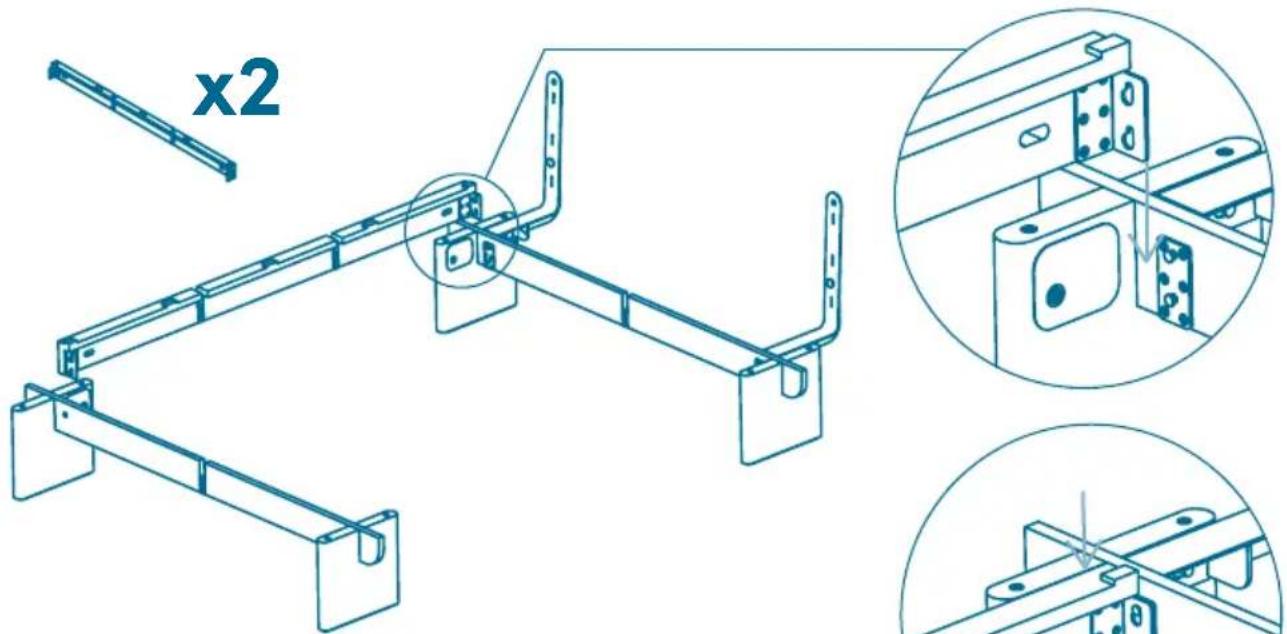

NOTE - Ensure felt pads are facing inwards
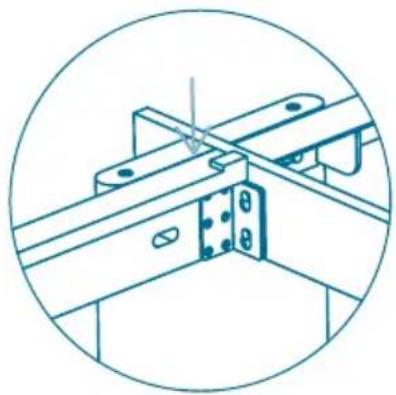
natural_image
Technical line drawing of a mechanical bracket assembly (no text or symbols)Ensure surface is flush
- Fasten the side panel to the legs using the Gumnuts
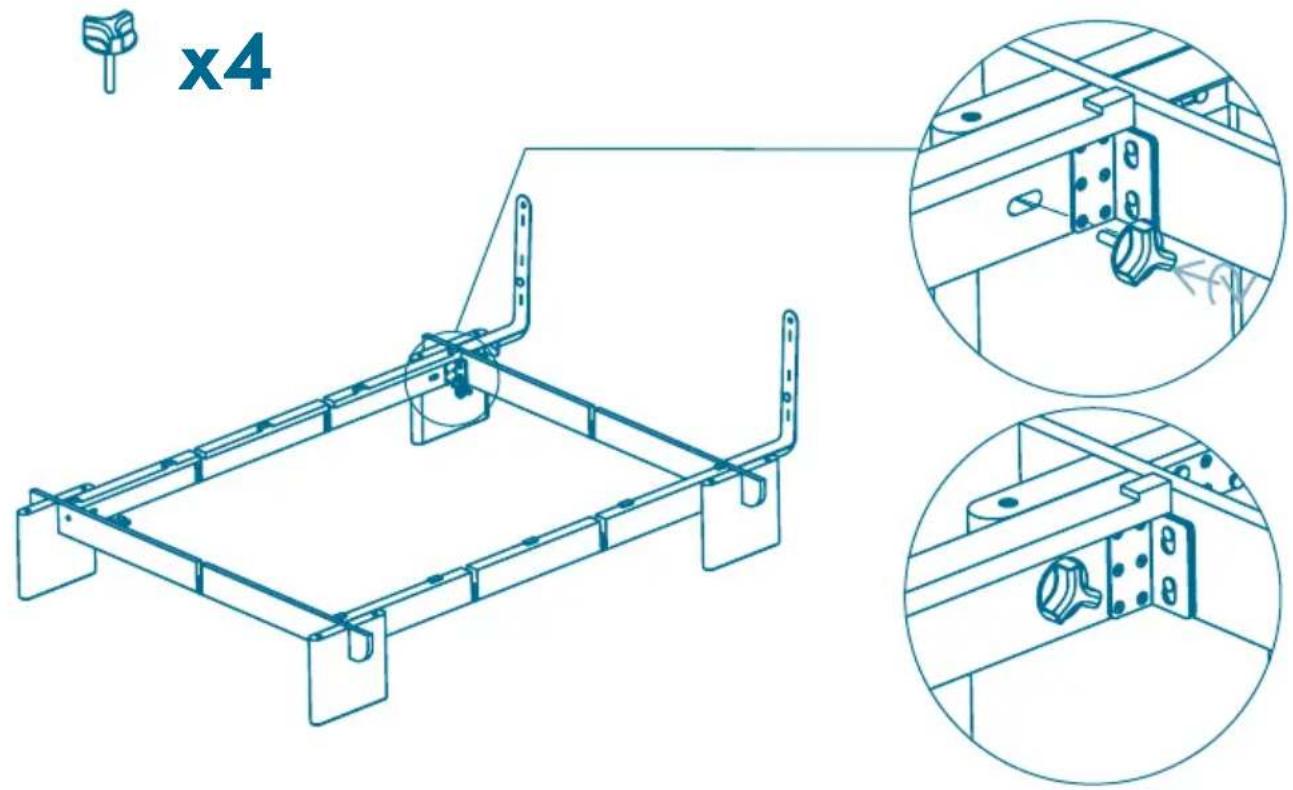
7. Slot the middle support frames to the side support panels
Click the button to watch the assembly video

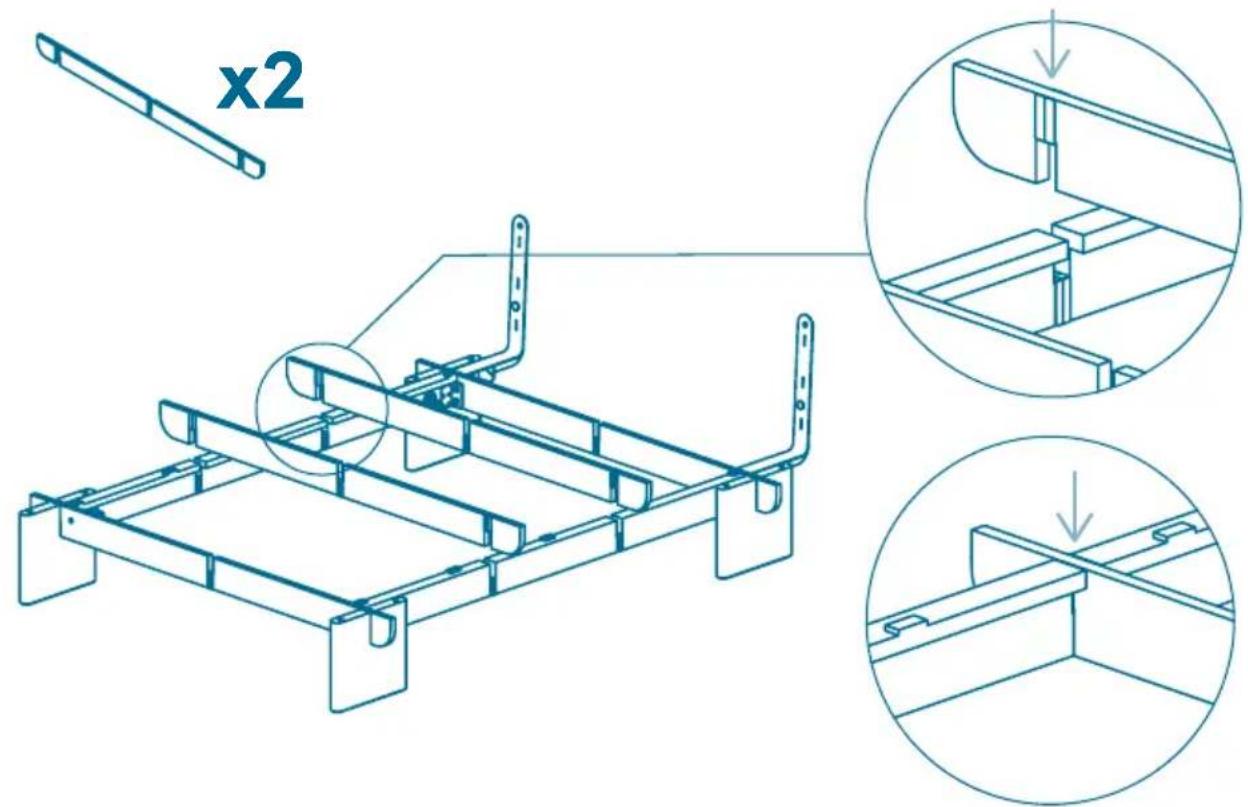
Ensure surface is flush
8. Slot the centre support frame to the middle support frames
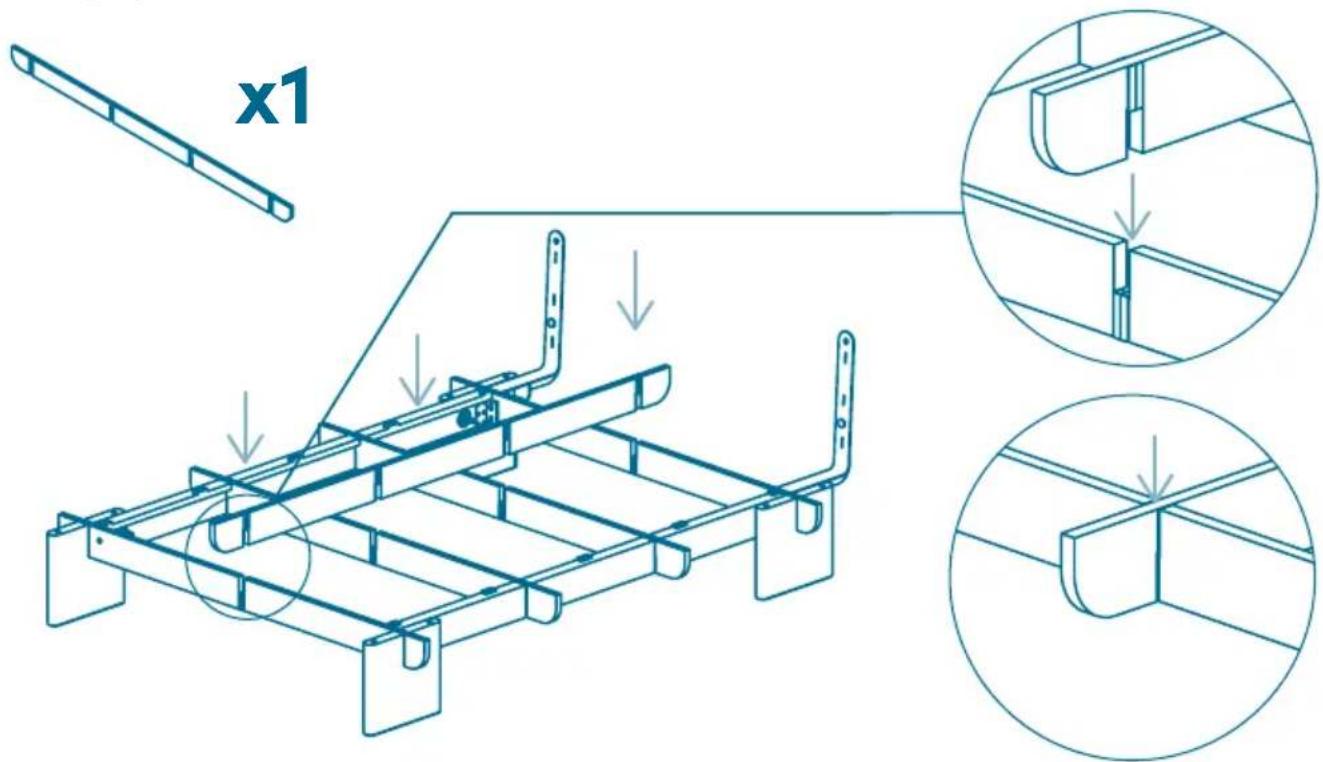
Ensure surface is flush
9. Lower side platforms into position and align the holes
Click the button to watch the assembly video

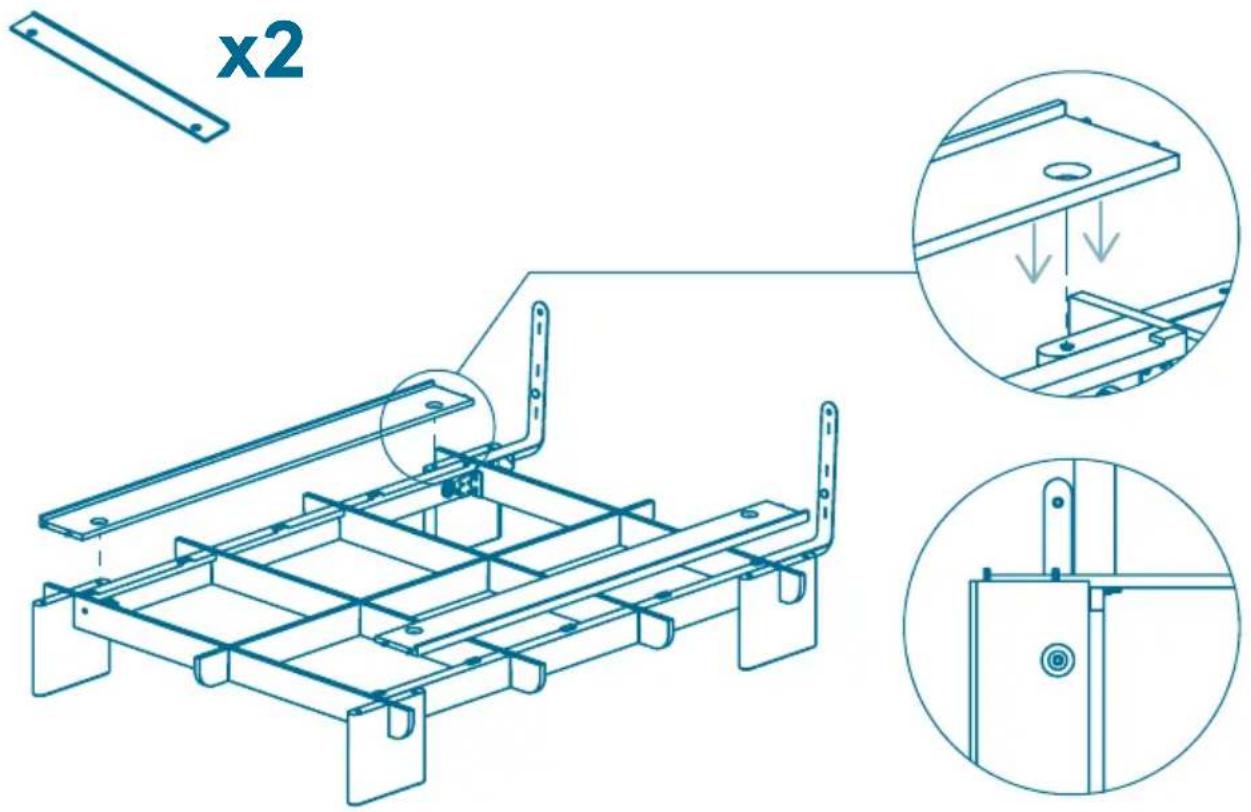
10. Loosely screw in the tapered Gumnuts
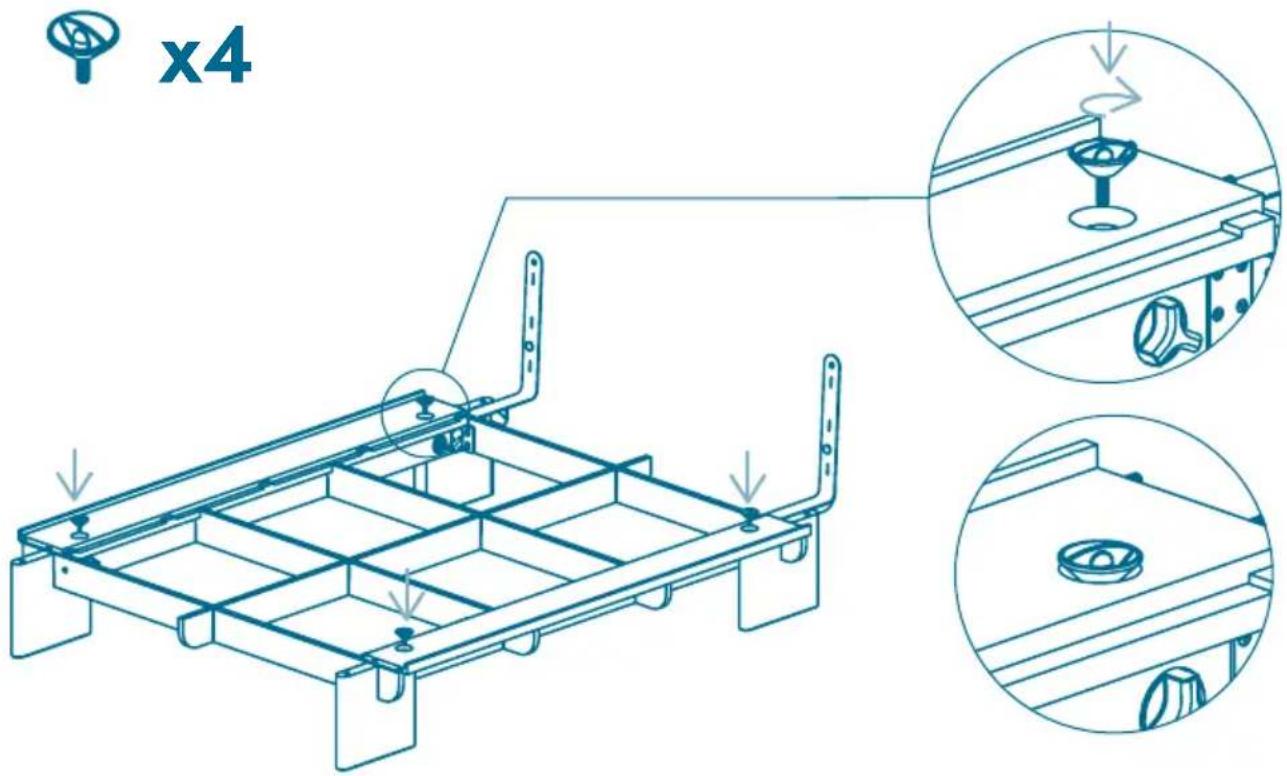
- Attach the end platforms to the head and foot of the bed by aligning the dowels to the holes
Click the button to watch the assembly video

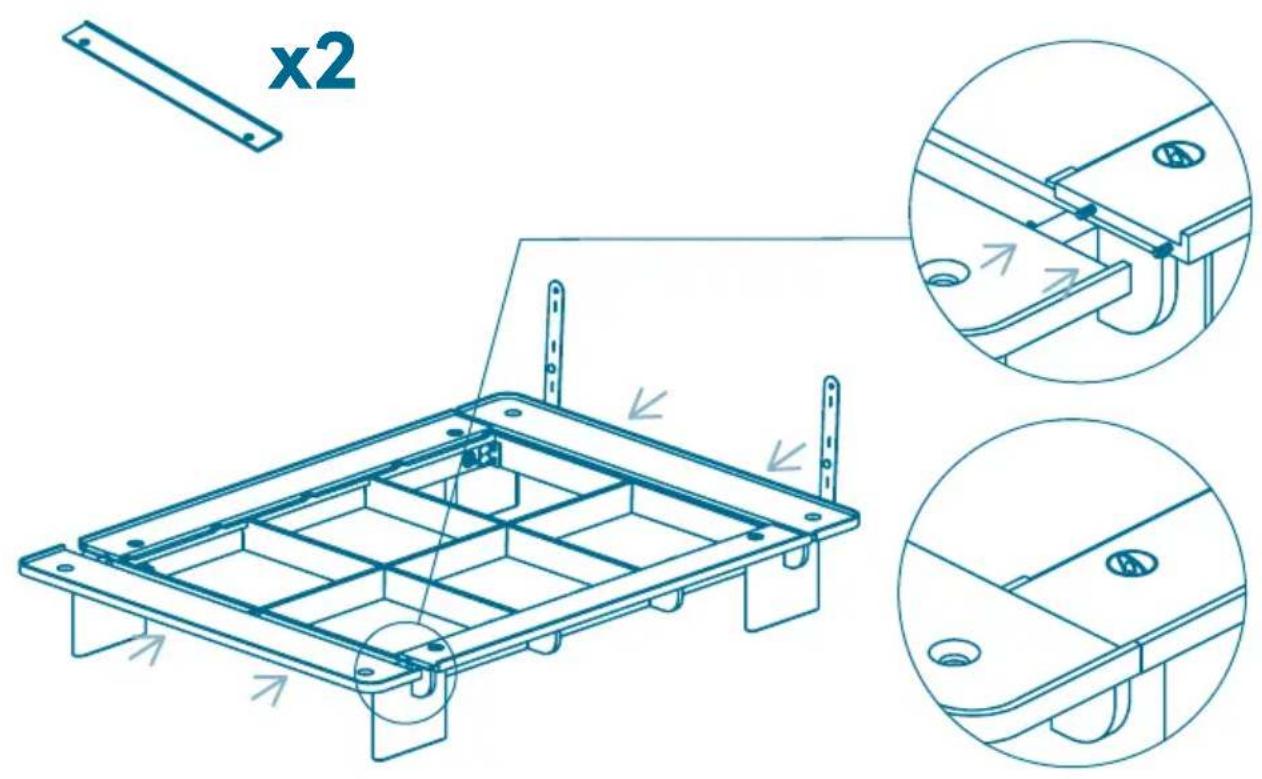
- Fasten the remaining Gumnuts firmly
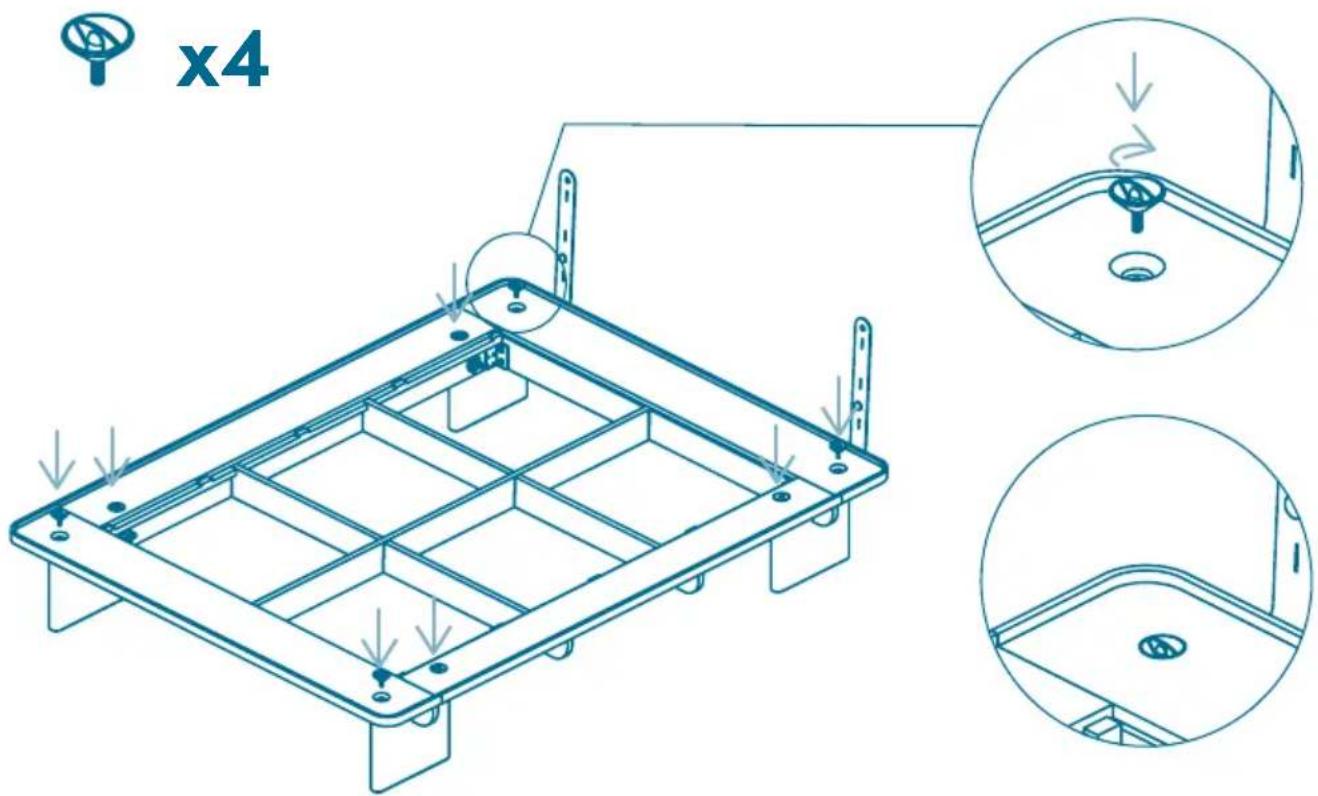
13.
Mount the headboard onto the bedhead support by slotting in the bottom brackets and push down firmly
Click the button to watch the assembly video

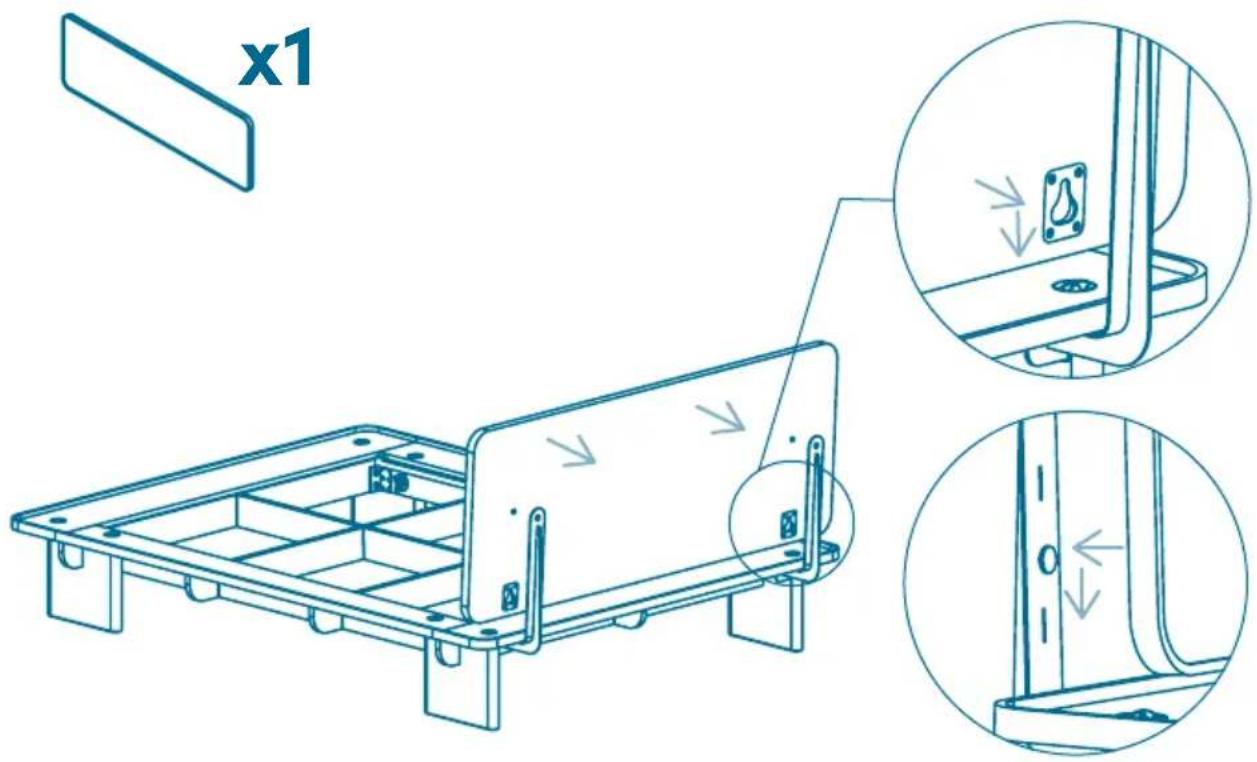
14.
Fasten the bed head using the bedhead Gumnuts provided
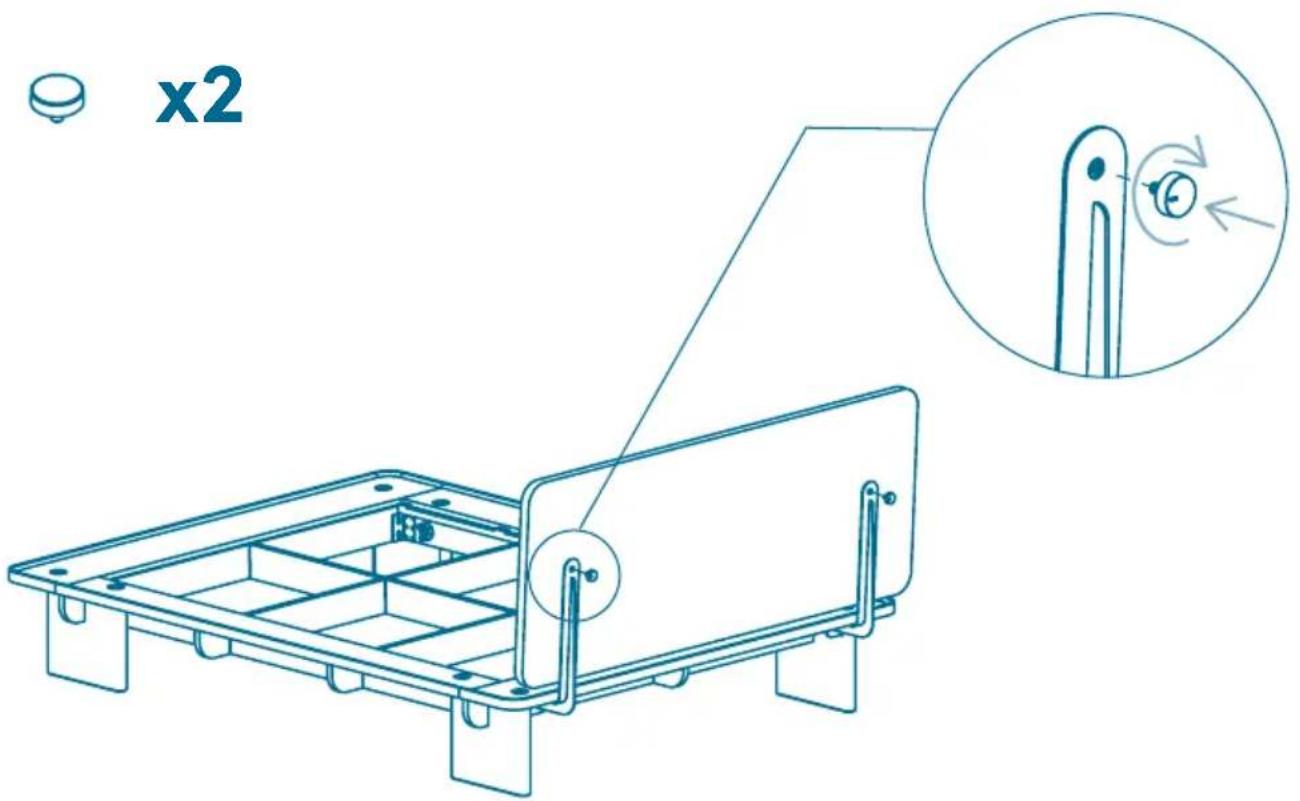
15. Place the base platforms into the frame by aligning with the grooves on the side rail
Click the button to watch the assembly video

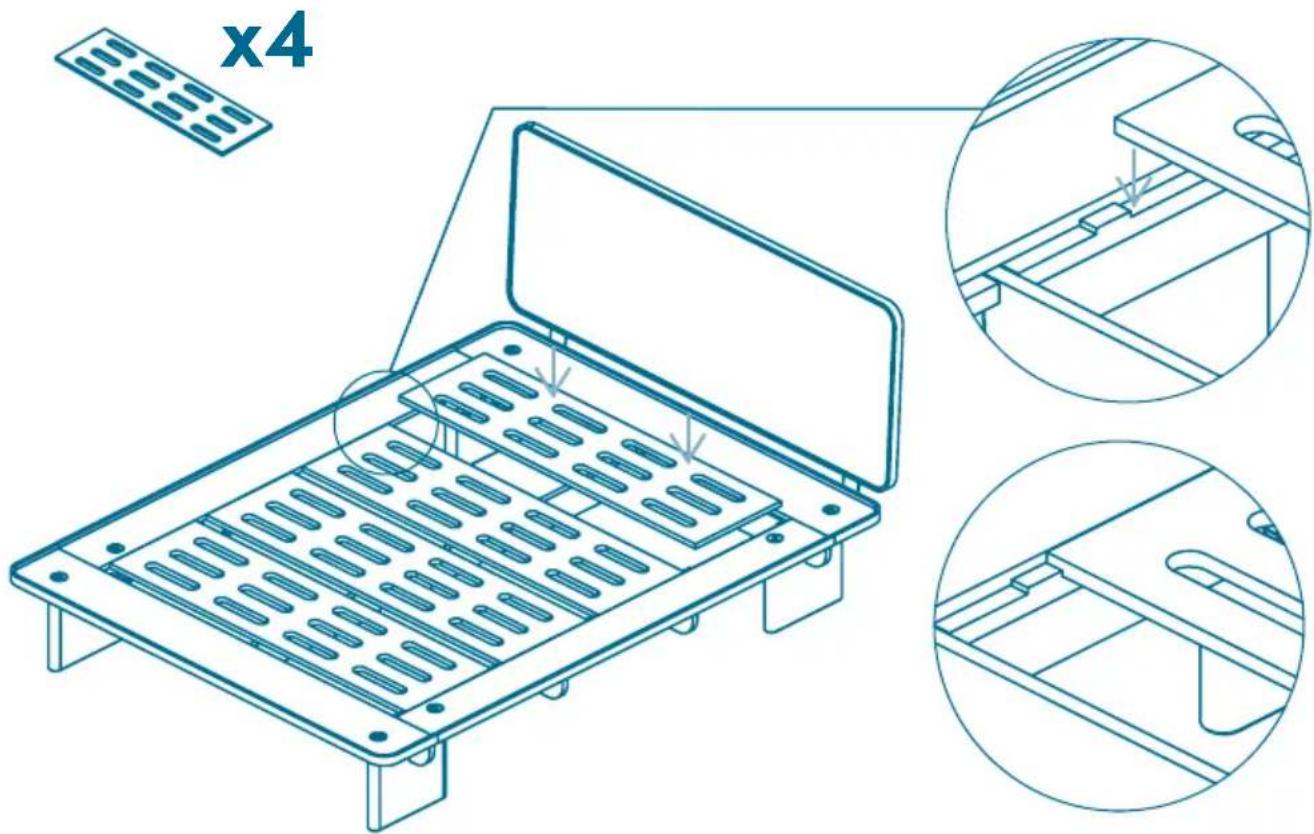
natural_image
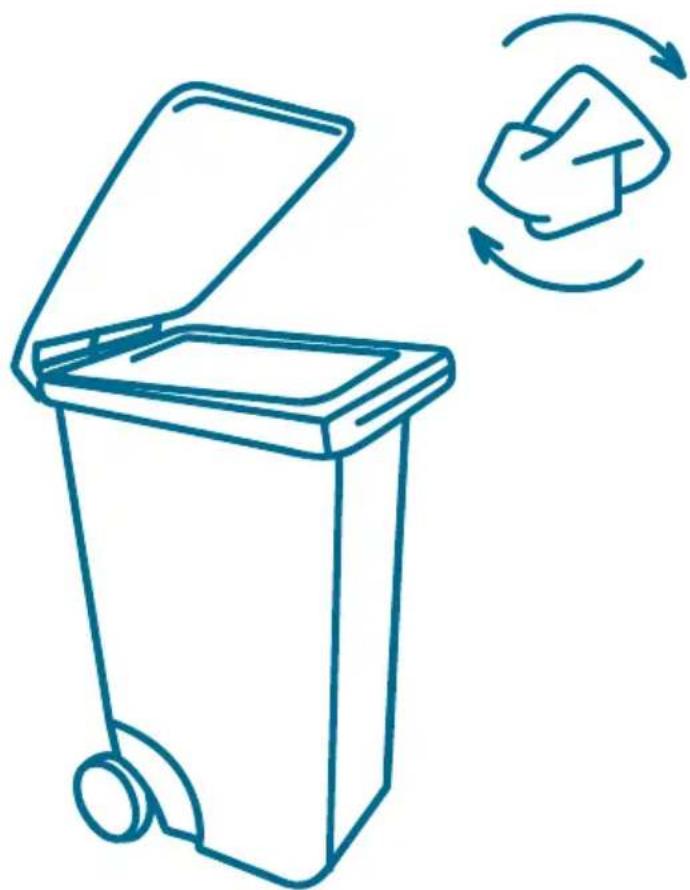
Line drawing of a trash bin with an open lid and a recycling symbol indicating waste sorting (no text or labels)don't forget to recycle.
- log
- What's in the box\*:
- Slot head-end legs onto the end support panel
- Attach the bedhead brackets onto the end support panel
- Fasten the bedhead brackets to the end support panel using the Gumnuts
- x2
- Slot the end panel to the foot-end legs
- Slot the middle support frames to the side support panels
- Slot the centre support frame to the middle support frames
- Lower side platforms into position and align the holes
- Loosely screw in the tapered Gumnuts
- 13.
- 14.
- Place the base platforms into the frame by aligning with the grooves on the side rail
Brand : Koala
Model : Kirribilli Bed
Category : Bed