
Gaming 986B - Computer Case LC-Power - Free user manual and instructions
Find the device manual for free Gaming 986B LC-Power in PDF.


| Product Type | Computer Case |
| Brand | LC-Power |
| Model | Gaming 986B |
| Form Factor | Mid Tower |
| Dimensions (H x W x D) | 450mm x 200mm x 400mm |
| Net Weight | 5 kg |
| Supported Motherboard | ATX, Micro-ATX, Mini-ITX |
| Expansion Slots | 7 |
| Drive Bays (Internal) | 2 x 3.5", 2 x 2.5" |
| I/O Ports | USB 3.0 x 2, USB 2.0 x 2, HD Audio |
| Cooling Support (Front) | 120mm fan x 2 (optional) |
| Cooling Support (Rear) | 120mm fan x 1 (optional) |
| PSU Form Factor | Standard ATX (bottom mount) |
| Material | Steel, Plastic |
| Color | Black |
| Cleaning | Use a dry cloth; avoid abrasive cleaners. |
| Safety | Keep away from liquids and extreme heat. |
| Spare Parts | Contact LC-Power support for replacement fans or panels. |
Frequently Asked Questions - Gaming 986B LC-Power
User questions about Gaming 986B LC-Power
0 question about this device. Answer the ones you know or ask your own.
Ask a new question about this device
Download the instructions for your Computer Case in PDF format for free! Find your manual Gaming 986B - LC-Power and take your electronic device back in hand. On this page are published all the documents necessary for the use of your device. Gaming 986B by LC-Power.
USER MANUAL Gaming 986B LC-Power
natural_image
Exterior view of a black server hard drive with ventilation slots and a circular vent (no text or symbols visible)Thank you for purchasing this case from LC-Power.
Please read this manual before usage.
Specifications may be subject to change without prior notice.
- Specification
| Size 482 x 223 x 46 | 7 mm (h x w x d) |
| M/B ATX / micro ATX / mini ITX | |
| HDD 5x 3.5" HDD; | 3x 2.5" HDD/SSD |
| PSU ATX | |
| Fans Front: 3x 120 | mmTop: 2x 120 mmInside: 1x 120 mmBack: 1x 120 mm |
| Water cooling(If no fans are mounted) | Front: 360 mmTop: 240 mmRear: 120 mm |
| Expansion Slots 7 | |
| Screw bags Cable t | e 80mm==>3pcsMB Stand off 6# 5H 8*4.5L==>10pcsM3*5==>6pcs(2.5"HDD*6)Black screws for side panel M4*5==>8pcs |
M5*10 TP3===>16pcs(FAN*16) 6#*4===>27pcs(MB*10,3.5"HDD*13,Power*4)
2. Installation
2-1.1 Open the box
2-1.2 Take out the glass side panels 2-1.3 Take out the chassis
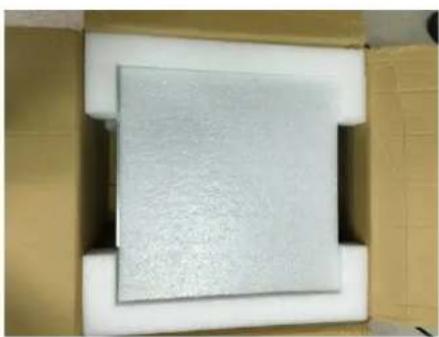
natural_image
Square metallic object with textured surface inside a white box, placed on cardboard sheet (no text or symbols visible)
natural_image
Open cardboard box containing a black rectangular electronic component with visible internal lines, placed on a white surface (no text or symbols)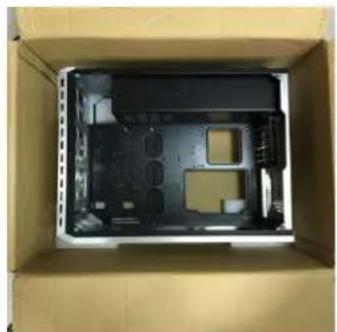
natural_image
Interior view of a cardboard box containing an open case with visible internal components (no text or symbols)2-2.1 Front case fan installation

natural_image
Close-up of a hand using a screwdriver to insert or install a black plastic panel with circular cutouts (no text or symbols visible)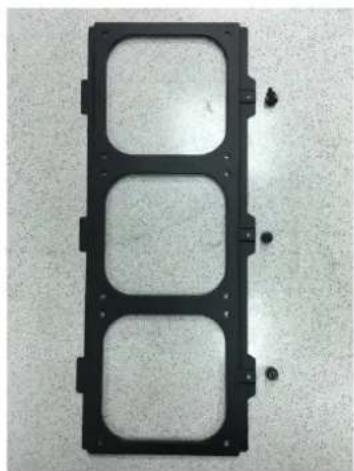
natural_image
Black plastic mechanical component with three rectangular cutouts and mounting holes, placed on a textured surface (no text or symbols visible)
natural_image
Close-up of a black metal panel with circular cutouts and bolt holes (no text or symbols visible)1) Unscrew the bracket from the chassis
2) Fix the fans or the water cooling to the bracket
3) Screw the bracket back to the chassis

natural_image
Black plastic fan with multiple blades and connectors, placed on a textured surface (no visible text or symbols)
natural_image
Close-up of a hand holding a black CPU fan with visible cooling effect, no text or symbols present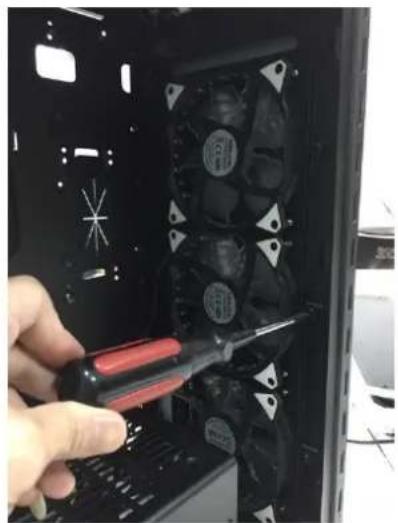
natural_image
Close-up of a hand using a screwdriver to adjust internal CPU socket windings (no text or symbols visible)2-3 Top case fan installation
Press the fans to the top bracket to fix it

natural_image
Close-up of two black industrial fans with visible blades and mounting holes (no text or symbols)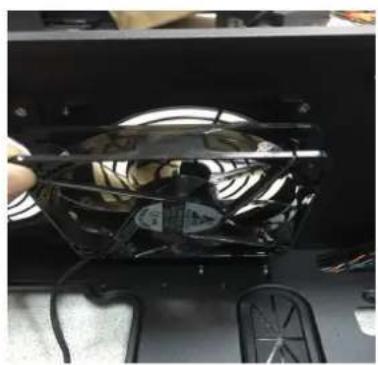
natural_image
Close-up of a black plastic fan with visible blades and wiring, being held by a hand (no text or symbols)
natural_image
Close-up of a computer fan with visible internal components and wiring (no text or symbols)2-4. 3.5" HDD installation
Press the HDD into the bracket to fix it

natural_image
Black plastic mechanical component with circular center and mounting holes, placed on a textured floor (no text or symbols visible)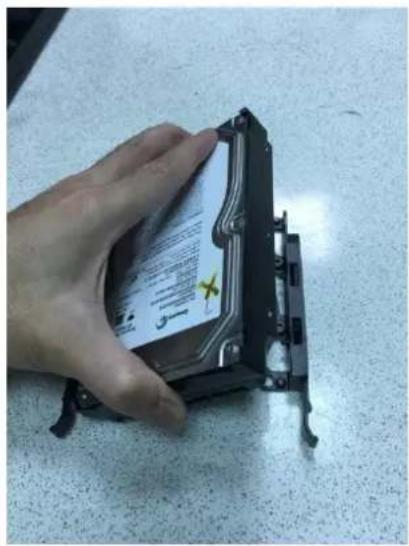
natural_image
Hand holding a black hard drive component with visible label and warning symbol (no readable text or symbols on the device itself)
natural_image
Close-up of a hard disk computer case on a textured surface (no visible text or symbols)2-5. 1 Fan installation on the back side of the HDD bracket

natural_image
Interior view of a computer tower case showing front panel and internal circuit board with visible wiring (no readable text or symbols)2-5.2 Mainboard installation with stand-off am screws

natural_image
Two views of a computer tower case showing internal components including CPU, memory, and motherboard (no visible text or labels)Additional 3x 3.5" HDD on MB tray
Additional 3x 2.5" HDD/SSD on MB tray
2-6 Tempered glasses side panel installation
Alight 4 screw holes to washer and fasten screws

natural_image
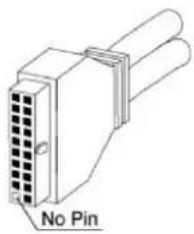
Three views of a black industrial computer case: front, side, and side (no visible text or symbols)- Front I/O Connector
| Motherboard Case cable connector | |
| USB 3.0 | |
 |  |
| USB 2.0 | |
 |  |
| HD Audio | |
 |  |
The product has a two year warranty period from the date of purchase, service issues will be handled by your dealer. If the case is damaged due to improper operation, the warranty period expires immediately.
Check www.lc-power.com or contact us by e-mail at support@lc-power.com.
Silent Power Electronics GmbH
Formerweg 8
47877 Willich
Germany

natural_image
Abstract geometric logo with a stylized 'L' inside a square frame (no text or symbols)POWER

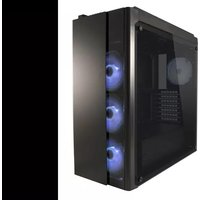


Brand : LC-Power
Model : Gaming 986B
Category : Computer Case