IAN 279823 - Lamp Livarno Lux - Free user manual and instructions
Find the device manual for free IAN 279823 Livarno Lux in PDF.


| Product Type | LED Rope Light |
| Model Number | IAN 279823 / HG02044-BS |
| Total Power Consumption | Approx. 24 W |
| Operating Voltage (LED Strip) | 12 V DC |
| Number of LEDs | 150 (non-replaceable) |
| Power Supply Input | 100–240 V ~ 50/60 Hz, 1.0 A |
| Power Supply Output | 12 V DC, 2 A |
| Protection Class | II |
| Remote Control Battery | 3 V CR2025 Lithium (included) |
| Remote Control Range | Approx. 6–8 m |
| LED Strip Length | 5 m (connectable up to 10 m) |
| Mounting | Adhesive strip or screws |
| Cuttable | Yes, at marked positions |
| Light Programs | 14 programs (Auto, Flash, Jump, Meteor, etc.) |
| Color Selection | Static colors and color programs |
| Brightness Control | Yes, via remote control |
| Indoor Use Only | Yes |
| Warranty | 3 years |
| Cleaning | Dry lint-free cloth |
| Safety Features | Short-circuit proof transformer, overheat protection |
Frequently Asked Questions - IAN 279823 Livarno Lux
User questions about IAN 279823 Livarno Lux
0 question about this device. Answer the ones you know or ask your own.
Ask a new question about this device
Download the instructions for your Lamp in PDF format for free! Find your manual IAN 279823 - Livarno Lux and take your electronic device back in hand. On this page are published all the documents necessary for the use of your device. IAN 279823 by Livarno Lux.
USER MANUAL IAN 279823 Livarno Lux
Operation and Safety Notes
IAN 279823
GB IE NI
flowchart
graph TD
    A["1"] --> B["2"]
    B --> C["3"]
    C --> D["4"]
    D --> E["5"]
    E --> F["6"]
    F --> G["7"]
    G --> H["8"]
    H --> I["9"]
    I --> J["10"]
    style A fill:#f9f,stroke:#333
    style B fill:#ccf,stroke:#333
    style C fill:#cfc,stroke:#333
    style D fill:#fcc,stroke:#333
    style E fill:#cff,stroke:#333
    style F fill:#ffc,stroke:#333
    style G fill:#cfc,stroke:#333
    style H fill:#fcc,stroke:#333
    style I fill:#ffc,stroke:#333
C
flowchart
graph TD
    A["Component 1"] --> B["VCC"]
    A --> C["GND"]
    A --> D["DO"]
    A --> E["DI"]
    F["Component 2"] --> G["VCC"]
    F --> H["GND"]
    F --> I["DO"]
    F --> J["DI"]
    K["Component 10"] --> L["VCC"]
    K --> M["GND"]
    K --> N["DO"]
    K --> O["DI"]
List of pictograms used......Page 6
Introduction......Page 6
Intended use....Page 6
Parts description Page 6
Technical Data Page 7
Scope of delivery....Page 8
Safety notices Page 8
Battery safety information......Page 9
Mounting Page 10
Connecting 2 LED strips....Page 11
Shortening the LED strip....Page 12
Start-up Page 13
Switching the product on/off using the remote control...... Page 13
Controlling the light effects using the remote control...... Page 13
Cleaning and Care Page 14
Disposal Page 14
Warranty Page 15
| List of pictograms used | |||
 | Short-circuit proof safety transformer |  | Polarity of the output terminals |
 | Separate control unit Safe  ss II ss II | ||
 | Direct current Alternating  † † | ||
LED Rope Light
- Introduction
We congratulate you on the purchase of your new product. You have chosen a high quality product. The instructions for use are part of the product. They contain important information concerning safety, use and disposal. Before using the product, please familiarise yourself with all of the safety information and instructions for use. Only use the product as described and for the specified applications. If you pass the product on to anyone else, please ensure that you also pass on all the documentation with it.
Intendeduse
This product is intended for use in indoor environments and only for private, domestic purposes. The product can be used on all normally flammable, smooth surfaces. The product is not intended for commercial use or for use in other applications.
Not suitable for
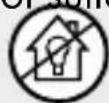
ordinary lighting in household room illumination.
Partsdescription
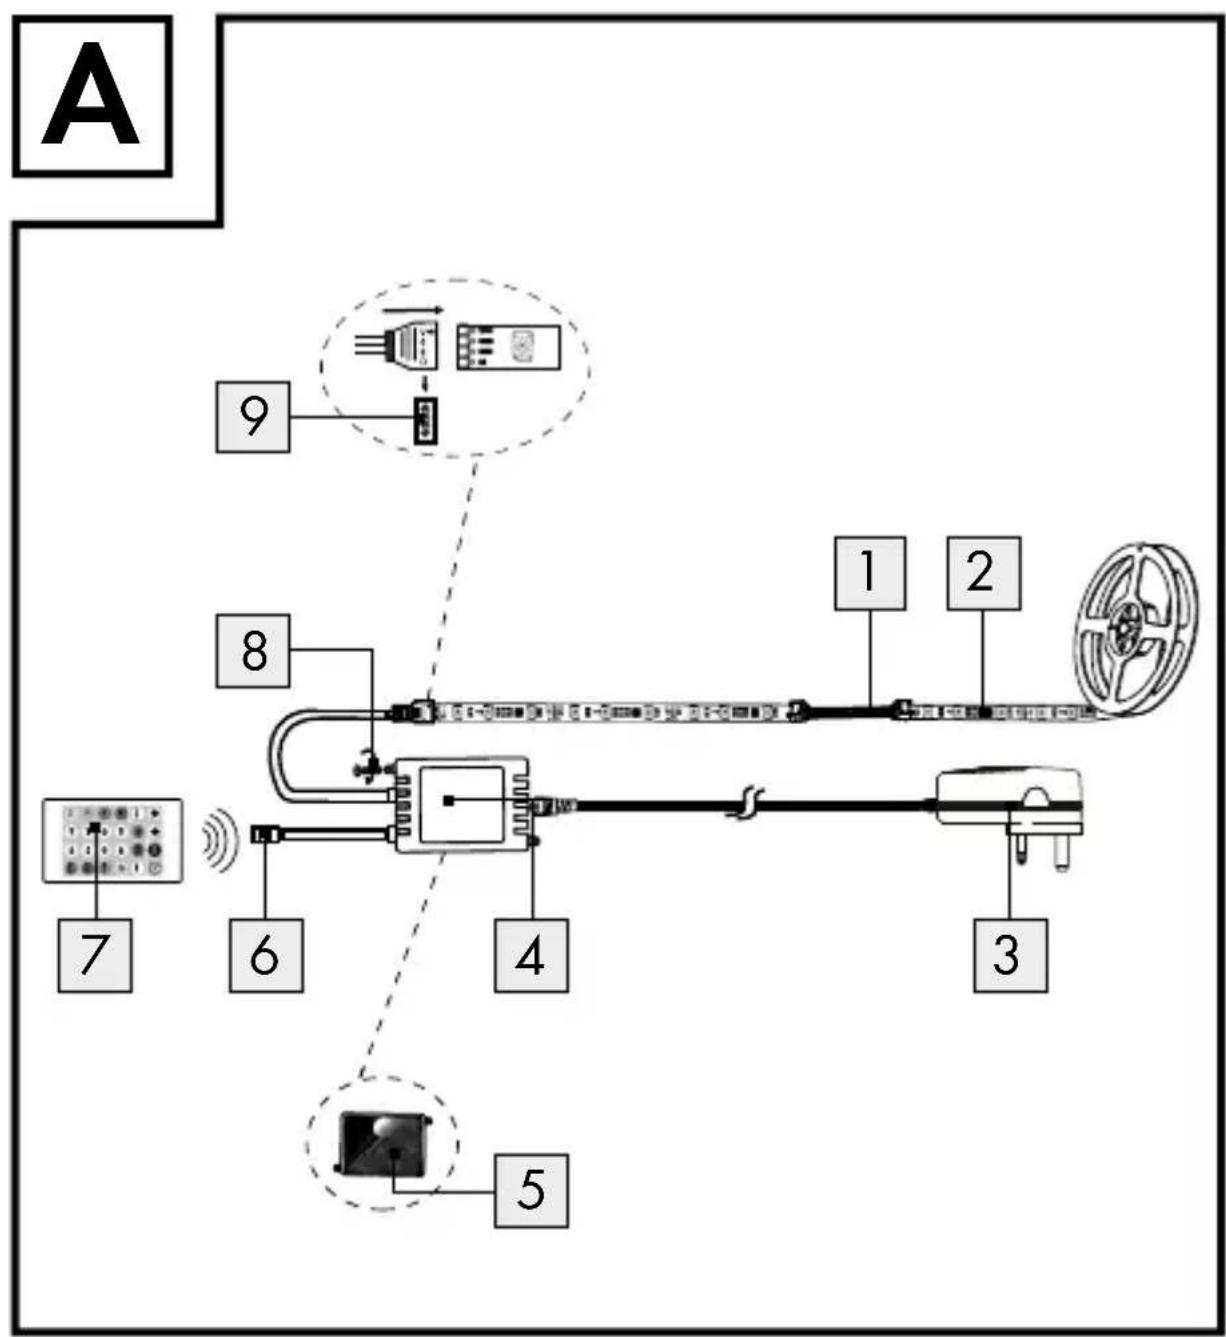
1 Connector
2 LED Rope Light
3 Power supply
4 LED driver
5 Double-sided adhesive strip (for the LED driver)
6 Infrared receiver
7 Remote control
8 Screw
9 Eight-pin plug
10 Double-sided adhesive strip (on the back of the LED strip)
11 Plastic clip
12 Battery
0.530; Y <
-2.3172 X ^2 +
2.3653 X -
0.2199 or Y >
-2.3172 X ^2 +
2.3653 X -
0.1595
- Technical Data
LED rope light + Mains adapter
Total power
consumption: approx. 24W
LED Rope Light
Operating
voltage:12V

max. 24 W
Light bulb: 150 LEDs (the
LEDs are not replaceable)
Output per LED: approx. 0.06 W
Model number: HG02044-BS
Chromaticity
coordinate: X < 0.27 or X >
Power supply
Input voltage: 100-240V\~
50 / 60 Hz,
1.0A
Output voltage: 12V = 2A
Protection class: II/
Modelnumber:GQ30-
120200-AB
LED driver
Input voltage: 12 V
Model number: Y4-180-A
Remote control
Battery: 3V = lithium
battery, type CR2025
Max. range: approx. 6–8 m
- Scope of delivery
1 LED strip
1 LED driver
1 Double-sided adhesive strip
1 Power supply
4 Connectors
1 Remote control unit
1 Lithium battery, type CR2025 (installed)
8 Plastic clips
2 Screws
1 Eight-pin plug
1 Instructions for use (LED strip)
1 Instructions for use (remote control)
Safety notices
PLEASE READ THE INSTRUCTIONS FOR USE PRIOR TO USE! PLEASE KEEP THE INSTRUCTIONS FOR USE IN A SAFE PLACE!
Check the product for damage before use. Never use a damaged product.
This product can be used by children aged from 8 years and above and persons with reduced physical, sensory or mental capabilities or lack of experience and knowledge if they have been given supervision or instruction concerning use of the product in a safe way and understand the hazards involved. Children shall not play with the product. Cleaning and user maintenance shall not be made by children without supervision.
WARNING! The extremely high speed of the colour change could result in visual impairment in children or predisposed persons (e.g. due to mental conditions).
Danger to life by electric shock
- Check the product for damage before use. Never use a damaged product.
Only use the product with the components specified in these instructions for use.
- Verify the available mains voltage matches the operating voltage required by the product before use (100–240V\~).
The product is only suited for use with the included mains adapter (model no. GQ30-120200-AB).
Please note that the power adapter continues to draw a small amount of power even if the product is turned off as long as the power adapter is plugged into a power outlet. To switch the product off completely, unplug the power adapter from the socket.
■ Always unplug the mains plug from the socket before installation, removal or cleaning.
Do not attach objects to the product.
CAUTION! RISK OF OVERHEATING! Do not operate the product inside the packaging or rolled up.
■ Protect the product from sharp edges, mechanical loads and hot surfaces.
Do not secure with sharp staples or nails.
■ Never expose the product to high temperatures or moisture as this could damage the product.
■ Never open any of the components of the electrical equipment or insert any objects into the same components.
■ Disconnect from the mains when not used for extended periods (e.g. holidays).
The illuminant is not replaceable.
If the illuminant fails at the end of its life, the entire product must be replaced.
●Batterysafety information
WARNING! DANGER
TOLIFE! Batteries are not intended for children. Do not leave batteries lying around. They may otherwise be swallowed by children or pets. If accidentally swallowed seek immediate medical attention.
EXPLOSION
HAZARD! Never recharge the
batteries! Do not short-circuit batteries (or rechargeable batteries) and/or do not open!
EXPLOSION
HAZARD! Never throw batteries
into fire or water. The batteries may explode.
- Keep batteries away from children, do not throw batteries into fire, never short-circuit or open.
Do not let the fluid from a leaking battery come into contact with your skin, eyes or mucous membranes. In the event of contact with battery acid, thoroughly flush the affected area with clean water and seek immediate medical attention.
If necessary, clean the battery and device contacts before inserting the battery.
When inserting the battery ensure the correct polarity! This is shown in the battery compartment.
■ Only use the same type batteries.
■ Remove the batteries from the product if they have not been used for a long period. ■ Promptly remove used batteries from the product. There is an increased risk of leaks!
Avoid extreme conditions and temperatures which may impact batteries, e.g. on radiators. Otherwise there is an increased risk of leaking.
Failure to observe the safety notices may result in the batteries being drained beyond their cut-off voltage. There is then a danger of leaking. If the batteries leaked inside your product, immediately remove batteries to prevent product damage!
■ Batteries must not be disposed of in the normal domestic waste!
■ Every consumer is legally obliged to dispose of batteries properly.
- Mounting (see Fig. A)
Note: Clean the surface well onto which you wish to mount the
product. The surface must be clean, free from grease and dry. The adhesion of the double-sided adhesive strip 5, 10 may otherwise be limited.
Note: Before use, check on a hidden area of the surface, whether the adhesive can cause damage.
☐ Plug the power supply into the socket before switching the product on.
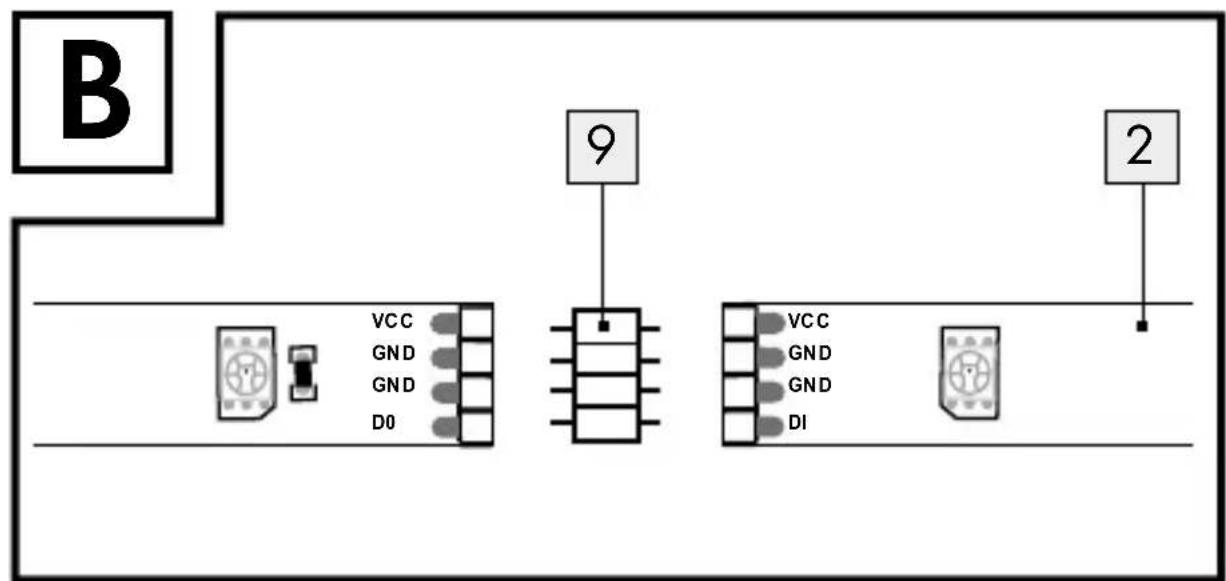
Connecting 2 LED strips (see Fig. B)
Note: Up to two 5 m LED strips
☐ Peel the protective film off the may be connected using the adhesive strip on the back of the LED strip 2 and secure the LED strip in the desired location. ☐ Secure the LED driver with components and fire!
the included double-sided adhesive strip 5 or the included screws 8. Connect the power supply with the LED driver. Note: When connecting the two ends of the LED strip using an eight-pin plug, be sure to match up the VCC-GND-GND-D0 and VCC-GND-GND-DI marks at the
Then connect the LED driver to ends of the LED strips. the LED strip. After connecting
Note: When connecting the LED driver with the LED strip, be sure to match up the VGGD mark on the LED driver and the VCC-GND-GND-DI mark on the LED strip.
☐ Be sure the power supply is always accessible.
After connecting the two LED strips, only the first LED strip is lighting once connected to electricity supply.
To light up the second LED strip, press the IC Set button and then press the ↑ button to switch groups of three lights on, starting from the beginning of the second LED strip.
☐ You may repeated press the ↑ or ↓ to adjust the lighting area of the connected LED strips (max. 10m).
After setting the lighting area, press ☐ button and then press the ⬆ or ⬇ to adjust the luminosity.
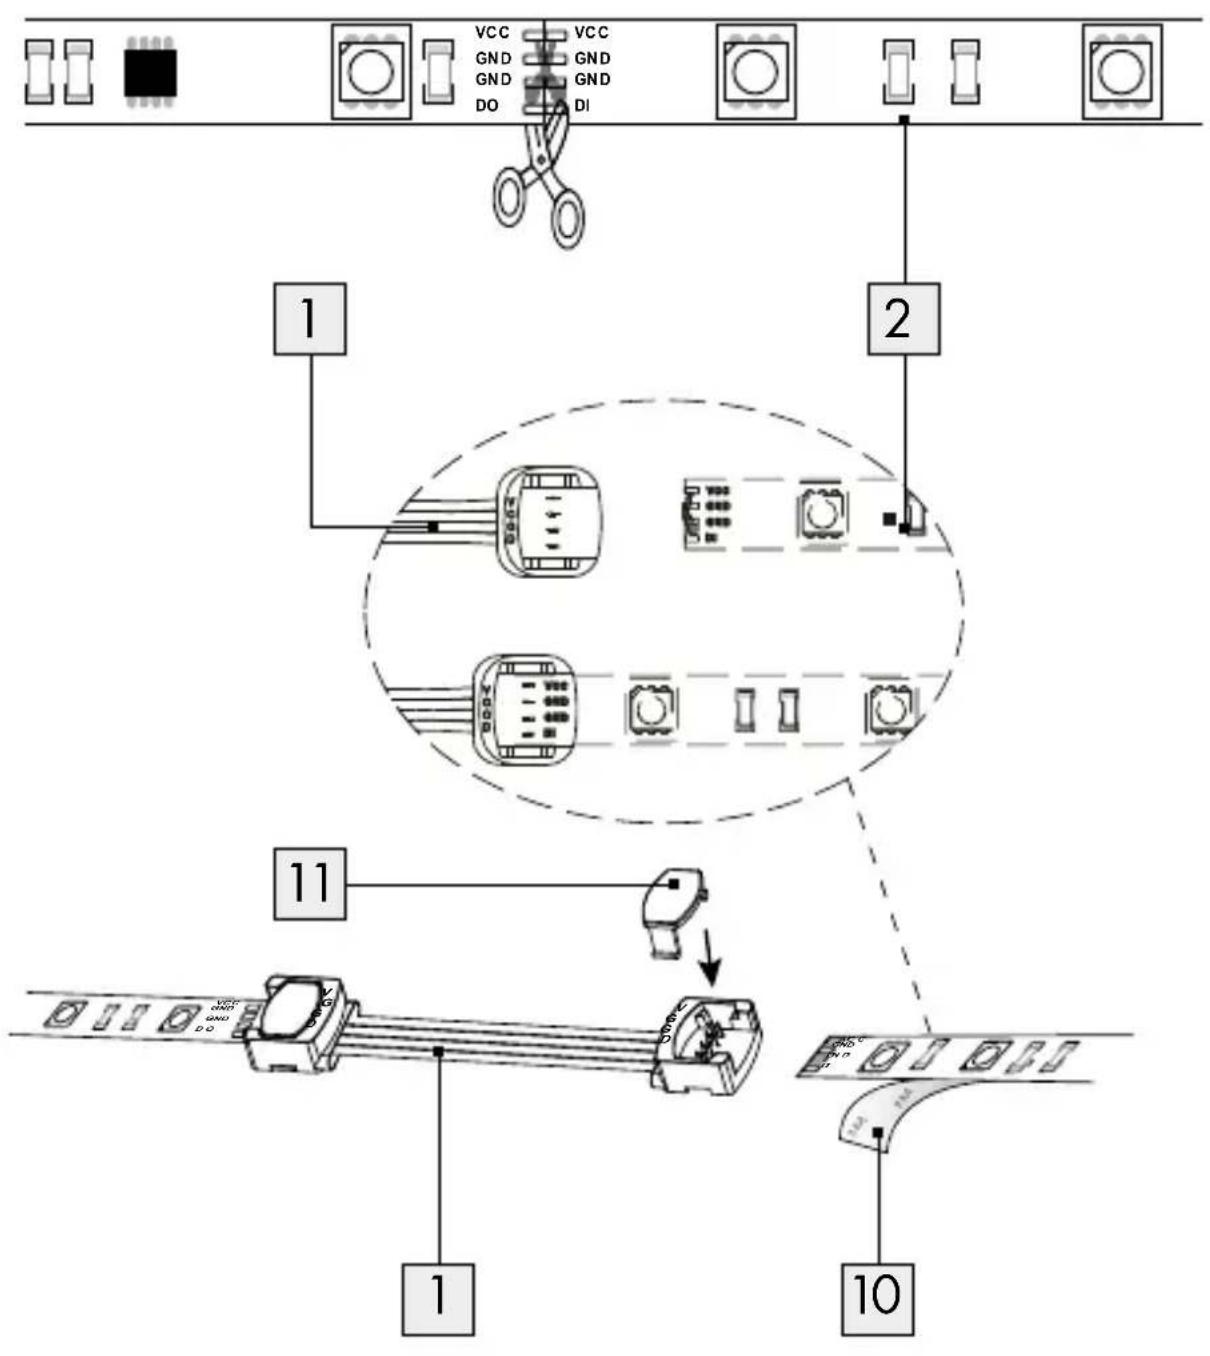
- Shortening the LED strip (see Fig. C)
The LED strip 2 may be trimmed to size. It can be cut with scissors at the marked position, as shown in Fig. C. The trimmed sections can then be connected as shown in figure C.
WARNING! DANGER TO LIFE BY ELECTRIC SHOCK!
Before performing any work, first disconnect the product from the mains power. Unplug the power supply 3 from the socket.
Connect as described below:
☐ Remove the protective film from the double-sided adhesive strip at the ends of the LED strip sections being connected.
Then firmly press the end of the one LED strip onto the pins on the connector 1 so they pierce the strip conductor of the LED strip.
Note: Be sure to match up the VGGD mark on the connector with the VCC-GND-GND-D0 and VCC-GND-GND-DI mark on the LED strip.
☐ Then push a plastic clip onto this new connection from the top.
Note: Be sure the plastic clips lock in to establish a secure connection.
☐ Repeat this process to establish a contact for the other end of the connector.
Note: Unlike the LED strip, the connector can be moved in any direction:
WARNING! The product has delicate solder points. Do not route the LED strip around corners and do not kink. The solder points may otherwise be damaged, disrupting the functionality of the LED strip.
- Start-up
- Switching the product on/off using the remote control
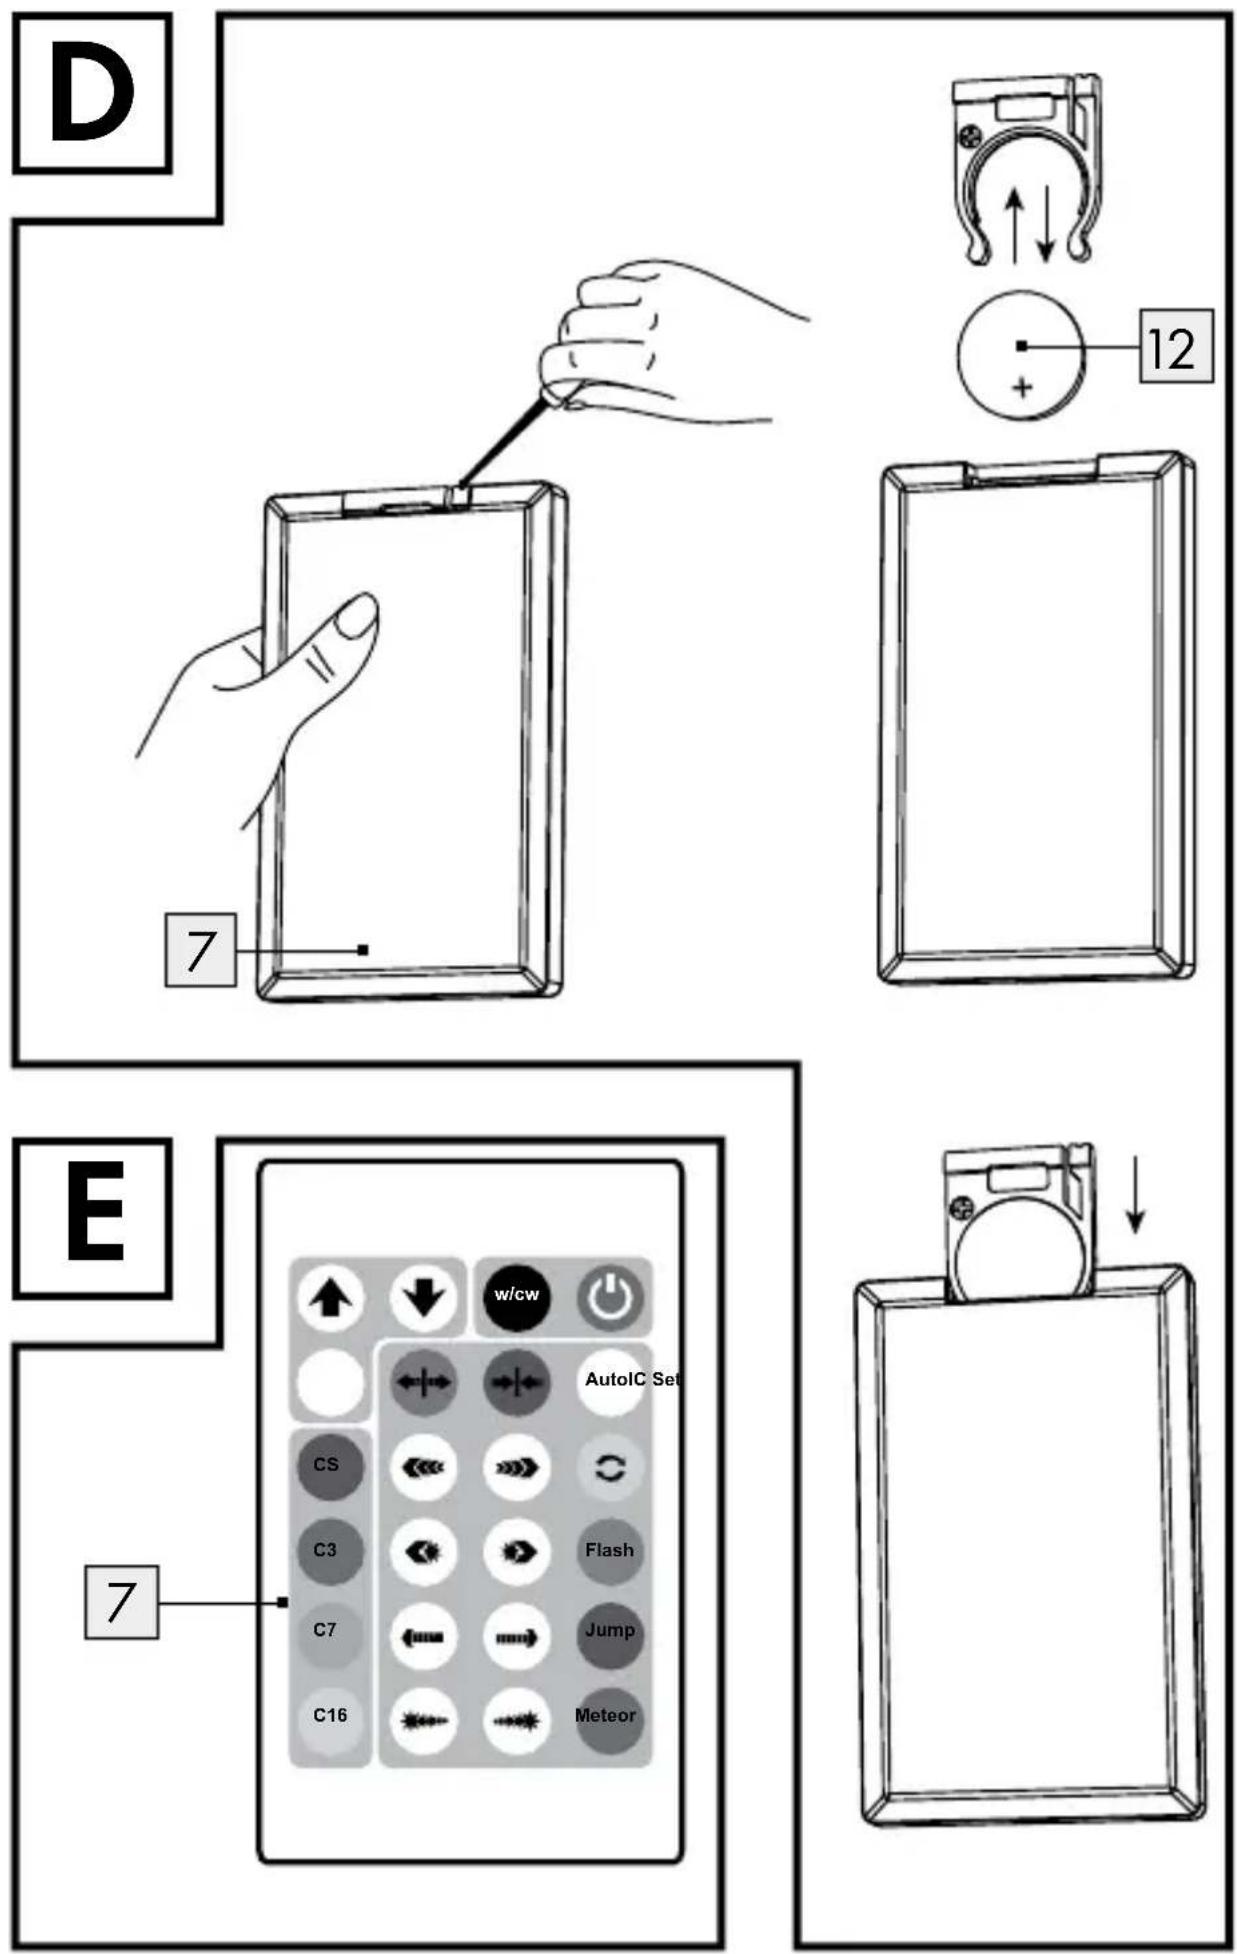
Note: The infrared receiver 6 is located on the LED driver 4. Always aim the remote control 7 directly at the infrared receiver for best reception. The range of the remote control is approx. 6–8 m.
Note: Remove the insulating strip from the battery compartment before using the remote control for the first time.
☐ Be sure there are no obstacles between the transmitter and receiver.
☐ Press the button on the remote control to switch the LED strip 2 on or off.
☐ Please remember the power supply will continue to draw a small amount of electricity even without the light being operated so long as the power supply 3 is plugged into the socket. To switch the product off completely, unplug the power supply 3 from the socket.
•Controlling the light effects using the remote control
Note: Please refer to the included instructions for use for the remote control for a detailed description of the remote control 7 functions.
The remote control has 24 buttons. These buttons can be divided into the following groups:
Static colour selection buttons
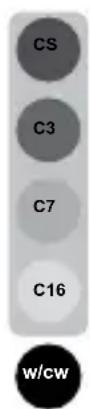
These buttons control the colour mode of the entire LED strip. Combined with the program buttons you can define the colour selection of most light programs.
Light program buttons
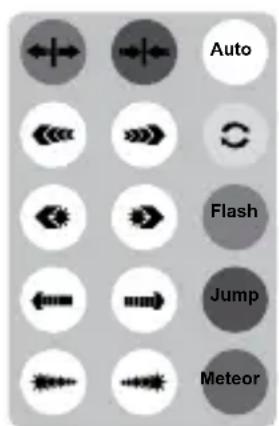
The LED strip features 14 different light programs. Preselecting the colour using the colour selection buttons will set
the colour range of these light programs. This does not apply to the "Auto" program.
Parameter buttons
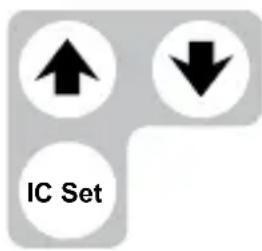
Use the arrow buttons to adjust the brightness of the LED strip in static colour
mode. Whilst the colour program is cycling, use the arrow buttons to adjust the speed of the program flow. Use the IC Set button to adjust the lighting range of the LED strip.
- Cleaning and Care
☐ Only clean with a dry lint-free cloth.
- Disposal

The packaging is made entirely of recyclable materials, which you may dispose of at local recycling facilities. The Green Dot is not valid for Germany.
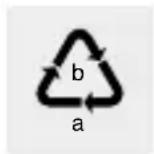
Observe the marking of the packaging materials for waste separation, which are marked with abbreviations (a) and numbers (b) with following meaning: 1–7: plastics / 20–22: paper and fibreboard / 80–98: composite materials.

The product and packaging materials are recyclable, dispose of it
separately for better waste treatment. The Triman logo is valid in France only.

Contact your local re- fuse disposal authority for more details of how
to dispose of your worn-out produd.
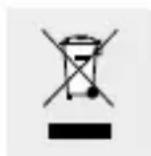
Never dispose of the product and the bulb in your regular household rubbish.
Dispose of the product and light bulb through an authorised waste management company or your municipal disposal facilities.
Observe the applicable regulations. In case of doubt, please contact your waste disposal centre.
Defective or used batteries must be recycled in accordance with Directive 2006/66/EC and its amendments. Return batteries and / or the product to the provided recycling facilities.
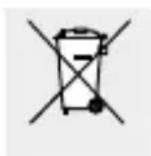
Improper disposal of batteries can harm the environment!
Never dispose of batteries in your household waste. They may contain toxic heavy metals and are subject to hazardous waste regulations. The chemical symbols of the heavy metals are: Cd = cadmium, Hg = mercury, Pb = lead. Therefore dispose of used batteries through your municipal collection site.
Warranty
The product has been manufactured to strict quality guidelines and meticulously examined before delivery. In the event of product defects you have legal rights against the retailer of this product. Your legal rights are not limited in any way by our warranty detailed below.
The warranty for this product is 3 years from the date of purchase. Should this product show any fault in materials or manufacture within 3 years from the date of purchase, we will repair or replace it – at our choice – free of charge to you.
The warranty period begins on the date of purchase. Please keep the original sales receipt in a safe location. This document is required as your proof of purchase. This warranty becomes void if the product has been damaged, or used or maintained improperly.
The warranty applies to defects in material or manufacture. This
warranty does not cover product parts subject to normal wear, thus possibly considered consumables (e.g. batteries) or for damage to fragile parts, e.g. switches, rechargeable batteries or glass parts.
CE
OWIM GmbH & Co. KG
Stiftsbergstraße 1
DE-74167 Neckarsulm
GERMANY
Model-No.: HG02044-BS
Version: 01/2017
Last Information Update: 11 / 2016
Ident.-No.: HG02044-BS112016-GB/IE/NI
- C
- List of pictograms used......Page 6
- Introduction......Page 6
- Safety notices Page 8
- Mounting Page 10
- Start-up Page 13
- Cleaning and Care Page 14
- Disposal Page 14
- Warranty Page 15
- LED Rope Light
- - Introduction
- Intendeduse
- Partsdescription
- - Technical Data
- LED rope light + Mains adapter
- Power supply
- LED driver
- Remote control
- - Scope of delivery
- Safety notices
- Danger to life by electric shock
- ●Batterysafety information
- WARNING! DANGER
- EXPLOSION
- - Mounting (see Fig. A)
- - Shortening the LED strip (see Fig. C)
- WARNING! DANGER TO LIFE BY ELECTRIC SHOCK!
- - Start-up
- - Switching the product on/off using the remote control
- •Controlling the light effects using the remote control
- Static colour selection buttons
- Light program buttons
- Parameter buttons
- - Cleaning and Care
- - Disposal
- Improper disposal of batteries can harm the environment!
- Warranty
- OWIM GmbH & Co. KG
Brand : Livarno Lux
Model : IAN 279823
Category : Lamp