TP-LINK LB110 - Lighting

LB110 - Lighting TP-LINK - Free user manual and instructions

Find the device manual for free LB110 TP-LINK in PDF.

📄 74 pages English EN Download 💬 AI Question 10 questions ⚙️ Specs
Notice TP-LINK LB110 - page 3
Pick your language and provide your email: we'll send you a specifically translated version.
Product Type Wi-Fi Connected LED Bulb
Brand TP-Link
Model LB110
Category Smart Lighting
Dimensions (diameter x height) 60 mm x 120 mm
Weight 100 g
Power Supply 220-240 V AC, 50/60 Hz
Power 9 W
Incandescent Equivalent 60 W
Luminous Flux 800 lumens
Color Temperature 2700 K (warm white)
Color Rendering Index (CRI) 80
Base Type E27
Connectivity Wi-Fi 2.4 GHz
Required App Kasa for Mobile (iOS/Android)
Main Functions Remote on/off, dimming, scheduling, compatibility with Alexa/Google Assistant
Operating Temperature -20 °C to 40 °C
Reset By power cycles (3 cycles for restart, 5 cycles for factory reset)
Maintenance and Cleaning Disconnect power, let cool, wipe with a soft dry cloth
Safety Do not use with an external dimmer, do not immerse, cut circuit before replacement
Spare Parts and Repairability Sealed product not repairable, no spare parts available
Warranty 2 years (according to TP-Link conditions)
General Information Compliant with directives 2014/53/EU, 2009/125/EC, 2011/65/EU

Frequently Asked Questions - LB110 TP-LINK

What should I do if the Wi-Fi bulb is offline or unreachable?
Check that the wall switch is on to power the bulb. Ensure your phone is connected to the same 2.4 GHz Wi-Fi network. For remote control, log in to your Kasa account and enable remote control. If the problem persists, reset the bulb and re-pair it.
How do I reset the LB110 bulb?
For a reset without losing settings, turn the power off and on three times in a row (cycle: turn on then off immediately). For a factory reset, perform five identical cycles. Note: Factory reset erases all your custom settings.
Can I control the bulb from multiple devices?
Yes. Install the Kasa for Mobile app on each device and log in to the same Kasa account. All devices will then be able to control the bulb.
How do I connect the bulb to Amazon Echo?
Refer to the pairing guide at www.tp-link.com/en/faq-944.html or the help section in the Kasa app. You will need to link your Kasa account to the Alexa app.
Can I use a traditional dimmer with this bulb?
No. Never use a physical dimmer. Dimming is only possible via the Kasa app or voice commands.
What is the Wi-Fi range of the bulb?
The range depends on your home network. Generally, the bulb should be within 30 meters of the router with a good 2.4 GHz connection.
Is the bulb compatible with 5 GHz networks?
No, the LB110 bulb only works on 2.4 GHz Wi-Fi. Ensure your router broadcasts on this frequency.
What should I do if the bulb does not turn on after installation?
Check that the switch is in the on position and the base is screwed in properly. Test the bulb in another socket. If it still does not light up, contact TP-Link support.
Can I schedule times for the bulb?
Yes, in the Kasa app, create schedules to turn the bulb on or off at set times, or use 'Away' modes to simulate presence.
Is the bulb suitable for security lighting?
No. The manual states that the bulb is NOT SUITABLE FOR SECURITY LIGHTING. It is designed for normal household use.

User questions about LB110 TP-LINK

0 question about this device. Answer the ones you know or ask your own.

Ask a new question about this device

The email remains private: it is only used to notify you if someone responds to your question.

No questions yet. Be the first to ask one.

Download the instructions for your Lighting in PDF format for free! Find your manual LB110 - TP-LINK and take your electronic device back in hand. On this page are published all the documents necessary for the use of your device. LB110 by TP-LINK.

USER MANUAL LB110 TP-LINK

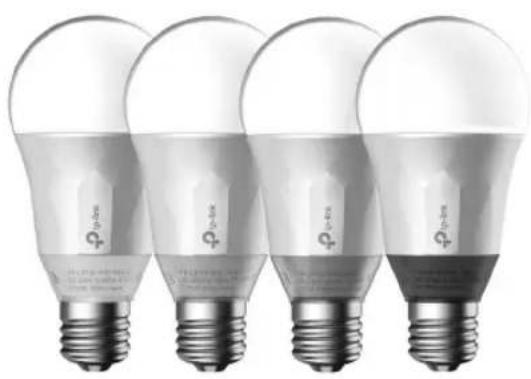
natural_image Four identical light bulb designs arranged in a row, no text or symbols visible

Copyright © 2017 TP-Link. All rights reserved.

Specifications are subject to change without notice. TP-Link is a registered trademark of TP-Link Technologies Co., Ltd. Other brands and product names are trademarks or registered trademarks of their respective holders.

No part of the specifications may be reproduced in any form or by any means or used to make any derivative such as translation, transformation, or adaptation without permission from TP-Link Technologies Co., Ltd.

www.tp-link.com

TP-LINK LB110 - 1

TP-LINK LB110 - 2

MADE IN CHINA

TP-LINK LB110 - 3

natural_image Four identical incandescent light bulbs with standard LED diodes, shown from different angles (no text or symbols visible)

Smart Wi-Fi LED Bulbs

• English • Български • Čeština
• Dansk • Suomi • Français
• Deutsch • ελληνικά • Magyar
- Italiano - Казакша - Lietuvių
Nederlands Norsk Polski
- Português - Română - Русский язык
• Srpski • S lovenčina • Español
• Svenska • Türkçe • Українська мова

Contents

English....1

Български....4

Čeština....7

Dansk....10

Suomi 13

Français 16

Deutsch....19

Ελληνικά 22

Magyar 25

Italiano....28

Қазақша....31

Lietuvių 34

Nederlands.... 37

Norsk 40

Polski 43

Português....46

Română....49

Русский язык....52

Srpski....55

Slovenčina....58

Español 61

Svenska....64

Türkçe....67

Before installing or replacing the Smart Bulbs, read and follow all precautions, including the following:

  • WARNING: RISK OF ELECTRIC SHOCK OR BURNS. Switch OFF the light switch controlling the bulb and WAIT for the bulb to cool down before attempting to change it.
  • Do not install the Smart Bulb with wet hands or when standing on wet or damp surfaces.
  • Not suitable for use with standard in-wall dimmers. Dimmable via the app only.
  • Suitable for use in operating environment between -20^ and 40^ (-4°F and 104°F).
    • NOT FOR EMERGENCY LIGHTING.

Smart Wi-Fi LED Bulb Installation

① Download Kasa for Mobile app from App Store or Google Play.
TP-LINK LB110 - Smart Wi-Fi LED Bulb Installation - 1

TP-LINK LB110 - Smart Wi-Fi LED Bulb Installation - 2
OR Scan QR code

TP-LINK LB110 - Smart Wi-Fi LED Bulb Installation - 3

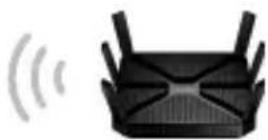
② Connect mobile device to your 2.4GHz Wi-Fi network. Note: The Smart Bulbs only support 2.4GHz network.

TP-LINK LB110 - Smart Wi-Fi LED Bulb Installation - 4

TP-LINK LB110 - Smart Wi-Fi LED Bulb Installation - 5

TP-LINK LB110 - Smart Wi-Fi LED Bulb Installation - 6

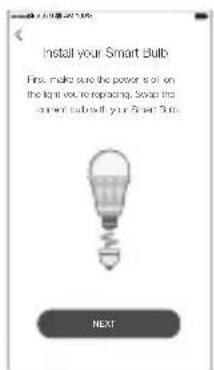
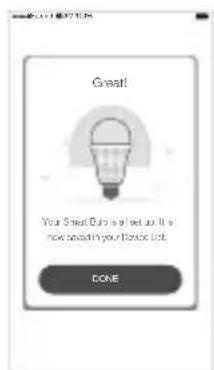
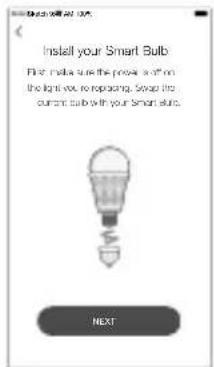
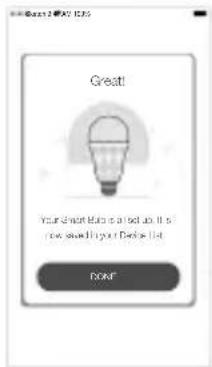
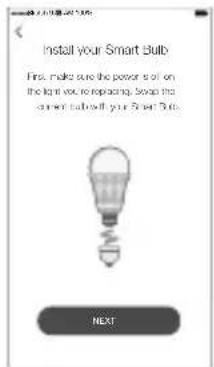
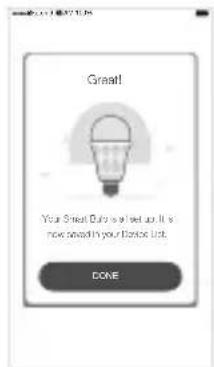
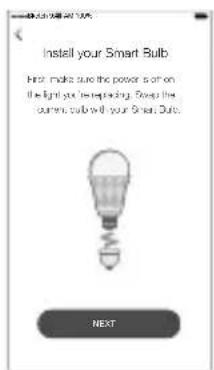
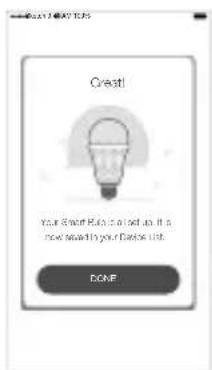
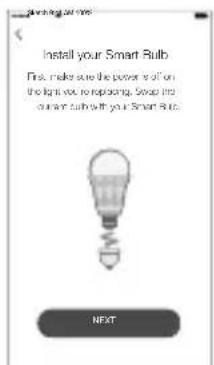
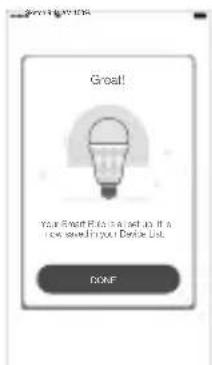
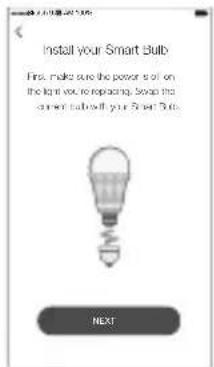
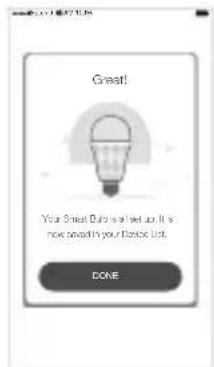
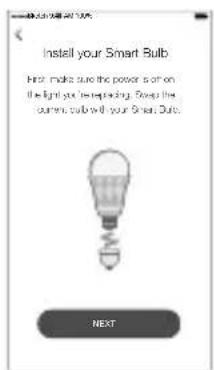
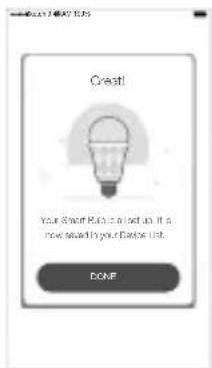
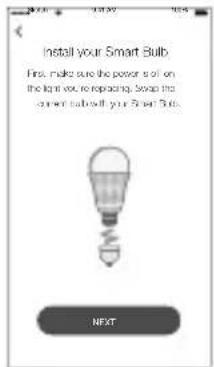
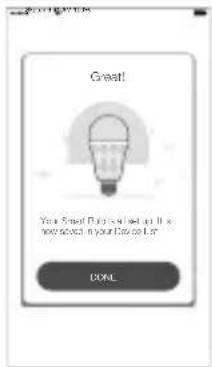
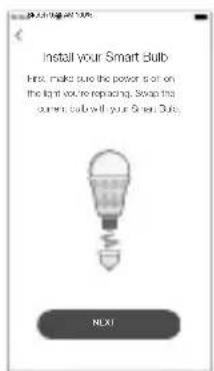
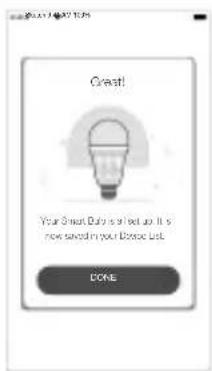
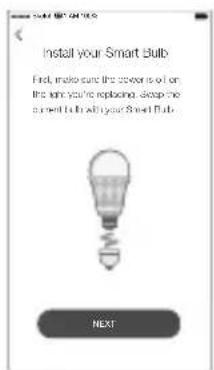
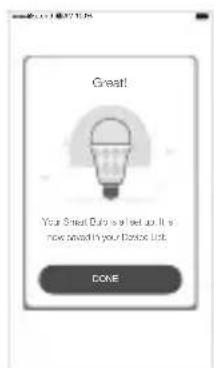
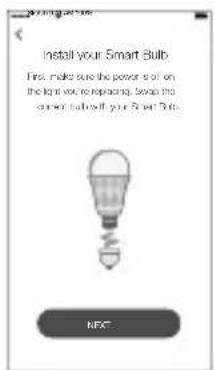
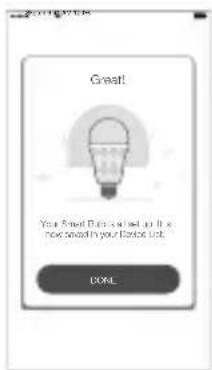
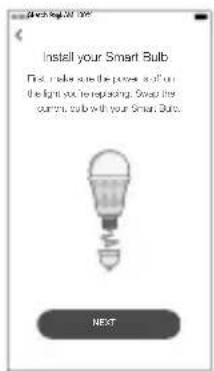
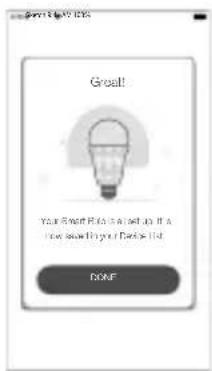
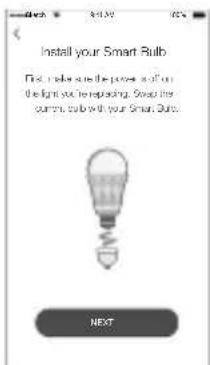
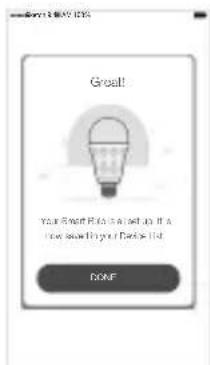
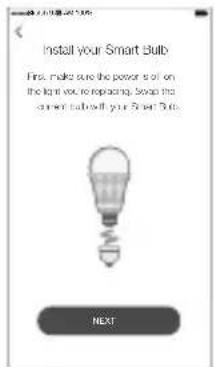
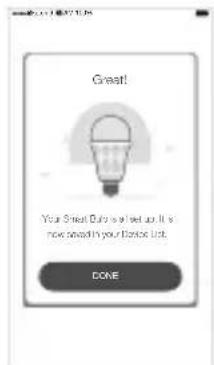
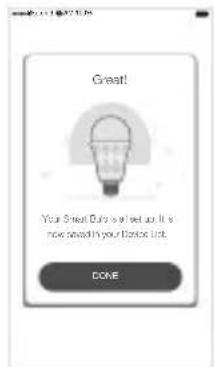
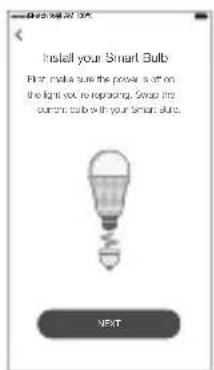
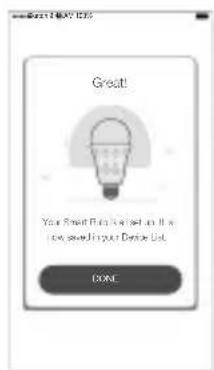
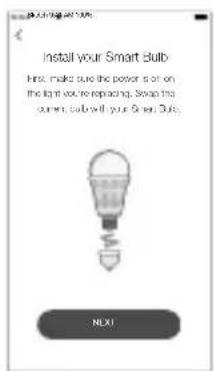
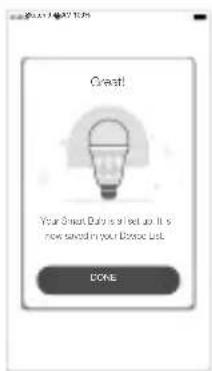
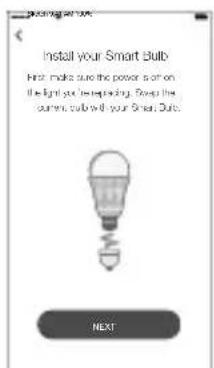
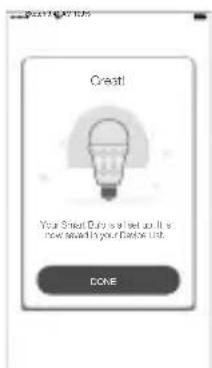
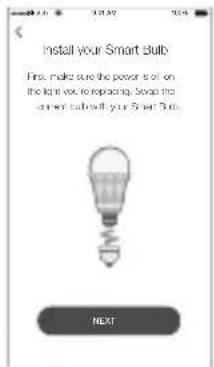
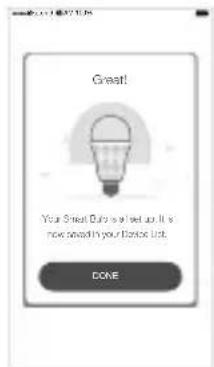
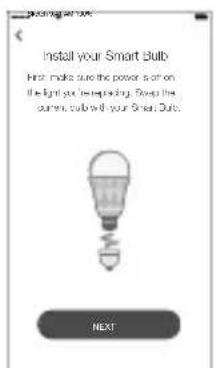
③ Launch Kasa and follow the in-app instructions to connect the Smart Bulb to your home network.
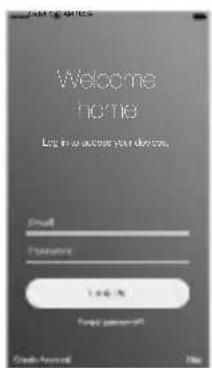
Welcome home Log-in to access your devices. Email Email 1.04.04 Send personal! Send personal

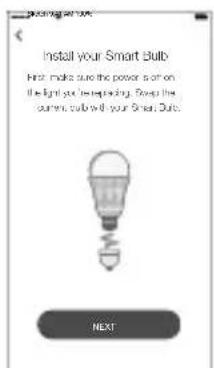
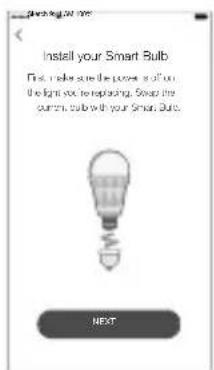
Install your Smart Bulb Hint: make sure the power is on the light you're replacing. Swap the current bulb will your Smart Sub. NEXT

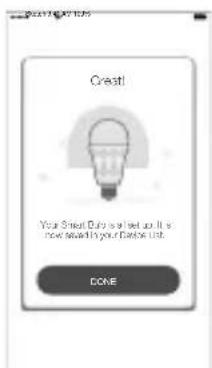
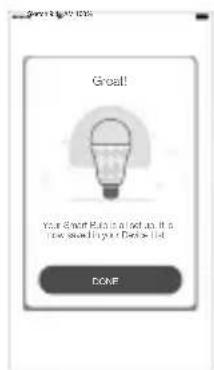
Creatl Your Smart Cure is set up. It's now available in your Calendar Unit. DONE

Frequently Asked Questions

1. The Smart Bulb appears offline or unreachable, what should I do?

  • Check the light switch and make sure that it's switchd to ON. The Smart Bulb requires an "always-on" power supply to operate properly.
  • Make sure you are connected to the same Wi-Fi network to control it locally. To control the Smart Bulb outside of your home, sign in to your Kasa account and enable Remote Control.
  • Reset the Smart Bulb and reconnect it to your Wi-Fi network.

2. How do I reset my Smart Bulb?

  • To reset without losing your configuration settings, turn the light switch controlling the bulb to OFF first, then flip the light switch on and off 3 times.
  • To factory reset, turn the light switch controlling the bulb to OFF first, then flip the light switch on and off 5 times. Note that factory resetting the Smart Bulb will erase all of your custom settings, and you'll have to set it up again.

3. Can I control the Smart Bulbs from multiple devices?

Yes. Download Kasa for Mobile to your devices and sign in using the same Kasa account.

4. How do I pair the Smart Bulbs with Amazon Echo?

Visit www.tp-link.com/en/faq-944.html or within the Kasa Help section for pairing instructions.

Support

If you encounter any issues during installation or configuration, please visit www.tp-link.com/support for web support and troubleshooting information.

Safety Information

  • Keep the device away from water, fire, humidity or hot environments.
  • Do not attempt to disassemble, repair, or modify the device.

Please read and follow the above safety information when operating the device. We cannot guarantee that no accidents or damage will occur due to improper use of the device. Please use this product with care and operate at your own risk.

TP-Link hereby declares that the device is in compliance with the essential requirements and other relevant provisions of directives 2014/53/EU, 2009/125/EC and 2011/65/EU.

The original EU declaration of conformity may be found at http://www.tp-link.com/en/ce.

Важна информация
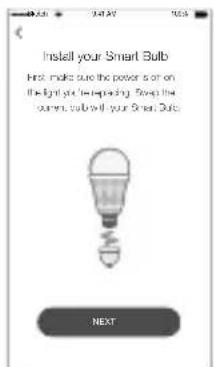
Install your Smart Bulb Find: make sure the power is on the light kit is replacing. Swap the current bulb will your Smart Bulb. NEXT

Creat! Your Smart Build is a set up. It is now saved in your Openbox list. DONE

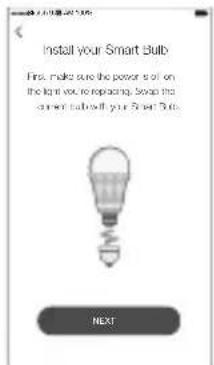
Install your Smart Bulb Hint: make sure the power is on the light you're replacing. Swap the current bulb will your Smart Sub. NEXT

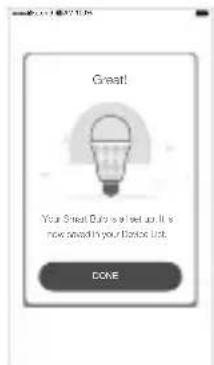
Crest! Your Smart Cure is set up. It's now available in your Calendar Unit. DONE

Install your Smart Bulb First, make sure the power is off on the light you're replacing. Swap the current bulb will your Smart Bulb. NEXT

Great! Your Smart Blu is set up. It's now smooth in your folder list. DONE

Install your Smart Bulb Find media use the price as if on the light you're replacing. Soaps like current bulb with your smart skin. NEXT

Creat! Your Smart Blu is also set up. It's now saved in your Device List. OK

Install your Smart Bulb First, make sure the power is off on the light you're replacing. Swap the current bulb will your Smart Bulb. NEXT

Great! Your Sweet Duts is set up. It's now smooth in your Donor List. DONE

Install your Smart Bulb First, make sure the power as on the light you're preparing. Swap the current bulb will your Smart Duty. NEXT

Crest! Your Smart Menu is set up. It is now available to your Open List. DONE

Install your Smart Bulb First, make sure the power is off on the light bulb, so replacing. Swap into current bulb with your Smart Bulb. NEXT

Great! Your Best Plan is a set-up if a how save in your Device List. DONE!

Συχνές Ερωτήσεις

Install your Smart Bulb First, make sure the power is off on the light you're replacing. Swap the current bulb will your Smart Bulb. NEXT

Great! Your Sweet Duts is set up. It's now smooth in your Donor List. DONE

Install your Smart Bulb Find: make sure the power is on the light you’re replacing. Swap the current bulb will your Smart Duty. NEXT

Crest! Your Master Build is set up. It is now ready to your Master List. DONE

Domande Frequenti

Install your Smart Bulb First, make sure the power is off on the light you're replacing. Snap the current bulb will your Smart Bulb. NEXT

Great! Your Sweet Bulb is set up. It's now smelt in your Donors List. DONE

Install your Smart Bulb First, makes sure the power set out on the light stick to replacing. Swap the current, climb with your Smart Bulb. NEXT

Great! Your Great Rule is a set up. It is How much if your Book List DONE

① Download Kasa for Mobile vanuit de App store of Google Play.
TP-LINK LB110 - Domande Frequenti - 5

TP-LINK LB110 - Domande Frequenti - 6

OF scan de QR code

Welcome home Log information and device Email Access Link Begin process Finish Email

Install your Smart Bulb First, make save the power so of on the light you're replacing. Swap this current bulb will your Smart Bulb. NEXT

Great! Your Great Bulb is asked to like have saved in your code on it DONE

Veelgestelde Vragen

Install your Smart bulb Intel makes sure the power is on the light you're replacing. Swap the current bulb will your Green Sub. NEXT

Creat! Your Smart Baby is shot up. It's now saved in your Store List. COKE

Vanlige spørsmål

Install your Smart Bulb First, make sure the cover is of on the time you're replacing, soap the current bulb with your Smart Bulb NEXT

Great! Your Great Dune is a set up. It's now smed in your Donors List. DONE

Install your Smart Bulb. First, make sure the power is off on the light you're replacing. Swap the current bulb will your Smart Bulb. NEXT

Great! Your Smart Dot is selected as it is now saved in your brand list. DONE!

Perguntas Frequentes (FAQ)

Install your Smart Bulb Next, makes sure the power set off on the light stick to replacing. Swap the current, cable with your Smart Bulb. NEXT

Great! Your Great Plan is set up if a how soon in your Book List. EXPE

Întrebări Frecvente

Install your Smart Bulb First, make sure the power as if on the light set to replacing. Swap the current, bulb with your Smart Bulb. NEXT

Great! Your Sweet Flows is set up if I have seen the second light. DONE!

Install your Smart Bulb First, make sure the power is off on the light you're replacing. Swap the current bulb will your Smart Bulb. NEXT

Great! Your Sweet Dune is a let up. It's now smelt in your Donors List. DONE

Često postavljana pitanja

1. Smart Bulb kao da je isključen ili je nedostupan, šta da uradim?

  • Proverite strujni prekidač i proverite da li je u položaju UKLJUČENO. Da bi pravilno funkcionisao Smart Bulb mora neprestano da bude pod naponom.
  • Proverite da li ste u istoj lokalnoj bežičnoj mreži da biste mogli da ga kontrolišete. Da biste ga kontrolisali kada ste van kuće, pristupite Vašem Kasa nalogu i omogućite Udaljeni pristup.
  • Resetujte Smart Bulb i ponovo ga povežite na Vašu bežičnu mrežu.
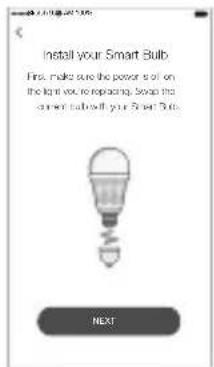
Install your Smart Bulb. First, make sure the power is off on the light kit, no replacing. Swap the current bulb will your Smart Bulb. NEXT

Great! Your Sweet Duts is set up. It's now smooth in your Donor List. DONE

Install your Smart Bulb For make sure the power set on the light not so replacing. Snap into current bulb with your Smart Sluts. NEXT

Great! Your Smart Plus is set to it a how, see in your Device List. DONE!

Install your Smart bulb Intel makes sure the power slot on the light you're replacing. Swap the current, bulb will your Green Sub. NEXT

Creat! Your Smart, Duly is set up. It's now saved in your Invoice List. COKE

Vanliga frågor

Install your Smart Bulb Hint: make sure the power is on the light you're replacing. Swap the current bulb will your Smart Sub. NEXT

Crest! Your Smart Cure is set up. It's now available in your Calendar Unit. DONE

Install your Smart Bulb First, make sure the power is off on the light you're replacing. Swap the current bulb will your Smart Bulb. NEXT

Great! Your Sweet Duts is set up. It's now smooth in your Donor List. DONE

Manual assistant
Powered by Anthropic
Waiting for your message
Product information

Brand : TP-LINK

Model : LB110

Category : Lighting