L90SSS11E - Steamer Logik - Free user manual and instructions
Find the device manual for free L90SSS11E Logik in PDF.


| Product Type | Steamer |
| Brand | Logik |
| Model | L90SSS11E |
| Dimensions (approx.) | 30 x 25 x 20 cm |
| Weight (approx.) | 2.5 kg |
| Power Consumption | 1000 W |
| Water Tank Capacity | 1.5 L |
| Main Functions | Steam cooking, timer, keep warm |
| Material | Stainless steel, BPA-free plastic |
| Safety Features | Auto shut-off, boil-dry protection, cool-touch handles |
| Cleaning & Maintenance | Descaling recommended every 3-6 months |
| Spare Parts Availability | Replacement water tank, steaming trays, heating element |
| Repairability | User-replaceable parts; professional repair recommended for electrical issues |
| Warranty | 1 year (check local retailer) |
Frequently Asked Questions - L90SSS11E Logik
User questions about L90SSS11E Logik
0 question about this device. Answer the ones you know or ask your own.
Ask a new question about this device
Download the instructions for your Steamer in PDF format for free! Find your manual L90SSS11E - Logik and take your electronic device back in hand. On this page are published all the documents necessary for the use of your device. L90SSS11E by Logik.
USER MANUAL L90SSS11E Logik
Stainless Steel Steamer
GB
Instruksjonsmanual
Dampkoker i rustfritt stål
NO
Instruktionsbok
natural_image
Modern kitchen steamer with dual-tiered transparent dish, no visible text or symbolsContents
GB
Safety Warnings 8
Unpacking....28
Getting to know your Steamer....29
Control Panel....30
First Time Use....30
How to use your Steamer....31
Using the Steamer Baskets and Rice Bowl 32
Using a Single Steamer Basket 32
Using Multiple Steamer Baskets....32
Using a Single Steamer Basket with Rice Bowl....32
Operation 33
Care and Maintenance ....34
Cleaning Your Steamer 34
Holding Mode....34
Descaling the Water Basin 35
Recipes 35
Adding More Water During Cooking....35
Vegetables 36
Rice/Grains 37
Fish and Seafood 37
Meat and Poultry 38
Specifications....38
For your continued safety and to reduce the risk of injury or electric shock, please follow all the safety precautions listed below.
- Read all instructions and retain this instruction manual.
- Do not touch hot surfaces. Use oven gloves when removing covers or handling hot containers.
- Be careful, burns and scalding can occur from touching hot parts, hot water, steam or food.
- Position appliance away from walls and cabinets to prevent damage from steam.
- To prevent burns, remove lid slowly with the inside of the lid pointing away from you and let the steam escape gradually.
- Use oven gloves or a cloth when removing the lid, rice bowl and steam baskets.
- Do not reach over the appliance while it is generating steam.
- When checking food, use a long handled spoon or tongs.
• Always use sufficient water for the steaming time. -
Unplug the appliance when not in use. Unplug and allow it to cool before cleaning.
• To protect against electrical shock, do not immerse mains cable, mains plug or base unit in water. -
Close supervision is necessary when any appliance is used by or near children.
- Keep the appliance out of the reach of children when in use.
- Do not operate appliance with a damaged mains cable or mains plug, or after any appliance malfunctions or damage. Return appliance to authorised service facility for repair.
- This appliance can be used by persons aged from 8 years and above and persons with reduced physical, sensory or mental capabilities, or lack of experience and knowledge if they have been given supervision or instructions concerning the use of the appliance in a safe way and understand the hazards involved. Children should not play with the appliance. Cleaning and user maintenance should not be made by children unless they are older than 8 years old and are supervised.
-
Keep the appliance and its cord out of reach of children less than 8 years old.
• This appliance is intended for indoor household use and similar applications such as:
– farm houses and by clients in hotels, motels and other residential type environment;
— bed and breakfast type environment.
• Children should be supervised to ensure that they do not play with the appliance. -
Never immerse the appliance, mains cable or mains plug in water or any other liquid.
- Use the appliance on a stable, level work surface away from water.
- Do not unplug the appliance by pulling on the mains cable.
- If the mains cable is damaged it must be replaced by the manufacturer, its service agent, or similarly qualified persons in order to avoid a hazard.
- Do not place the appliance or any part of the unit near a heat source or in an oven.
- Do not allow the mains cable to hang over the edge of the work surface, as it could be accidentally pulled.
- Do not line the water basin with aluminium foil.
• Use of accessory attachments not recommended.
• Do not let mains cable touch hot surfaces. - Caution when moving appliance containing hot food or other hot liquids.
- Lift and open the cover carefully to avoid scalding, and allow water to drip into the appliance.
-
Do not place the appliance directly under cabinets when operating as this product produces large amounts of steam.
• Some water will remain in the water basin after the steamer has turned off; this is normal. -
Do not use any parts in a microwave or on a heated surface.
- Fill the water basin with water before plugging the mains cable otherwise the appliance may be damaged.
• Always fill the water basin between the Max. and Min. water level before operation. Do not refill during operation as the hot water and steam will scald. - Let the appliance cool down for 30 mins before refilling the water or storing the appliance.
• This appliance is intended for indoor, domestic use only.
Thank you for purchasing your new Logik Steamer.
We recommend that you spend some time reading this instruction manual in order to fully understand all the operational features it offered. Read all the safety instructions carefully before use and keep this instruction manual for future reference.
GB

Unpacking
Remove all packaging from the unit. Retain the packaging. If you dispose of it please do so according to local regulations.
The following items are included:
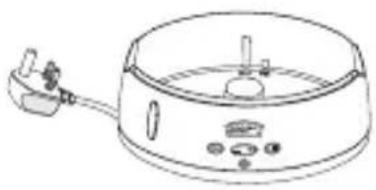
natural_image
Line drawing of a portable stove or cooker with handle and control panel (no text or symbols)Steamer Base
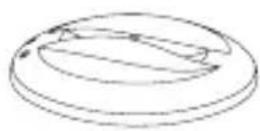
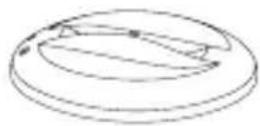
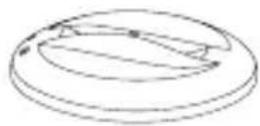
Lid
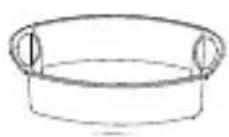
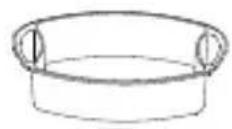
Rice Bowl
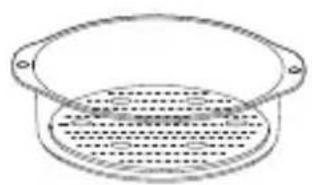
natural_image
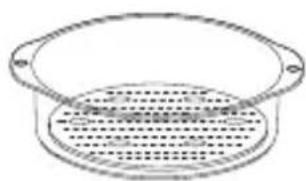
Simple line drawing of a circular object with internal grid pattern and mounting holes (no text or symbols)Steamer Basket No.1
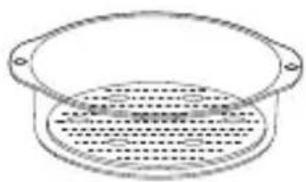
natural_image
Simple line drawing of a circular object with internal horizontal lines and mounting holes (no text or symbols)Steamer Basket No.2
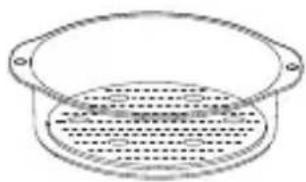
natural_image
Simple line drawing of a circular object with internal horizontal lines and mounting holes (no text or symbols)Steamer Basket No.3
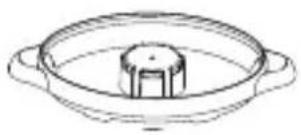
natural_image
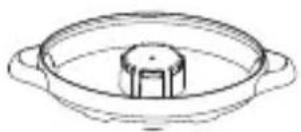
Line drawing of a circular mechanical component with a central hub and two side handles (no text or symbols)Juice Collector

Tube
Instruction Manual

Getting to know your Steamer

The 3 steamer baskets must be stacked in the sequence shown.
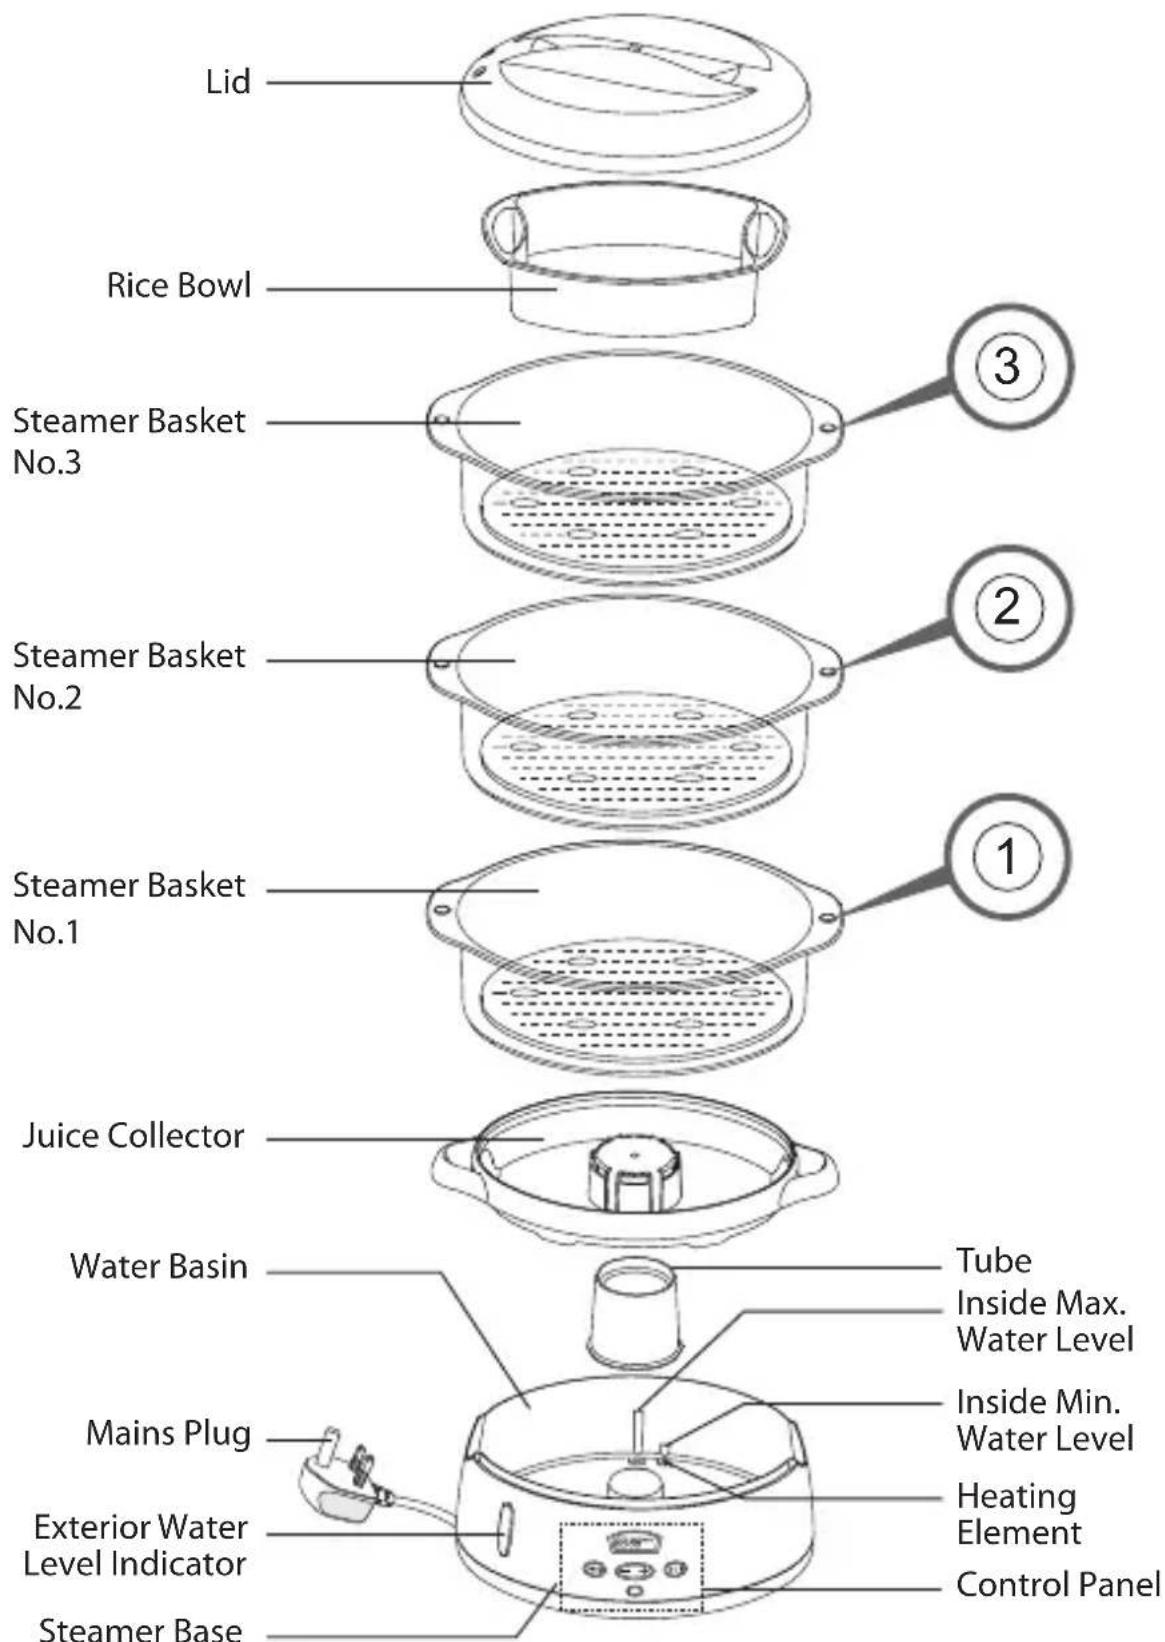


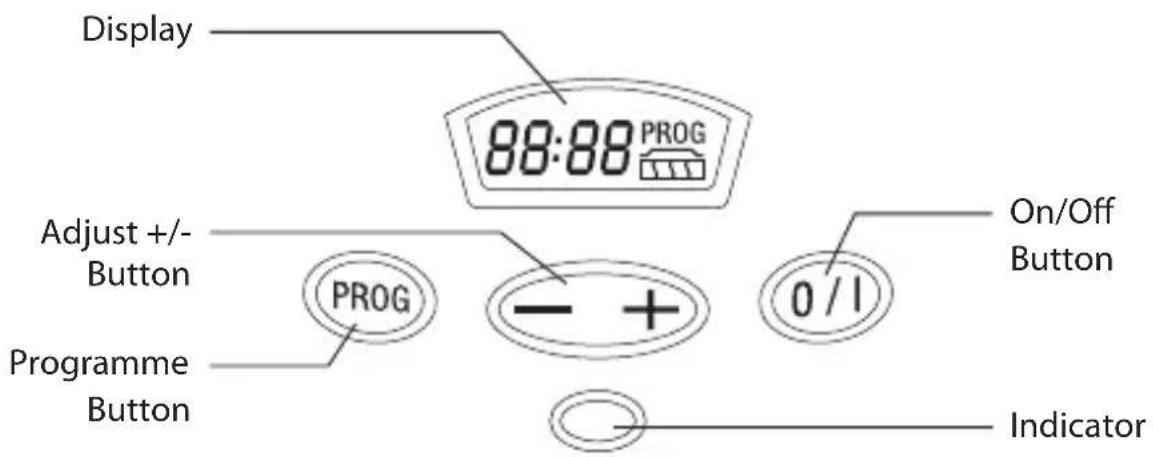
Control Panel

First Time Use
- After removing all packaging from the steamer and accessories, peel off any adhesive labels.
- Wash the lid, rice bowl, steamer baskets and juice collector in warm, soapy water before first use. Rinse and dry thoroughly. Do not immerse the steamer base in water.
- Wipe the inside of the water basin with a damp cloth.
- Check that the voltage rating on the base corresponds to the mains voltage in your home.

How to use your Steamer
-
Place the steamer base on a flat stable surface, away from walls and over hanging cupboards.
-
Firmly place the tube over the heating element in the water basin.
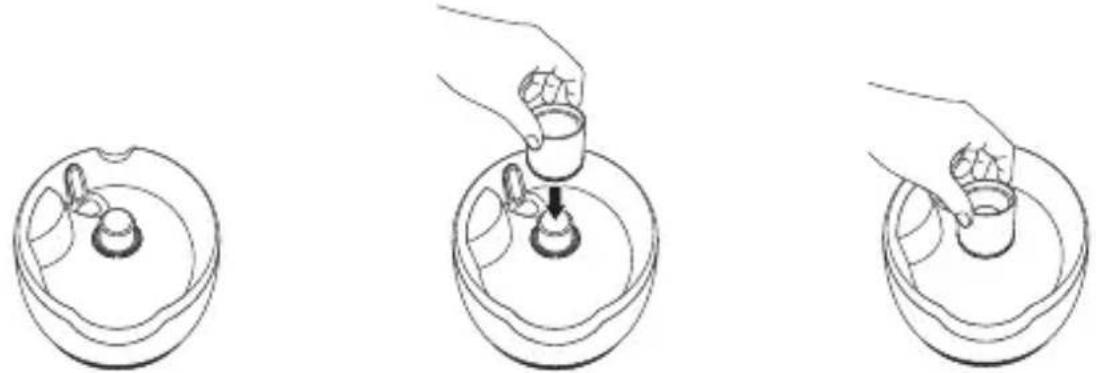
natural_image
Three-step illustration showing a hand pouring liquid into a container, with no text or symbols present.-
Pour cold water into the water basin. Do not exceed the maximum mark.
-
Place the juice collector in the base making sure it sits flat.

Do not add any salt, pepper, seasonings, herbs, wine, stock or any liquid other than tap water to the water basin.
-
Select how many steamer baskets you will need. Put the food into the steamer baskets and stack them in the sequence shown on page 6.
-
If you want to cook rice using the rice bowl, place 1 cup of rice and 1.5 cups of water in the rice bowl (220 grams rice max, 330ml water) and then place the rice bowl in the steamer basket.

Make sure that the steamer is correctly assembled before use. Never use other baskets and parts other than those specially designed for use with this steamer.
-
Cover the steamer basket with the lid.
-
Plug the steamer into the mains socket. Set your cooking time by following the steps in the Operation Section and the timings detailed in the receipes on pages 10-16.
-
Check the water level by looking at the exterior water level indicator. If necessary, add water from the side of the juice collector during cooking.
-
When steaming is complete the unit will beep. Remove the baskets immediately, using oven gloves to prevent burns or scalding.
-
Unplug the steamer from the mains socket and allow it to cool down completely.
-
Empty the water basin and refill it with fresh water before each use.
Boil-Dry Protection System
If the water level in the water basin is too low during operation, the boil-dry protection system will turn off the steamer and the unit will buzz. The steamer will return to clock mode. Add water to the basin and ensure the water level is between the Max and Min marks before resuming operation.


Using the Steamer Baskets and Rice Bowl
Your steamer is equipped with three steamer baskets.
Using a Single Steamer Basket
- Place the food in the steamer basket.
- Place the steamer basket on the steamer base and put the lid on.
Using Multiple Steamer Baskets
- Place the food in the steamer baskets. We recommend that you put the largest pieces of food in the lowest steamer basket.
- Stack the steamer baskets on the steamer base and put the lid on.
Using a Single Steamer Basket with Rice Bowl
- Place the rice and water in the rice bowl.
- Place the rice bowl in the steamer basket.
- Place the steamer basket on the steamer base and put the lid on.

- You can put different foods in the baskets, but since steam will drip from the upper basket, make sure their flavours complement each other. When steaming meat and vegetables, always place the meat in the lowest basket so that juice can't drip onto the other food.
- If you are cooking food with different cooking times, place the food that requires the longest cooking time in the lowest basket and start cooking it first. When the timer reaches the setting for the next basket of food, remove the lid using oven gloves or a cloth, and add the basket to the stack on the power base. Replace the lid.

Operation
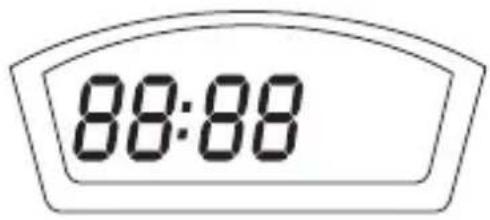
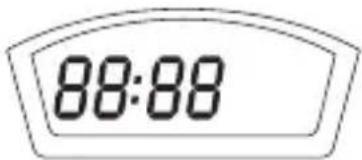
Connect the steamer to the mains socket, the display will show the time.
Clock Mode
- Press the button and the button at the same time, the buzzer will sound.
- To set the clock press the button. Each press (+) increases the time by 10 minutes. Each press (-) decreases the time by 1 minute.
- When the time is correct press the (PRO) button.
Immediate Steam Mode
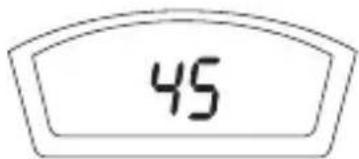
- In Clock Mode press the button until the display shows "45".
- Set the steaming time by pressing the button. Each press increases or decreases the cooking time by 5 minutes. The max. steam time is 90 minutes.
- 2 seconds after setting the time the buzzer will sound. The indicator will illuminate and steaming will commence.
- During steaming, you can press the button to adjust the steaming time.
- Press the Ⓞ button to stop steaming.
Timer Steam Mode
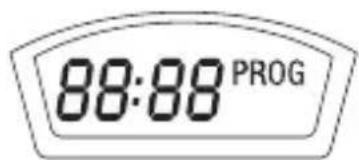
- In Clock Mode press the buttons, the display will show the time and "PROG".
- Set the start time by pressing the + button. Each press increases or decreases the cooking time by 10 minutes.
- Press the (FRO) button until the display shows "45". Then press the button to adjust the steaming time.


-
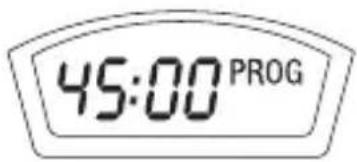
Press the button again, the display will show the time and prog, confirming the steamer has started Timer Steam Mode. When the set time is up, the buzzer will sound and the indicator will illuminate. The steamer will start to steam the food according to the set time.
-
If you want to cancel the Timer Steam Mode, press the 📄 button. The steamer will return to Clock Mode.
Holding Mode
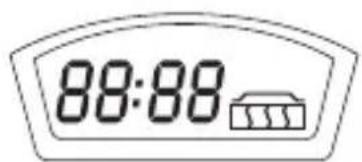
When steaming is finished, the steamer automatically enters Holding Mode. The display shows the time and the holding symbol and the green indicator illuminates. In Holding Mode the steamer warms the food for 2 minutes every 10 minutes.
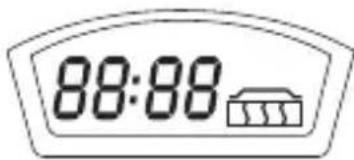
Press the Ⓞ button to cancel Holding Mode. The steamer will return to Clock Mode.

Care and Maintenance
Cleaning Your Steamer
• Never immerse the steamer base, mains cable or mains plug in water.
- Unplug the unit from the mains socket and leave the steamer to cool completely for 30 minutes (minimum) before cleaning.
- Do not clean any part of the steamer with abrasive cleaners e.g. scouring powders, scouring pads, wire wool, washing soda, or bleach.
- Do not clean clear plastic bowls with the abrasive pad of a cleaning sponge.
• We recommend washing the lid, rice bowl and juice collector in hot water and washing-up liquid. Rinse and dry thoroughly.
• Empty the water basin and change the water after each use.
- Do not immerse the steamer base in water. Fill the water basin with warm, soapy water and wipe with a cloth. Rinse thoroughly.
• Wipe the steamer base with a damp cloth.
Descaling the Water Basin
After about 2-3 months' use, some chemical deposits may build up in the water basin or on the heating element, depending on the hardness of the water. It is essential to descale the water basin regularly.
- Fill the water basin to the Max mark with a mixture of white vinegar and water. Do not use any other chemical or detergent.
- Plug the steamer into the mains socket. The steamer baskets, lid, juice collector and rice bowl are not to be used during this operation.
- Set the timer for approx. 20-25 minutes and start steaming. If the vinegar mixture boils over, switch off the steamer and unplug from the mains socket.
- When steaming has finished, unplug the steamer from the mains socket and allow it to cool down before pouring the vinegar mixture out.
- Rinse the water basin several times.

Recipes
- Steaming times stated in the following charts and recipes are intended as a guide. If you have followed the instructions and the food is still not sufficiently cooked, simply steam for a little longer until satisfied.
- The steaming times are all based on food cooked in the lower basket, unless specifically stated otherwise. Food cooked in the upper basket may take slightly longer to cook.
• All times stated in the charts and recipes are based on the use of cold water.
Adding More Water During Cooking
For recipes with long cooking times, reset the timer and top up with more water. When refilling, always switch off the steamer first and empty the juice collector carefully as the liquid may be hot. Add sufficient warm water (but not boiling water) for the remaining time.
Vegetables
• Cut off thick stems from cauliflower, broccoli and cabbage.
- Steam leafy, green vegetables for the shortest possible time as they lose colour easily.
• Salt and season vegetables after steaming for best results.
• Frozen vegetables should not be thawed before steaming.
| Food | Type Quantity | Suggested Steam | Times |
| Artichokes Fresh 3 | Med. 45-50 minutes | ||
| Asparagus Fresh | Frozen | 400g | 13-15 minutes |
| 400g | 16-18 minutes | ||
| Baby Sweetcorn Fresh | Fresh 230g 30-35 minutes | ||
| Green Beans Fresh, | Whole Frozen | 400g | 38-40minutes |
| 400g | 25-28minutes | ||
| Runner Beans Fresh, slices 400g 45-50 minutes | |||
| Broccoli Fresh, florets | Frozen | 400g | 16-18 minutes |
| 400g | 15-18 minutes | ||
| Cabbage Fresh, sliced 400g 35-40 minutes | |||
| Carrots | Fresh. 1/4 in slices | 400g 20-22 minutes | |
| Cauliflower | Fresh, florets | 400g | 16-18 minutes |
| Frozen | 400g | 18-20 minutes | |
| Courgettes | Fresh, 1/4 in slices | 400g 15-18 minutes | |
| Button Mushrooms | Fresh 200g 12-15 minutes | ||
| Peas | Frozen | 400g 15-18 minutes | |
| New Potatoes | Fresh, very small 400g 20-22 minutes | ||
| Spinach Fresh Frozen | 250g | 400g | 8-10 minutes |
| 18-20 minutes | |||
Rice/Grains
• If you prefer stickier rice, remove the juice collector.
- Use the rice bowl and add the required quantity of liquid together with the rice.
| Food Type | QuantityRice or Grain | Water Level | SuggestedSteam Time | |
| Rice White easy cook | 200g400g | 1 cup/ 0.3L3 cups/ 0.6L | 20 minutes30 minutes | |
| Brown 200g 1 | cup/ 0.3L 35 minutes | |||
| Rice Pudding | Pudding rice | 100g rice +30g caster sugar | 1 pt / 0.5Lwarm milk | 75 minutes |
Fish and Seafood
• Fish is cooked when it is opaque and flakes easily with a fork.
- Frozen fish may be steamed without defrosting if separated before steaming and the cooking time is extended.
- Add lemon wedges and herbs while steaming to improve flavour.
| Food | Type | Quantity | Suggested Steam Time |
| Fish Fillets Frozen | Fresh | 250g250g | 10-12 minutes6-8 minutes |
| Fish, 3/4 In Thick Steaks | Cod, salmon Tuna | 250/400g250/400g | 10-12 minutes12-15 minutes |
| Clams Fresh 400g | * Layer shells for maximum | steam flow. Steaming is done when shells are completely open. | |
| Lobster Tails | Fresh | 2 tails | 20-22 minutes |
| Mussels | Fresh 400g 8-10 minutes | ||
| Oysters | Fresh | 6 | 16-10 minutes |
| Scallops | Fresh 400g 8-10 minutes | ||
Meat and Poultry
- Steaming has the advantage of allowing all the fat to drip away during cooking. Due to the gentle heat only choose tender lean cuts of meat and trim off all fat. Meat suitable for grilling is ideal for steaming.
• Marinade meat and poultry with flavoursome sauces before steaming. - Thoroughly cook all food before serving. Pierce with a knife or skewer to check that the centre is cooked and the juices run clear.
• Sausages must be completely cooked before steaming.
• Use fresh herbs while steaming to add flavour.
| Food Type | Quantity Suggested Steam | Time | |
| Beef In slices of | rump,sirloin or fillet steak | 250g 8-10 minutes | |
| Chicken Boneless | breast 4 pieces 12-15 | minutes | |
| Drumsticks 4 pieces 20-25 minutes | |||
| Lamb Chops with or without bone | 4 chops (in thick) 10-15 minutes | ||
| Pork Tenderloin, fillet, loinsteaks or loin chops | 400g or4 pieces (in thick) | 5-10 minutes | |
| Sausages(Pre-Cooked) | FrankfurtersKnockwurst | 400g400g | 15 minutes 10minutes |

Specifications
| Model L90SSS11E | |
| Mains supply | 230V ~ 50Hz |
| Power consumption | 800W |
Features and specifications are subject to change without prior notice.
Takk for at du kjøpte ny Logik dampkoker.
natural_image
Line drawing of a portable appliance with a handle and control panel (no text or symbols)Dampkokerbase
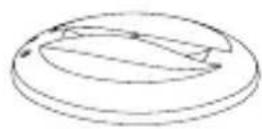
Lokk
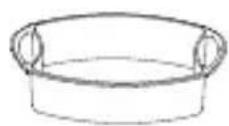
Risbolle
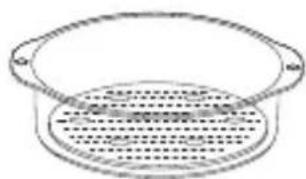
natural_image
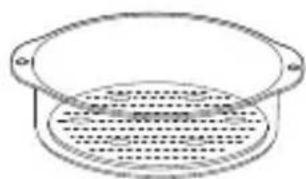
Simple line drawing of a bowl with an open lid and dotted pattern inside (no text or symbols)Dampkurv nr.1
natural_image
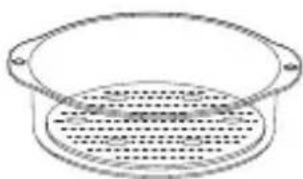
Simple line drawing of a bowl with handles and a central plate (no text or symbols)Dampkurv nr.2
natural_image
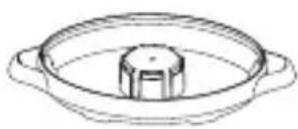
Simple line drawing of a circular container with internal dotted pattern (no text or symbols)Dampkurv nr.3
Saftsamler
Rør
Bruksanvisning

natural_image
Simple line drawing of a bowl with a spoon inside (no text or symbols)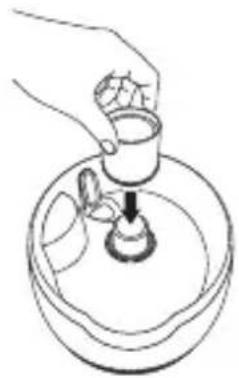
natural_image
Line drawing of a hand pouring liquid into a container with a small object inside (no text or symbols)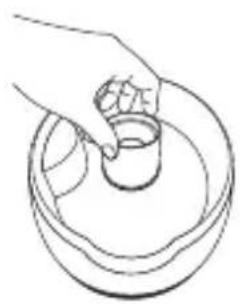
natural_image
Line drawing of a hand pouring liquid into a circular container (no text or symbols)Holde maten varm
natural_image
Line drawing of a portable appliance with a handle and control panel (no text or symbols)Ångningsbas
Lock
Risskål
natural_image
Simple line drawing of a circular object with internal horizontal lines and mounting holes (no text or symbols)Ångningskorg nr.1
natural_image
Simple line drawing of a circular object with internal horizontal lines and mounting holes (no text or symbols)Ångningskorg nr.2
natural_image
Simple line drawing of a circular container with internal horizontal lines and a loop at the top (no text or symbols)Ångningskorg nr.3
natural_image
Line drawing of a circular mechanical component with a central hub and two side handles (no text or symbols)Vätskeuppsamlare

Rör
Bruksanvisning

natural_image
Three-step line drawing showing a hand pouring liquid into a container with a small object, no text or symbols present.
Varmhållningsläge
natural_image
Line drawing of a kitchen appliance with a handle and control panel (no text or symbols)Höyrykeittimen alusta
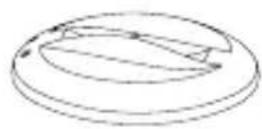
Kansi
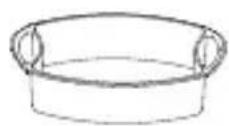
Riisikulho
natural_image
Simple line drawing of a circular container with internal dotted pattern (no text or symbols)natural_image
Simple line drawing of a circular object with a horizontal dotted line inside, no text or symbols present.natural_image
Simple line drawing of a bowl with a handle and inner pan, no text or symbols presentnatural_image
Line drawing of a bowl with a central lid and two side handles (no text or symbols)Nesteenkerääjä

Putki
Käyttöopas

Pitotila
natural_image
Line drawing of a portable appliance with a handle and control panel (no text or symbols)Dampbase
Låg
Risskål
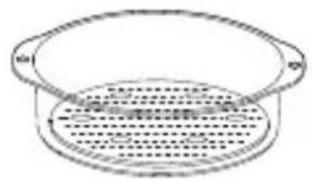
natural_image
Simple line drawing of a bowl with a side plate and internal grid pattern (no text or symbols)Dampskål nr. 1
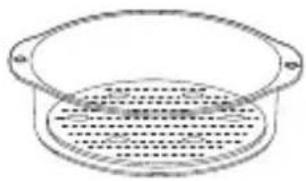
natural_image
Simple line drawing of a bowl with a side rim and internal grid pattern (no text or symbols)Dampskål nr. 2
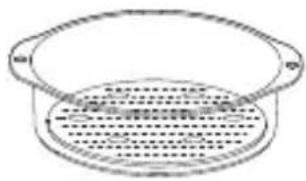
natural_image
Simple line drawing of a bowl with an oval shape and internal dotted lines (no text or symbols)Dampskål nr. 3
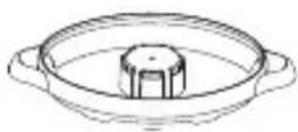
Saftsamler

Rør
Brugervejledning



This symbol on the product or in the instructions means that your electrical and electronic equipment should be disposed at the end of its life separately from your household waste. There are separate collection systems for recycling in the EU. For more information, please contact the local authority or your retailer where you purchased the product.
NO
- Contents
- Unpacking
- Getting to know your Steamer
- Control Panel
- First Time Use
- How to use your Steamer
- Boil-Dry Protection System
- Using the Steamer Baskets and Rice Bowl
- Using a Single Steamer Basket
- Using Multiple Steamer Baskets
- Using a Single Steamer Basket with Rice Bowl
- Operation
- Clock Mode
- Immediate Steam Mode
- Timer Steam Mode
- Holding Mode
- Care and Maintenance
- Cleaning Your Steamer
- Descaling the Water Basin
- Recipes
- Adding More Water During Cooking
- Vegetables
- Rice/Grains
- Fish and Seafood
- Meat and Poultry
- Specifications
- Holde maten varm
- Varmhållningsläge
- Pitotila
- NO
Brand : Logik
Model : L90SSS11E
Category : Steamer