
TAB-527 3G - Tablet MAJESTIC - Free user manual and instructions
Find the device manual for free TAB-527 3G MAJESTIC in PDF.


| Product Type | Tablet |
| Brand | Majestic |
| Model | TAB-527 3G |
| Display Size | 7 inches |
| Display Resolution | 1024 x 600 pixels |
| Processor | Quad-core 1.3 GHz |
| RAM | 1 GB |
| Internal Storage | 8 GB |
| Expandable Storage | microSD up to 32 GB |
| Connectivity | Wi-Fi 802.11 b/g/n, Bluetooth 4.0, GPS |
| Mobile Network | 3G (WCDMA/HSDPA) |
| SIM Card Type | Standard SIM (2G/3G) |
| Rear Camera | 2 MP |
| Front Camera | 0.3 MP |
| Battery Capacity | 3000 mAh |
| Operating System | Android 6.0 or later |
| Dimensions (WxHxD) | 191 x 111 x 10 mm |
| Weight | 280 g |
| Main Functions | Web browsing, video playback, music, gaming, e-reading, apps |
| Cleaning and Maintenance | Wipe with a soft, dry cloth. Avoid liquids and abrasives. |
| Safety Precautions | Do not expose to water, extreme heat, or drop. Use only approved charger. |
| Spare Parts and Repairability | Contact authorized service center for repairs and genuine parts. |
| General Information | Power adapter: 5V/1A. USB port: micro USB. Headphone jack: 3.5mm. |
Frequently Asked Questions - TAB-527 3G MAJESTIC
User questions about TAB-527 3G MAJESTIC
0 question about this device. Answer the ones you know or ask your own.
Ask a new question about this device
Download the instructions for your Tablet in PDF format for free! Find your manual TAB-527 3G - MAJESTIC and take your electronic device back in hand. On this page are published all the documents necessary for the use of your device. TAB-527 3G by MAJESTIC.
USER MANUAL TAB-527 3G MAJESTIC


natural_image
White 3D-printed robot head with red eyes and black ears, displayed in a photo editing interface (no text or symbols on the object itself)1.Toccare l'icona

natural_image
Symbol of a trash bin with no text or numbers presentWhat's inside the box....
Tablet Parts....
Getting started....
How to use TF card ....
How to connect to PC ....
Connection to Internet......
Camera....
Trouble Shooting....
Warnings......
Specifications
Display: 7 inch TN (1024x600) Capacitive multi-touch screen
CPU: A7 Quad Core SC7731G da 1.3GHz
RAM: 512MB DDR III
GPU Mali 400 MP2
Internal Storage: 4GB*
Expansion Memory: Micro SD card up to 32GB (not supplied)
Built-In Wireless: 802.11b/g/n
SIM 3G module
GSM frequencies (GPRS/EDGE) 850/900/1800/2100MHz
3G frequencies (WCDMA) 900/2100MHz
HSDPA support up to 14,4Mbs and HSUPA up to 5,76Mbs
Built-in Bluetooth (4.0 V)
Built-in GPS (GPS + AGPS)
FM Radio
Double camera: front 0,3 Mpixels and back 2 Mpixels
AC Adapter: DC 5V-2A
Operating System: Android 4.4.2 KitKat
* note: internal memory is divided in two partitions, system partition (hidden) and user partition (visible).
In the hidden partition is included the software necessary to recovery the operative system and the installed applications, while in the visible partition you can find the user data.
What's Inside The box
Tablet - 1pc
Power Adapter -1pc
USB Cable-1pc
OTG Cable-1pc
Instruction manual - 1pc
Warranty card 1pc
Tablet Part


| Name function | |
| Volume + Press to increase the volume | |
| Volume - Press to decrease the volume | |
| Power | Keep pressed to turn on/off the tablet; shortly press to activate standby |
| Reset Reset the system in case of device stuck and restart | |
| Earphone jack Connect earphone to this standard 3.5mm jack | |
| Micro USB port/OTG port | PC connection / Peripheral connection through HOST cable (for example keyboard, USB device) |
| Back camera 2 Mpixels camera | |
| Front camera 0,3 Mpixels camera | |
| Micro SD input Insert a micro SD card (up to 32GB) | |
| SIM slot SIM card port | |
Getting Started
Battery Charging
The tablet has a built-in rechargeable Li-polymer battery.
- To charge connect the AC power adapter to the micro USB jack on the top side of the tablet.
- The battery icon shows the battery status and charging status

- The tablet can be used even if the battery is being charged.
- no replacement of battery without authorization, or the explosion hazard might happen.
- Recharge it for at least half hour if it has been idle for long time and fails to start itself.
- Regularly recharge it at least one time monthly
- 35^ — 5^ is the optimum temperature for the battery recharging or the battery performance might deteriorate slightly
Disposal
the battery might contain the polluting material, please give it to the official recycling-station before disposing the tablet pc, and don't litter.
Power ON/OFF
ON:
press the ⏻ button for continuous 5 seconds until the tablet turns "ON".
OFF:
-
Press the ⏻ button for continuous 5 seconds and it will appear
-
Select OK to power off the tablet
Screen Lock
This feature locks the screen, at the same time turn OFF the screen's backlight after a few seconds.
Screen locks when:
- System is idle.
- Manually activated by pressing the Power button once.
Screen unlock :

Home screen
The Home screen will look similar to the picture below. To switch between screens, simply slide your finger left or right across the display.
The status bar and navigation buttons are always visible, no matter which Home screen you can currently viewing.

The Desktop contains shortcuts to your most-used applications and widgets Touch the screen icon to quickly search the World Wide Web using Google.

The icon will launch the Application menu.
The status bar displays system information, such as current time, wireless connectivity and battery.
Slide your finger from the top edge towards inside to display notification menu.

The button moves back one step to the previous menu/page.
The button returns immediately to the main screen.
The button display a menu of recently opened applications.
Settings Menu
The settings menu allows you to adjust Tablet system configuration.
To change settings:

-
Touch the "Settings" menu icon on the Application menu. The Settings menu will open.
-
Touch a category title to view further options on the right side of the screen.
Wi-Fi - Connect to /disconnect from wireless networks, view connection status
Data usage - Enable / disable mobile data, view current usage, set mobile data limit (note: this function is available only on devices supplied with 3G card)
Sound and notifications - Change audio profiles and notifications management
Display - Change brightness, wallpaper, sleep settings, font size etc
Storage - Manage NAND and Micro SD card, view available capacity etc
Battery - See battery status and powered-on time
Apps - Manage applications, running services etc
Location services - Change approximate location detection, improve search results, GPS satellites
Security - Change screen lock type, encryption, password, credential storage etc
Language & input Select language, add to the dictionary, edit on-screen keyboard settings, vocal search, etc
Backup & reset - Backup & restore data, perform factory reset, etc
Date & time - Set date, time zone, time, clock format etc
Turn on/off – automatic turning on / off settings
Accessibility - Set up large text, auto-rotate screen, speak password etc
About telephone - Information about your Android device
Telephone function
-
in off mode insert SIM card in the slot.
-
after inserting SIM card turn on the tablet and wait to display the cell reception icon.
-
once the connection with the operator open the application

and dial the number.

How to Use TF card
-
Insert the TF card into the TF card slot. Gently push TF card into slot until it clicks into place.
-
A prompt will be seen on the screen saying "Preparing SD card"
Removing TF card
-
Close all applications and documents which have been opened from the TF card.
-
Select "Setting" and find "Storage" then click "Unmount SD card".
-
A prompt will be seen on the screen saying "SD card safe to remove"
-
Gently press the TF card to remove and pull out the TF card.
Note: Insert the TF card in correct position, otherwise it will damage the card and the slot.
Software Keyboard
The tablet has a software keyboard which automatically show up when you tap the place on screen where text or number are to be entered.

Touch Screen
The touch screen responds to finger touch.
Note: don't place any object on the touch screen for it may damage or crush the screen.
Single Click: single click one icon to choose the icon or option you want.
Long Press: press and hold one icon to make appear a menu related to the executed function (if available).
Drag: press the icon and drag it to a different screen.
How to connect with computer
Note: Turn on your Tablet before connect the Tablet to PC by USB cable.
1 Use USB cable to connect tablet with computer. System will notice USB connected on top of screen.
2 The PC will detect an external disc named "mid"; this is the internal memory of the tablet.
3 Then the USB connection has been successfully.
Connection to Internet
Wireless:
1 Select "Settings"
2 Select "Wi-Fi" and slide OFF to ON status.
3 All detected wireless networks in the area will be listed, Click to select desired wireless connection.
4 Enter network key if necessary.
5 Once connected to a wireless network, settings will be saved
6 Wireless icon will appear on the taskbar when connected successfully.
Note: when the tablet detects the same wireless network in the future, the device will connect to the network automatically with same password record.
Web Browsing
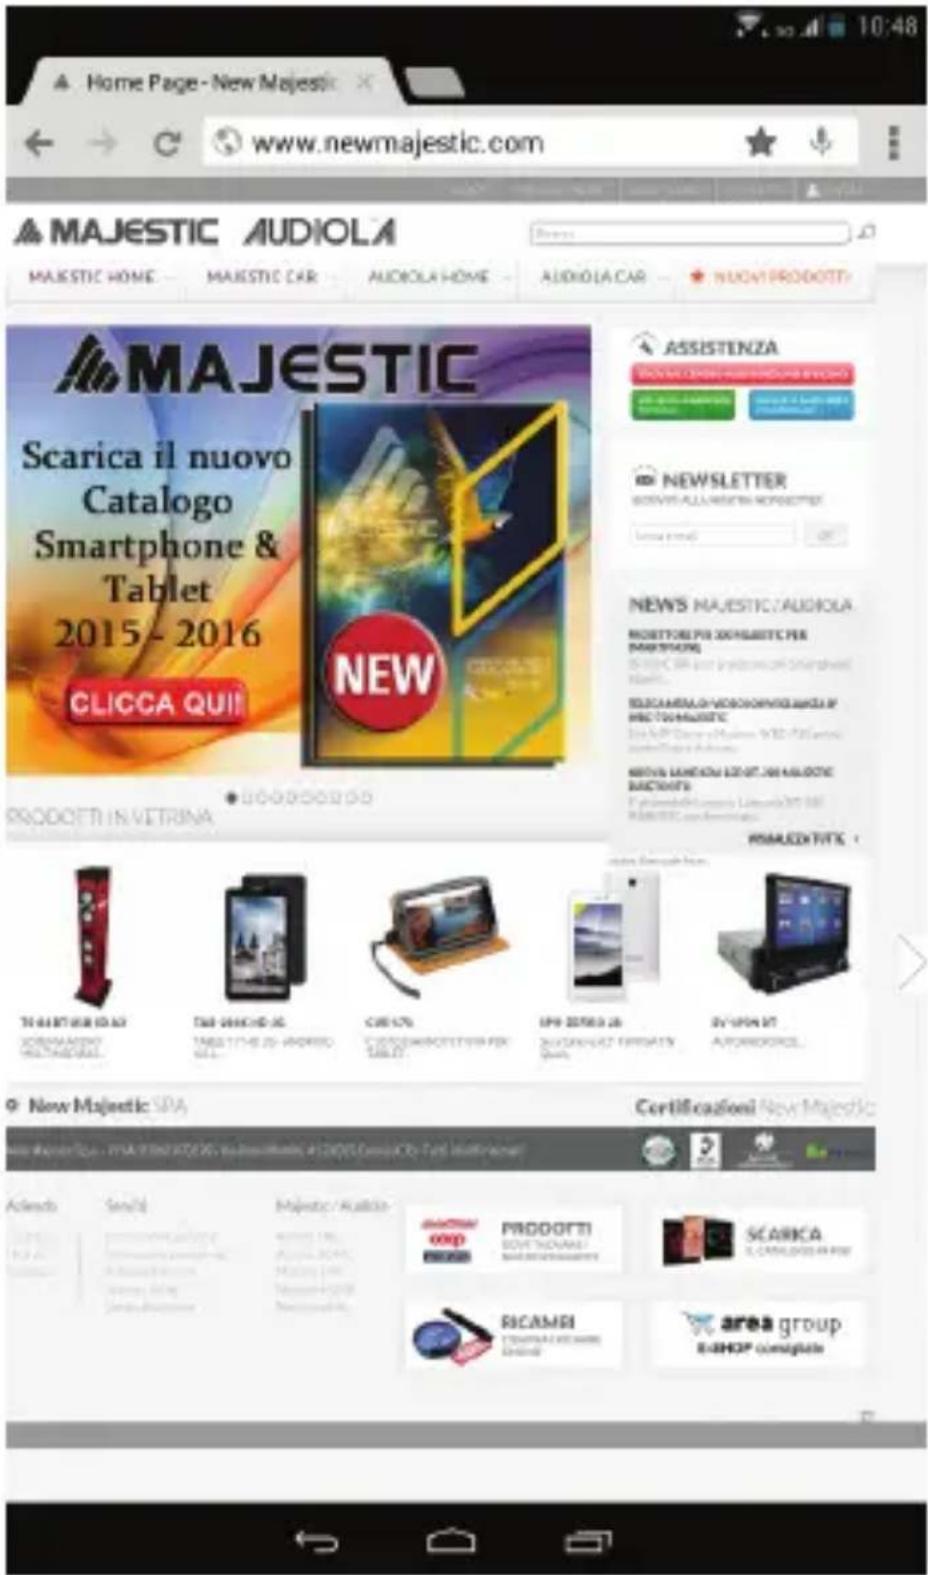
Connect to the internet and launch the browser.
Camera
Touch the icon to enter camera mode and the interface is shown as follows:

natural_image
White 3D-printed robot head with black nose and red eyes, displayed in a studio photo editing interface (no text or symbols on the object itself)- Touch the icon

to take photo
- touch the icon
to start camera recording.
- touch the icon

bottom right to see the previous picture. Click
return button to exit camera interface.
- touch the icon
to switch from front to back camera.
Trouble Shooting
Close Application
When an application is not responding you can close it and will make system response faster. Please shut down all idle applications to release memory and get the system speed back to normal.

To close the application, click the icon on the shortcut bar to enter the system configuration interface. Select the Application → Running services and the interface is shown as follows:

Tap the application you want to close. A pop-up window will be displayed. Tap "Stop" to close that application.
Mandatory Power off
- Press and hold the power button for 5 seconds and the device will be powered off.
- Press the reset button on the back and the device will be forced to be powered
off.
If you want to reset the factory setting and erase all materials, please press Settings → Backup & reset → Factory data reset.
** Warning: Factory data reset setting will delete your data and configuration of system and applications from downloading.
**Please use this function carefully.
WARNINGS
- Do not upgrade the operating system with new or different versions, the device could be damaged.
- The guide to applications use, if available, will be directly inserted in the application by the developers. New Majestic doesn't take charge of possible errors found in the online guides.
- All brands and copyright are property of the related owners.
- New Majestic Spa is not responsible for the e problems of incompatibility found during the use of software developed by third party. New Majestic Spa declines all responsibilities on the breach of copyright from the user.
- Specifications
- What's Inside The box
- Getting Started
- Battery Charging
- Disposal
- Power ON/OFF
- Screen Lock
- Home screen
- Telephone function
- How to Use TF card
- Removing TF card
- Software Keyboard
- Touch Screen
- How to connect with computer
- Connection to Internet
- Wireless:
- Web Browsing
- Camera
- Trouble Shooting
- Close Application
- Mandatory Power off
- WARNINGS
Brand : MAJESTIC
Model : TAB-527 3G
Category : Tablet