
31-1161 - Barbecue Clas Ohlson - Free user manual and instructions
Find the device manual for free 31-1161 Clas Ohlson in PDF.


| Product Type | Barrel Barbecue Grill |
| Brand | Clas Ohlson |
| Model | 31-1161 / CS200E |
| Fuel Type | Charcoal and charcoal briquettes |
| Cooking Grate Material | Enameled steel |
| Warming Rack | Yes, included |
| Side Tables | Yes, two |
| Thermometer | Yes, in lid |
| Air Vents | Adjustable, on lid and bottom section |
| Ash Extraction Door | Yes, with latch |
| Charcoal Grate Levels | Two height positions for heat control |
| Wheels | Yes, 2 with locking nuts |
| Tool Included | Hook for adjusting air vents and grates |
| Assembly Required | Yes, detailed instructions provided |
| Outdoor Use Only | Yes, never use indoors |
| Safety Warning | Carbon monoxide risk in enclosed spaces |
| Cleaning Method | Mild cleaner; oven cleaner for burnt residue |
| Storage | Dry place, sheltered from elements |
| Disposal | Follow local regulations |
| Certification | Firelighters must meet EN 1860-3 |
Frequently Asked Questions - 31-1161 Clas Ohlson
User questions about 31-1161 Clas Ohlson
0 question about this device. Answer the ones you know or ask your own.
Ask a new question about this device
Download the instructions for your Barbecue in PDF format for free! Find your manual 31-1161 - Clas Ohlson and take your electronic device back in hand. On this page are published all the documents necessary for the use of your device. 31-1161 by Clas Ohlson.
USER MANUAL 31-1161 Clas Ohlson
Barrel Barbecue Grill
Grilltunna med lock
Grilltonne med lokk
Grilli
natural_image
Line drawing of a portable grill with wheels and control panel (no text or symbols)Art.no
31-1161
Model
CS200E
Ver. 20170928
Barrel Barbecue Grill
Art.no 31-1161 Model CS200E

We read the entire instruction manual before using the product and save it for future evidence. We reserve the right for any errors in text or images and any necessary changes made to technical data. If you have any questions regarding technical problems please contact our Customer Services (see address details on back).
Safety
- Make sure that the BBQ sits on a stable level surface during use.
• Warning: The grill becomes extremely hot and must not be moved during use.
• The grill may not be used indoors.
• Exercise extreme caution. Never use petrol, meths or other accelerants. - Exercise extreme caution. Only use firelighters which meet the EN 1860-3 European standard.
• Warning: Keep children and pets at a safe distance away from the barbecue.
• Never leave the grill unattended. - Only charcoal and charcoal briquettes may be used in the barbecue.
- Use BBQ/oven mitts or grill tongs while grilling.
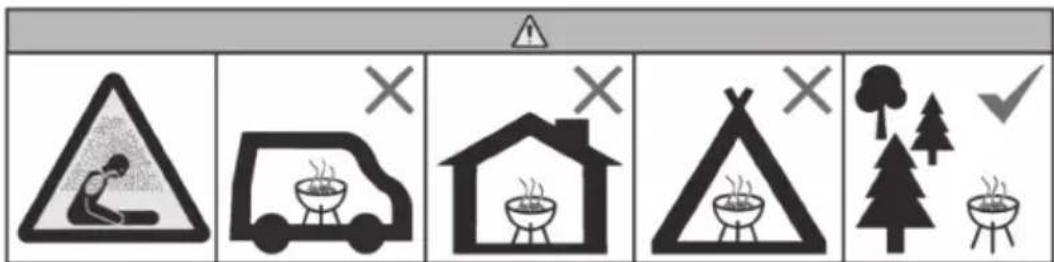
Do not use the barbecue in a confined and/or habitable space e.g. houses, tents, caravans, motor homes, boats. Danger of carbon monoxide poisoning fatality.
Care and maintenance
• Always allow the BBQ to cool completely before attempting to clean it.
- Clean the grill using a lightly moistened cloth. Only use mild cleaning agents, never solvents or corrosive chemicals. If the enamelled grill racks are extremely caked in burnt residue you may use enamel cleaner or oven cleaner for cleaning and carefully following the manufacturer's instructions for proper usage.
• Make sure that the grill is completely dry before storing.
- Store the grill sheltered from the elements or in a dry area.
Disposal
This product should be disposed of in accordance with local regulations.
If you are unsure what to do, contact your local authority.
Assembly
Assemble the barbecue according to the figures below. Please follow the instructions carefully to ensure that the proper screws are to used for assembly.
Parts list
①
⑨16
natural_image
Simple line drawing of a rectangular container with cutouts and a labeled dimension (no text or symbols)O
natural_image
Pure electrical circuit lines without any symbols②

10
17

③
natural_image
Simple line drawing of a rectangular frame with rounded corners and corner notches (no text or symbols)11
18

4

12
20

5
13
21
A

E

I

⑥

14
B

F

J

7
15
©

G

D
H

8
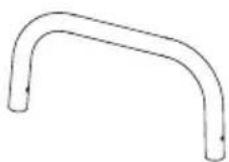
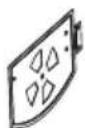
- Handle
- Thermometer
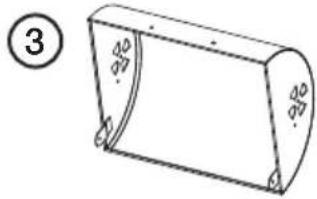
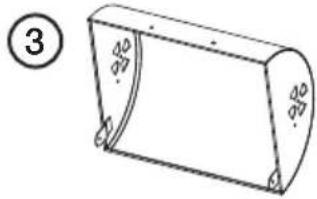
- Lid
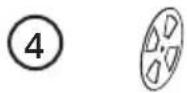
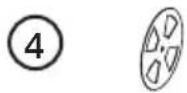
- Air-flow vent
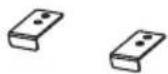
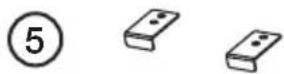
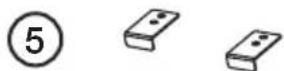
- Handle reinforcement plates
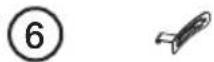
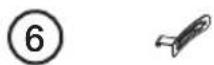
- Ash extraction door latch
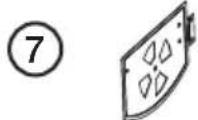
- Ash extraction door
- Ash extraction door latch catch
- Bottom section
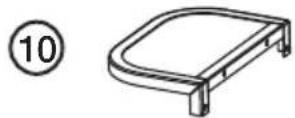
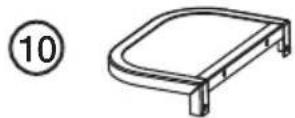
- Side tables
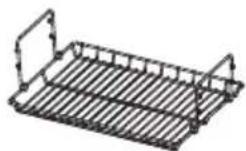
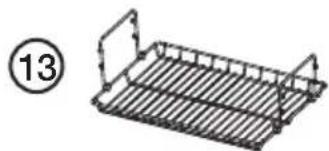
- Warming rack
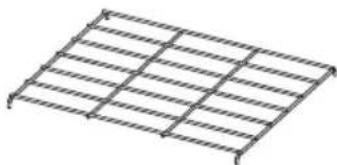
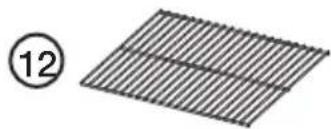
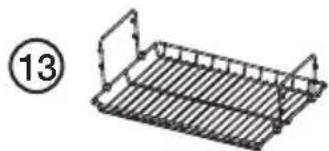
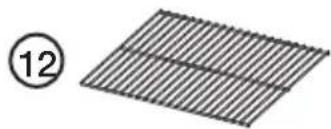
- Grill Rack
- Charcoal grate
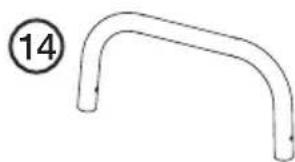
- Upper leg sections
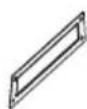
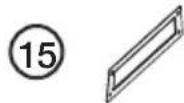
- Support brackets
-
Wire shelf
-
Lower wheel-mount legs
- Lower support legs
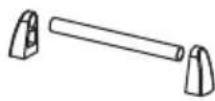
- Wheel spindle
- Wheels
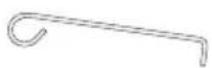
- Tool for adjusting hot air vents and grates whilst grilling
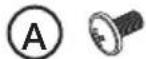
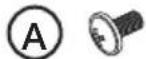
A. Screw M4 × 10
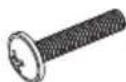
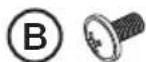
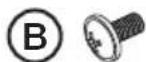
B. Screw M6 × 16
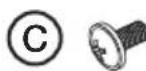
C. Screw M6 × 12
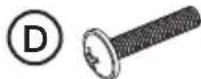
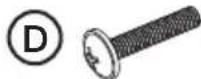
D. Screw M6 × 45
E. Nut M4
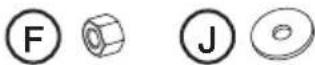
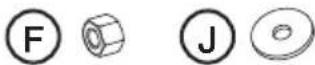
F. Nut M6
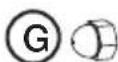
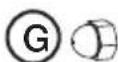
G. Dome nut M6
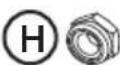
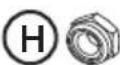
H. Locking nut M8
I. Flat washer M4
J. Flat washer M6
Exploded view
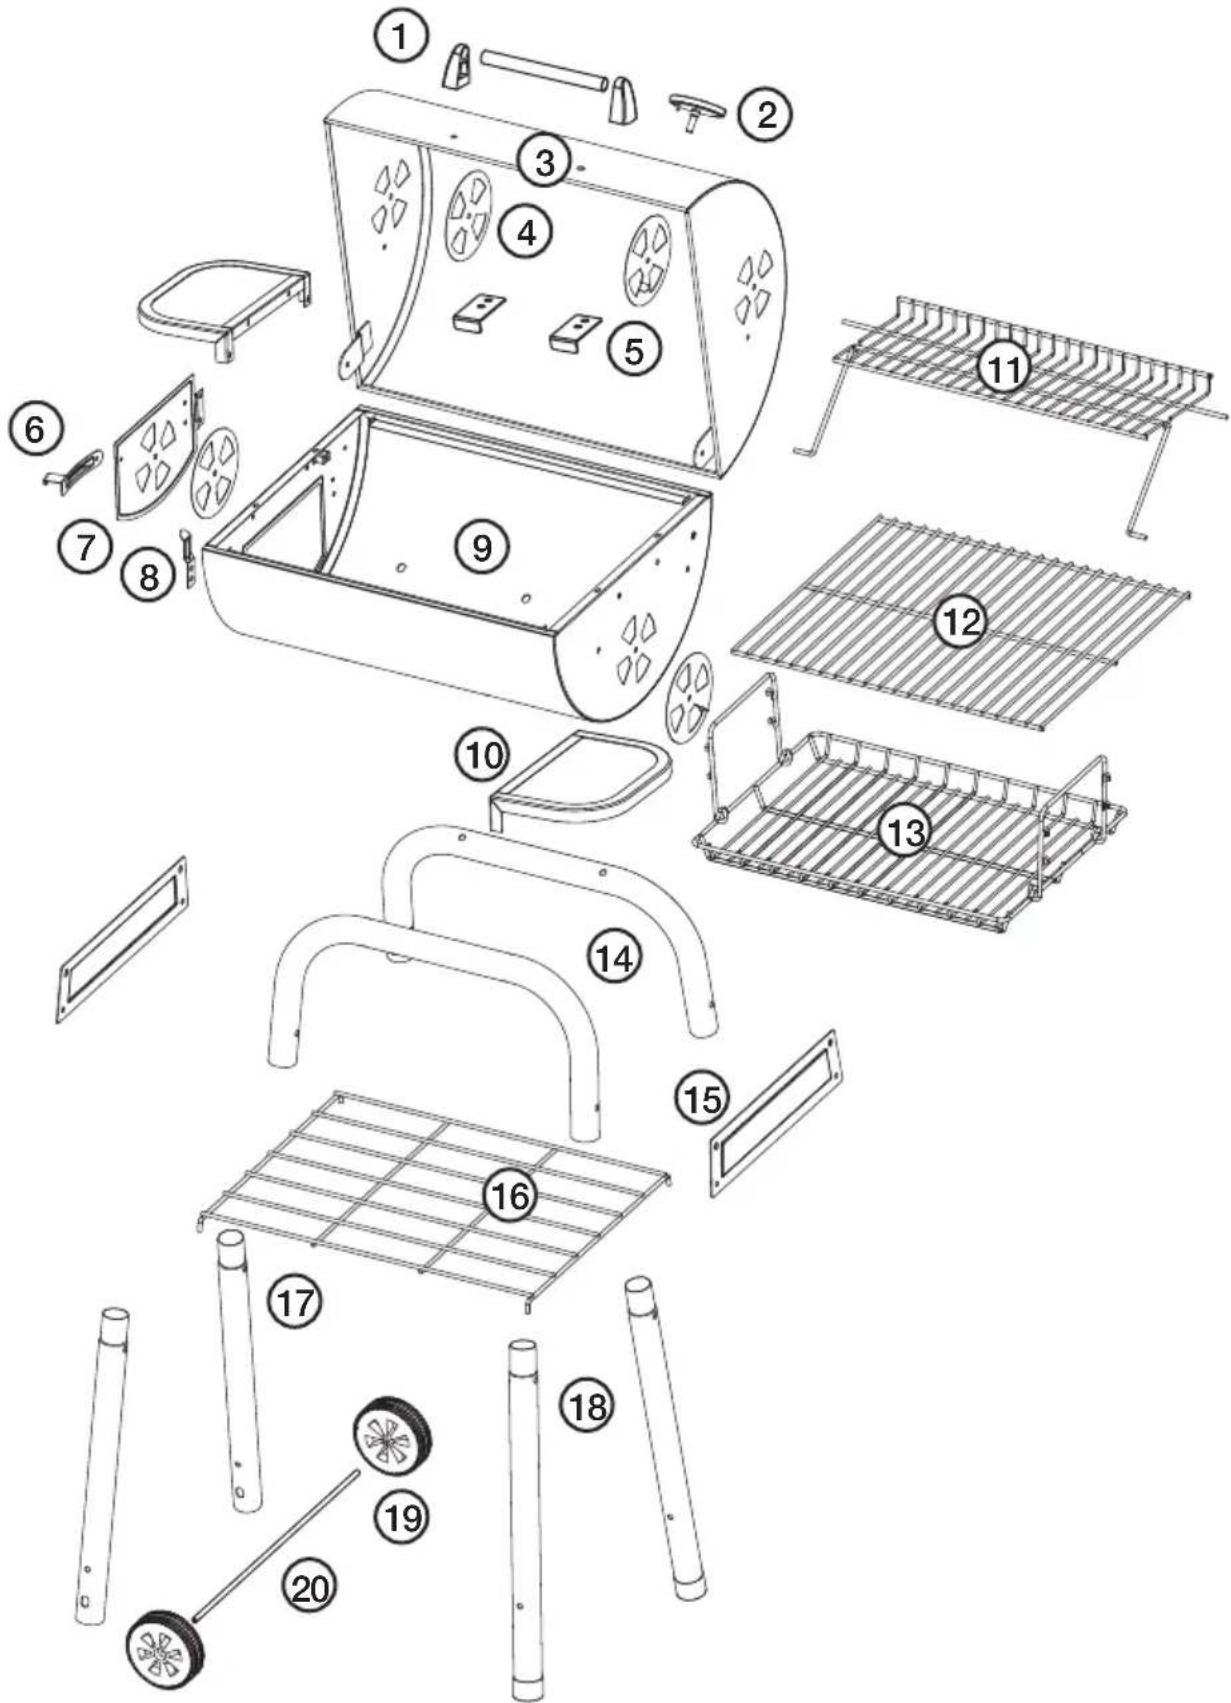
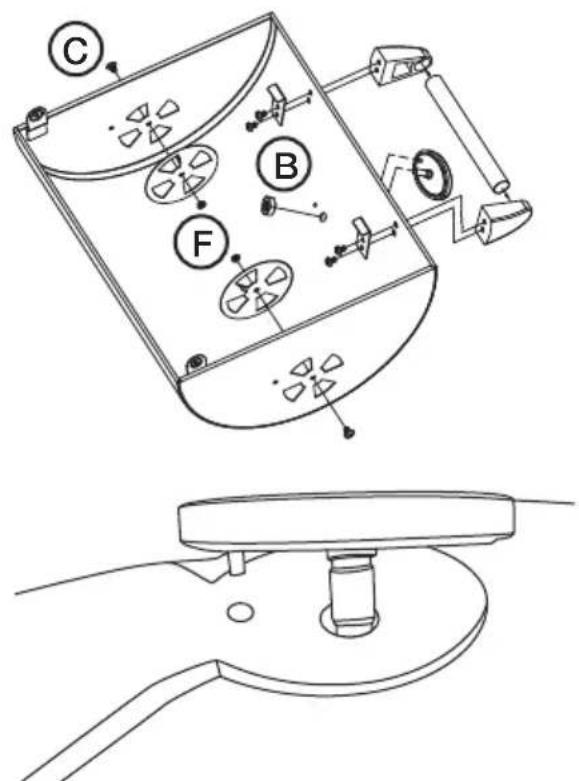
Lid handle, thermometer and air-vents
-
Mount the handle (1) onto the lid (3). Place the handle reinforcement plates (5) on the inside of the lid and use four M6 × 10 screws (B) for screwing the handle securely into place.
-
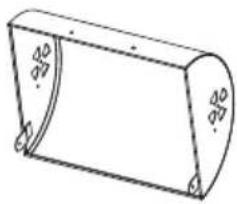
Mount the air vents (4) onto the lid's sides by using two M6 × 12 screws (C) and two M6 nuts (F) for securing into place.
-
Mount the thermometer onto the lid by ensuring that the pin sits into its insertion hole. Tighten the nut with moderate strength to secure.
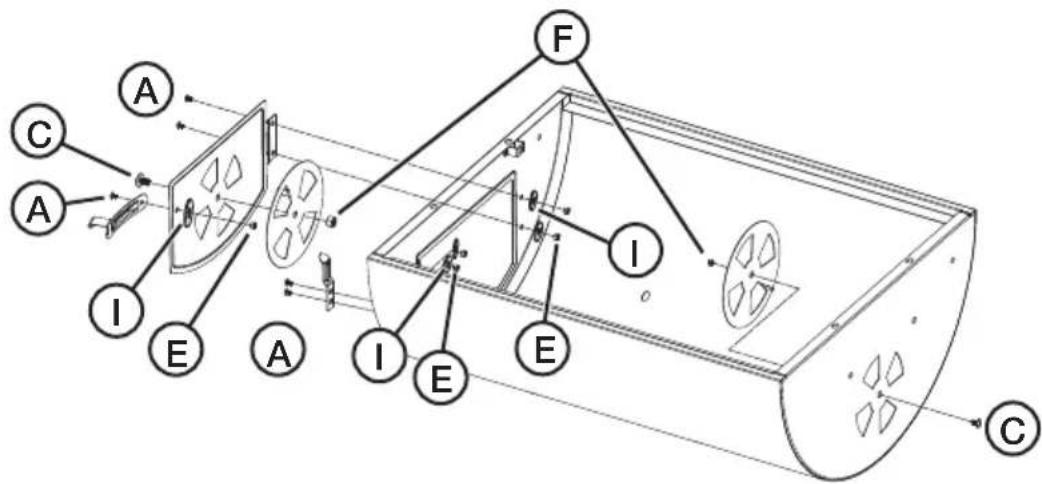
Bottom section air vents and ash extraction door
-
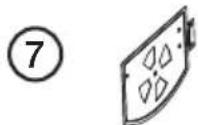
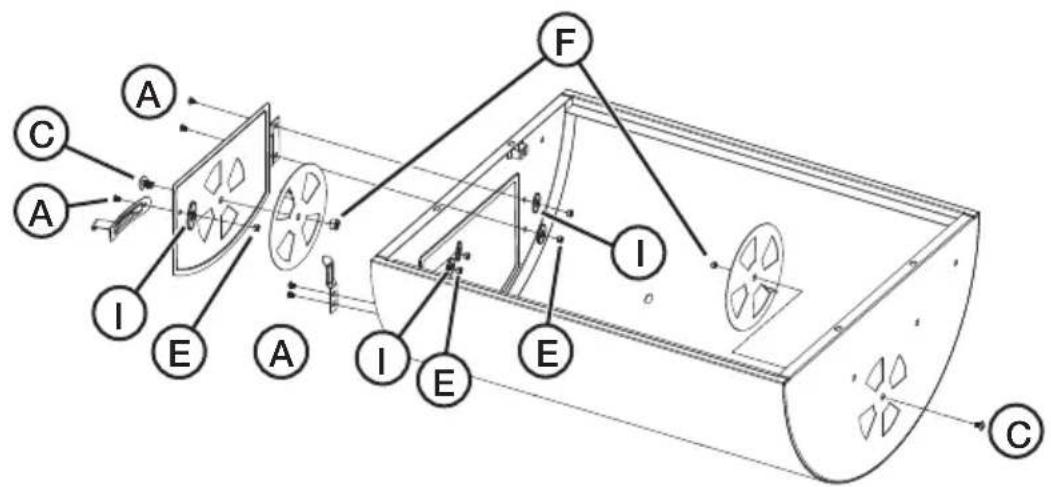
Mount one air vent onto the side of the bottom section (9), and the other vent onto the ash extraction door (7). Use two M6 × 12 screws (C) and two M6 nuts (F) for securing into place.
-
Mount the ash extraction latch (6) onto the ash extraction door. Use one M4 × 10 screw (A), one flat washer M4 (I) and one M4 nut (E).
-
Mount the catch onto the bottom section. Use two M4 × 10 screws (A), two flat washers M4 (I) and two M4 nuts (E) for securing into place.
-
Mount the ash extraction door onto the bottom section. Use two M4 × 10 screws (A), two flat washers M4 (I) and two M4 nuts (E) for securing into place.
Side tables
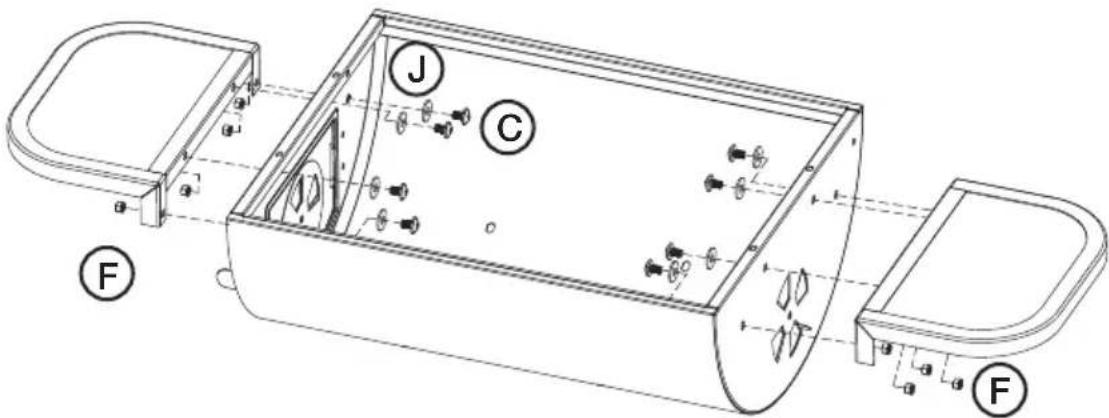
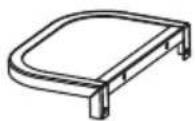
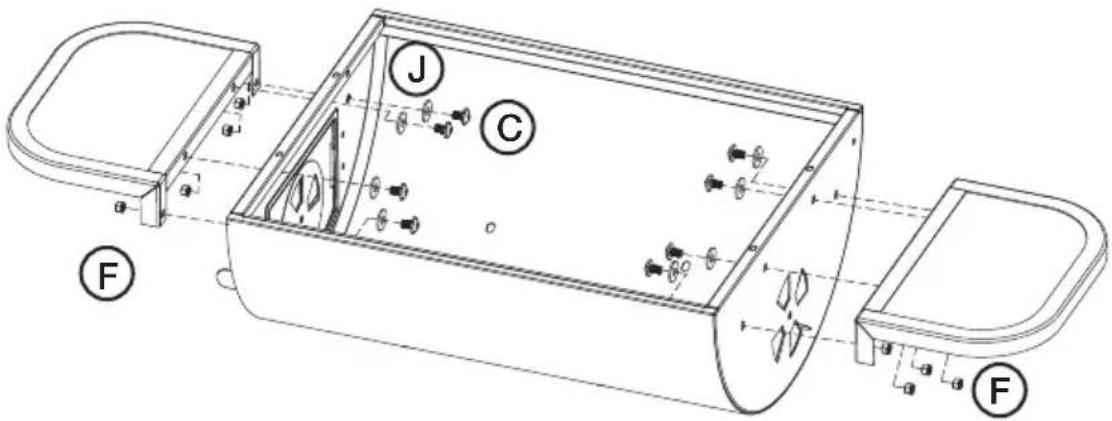
Mount the side tables (10) onto the bottom section's sides. Use eight M6 × 12 screws (C), eight flat washers M6 (J) and eight M6 nuts (F).
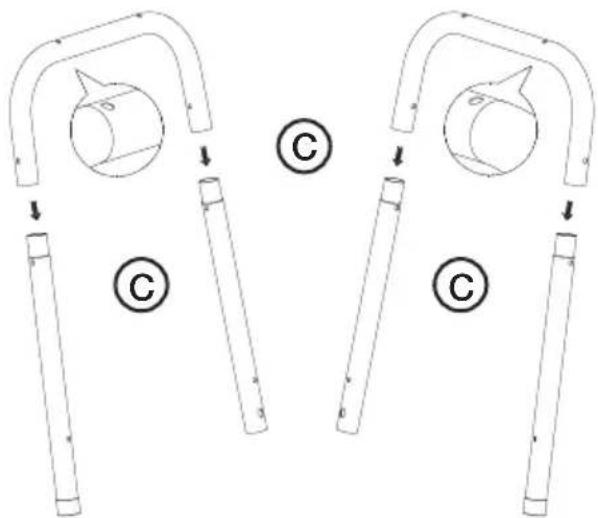
Legs
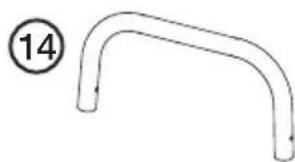
Join the upper section legs (14) to the lower sections (17 and 18).
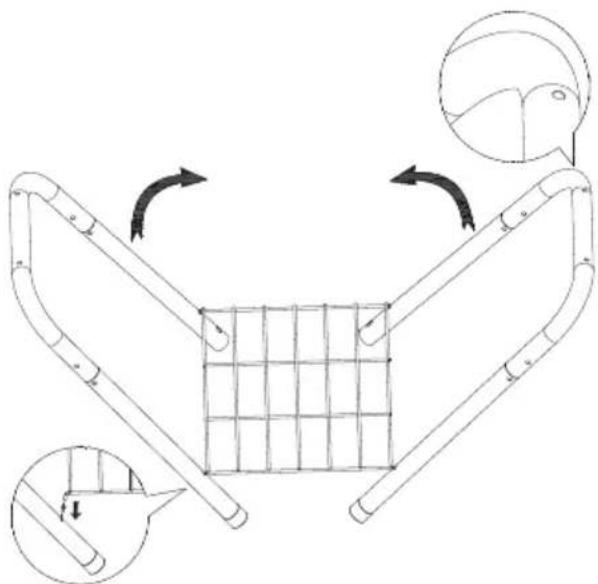
Wire shelf
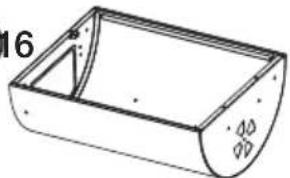
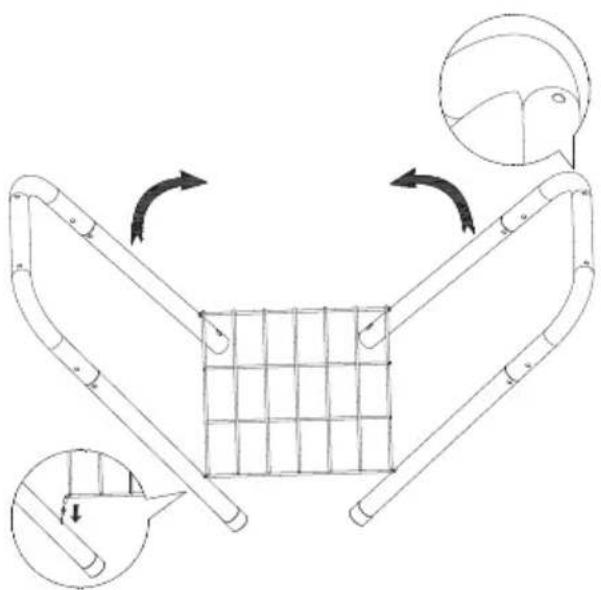
Spread the assembled legs enough to be able to hook in the wire shelf (16) as shown in the figure below and then fold them back in towards centre.
natural_image
Diagram of a mechanical device with curved arms and a grid structure, showing rotational motion (no text or symbols)Leg support brackets
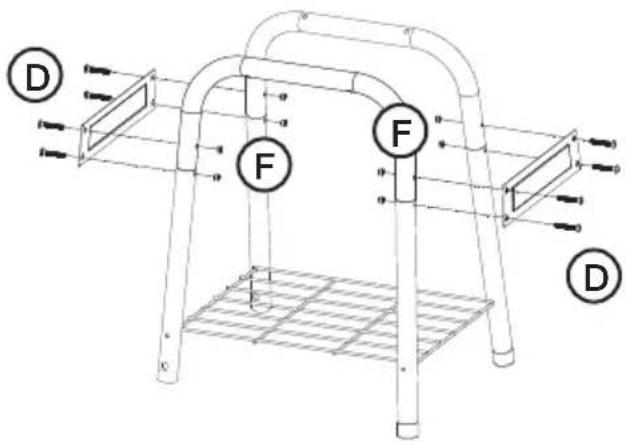
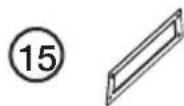
Mount the support brackets (15) onto the legs. Use eight M6 × 45 screws (D) and 8 × M6 nuts (F) for securing into place.
Wheels
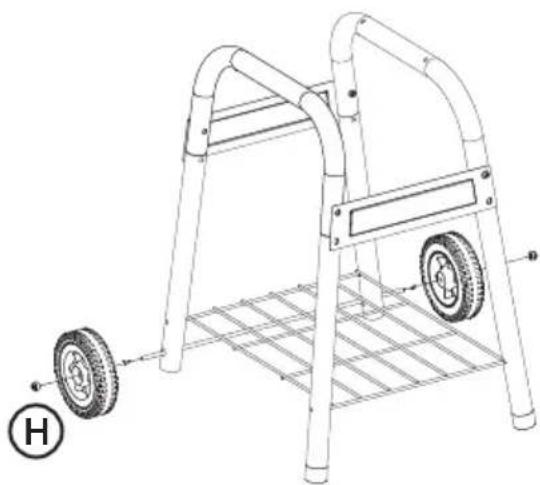
Insert the wheel spindle (19) into the legs as shown in the figure and mount the wheels (20) onto the spindle ends. Tighten each wheel into place using the included M8 locking nuts (H).
Mounting the legs and lid onto the bottom section
- Mount the bottom section onto the legs. Use four M6 × 45 screws (D), four flat washers M6 (J) and four M6 nuts (F) for securing into place.
- Mount the lid onto the bottom section. Use two M6 × 12 screws (C), two flat washers M6 (J) and two M6 dome nuts (G).
natural_image
Technical line drawing of a mobile walk-in walker with wheels and a grid base (no text or symbols)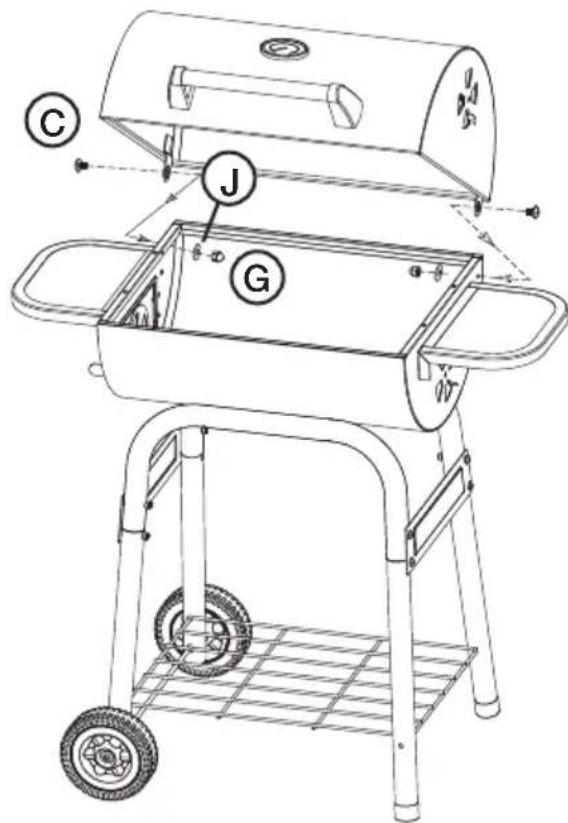
Mounting the charcoal grate, side tables and grill racks
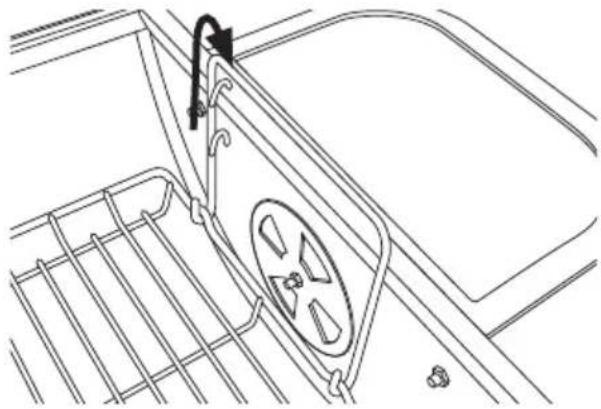
- Mount the grill grate (13) by hooking it into its retaining holes.
Note: The charcoal grate has two sets of insertion holes giving it two levels for heat regulation during grilling. Use the included hooks for adjusting the charcoal grate during grilling.
natural_image
Line drawing of a vehicle interior showing structural components and a highlighted safety seat (no text or symbols)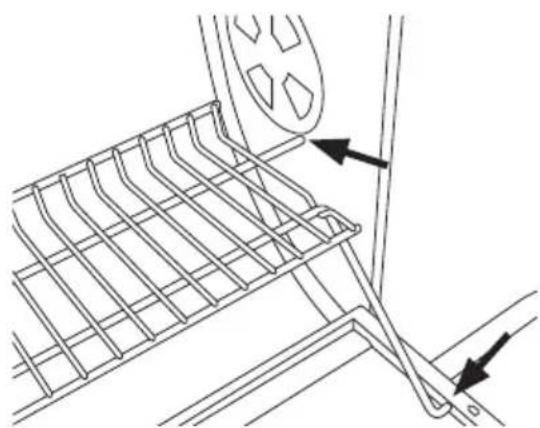
natural_image
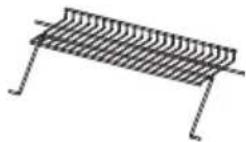
Technical line drawing of a mechanical component with grid structure and directional arrows (no text or symbols)- Mount the warming rack (11) into the lid's retaining holes and hook its legs into the bottom section's retaining holes.
natural_image
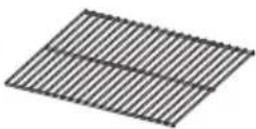
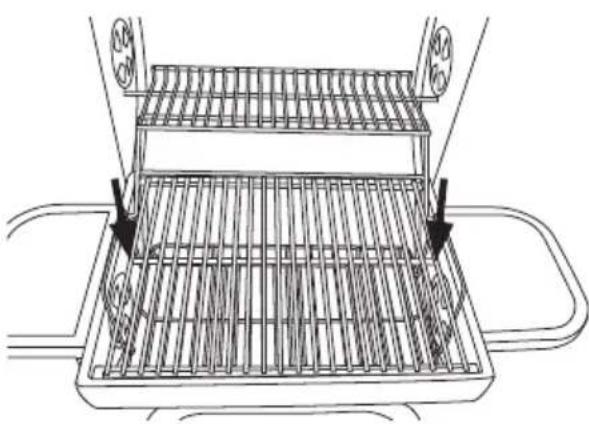
Line drawing of a rectangular container with internal grid structure and two arrows pointing to the sides (no text or symbols)- Insert the grill rack (12).
Operating instructions
Lighting the BBQ
Note: Light the grill and let it warm up for 30 minutes before using for the first time.
- Place the grill on a stable and even surface and a safe distance away from any combustible materials.
- Place some charcoal or charcoal briquettes onto the charcoal grate.
- Use an appropriate form of ignition such as lighter fluid or firelighter cubes and follow the manufacturer's instructions for proper usage.
- Ignite the charcoal or briquettes with a utility lighter or long matchsticks.
- Insert the grill rack.
- Wait until the charcoal turns an ash-grey before placing any food onto the grill. It takes at least 15–20 minutes for the charcoal or briquettes to form an ash-grey colour, which indicates that proper cooking temperature has been reached.
Grilltunna medlock
Art.nr 31-1161 Modell CS200E

Förvaringsgaller
natural_image
Diagram of a mechanical structure with arrows indicating motion, showing a grid and curved components (no text or symbols)Benens stödplåtar
natural_image
Technical line drawing of a mobile walk-in platform with wheels and a grid base (no text or symbols)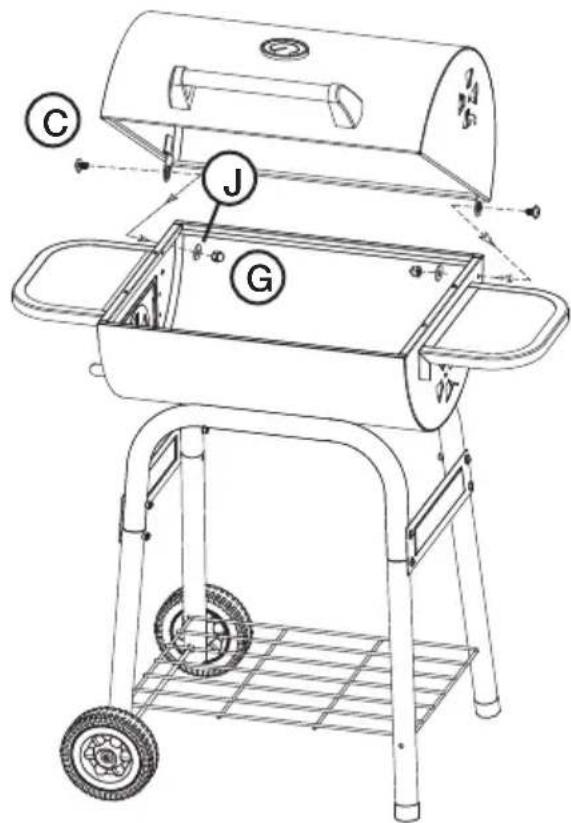
natural_image
Line drawing of a car interior showing structural elements and a central panel (no text or symbols)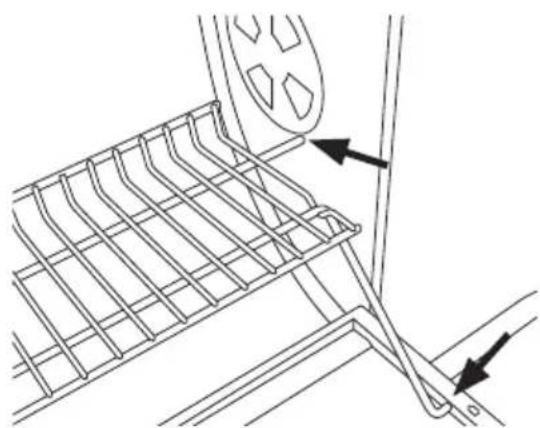
natural_image
Technical line drawing of a mechanical component with grid structure and directional arrows (no text or symbols)natural_image
Line drawing of a mechanical device with grid structure and directional arrows (no text or symbols)Bruk aldri grillen i et trangt lite rom eller innendørs, som f.eks. i boliger, telt, campingvogner, campingbiler, båter etc. Advarsel! Fare for kullmonoksid forgiftning som kan få fatale følger.
natural_image
Simple line drawing of a rectangular container with internal compartments and a numbered label (9, 16) on the left side.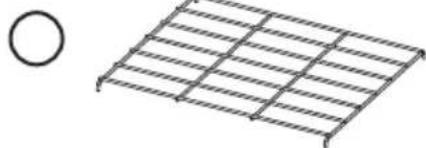
natural_image
Simple line drawing of a grid structure with a circle on the left (no text or symbols)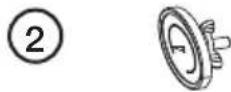

natural_image
Simple line drawing of a 3D rectangular object with rounded corners and mounting holes, labeled with number 3 (no text or symbols on the object itself)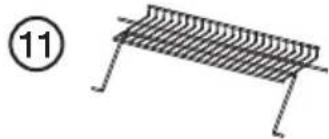
natural_image
Simple line drawing of a corrugated metal grate with a circular marker labeled 11 (no text or symbols on the grate itself)
natural_image
Simple geometric diagram showing a grid-like structure with a circled number 12 (no text or symbols)
natural_image
Simple line drawing of a rectangular tray or container with a handle and side supports, labeled with circled number 13 (no text or symbols on the tray itself)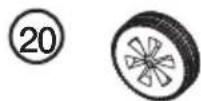
natural_image
Simple curved pipe or bracket diagram with circled number 14 (no text or symbols on the shape itself)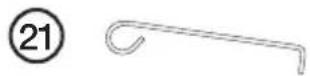

- Monter skivene for justering av lufttilførselen på bunndelen (9), en på bunndelens endevegg og en på askeluken (7). Bruk 2 stk. M6 × 12 (C) og 2 stk. mutre M6 (F).
- Monter låshaken (6) på askeluken. Bruk 1 stk. M4 × 10 (A), en skive M4 (I) og en mutter M4 (E).
- Monter sperreblekket for låsehaken på bunndelen. Bruk 2 stk. M4 × 10 (A), 2 stk. skiver M4 (I) og 2 stk. mutre M4 (E).
- Monter askelokket på enden på bunndelen. Bruk 2 stk. M4 × 10 (A), 2 stk. skiver M4 (I) og 2 stk. mutre M4 (E).
Sidebord
Oppbevaringsrist
natural_image
Diagram of a mechanical device with grid structure and directional arrows, no text or symbols presentBeinas støtteplater
natural_image
Line drawing of a mobile walk-in walker with wheels and a grid base (no text or symbols)natural_image
Line drawing of a vehicle interior showing structural components and a central valve (no text or symbols)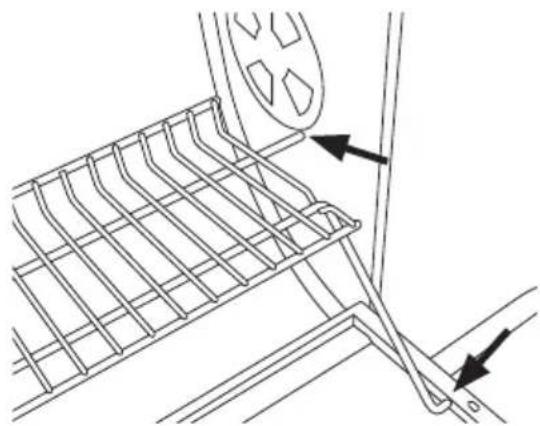
natural_image
Technical line drawing of a car interior showing mesh structure and directional arrows (no text or symbols)natural_image
Line drawing of a grating machine with two arrows indicating force or movement (no text or symbols)Alaosan vetoluukut ja tuhkaluukku
Säilytysrtilä
natural_image
Diagram of a mechanical structure with arrows indicating motion, showing a grid and curved components (no text or symbols)Jalkojen tukilevyt
natural_image
Technical line drawing of a mobile walk-in device with wheels and a grid base (no text or symbols)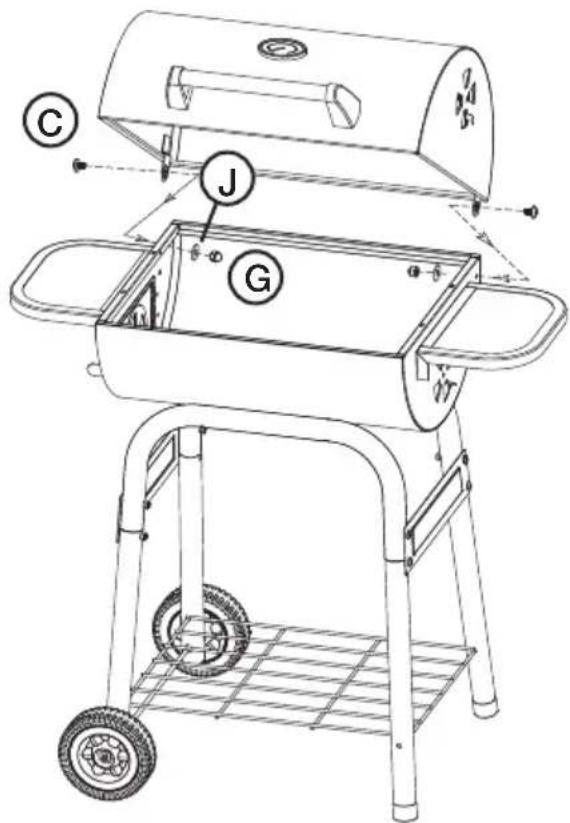
natural_image
Line drawing of a vehicle interior showing structural components and a highlighted safety seat (no text or symbols)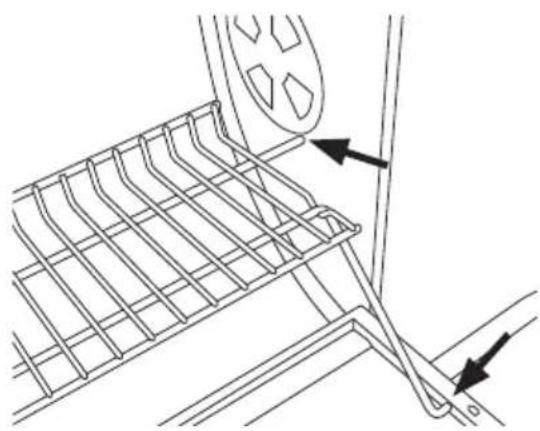
natural_image
Technical line drawing of a mechanical component with grid structure and directional arrows (no text or symbols)natural_image
Line drawing of a grating machine with arrows indicating force or movement (no text or symbols)natural_image
Simple line drawing of a rectangular container with a curved handle and internal slots, no text or symbols present.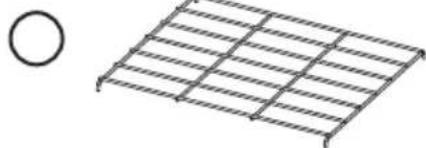
natural_image
Simple line drawing of a grid structure with a circle on the left (no text or symbols)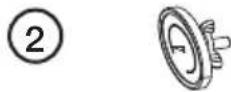

natural_image
Simple line drawing of a 3D rectangular object with rounded corners and mounting holes, labeled with number 3 (no text or symbols on the object itself)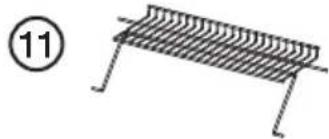
natural_image
Simple line drawing of a corrugated metal grate with a circular marker labeled 11 (no text or symbols on the grate itself)
natural_image
Simple geometric diagram showing a grid-like structure with a circled number 12 (no text or symbols)
natural_image
Simple line drawing of a rectangular tray or rack with a handle and side supports, no text or symbols present.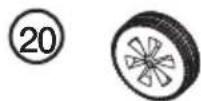
natural_image
Simple curved pipe or bracket shape with a circled number 14 nearby (no text or symbols on the object itself)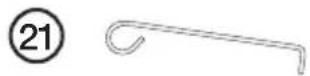


natural_image
Technical line drawing of a mobile walk-in device with wheels and a grid base (no text or symbols)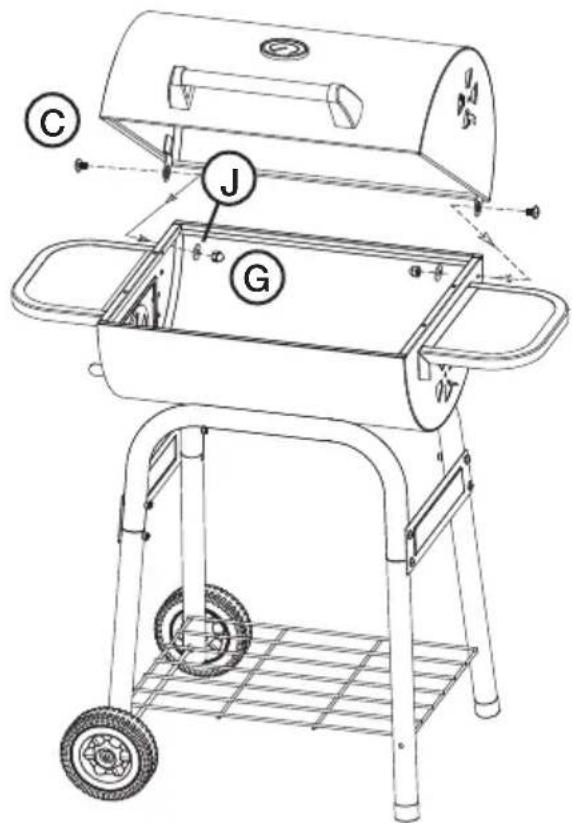
natural_image
Line drawing of a vehicle interior showing structural components and a highlighted seat (no text or symbols)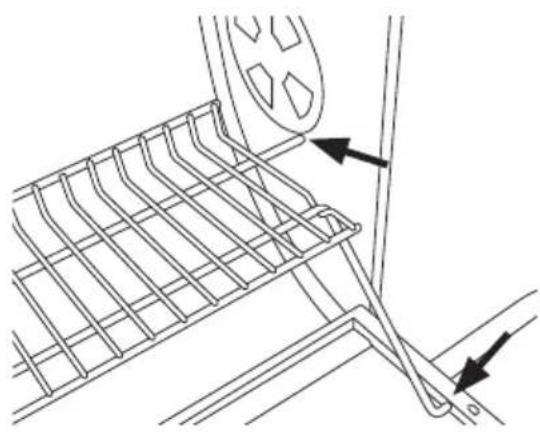
natural_image
Technical line drawing of a mechanical component with grid lines and directional arrows (no text or symbols)natural_image
Line drawing of a multi-tiered rectangular container with internal grating and side handles, no text or symbols presentPostal 10 – 13 Market Place
Kingston Upon Thames
Surrey
KT1 1JZ
Deutschland
Kundenservice Hotline: 040 2999 78111
E-Mail: kundenservice@clasohlson.de
Homepage
www.clasohlson.de

- Barrel Barbecue Grill
- Safety
- Care and maintenance
- Disposal
- Assembly
- Parts list
- Lid handle, thermometer and air-vents
- Bottom section air vents and ash extraction door
- Side tables
- Legs
- Wire shelf
- Leg support brackets
- Wheels
- Mounting the legs and lid onto the bottom section
- Mounting the charcoal grate, side tables and grill racks
- Operating instructions
- Lighting the BBQ
- Grilltunna medlock
- Förvaringsgaller
- Benens stödplåtar
- Sidebord
- Oppbevaringsrist
- Beinas støtteplater
- Alaosan vetoluukut ja tuhkaluukku
- Säilytysrtilä
- Jalkojen tukilevyt
- Deutschland
Brand : Clas Ohlson
Model : 31-1161
Category : Barbecue