
FreeWAY SX 7.1 - Gps ModeCom - Free user manual and instructions
Find the device manual for free FreeWAY SX 7.1 ModeCom in PDF.


| Product Type | GPS Navigator |
| Brand / Model | ModeCom FreeWAY SX 7.1 |
| Display | 7.0-inch TFT LCD, 800 x 480 pixels |
| Processor | Mstar MSB2531, 800 MHz |
| Operating System | Microsoft Windows CE 6.0 |
| RAM | 256 MB DDR |
| Internal Storage | 8 GB Flash MLC |
| Memory Card Slot | microSD/SDHC (supports up to 21 GB) |
| Touch Panel | Resistive (5-point) |
| Battery | Built-in rechargeable Li-ion |
| Power Supply | Car charger (DC 12-24V to 5V/1.5-2A), AC charger (100-230V to 5V/1.5-2A) |
| Connectivity | mini USB 2.0, Bluetooth 2.1, FM transmitter |
| Audio | Built-in high-fidelity speaker, stereo earphone jack |
| Video Playback | MP4, ASF, WMV, AVI, DIVX, XVID |
| Audio Playback | MP3, WMA |
| Photo Viewer | JPG, BMP, PNG |
| E-Book Reader | TXT format |
| Navigation Software | Runs from SD card (sold separately or pre-installed) |
| GPS Antenna | Built-in sensitive antenna |
| Accessories Included | Car charger, MINI USB cable, user manual, car bracket, car cradle, stylus |
| Operating Temperature | 0°C to 60°C |
| Storage Temperature | -20°C to 60°C |
Frequently Asked Questions - FreeWAY SX 7.1 ModeCom
User questions about FreeWAY SX 7.1 ModeCom
0 question about this device. Answer the ones you know or ask your own.
Ask a new question about this device
Download the instructions for your Gps in PDF format for free! Find your manual FreeWAY SX 7.1 - ModeCom and take your electronic device back in hand. On this page are published all the documents necessary for the use of your device. FreeWAY SX 7.1 by ModeCom.
USER MANUAL FreeWAY SX 7.1 ModeCom
user's manual
Contents
Keys and Functions 6
I. Product Introduction 7
1.1 Introduction 7
1.2 Package 7
II. Features and specifications 7
2.1 Main Features 7
2.2 Specification 8
III. Manual instruction 10
3.1 Power supply and charge 10
3.2 Power on/off 11
3.3 Reset system 12
3.4 Use bracket to fix navigator 12
3.5 Stylus 13
3.6 SD/MMC card 14
3.7 Connect with computer 14
IV. Primary function 16
4.1 The main interface and the function 16
4.2 Navigation Function Features and Operation 19
4.3 Video player interface and operation 20
4.4 Audio player interface and operation 23
4.5 Photo viewer interface and operation 27
4.6 E-Book reader interface and operation 30
4.7 Flash interface and operation 35
4.8 Favroite 38
4.9 Games interface and operation 41
4.10 Unit conversion 41
4.11 Calculator 42
4.12 USB setting 42
4.13 Volume setting 43
4.14 Backlight setting 44
4.15 Time setting 45
4.16 Screen calibration 46
4.17 FM transmitter setting 47
4.18 Bluetooth setting and operation description 48
4.19 System information 65
4.20 Language selection 66
4.21 Navi Path 66
4.22 Factory restore 67
4.23 GPS Information 67
Trouble shooting handle and maintenance of GPS 68
Spis treści
natural_image
Black rectangular navigation device displaying a map interface with navigation arrows and location markers (no readable text or symbols)User Manual
Welcome to use our GPS navigator
We reserve the final explanation right on this User's Manual.
- Specifications are subject to change without notice. Sorry for any inconvenience caused!
- Please make a copy of the important data. We assume no responsibility for the data loss.
- This manual has been carefully checked. Please contact our service center when any typing mistake is found.
- Please read the operating instruction carefully and use the accessories only provided by the original factory to avoid any unexpected damage. No warranty will be executed if you are not following the instruction or connecting with the incompatible accessories, we assume no responsibility for any loss and damage caused hereby.
- The electronic navigation data may be not in confor-
mity with the actual transporting marks due to the traffic construction development. Please be sure to comply with the real road condition and follow the traffic rules. Operating and viewing the GPS during driving may cause severe traffic accident. Our company will not be responsible for any loss caused by the unexpected accident.
- Users can update and upgrade software from website at his/her option.
- Any discrepancy between the pictures with real products hereinafter, the real one prevails.
- Use Power adaptor provided with the device or dedicated Modecom charger to avoid trouble. Otherwise it may cause defect or fire.
- Do not tint the window for better GPS signal reception.
- Do not expose this advice directly to the sun light. It may cause over-heating.
- Remodeling or rebuilding of the device may cause defect of functions.
- Do not store or use the device in extremely low or high temperatures, as it may damage it.
- It is not possible to receive the GPS signal in her-mitical area like tunnel or underground parking lot. Also, the GPS signal can be unstable when the vehicle is located beside of tall buildings.
- If front windshield is coated with a reflective layer, glass may be metallised/heated and may jam the GPS signal. In that case, please install the device in “clear area” – i.e. under the rear-view mirror.
Keys and Functions
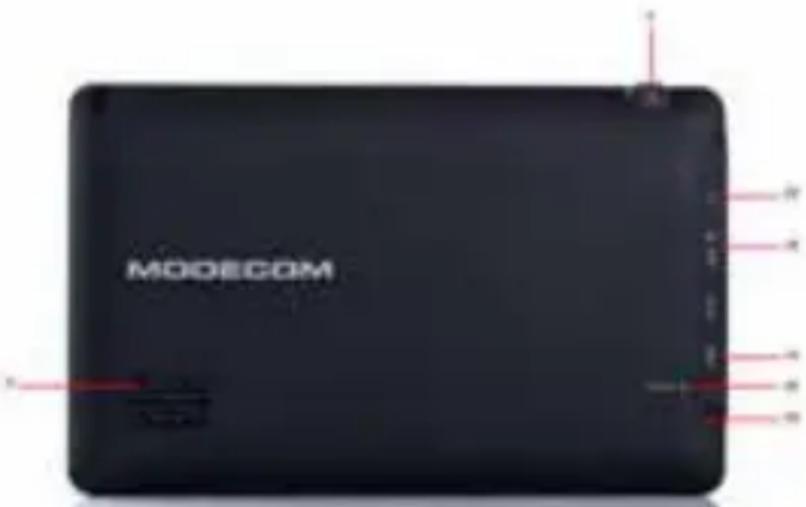
| 1. Power key | Power ON/OFF |
| 2. Earphone Jack | To connect your earphone |
| 3. TF card slot To insert your TF card | |
| 4. mini USB | Connect to a output adaptor as included in the accessories or connect to a computer via a USB cable to transfer data (music, videos, photos, etc.) |
| 5. Reset | Press to reset the tablet if it freezes or behaves |
| 6. Microphone Microphone | |
| 7. Speaker | Speaker |
I. Product Introduction
1.1 Introduction
Welcome to use the GPS navigator, which is mainly used for navigating and also has the optional function of Bluetooth hands free, video playing, audio playing, FM, photo viewing, and E-Book etc.
1.2 Package
The packing box contains the following accessories, please confirm:
- GPS navigator
- Car charger
- MINI USB cable
- User's manual
- Car bracket
- Car cradle
For the items listed above, please confirm the actual products. If any damage,
Please contact with the distributor or the agent as soon as possible.
The user's manual is only applied to GPS products.
II. Features and specifications
2.1 Main Features
Operating system: Microsoft Windows CE 6.0
- 7.0" TFT LCD display with resolution of 800*480 pixels
- Hi-Fi stereo earphone and built-in Hi-Fi speaker, volume adjustable
- Button and touch-screen operation
• Built-in sensitive GPS antenna - The navigating software could run the SD card directly
- Video format supported: MP4/ASF/WMV/AVI/DIVX/XVID
- Photo format supported: BMP, JPG
• E-book format supported : TXT
- MINI USB port
- Built-in rechargeable Li-battery which can be powered by travel and car charger
2.2 Specification
| Procesor CPU | Mstar MSB2531 800 MHZ |
| Operating system | Microsoft Windows CE 6.0 |
| Memory RAM 256 MB DDR | |
| Memory Flash | 8 GB Flash MLC |
| Card reader | microSD/SDHC (the maximum capacity |
| of TF Card supported reaches to 21GB) | Resistive (5 points) |
| Touch panel | Resistive |
| LCD Size 7” TFT | |
| Bluetooth | 2.1 |
| LCD Resolution | 800 x 480 pixels |
| Keys | Power, Reset |
| Connectors mini USB | |
| USB | 1x port mini USB 2.0 |
| Battery | IEEE 802.11b/g/n |
| Audio | A: Built-in high fidelity speakerB: High fidelity stereo earphone |
| GPS | Cold start, hot start, warm start |
| Status of the LCD light | When charging, the red light is on; when charge finished, the blue light is on. |
| Battery Built-in rechargeable Li-ion battery | |
| Car charger | DC12-24V (5V / 1.5-2A) |
| AC charger | 100/230V (5V / 1.5-2A) |
| Video player MP4/ASF | WMV/AVI/DIVX/XVID |
| Audio player MP3 and WMA | |
| Photo viewer E-Album, JPG, BMP, PNG | |
| E-book viewer TXT | |
| System setting | [FM Transmitter] [Screen adjustment] [Default set] [Volume] [Power] [Backlight] [Time and Date] [Language] [Sys Info] |
| Temperature | Operating Temperature: 0°C to 60°C |
| Storage Temperature: -20°C to 60°C | Operating Temperature: 0°C to 60°C |
| Working humidity range | 45% to 80% RH |
| Storage humidity range | 30% to 90% RH |
| Atmospheric pressure | 86KPa to 106KPa |
This chapter will give an introduction of the apparent components and basic function of the GPS Navigator and it will help you to be familiar with the basic operation quickly.
III. Manual instruction
3.1 Power supply and charge
If this navigator is first used, please use AV adaptor to fully charge it.
3.1.1 Power supply
There are three types of supplying power: battery, adaptor, USB cable.
GPS navigator uses the Li-battery to supply power when it is not connected with adaptor. The mark 📄 indicate the current electric volume.
GPS navigator uses the external power when it is connected with the adaptor.
GPS navigator uses the USB cable to supply power when the GPS connects to the PC.
[Remark] This machines adopt built-in, unchangeable Lithium battery. At normal condition (if the back light is not so bright), the actual supply hour can be different because of the different way using the navigator. Some function (audio playing, video playing, bright back light) will consume a large power, which will reduce the using hour.
[Note] This machine adopts built-in, unchangeable Lithium battery. In order to avoid fire and burning, please do
not poke, bump or take it apart or throw it into fire or water.
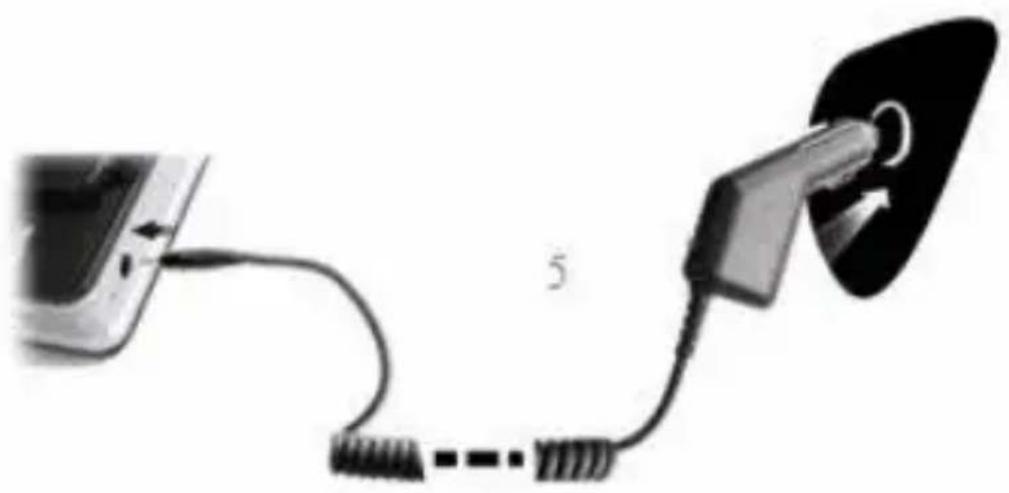
3.1.2 Use the car charger to supply power
- Connect the DC part of the adaptor with the power interface;
- The other part connect to the power socket, it supplies power while charging.
natural_image
Close-up of a cable being inserted into a plug, showing wire routing and a black plug (no text or symbols visible)[Note] Please insert the car adaptor after running the car so as not to damage the machine by electricity collision.
3.2 Power on/off
Power on/off is controlled.
3.2.1 Startup
Please check: The battery is enough, or it is connected to external power source;
Please press the button on the top of the unit to boot.
[Note] If bring the unit from one place to another place, please boot until it adapts to the environment. Big humidity fluctuation will make the mainframe short circuited.
3.2.2 Shutdown
Press the button on the top of the unit to turn off, the unit will enter the power saving mode and maintain the last operation status when boot next time.
3.3 Reset system
If the system cannot work, you can reset the system by the following way:
Click the reset key on the right part of the machine to reset the system by using the stylus.
[relative information] : It can be no response in the following condition:
- The shift between pictures is delayed or stopped.
- The program select function cannot work normally, such as long time to carry out or cannot be activated.
- The power button can not work.
[Note] The unsaved data will be lost as you reset the system when the system has no response. Please copy the data every other time.
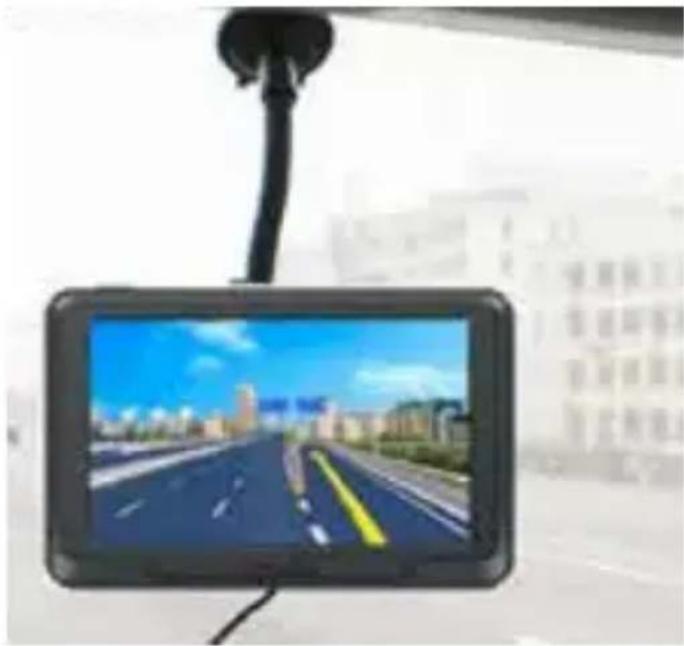
3.4 Use bracket to fix navigator
When use GPS in the car, you should fix the device to the part of window besides the panel by using the bracket.
natural_image
Front view of a rectangular navigation device mounted on a pole, showing a city street scene with road and lane markings (no visible text or symbols)[Note] When use the bracket, please take care of the position. Please don't fix the navigator to the position where the driver's sight is being influenced. Please do not lay it aside freely; do not fix it to the air bag, do not lay it on the expand range of the air bag.
3.5 Stylus
The stylus is the tool for you to use your navigator. Please keep it carefully.
- Single click:
Singly click the screen with the stylus point.
- Double click:
Double click the screen with the stylus point.
- Drawing:
Click one point and hold to move on the screen.
[Note] Any broken stylus, ball pen or any acute and harsh object will destroy the LCD if you use it to operate the device.
3.6 SD/MMC card
The attached SD/MMC card contains the navigation software, map data and media file. Please insert the card correctly when use it.
[Note] Please do not take out the SD/MMC card when the system is navigating or playing.
[Note]
- Don't stress or curve the SD/MMC card, avoid loss and bulge.
- Avoid high temperature or high humidity when use and store the card, don't expose the card directly to sun light, let the card far away from liquid and corrosive material.
- Please pay attention to the heading when insert the SD/MMC card. If you insert the card improperly, you will damage the card.
3.7 Connect with computer
The device can be connected with the computer through the MINI USB on its left part. You can copy the document between navigator and computer or copy the data from GPS navigator to computer so as to recover the data in GPS when you are in need of them.
- Please confirm the GPS navigator is power on;
-
Connect the MINI end [■] of USB cable with the USB port on the left part of GPS device and the normal end
[ ] with the Host port on computer. -
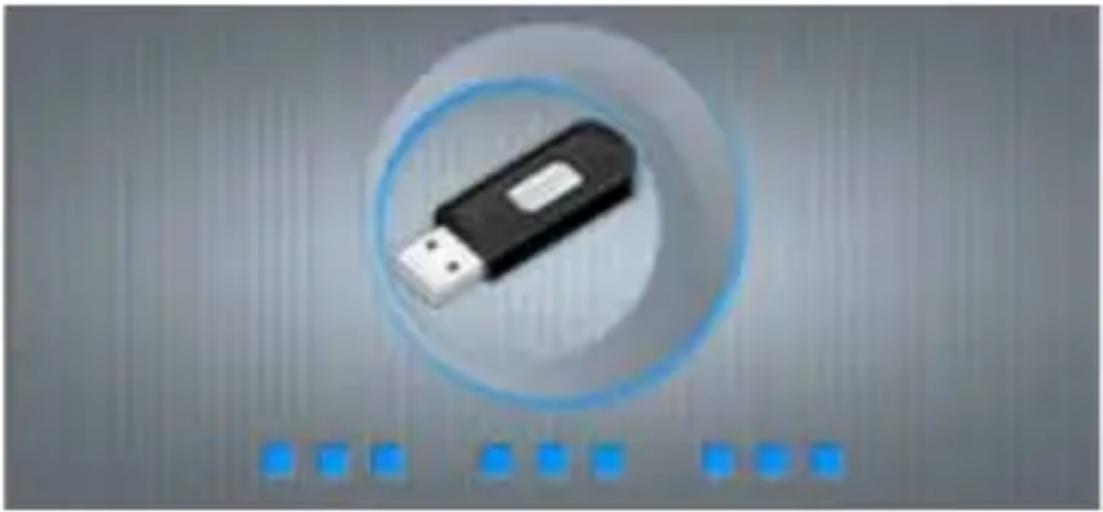
After connecting, the screen will display the interface as below:
natural_image
Illustration of a USB flash drive with a circular loading control overlay (no text or symbols)Enter into USB mode indicates it is connected to the PC, the PC can auto recognize new GPS navigation, GPS navigation will stop the current operation and switch into the PC connected interface.,
[Note] Data security: Please copy the data to the outer storage device every time before you update your system data. Our company takes no responsibility to any loss of data.
[Remark] The GPS navigator will stop the operation when it is connected with computer. When it is switched into USB mode, you can take any operation.
[Note] In the process of communication, the following operations will break off the connection with computer, the unfinished data will be lost
- Pull out the MINI USB cable;
- Power off
- Reset the system by using reset button or electric switch.
IV. Primary function
4.1 The main interface and the function
4.1.1 Main menu
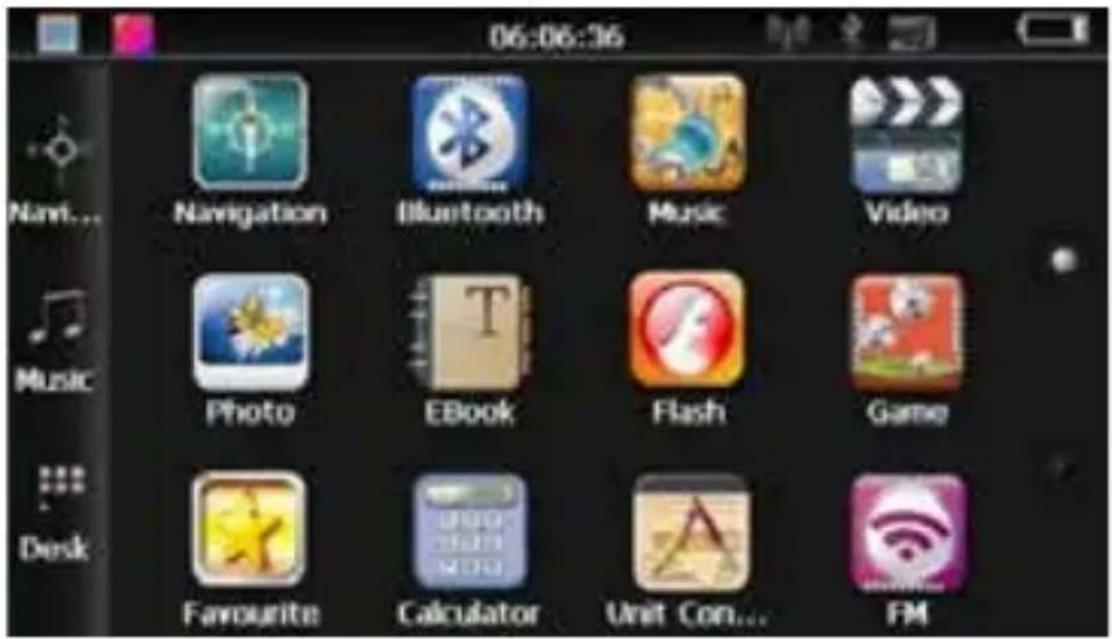
Picture 4-1
Click desktop date, as Picture 4-2:
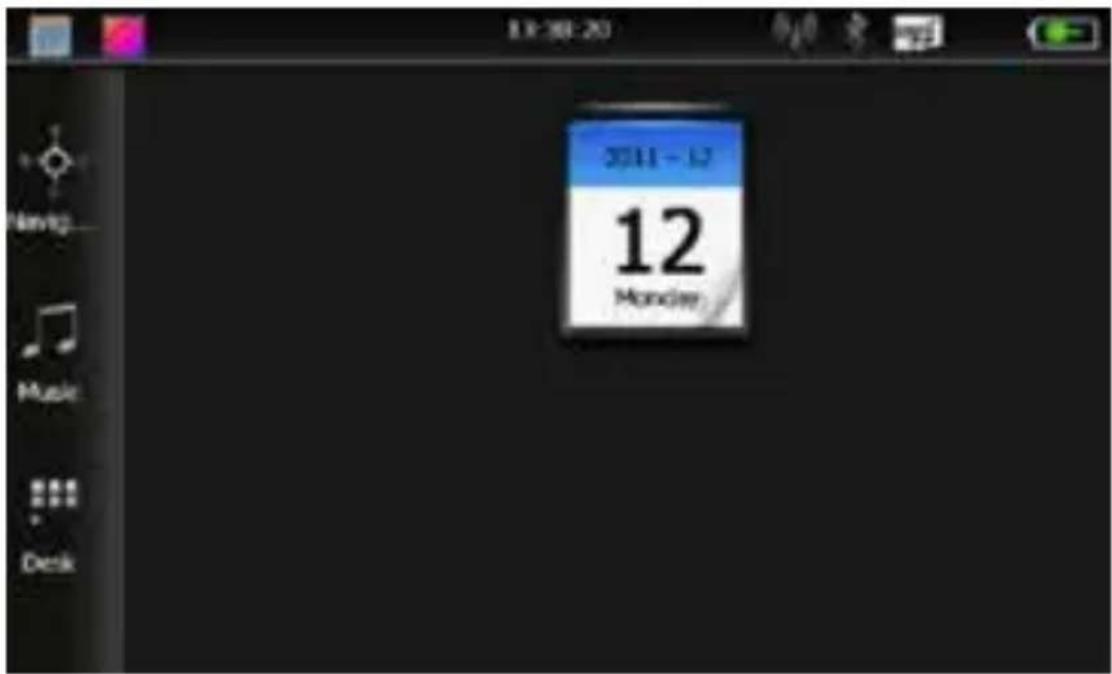
Picture 4-2
Double-click the date icon interface, show in Picture 4-3:
enter the date setting
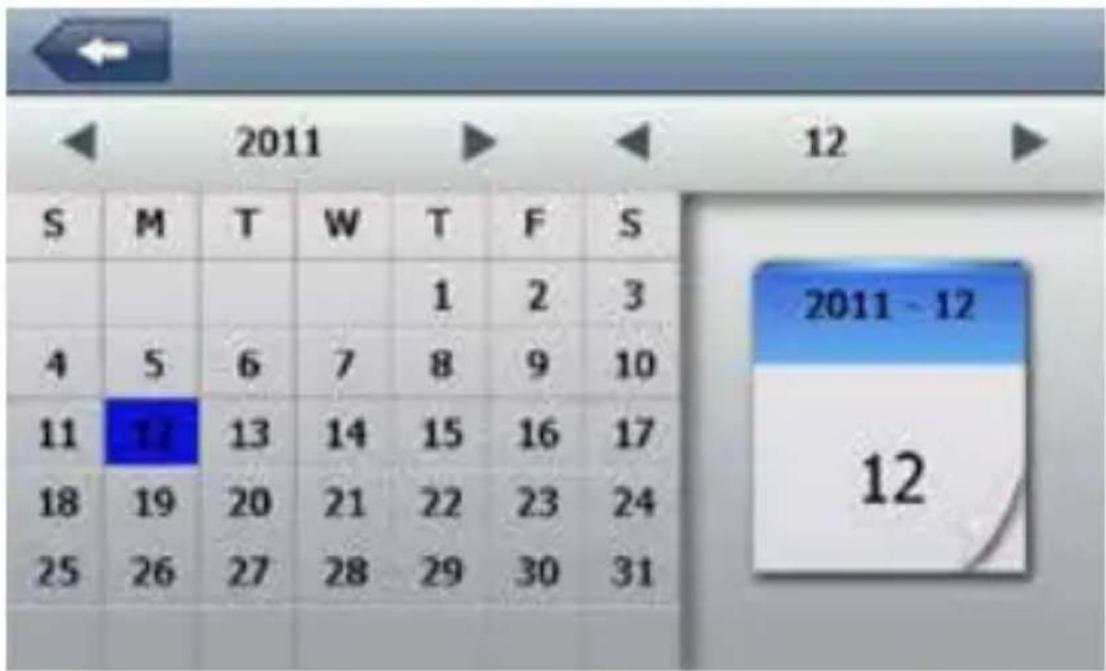
Picture 4-3
Click the top left corner of the interface change the desktop display background, show in Picture 4-4:
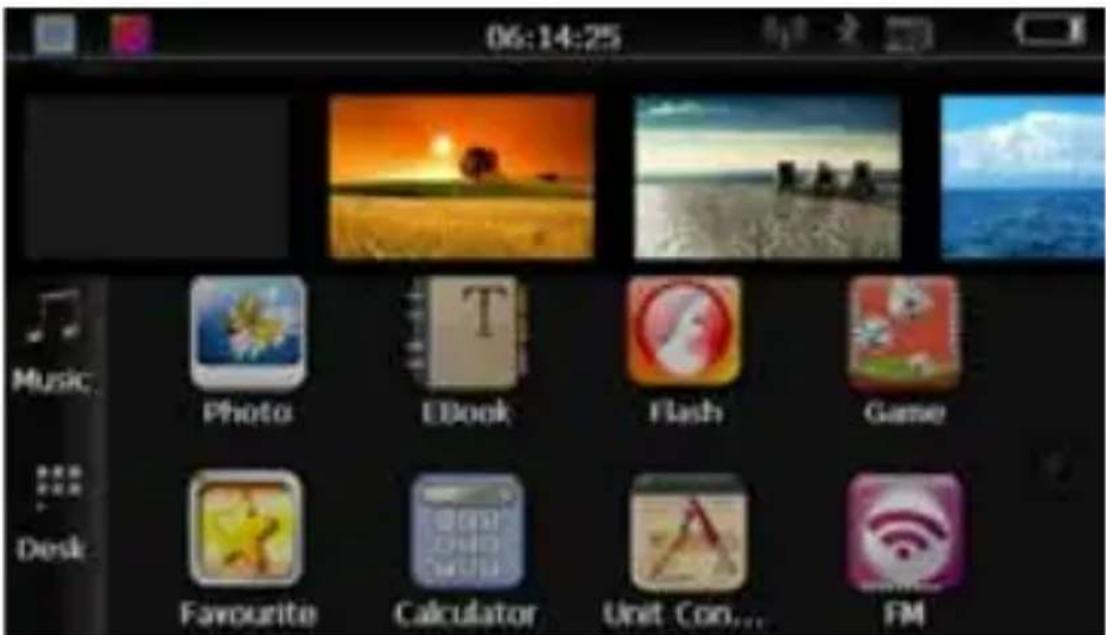
Picture 4-4
Click to enter into navigation map
Click Music to open the audio player
Click Desk to quickly open the desktop application.
4.1.2 Function introduction
| Navigation Provide navigation service | |
| Video player | Play ASF,AVI,WMV,3GP,MP4 and FLV formats video files, support progress selection, pause, full screen play |
| Audio player | Support MP3and WMA formats file formats, support random play, loop play and sequential play |
| Photo viewer | JPG、BMP and PNG formats photo, support rotate photos, zoom in/out, auto play |
| E-Book | Txt formats reading, support page selection, folder selection |
| Game Support game | |
| Bluetooth | This device can answer and make phone after connecting with mobile phone via Bluetooth |
| Setting | Volume, power, backlight, date and time, battery, backlight, date and time, language, system information |
 | Open backlight pictures to select the background you like |
 | Open/close date and time button |
This chapter introduces how to use GPS navigation.
4.2 Navigation Function Features and Operation
According to your choice of navigation system, the GPS navigator can make position by GPS satellite signal receiver and display on the navigation map. The system can calculate a best route after setting the destination, which can help users to arrive the destination safely and rapidly.
The system can let you enjoy the individual charm and enjoy your trip by many different ways such as vision map, vivid animation, voice indication, and words indication.
The specific navigation functions are depended on your choice of navigating software. Please refer to the Navigation Software Instruction.
Notes
1. Map information
It is probably that the electronic navigation data is not consistent with the real traffic instructions because of the traffic construction development. Please do comply with the highway condition and the actual traffic rules.
2. Navigation
The navigator offers the route for the reference; determine the route by yourself, the driver may be more familiar with the route than GPS navigator.
3. Receiving signal
Many factors such as high, dense buildings (in the tunnel, between the high building, underground parking, under the trestle), various weather condition, and closure of the satellite will affect the ability to receive signal so as to result in inaccurate position, inefficiency of navigation operation and system function.
4.3 Video player interface and operation
This chapter introduces how to use GPS video player to play video file.
4.3.1 Function features
- Support MP4/ASF/WMV/AVI/DIVX/XVID file formats video files;
- Support full screen play, progress selection, file selection;
Before video playing, please copy your video file (MP4/ASF/WMV/AVI/DIVX/XVID formats) copy to any folder in memory card.
4.3.2 Operation methods
Click button in multi-media interface, open video file list interface, as Picture 4-5:
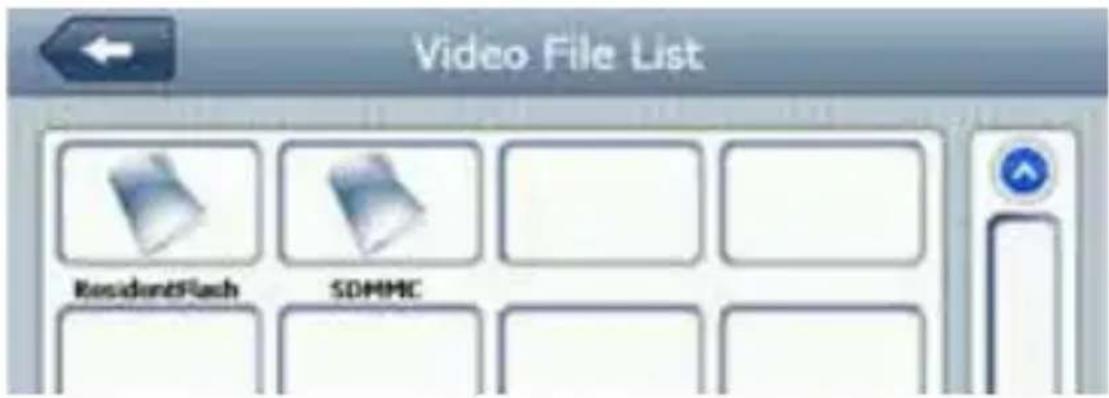
Picture 4-5
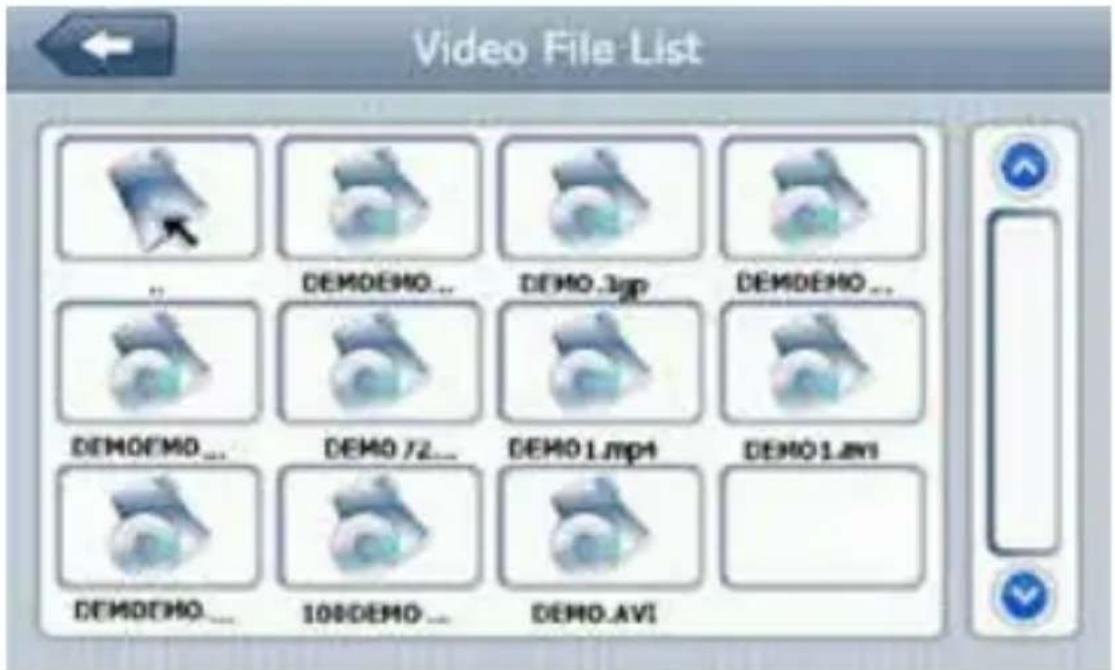
Picture 4-6
 | Close Close | current folder |
 | Previous page | Display previous page |
 | Next page | Display next page |
 | Video folder name | Display video folder name |
 | Video name | Display video name |
Click selected video enter into video play interface, as Picture 4-7:
![[Divx 3] (352x288-25fps-583kbps) 01:04:02:58](/content/2026/05/850789/images/88e1e9fb17bc2fb76d1300027e2e7ea5a17dd94d6a7b5e4d97a3bcb5fd3c1eb2.jpg)
Picture 4-7
 | Close | Click it to close video player |
 | Play | It is paused, click it to play |
 | Next Play next video | |
 | Files list | Click it to switch into video play interface, select your favorite movie(as Picture 4-6) |
 | Volume | Click it and left move it to decrease system volume;click it and right move to increase volume |
 | Progress adjustment | Right/left move to adjust progress via stylus, left move to backward, right move to forward |
 | Brightness adjustment | Right/left move to adjust brightness, left to increase brightness, right to decrease brightness |
 | Play screen | Full screen play mode, double click to return to normal play mode |
 | Music name | Display current movie name |
 | Time Played time/ total time | |
4.4 Audio player interface and operation
This chapter will introduce how to use GPS audio player to play your favorite music, make it become your portable MP3.
4.4.1 Function features
Audio player support MP3 and WMA formats files; you can set the play order as you like. Before audio player work, please copy your audio files into any folder in another SD card.
4.4.2 Operation methods

- Click 📄 button to enter into audio play list, as Picture 4-8 shown:
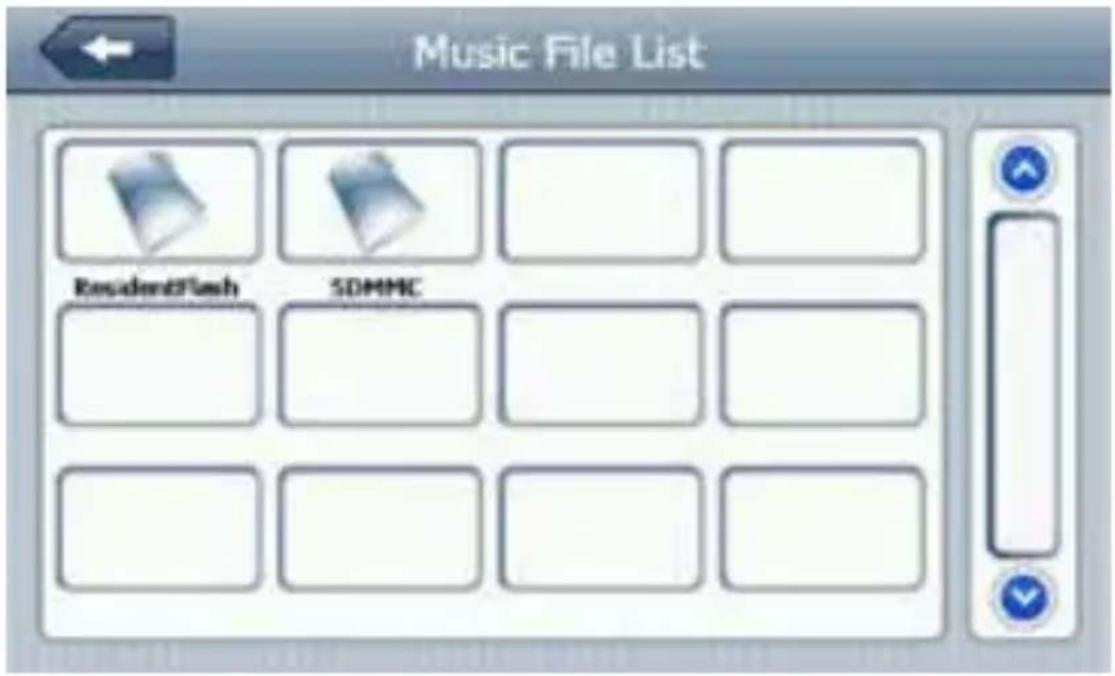
Picture 4-8
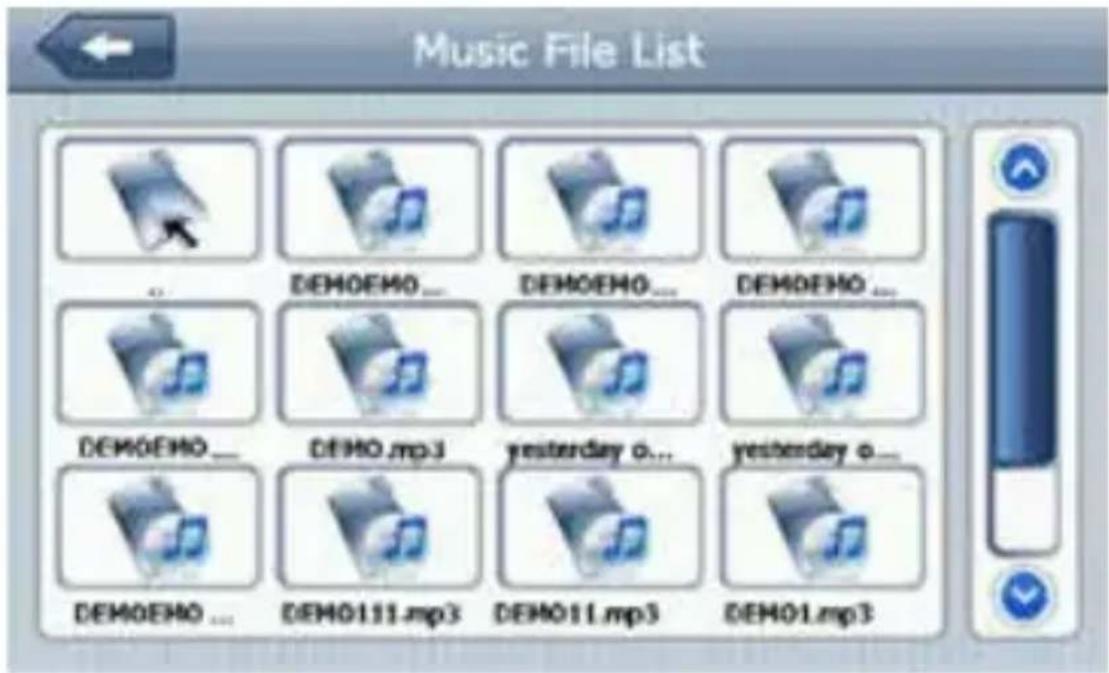
Picture 4-9
Function description:
| Close | Click it to close current folder; | |
 | Previous page | Display previous page; |
 | Next page | Display next page; |
 | Audio folder name | Display the audio folder; |
 | Audio name | Display audio name |
Click selected audio to enter into audio player interface, as Picture 4-10:
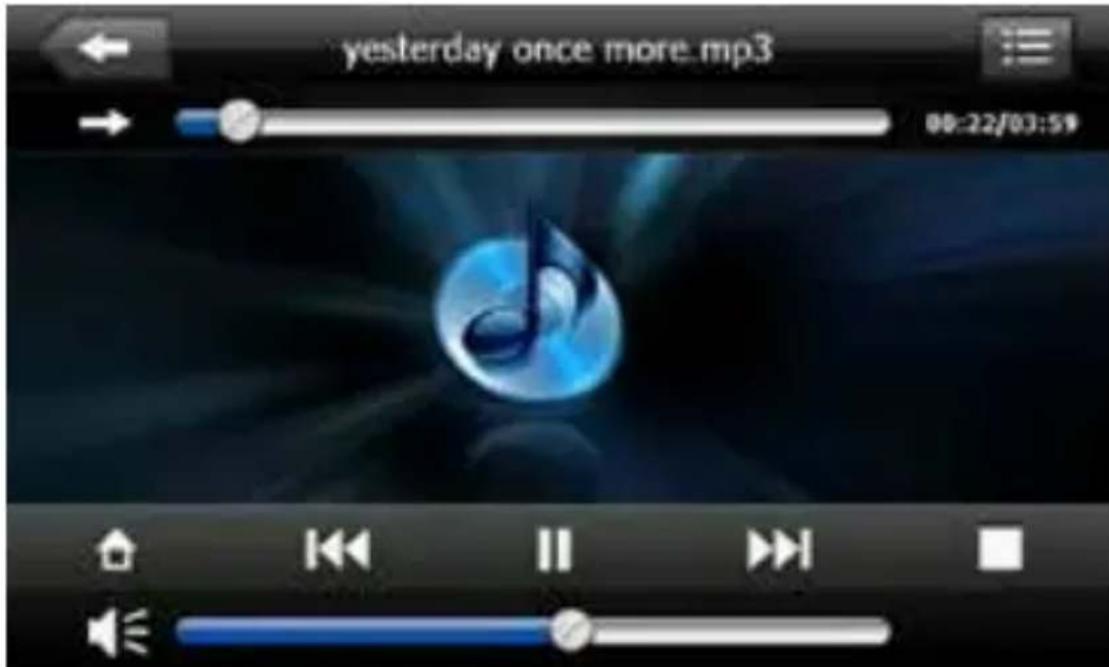
Picture 4-10
 | Close Close audio player; |
 | Turn to back-ground play Turn to background play |
 | Previous song Play previous page; |
 | Play/Pause To pause/play, click to play, click again it to play |
 | Stop Click it to stop playing |
 | Next song Click it to play next song; |
 | Volume indi-cates Volume adjustment,left move to decrease volume, right move to increase volume; |
 | Set play order Order is: loop play, repeat play, and ran-dom play. |
 | Open play list Click it to turn to au-dio folder interface, choose your favorite music(as Picture 4-7); |
 | Progress adjustment Adjust the play pro-gress right or left via stylus to forward or backward; |
| once more.mp3 | Music name | Display music name |
| 00:25/03:25 | Time | Display the total time and the played time; |
4.5 Photo viewer interface and operation
This chapter introduces how to use GPS photo viewer to view photos.
4.5.1 Function features
- Support JPG, BMP and PNG formats view;
- Support photo rotate, photo zoom in/out, automatic play etc.
Before photo view, please copy your photo files into ant folder in memory card.
4.5.2 Operation methods
Click button, enter into photo file list, as Picture 4-11:
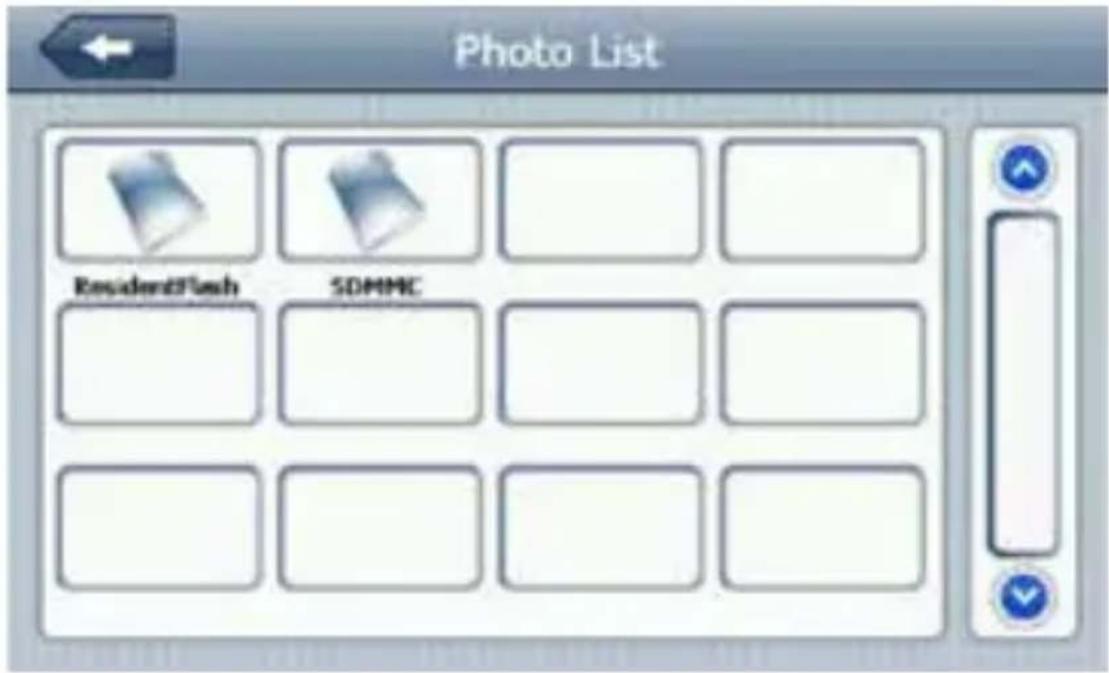
Picture 4-11
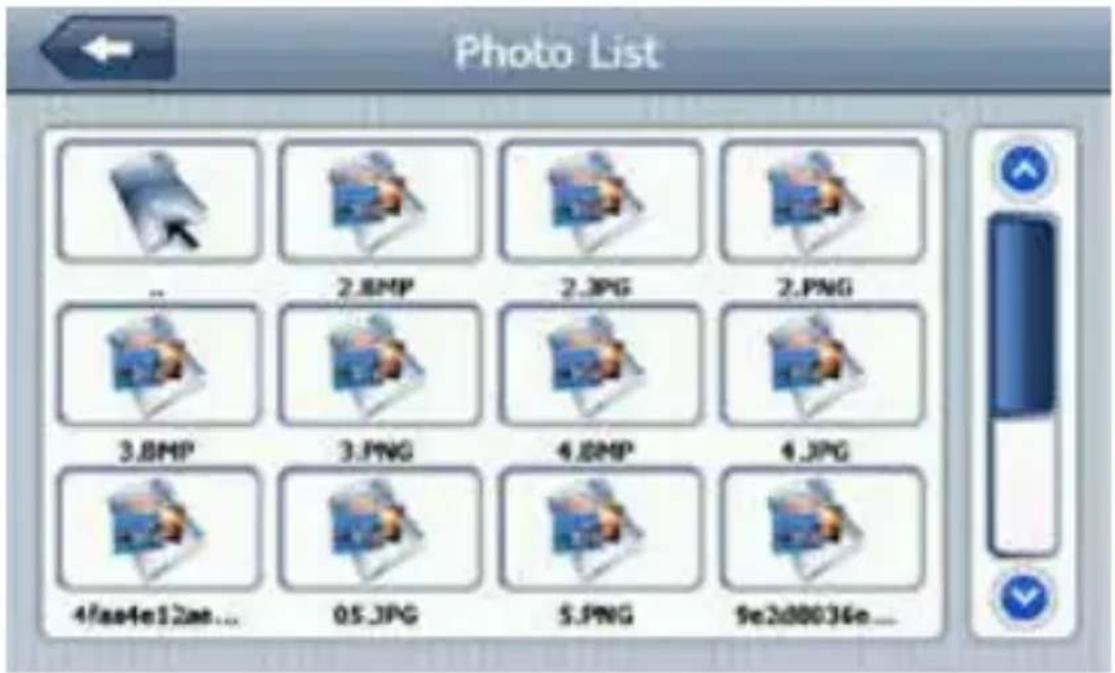
Picture 4-12
 | Close | Click it to close current folder; |
 | Previous page | Display previous page; |
 | Next page Display next page; | |
 | Photo folder name | Display photo folder; |
 | File name Display file name | |
Click selected photo to enter into photo play interface, as Picture 4-13:
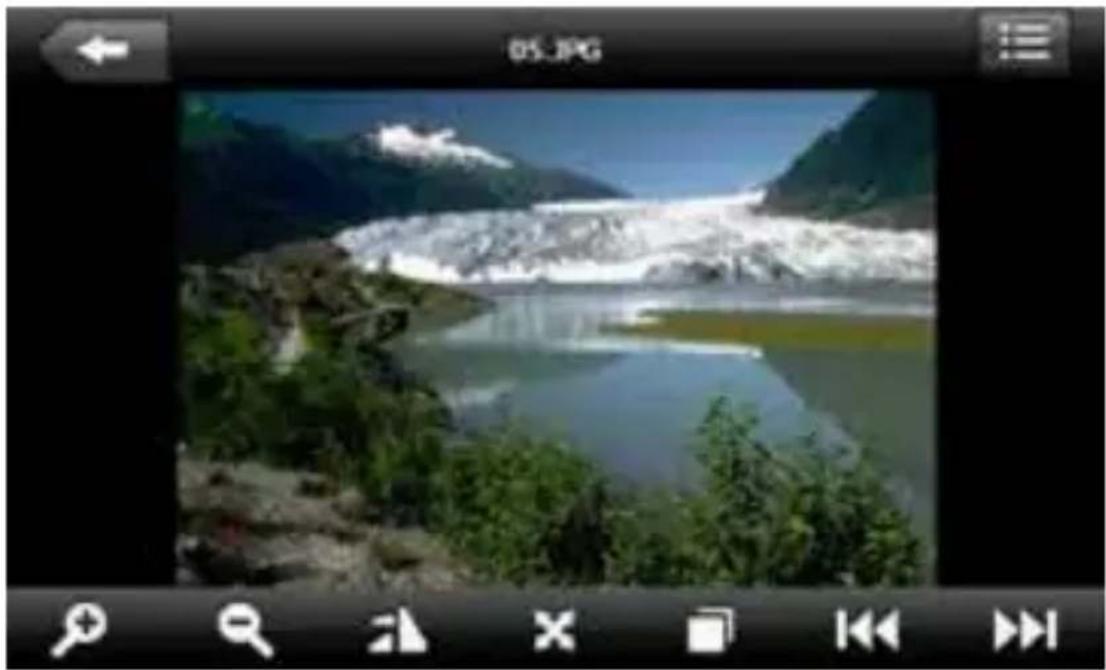
natural_image
Scenic mountain lake view with snow-capped peaks reflected in water, surrounded by greenery (no text or symbols visible)Picture 4-13
 | Close Click it to close photo viewer | |
 | Zoom out Zoom out current photo | |
 | Zoom in Zoom in current photo | |
 | Previous page | View previous photo in the same folder |
 | Next page | View next photo in the same folder |
 | Folder | Click it to switch into photo folder interface, select your favorite photo (as Picture 4-13) |
 | Rotate photo | Click it to rotate the picture 90 clockwise |
 | Full screen | Display the photo in full screen |
 | Automatic play | Automatic play the photos from current photo in the same folder |
 | File name, format | Display current photo name and its format |
4.6 E-Book reader interface and operation
The chapter introduces how to use GPS e-book reader.
4.6.1 Function features
-
Support TXT format reading
-
Support page selection, and file selection
Before opening the E-Book reading, please copy your text files into any folder in memory card.
4.6.2 Operation methods

Click 📄 button, the folder interface is as below Picture 4-14:
- E-Book reader as Picture 4-16:
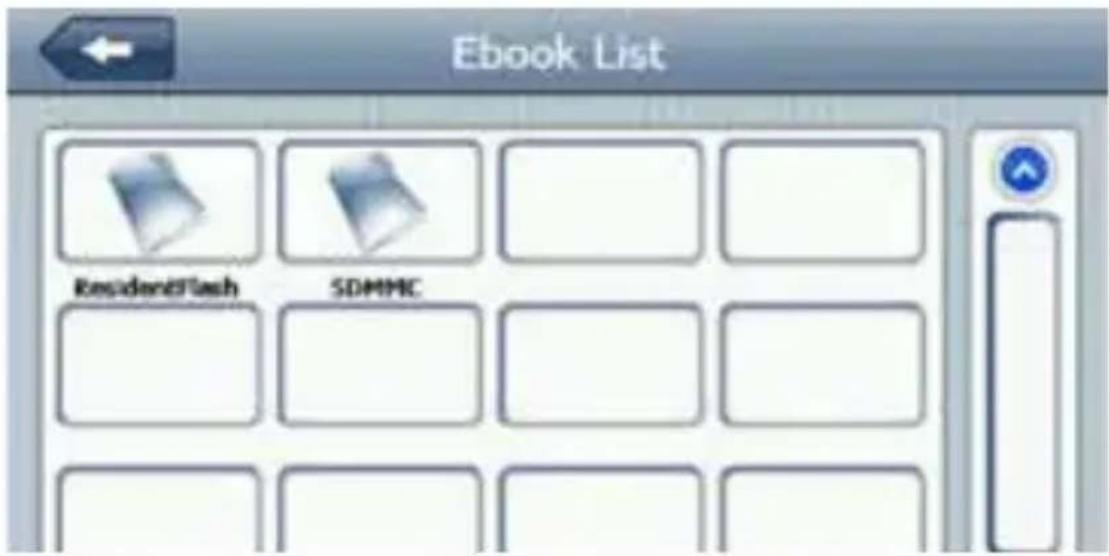
Picture 4-14
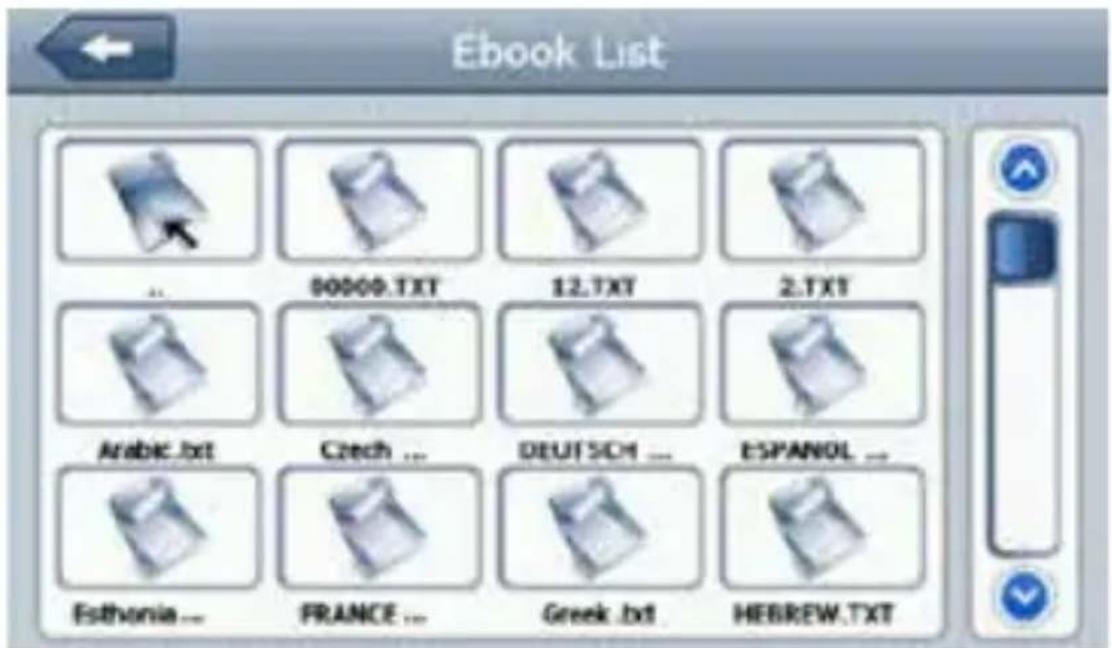
Picture 4-15 (text folder interfaces)
 | Close Click it to current folder | |
 | Previous page | Display previous page |
 | Next page Display next page | |
  | E-Book folder name | Display E-Book folder name |
 Greek .txt Greek .txt | File name Display the file name | |
- Click selected file name into E-Book reader, as Picture 4-16:
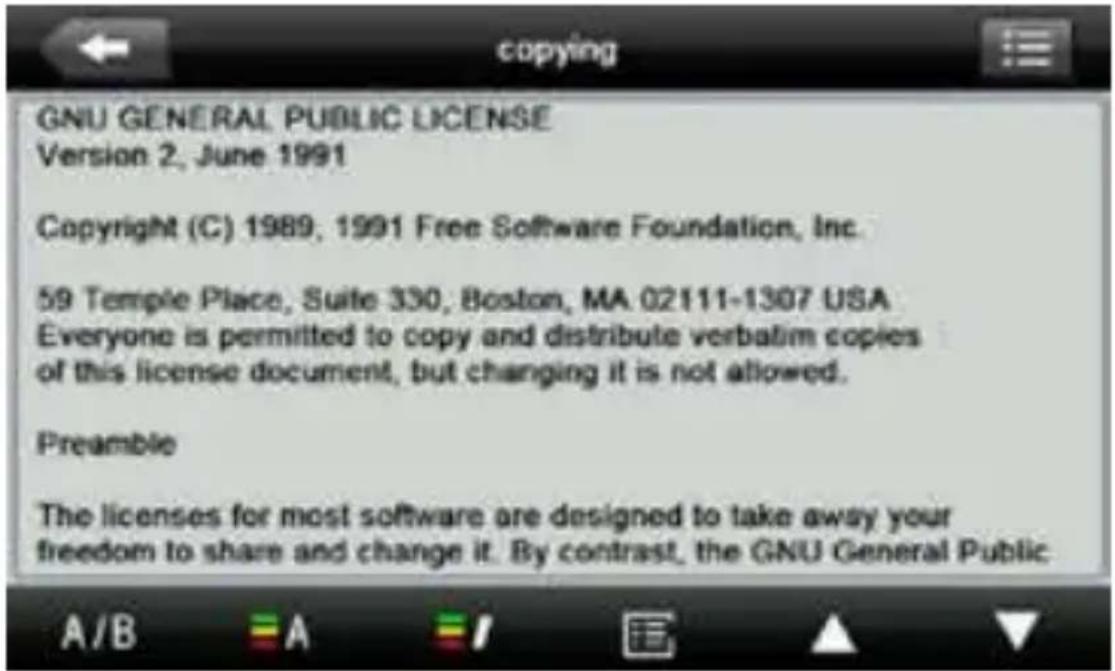
Picture 4-16 (E-Book reader interface)
 | Close | Click it to exit E-Book reader |
 | Previous page | Read previous page |
 | Next page Read next page; | |
 | Folder | Click it to switch into current folder interface, select your book; as Picture 4-15 |
 | Font setting | As picture 4-17 |
 | Color setting | As Picture 4-18 |
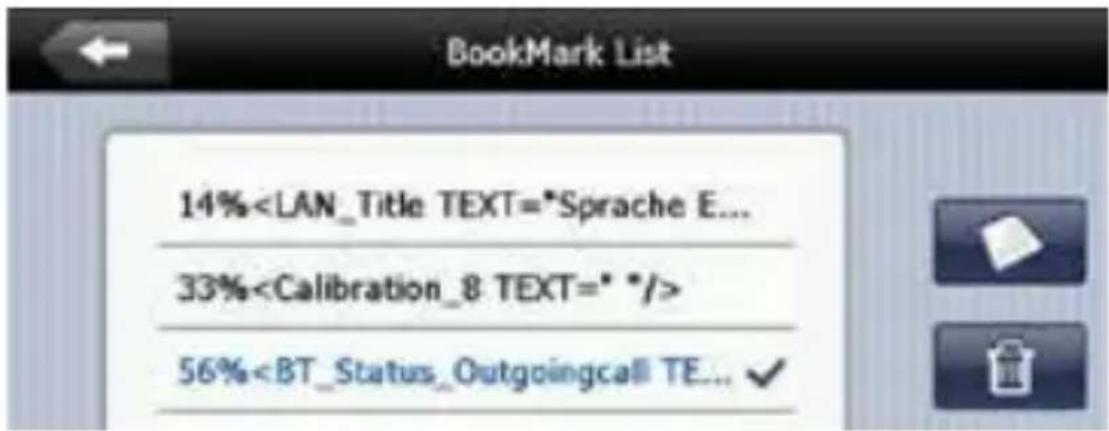
 | Add book-mark | Need to open the E-Book and selected text |
 | Open bookmark list | As Picture 4-19 |
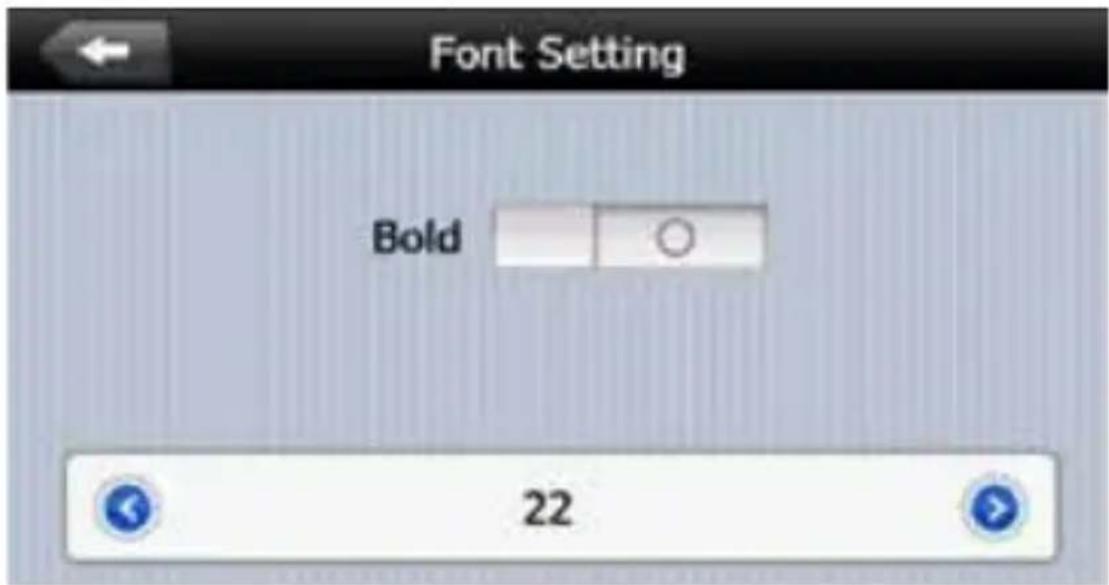
Picture 4-17 (Font setting interface)
 | Set the font as bold |
 | Set the font as normal |
 | Decrease words size |
 | Font size indicates |
 | Increase words size |
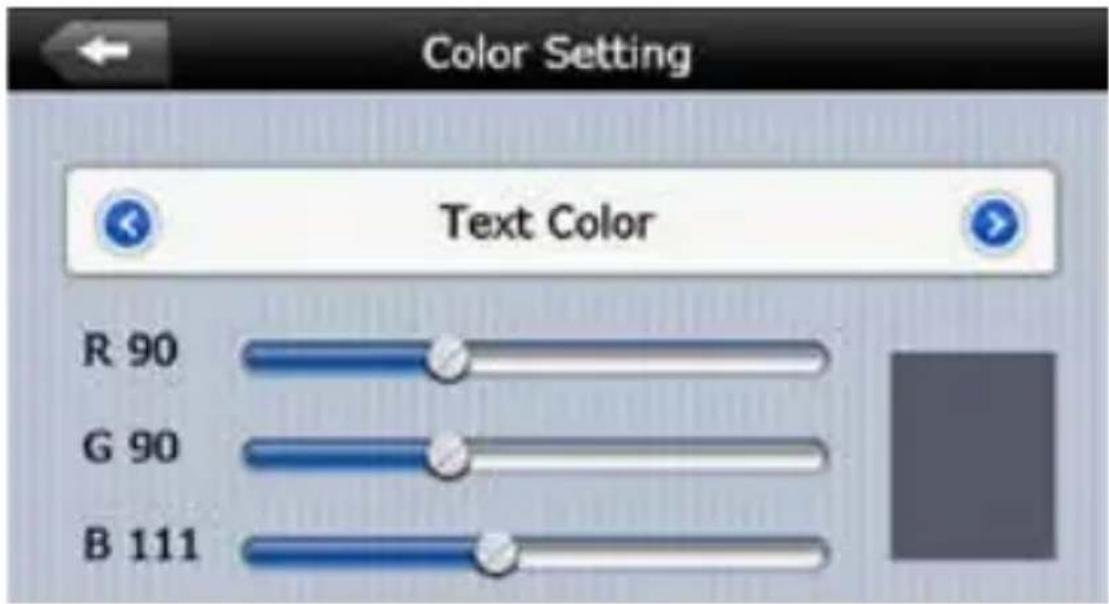
Picture 4-18 (color setting interface)
 | Set color RGB |
 | Select text color, words color or selected background color |
 | Decrease/increase the background color, font color and selected background color |
 | Color preset |
 | Return to E-Book interface |

- Contents
- Keys and Functions 6
- Product Introduction 7
- Features and specifications 7
- Manual instruction 10
- Primary function 16
- Trouble shooting handle and maintenance of GPS 68
- Spis treści
- Keys and Functions
- Product Introduction
- Introduction
- Package
- Features and specifications
- Main Features
- Specification
- Manual instruction
- Power supply and charge
- Power supply
- Use the car charger to supply power
- Power on/off
- Startup
- Shutdown
- Reset system
- Use bracket to fix navigator
- Stylus
- SD/MMC card
- [Note]
- Connect with computer
- Primary function
- The main interface and the function
- Main menu
- Picture 4-2
- Picture 4-3
- Function introduction
- Navigation Function Features and Operation
- Notes
- Map information
- Navigation
- Receiving signal
- Video player interface and operation
- Function features
- Operation methods
- Audio player interface and operation
- Function features
- Operation methods
- Photo viewer interface and operation
- Function features
- Operation methods
- E-Book reader interface and operation
- Function features
- Operation methods
Brand : ModeCom
Model : FreeWAY SX 7.1
Category : Gps