Wildland - Tent Skandika - Free user manual and instructions
Find the device manual for free Wildland Skandika in PDF.


| Product Type | Roof Tent |
| Brand | Skandika |
| Model | Wildland |
| Capacity | 2 Persons |
| Inner Tent Dimensions (L x W x H) | approx. 200 x 120 x 110/85 cm |
| Packed Dimensions | approx. 233 x 36 x 140 cm |
| Net Weight (incl. ladder) | approx. 62 kg |
| Gross Weight | approx. 77 kg |
| Flysheet Material | 210D Rip-stop Polyoxford PU 3000mm with silver coating UPF50+ |
| Inner Tent Material | 90g Polycotton PU 2000 mm |
| Floor Material | 210D Polyoxford PU 2000 mm |
| Frame Material | Aluminium Alloy |
| Cover Material | Polymer Composites ABS |
| Motor | 12V, 28W/single; 56W/set |
| Power Supply | 12V car battery, powerbank (12V/8A, 4000mAh for tent; 5V/1A, 12000mAh for devices), solar panel connection (27W total) |
| Remote Control | Wireless 433 MHz, range approx. 30m |
| Erection/Dismantling Time | Approx. 60 seconds |
| Maximum Speed with Tent | 70 mph (110 km/h) |
| Ladder Included | Yes |
| Tool Kit Included | Yes (screwdriver, Allen keys, spanner, assembly material) |
| Warranty | 24 months from delivery to end user |
| Spare Parts Contact | service@skandika.de |
Frequently Asked Questions - Wildland Skandika
User questions about Wildland Skandika
0 question about this device. Answer the ones you know or ask your own.
Ask a new question about this device
Download the instructions for your Tent in PDF format for free! Find your manual Wildland - Skandika and take your electronic device back in hand. On this page are published all the documents necessary for the use of your device. Wildland by Skandika.
USER MANUAL Wildland Skandika
natural_image
Open black-and-white photo of an electrical clamp kit with cables, clamps, and a power adapter (no visible text or labels)natural_image
Exterior view of a black and yellow electronic device (no visible text or symbols)natural_image
Black and white photo of a charging plug with a cable, no visible text or symbolsLadeadapter 1 Stück
natural_image
Close-up of red and black clamps with visible wires and metal contacts (no text or symbols)natural_image
Black fabric bag with a small loop handle, no visible text or symbolsnatural_image
White SUV parked in a forested area with trees and clear windows (no visible text or symbols)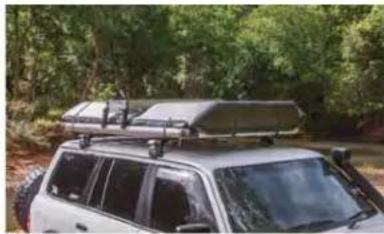
natural_image
White SUV parked in a forest with a metal roof rack mounted on its roof (no visible text or symbols)
2
natural_image
Close-up of a metallic kitchen sink with a coiled cable and control panel (no visible text or symbols)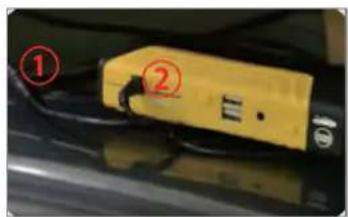
natural_image
Close-up of a yellow electronic device with wires and a black connector, labeled with numbers 1 and 2 (no readable text or symbols beyond labels)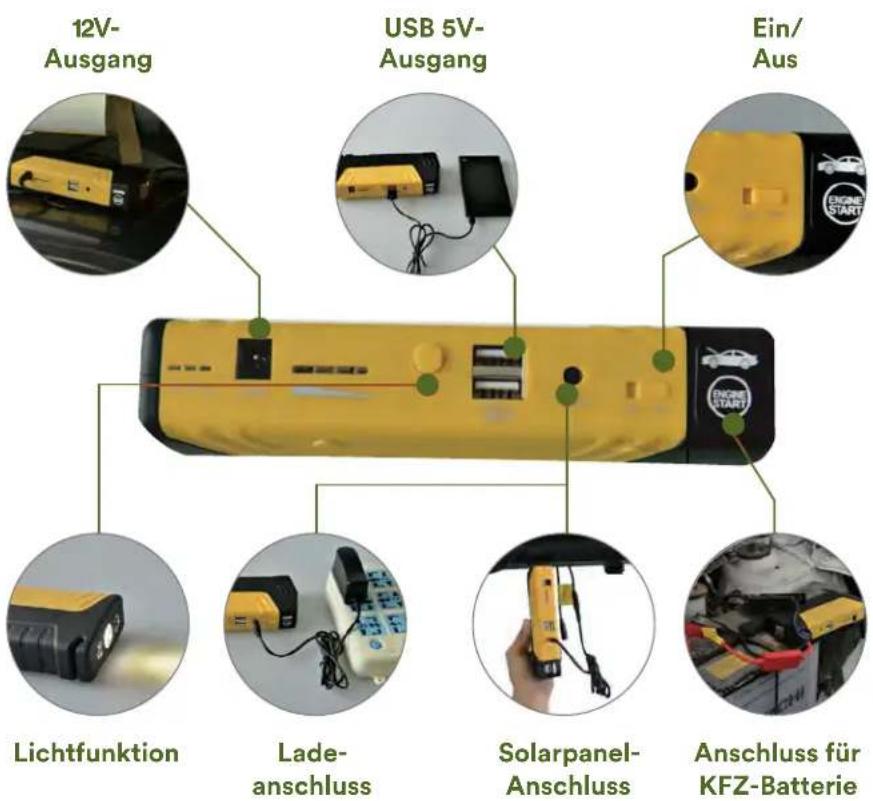
natural_image
Close-up of a hand holding a black plastic strap attached to a car (no visible text or symbols)1.6.
2.7
3.8.
4.9
natural_image
Close-up of mechanical components with black clamps and transparent surfaces (no visible text or symbols)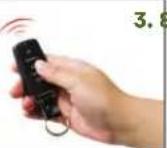
natural_image
Exterior view of a black vehicle with a large roof-mounted structure, surrounded by forest (no visible text or symbols)natural_image
Person standing beside a white SUV with a roof-mounted tent, surrounded by trees and hills (no visible text or symbols)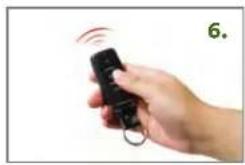
natural_image
Hand holding a black remote control device with signal waves (no text or symbols visible)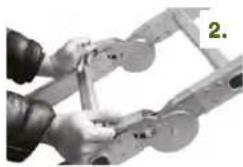
natural_image
Close-up of hands assembling a mechanical component with circular parts (no visible text or symbols)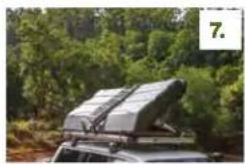
natural_image
Rear view of a military vehicle with mounted equipment in a forested area (no visible text or symbols)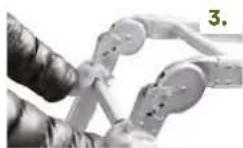
natural_image
Close-up of mechanical clamps and a transparent sheet with internal bands (no visible text or symbols)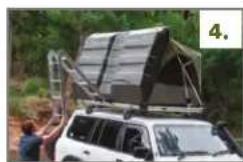
natural_image
White car parked near a roof-mounted structure in a forested area (no visible text or symbols)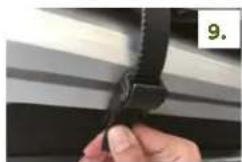
natural_image
Close-up of a hand adjusting a black clip on a striped surface (no text or symbols visible)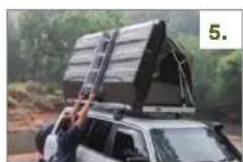
natural_image
Exterior view of a white SUV with a roof-mounted rooftop structure, surrounded by greenery (no visible text or symbols)HINWEISE
natural_image
Close-up of a mechanical device mounted on a frame, viewed through a window (no visible text or symbols)
natural_image
Close-up of a dark, textured object with geometric lines and a small bright spot (no visible text or symbols)
natural_image
Interior view of a building with exposed wooden structure and yellow roof (no visible text or symbols)13 Safety information
14 Scope of supply
15 Assembly instructions
18 Dismantling instructions
18 Troubleshooting
20 Product specifications
21 Guarantee conditions
Please visit the Skandika
Service portal on our
website for setup & help
videos, FAQs and downloa-
dable instructions.
For more information
about Skandika, simply
visit our main page
www.skandika.com

IMPORTANT INFORMATION
The manufacturer is not liable for any damage or accident that may occur as a result of non-compliance with these instructions for use, modifications made to parts or the usage of any parts other than the manufacturer's original parts. The warnings, cautions and instructions in this document cannot cover every possible situation, so it is understood by the operator that common sense and caution must be applied. It is your responsibility to pass these instructions on to any third party who uses this roof tent.
SAFETY INFORMATION
Before using the roof tent, make sure to check the roof load of your vehicle. The choice of roof racks is also very important; they must be able to withstand the load (which is much higher when driving than when stationary) without any problems.
We recommend that you do not drive over 70 mph (110 km/h) whilst using your roof tent and that you always adhere to the valid speed limits.
- At the start of each journey and at regular intervals during every journey, carefully check that your roof tent is firmly fixed to the roof bars and that all of the locking straps are securely fastened.
- Do not use your roof tent if there is any visible damage to any part of it or its components. Contact the customer service for adequate help. This is especially applicable regarding the locking straps and buckles.
- Make sure that loads and mounted roof racks do not come loose during the journey and thus possibly cause serious accidents.
- Please note that the roof tent will cause a change in vehicle height and handling (altered sensitivity to crosswinds, unfamiliar cornering and braking behaviour, etc.).
- Always carry the owner's manuals of the vehicle and roof tent with you on every journey and follow all instructions and notes given.
- Do not use bleach, alcohol or ammonia-based cleaning fluids on your roof tent as this may damage the surface of your roof tent.
- Please note the following when using your roof tent:
- The height of your vehicle can increase by up to 90 cm (depending on your roof bars).
– Beware of low entrances, low hanging branches, etc.
- When driving with a roof tent, unusual wind noises may occur.
- In any case, remove the roof tent before using an automatic car wash!
- To save fuel and ensure the safety of other road users, remove your roof tent and roof racks when not in use.
- For your safety, you should only use tested (e.g. GS-tested) roof bars that are authorised for usage in conjunction with your vehicle.
- In order not to generate too much uplift, your roof tent should be mounted parallel to the course of the road and not at an angle.
- Always use the ladder with due care when getting in and out of your roof tent and never let children use it alone. Make sure the ladder hooks are in good condition. Contact customer service if you need a replacement.
■ No open fire near the roof tent! - When packing the tent make sure that it is completely dry, otherwise there is a danger of mildew and rotting.
- Danger due to electrical voltage on electrical components! Never touch electrical components and contacts when the operating switch is switched on! There is a risk of electric shock with health hazards or fatal consequences. Voltage is present at terminals even when the operating switch is switched off.
natural_image
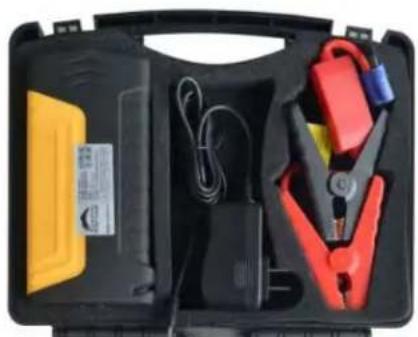
Black and red photo of an electrical clamp kit with coiled cable, power plug, and clamp (no visible text or symbols)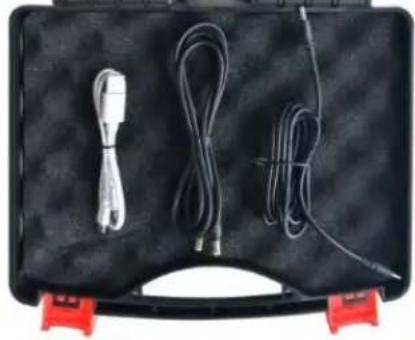
natural_image
Black hard-shell case with three cables and connectors, no visible text or symbolsCase with electrical accessories 1 Pc
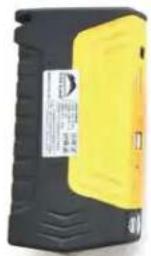
Emergency power bank 1 Pc
natural_image
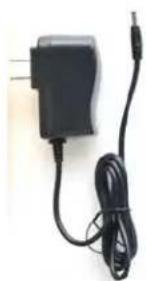
Black and white photo of a charging plug with a cable, no visible text or symbolsCharger 1 Pc
natural_image
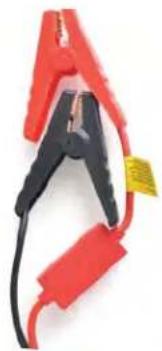
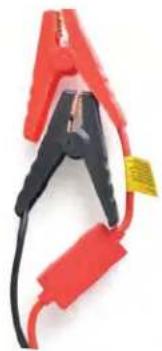
Close-up of red and black clamps with visible wires and metal contacts (no text or symbols)Vehicle Battery Charging Connection Line 1 Pc
Connection cable for the solar panel
1 Pc
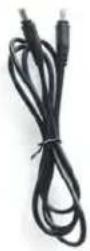
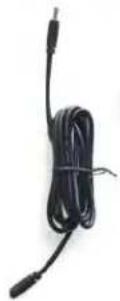
Roof tent power cord 1 Pc
USB Output
Power Wire
1 Pc
natural_image
Black fabric bag with a small loop handle, no visible text or symbolsTool bag 1 Pc
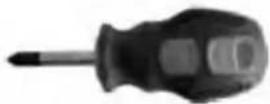
Cross screwdriver
6 x L100
1 Pc
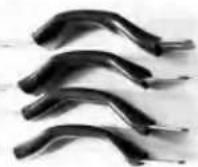
natural_image
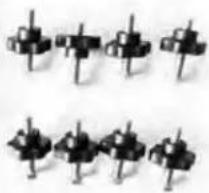
Two rows of identical black mechanical components with vertical rods, arranged in two groups (no text or symbols visible)
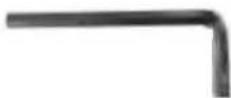
Allen key 6mm
1 Pc
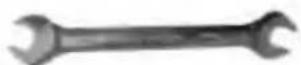
Open-end spanner 8 / 10
1 Pc
Assembly material
U-clamp 4 Pcs
Tube 4 Pcs
Star knob screw 8 Pcs
Spring washer 8 Pcs
Flat washer 8mm 8 Pcs
Screw M8 8 Pcs
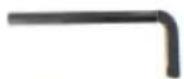
Allen key 5mm
1 Pc
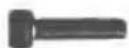
M6×30 mm
1 Pc

T Slider 1 Pc

Steel ring 1 Pc

Spring washer
6mm
1 Pc
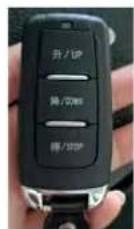
Remote control incl. 2 button cell batteries CR 2016
2 Pcs
ASSEMBLY
INSTRUCTIONS
1
Installing the roof tent
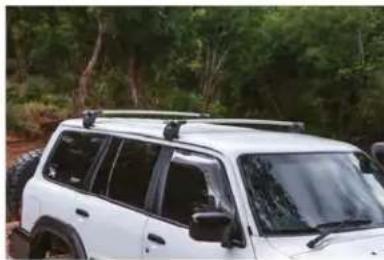
Before you mount the roof tent, you must have roof racks correctly mounted on your vehicle.
You should choose roof racks that fit optimally on your vehicle and can support the roof tent. The carrier feet are particularly important for a stable connection between the roof tent, roof rack system and car.
The roof tent should be mounted relatively in the middle of the vehicle so that, for example, the boot door can be used without problems and the load is distributed as evenly as possible.
natural_image
White SUV parked in a forested area with trees and clear windows (no visible text or symbols)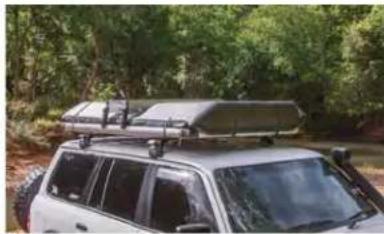
natural_image
White SUV parked in a forest with a metal roof rack mounted on its roof (no visible text or symbols)
2
Setting up your roof tent
The roof tent can be erected and dismantled electronically. Performance and features of the electronic control:
- Rated voltage: 12V—Rated power: 35W
Wireless reception frequency: 433 Mhz Thermal tripping of the motor (current 6A for 15 seconds) - Time to erect and dismantle the tent: Approx. 60 seconds.
- Manual stop of the motor: Press and hold STOP for approx. 1 second
- The total power of the solar module is 27 W (2 × 13.5 W). The charging time is approx. 4 hours (depends on the actual situation).
- Powerbank: 12V/8A output for tent, battery capacity: 4,000 mAh. 5V/1A output for mobile phones, notebooks, outdoor lighting and other devices; battery capacity: 12,000 mAh. 5V/1A connection can be fully charged in 4 hours.
1. IMPORTANT!
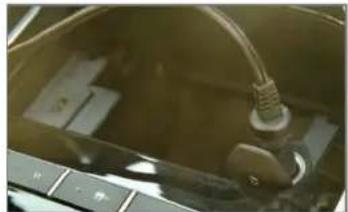
Connect the cables as follows:
Method 1
Plug the cable into the cigarette lighter and start the vehicle.
Method 2
Connect the two power cables from the motor and the powerbank, then you can operate the tent with the powerbank.
natural_image
Close-up of a metallic mechanical component with a coiled cable and a button, no visible text or symbols.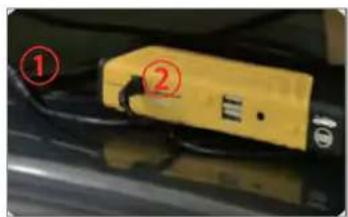
natural_image
Close-up of a yellow electronic device with black connectors and wires, labeled with numbers 1 and 2 (no readable text or symbols beyond labels)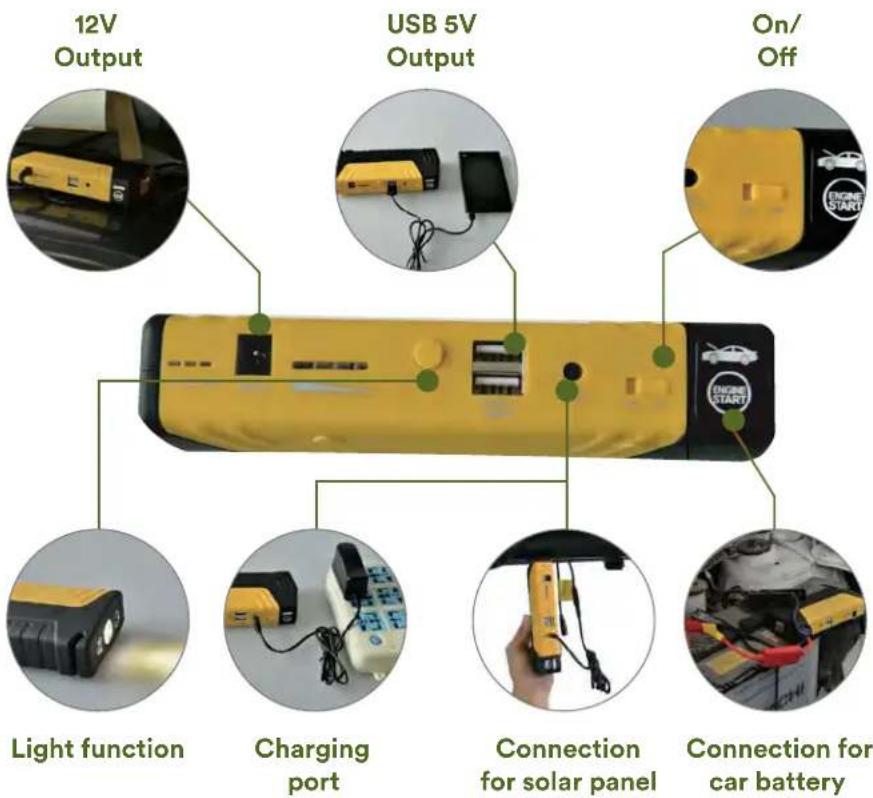
- IMPORTANT!
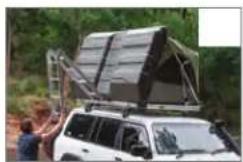
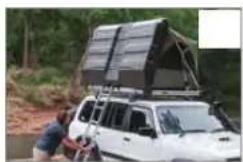
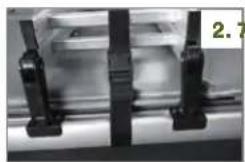
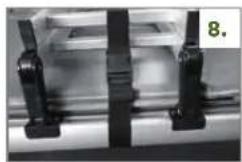
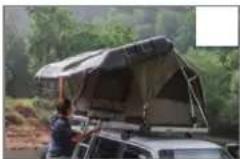
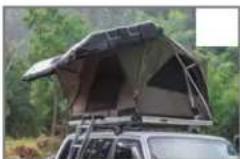
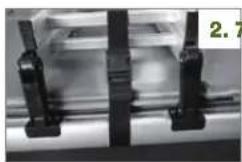
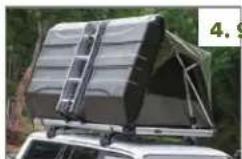
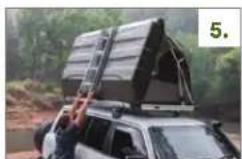
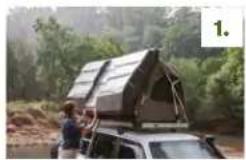
Loosen all the buckles around the frame. - Loosen the buckle on the ladder.
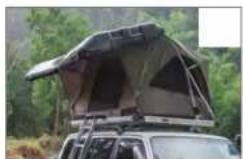
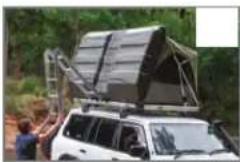
- Press UP on your remote control to erect the tent (Note: The DOWN button will not work until the tent is fully erected. Press the STOP button for 1 second to stop the pitching during the erection).
- Wait one minute for the tent to fully erect.
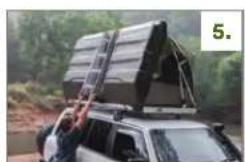
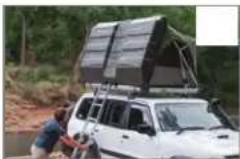
- Grasp the ladder and carefully pull it down.
- The ladder folds apart as it is lowered.
- Point the ladder straight down.
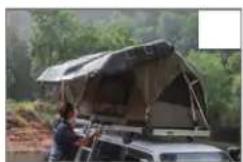
- Carefully push the hardtop upwards.
- When the hardtop is open, it is automatically fixed correctly.
natural_image
Close-up of a hand holding a black cable or wire attached to a car window (no visible text or symbols)1.6.
natural_image
Exterior view of a white SUV with a large roof structure, parked near a person (no visible text or symbols)2.7.
3.8.
4.9.
natural_image
Close-up of a mechanical assembly with black clamps and transparent casing (no visible text or symbols)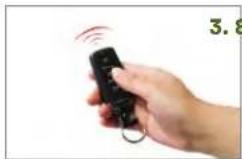
Dismantling your roof tent
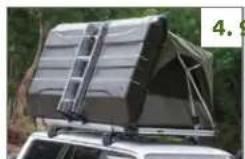
- Press down the hardtop.
- Push the ladder hooks upwards.
- Fold in the ladder.
- Slowly push the ladder upwards.
- Place the ladder on the hardtop.
- Press DOWN on your remote control to retract the tent (Note: The UP button will not work until the tent is completely dismantled. Press the STOP button for 1 second to stop dismantling during retraction).
- The tent is automatically lowered.
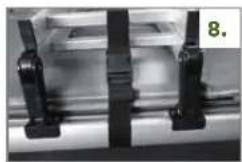
- Close the buckle to secure the ladder..
- Fix the frame.
natural_image
Person standing beside a vehicle covered in a roof-like structure, surrounded by trees and hills (no visible text or symbols)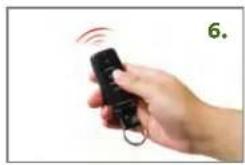
natural_image
Hand holding a black remote control device with signal waves (no text or symbols visible)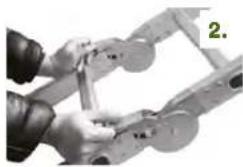
natural_image
Close-up of hands assembling a mechanical component with circular parts (no visible text or symbols)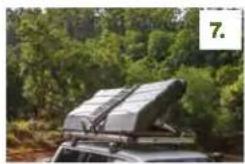
natural_image
Rear view of a military vehicle with mounted equipment in a forested area (no visible text or symbols)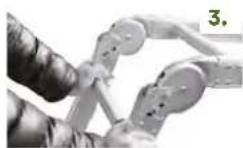
natural_image
Close-up of mechanical clamps and a transparent sheet with black brackets (no visible text or symbols)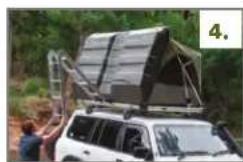
natural_image
White car parked near a roof-mounted structure in a forested area (no visible text or symbols)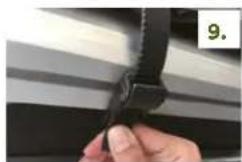
natural_image
Close-up of a hand adjusting a black clip on a striped surface (no text or symbols visible)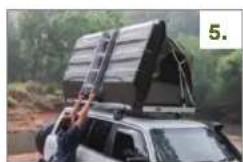
natural_image
Exterior view of a white SUV with a roof-mounted rooftop structure, surrounded by greenery (no visible text or symbols)NOTES
• Always keep all parts clean and dry to ensure full functionality.
- If the tent or the aluminium frame is damp, wait until the parts have dried before dismantling.
- Check that there are no objects in the tent during the assembly and disassembly phases and that nothing is caught on or blocking the motor pole.
TROUBLESHOOTING
PROBLEM: Tent does not open / cannot be erected.
SOLUTION: Check that the mains cable has been correctly plugged into the 12 V socket or that a correct power connection has been made. Avoid pressing the DOWN key during assembly or the UP key during disassembly. The motor is equipped with a protection that prevents such operation. Always press STOP first to stop the movement currently in progress and then UP or DOWN. If the tent still cannot be erected, there may be a defect in the motorised erection device. It is possible to replace the tent motor accordingly - to do this, follow these steps:

REPLACING THE TENT MOTOR
- Open the plastic cover on the frame side.
- Carefully pull out the white cable.
- Loosen the waterproof connection.
- Separte the cable parts.
- Pull the remaining cable out of the frame hole.
- Also pull the waterproof connection out of the frame.
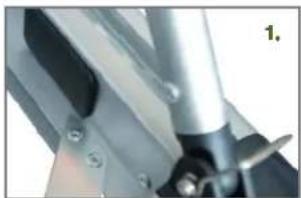
- Loosen the screw on the frame with a suitable Allen key.
- Loosen the screw connection on the tent pole with a smaller Allen key.
- Replace the tent motor and reattach all parts.
NOTE:
If you do not have any tools or a spare motor with you, you can also pitch the tent manually.
Follow these steps:
- Remove the arm on both sides.
- Remove the two 92cm poles from the tent pockets.
- Support the tent on both sides with the poles.
- The tent must be held up from one side to the other. Make sure that any poles that fall down cannot injure anyone.
natural_image
Close-up of a mechanical component with metallic parts and mounting holes (no visible text or symbols)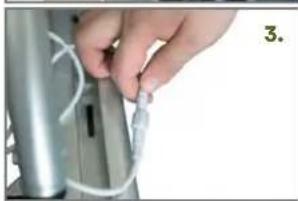
natural_image
Close-up of hands connecting a cable to a metallic device (no visible text or symbols)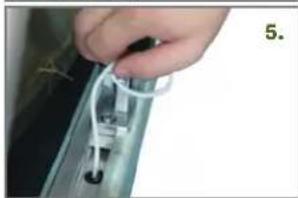
natural_image
Close-up of a hand holding a white plastic clip attached to a metal bracket (no text or symbols visible)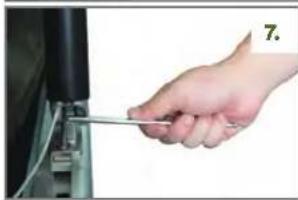
natural_image
Hand holding a screwdriver inserted into a mechanical component (no visible text or symbols)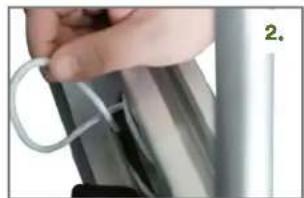
natural_image
Close-up of a hand holding a white cable attached to a metallic panel (no text or symbols visible)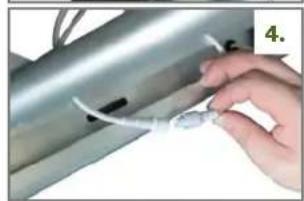
natural_image
Close-up of a hand holding a small white object against a metallic panel (no text or symbols visible)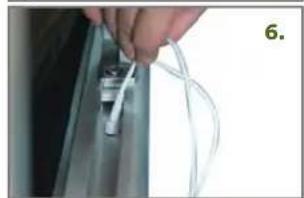
natural_image
Close-up of hands connecting a cable to a small mechanical component (no visible text or symbols)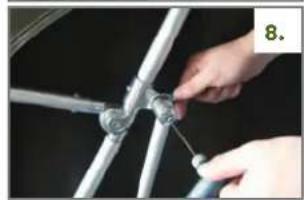
natural_image
Close-up of hands installing a metal pipe fitting into a metal frame (no text or symbols visible)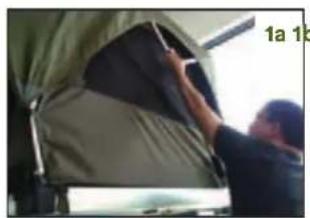
natural_image
Person installing or adjusting a large canopy cover in a vehicle (no visible text or symbols)
natural_image
Close-up of a black fabric or material sample with a metallic tool, no visible text or symbols
natural_image
Stacked industrial machinery components with no visible text or symbols
natural_image
Person adjusting a large beige tent or tent with a small orange object, viewed from inside a vehicle (no visible text or symbols)
natural_image
Interior view of a modern building with large windows and a dark mechanical component (no visible text or symbols)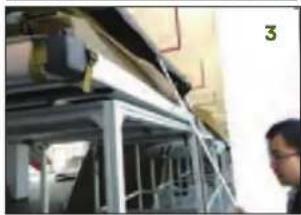
natural_image
Exterior view of a modern office building (no signage)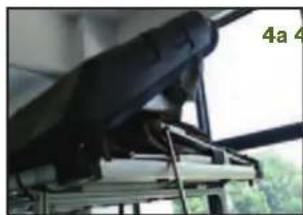
natural_image
Close-up of a mechanical device mounted on a platform, viewed through a window (no visible text or symbols)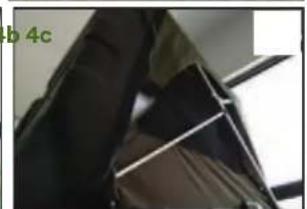
natural_image
Close-up of a dark, textured object with a white line and partial label 'b 4c' in the corner (no readable text or symbols)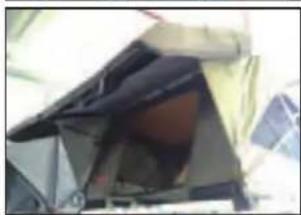
natural_image
Interior view of a building with exposed structural elements and a rolled-up roof (no visible text or symbols)Product specifications
Flysheet 210D rip-stop Polyoxford PU 3000mm with silver coating UPF50+
Inner tent 90g Polycotton PU 2000 mm
Floor 210D Polyoxford PU 2000 mm
Frame Aluminium alloy
Motor 12V, 28W/single; 56W/set
Cover Polymer Composites ABS
Structure
Number of persons 2
Inner tent dimensions approx. 200 (L) × 120 (B) × 110/85 (H) cm
Pack size approx. 233 × 36 × 140 cm
Net weight approx. 62 kg (Ladder included)
Gross weight approx. 77 kg
GUARANTEE CONDITIONS
For our devices we provide a warranty as defined below.
- In accordance with the following conditions (numbers 2-5) we repair defect or damage to the device free of charge, if the cause is a manufacturing defect. Therefore, these defects / damages need to be reported to us without delay after appearance and within the warranty period of 24 months after delivery to the end user. The warranty does not cover parts, which easily break (e.g. glass or plastic). The warranty does not cover slight deviations of the product, which are insignificant for usability and value of the device and damage caused by chemical or electrochemical effects and damages caused by penetration of water or generally force majeure damage.
- The warranty achievement is the replacement or repair of defective parts, depending on our decision. The cost of material and labor will be borne by us. Repairs at customer site cannot be demanded. The proof of purchase along with the date of purchase and / or delivery is required. Replaced parts become our property.
- The warranty is void if repairs or adjustments are made, which are not authorized by us or if our devices are
equipped with additional parts or accessories that are not adapted to our devices. Furthermore, the warranty is void if the device is damaged or destroyed by force majeure or due to environmental influences and in case of improper handling / maintenance (e.g. due to non-observance of the instruction manual) or mechanical damages. The customer service may authorize you to replace or repair defective parts after telephone consultation. In this case, the warranty is not void.
- Warranty services do not extend the warranty period nor do they initiate a new warranty period.
- Further demands, especially claims for damages which occurred outside the device, are excluded as long as a liability is not obligatory legal.
- Our warranty terms - which cover the requirements and scope of our warranty conditions - do not affect the contractual warranty obligations of the seller.
- Parts of wear and tear are not included in the warranty.
- The warranty is void if not used properly.
CE
ENVIRONMENTAL PROTECTION
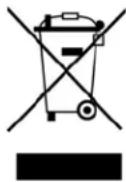
The symbol of the crossed-out dustbin on batteries or accumulators indicates that they must not be disposed of in household waste at the end of their life. If batteries or accumulators contain mercury (Hg), cadmium (Cd) or lead (Pb), you will find the respective chemical symbol below the symbol of the crossed-out dustbin. You are legally obliged to return old batteries and accumulators after use. You can do this free of charge at a retail outlet or at another collection point near you. You can obtain addresses of suitable collection points from your city or local government. Batteries may contain substances that are harmful to the environment and human health. Particular care should be taken when handling batteries containing lithium because of the special risks involved. The separate collection and recycling of old batteries and accumulators is intended to avoid negative impacts on the environment and human health. Please avoid the generation of waste from old batteries as far as possible, e.g. by giving preference to batteries with a longer life or rechargeable batteries. Please avoid littering public spaces by not carelessly leaving batteries or electrical and electronic equipment containing batteries. Please consider ways to reuse a battery instead of disposing of it, for example by reconditioning or repairing the battery.
In accordance with our policy of continual product improvement, we reserve the right to make technical and visual changes without notice.
For spare parts please contact: service@skandika.de Service centre: MAX Trader GmbH, Wilhelm-Beckmann-Straße 19, 45307 Essen, Germany
NOTIZEN / NOTES
NOTIZEN / NOTES

natural_image
Abstract geometric design with two diagonal olive-green triangles on white background (no text or symbols)Skandika
- 2
- HINWEISE
- IMPORTANT INFORMATION
- SAFETY INFORMATION
- Assembly material
- 1
- Installing the roof tent
- Setting up your roof tent
- IMPORTANT!
- Method 1
- Method 2
- Dismantling your roof tent
- NOTES
- TROUBLESHOOTING
- REPLACING THE TENT MOTOR
- NOTE:
- Product specifications
- Structure
- GUARANTEE CONDITIONS
- ENVIRONMENTAL PROTECTION
- NOTIZEN / NOTES
- Skandika
Brand : Skandika
Model : Wildland
Category : Tent