
SSD7103 - Regulator Highpoint - Free user manual and instructions
Find the device manual for free SSD7103 Highpoint in PDF.


| Product Type | PCIe NVMe RAID Controller |
| Host Interface | PCIe 3.0 x16 |
| Number of M.2 Ports | 4 |
| Supported Drive Interface | NVMe M.2 |
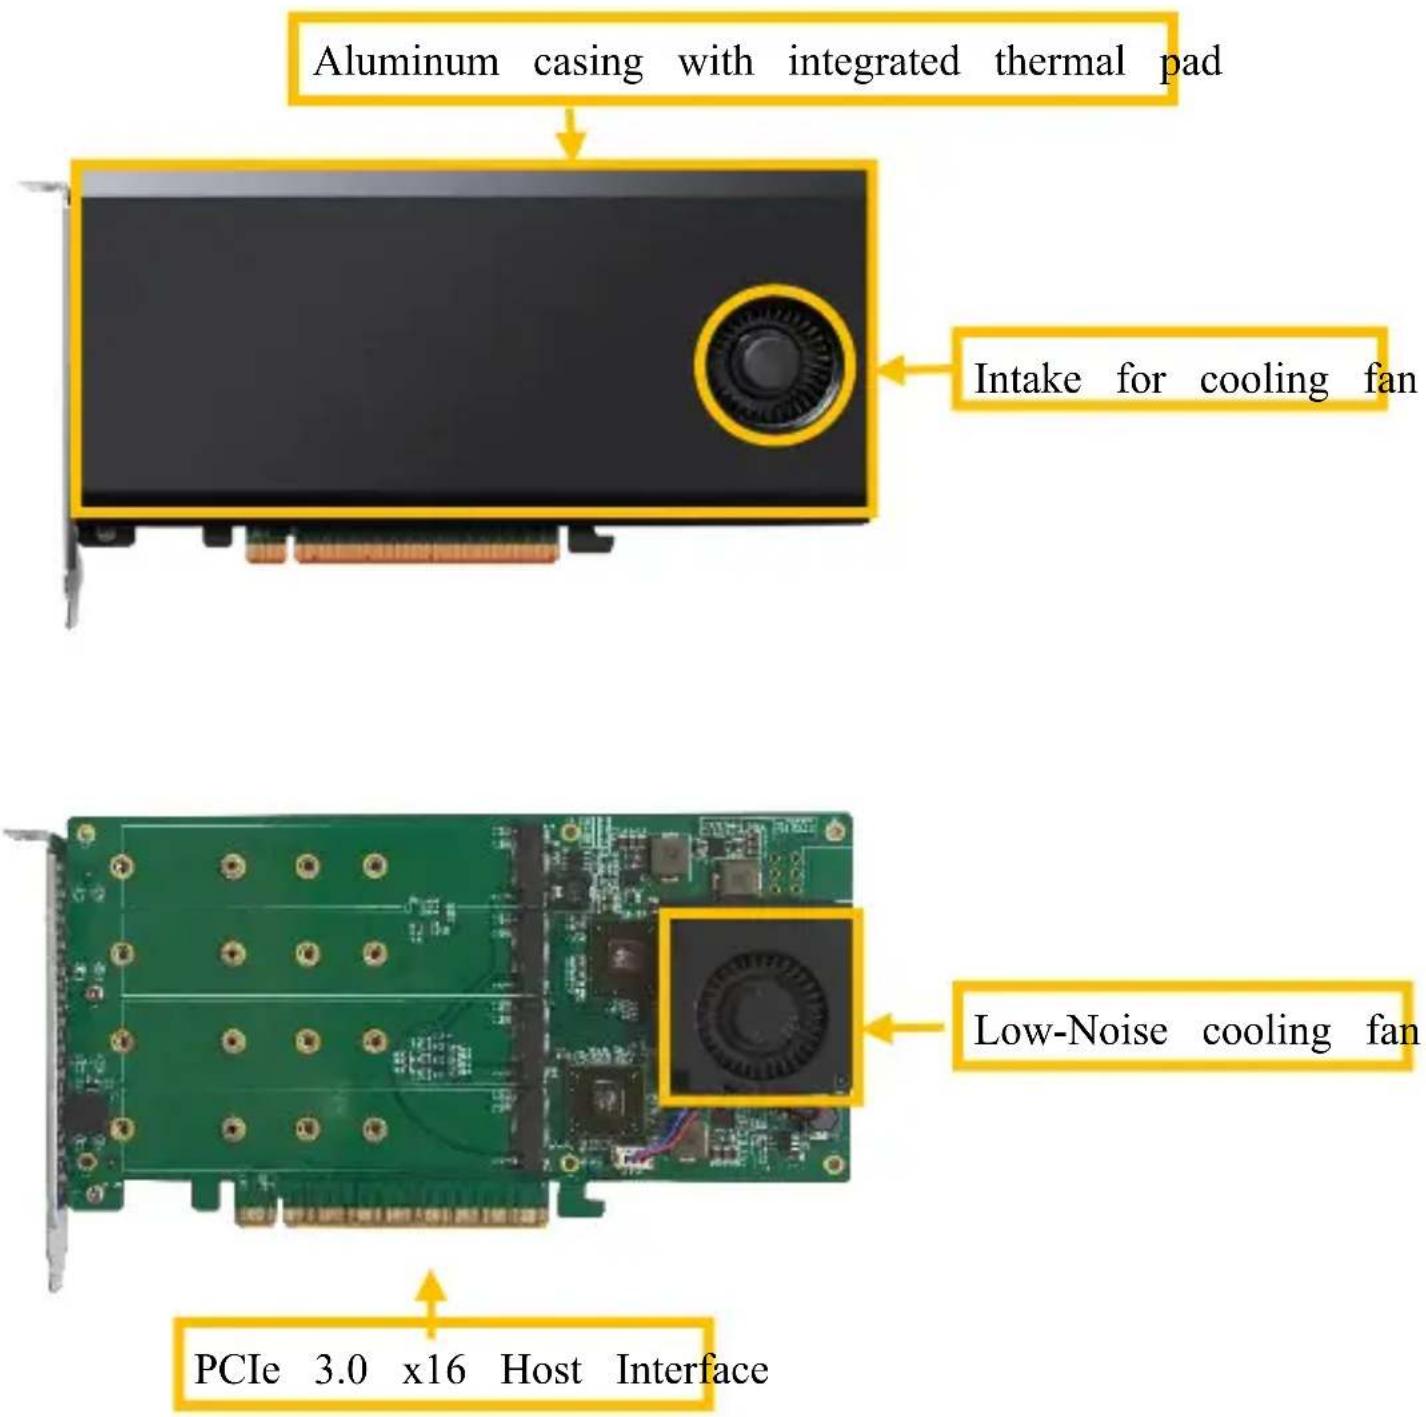
| Cooling System | Active cooling with low-noise fan and integrated thermal pad |
| RAID Levels Supported | RAID 0, 1, 5, 10 (typical for NVMe RAID controllers) |
| Operating Systems Supported | Windows 10/Server 2016+, Linux kernel 3.10+, macOS 10.13+ |
| Form Factor | Full-height, half-length PCIe card (typical) |
| Weight | Approx. 200 g (estimated based on typical card) |
| Dimensions | Approx. 200 x 120 x 20 mm (estimated) |
| Power Consumption | Via PCIe slot, up to 75W (typical) |
| Included Accessories | Quick Installation Guide |
| Material | Aluminum casing with thermal pad |
| Certifications | CE, FC (as seen on PCB) |
Frequently Asked Questions - SSD7103 Highpoint
User questions about SSD7103 Highpoint
0 question about this device. Answer the ones you know or ask your own.
Ask a new question about this device
Download the instructions for your Regulator in PDF format for free! Find your manual SSD7103 - Highpoint and take your electronic device back in hand. On this page are published all the documents necessary for the use of your device. SSD7103 by Highpoint.
USER MANUAL SSD7103 Highpoint
4x M.2 Port to PCIe 3.0x16 NVMe RAID Control
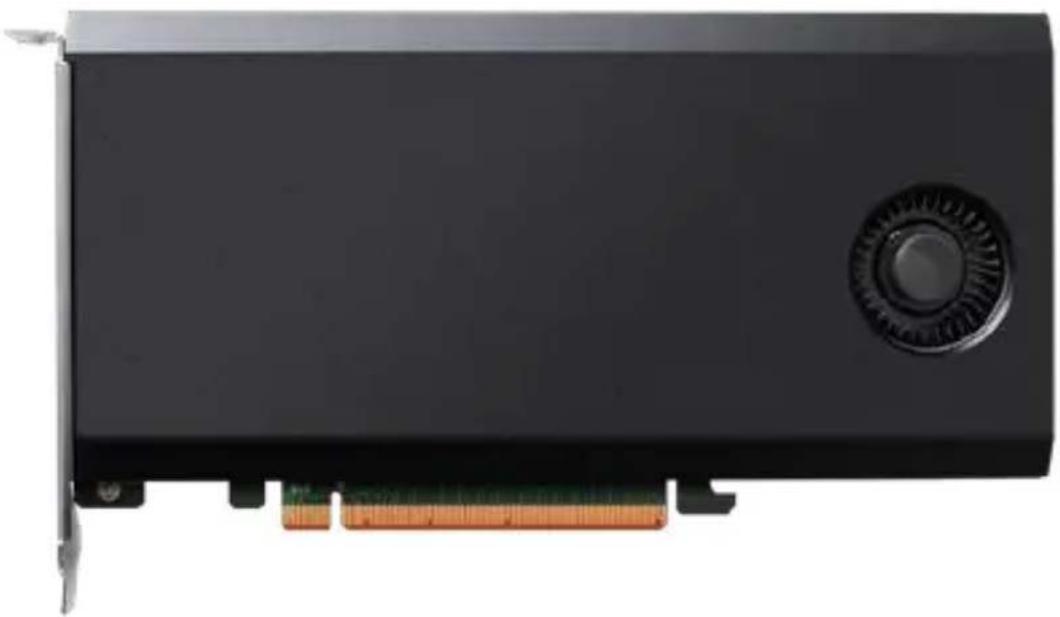
Quick Installation Guide V1.04
System Requirements
PC Requirements
- System with an empty x16 PCIe 3.0 slot
(Please refer to the SSD7103 compatibility list.)
• Windows 10 and Windows Sever 2016 or later - Linux kernel 3.10 or later
• macOS 10.13 and later
SSD7103 Kit Contents
- SSD7103 Controller Card
- Quick Installation Guide
SSD7103 Hardware
Front View
NVMe Drive Installation:
Step 1. On the rear of the SSD7103, remove the six screws that the unit's front panel to the PCB.
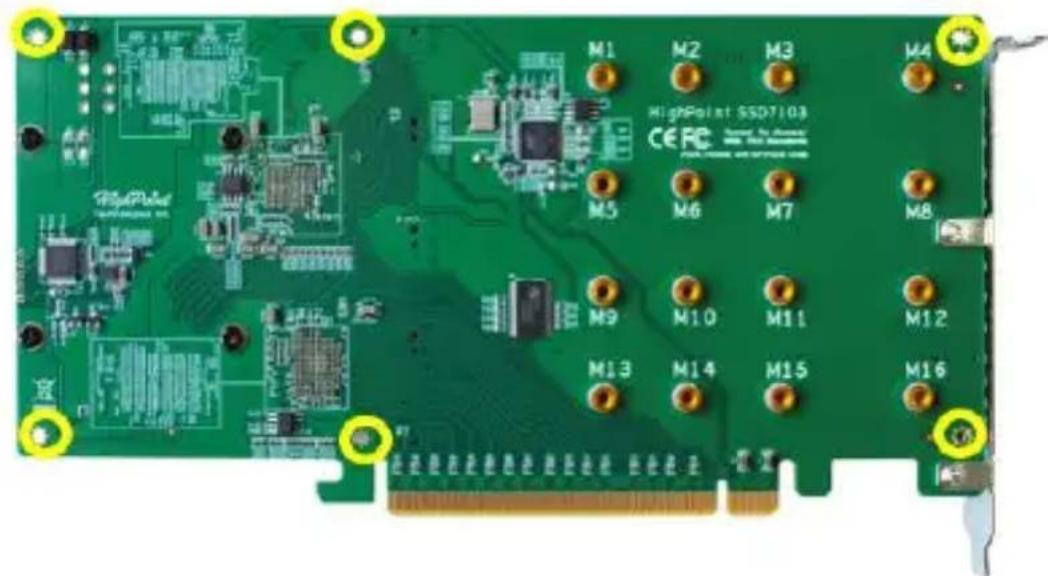
After removing the screws, carefully remove the front panel the SSD7103.
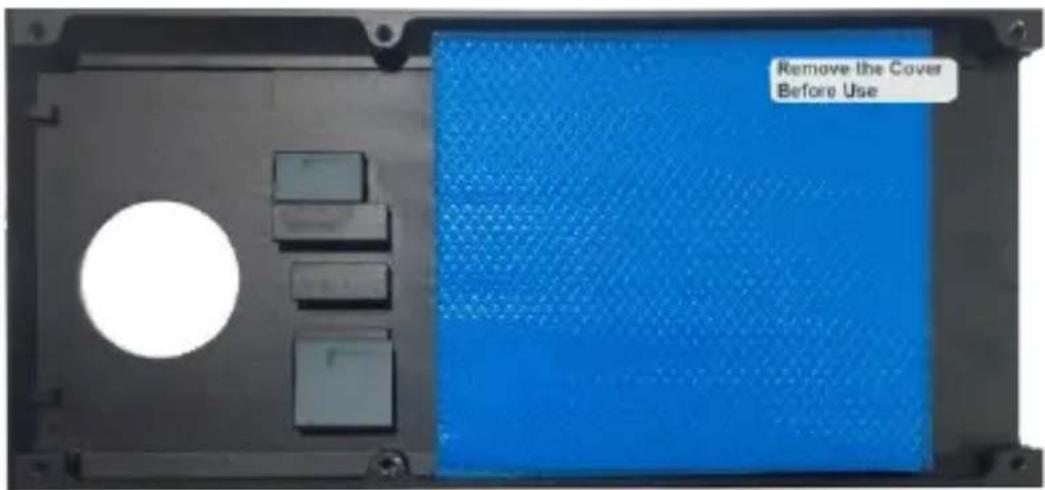
Step 2. After removing the casing, carefully turn it over to vie thermal pad. The blue film must be removed from the pad before reinstalling the panel. This film protects the pad from damage a foreign objects prior to installation, however, it can also prevent thermal pad form conducting the heat away from the NVMe SS we don't remove it.
Step 3. These 4 screws are used to install the NVMe SSD's.
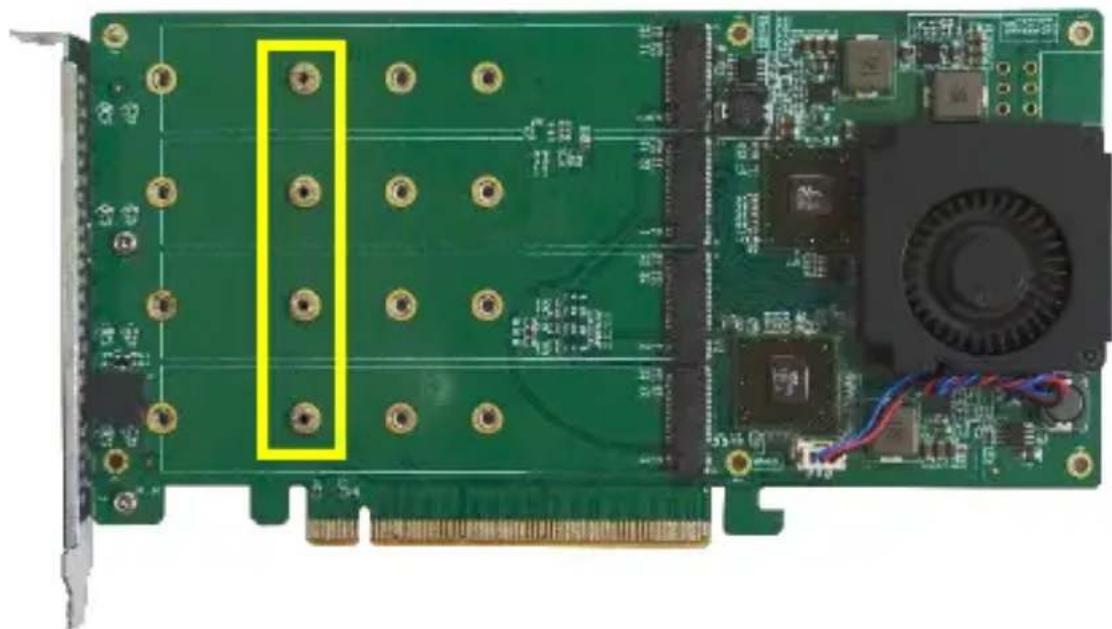
Step 4. The SSDs should be installed from top to bottom. Rem top screw.
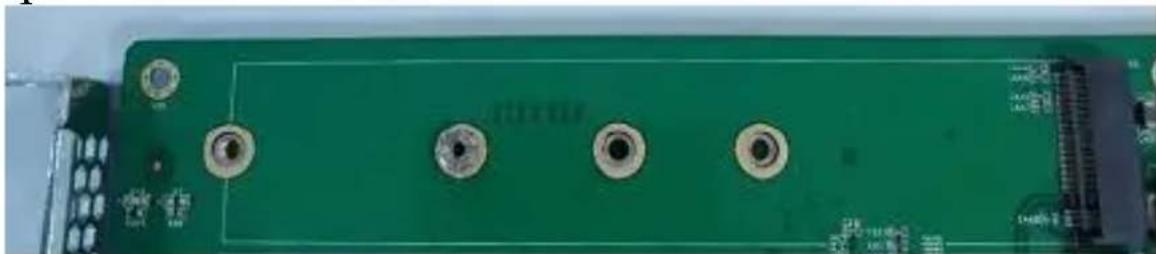
Step 5. Gently insert the SSD into the slot.
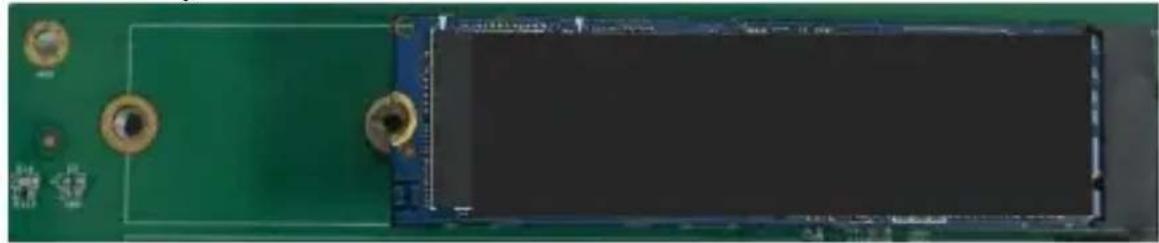
Note: Please make sure all disks are clean before you in into the slot to avoid unexpected situations.
Step 6. Refasten the screw to secure the SSD.
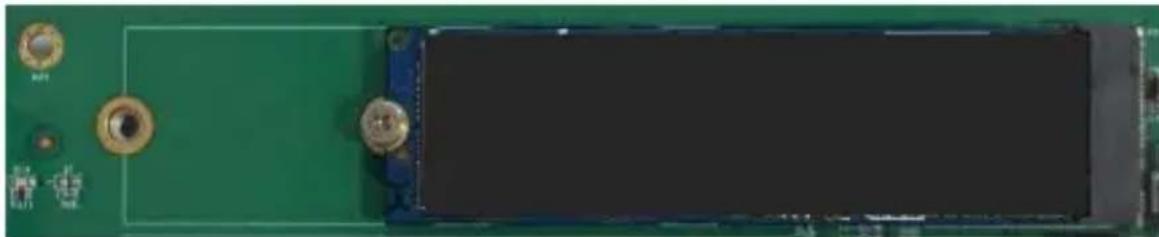
Repeat Steps 4 to 6 to install the remaining SSDs.
Note: Make sure the SSD's are carefully, but securely installed into each M.2 port. Loose connections can cause a variety of stability and performance issues, and may ultimately result in loss.
The following example shows four M.2 SSDs installed into Ports
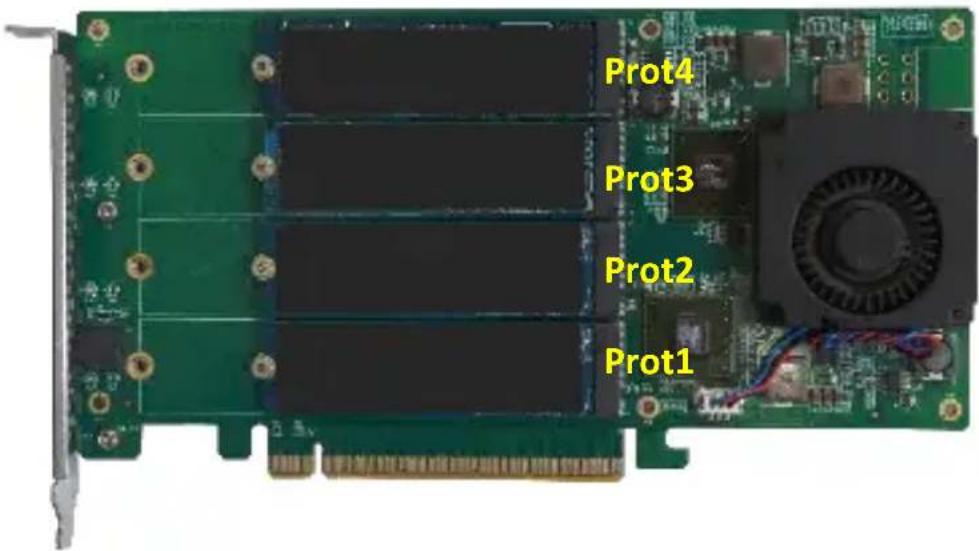
Step 7. Replace the front panel after installing all SSDs Step 8. On the rear of the SSD7103, refasten the 6 screws that removed in step 1.
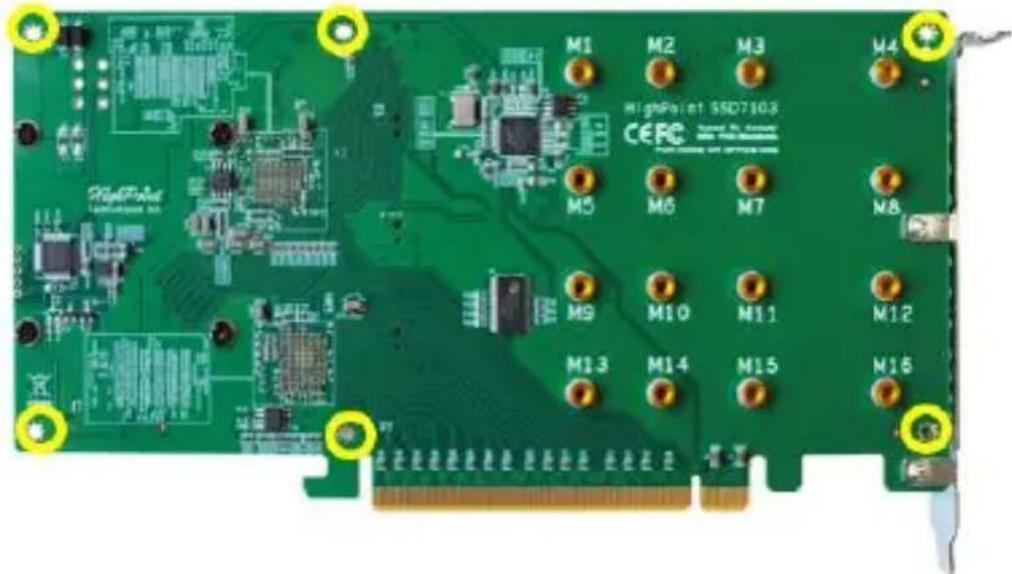
Note: Make sure the aluminum cover is properly aligned with the controller board (PCB), and that it makes full contact with the pad, before refastening it to the SSD7103. If the cover is improved, it is not
installed, the fan and thermal pad will be unable to sufficiently NVMe SSD's and controller componentry, which may result in d to the SSD's or controller hardware, performance loss, unstable and the loss of data.
Note: Please be sure to connect NVMe before using the product reduce the occurrence of unnecessary errors!
Note: Install the driver in the system first and then install the
Resources
We recommend visiting the SSD7103 Product Resources Page for latest documentation:
Software Download:
SSD7103 Driver, WebGUI, Installation Guide https://www.highpoint-tech.com/USA_new/series-ssd7103-download.htm
Other Reference Information:
Motherboard & NVMe SSD Compatibility List
SSD7103 User Guide – How To Set Up & Monitor RAID Arr https://www.highpoint-tech.com/USA_new/series-ssd7103-resource.htm
FAQ & Troubleshooting: https://highpoint-tech.com/USA_new/support-faq-nvme.htm
Customer Support
If you encounter any problems while utilizing the SSD7103 drive have any questions about this or any other HighPoint Technologi product, feel free to contact our Customer Support Department.
Web Support:
https://www.highpoint-tech.com/websupport/
HighPoint Technologies, Inc. websites:
https://www.highpoint-tech.com


Brand : Highpoint
Model : SSD7103
Category : Regulator