
X10 - Headphones MEE audio - Free user manual and instructions
Find the device manual for free X10 MEE audio in PDF.


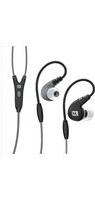
| Product Type | Truly Wireless Sports Earphones |
| Model | X10 |
| Brand | MEE audio |
| Connectivity | Bluetooth |
| Earpiece Configuration | Right earpiece (master) can be used independently as mono headset; left earpiece pairs to right |
| Charging Case | Included, with battery indicator lights |
| Charging Port | USB-C |
| Eartips | 3 pairs included, silicone |
| Battery Indicator (Earpiece) | White light (charging on/off) |
| Controls | Physical button on each earpiece: single press (play/pause/answer/end call), double press (volume or reject call), triple press (track skip), hold 2 sec (voice assistant), hold 5 sec (power on/off), hold 5 sec after off (pairing) |
| Pairing Mode Indication | Flashing alternating blue and white lights |
| Factory Reset | Yes, via button combination (6 rapid presses in pairing mode) |
| Water Resistance | Sweat resistant, but not submersible; dry before storing |
| Safety | Do not use at high volume for extended periods; avoid use while driving or operating machinery |
| Compliance | FCC Part 15 |
| Warranty | 1 year manufacturer warranty (from authorized resellers) |
| Support Contacts | Phone: 626-965-1008 (Mon-Fri 9am-5pm PST), Email: support@MEEaudio.com |
Frequently Asked Questions - X10 MEE audio
User questions about X10 MEE audio
0 question about this device. Answer the ones you know or ask your own.
Ask a new question about this device
Download the instructions for your Headphones in PDF format for free! Find your manual X10 - MEE audio and take your electronic device back in hand. On this page are published all the documents necessary for the use of your device. X10 by MEE audio.
USER MANUAL X10 MEE audio
natural_image
Line drawing of a stylized earbell with a logo (no text or symbols)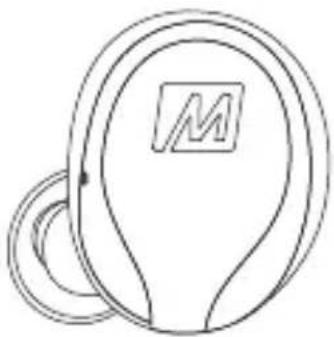
natural_image
Simple line drawing of a teardrop-shaped object with a 'M' logo on the top (no text or symbols beyond the label)X10
TRULY WIRELESS
SPORTS EARPHONES
www.MEEaudio.com/X10
Model: X10
X10 SETUP GUIDE

Scan QR code or visit:
MEEaudio.com/X10Support
GETTING STARTED
Package Contents
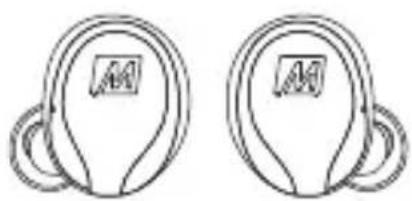
natural_image
Two identical abstract geometric shapes with circular bases and central square markers (no text or symbols)X10 Truly Wireless Sports Earphones
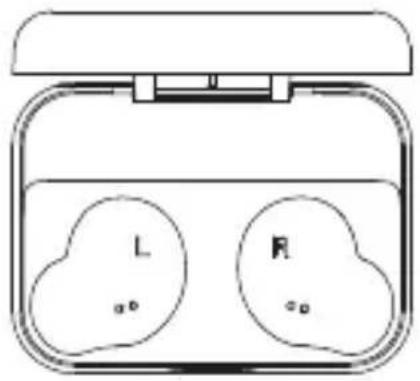
Charging Case
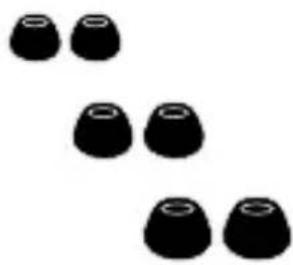
natural_image
Six black circular objects arranged in a triangular pattern on white background (no text or symbols)Eartips (3 Pairs)
natural_image
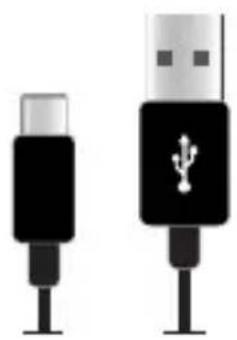
Two black USB connectors with a white USB symbol on their caps, shown from different angles (no text or labels)USB-C Charging Cable
UNDERSTANDING THE X10
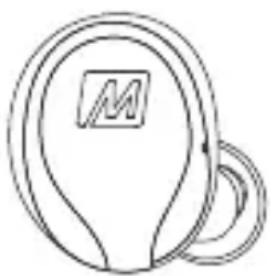
The right earpiece connects to your Bluetooth device. It can also be used independently as a mono headset.

natural_image
Simple line drawing of a stylized object resembling a keyhole with a square and letter M, overlapping with a ring (no text or symbols)RIGHT
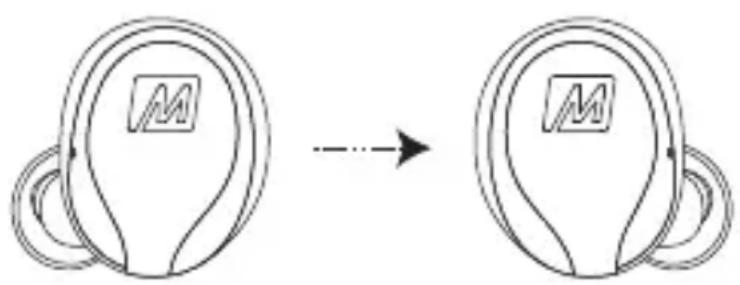
The left earpiece automatically connects to the right earpiece. It cannot be used independently.
flowchart
graph LR
    A["Circle with square M"] --> B["Rectangular object with square M"]
LEFT RIGHT
STEP 1: CHARGING
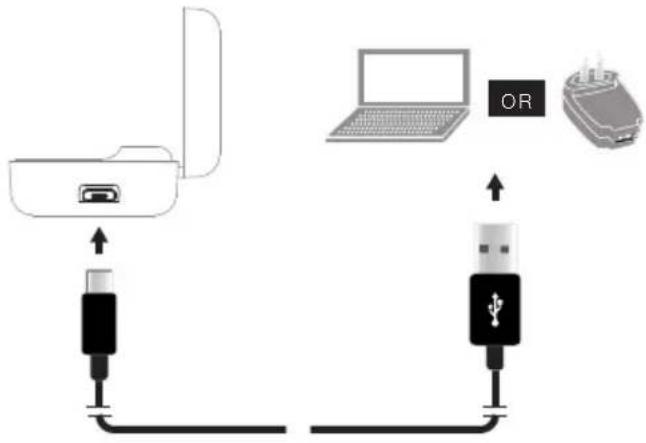
Connect charging case to a USB charger.
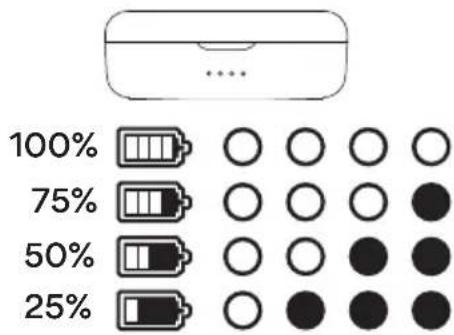
Charging Case Battery Indicator Lights
Place both earpieces in case to charge.
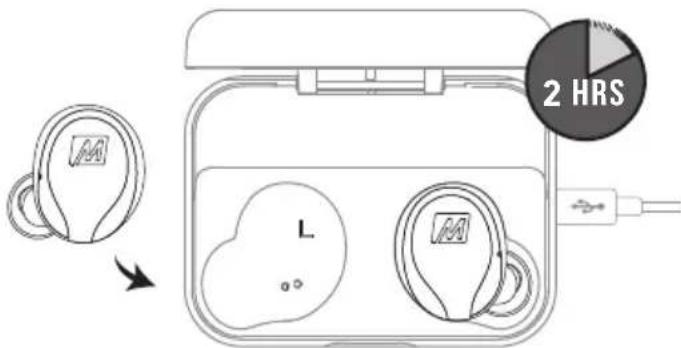

Controls are disabled when earpieces are inside charging case.
Earpiece Indicator Lights
Charging:
Solid white lights
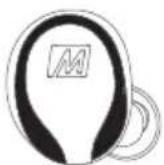
Charged:
Lights off
STEP 3: FITTING
Select the eartips with the best sound and comfort for your ears.
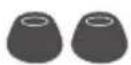
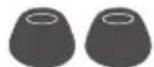
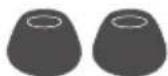
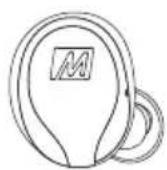
Identify the left and right earpieces.
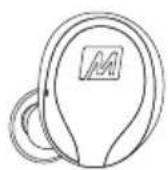
LEFT RIGHT
Put each earpiece in the corresponding ear.
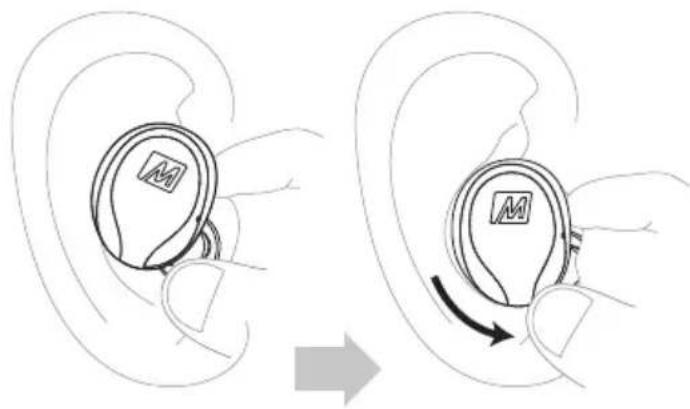
Adjust each earpiece until it fits flush in your ear and the eartip seals the ear canal. If your music sounds tinny or lacks bass, try different eartips.
STEP 4: POWERING OFF
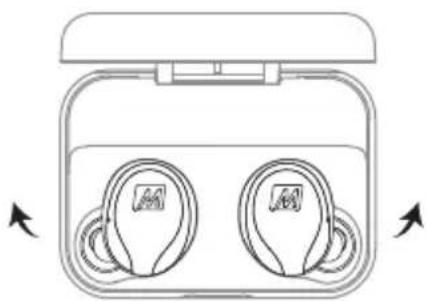
When done listening, place both earpieces back in the case.
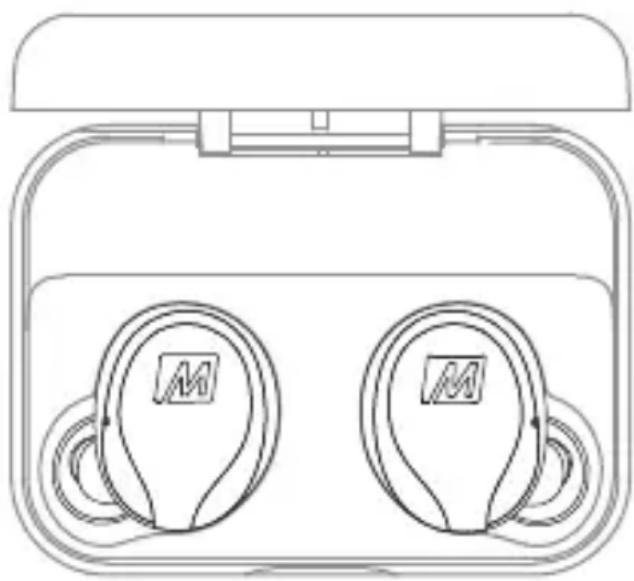
natural_image
Line drawing of two wireless earbuds with 'M' branding, enclosed in a rounded rectangular frame (no text or symbols on the devices themselves)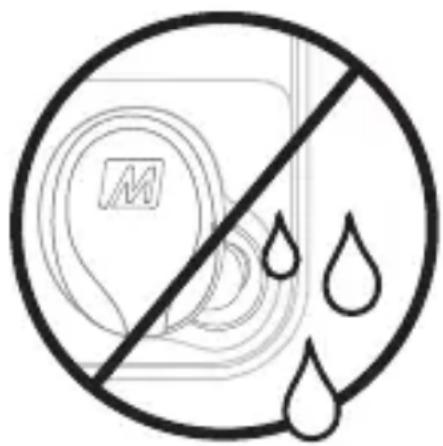

If earpieces are sweaty or damp, allow them to dry fully before storing them in the case.
SUBSEQUENT USE
When removed from the charging case, the X10 reconnects automatically to the last paired Bluetooth device that is in range.
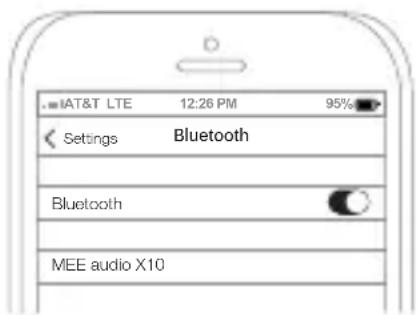
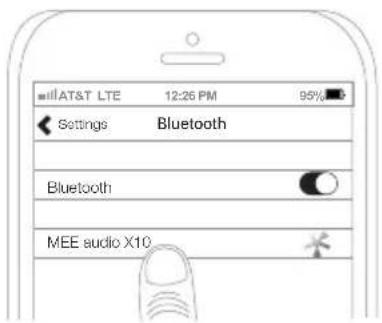
To reconnect manually, open the Bluetooth menu on your device and select “MEE audio X10” from the Bluetooth device list.
You can also use just the right earpiece as a mono headset by leaving the left earpiece in the case.
PAIRING NEW DEVICES
To manually enter pairing mode:
Remove right earpiece from case, press and hold the button for 5 seconds to power it off, then press and hold the button for 5 seconds again until the blue and white lights flash indicating pairing mode.

Select "MEE audio X10" in the Bluetooth menu of the new device you wish to pair to complete the pairing process.
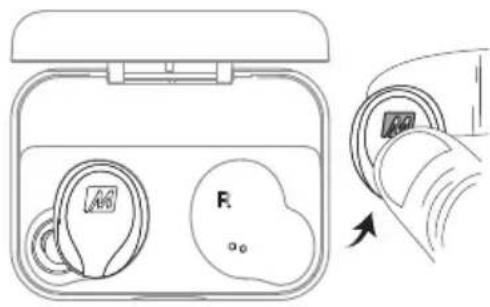
Earpiece Indicator Lights
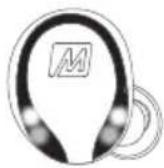
Pairing mode is indicated by flashing alternating blue and white lights

Controls are disabled when earpieces are inside charging case.
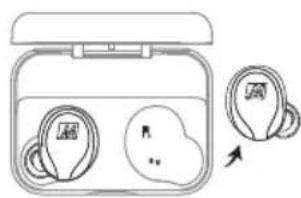
Power On
natural_image
Diagram of a portable electronic device with two earbuds and a lid, connected to a circular icon with an arrow (no text or symbols)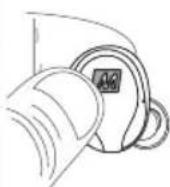
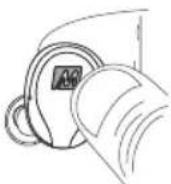
OR
remove from case
HOLD M button on each earpiece for 3 secs
Power Off
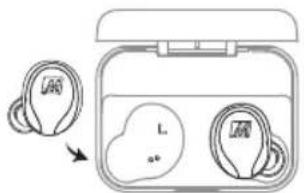
place in case
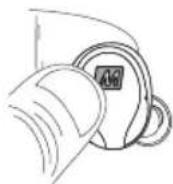
HOLD M button on right earpiece for 5 secs
Play / Pause / Answer Call / End Call

LEFT RIGHT
OR
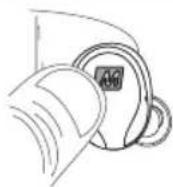
PRESS M button on either earpiece
Decrease Volume
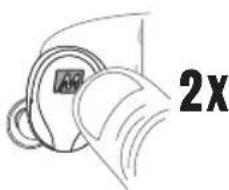
LEFT
PRESS M button 2x on left earpiece
Increase Volume
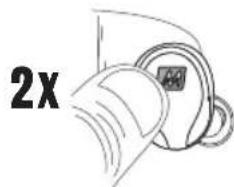
RIGHT
PRESS M button 2x on right earpiece
Siri ^™ / Google Assistant ^™ / Voice Control
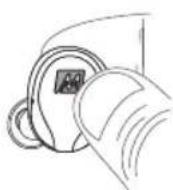
OR
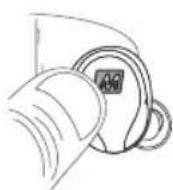
RIGHTLEFT
HOLD 📂 button for 2 secs on either earpiece
Previous Track
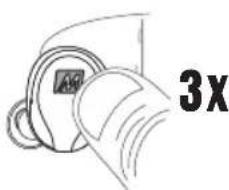
LEFT
PRESS M button 3x on left earpiece
Next Track
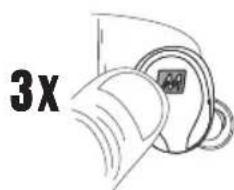
RIGHT
PRESS M button 3x on right earpiece
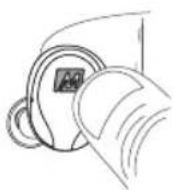
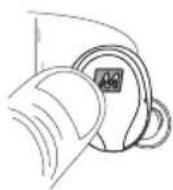
Reject Call
2x2x
OF
RIGHTLEFT
PRESS 📂 button 2x on either earpiece
Factory Reset
A factory reset can be used to restore all features to their factory settings and delete all previous Bluetooth pairings from memory. Before the X10 can be used again, a new pairing will need to be created.
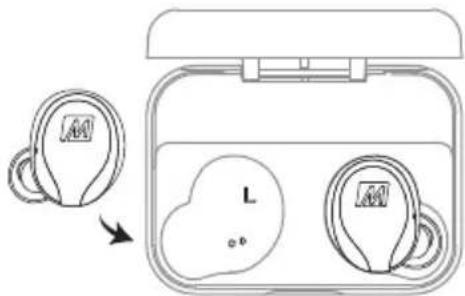
1) Place both earpieces in the case. Next, remove the right earpiece from case.
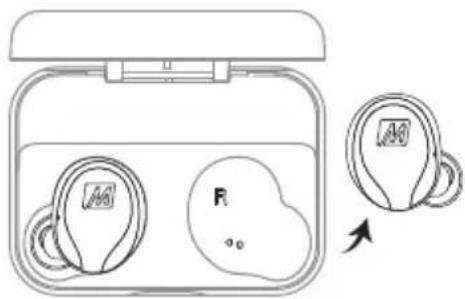
2) Press and hold the button for 5 seconds to power it off, then press and hold the button for 5 seconds again until the blue and white lights flash in an alternating manner, indicating pairing mode.
natural_image
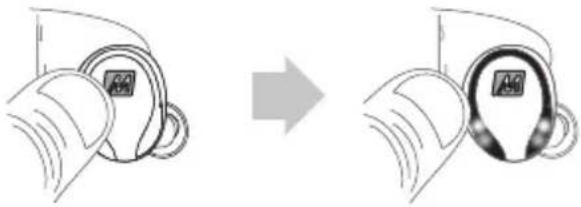
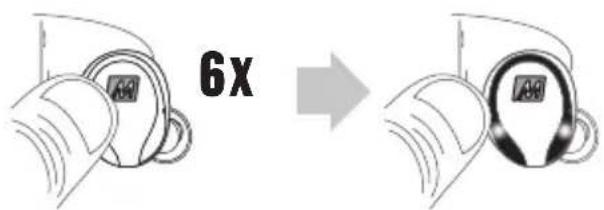
Diagram showing a device being processed, with no visible text or symbols3) Once the right earpiece is in pairing mode, press the button 6 times rapidly to reset the earpiece. A white light will come on indicating that it was reset.
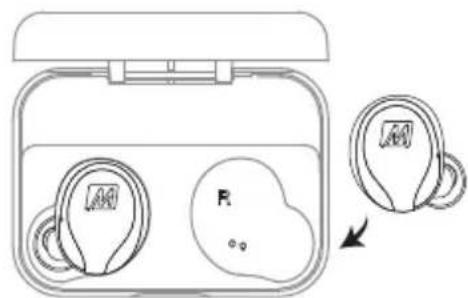
4) Put the right earpiece back in the case.
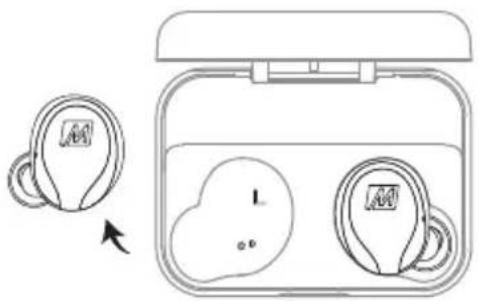
5) Take left earpiece out of the case.
6) Press the button on the left earpiece 6 times rapidly to reset the earpiece. A white light will come on indicating that it was reset.
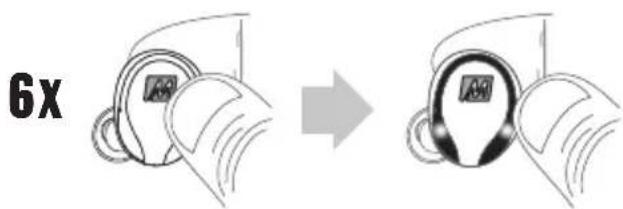
7) Put the left earpiece back in the case. 8) Take both earpieces out of the case and follow the instructions in the "PAIRING" section to create a new pairing with your device.
natural_image
Diagram of a device with two earbuds and a lid, showing directional arrows (no text or symbols)WARNINGS
Using headphones at high volumes for extended periods of time will result in permanent hearing damage. It is advised you keep volume levels moderate to low at all times for your safety. Turn the volume all the way down after connecting your earphones, then gradually increase the volume until you reach a comfortable listening level. Do not use headphones while driving a car, cycling, operating machinery, or performing other activities that require hearing surrounding sounds.
Keep the device and packaging out of reach of children.
This device is designed and manufactured to operate within its defined design limits. Misuse may result in electric shock or fire. Read and follow these instructions carefully.
- If submersed in water, do not turn the device on until completely dried. Note: liquid submersion voids the warranty.
- To prevent fire or shock hazards, do not expose this unit to rain or moisture. If the device comes in contact with liquids, quickly wipe away. If submersed in water, do not turn the device on until completely dried. Note: liquid submersion voids the warranty.
- Danger of explosion or fire if batteries are damaged. Keep away from direct sunlight, naked flames, flammable gasses, or heat sources such as radiators or stoves
- Do not use around flammable gasses as fire or explosion may occur.
- There are no user replaceable/reparable parts in the device. Disassembling it will void your warranty.
- Only use attachments/accessories specified by the manufacturer
Changes or modifications to this unit not expressly approved by MEE audio could void the user's authority to operate the equipment.
COMPLIANCE INFORMATION
This device complies with part 15 of the FCC Rules. Operation is subject to the following two conditions: (1) This device may not cause harmful interference, and (2) this device must accept any interference received, including interference that may cause undesired operation.
FCC RULES
This equipment has been tested and found to comply with the limits for a Class B digital device, pursuant to part 15 of the FCC Rules. These limits are designed to provide reasonable protection against harmful interference in a residential installation. This equipment generates, uses and can radiate radio frequency energy and, if not installed and used in accordance with the instruction manual, may cause harmful interference to radio communications.
However, there is no guarantee that interference will not occur in a particular installation. If this equipment does cause harmful interference to radio or television reception, which can be determined by turning the equipment off and on, the user is encouraged to try to correct the interference by one or more of the following measures:
- Relocate the receiving antenna.
- Increase the separation between equipment and receiver.
- Connect the equipment into an outlet on a circuit different from that to which the receiver is connected.
- Consult the dealer or an experienced radio/TV technician for help.
DISPOSAL AND RECYCLING
Dispose of this product in accordance with all local laws and regulations. Because this product contains electronic components and a battery, it must be disposed of separately from household waste. Contact local authorities to learn about disposal and recycling options.
WARRANTY
MEE audio products purchased from authorized resellers are covered by a 1-year manufacturer warranty. For more information, contact your local MEE audio dealer or visit MEEaudio.com/Support
MEE audio and its logo are registered trademarks of S2E, Inc. All rights reserved.
The Bluetooth® word mark and logos are registered trademarks owned by Bluetooth SIG, Inc. and any use of such marks by MEE audio is under license. Other trademarks and trade names are those of their respective owners.
Sir ^® is a registered trademark of Apple Inc.
Google Assistant is a trademark of Google Inc.
VIEW OUR VIDEO SETUP GUIDE
Scan QR code or enter the URL below into your web browser:
MEEaudio.com/X10Support

QUESTIONS? WE'RE HERE TO HELP!
Phone Support: 626-965-1008
Monday \~ Friday 9:00 am to 5:00 pm PST
Email Support: support@MEEaudio.com
All emails are responded to within 2 business days
- X10
- TRULY WIRELESS
- SPORTS EARPHONES
- X10 SETUP GUIDE
- GETTING STARTED
- UNDERSTANDING THE X10
- STEP 1: CHARGING
- Earpiece Indicator Lights
- STEP 3: FITTING
- STEP 4: POWERING OFF
- SUBSEQUENT USE
- PAIRING NEW DEVICES
- To manually enter pairing mode:
- Factory Reset
- WARNINGS
- COMPLIANCE INFORMATION
- FCC RULES
- DISPOSAL AND RECYCLING
- WARRANTY
- VIEW OUR VIDEO SETUP GUIDE
- QUESTIONS? WE'RE HERE TO HELP!
Brand : MEE audio
Model : X10
Category : Headphones