
Mini-S - Tripod Moza - Free user manual and instructions
Find the device manual for free Mini-S Moza in PDF.


| Product Type | Smartphone Gimbal Stabilizer |
| Brand | Moza |
| Model | Mini-S |
| Dimensions (Extended) | 116 x 95 x 317 mm (W x D x H) |
| Dimensions (Folded) | 130 x 68 x 195 mm (W x D x H) |
| Weight | 495 g |
| Max Payload | 260 g |
| Battery Life | 8 hours |
| Charging Time | 3 hours |
| Battery Capacity | 2000 mAh |
| Working Voltage | 3.7 V |
| Supported Phone Width | 58 - 88 mm |
| Mechanical Roll Axis Angle | 315° |
| Mechanical Pan Axis Angle | 270° |
| Mechanical Tilt Axis Angle | 200° |
| Key Functions | Foldable design, horizontal/vertical modes, joystick control, sport gear mode, inception mode, FPV mode, object tracking, timelapse, follow focus & zoom, gimbal calibration, firmware upgrade |
| Cleaning and Maintenance | Keep dry and clean. Wipe with a soft cloth. Avoid water and dust ingress. |
| Safety | Do not disassemble. Use only specified charger. Keep away from children. |
| Spare Parts and Repairability | Contact Moza support for spare parts and repairs. |
| General Information | Requires MOZA Genie app (iOS 9.0+, Android 5.0+). USB charging for phone. Type-C/Lightning adapter may be needed for camera control. |
Frequently Asked Questions - Mini-S Moza
User questions about Mini-S Moza
0 question about this device. Answer the ones you know or ask your own.
Ask a new question about this device
Download the instructions for your Tripod in PDF format for free! Find your manual Mini-S - Moza and take your electronic device back in hand. On this page are published all the documents necessary for the use of your device. Mini-S by Moza.
USER MANUAL Mini-S Moza
natural_image
Line drawing of a handheld 3D device with a rectangular head and cylindrical body (no text or symbols)User manual
Mini-S Overview
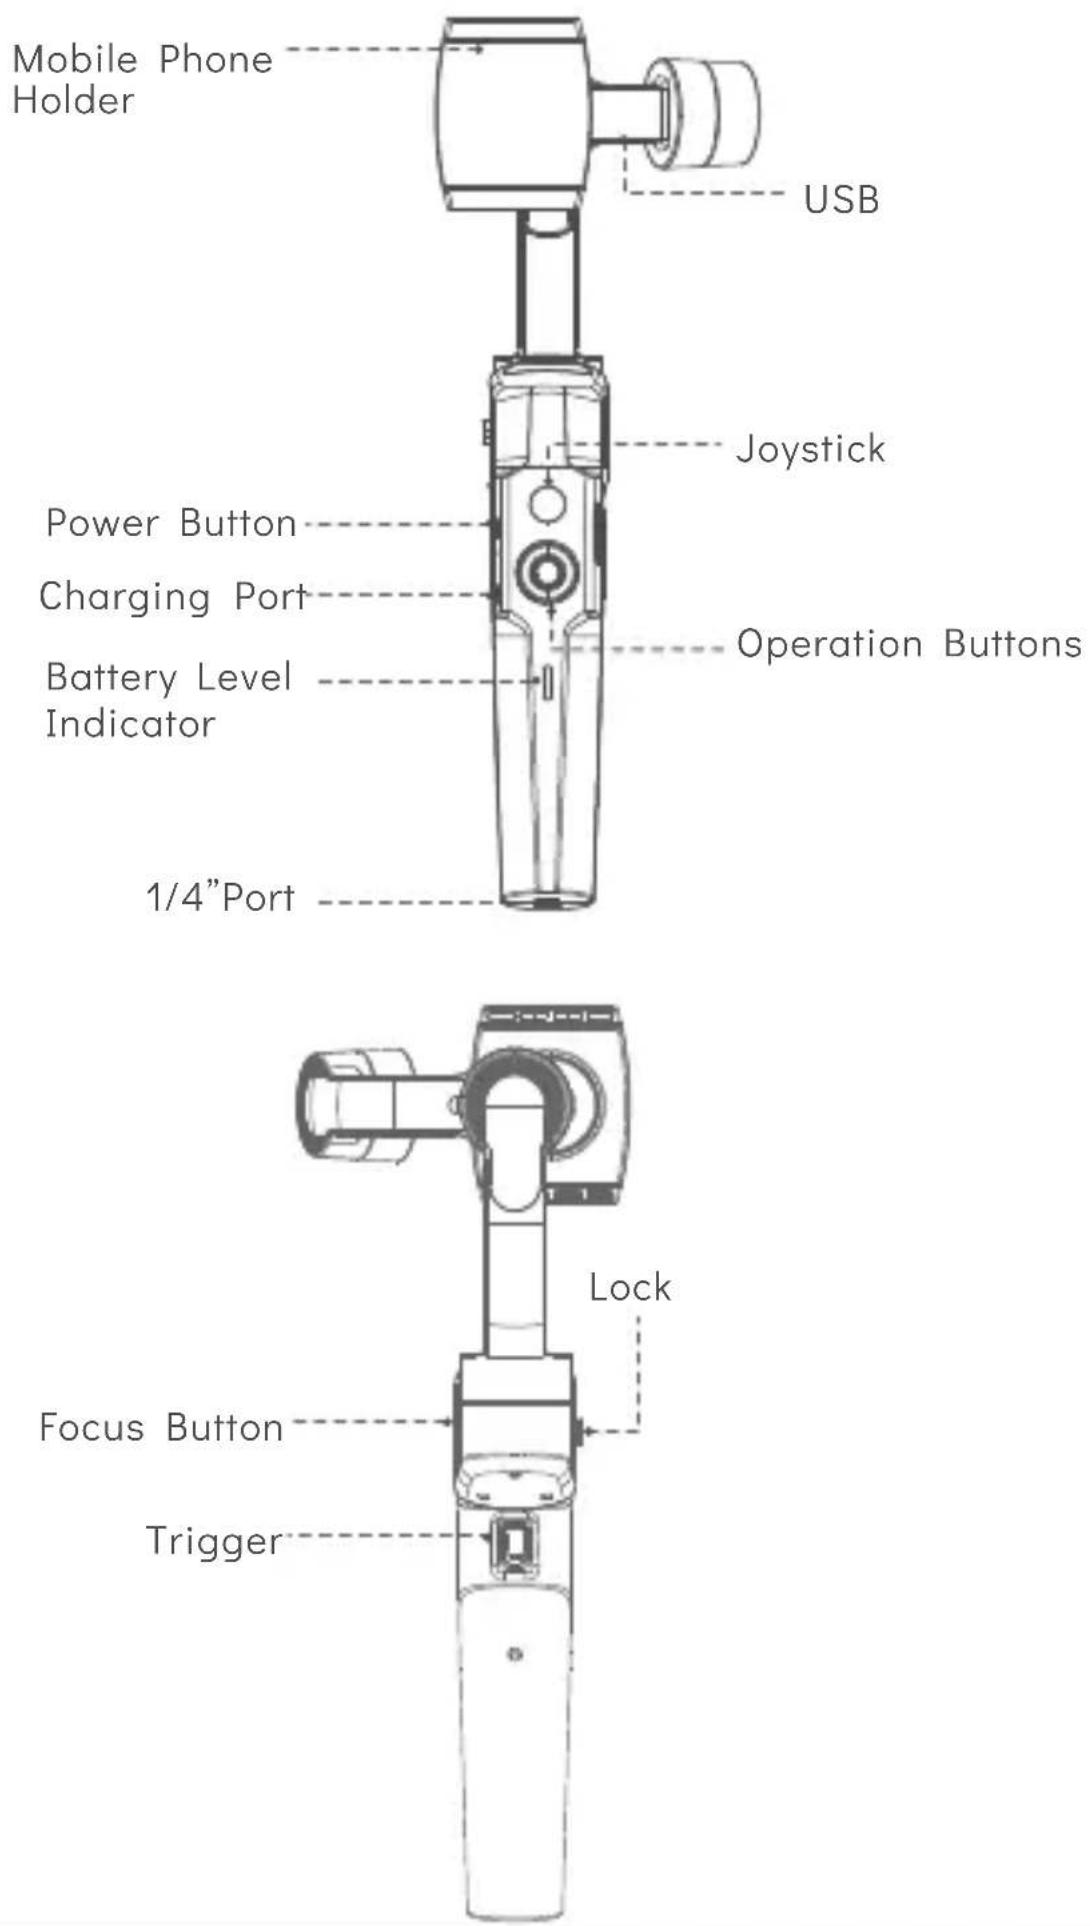
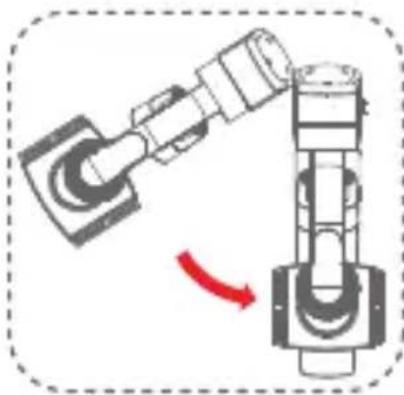
Foldable Design
- Folded Status to Expanded Status Loosen the lock and rotate the gimbal 180^ clockwise. Then it locks automatically.
- Expanded Status to Folded Status Loosenthe lock and rotate the gimbal 180° anticlockwise. Then it locks automatically.
Mounting the Mobile Phone
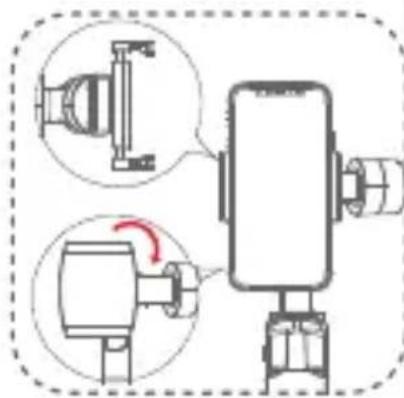
Place the mobile phone in the phone holder with its camera facing outwards, And then level the phone.
natural_image
Mechanical assembly diagram showing a rotating shaft with a red curved arrow indicating rotation (no text or symbols)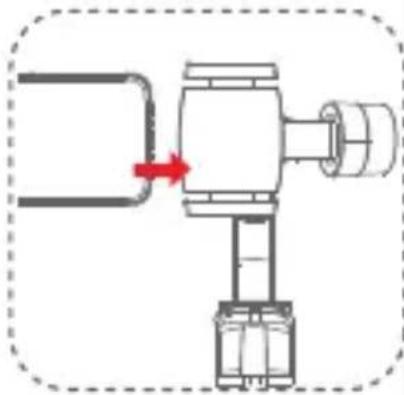
natural_image
Pure mechanical diagram showing a pipe connection with a red arrow indicating direction (no text or symbols)Vertical Mode (Portrait Mode)
Hold the handle and rotate the phone holder 90° clockwise to switch from horizontal mode to vertical mode. Hold the handle and rotate the phone holder 90° anticlockwise to switch from vertical mode to horizontal mode.
natural_image
Diagram of a mechanical device with two views showing internal components and a red curved arrow indicating rotation (no text or symbols present)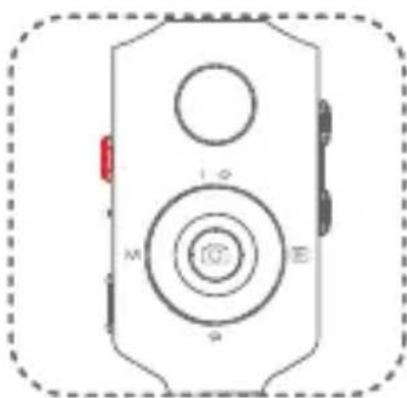
natural_image
Diagram of a device with circular components and labeled ports (no readable text or symbols)Starting Up
- Long Press Power button: Power On/Off
- Short Press Power button Once: Standby/Wake Up
Phone Charging
- Cable Charging
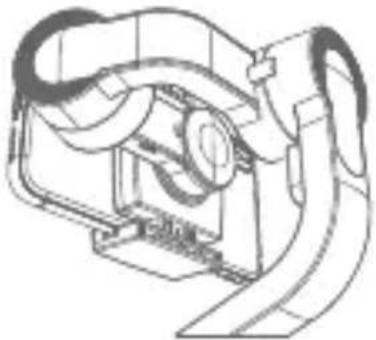
The Micro USB port on the tilt arm can be used to charge the mobile phone. (Charging cable is not included in the package.)
natural_image
Technical line drawing of a mechanical device with curved components and no visible text or symbolsPhone Camera Control Cable
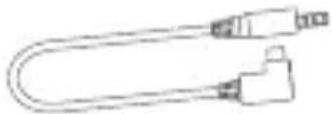
Phone camera control cable could help connect Mini-S with mobile phone to control internal phone camera, photo shooting and recording via some third party apps (Unsupported to some phone models and user might need to buy Type-C/Lightning adapter separately)
Download MOZA Genie App
Scan the QR code (printed at the end of this manual) or search for "MOZA Genie" in the App Store to download the MOZA Genie App. Android version: Android V5.0 and later. IOS version: IOS v9.0 and later.

- MOZA Mini-S functions could be better performed with its customized MOZA Genie App
- Please download the latest version. Updates are subject to change without notice.
Connecting to the MOZA Genie App
- Power on the MOZA Mini-S.
- Open MOZA Genie App and choose the Mini-S device. The App will enter camera interface automatically when the connection is completed.
Simplified Operation
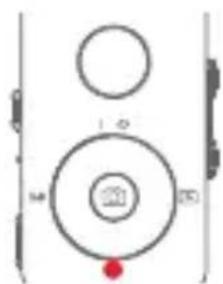
Down Button
- Double press: Sports Gear Mode
- Triple press Inception Mode
Follow Function
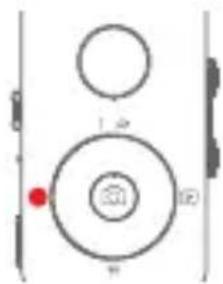
- Left Button
Press twice the left button: FPV mode, Press twice again to stop
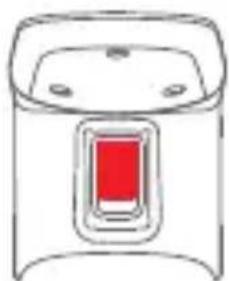
Trigger
- Double press: Re-center
- Press once+hold: Switch to tilt follow
- Double press +hold: Switch to All-locked
natural_image
Simple line drawing of a device with a red button and mounting holes (no text or symbols)Joystick
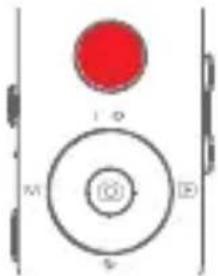
- Move upwards: phone camera turns up
- Move downwards: phone camera turns down
- Move leftwards: phone camera turns left
- Moverightwards: phone camera turns right The speed of camera moving increases with the larger moving range of joystick
Battery Level Indicators
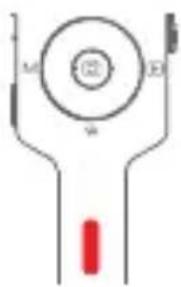
● Three blue LEDs on: 70%-100% battery level
- Two blue LEDs on: 40%-70% battery level
- One blue LED on: 20%-40% battery level
- Blinking: below 20% artery level
- Solid red light: Charging
● Red light off: Charging completed
| Camera Interface | |
 | Press the center button once: start/ stop recording(only valid in video mode) |
| Press twice the center button during recoring: take one photo(in video mode) | |
| Long press the center button:confirm to move timelapse point(in advanced timelapse mode) | |
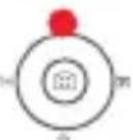 | Press the top button once: open the menuPress twice the top button: switch to video mode/photo modeLong press the top button for 3s: switch to front camera/rear camera |
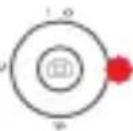 | Press the right button once: photo playback in albumPress once again to return to camera |
| After the completion of timelapse points setting,long press the right button: start/stop advanced timelapseshooting (in advanced timelapse mode) | |
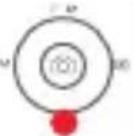 | Double press the down button: Sport gear mode |
| Triple press the down button: Inception mode ( ± 115^ ) | |
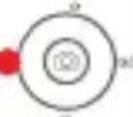 | Press twice the left button: FPV modePress twice again to stop |
| [078C] | Hold the top focus button: Focus+Double press the top focus button: Automatic uniform focus+ |
| Hold the down focus button: FocusDouble press the downfocus button: Automatic uniform focus- | |
| APP Main Features | |
| 1. Recording control2. Object tracking3. Timelapse4. Quick camera adjusting5. Follow focus & zoom6. Gimbal Setting7. Calibration | |
Menu Interface
- Press the top button once: select upwards
- Press the down button once: select downwards
- Press the left button once: enter the next level
- Press the right button once: back to the previous level
Professional Mode
After entering the function menu and selecting “professional mode”, the camera parameter setting icon will appear on the side interface. The camera shutter, iso, focus mode, exposure compensation, white balance and other parameters can be set, and the parameters can be adjusted by the button. (The above parameter settings are determined by the model and software of smartphone. For different smartphones, parameter settings may vary slightly. Please refer to the actual smartphone.
Firmware Upgrade
Firmware upgrade: please scan the QR code at the end of the page for details to watch the tutorial.
Calibration
The gimbal should be calibrated in the following situations:
- Abnormal operation of the gimbal.
- After the gimbal is started, the horizontal angle is deviated again, which cannot be solved after re-center.
- Deviation caused by external environment while using the gimbal
More details
Scan the QR code at the end of the page to watch the tutorial.
| SPEC | |
| Max Payload | 260g |
| Gimbal Weight | 495g |
| Gimbal Dimensions (mm) | Extended Dimensions:116*95*317(W*D*H) |
| Folded Dimensions:130*68*195 | |
| Supported Phone Dimensions | 58 ~ 88 mm |
| Battery Life (hrs) | 8-Hours |
| Battery specs | Working votage: 3.7V |
| Battery capacity: 2000mAh | |
| Charging Time | 3-Hours |
| Mechanical Axis Angle: | Roll axis : 315° |
| Pan axis : 270° | |
| Tilt axis: 200° | |


- Foldable Design
- Mounting the Mobile Phone
- Vertical Mode (Portrait Mode)
- Starting Up
- Phone Charging
- Phone Camera Control Cable
- Download MOZA Genie App
- Connecting to the MOZA Genie App
- Simplified Operation
- Down Button
- Follow Function
- - Left Button
- Trigger
- Joystick
- Battery Level Indicators
- Menu Interface
- Professional Mode
- Firmware Upgrade
- Calibration
Brand : Moza
Model : Mini-S
Category : Tripod