
MCS2045BR - Vacuum Cleaner MIDEA - Free user manual and instructions
Find the device manual for free MCS2045BR MIDEA in PDF.

| Brand | Midea |
| Model | MCS2045BR |
| Product type | Stick vacuum cleaner |
| Power supply | 220-240 V ~ 50/60 Hz |
| Rated power | 700 W (estimated) |
| Dust collection type | Bagless, cyclonic |
| Dust bin capacity | Approximately 0.5 L |
| Filter | Washable |
| Power cord length | Not specified, approximately 5 m |
| Dimensions (L x W x H) | Not provided, stick type |
| Weight | Not provided, approximately 3 kg |
| Included accessories | Hose, nozzle, wall mount |
| Main functions | Suction of dry dust, cleaning of floors and surfaces |
| Safety | Automatic shut-off not mentioned; do not vacuum liquids or flammable materials |
| Maintenance and cleaning | Dust bin and filter washable; do not immerse the appliance |
| Spare parts and repairability | Original parts recommended; repair by authorized center |
| Warranty | Manufacturer's warranty (see terms) |
| Standards | Compliant with international safety standards |
| Intended use | Domestic |
| Assembly instructions | Simple assembly, with wall mount |
Frequently Asked Questions - MCS2045BR MIDEA
User questions about MCS2045BR MIDEA
0 question about this device. Answer the ones you know or ask your own.
Ask a new question about this device
Download the instructions for your Vacuum Cleaner in PDF format for free! Find your manual MCS2045BR - MIDEA and take your electronic device back in hand. On this page are published all the documents necessary for the use of your device. MCS2045BR by MIDEA.
USER MANUAL MCS2045BR MIDEA
Warning notices: Before using this product, please read this manual carefully and keep it for future reference.
The design and specifications are subject to change without prior notice for product improvement. Consult with your dealer or manufacturer for details.
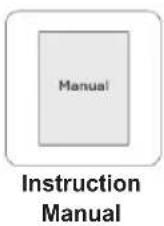
INSTRUCTION MANUAL
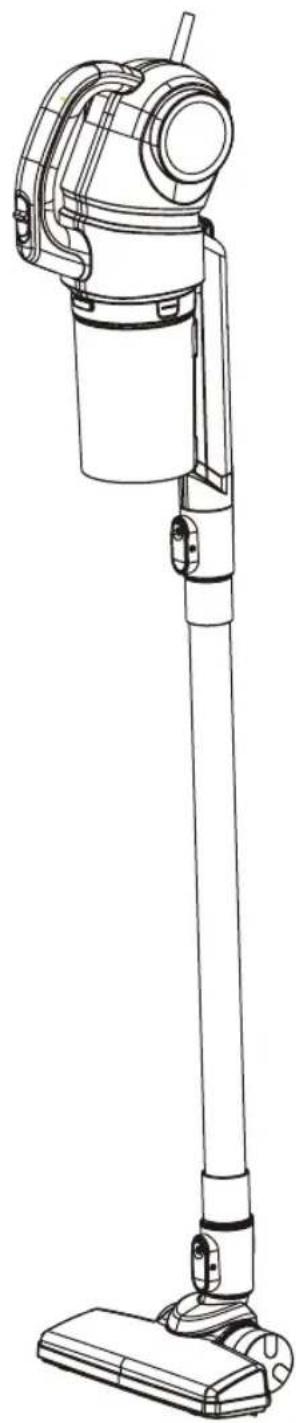
natural_image
Line drawing of a vacuum cleaner with handle and base (no text or symbols)EN, IT, DE, ES, FR, HR, GR
ENGLISH.... 3-10
ITALIANO....11-19
DEUTSCH....20-28
ESPAÑOL.... 29-37
FRANÇAIS.... 38-46
Hrvatskijezik....47-55
ΕΛΛΗΝΙΚΑ......56-64
IMPORTANT SAFETY INSTRUCTIONS
This section contains safety instructions that will help protect from risk of personal injury or property damage. Failure to follow these instructions invalidates the given warranty.
• This appliance complies with international safety standards.
• Children shall not play with the appliance. Cleaning and user maintenance shall not be made by children without supervision.
- If the adapter or the appliance itself is damaged, do not use it. Contact an authorised service centre.
- Prevent damage to the power cable by not squeezing, bending, or rubbing it on sharp edges.
- Do not touch the appliance or its plug when it is plugged if your hands are damp or wet.
- Do not pull the power cable when unplugging the appliance.
- Do not vacuum flammable materials and when vacuuming cigarette ash, make sure that it has cooled down.
- Do not vacuum water or other liquids.
- Protect the appliance from rain, humidity and heat sources.
- Never use the appliance in or near places where combustible or flammable environments are present.
- Unplug the appliance before cleaning and maintenance.
- Do not immerse the appliance in water for cleaning.
- Do not attempt to dismantle the appliance.
- Use the original parts or parts recommended by the manufacturer only.
- Do not attempt to vacuum particles such as cement, plaster and compressed paper in order to prevent the filter from being clogged and the motor being damaged.
- If the adapter is damaged, it must be replaced by the manufacturer or its agent or similarly qualified person in order to avoid hazard.
IMPORTANT SAFETY INSTRUCTIONS
- Do not use the appliance without filters fitted, otherwise it can get damaged.
- If you keep the packaging materials, store them out of the reach of children.
- This appliance is not intended for use by persons (including children) with reduced physical, sensory or mental capabilities, or lack of experience and knowledge, unless they have been given supervision or instruction concerning use of the appliance by a person responsible for their safety.
- Children should be supervised to ensure that they do not play with the appliance.
- Keep fingers, hair and loose clothing from moving parts and openings whilst using the vacuum cleaner.
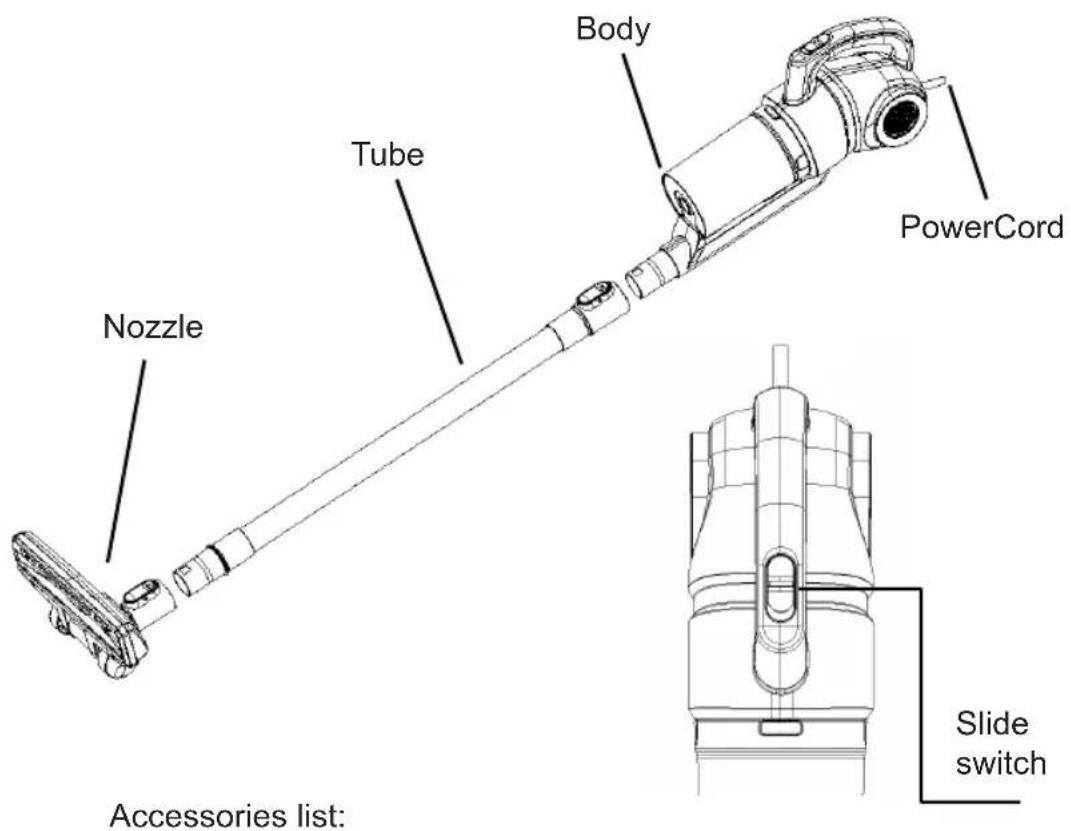
Assembly and other parts instruction
Tips:
When cleaning the high places, please assemble the accessories on tube or body.
Operation 1:
Cleaning:
Note:
To avoid the air flue being blocked, please clean the big particle waste. (such as paper, cloth and others)
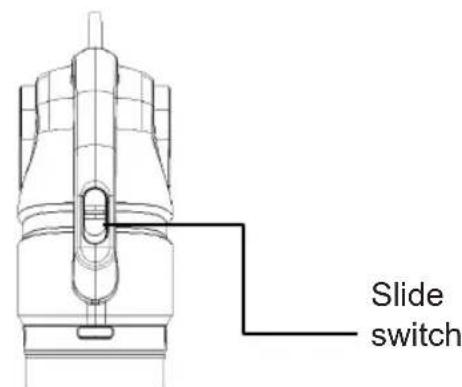
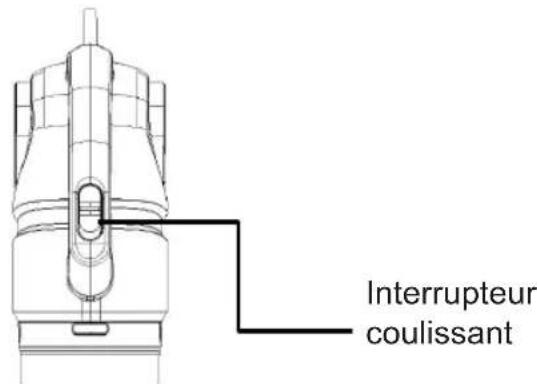
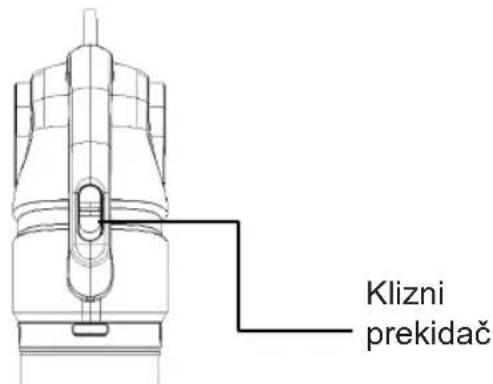
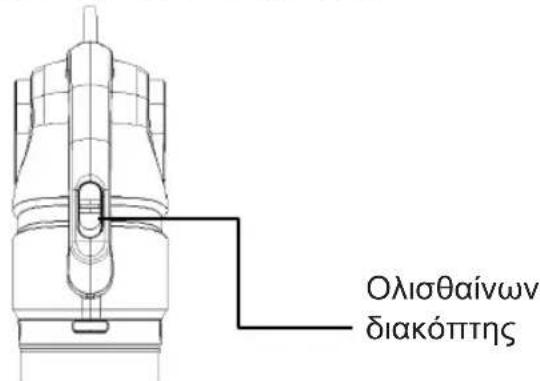
Before connect to power, Be sure the slide switch is closed.
No. Operation instruction
1 Conect the power to AC 220\~240V power socket
2 Push forward "Slide switch" to start
3 Pull backward "Slide switch" to stop
Operation 2
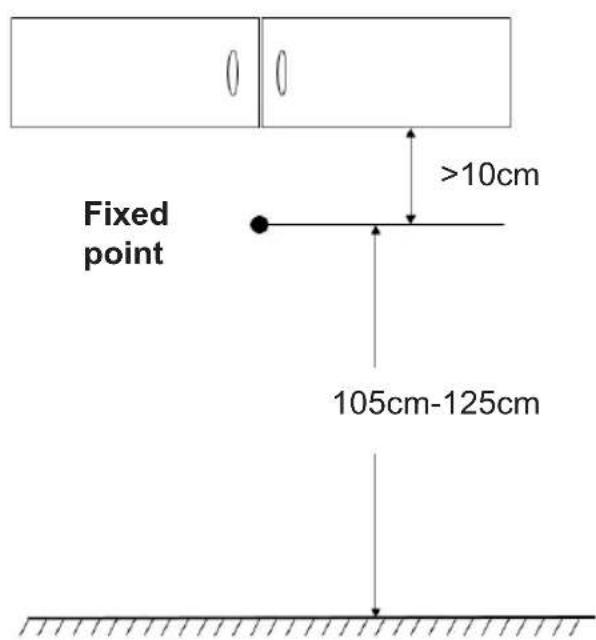
Wall-hung assembly and usage:
- Wall-hung assembly
When not using the cleaner, please store the cleaner on wall.
- Choose the wall-hung assembly location
-
Fixed the M3/M4/M5/M6 screw to the fixed point, and be sure the distance between surface of screw and wall surface is bigger than 3mm.
-
Store the cleaner on wall
Operation 3
Clean and maintain cleaner
Dust cup disassembly and clean
Tips:
To keep the suction power of cleaner, please clean the dust in it regularly.
- Knob down the dust cup release button, take down the cup
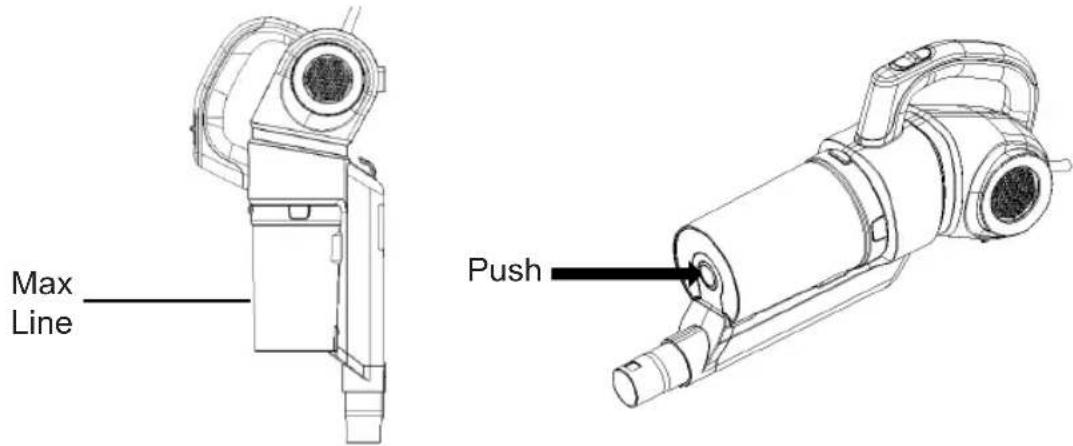
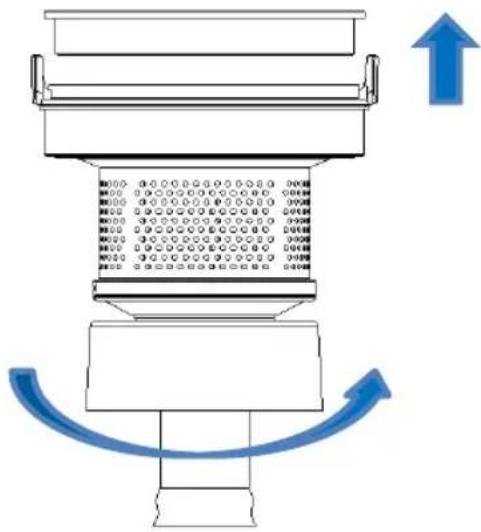
- Take out the cyclone from dust cup and release dust

- Disassemble cyclone and clean, all parts are washable.
flowchart
graph TD
    A["Top Component"] --> B["Bottom Component"]
    B --> C["Output 1"]
    B --> D["Output 2"]
    B --> E["Output 3"]
    B --> F["Output 4"]
    B --> G["Output 5"]
    B --> H["Output 6"]
    B --> I["Output 7"]
    B --> J["Output 8"]
    B --> K["Output 9"]
    B --> L["Output 10"]
    style A fill:#f9f,stroke:#333
    style B fill:#ccf,stroke:#333
    style C fill:#cfc,stroke:#333
    style D fill:#fcc,stroke:#333
    style E fill:#cff,stroke:#333
    style F fill:#ffc,stroke:#333
    style G fill:#cfc,stroke:#333
    style H fill:#fcc,stroke:#333
    style I fill:#ffc,stroke:#333
    style J fill:#cfc,stroke:#333
    style K fill:#fcc,stroke:#333
    style L fill:#ffc,stroke:#333
- After airing all parts completely, assemble them according to disassembly steps.
Operation 4
Clean and maintain nozzle
Note:
- To avoid affect the normal operation of nozzle, when wheels are dusty, please clean and maintain them.
- When disassemble and main brush, please make sure it's not working.
- Push button and take off the nozzle.

Tips:
Don't suggest to wash the nozzle.
If the wheels were tangled by hair, please use scissor or knife to clean.
CE
回
Midea
Aspirapolvere
P1
MCS2045BR
LEGGERE CON
ATTENZIONE IL
PRESENTE MANUALE
PRIMA DELL'USO
E CONSERVARLO
ADEGUATAMENTE
PER UN'EVENTUALE
CONSULTAZIONE
FUTURA.
natural_image
Line drawing of a vacuum cleaner with handle and base (no text or symbols)IMPORTANTI ISTRUZIONI DI SICUREZZA
natural_image
Line drawing of a vacuum cleaner with handle and base (no text or symbols)natural_image
Line drawing of a vacuum cleaner with handle and base (no text or symbols)natural_image
Line drawing of a vacuum cleaner with handle and base (no text or symbols)INSTRUCTIONS IMPORTANTES DE SECURITE
natural_image
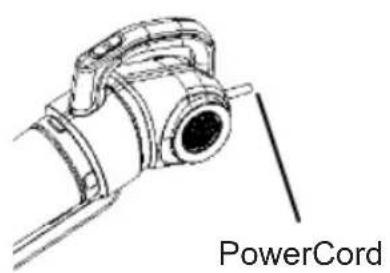
Technical line drawing of a mechanical component with no visible text or symbolsFil d'alimentation
natural_image
Line drawing of a vacuum cleaner with handle and base (no text or symbols)VAŽNE UPUTE ZA SIGURNOST
natural_image
Technical line drawing of a mechanical component with labeled part 'Kabel' (no other text or symbols)Kabel za napajanje
Rad 2
natural_image
Line drawing of a vacuum cleaner with handle and base (no text or symbols)natural_image
Technical line drawing of a mechanical component with no visible text or symbolsΚαλώδιο τροφοδοσίας

Brand : MIDEA
Model : MCS2045BR
Category : Vacuum Cleaner