K-7668 - Faucets KOHLER - Free user manual and instructions
Find the device manual for free K-7668 KOHLER in PDF.

| Product type | Washbasin faucet |
| Brand | Kohler |
| Model | K-7668 |
| Material | Chrome-plated brass |
| Height | 15 cm |
| Depth | 20 cm |
| Weight | 1.5 kg |
| Supply | Hot and cold water |
| Main functions | Flow control, integrated shutoff valve |
| Care and cleaning | Clean with a soft cloth and soapy water. Avoid abrasive products. |
| Safety | Follow local plumbing codes. Check for leaks after installation. |
| Spare parts and repairability | Parts available from the manufacturer. Repairable by a professional. |
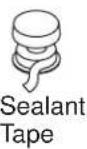
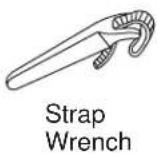
| General information | Easy installation with a strap wrench. Sealing tape included. |
| Warranty | Limited manufacturer's warranty (see manual). |
Frequently Asked Questions - K-7668 KOHLER
User questions about K-7668 KOHLER
0 question about this device. Answer the ones you know or ask your own.
Ask a new question about this device
Download the instructions for your Faucets in PDF format for free! Find your manual K-7668 - KOHLER and take your electronic device back in hand. On this page are published all the documents necessary for the use of your device. K-7668 by KOHLER.
USER MANUAL K-7668 KOHLER
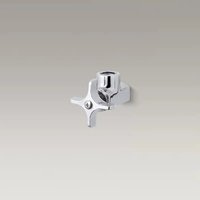
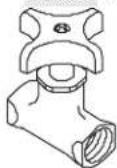
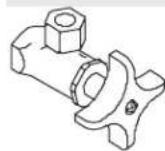
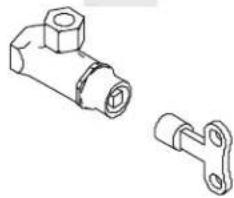
Angle and Straight Stops
K-7659, K-7660 K-7662, K-7663
K-7664 K-7666
natural_image
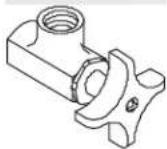
Technical line drawing of two mechanical components: a cylindrical pipe fitting and a flanged bracket (no text or symbols)K-7668 K-7679
natural_image
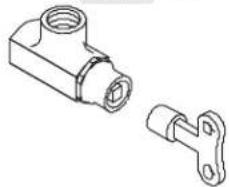
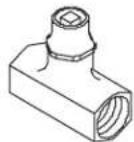
Technical line drawing of two mechanical components (no text or symbols)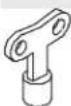
M product numbers are for Mexico (i.e. K-12345M)
Thank You For Choosing Kohler Company
We appreciate your commitment to Kohler quality. Please take a few minutes to review this manual before you start installation. If you encounter any installation or performance problems please don't hesitate to contact us. Our phone numbers and website are listed on the back cover. Thanks again for choosing Kohler Company.
Tools and Materials
Before You Begin
□ Observe all local plumbing codes and building codes.
☐ The supply shown in the following illustrations is typical. Variations in detail can be expected from model to model.
☐ Kohler Co. reserves the right to make revisions in the design of supplies without notice, as specified within the Price Book.
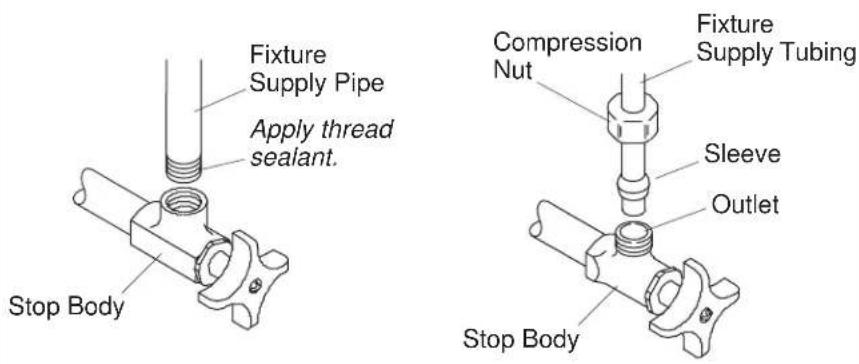
1. Install The Supply Stop
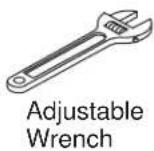
NOTE: Use a strap wrench when tightening to avoid marring the finish of the stop. Alternately, the inlet end of a stop body has two flat sides to accommodate a wrench for tightening, but protect the flats from scratching, such as by taping the jaws of the wrench.
- Wrap thread sealant tape around the water pipe thread. Thread the inlet end of the stop body onto the water pipe. Tighten with a clean strap wrench.
☐ For threaded outlet models: Wrap thread sealant tape around the fixture supply pipe threads. Thread the pipe into the outlet end of the stop body. Tighten with a clean strap wrench.
☐ For compression outlet models: Remove the nut and sleeve from the stop body. Slide the nut and sleeve over the fixture supply tubing. Slip the tubing into the outlet end of the stop body. Slide the sleeve down until it seats against the inside surface of the outlet. Slide the nut down and tighten with a wrench.
☐ Make certain that all pipes and fittings between the water supply and the fixture are properly aligned and securely tightened.
☐ For supply stops with a four-arm handle: Turn the handle on the stop body clockwise to close.
☐ For supply stops with a volume-control key: Insert the volume control key (provided) into the corresponding end of the stop body. Turn the key clockwise to close.
□ Turn on the water supply.
Install The Supply Stop (cont.)
☐ Check for leaks before the supply stop and repair as needed.
☐ Open the supply stop. Check for leaks after the supply stop and tighten as needed.