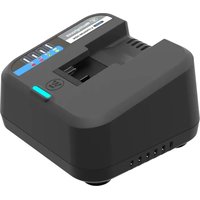
W20V2AMP - Battery charger WESTINGHOUSE - Free user manual and instructions
Find the device manual for free W20V2AMP WESTINGHOUSE in PDF.


| Brand | Westinghouse |
| Model | W20V2AMP |
| Product Type | Battery charger for cordless tools |
| Input Voltage | 120 V AC, 60 Hz |
| Compatible Batteries | Westinghouse 20 V lithium-ion batteries |
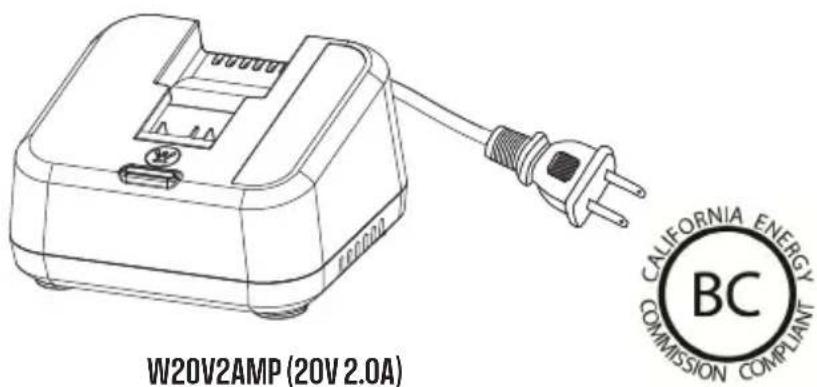
| Number of charging ports | 1 (charges one battery at a time) |
| LED Indicators | Red LED (charging, error, temperature delay); Green LED (standby, charging complete, energy saving mode) |
| Temperature protection | Charge delay if battery is too hot or too cold (automatic charging once temperature is acceptable) |
| Safety | Protection against short circuits, overvoltage, overheating; automatic shutdown at end of charge |
| Usage | Indoor use only, avoid moisture |
| Maintenance and cleaning | Disconnect before cleaning; do not use solvents; keep ventilation openings clear |
| Recommended extension cord | AWG 16 gauge for lengths up to 100 feet (30 m) |
| Weight | Approximately 0.5 kg (estimated) |
| Dimensions (L x W x H) | Approximately 15 x 10 x 8 cm (estimated) |
| Spare parts and repairability | Do not disassemble; contact customer service for any repairs |
| Warranty | Refer to the full manual or the Westinghouse website |
Frequently Asked Questions - W20V2AMP WESTINGHOUSE
User questions about W20V2AMP WESTINGHOUSE
0 question about this device. Answer the ones you know or ask your own.
Ask a new question about this device
Download the instructions for your Battery charger in PDF format for free! Find your manual W20V2AMP - WESTINGHOUSE and take your electronic device back in hand. On this page are published all the documents necessary for the use of your device. W20V2AMP by WESTINGHOUSE.
USER MANUAL W20V2AMP WESTINGHOUSE
natural_image
Blue circular icon with a white crown symbol (no text or numbers)User Manual
natural_image
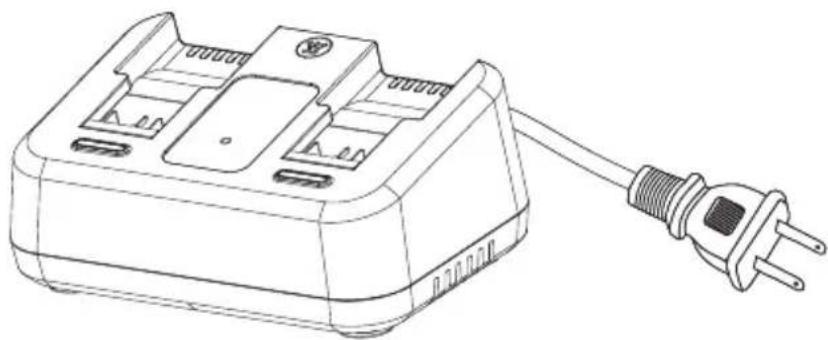
Line drawing of a battery pack with an attached power outlet (no text or symbols)W20V2DP (20V 4.0A)
⚠ WARNING: READ AND UNDERSTAND ALL INSTRUCTIONS. Failure to follow all instructions listed below, may result in electric shock, fire and/or serious personal injury.
- Read all the instructions and cautions in this manual, on the charger, on the battery, and on the product using the battery to prevent possible injury before using the charger.
⚠ WARNING: Charge only one lithium-ion rechargeable battery per charging port at a time. Other types of batteries may burst, causing personal injury or damage.
- Do not use the charger outdoors or expose to wet or damp conditions. Water entering the charger increases the risk of electric shock.
- Use of an attachment not recommended or sold by the battery charger manufacturer may result in a risk of fire, electric shock, or injury to persons.
- Do not abuse the cord or charger. Never use the cord to carry the charger. Do not pull the charger cord when disconnecting from receptacle. Damage to the cord or charger could occur and create an electric shock hazard. If the cord or charger is damaged call customer service.
- Be sure the cord is located where it will not be stepped on, tripped over, contact sharp edges or moving parts, or otherwise be subjected to damage or stress. This will reduce the risk of injury and damage to the cord.
- Keep the cord and charger from heat to prevent damage to housing and internal parts.
- Do not let gasoline, oil, or petroleum-based products come in contact with plastic parts.
- Always wear eye protection with side shields marked to comply with ANSI Z87.1. Failure to wear the appropriate eye protection may result in serious injury.
- An extension cord should not be used unless necessary. Use of an improper extension cord could result in a risk of fire and electric shock. If an extension cord must be used, be sure:
a. That the pins on the plug of the extension cord are the same number, size and shape as those of the plug on the charger.
b. The extension cord is properly wired and in good electrical condition; and
c. That the wire size is large enough for AC ampere rating of charger as specified below:
Cord Length (Feet) 25' 50' 100'
Cord Size (AWG) 16 16 16
- Do not operate the charger with a damaged cord or plug. If the charger is damaged, call customer service.
- Do not operate the charger if it has been dropped or damaged.
- Do not disassemble the charger. Call customer service when service or repair is required. Incorrect reassembly may result in a risk of electric shock or fire.
- Unplug the charger from the power source before performing any maintenance or cleaning.
- Disconnect charger from the power supply when it is not in use.
- Do not touch the uninsulated portion of output connector or uninsulated battery terminal.
- Keep these instructions and use them as needed.
BEFORE CHARGING:
⚠ WARNING: Do not use this product if it is not completely assembled or if any parts appear to be missing or damaged. Use of a product that is not properly and completely assembled or with damaged or missing parts could result in serious personal injury.
⚠ WARNING: Do not attempt to modify this product or create accessories or attachments not recommended for use with this product. Any such alteration or modification is misuse and could result in a hazardous condition leading to possible serious personal injury.
⚠ WARNING: Always wear eye protection with side shields marked to comply with ANSI Z87.1.
Failure to do so could result in objects being thrown into your eyes resulting in possible serious injury.
APPLICATIONS
Use this product for the following purpose:
- Charging Westinghouse 20 volt lithium-ion batteries
⚠️ CAUTION: If at any point during the charging process none of the LEDs are lit, remove the battery pack from the charger to avoid damaging the product. DO NOT insert another battery. Check the GFCI plug, as the issue could be due to a tripped breaker. If the problem persists, contact customer service for troubleshooting assistance.
NOTICE: Be sure to use this product in a well-ventilated area. Do not block charger vents. Keep the charger vents clear to allow proper ventilation.
CHARGING PROCEDURE:
Battery packs are shipped in a low charge condition to prevent possible problems. Charge battery packs to full charge (indicated by a solid green light) before first use. If the charger does not charge the battery pack under normal circumstances, contact customer support for troubleshooting assistance or to arrange for a replacement of the battery.
Charge time varies and is dependent upon the amp hour capacity of battery pack.
- Be sure the power supply is normal household voltage, 120 volts, AC only, 60 Hz.
- Connect the charger to a power supply.
- Attach the battery pack to the charger by aligning the raised ribs on the battery pack with the grooves in the charger, then slide the battery pack onto the charger.
- Press down on the battery pack, be sure contacts on the battery pack engage properly with slide in the charger.
- Do not place the charger in an area of extreme heat or cold. It will work best at normal room temperature.
- The battery pack will become slightly warm to the touch while charging. This is normal and does not indicate a problem.
• After charging is complete, the green LED will remain on. - To remove the battery pack from the charger, pull up on the battery pack.
CHARGING A HOT BATTERY PACK
When using a tool continuously, the battery pack may become hot. A hot battery pack may be placed directly onto the charger port but charging will not begin until the battery temperature cools to within acceptable temperature range. When a hot battery pack is placed on the charger, the green LED will turn OFF and the red LED will be FLASHING. Remove the battery for 30 minutes and allow it to cool down, then place it back on the charger.
CHARGING A COLD BATTERY PACK
A cold battery pack may be placed directly onto the charger port but charging will not begin until the battery temperature warms to within acceptable temperature range. When a cold battery pack is placed on the charger, the green LED will turn OFF and the red LED will be FLASHING. The charger will automatically begin charging when the battery pack warms.
LED FUNCTIONS
| GREEN LED | RED LED MODE BATTERY | PACK | ACTION | |
| ON - SOLID | OFF Standby Battery Pack | Not Inserted | Ready to charge the battery pack. | |
| ON - FLASHING | OFF Charging Battery Pack | Inserted | Battery is being charged. | |
| ON - SOLID | OFF Charged/ | Energy Save Mode | Battery Pack Inserted | Battery pack is fully charged and charger is in Energy Save mode. |
| OFF ON - | FLASH (1Hz) | Temperature Delay | Battery Pack Inserted | When battery pack reaches cooled temperature, charger begins charge mode. |
| Battery Pack Inserted | When battery pack reaches warmed temperature, charger begins charge mode. | |||
| OFF ON Error | Battery Pack | Inserted | Inspect battery pack and charger and call customer service. | |
| ·Repeat the conditions a second time by removing and reinstalling the battery pack. If the LED Error status repeats a second time, charge a different battery.·If a different battery charges normally, dispose of the pack that received the Error (see your battery pack manual for instructions).·If a different battery also indicates Error, replace the charger. | ||||
NOTES/NOTAS
INFORMATIONS DE SÉCURITÉ DU CHARGEUR
natural_image
Blue circular icon with a white crown symbol (no text or numbers)www.WestinghouseOutdoorPower.com
Service Hotline (855) 944-3571
777 Manor Park Drive, Columbus, OH 43228
and Westinghouse are trademarks of Westinghouse Electric Corporation.
Used under license by Westinghouse Outdoor Power Equipment.
© 2023 MWE Investments, LLC All Rights Reserved.
Brand : WESTINGHOUSE
Model : W20V2AMP
Category : Battery charger