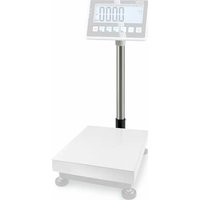
IFB-A02 - Tripod Kern - Free user manual and instructions
Find the device manual for free IFB-A02 Kern in PDF.


| Product Type | Tripod |
| Brand | Kern |
| Model | IFB-A02 |
| Height (mm) | 330 or 600 depending on version |
| Platform dimensions (mm) | 300x240, 400x300, 500x400, 650x500 (depending on configuration) |
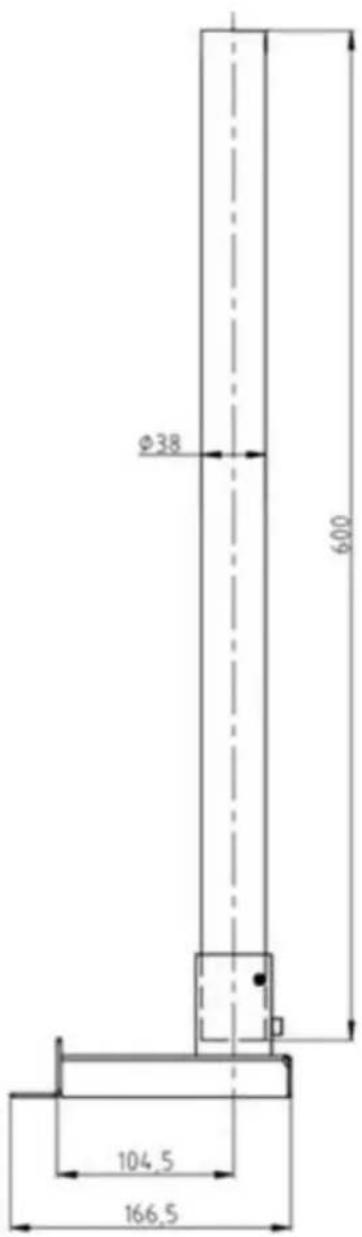
| Tube diameter (mm) | 38 |
| Delivery contents | Tripod foot (A), tripod tube (B), indicator holder (C), M6x16 screws (x4), spring washers (x4), washers (x5), M6x12 screw (x1), M6x10 screws (x2), M8x20 screw (x1), M8 nut (x1) |
| Main function | Measuring indicator support |
| Installation | Attaching the foot to the platform, assembling the tube, mounting the indicator holder |
| Material | Steel (estimated) |
| Intended use | Mounting a measuring indicator on a platform |
| Safety precautions | Do not pinch or damage cables during installation |
| Maintenance | Clean with a soft, dry cloth |
| Spare parts and repairability | Screws and washers provided, screw assembly can be disassembled |
| Fastening type | By screws |
Frequently Asked Questions - IFB-A02 Kern
User questions about IFB-A02 Kern
0 question about this device. Answer the ones you know or ask your own.
Ask a new question about this device
Download the instructions for your Tripod in PDF format for free! Find your manual IFB-A02 - Kern and take your electronic device back in hand. On this page are published all the documents necessary for the use of your device. IFB-A02 by Kern.
USER MANUAL IFB-A02 Kern
Installationsanleitung Assembly instructions Instructions d'installation
KERN IFB
Typ / Type
Version 1.3
2025-06
IFB-A01 / A02
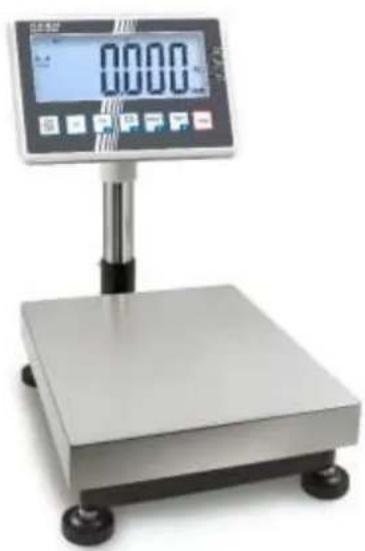
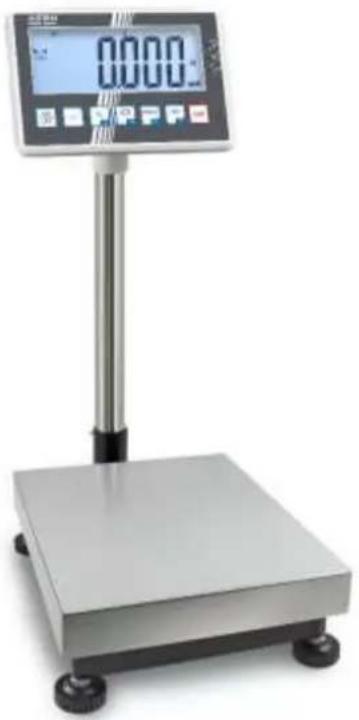
natural_image
Digital pressure scale with black wheels and a digital display showing 0000.0 (no visible text or symbols on the scale itself)de Weitere Sprachversionen finden Sie online unter www.kern-sohn.com/manuals
es Más versiones de idiomas se encuentran online bajo www.kern-sohn.com/manuals
fr Vous trouverez d'autres versions de langue online sous www.kern-sohn.com/manuals
en Further language versions you will find online under www.kern-sohn.com/manuals
it Trovate altre versioni di lingue online in www.kern-sohn.com/manuals
pt Pode encontrar versões noutras línguas em linha em www.kern-sohn.com/manuals

Stativ
Version 1.3 2025-06
natural_image
Technical line drawing of a mechanical component with no visible text or symbolsInstallation instructions
Table of contents
1 Technical data....2
1.1 Dimensions....3
2 Scope of delivery....5
3 Installation....6
1 Technical data
| KERN | IFB-A01 | IFB-A02 |
| Tripod height (mm) | 330 | 600 |
| For platform sizes (mm) | 300 x 240400 x 300500 x 400650 x 500 | 400 x 300500 x 400650 x 500 |
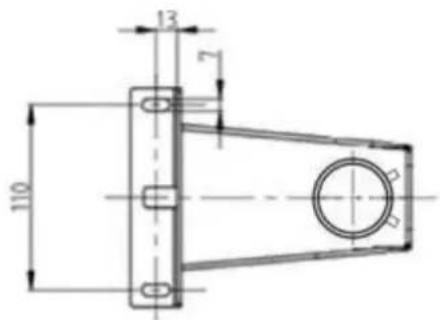
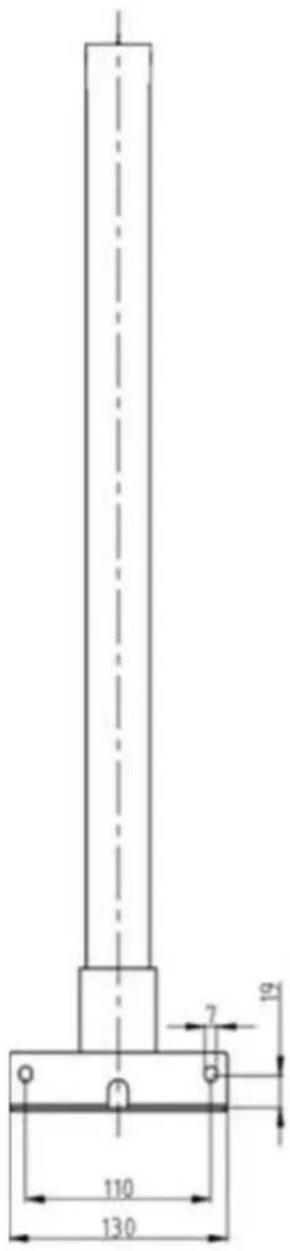
1.1 Dimensions
Models with 330 mm:
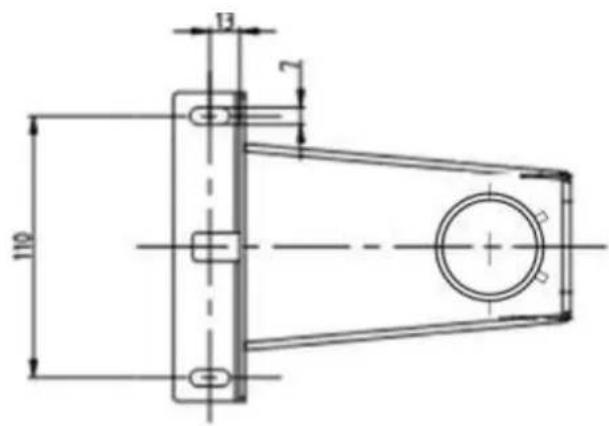
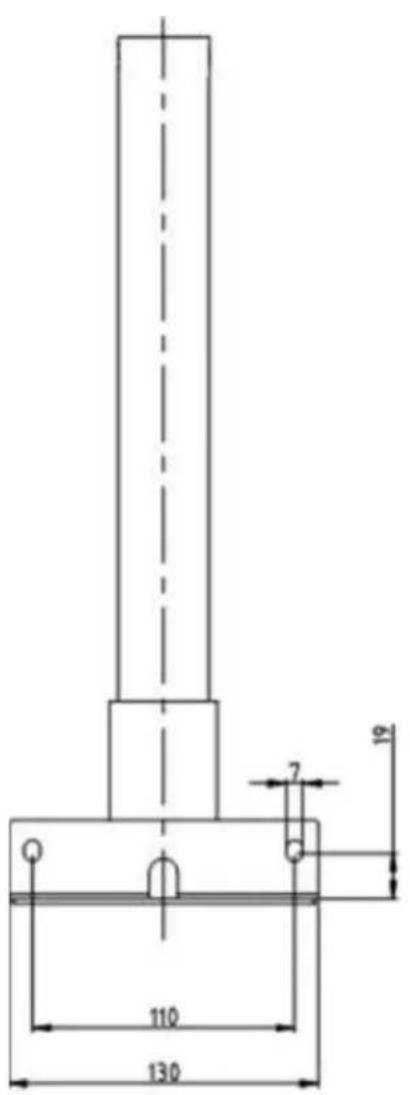
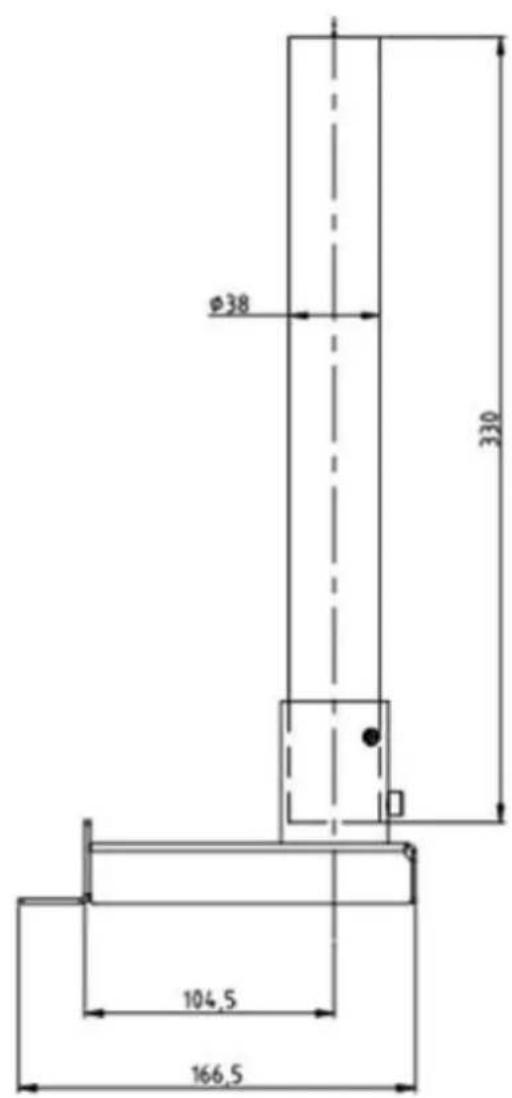
Models with 600 mm:
2 Scope of delivery
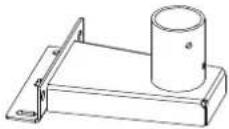 |  | 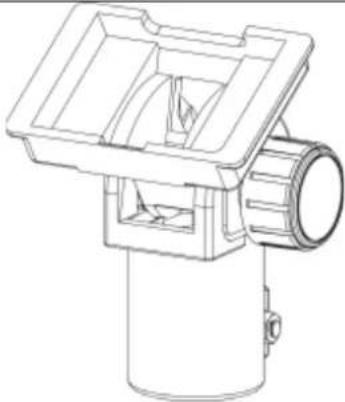 |
| ATripod base1 x | BTripod tube1 x | CHolder for display unit1 x |
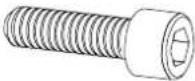 | 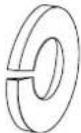 | 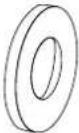 |
| S1M6 x 164 x | S2Spring washer4 x | S3Washer5 x |
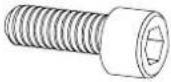 | 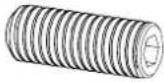 | 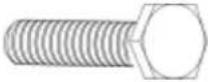 |
| S4M6 x 121 x | S5M6 x 102 x | S6M8 x 201 x |
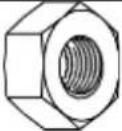 | ||
| S7M8 nut1 x |
C, S3 (1x), S6 and S7 are supplied pre-assembled.
3 Installation
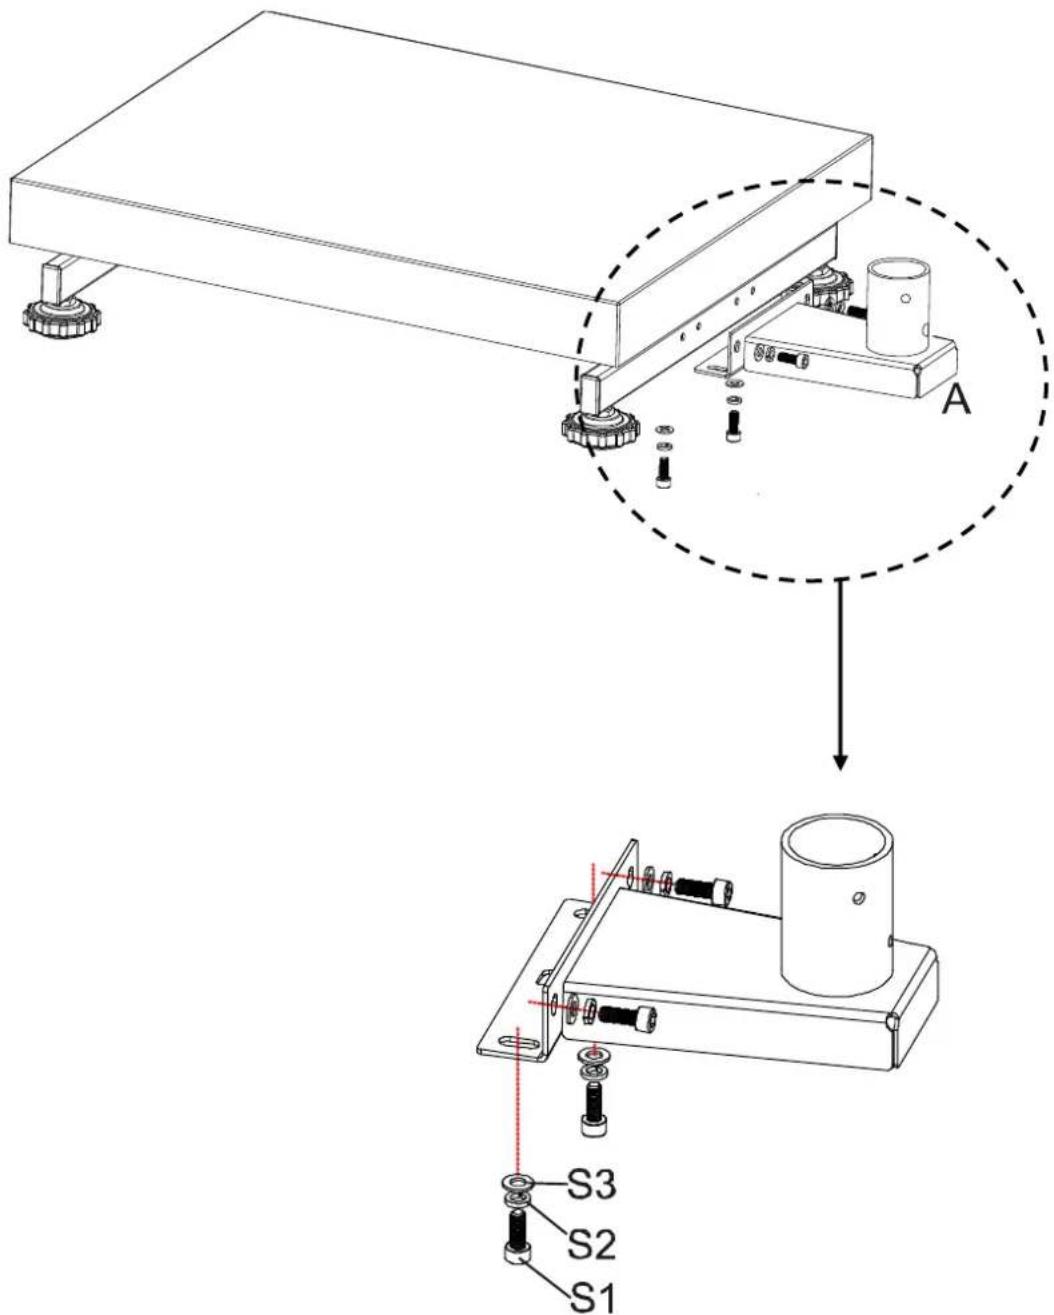
Attach the stand base to the platform:
- Position the stand base (A) centrally over the holes on the side of the platform.
-
First place the spring washer (S2) and then the washer (S3) on the screw (S1) (4 x).
-
Tighten the tripod base.
Make sure that you do not pinch or damage any cables.
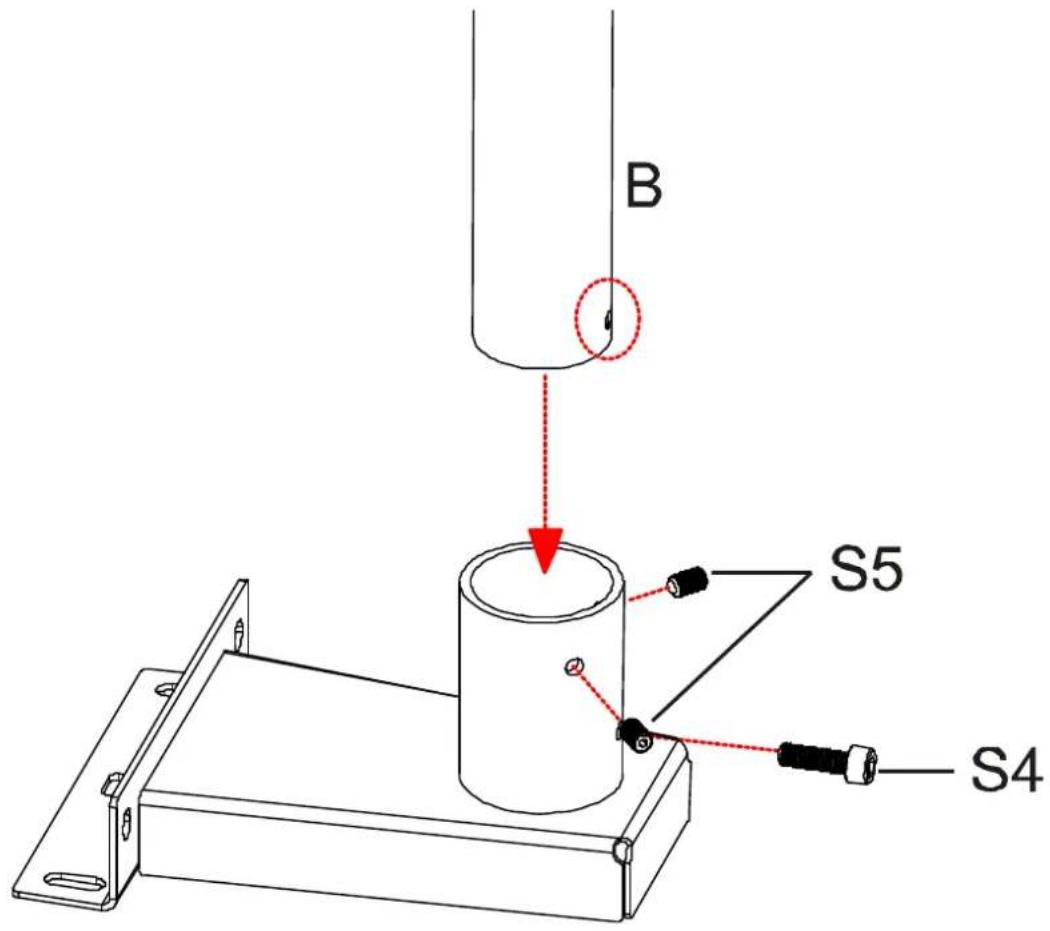
Attach the tripod tube to the tripod base:
- Unscrew screws S4 and S5 from the stand tube.
- Insert the tripod tube (B) into the tripod base. Ensure that the hole in the stand tube matches the hole S4.
- Screw in screws S5 again and fix the stand tube with screw S4.
Attach the display unit to the stand tube:
- Insert the holder for the display unit (C) into the stand tube and fasten with the screws S6.
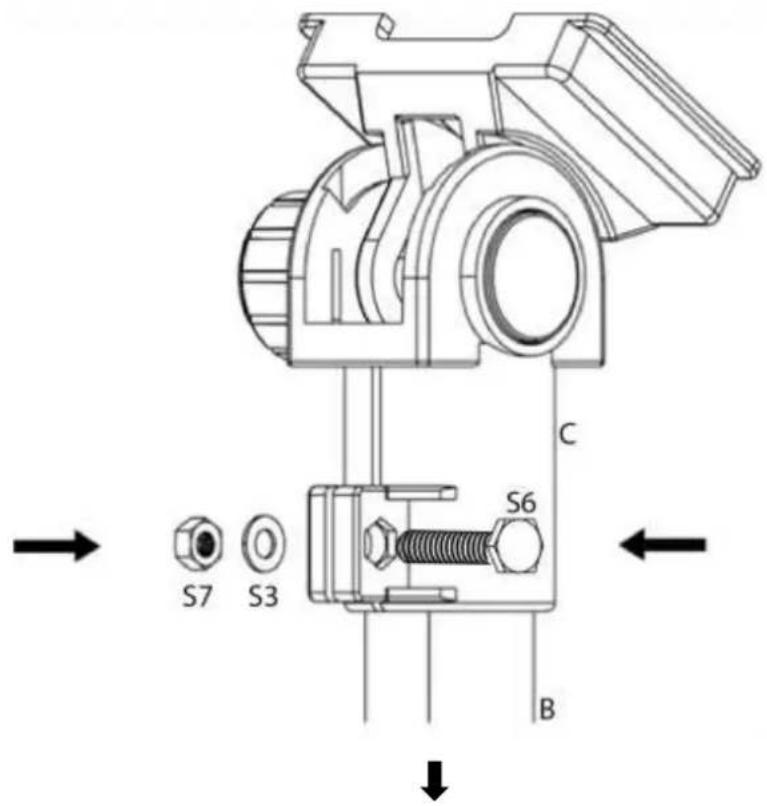
Insert the holder (C) for the display unit into the upper end of the stand tube (B) and secure with the screw (S6).
Counter on the opposite side with the washer (S3) and the nut (S7).

Trépied
Version 1.3 2025-06
Brand : Kern
Model : IFB-A02
Category : Tripod