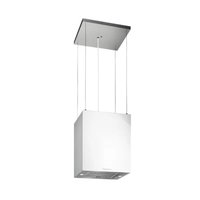
DI3800.0W - Basket Küppersbusch - Free user manual and instructions
Find the device manual for free DI3800.0W Küppersbusch in PDF.


| Product Type | Range Hood |
| Brand | Küppersbusch |
| Model | DI3800.0W |
| Power supply | Electrical (voltage and frequency according to the rating plate) |
| Minimum distance above the cooking hob | 65 cm (for gas or mixed; may vary according to the hob manufacturer's instructions) |
| Exhaust duct diameter | ∅120 mm minimum |
| Maximum duct length | 4 m |
| Maximum angles in the duct | 2 angles of 90° |
| Filter type | Washable metal filters and activated carbon filters (not washable) |
| Number of speeds | 5 normal speeds + 3 intensive speeds (6, 7, 8) |
| Lighting | Integrated LED |
| Timer function | Yes, up to 80 minutes (not programmable on intensive speeds) |
| Filter saturation indicator | Yes (acoustic and visual signal) |
| Controls | Touch |
| Installation | External evacuation or recirculation (with carbon filter) |
| Protection class | II |
| Maintenance of metal filters | Monthly wash with hot water and neutral detergent or in the dishwasher |
| Hood maintenance | Cleaning with warm water and neutral soap, avoid abrasive products |
| Safety | Disconnect before any intervention; do not flambé under the hood |
| Repairs | Call the authorized technical service, use original parts |
| Bulb replacement | Contact the technical service |
Frequently Asked Questions - DI3800.0W Küppersbusch
User questions about DI3800.0W Küppersbusch
0 question about this device. Answer the ones you know or ask your own.
Ask a new question about this device
Download the instructions for your Basket in PDF format for free! Find your manual DI3800.0W - Küppersbusch and take your electronic device back in hand. On this page are published all the documents necessary for the use of your device. DI3800.0W by Küppersbusch.
USER MANUAL DI3800.0W Küppersbusch
natural_image
Simple line drawing of a tower with base and top (no text or symbols)DI 3800.0 S
DI 3800.0 W
DI 3800.0 G
Please read the users and installation instructions carefully before installation of the appliance and before starting to use it.
Congratulations on your choice. We are certain that this modern, functional and practical device made with first rate quality materials will fully satisfy your requirements.
Please read all the sections in this INSTRUCTION MANUAL before using the hood for the first time in order to obtain maximum performance from the device and avoid faults which may arise from incorrect use as well as minor problem solving.
For optimal performance, the external duct should not exceed FOUR METRES, have more than two 90° angles and its diameter should be at least ∅120.
Safety Instructions
- Disconnect the device before performing any work on the interior, e.g. during cleaning or maintenance.
•The excessive accumulation of grease in the hood and metal filters may cause dripping and fire risks, therefore it is necessary to wash the inside of the hood and the metal filters at least once a month.
•This device can be used by children aged 8 and over and persons with reduced physical, sensory or mental capabilities or lack of experience and knowledge, if they have been given supervision or proper training in the safe use of the device and if they understand the dangers involved. Children should not play with the device. Cleaning and maintenance should be performed by the
user and not by unsupervised children.
- Check that the power voltage and frequency match those indicated on the label located on the inside of the hood. A suitable earth must be connected (except for Class II devices, marked with □ on the technical data plate).
- For installation, a connection method isolated from the fixed installation should be incorporated, in accordance with installation regulations (adjusted to the strength to be endured and with a minimum opening between the contacts of 3mm) under overvoltage category III conditions, for the emergency shutdown, cleaning or light replacement. In no event should the earth pass through this switch. This switch can be replaced with a plug if it is accessible in normal use.
- If the power lead is damaged it must be replaced by the manufacturer, its after-sales service or by qualified personnel in order to avoid potential danger.
•Air should not be extracted by ducts used to expel fumes from equipment powered by gas or other fuels.
•The room must be adequately ventilated when the hood will be used simultaneously with
equipment powered by energy other than electricity e.g. gas cookers.
•The excessive accumulation of grease in the hood and metal filters may cause dripping and fire risks, therefore it is necessary to wash the inside of the hood and the metal filters at least once a month.
- Do not produce flames under the hood.
- The bottom of the hood must be fitted at least 65cm above gas or combination hobs. Observe the minimum limits set by WORKTOP MANUFACTURER'S MINIMUM LIMITS. This distance may be reduced if mentioned in the hood installation instructions.
- Never leave gas burning without a pan above it. The grease accumulated in the filters may drip or catch fire when the temperature is increased.
- Avoid cooking under the hood if the metal filters are not fitted e.g. while they are being cleaned in the dishwasher.
•We recommend you wear gloves and use extra caution when cleaning the inside of the hood.
- Your hood is designed for domestic use and only for the extraction and purification of gases from food preparation.
Use for other purposes is at your own risk and may be dangerous. The manufacturer is not responsible for damage caused by improper use of the device.
- For repairs please contact the manufacturer's nearest Technical Assistance Department which will always use genuine parts. Repairs or modifications by unauthorized personnel may result in damage to equipment or malfunction, endangering safety.
- This device complies with the European Directive 2012/19/EU on electrical and electronic devices entitled “Electrical and Electronic Equipment Waste”. The directive provides the framework applicable throughout the European Union for the return and recycling of electrical and electronic equipment waste responsible for his/her safety. Keep children away from the device and never let them play with it.
Instructions for use
You can activate or deactivate the cooker hood by operating the functions shown in the diagram.
Switch on the extractor fan a few minutes before you start to cook in order to ensure that a steady air flow has been established before fumes appear.
Allow the extractor fan to run for several minutes after you have finished cooking (between 3 to 5 minutes) in order to expel all the grease from the outlet duct. This prevents the return of grease, smoke and smells.
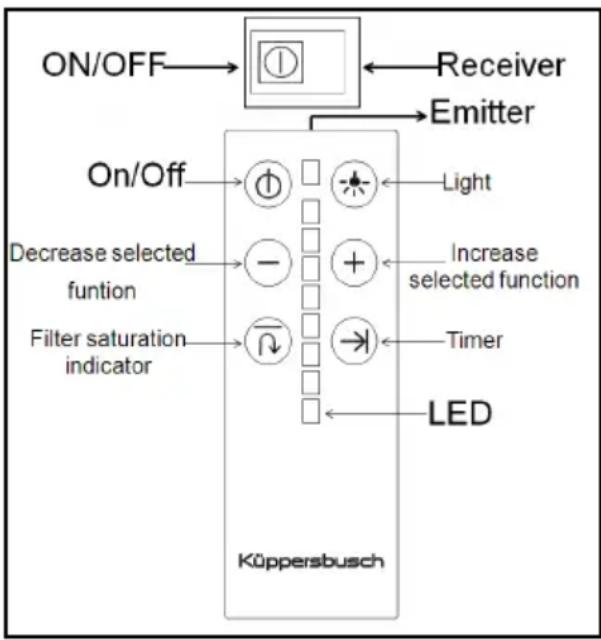
flowchart
graph TD
    A["ON/OFF"] --> B["Receiver"]
    B --> C["Emitter"]
    C --> D["On/Off"]
    D --> E["Light"]
    D --> F["Decrease selected function"]
    D --> G["Filter saturation indicator"]
    D --> H["Timer"]
    D --> I["LED"]
    I --> J["Küppersbusch"]
Setting The Extraction Time
- Turn the hood on and select the required extraction speed
- Select the programming time by pressing Timer.
•Each press of the button increases the programming time by 10 minutes, up to a maximum of 80 minutes. - To reset the programme, wait for over a second and press the Timer button again.
- The speed and extraction time are displayed with the LED indicator.
- The intensive speeds 6, 7 and 8 cannot be programmed. These must be selected manually and have a maximum duration of approximately 10 minutes.
Filter Saturation "F"
- Clean the filters when all lights of the LED indicator begin to flash followed by an acoustic signal.
- Press "Filter Saturation" to reset this feature
Cleaning and maintenance
During cleaning and maintenance work, make sure the safety instructions are complied with.
Cleaning the hood body
- If your kitchen hood is made of stainless steel, use proprietary cleaners mentioned in the product instructions.
- If your kitchen hood is painted, use lukewarm water and a neutral soap.
- Never use metallic scourers, nor abrasive or corrosive products.
- Dry the kitchen hood using a cloth that does not produce fibres.
- Do not use vapour cleaners.
Cleaning the metal filters
- To remove the filters from their fittings, press lightly on the locks and then pull them off.
- The metal filters can be cleaned by soaking them in hot water with neutral detergent until the fat dissolves and then rinsing them under the tap or using special anti-grease products. They can also be washed in a dishwasher. In this case, it is advisable to stack them vertically to avoid food residues to stick to them.
- Cleaning in a dishwasher may damage the metallic surface (blackening it), although this will not affect its fat retention capacity.
- Once clean, leave them to dry off and then fit them onto the kitchen hood.
Changing light bulbs
For changing the light bulbs please contact the manufacturer's nearest Technical Service.
Problem solving
Proceed with the following checks before calling the Technical Service:
| Problem Possible cause Solution | ||
| The kitchen hood does not work. | The mains cable is not connected to the network.There is no current in the network. | Connect the mains cable to the network.Provide current to the network. |
| The kitchen hood does not extract sufficiently or vibrates. | Filters are saturated with fat.Obstruction in the air outlet. | Change or clean the active charcoal and/or metal filters.Remove the obstruction. |
Active charcoal filters
The active charcoal filters have an active life of between three to six months, depending on the individual conditions of use. These filters cannot be washed nor regenerated. They must be replaced once their useful life comes to an end.
The manufacturer reserves the right to make changes and corrections to its products as it deems necessary, without altering their basic characteristics.
Cher client:
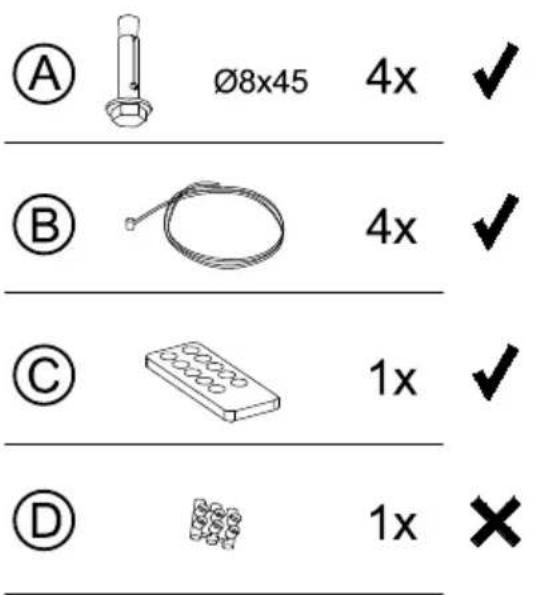
2

3
natural_image
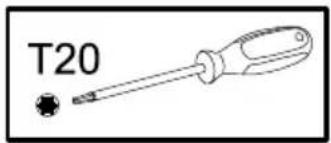
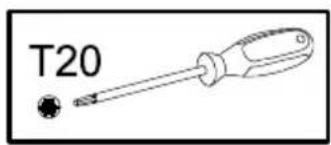
Line drawing of a screwdriver with a small black screw and label T20 (no other text or symbols)4
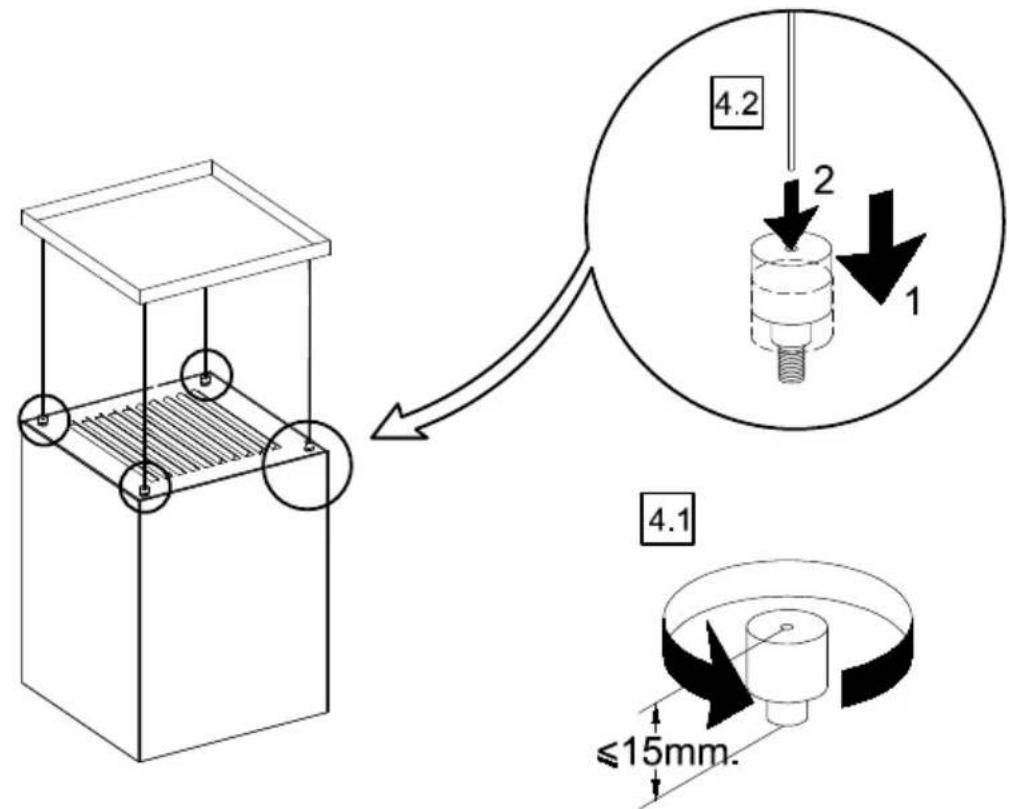
5
natural_image
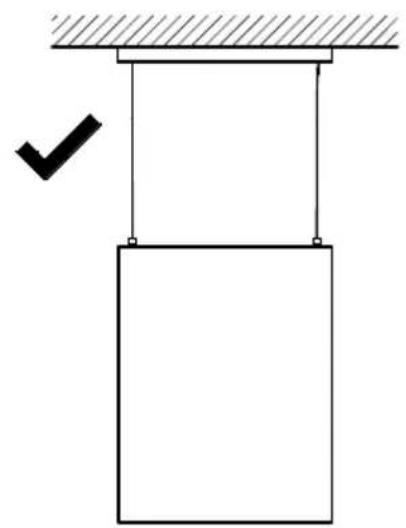
Simple line drawing of a hanging structure with a checkmark indicating downward motion (no text or symbols)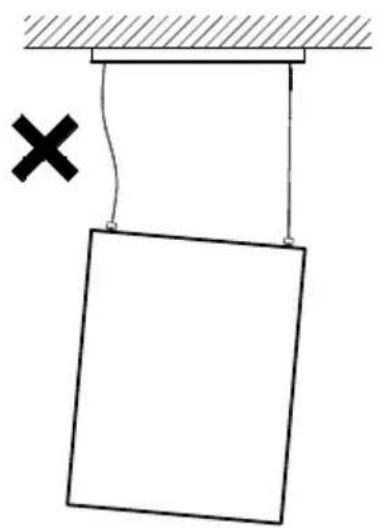
natural_image
Simple line drawing of a hanging rectangular object with a cross mark and hatched background (no text or symbols)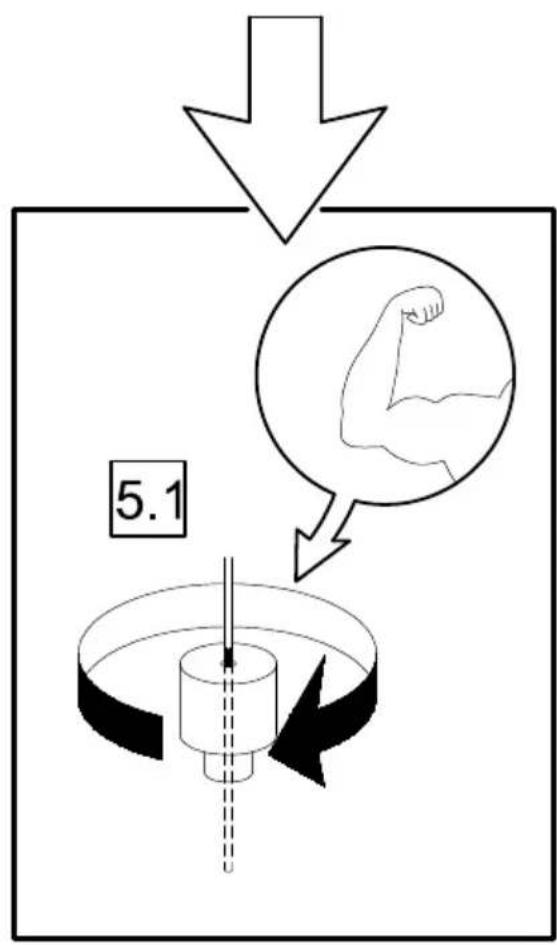
natural_image
Simple black downward arrow symbol on white background (no text or labels)
natural_image
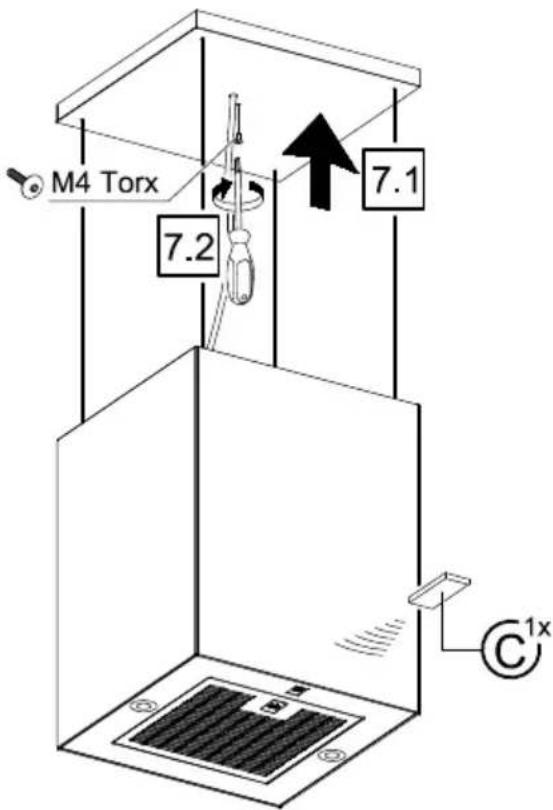
Isometric line drawing of a mechanical component or bracket (no text or symbols)
7
Küppersbusch

- Safety Instructions
- Instructions for use
- Setting The Extraction Time
- Filter Saturation "F"
- Cleaning and maintenance
- During cleaning and maintenance work, make sure the safety instructions are complied with.
- Cleaning the hood body
- Cleaning the metal filters
- Changing light bulbs
- For changing the light bulbs please contact the manufacturer's nearest Technical Service.
- Problem solving
- Active charcoal filters
- Küppersbusch
Brand : Küppersbusch
Model : DI3800.0W
Category : Basket