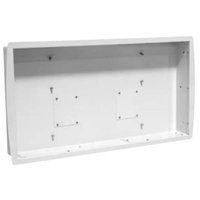
SB2R - TV wall mount OmniMount - Free user manual and instructions
Find the device manual for free SB2R OmniMount in PDF.


| Product Type | TV Wall Mount |
| Brand | OmniMount |
| Model | SB2R |
| Material | Steel |
| Mounting Type | Fixed |
| Required Installation | Vertical solid concrete or wood frame wall (studs ≥ 5x10 cm, spacing 41-60 cm, sheathing ≥ 13 mm) |
| Warranty | 5 years against material and workmanship defects (United States) |
| Customer Service | 800.668.6848 / info@omnimount.com (North America) |
| Safety Precautions | Do not exceed maximum load capacity; wall must support 4 times the load weight; do not use for any purpose not specified by OmniMount. |
| Maintenance | Clean with a soft, dry cloth. Do not use abrasive products. |
| Spare Parts | Contact OmniMount customer service |
| Repairability | Repair or replacement under warranty by OmniMount; out-of-warranty repairs require contacting customer service. |
| Recommended Use | Support for electronic equipment (TV, monitor) |
| Tilt | Not tiltable (fixed) |
| VESA Compatibility | Not specified; refer to the manual |
| Supported Weight | Not specified in the manual; contact the manufacturer |
Frequently Asked Questions - SB2R OmniMount
User questions about SB2R OmniMount
0 question about this device. Answer the ones you know or ask your own.
Ask a new question about this device
Download the instructions for your TV wall mount in PDF format for free! Find your manual SB2R - OmniMount and take your electronic device back in hand. On this page are published all the documents necessary for the use of your device. SB2R by OmniMount.
USER MANUAL SB2R OmniMount
Instruction Manual EN
natural_image
Exterior view of a white electrical cabinet or enclosure with internal compartments and mounting holes (no text or symbols visible)
MAXIMUM WEIGHT CAPACITY MÁXIMA CAPACIDAD DE PESO CAPACITE DE CHARGE MAXIMALE
POUNDS (LBS) LIBRAS (LB) LIVRES (LB)
KILOGRAMS (KG) KILOGRAMOS (KG) KILOGRAMMERS (KG)
MAXIMUM SCREEN SIZE TAMAÑO DE PANTALLA MÁXIMO TAILLE D'ÉCRAN MAXIMALE
200 (LBS) COMPLETE U80T7 (KG)
N/A
| EN | USE WITH PRODUCTS LARGER THAN THE MAXIMUM WEIGHT AND SIZE MAY RESULT IN INSTABILITY CAUSING POSSIBLE INJURY. USER MUST REMOVE TELEVISION OR OBJECT OFF THE BRACKET BEFORE ADJUSTING. IF THE PRODUCT IS A TELEVISION MAXIMUM WEIGHT CAPACITY SUPERSEDES / OUTPLACES RECOMMENDED DIAGONAL MEASURED TELEVISION SIZE!! |
| ES | EL USO CON EL PRODUCTOS MÁS GRANDE QUE EL PESO MÁXIMO Y TAMAÑO PUEDE CAUSAR INESTABILIDAD Y POSIBLEMENTE HERIDAS. EL USUARIO DEBE QUITAR LA TELEVISIÓN U OBJETO DEL SOPORTE ANTES DEL AJUSTE. SI EL PRODUCTO ES UNA TELEVISIÓN, LA CAPACIDAD DE PESO MÁXIMA REEMPLAZA EL TAMAÑO DIAGONAL RECOMENDADO DE LA TELEVISIÓN |
| FR | NE PAS UTILISER DES PRODUITS QUI SONT PLUS GRANDS DE LA CAPACITÉ DE CHARGE OU DES DIMENSIONS MAXIMALES – CELA POURRAIT PROVOQUER L'INSTABILITÉ DE PRODUIT ET DES BLESSURES. AVANT TOUT AJUSTEMENT, IL FAUT DÉMONTER LE TÉLÉVISEUR OU L'AUTRE PRODUIT ÉLÉCTRONIQUE. SI LE PRODUIT EST UN TÉLÉVISEUR, LA CAPACITÉ DE CHARGE MAXIMALE SE SUBSTITUE AU GRANDEUR DIAGONALE RECOMMANDÉ DU TÉLÉVISEUR. |
WARNING! – ENGLISH
■ WARNING! SEVERE PERSONAL INJURY AND PROPERTY DAMAGE CAN RESULT FROM IMPROPER INSTALLATION OR ASSEMBLY. READ THE FOLLOWING WARNINGS BEFORE BEGINNING.
If you do not understand the instructions or have any concerns or questions, please contact a qualified installer. North America residents can contact OmniMount customer service at 800.668.6848 or info@omnimount.com.
- Do not install or assemble if the product or hardware is damaged or missing. If you require replacement parts, contact OmniMount Customer Service at 800.668.6848 or Info@omnimount.com. International customers need to contact a local distributor for assistance.
For wall mounted products: This product has been designed for use on a vertical wall constructed of wood studs. Wood studs being defined as a wall consisting of a minimum of 2" x 4" studs with a maximum of 24" stud spacing and a minimum of 16" stud spacing with a maximum of ½" inch of wall covering (drywall, lath, plaster). For custom installations please contact a qualified installer. For safe installation, the wall you are mounting to must support 4 times the weight of the total load. If not, the surface must be reinforced to meet this standard. The installer is responsible for verifying that the wall structure/surface and the anchors used in the installation will safely support the total load. This product is not designed to support the load of a CRT Television. Do not use this product for any application other than those specified by OmniMount.
■ This product is not designed to support the load of a CRT Television.
■ This product may contain moving parts. Use with caution.
■ DO NOT EXCEED THE MAXIMUM WEIGHT CAPACITY FOR THIS PRODUCT
natural_image
Simple black-and-white target symbol with concentric circles and crosshairs (no text or labels)natural_image
Circular diagram with four arrows pointing outward from a central circle, no text or symbols present.| EN | Adjust |
| ES | Ajuste |
| FR | Ajustez |
natural_image
Simple line drawing of a tool inside a circle (no text or symbols)| EN | Open-Ended Wrench |
| ES | Llave española |
| FR | Clé ouverte |
natural_image
Simple black-and-white icon of a plug with two leads inside a circle (no text or symbols)| EN | Cable Management |
| ES | Sistema de organización de cables |
| FR | Gestion des câbles |
natural_image
Black and white icon of a drill bit inside a circle (no text or symbols)| EN | Drill |
| ES | Agujerear |
| FR | Percer |
natural_image
Circular diagram with three circular elements inside, no text or symbols present| EN | Level |
| Nivel | |
| Niveau |
| EN | Caution |
| ES | Precaución |
| FR | Attention |

| EN | Optional |
| ES | Opcional |
| FR | Optionnel |
natural_image
Simple black cross symbol inside a circle, no text or numbers present| EN | Remove |
| ES | Retire |
| FR | Retirez |
natural_image
Simple black circular arrow symbol on white background (no text or labels)| EN | Tighten Fastener |
| Ajuste el sujetador | |
| Serrez l'attache |
natural_image
Simple black circular arrow symbol on white background (no text or symbols)| EN | Loosen Fastener |
| Afloje el sujetador | |
| Desserrez l'attache |
natural_image
Simple line drawing of a hand inside a circle (no text or symbols)natural_image
Simple line drawing of a pencil inside a circle (no text or symbols)natural_image
Simple line drawing of a screwdriver inside a circle (no text or symbols)| EN | Phillips Screwdriver |
| ES | Destornillador Phillips |
| FR | Tournevis Phillips |
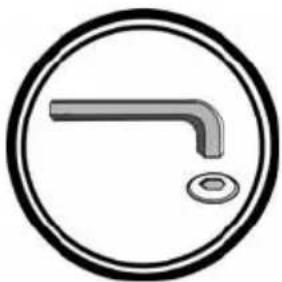
natural_image
Simple line drawing of a right-angle pipe fitting inside a circle (no text or symbols)| EN | Allen Wrench |
| ES | Llave Allen |
| FR | Clé hexagonale |
natural_image
Simple 3D illustration of a gray toolbox with a handle, enclosed in a circular border (no text or symbols)natural_image
Close-up of a metallic screw with a central hole (no text or symbols visible)
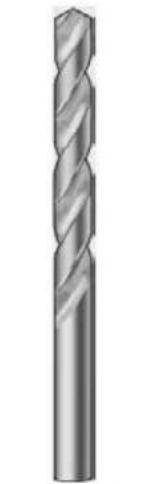
natural_image
Close-up of a metallic twist drill bit (no text or symbols visible)
natural_image
Close-up of a metallic screw with hexagonal shaft and threaded end (no text or symbols visible)
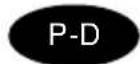
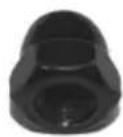
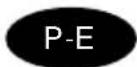

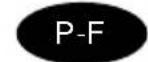
| 10081vA | |||
| Pouch # | Part # | Qty | Description |
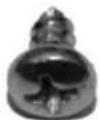
| P-A1 | 9 | Low Profile Lag Screws | |
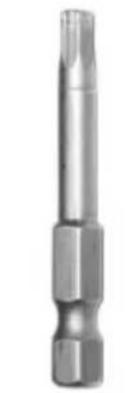
| Drill Bit 7/32" x 2"1P-B2 | |||
| P-C3 | 1 | Hex Driver Bit 5/32" | |
| Screw 8-32 x 1/4" Type 23 (16 pre-installed)1 | |||
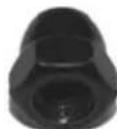
| Acorn Hex Nut M8 x 1.256P-E5 | |||
| Washer .344" ID x .69" OD x .065" THK6P-F6 | |||
| Contents | |||
| N/A | Wall Box11 | ||
| J-box Cover42 | |||
| Center Cover23 | |||
| Flange14 | |||
TOOLS NEEDED
natural_image
Illustration of a gray toolbox with handle, enclosed in a circular border (no text or symbols)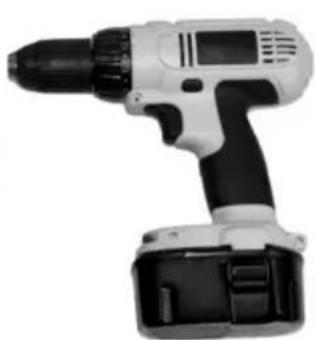
natural_image
White and black electric drill putter with battery pack (no visible text or symbols)


natural_image
Black mechanical tool with handle and cylindrical component (no visible text or symbols)EN
Tools Needed
Please contact a qualified contractor for all custom installation. Death or serious injury can occur if proper care is not taken.
Take caution of electrical and plumbing that may be within the wall framing. Serious damage to persons or property can occur from improper construction.
OPTION B / RETRO FIT

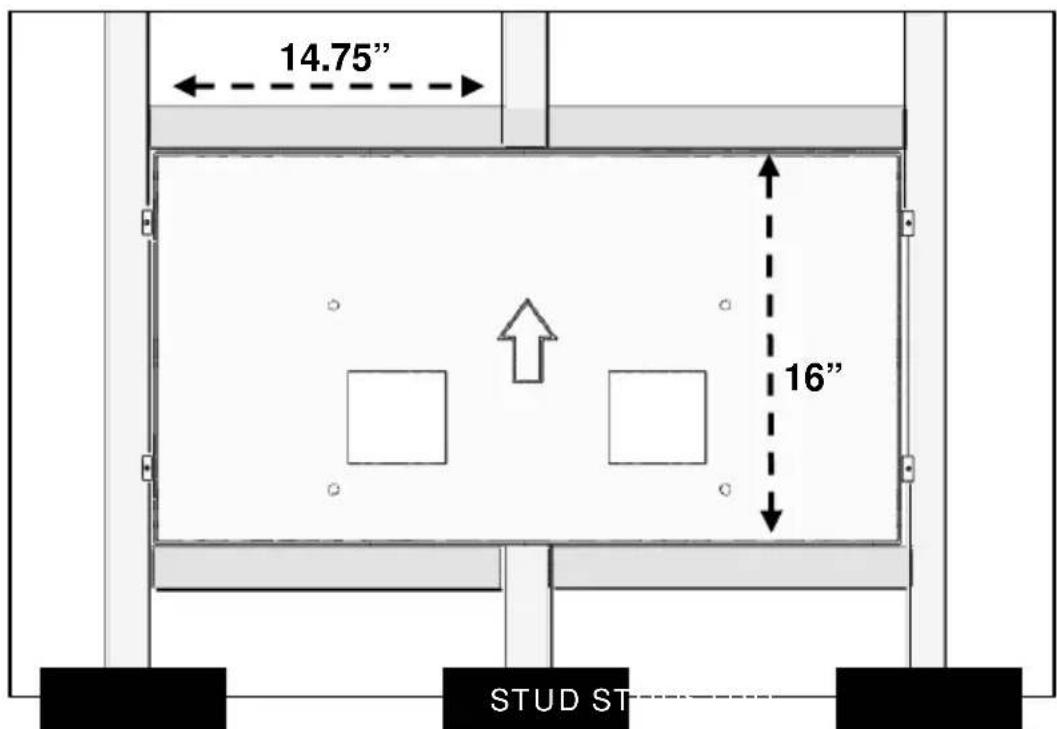
OPTIONS
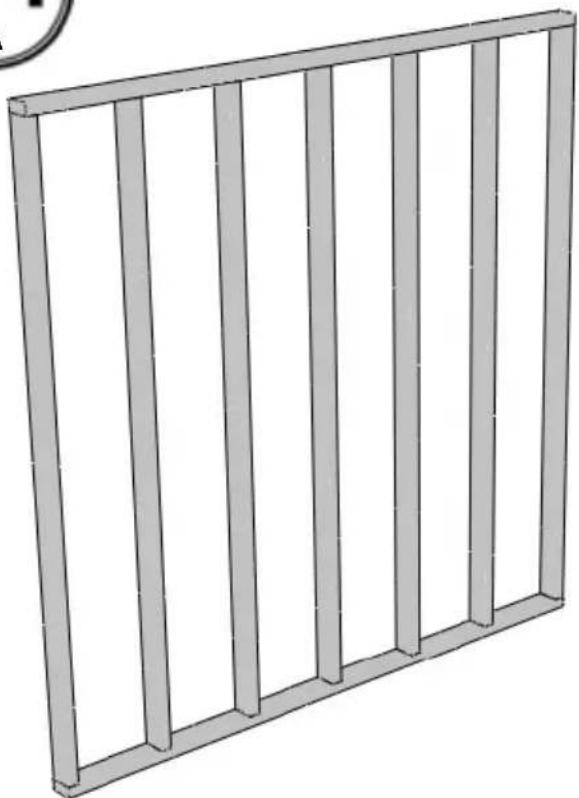
natural_image
3D rendering of a vertical metal fence structure (no text or symbols)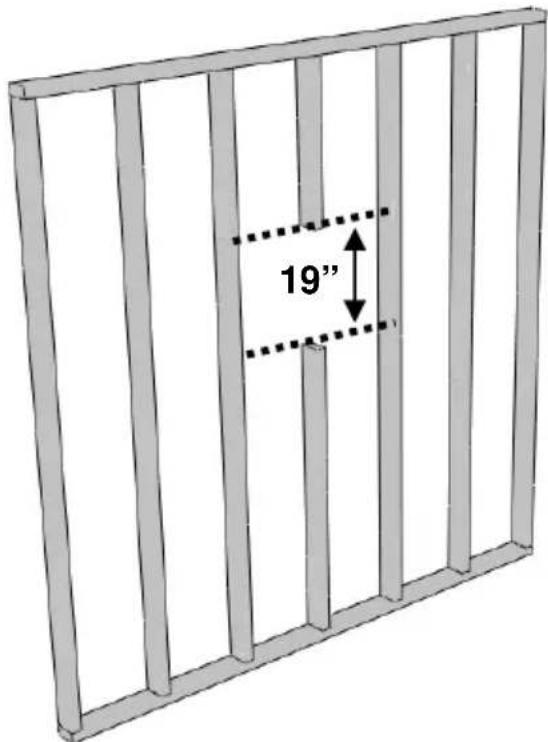
| CutEN | |
| ES | Corte |
| FR | Couper |
OPTIONS

Create support for cut stud. Contact a qualified contractor to review building codes for your area.
OPTIONS
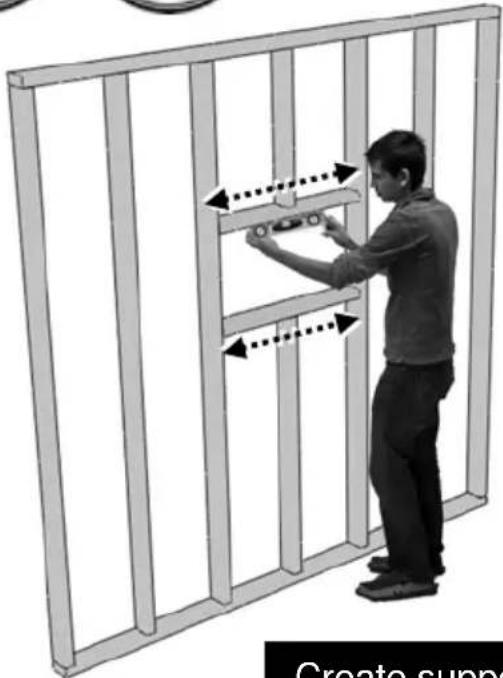
natural_image
Person installing or adjusting a wall-mounted device inside a metal-framed enclosure (no text or symbols visible)
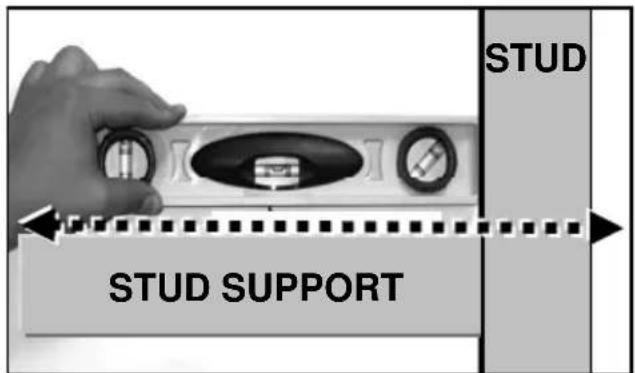
| EN | Level |
| ES | Nivel |
| FR | Niveau |
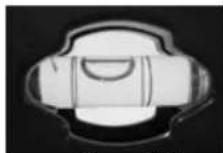

Good No Good
Create support for cut stud. Contact a qualified contractor to review building codes for your area.
OPTIONS

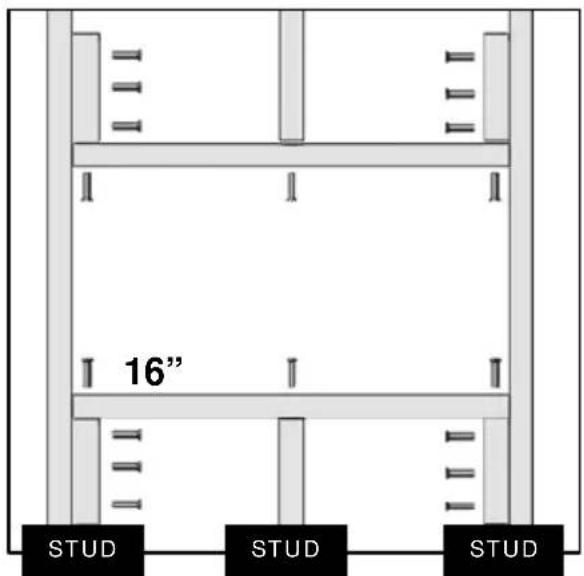
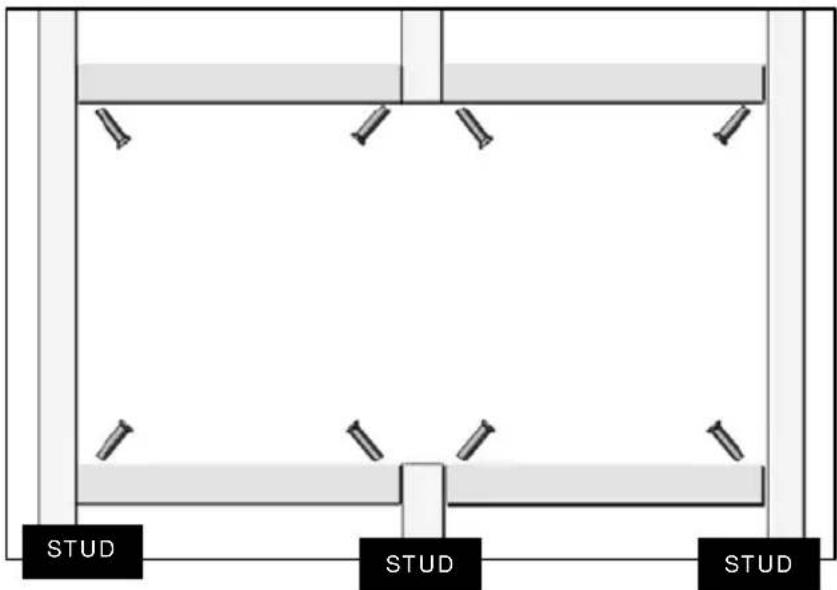
Install supports using wood screws (not included).
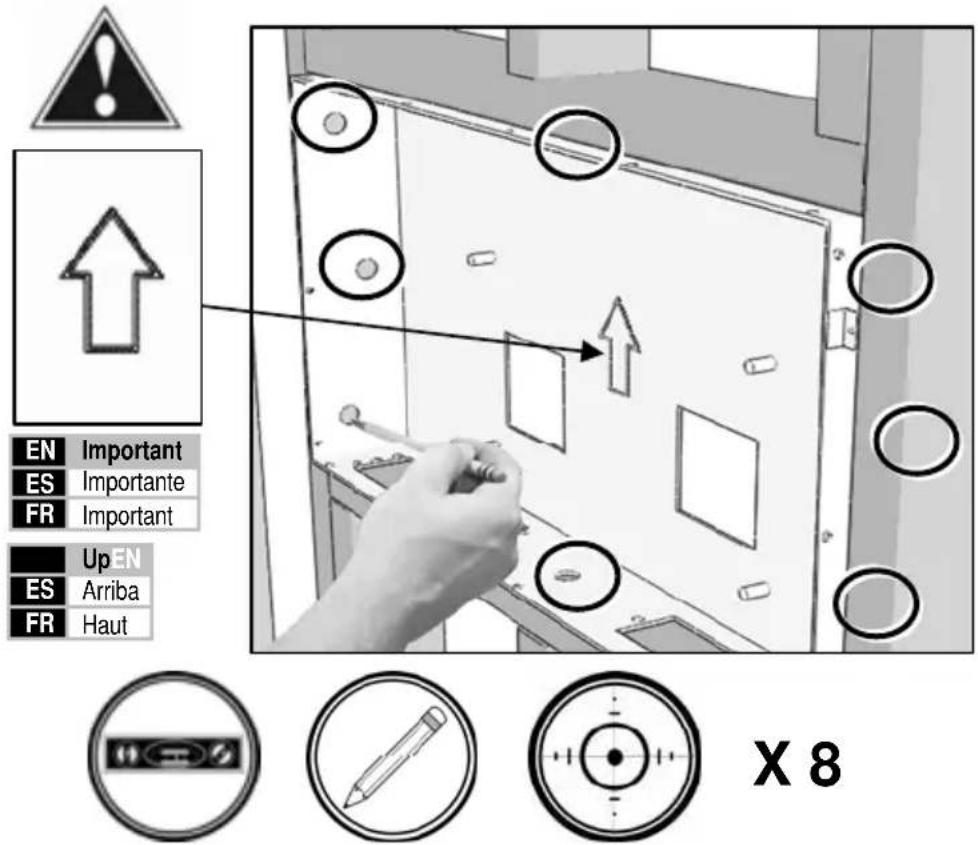
The cable management covers can removed in this step to mark locations on the stud for the installation of junction boxes. Use the marked location to cut the stud and install j-box.
Remember to contact a qualified contractor for safe installation of in wall box, and electrical equipment. Death, serious injury, or property damage may occur from improper installation.
Use wall box to mark mounting locations EN
natural_image
3D diagram of a metal enclosure with vertical supports and a labeled component (no text or symbols)Wood Pilot
Pilot Hole Size Pilot Drill Depth
7/32" inch 2 inch
4 mm 50 mm

P-B
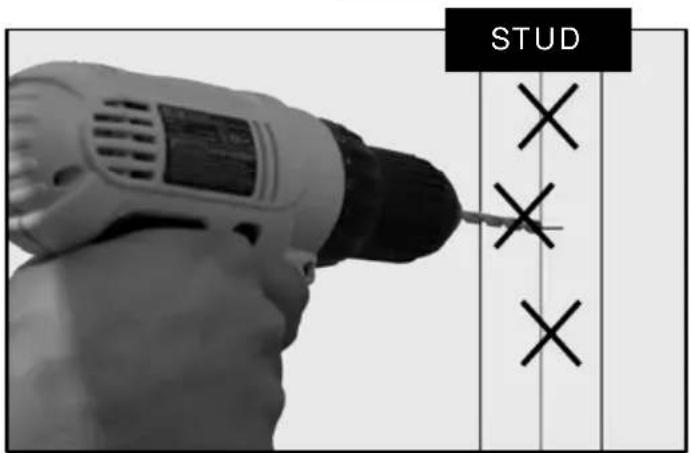
EN Wood Stud Wall Installation
Install Shadow Box using lag screws (Part P-A) and hex drive (Part P-C).
DO NOT OVERTIGHTEN
natural_image
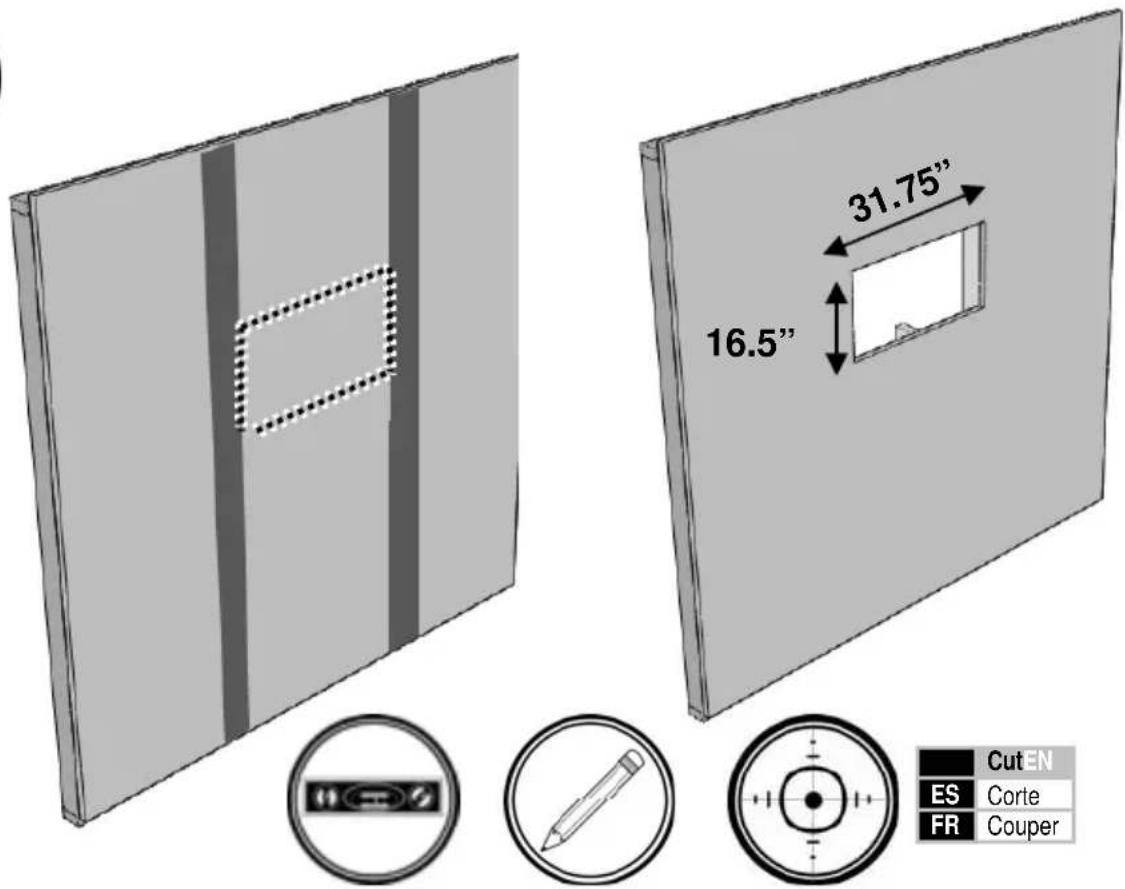
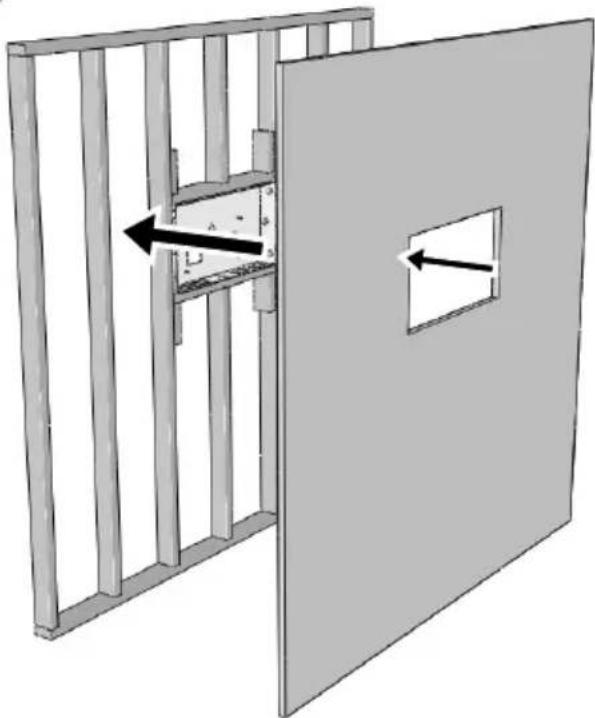
Diagram of a two-panel door frame with vertical bars and an open door, showing structural change (no text or symbols)Cut hole in drywall to fit outer dimension of shadow box. Mount drywall to stud (hardware not included).
| Cut EN | EN | Install | |
| ES | Corte | ES | Instale |
| FR | Couper | FR | Installer |
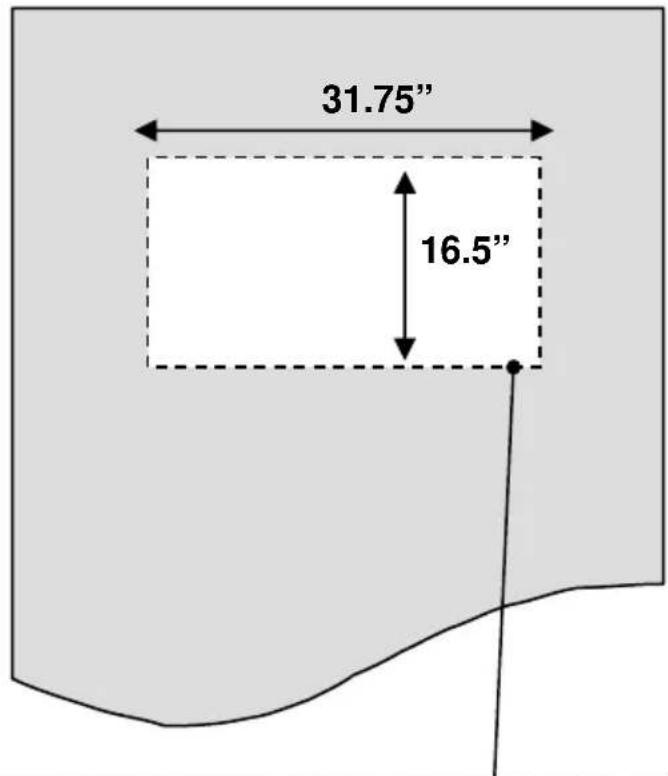
geo
| Dimension | Value | | --------- | ------- | | Width | 31.75" | | Height | 16.5" |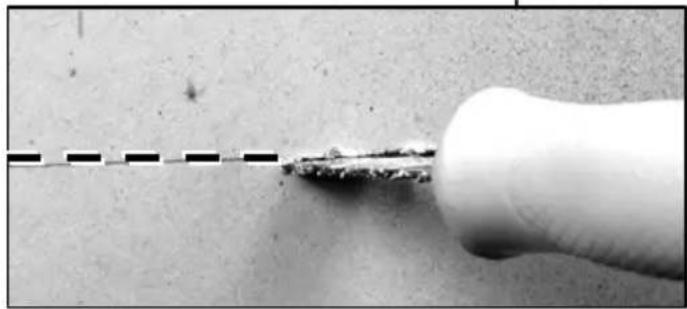
natural_image
Close-up of a finger holding a small, damaged object against a textured surface (no text or symbols visible)STEP 5
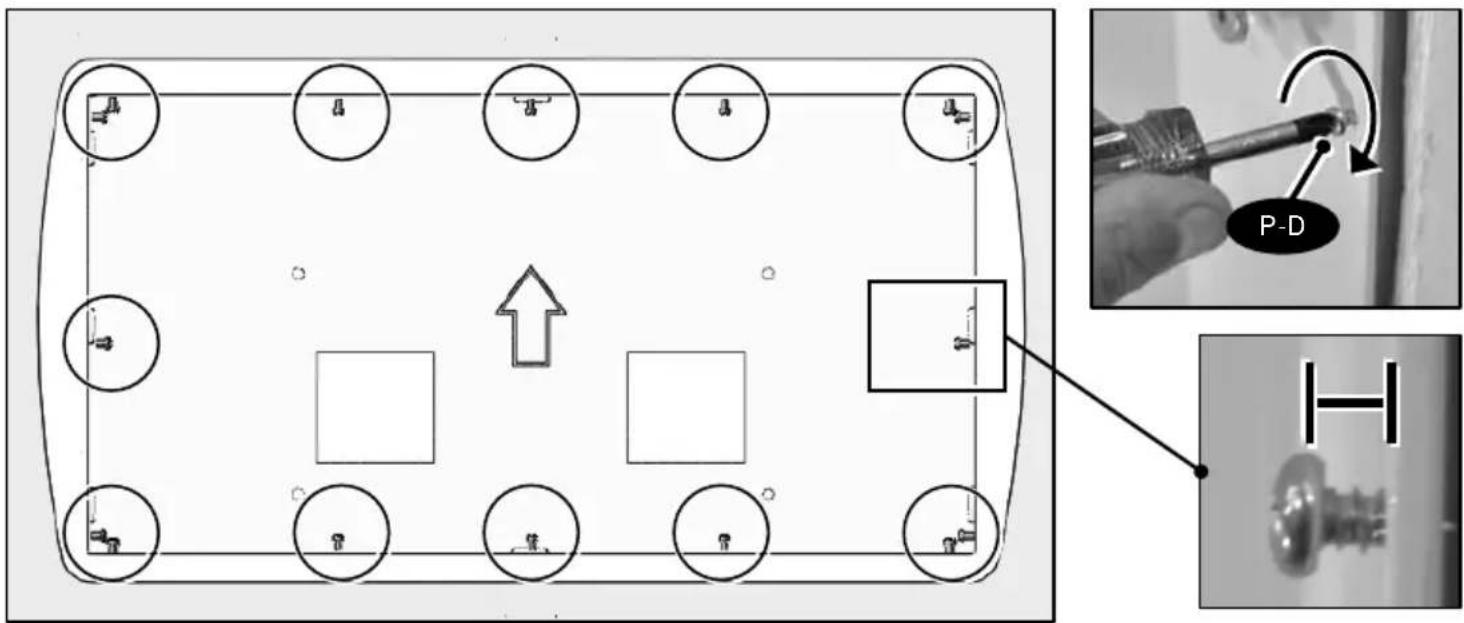
| EN | Partially install |
| ES | Instalación parcial |
| FR | Installez partiellement |
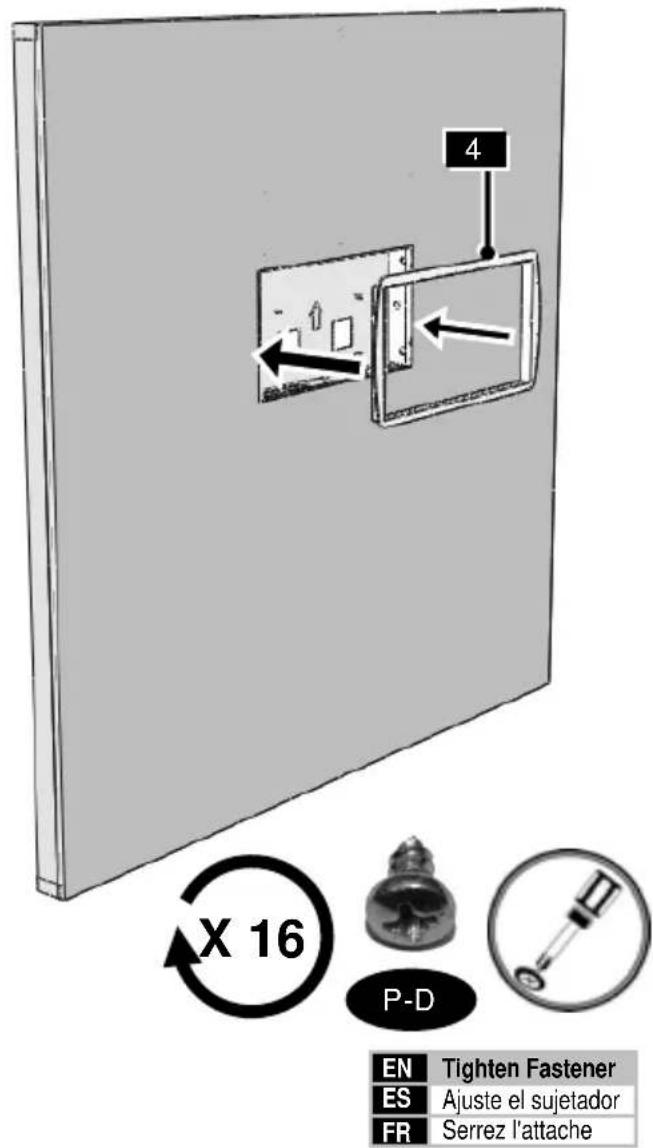
EN Attach cover
ES Coloque la cubierta
FR Fixez le cache
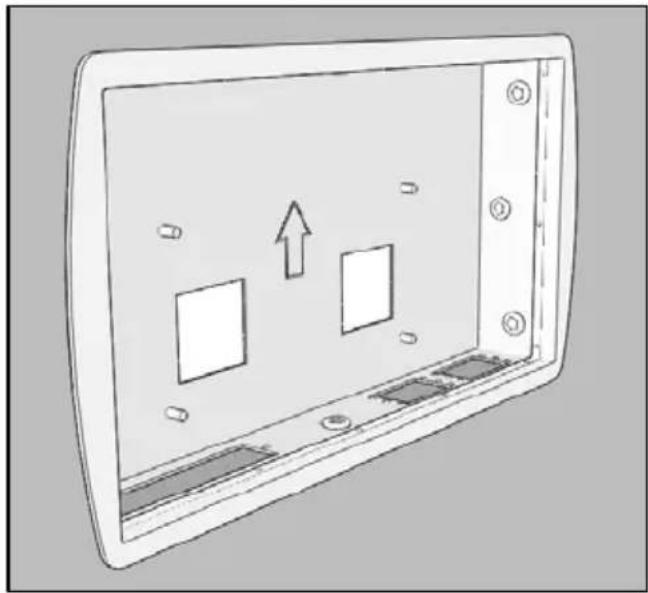
natural_image
Diagram of a device panel with two square cutouts and an upward arrow, no text or symbols present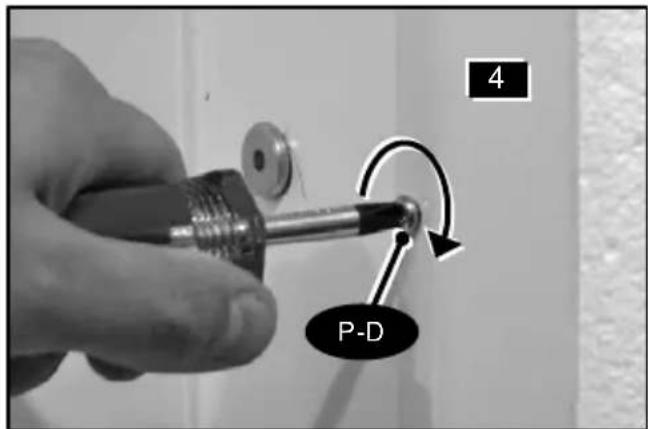
STEP 7
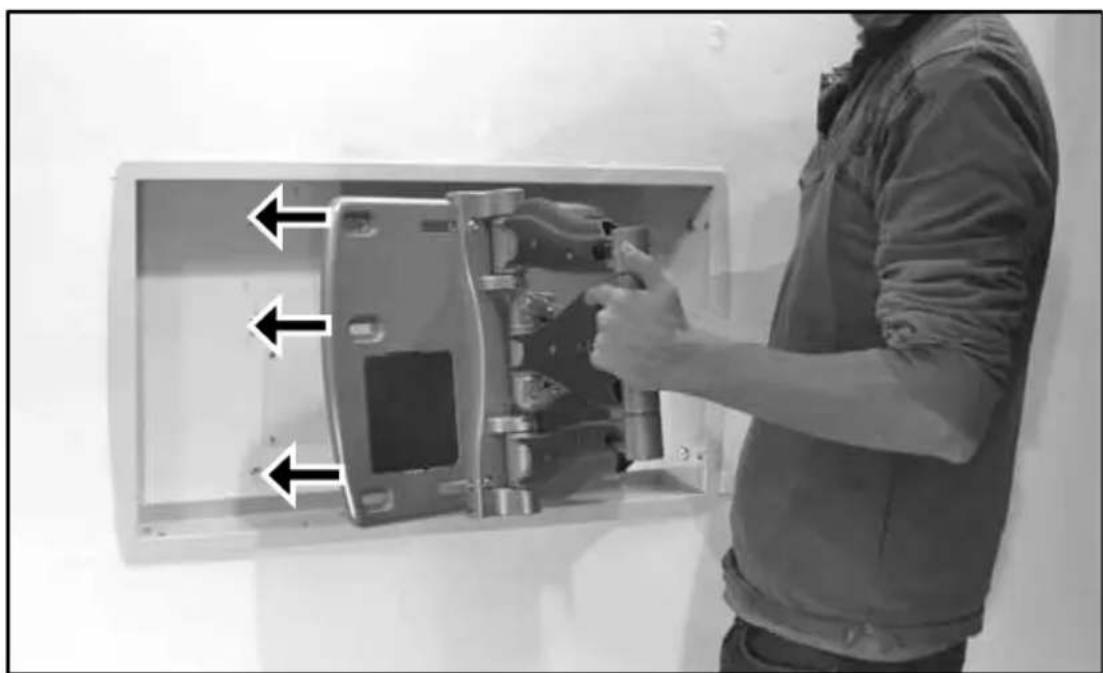
natural_image
Person installing or adjusting a wall-mounted device with arrows indicating components (no text or symbols visible)| EN | Not included |
| ES | No se incluye |
| FR | Non inclus |
| EN | Mount wall plate |
| ES | Coloque la placa de pared |
| FR | Montez la plaque murale |
natural_image
Close-up of a hand using a screwdriver to adjust or install a mechanical component, with no visible text or symbols.EN
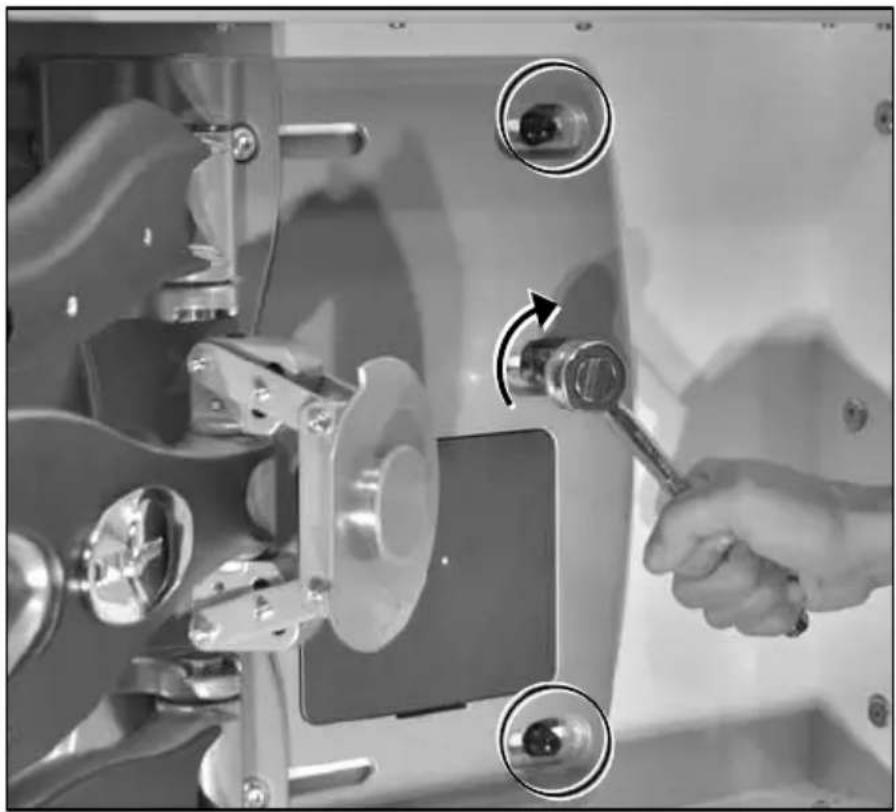
Tighten Fastener
ES
Ajuste el sujetador
FR
Serrez l'attache
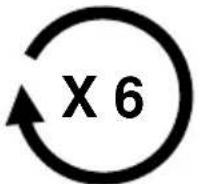

natural_image
Simple line drawing of a hand gripping a tool, enclosed in a circle (no text or symbols)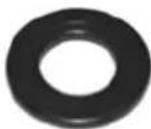
P-E
P-F
OPTIONS

natural_image
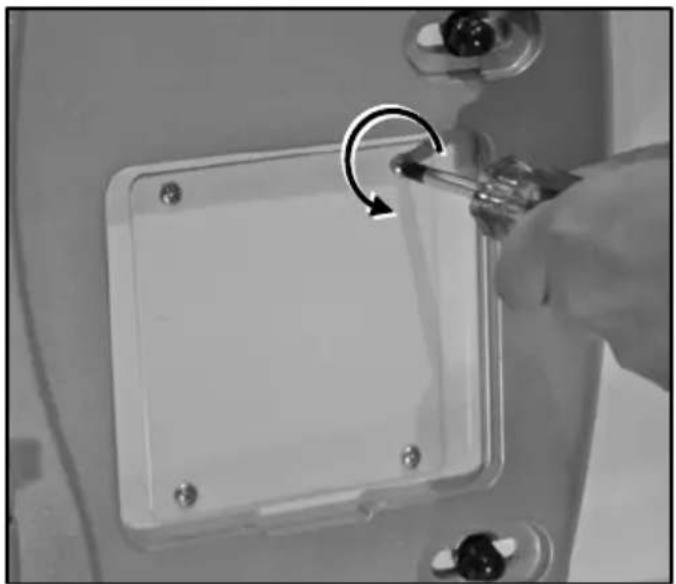
Close-up of a hand using a screwdriver to adjust or install a square electronic component with a circular arrow indicator (no text or symbols visible)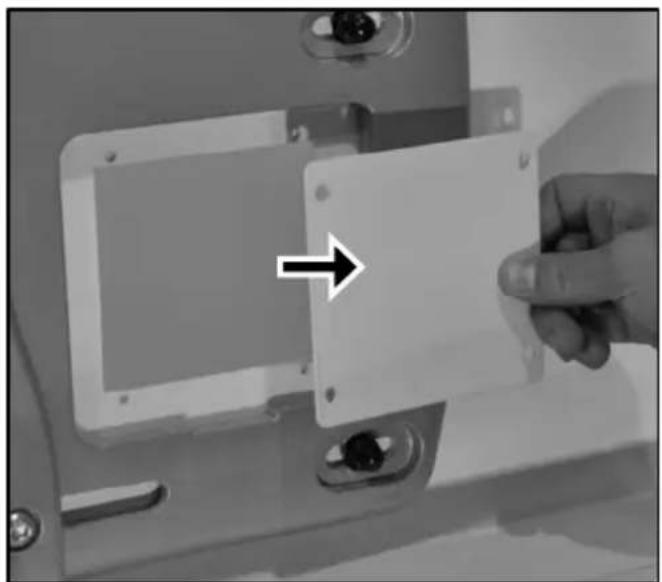
natural_image
Hand inserting a white plastic component into a mechanical housing (no text or symbols visible)EN
Remove
ES
Retire
FR
EN
Cable Management
ES
OMNIMOUNT PRODUCT WARRANTY
ENGLISH
This warranty applies to US Residents who purchase from an authorized OmniMount Dealer. OmniMount products are covered against defects in materials and workmanship for 5 years. OmniMount will repair or replace the defective component or product, at its sole discretion. Failure to follow product care instructions from OmniMount will result in void of warranty.
- To obtain warranty service, contact OmniMount customer service at 800.MOUNT.IT (800.668.6848) or info@omnimount.com. You must supply a copy of your original receipt. If your product must be shipped to OmniMount for inspection, you will be responsible for the shipping charges. Replacement product shipped to you will be returned freight prepaid.
- OmniMount disclaims any liability for modifications, improper installations, installations over the specified weight range, or failure to follow care instructions provided by OmniMount. To the maximum extent permitted by law, OmniMount disclaims any other warranties, expressed or implied, including warranties of fitness for a particular purpose and warranties of merchantability. OmniMount will not be liable for any damages arising out of the use of, or inability to use, OmniMount products. OmniMount bears no responsibility for incidental or consequential damages. This includes, but is not limited to, any labor charges for the repair of OmniMount products performed by anyone other than OmniMount.
■ This warranty gives you specific legal rights, and you may also have other rights which vary from state to state.
■ Specifications are subject to change without prior notice.
ESPAÑOL
| (EN) English | THANK YOU FOR PURCHASING AN OMNIMOUNT PRODUCT |
| (ES) Spanish | GRACIAS POR ADQUIRIR UN PRODUCTO DE OMNIMOUNT |
| (FR) French | MERCI D’AVOIR ACHETÉ UN PRODUIT OMNIMOUNT |

OmniMount Systems, Inc.
8201 South 48th Street
Phoenix, AZ 85044-5355
1-800-MOUNT-IT (1-800-668-6848)
www.omnimount.com

Brand : OmniMount
Model : SB2R
Category : TV wall mount