306973 - Speaker Bearware - Free user manual and instructions
Find the device manual for free 306973 Bearware in PDF.


| Product type | WiFi smart plug |
| Brand | Bearware |
| Model | 306973 |
| Input voltage | 220-240 V ~ (AC) / 50 Hz |
| Output voltage | 220-240 V ~ (AC) / 50 Hz |
| Max current | 16 A |
| Max power consumption | 3680 W |
| Operating frequency | 2412-2484 MHz |
| Max emission power (EIRP) | 17.1 dBm |
| Operating system compatibility | Apple iOS 8.0 and Google Android 4.1 or higher |
| Ambient temperature | 0-35 °C |
| Dimensions (estimated) | 5 x 5 x 6 cm |
| Weight (estimated) | 50 g |
| Main functions | Remote control via Smart Life app, timer, scheduling, random mode, astronomical mode, energy cost measurement, Alexa and Google Assistant compatibility |
| Maintenance and cleaning | Clean with a dry cloth; do not immerse in water; protect from moisture and high temperatures |
| Safety | Do not daisy-chain; unplug to turn off; do not use with certain devices (capacitor motor, iron, CRT TV) |
| Repairability | Do not open; any unauthorized repair voids the warranty |
| Package contents | WiFi smart plug, quick start guide |
Frequently Asked Questions - 306973 Bearware
User questions about 306973 Bearware
0 question about this device. Answer the ones you know or ask your own.
Ask a new question about this device
Download the instructions for your Speaker in PDF format for free! Find your manual 306973 - Bearware and take your electronic device back in hand. On this page are published all the documents necessary for the use of your device. 306973 by Bearware.
USER MANUAL 306973 Bearware
ENG: Current drivers, user manuals and other relevant documents for this product can be found on our homepage.
Zeitplanmodus:

Intervallmodus:
Betriebszeitmodus:
10. Einstellungen
Thank you for purchasing a BEARWARE product. Please read the following brief instructions carefully so that you can enjoy your purchased device. Before using the delivered goods, please check that they are complete, free of defects and undamaged.
1. Scope of delivery
- WiFi smart socket
- Quick guide
2. Technical data
| Input voltage 220-240V ~ (AC) / 50Hz | |
| Output voltage 220-240V ~ (AC) / 50Hz, max. 16A | |
| Power consumption max. 3680 W | |
| Frequency range 2412-2484 MHz | |
| Max. Transmission power (EIRP) | max. 17.1 dBm |
| Operating systems | Apple iOS V 8.0 and Google Android V 4.1 or higher |
| Operating systems Smart Home compatible | |
| Ambient temperature 0-35°C | |
3. Important safety instructions for this device

Attention! Updates to the software or operating system may change the functionality and use of the device!
Attention!

- Do not plug in one after the other!
- Only de-energise when the plug is disconnected!
4. Additional information for this device
The following devices must not be connected to the radio-controlled sockets:
- Appliances whose technical values do not match those of the radio-controlled sockets
- Appliances with a built-in motor capacitor (e.g. refrigerator)
- Appliances that could cause fire or other damage if switched on unattended (e.g. irons)
- Televisions with built-in picture tubes
- The radio-controlled sockets must be quickly accessible in an emergency so that they can be unplugged as quickly as possible in the event of danger
5. Additional safety instructions
• Voltage-free only when the plug is disconnected
- Please do not plug in one after the other
- The radio-controlled socket may only be connected to a properly connected socket. Make sure that the voltage on the rating plate matches that of your household
- Never plug the radio-controlled socket into a multiple socket or extension lead
- The range can be affected by various factors (e.g. reinforced concrete or sources of electrical interference). If necessary, the source of interference must be removed or the device must be connected closer to the WiFi source.
- Please do not insert any metal objects into the socket outlet
- CAUTION: Not suitable for children under 3 years of age due to choking hazard caused by small parts that can be swallowed!
6. Start-up
Remove the device from the packaging and remove all packaging material. Connect the WiFi socket to a properly connected socket.
You can find out how to set up the socket via the app in the following chapter.
Notes: Make sure that the appliance to be switched is switched on, otherwise it cannot be put into operation by radio. The socket outlet used must be energised, otherwise the radio-controlled socket cannot switch.
If you are using the device with a voice assistant (e.g. Amazon Alexa), you must activate the "Smart Life" skill and then start the device search and connect the socket to the voice assistant. For more information, please refer to the manual for the relevant device.
7. Setup via the app
Open the app store of your mobile device (e.g. smartphone or tablet PC) with which you want to connect to the socket. Search for the "Smart Life" app in the app store and install it.
Alternatively, you can find the app using the following QR code:

Next, you will need to create an account in the app. To do this, please tap on the "Register" button. To receive the verification code, enter your country and your mobile phone number or email address.
Tap on "Next" again. As soon as registration is complete, you can log in to the app using the data you entered previously.
If you are logged in, a list of the currently connected WiFi devices will appear.
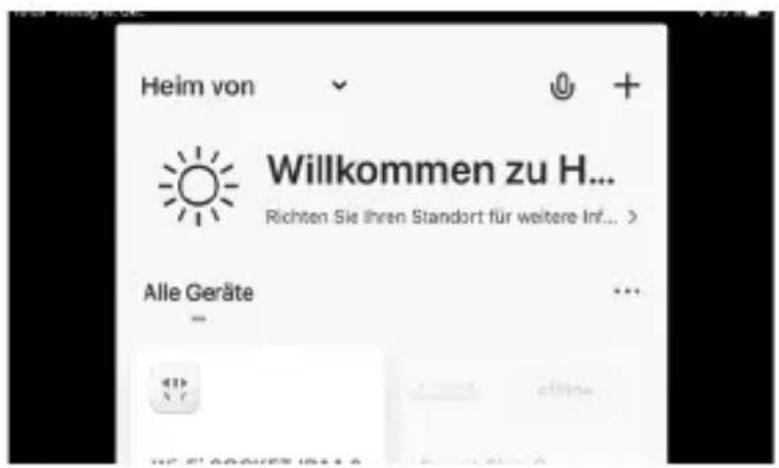
If you open the menu at the top right of the screen, you can add new devices (+" symbol). Tap on "Add Device" and then select the correct category.
![Add Device Searching for nearby devices. Make sure your device has entered closing mode. Discovering devices... Add Add Manually Electrical Socket Lighting Plug [BLE+Wi-Fi] Socket (Wi-Fi) Socket (Zipbox) Socket (BLI) Dualband Plug [1.4GHz&5G H0] Socket (NB-IoT) Socket (other) Sensors](/content/2026/04/707886/images/36f8c43501403f70898b21dd2252a008d65c7efbbf691a328fc6d5e5e449c9ee.jpg)
Set the device to pairing mode by plugging it into the socket. Press and hold the ON/OFF button on the side of the product for approx. 5 seconds until the LED flashes blue quickly.
As soon as the WLAN status LED on the socket flashes (approx. twice per second), the device is in search mode.
Now enter your Wi-Fi data in the app. The app then connects to the socket. As soon as the process is complete, the app shows that the device has been successfully added.
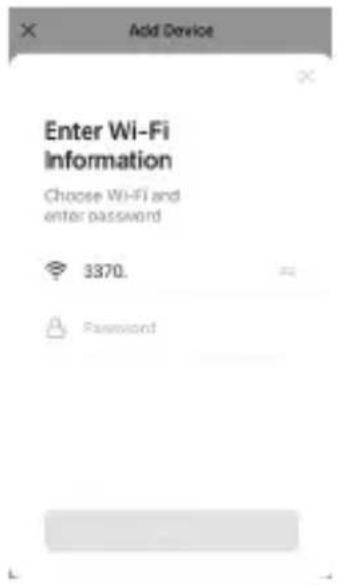
Note: If you are using both a 2.4 GHz and a 5 GHz network (or other guest networks), please deactivate all networks except the 2.4 GHz network in the meantime. Make this visible, as the IP socket is addressed and connected via the network.
8. Advanced settings of the app
To use the advanced functions of the socket, such as the timer function and the rejection mode, it is necessary to click on the symbol of the connected socket in the menu.
An extended settings menu appears:
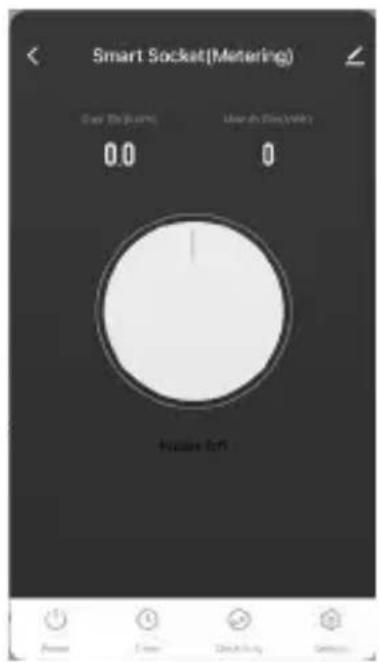
You can switch the socket on and off using the "POWER" button.
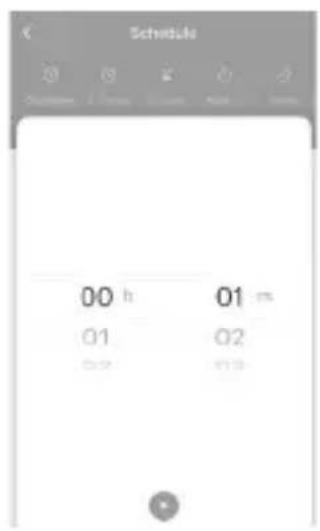
Countdowntimer:
Tap on the "Timer" symbol. The "Timer" menu then opens. Tap on "Countdown". You can set any time at which the appliance is to be switched to the other state.
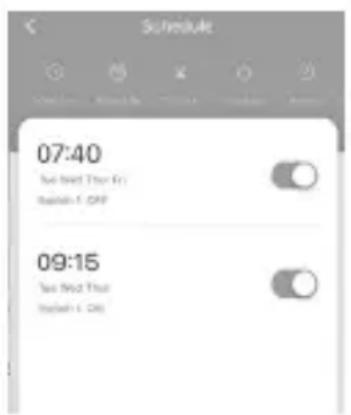
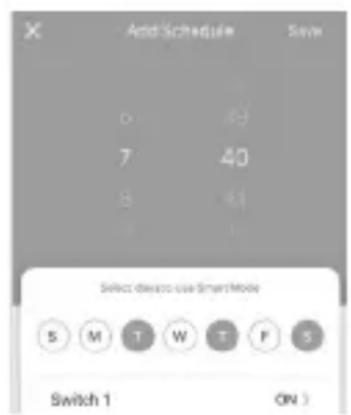
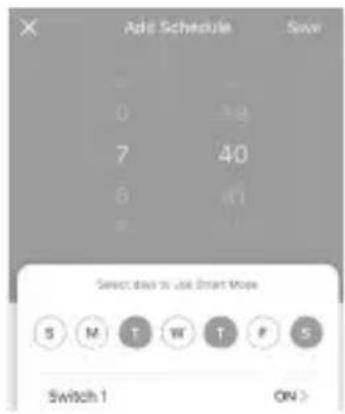
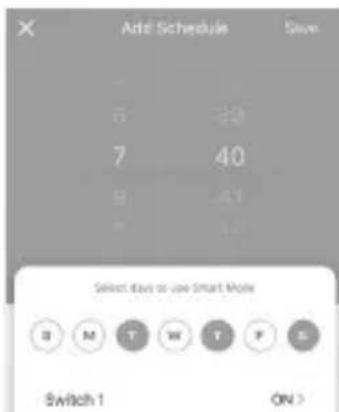
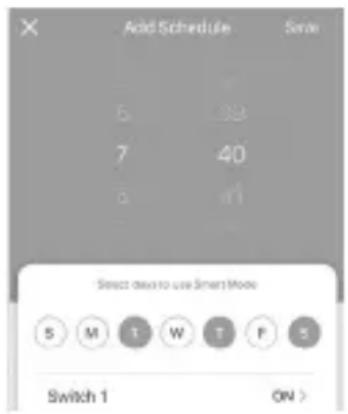
Schedule mode:
In schedule mode, you can set different switch-on and switch-off times on different days of the week. Set the relevant time and the desired days of the week as well as the "SWITCH" (On or Off) status and tap "Save".
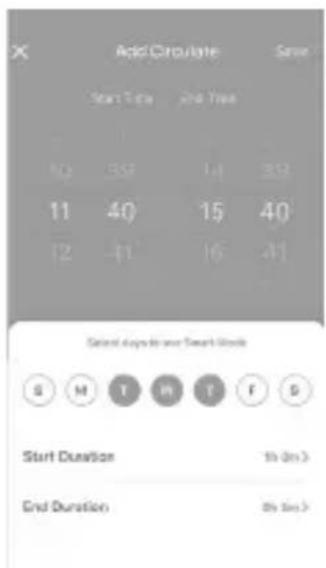
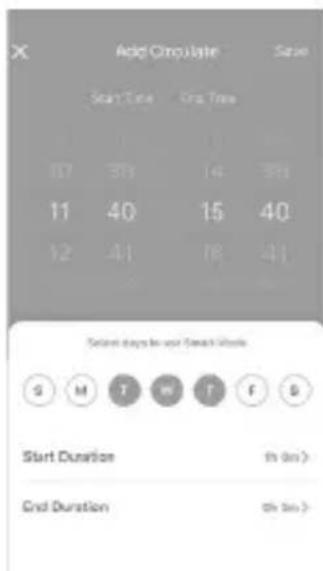
Interval mode:
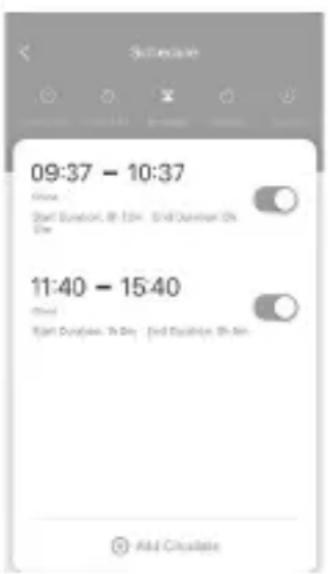
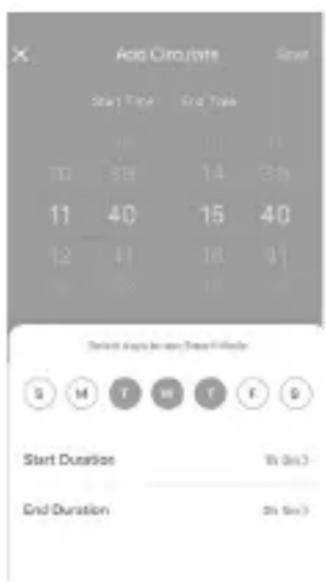
In interval mode, repeating switch-on and switch-off times can be set for a specific period of time. The connected device is switched on for a certain "Start Duration" for the specified period of time and then pauses for a certain "End Duration".
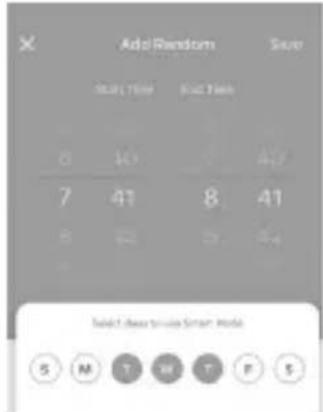
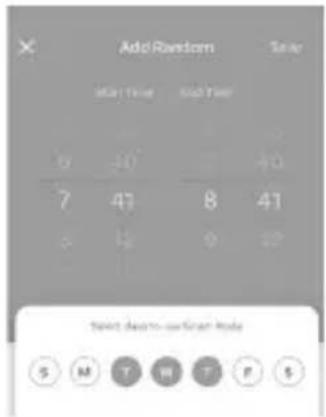
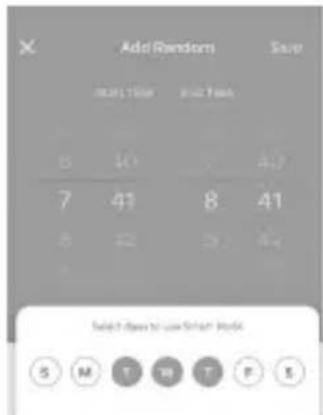
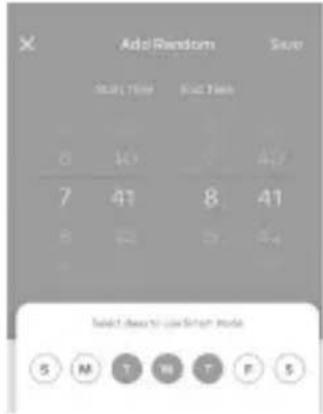
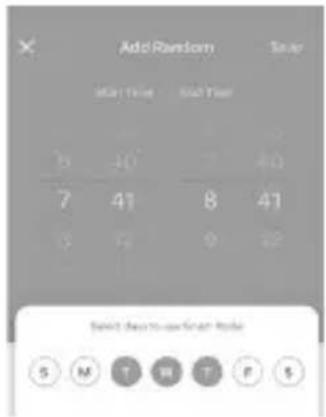
Random mode:
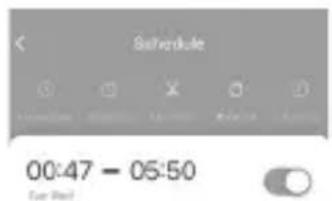
In random mode, you have the option of setting a start and end time. The appliance switches on and off randomly within this period.
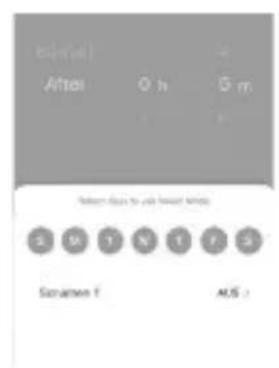
Operating time mode:
In this mode, you have the option of setting a time for how long the connected end device should remain switched on after switching on. Once the set time has elapsed, the device switches itself off again.
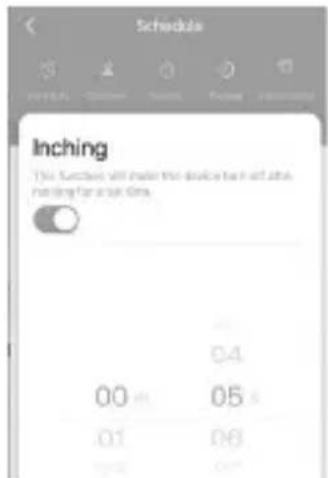
Attention! While this mode is active, no previously set mode is switched on. All previously set modes are reset as soon as you activate this mode.
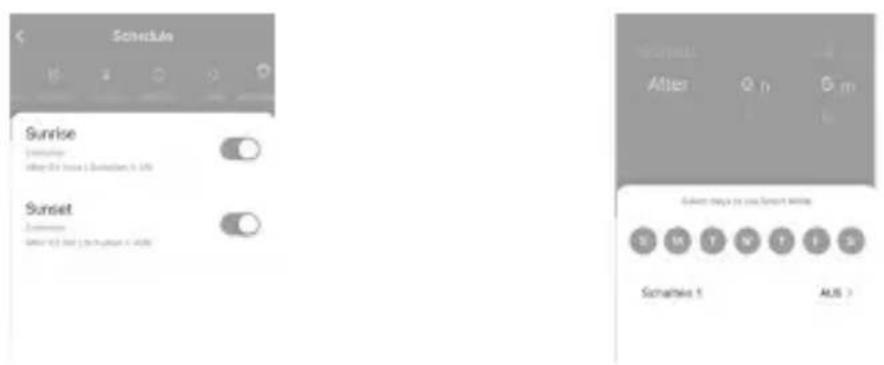
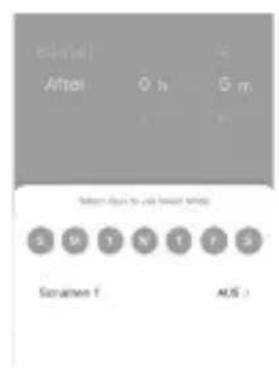
Astronomical mode:
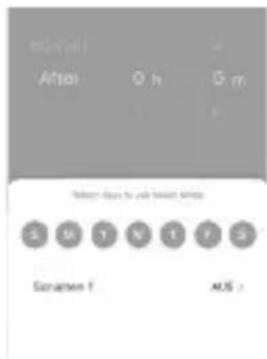
In this mode, you have the option of switching the device on or off depending on the sunrise and sunset times. Select "Before" to set the time before sunset or sunrise, "After" to set the time after sunset or sunrise, or "Sunset" to switch the device on or off at sunset or sunrise.
9.Energy cost measurement
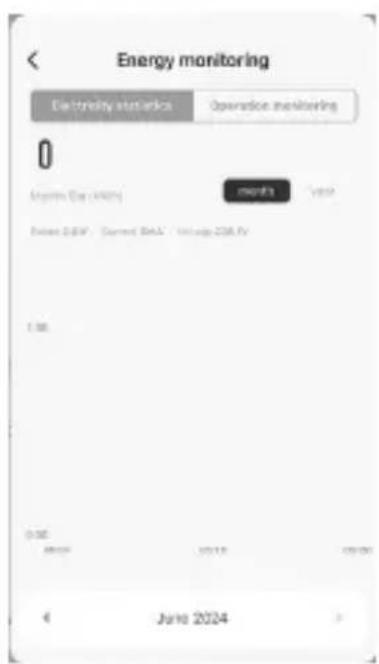
You have the option of displaying an energy cost measurement. To do this, tap on "Electricity". A graph then opens where the consumption of the connected device is recorded.
10. Settings
There is a "pencil" symbol in the main menu in the top right-hand corner. Tap on these points to call up the settings. In this menu, you can, for example, set the name of the device and display the IP address. You can also link the device to Alexa or Google Assistant or create a device group. Tap on "Settings" to select additional setting options, such as resetting the energy cost function.
11. Key functions
Briefly press the ON/OFF button to switch the socket on or off. Press and hold the ON/OFF button for approx. 5 seconds to activate pairing mode.
12. Troubleshooting
| Error Troubleshooting | |
| The WiFi device is not displayed in the app | Check the connection of your routerCheck the status of the WiFi device |
| The app does not connect | Several WLAN networks are active. Only use the 2.4 GHz network. |
13. Safety instructions and disclaimer
Never attempt to open the appliance to carry out repairs or modifications. Avoid contact with the mains voltage. Do not short-circuit the product. The device is not waterproof, please only use it in dry conditions. Protect it from high humidity, water and snow. Keep the device away from high temperatures.
Do not expose the device to sudden temperature changes or strong vibrations, as this could damage the electronic parts. Check the device for damage before use. The appliance should not be used if it has been knocked or damaged in any other way. Please observe the national regulations and restrictions.
Do not use the appliance for purposes other than those described in the instructions. This product is not a toy. Keep it out of the reach of children or mentally impaired persons. Any repair or modification to the appliance that is not carried out by the original supplier will invalidate the warranty or guarantee. The appliance may only be used by persons who have read and understood these instructions. The device specifications may change without prior notice.
14. Disposal instructions
According to the European WEEE Directive, electrical and electronic devices may not be disposed of with household waste. Their components must be recycled or disposed of separately, as toxic and hazardous components can cause lasting damage to the environment if disposed of incorrectly. As a consumer, you are obliged under the Electrical and Electronic Equipment Act (ElektroG) to return electrical and electronic equipment free of charge at the end of its life to the manufacturer, the point of sale or to public collection centres set up for this purpose. Details are regulated by the respective state law. The symbol on the product, the operating instructions and/or the packaging refers to these regulations. By separating, recycling and disposing of old appliances in this way, you are making an important contribution to protecting our environment.


Hereby, WD Plus GmbH declares that the device 306973 is in compliance with the essential requirements and other relevant provisions of Directive 2014/53/EU. You can obtain a complete declaration of conformity from WD Plus GmbH, Wohlenbergstraße 16, 30179 Hannover, Germany, or at the following Internet address: http://downloads.ganzeinfach.de/search/model/306973
Mode horaire :
Mode intermittent :
Mode aléatoire :
10. Réglages
Modalità casuale:
10. Impostazioni
Modo intervalo:

Modo aleatorio:
10. Ajustes
CONTACT US

feedback@ganzeinfach.de

(DE) 0800 72 444 05 +49 511 / 13221 710
(UK) +49 511 / 13221 720
(FR) +49 511 / 13221 730
(IT) +49 511 / 13221 740
(ES) +49 511 / 13221 750
MO-FR 9:30am - 18pm CET

downloads.ganzeinfach.de
WD Plus GmbH
- Zeitplanmodus:
- Intervallmodus:
- Betriebszeitmodus:
- Einstellungen
- Scope of delivery
- Technical data
- Important safety instructions for this device
- Attention!
- Additional information for this device
- Additional safety instructions
- Start-up
- Setup via the app
- Advanced settings of the app
- Countdowntimer:
- Schedule mode:
- Interval mode:
- Random mode:
- Operating time mode:
- Astronomical mode:
- 9.Energy cost measurement
- Settings
- Key functions
- Troubleshooting
- Safety instructions and disclaimer
- Disposal instructions
- Mode horaire :
- Mode intermittent :
- Mode aléatoire :
- Réglages
- Modalità casuale:
- Impostazioni
- Modo intervalo:
- Modo aleatorio:
- Ajustes
- CONTACT US
Brand : Bearware
Model : 306973
Category : Speaker