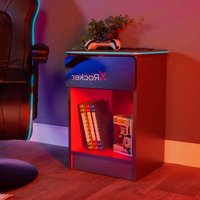
Carbon-Tek End - Accent furniture X Rocker - Free user manual and instructions
Find the device manual for free Carbon-Tek End X Rocker in PDF.


| Brand | X Rocker |
| Model | Carbon-Tek End |
| Product Type | Accent furniture with wireless charging station |
| Maximum load capacity | 60 kg |
| Power supply | USB-A with QC 3.0 adapter (not included) |
| Wireless charging port | Yes, Qi compatible |
| USB output port | Yes (USB-A) |
| Simultaneous wireless charging and USB usage | Not recommended (risk of failure) |
| USB port indicator light | Red: powered on; Blue: charging |
| Material | Not specified (likely particle board or MDF) |
| Assembly required | Yes, by user (tools not included) |
| Included accessories | Wall mounting straps, USB cable for wireless charger |
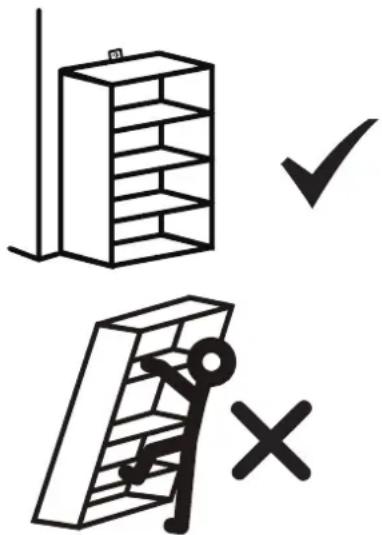
| Wall mounting recommended | Yes, to prevent tipping |
| Wall type for mounting | Solid walls; for other walls, obtain suitable fixings separately |
| Care and cleaning | Damp sponge and warm soapy water; no solvents or abrasives |
| Usage precautions | Do not climb, do not sit on, do not use if parts missing |
| Usage environment | Dry indoor, firm and level floor, avoid direct sunlight |
| Repairability | Do not attempt to repair yourself; contact X Rocker support |
| Wireless charging compatibility | Devices supporting Qi charging |
| Normal temperature during charging | The device may be warmer than usual |
Frequently Asked Questions - Carbon-Tek End X Rocker
User questions about Carbon-Tek End X Rocker
0 question about this device. Answer the ones you know or ask your own.
Ask a new question about this device
Download the instructions for your Accent furniture in PDF format for free! Find your manual Carbon-Tek End - X Rocker and take your electronic device back in hand. On this page are published all the documents necessary for the use of your device. Carbon-Tek End by X Rocker.
USER MANUAL Carbon-Tek End X Rocker
NEED SUPPORT?
xrockergaming.com/pages/support
SIZE: 13.11 X 13.5 X 20.87IN
PLEASE READ this sheet prior to assembly to familiarize yourself with the various stages of construction.
Carefully open the pack supplied and check the contents against the parts and fittings check list. Do not destroy any of the packaging until you are certain that you have all the necessary parts for the assembly.
CAUTION: There are small components used in the construction of this unit. These items should be kept away from young children whilst assembling your unit to avoid danger of choking.
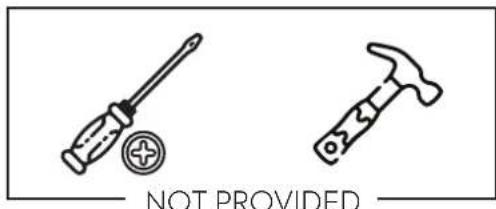
TOOLS REQUIRED


ENGLISH -ASSEMBLY INSTRUCTIONS IMPORTANT - READ CAREFULLY RETAIN THESE INSTRUCTIONS FOR FUTURE REFERENCE INFORMATION
- This product is designed to hold 60Kg in total. Do not exceed this weight.
- We recommend that this unit is assembled in the room intended for use.
- When you are ready to start, make sure that you have the right tools, plenty of space and a clean, dry area for assembly.
- Unwrap all packaging materials and place each component on top of the carton box or on a clean floor to prevent it from scratching.
- Check the pack and make sure you have all the parts listed.
- Ensure that this product is fully assembled as illustrated before use.
- Check all screws or bolts are tightened and inspect regularly.
- Tools are not included unless specified in the parts list.
WARNINGS
- This product should only be used on a firm and level floor.
- Keep small parts out of reach of children.
- Make sure the legs/base remain in contact with the floor.
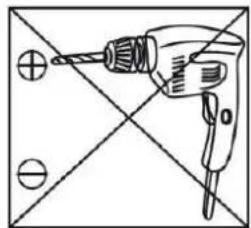
- DO NOT use power tools to construct this product.
- DO NOT tighten screws until parts are assembled or as advised in this guide.
• DO NOT over tighten screws or bolts.
- DO NOT use this product if parts are missing, damaged or worn.
- DO NOT climb, sit or stand on the product.
- The product must be filled using of wall straps provided to avoid accidents and possible fatal injuries if the item falls over or tips over during use.
- If wall fixings are supplied, always ensure the wall area to be drilled is free of electrical wires, water and gas pipes. The wall fixing supplied are suitable for solid walls. For other types of wall suitable fixings must be obtained separately. If in doubt, please consult a qualified tradesperson. CARE INFORMATION
- Never use scourers, abrasives, or chemical cleaners.
- To clean, wipe with a damp sponge and warm soapy water. Do not use solvent-based cleaners or detergents as they can bleach or damage the product.
FRANÇAIS - INSTRUCTIONS DE MONTAGE
IMPORTANT - LIRE ATTENTIVEMENT - CONSERVER CES INSTRUCTIONS POUR RÉFÉRENCE ULTÉRIEURE INFORMATIONS
NEED HELP?

CONTACT
xrockergaming.com/pages/support
A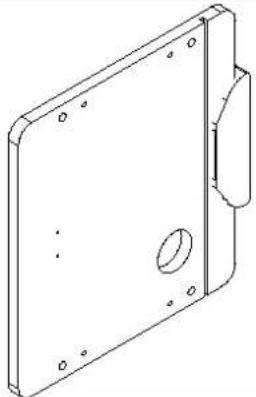 | B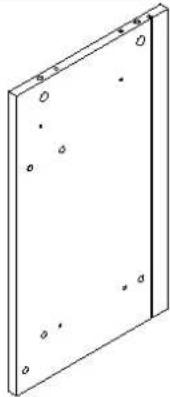 | C |
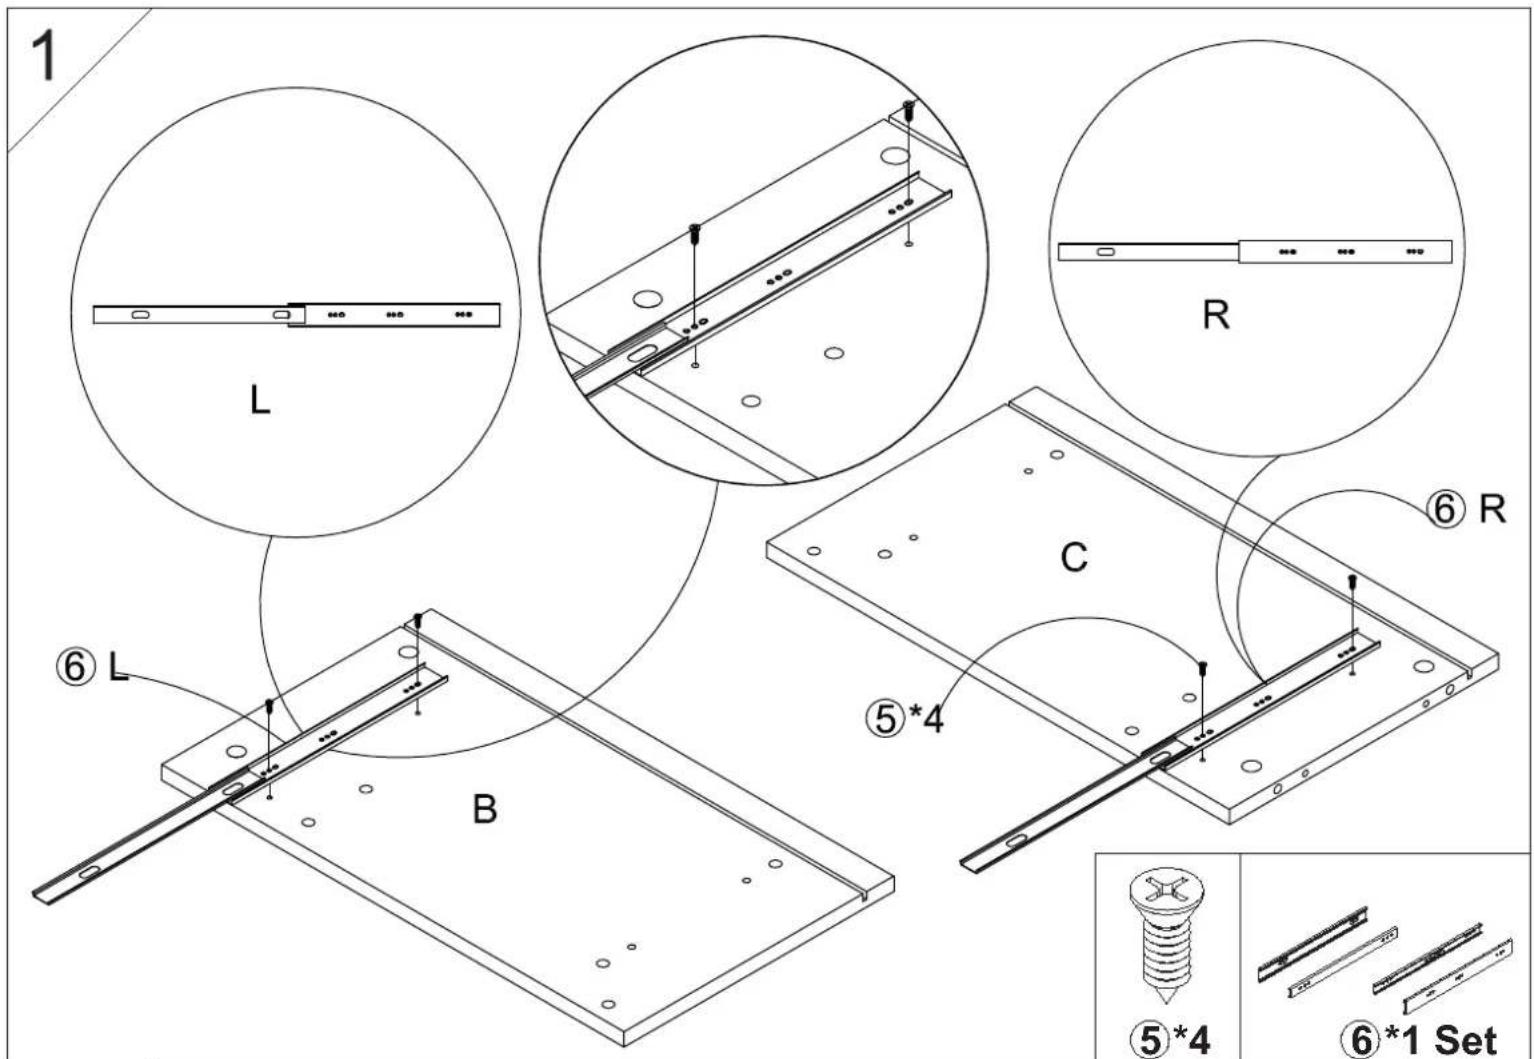
| Description:Top Panel Qty:1 | Description:Left Side Panel Qty:1 | Description:Right Side Panel Qty:1 |
D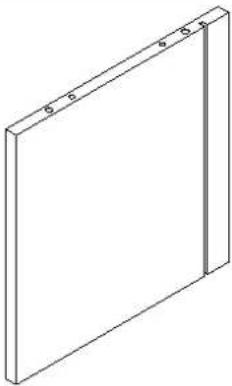 | E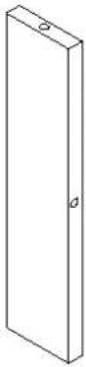 | F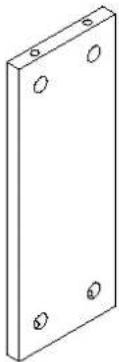 |
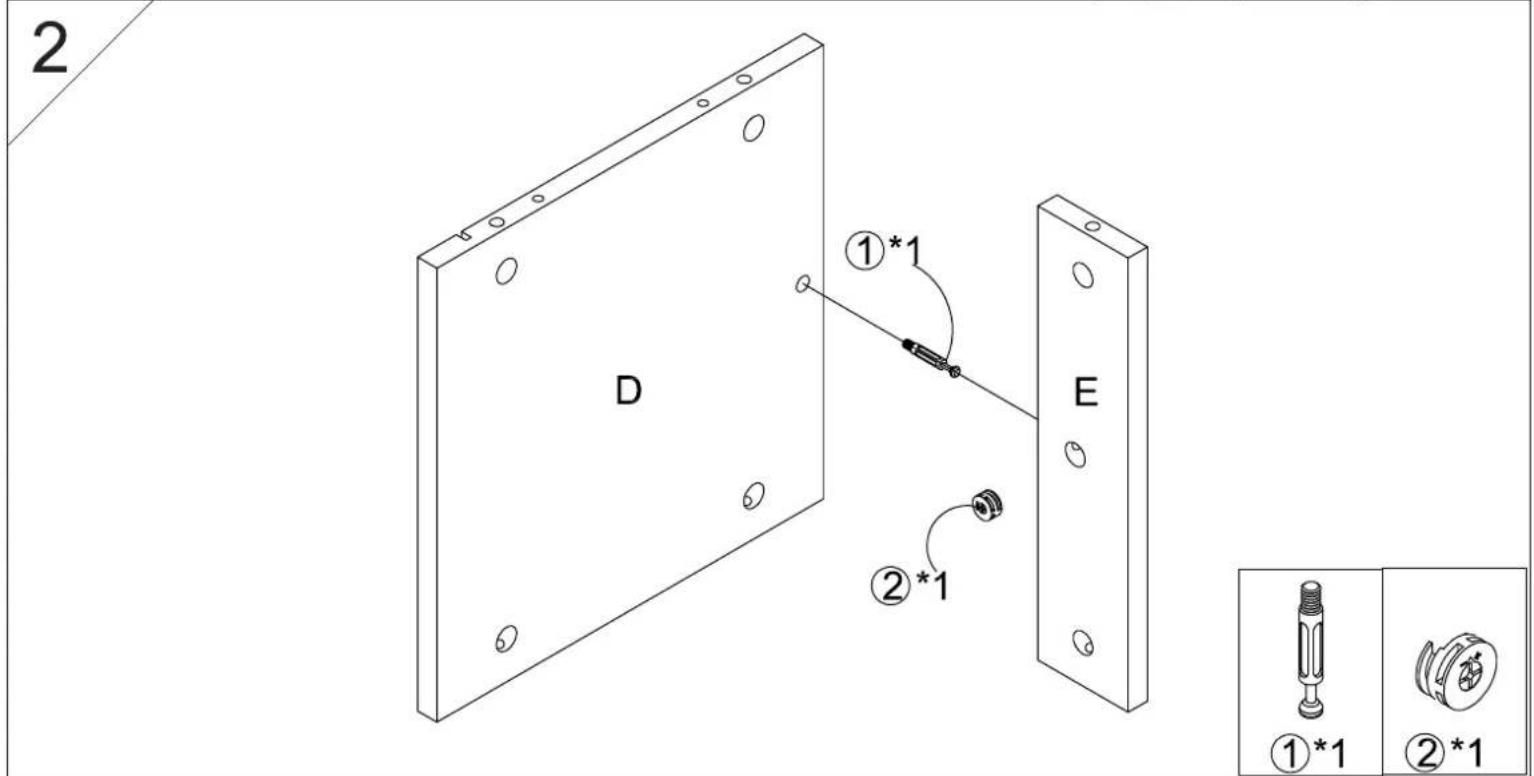
| Description:Bottom Panel Qty:1 | Description:Bottom Support Panel Qty:1 | Description:Middle Support Panel Qty:1 |
G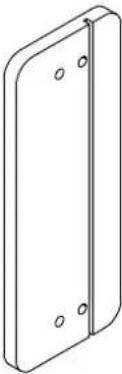 | H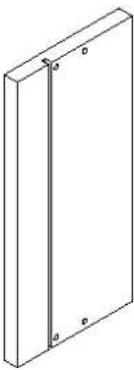 | I |
| Description:Drawer panel Qty:1 | Description:Drawer Back Panel Qty:1 | Description:Drawer Left Panel Qty:1 |
J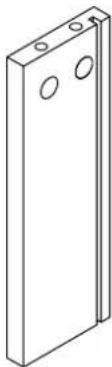 | K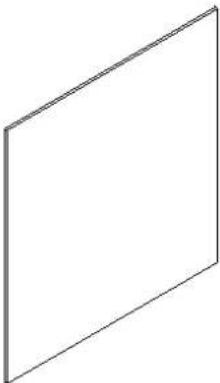 | L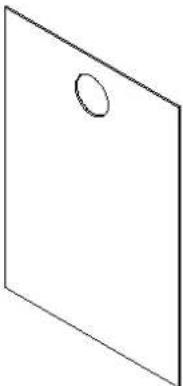 |
| Description:Drawer Right Panel Qty:1 | Description:Drawer Base Panel Qty:1 | Description:Back Panel Qty:1 |
| Code | QuantityItem | |
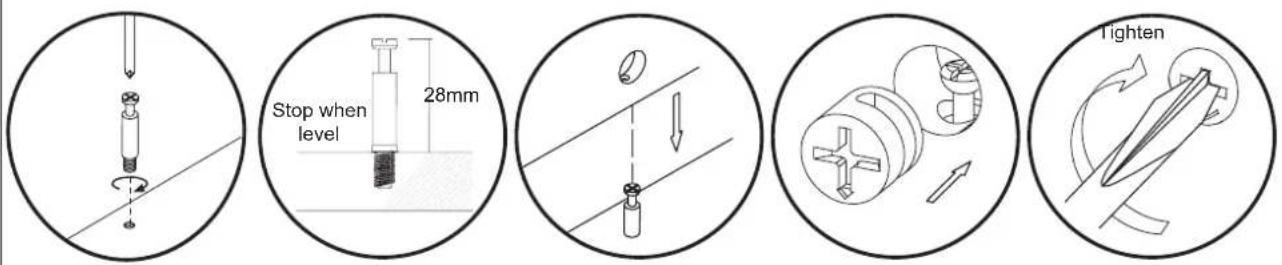
| 1 | Cam Bolt(φ6*35mm) | 19 |
| 2 | Cam Lock(φ15*10mm) | 19 |
| 3 | Wood Dowel( φ6*40mm) | 8 |
| 4 | Screw(φ4*35) | 4 |
| 5 | Screw(φ4*12mm) | 14 |
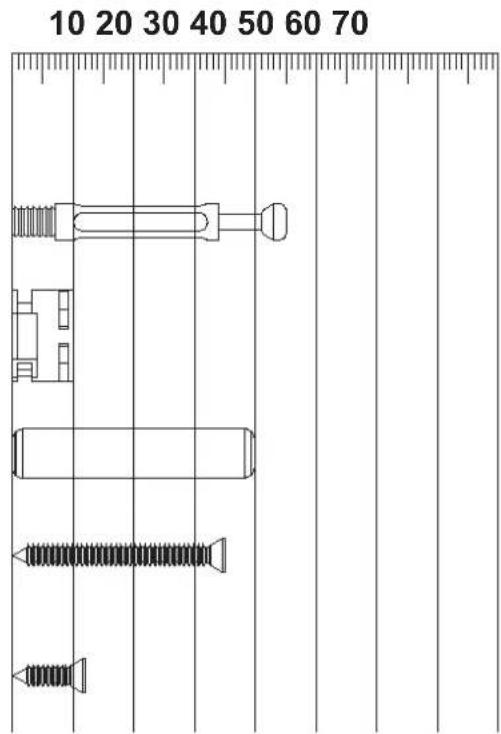
| 6 | Drawer runner | 1 Set | 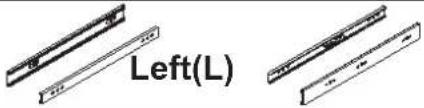 | Right(R) |
| 7 | Screwdriver(Not Provided) | 1 | ||
| 8 | Wireless Charging | 1 | ||
| 9 | Plastic Drawer Stop | 1 | ||
| 10 | Plastic Bracket | 4 | ||

Page 7
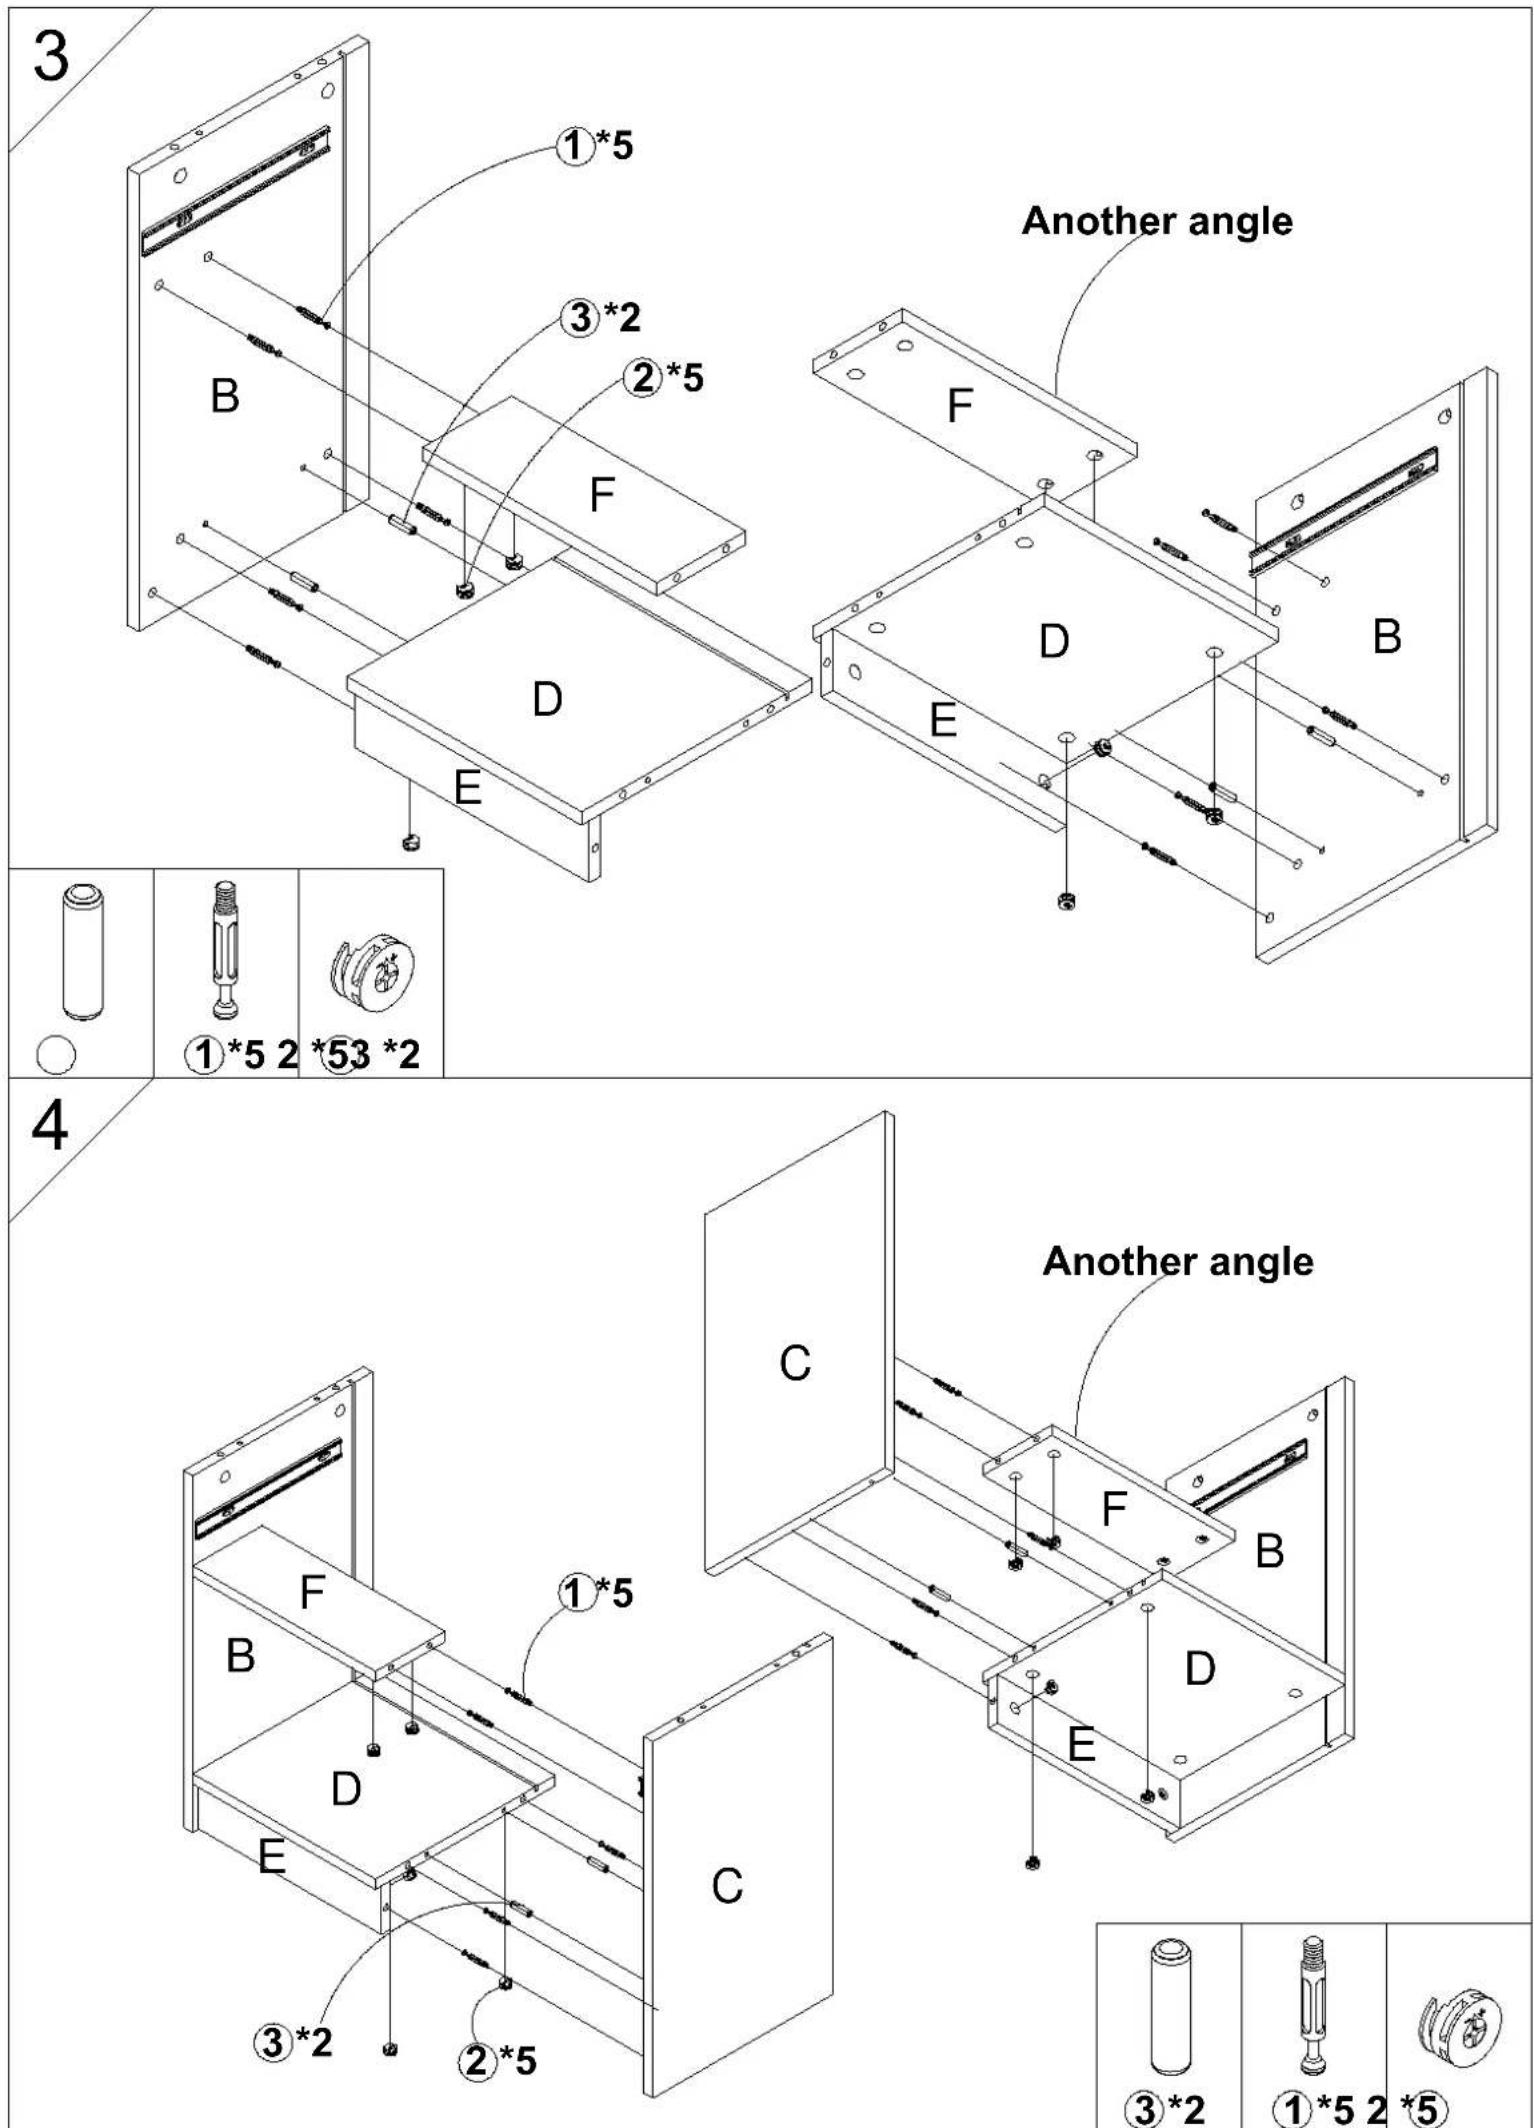
Page 8
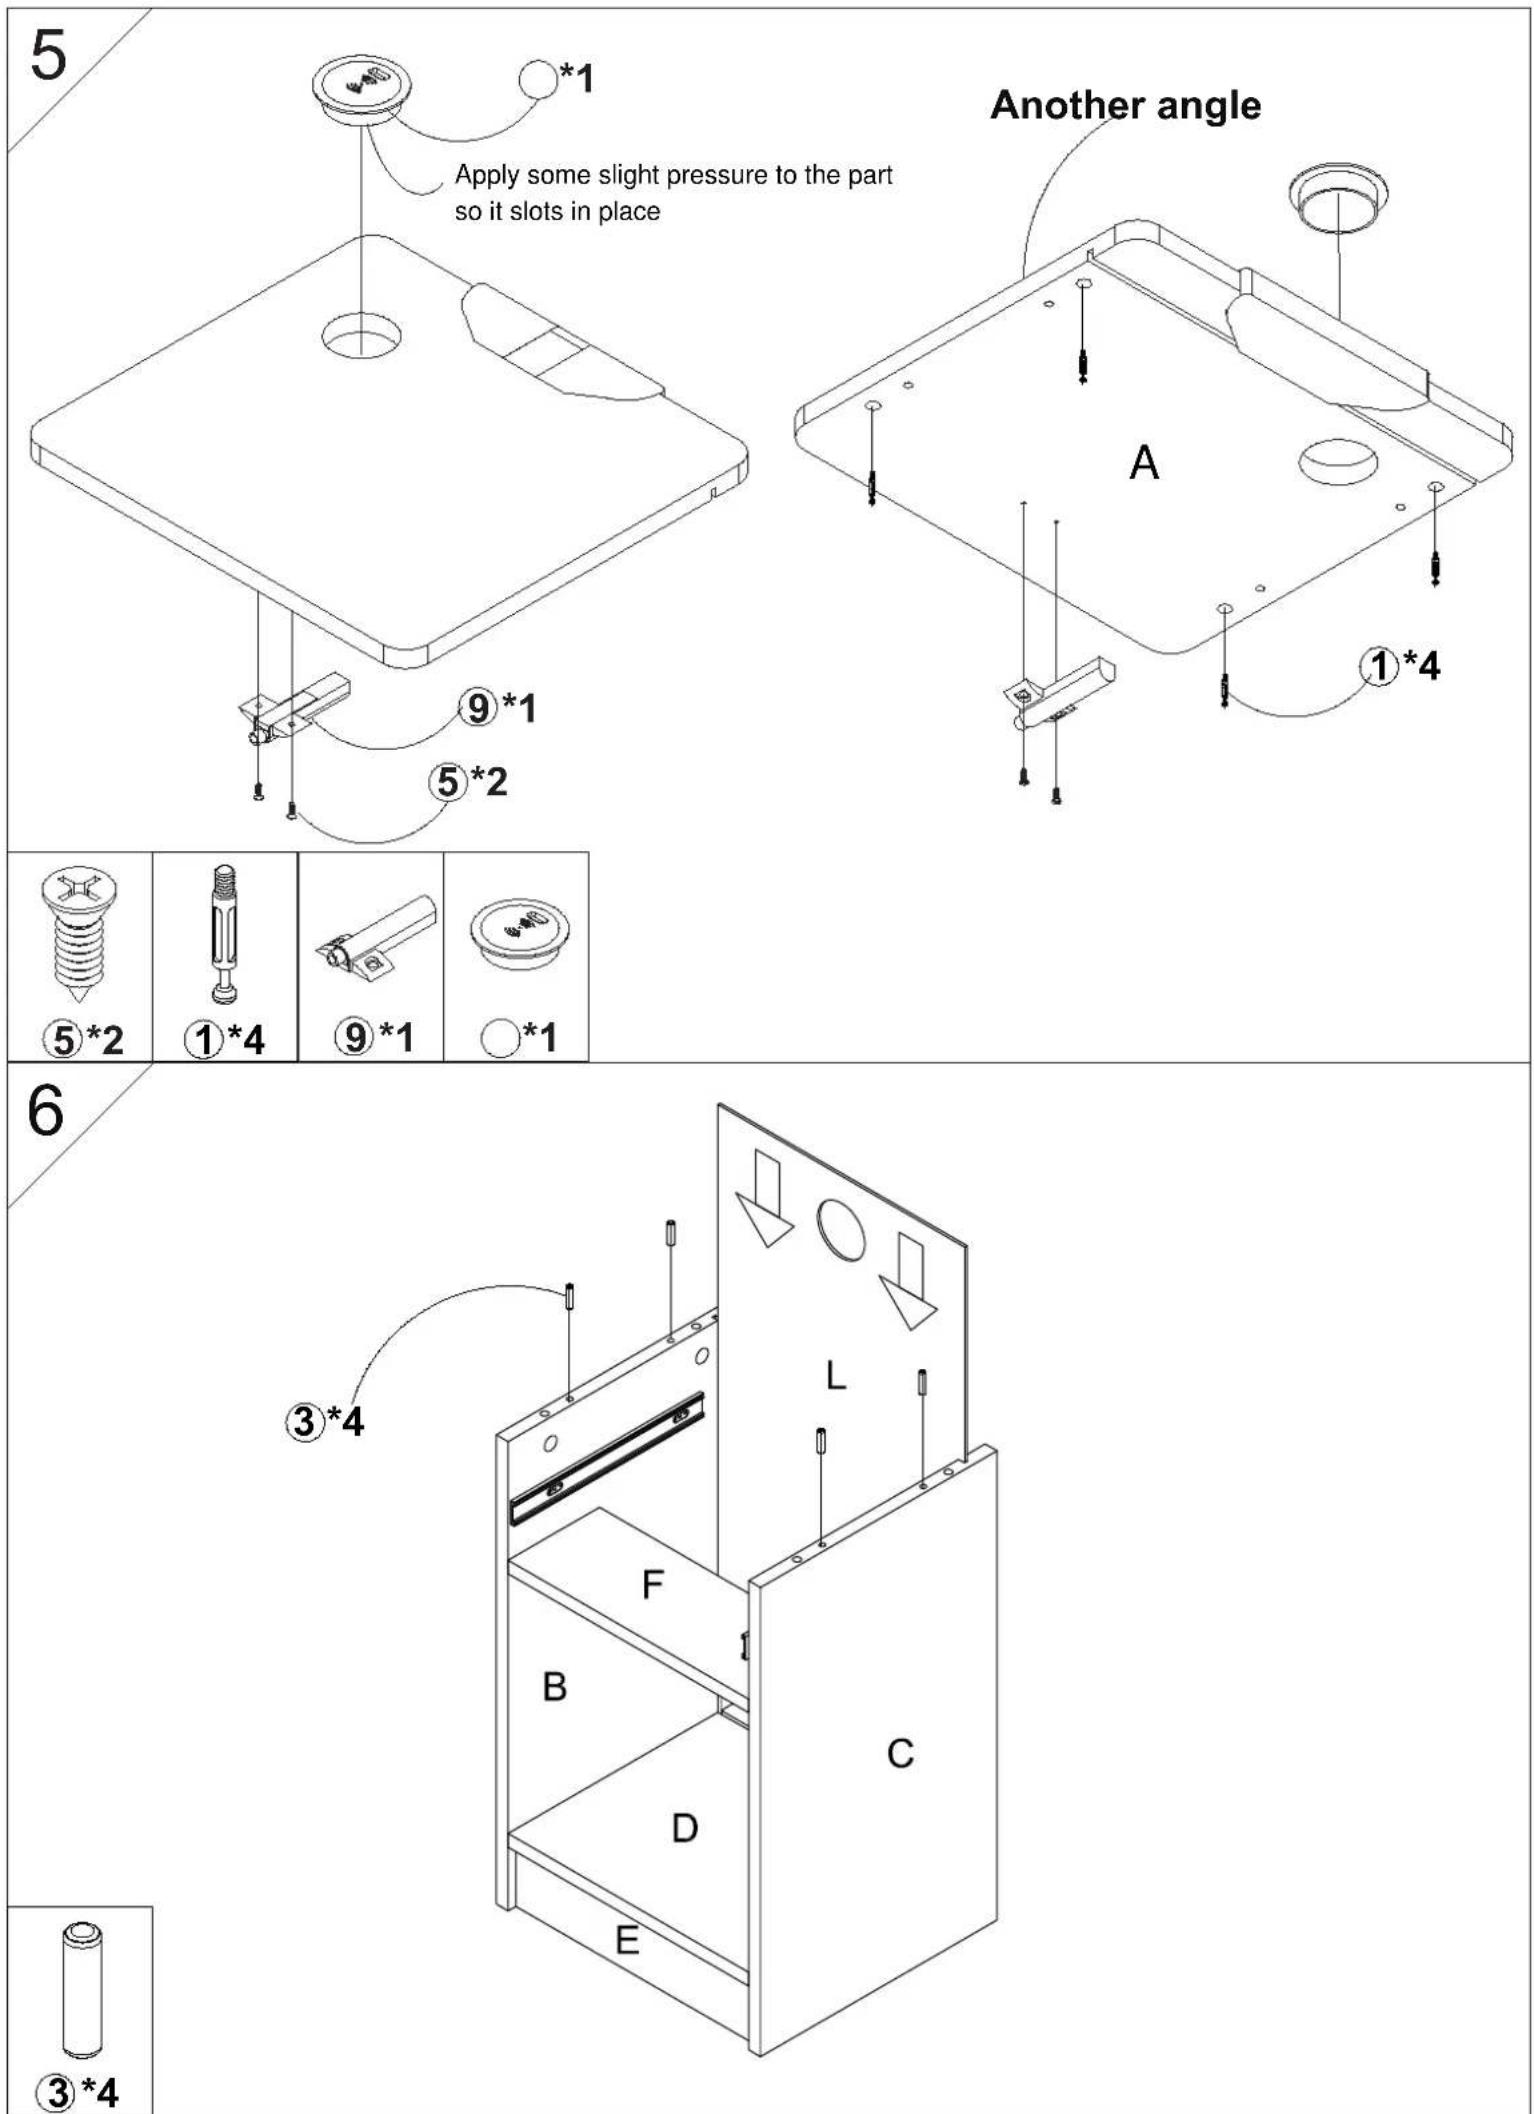
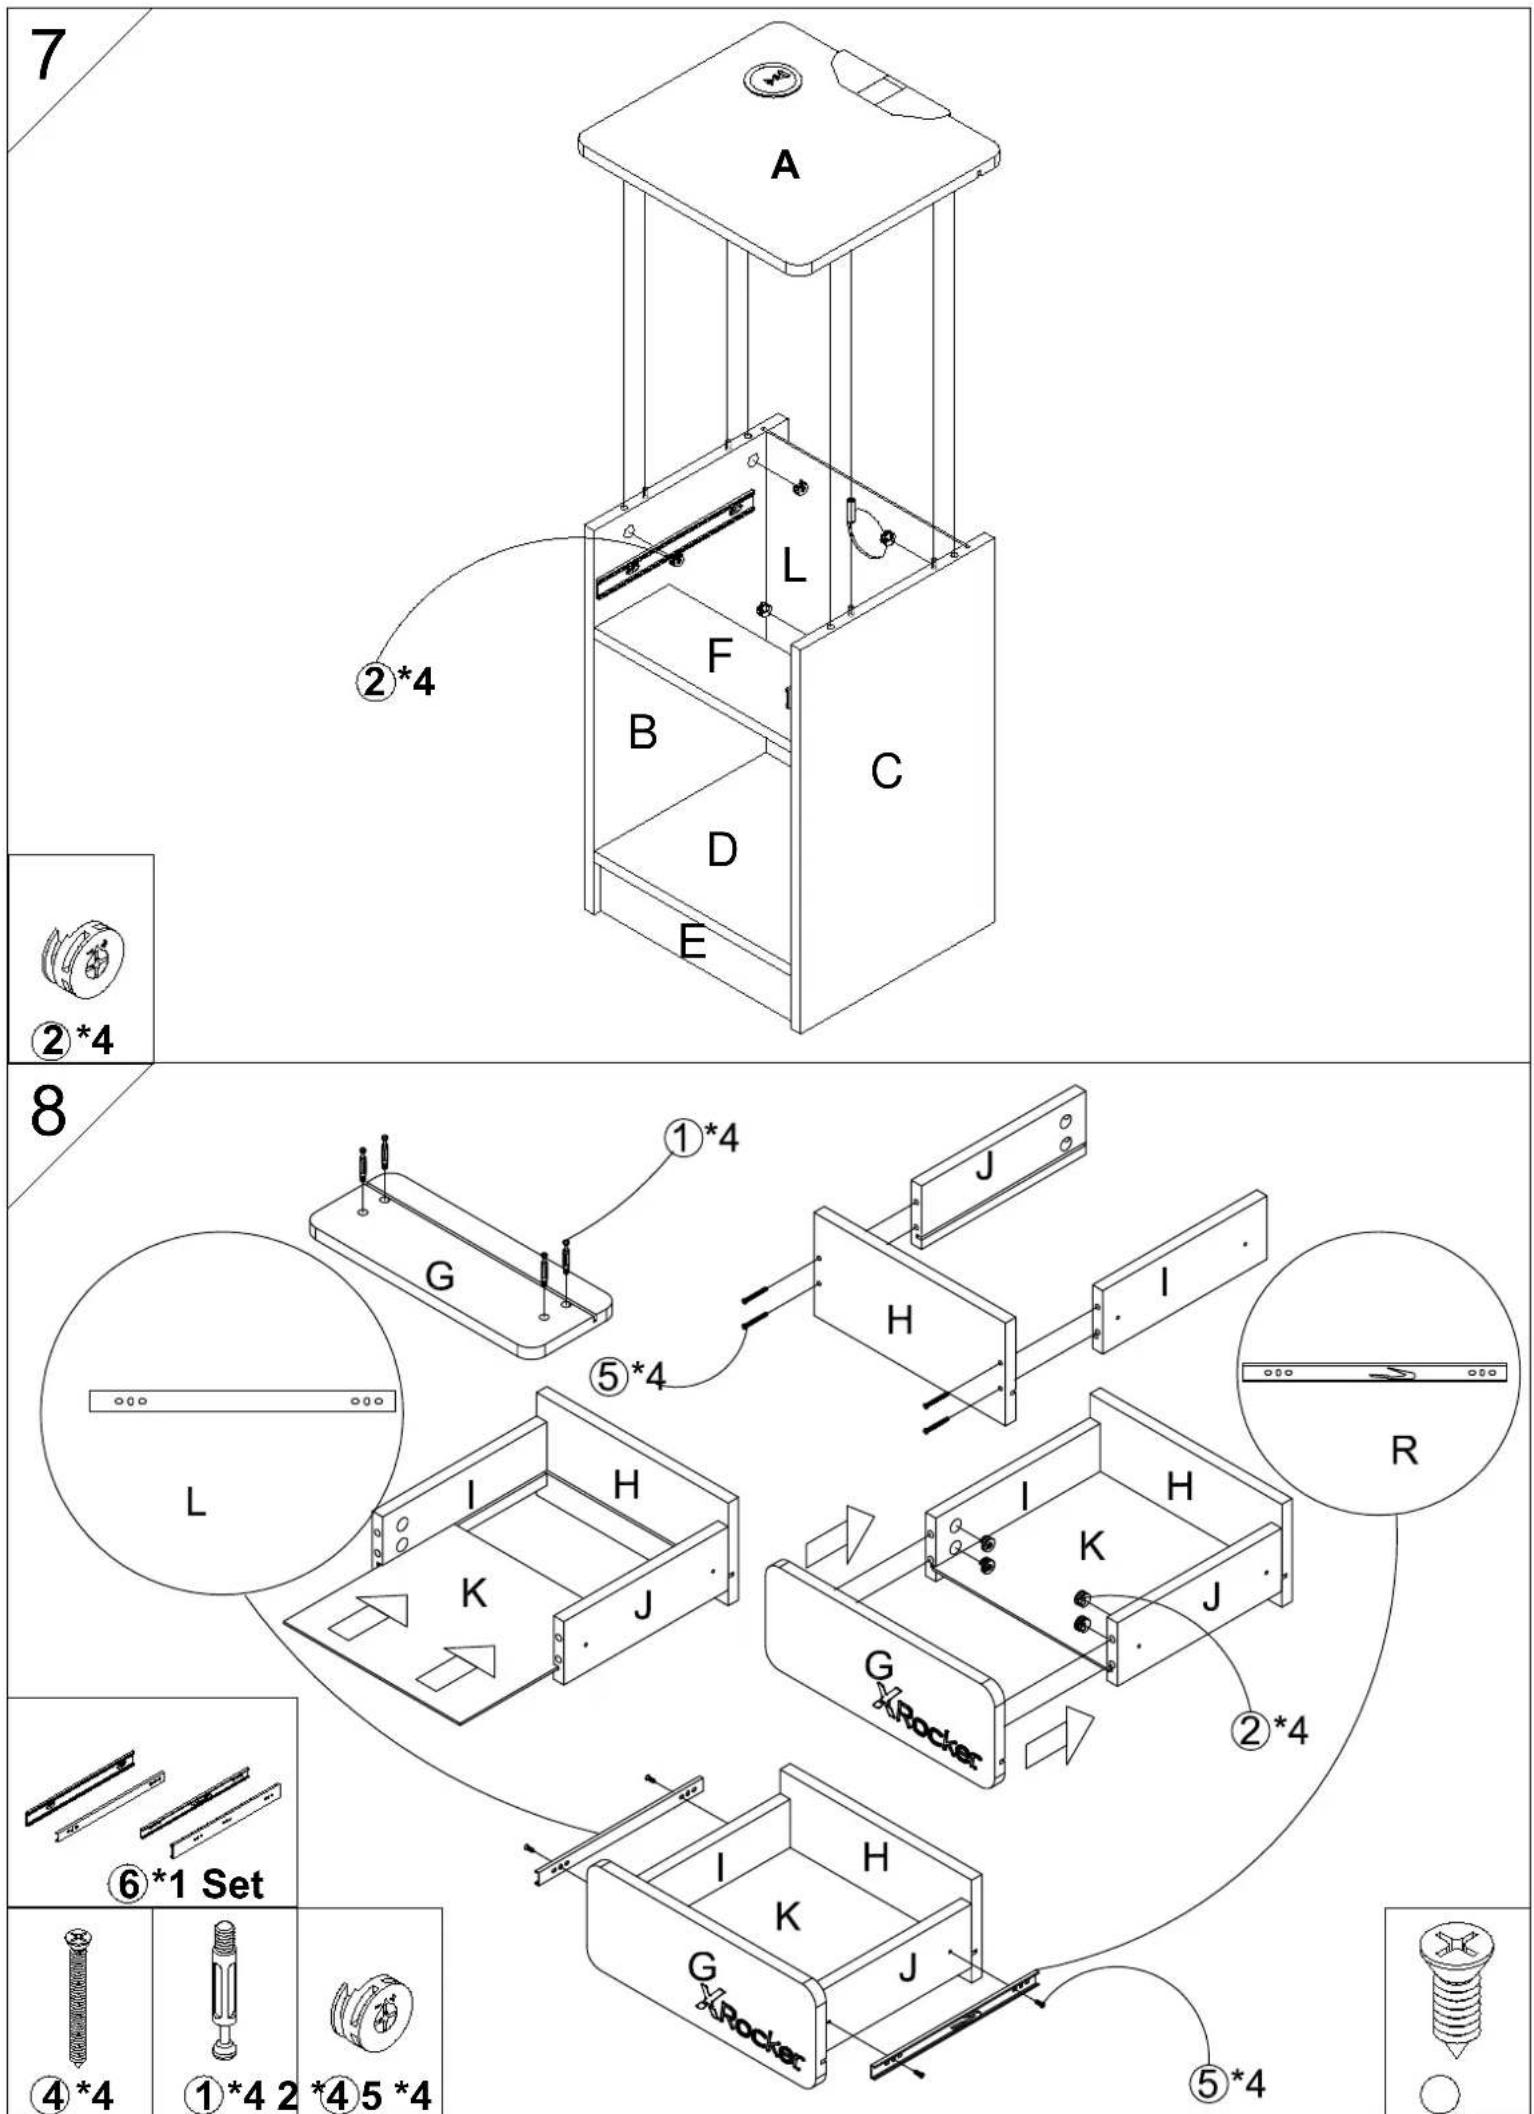
Page 10
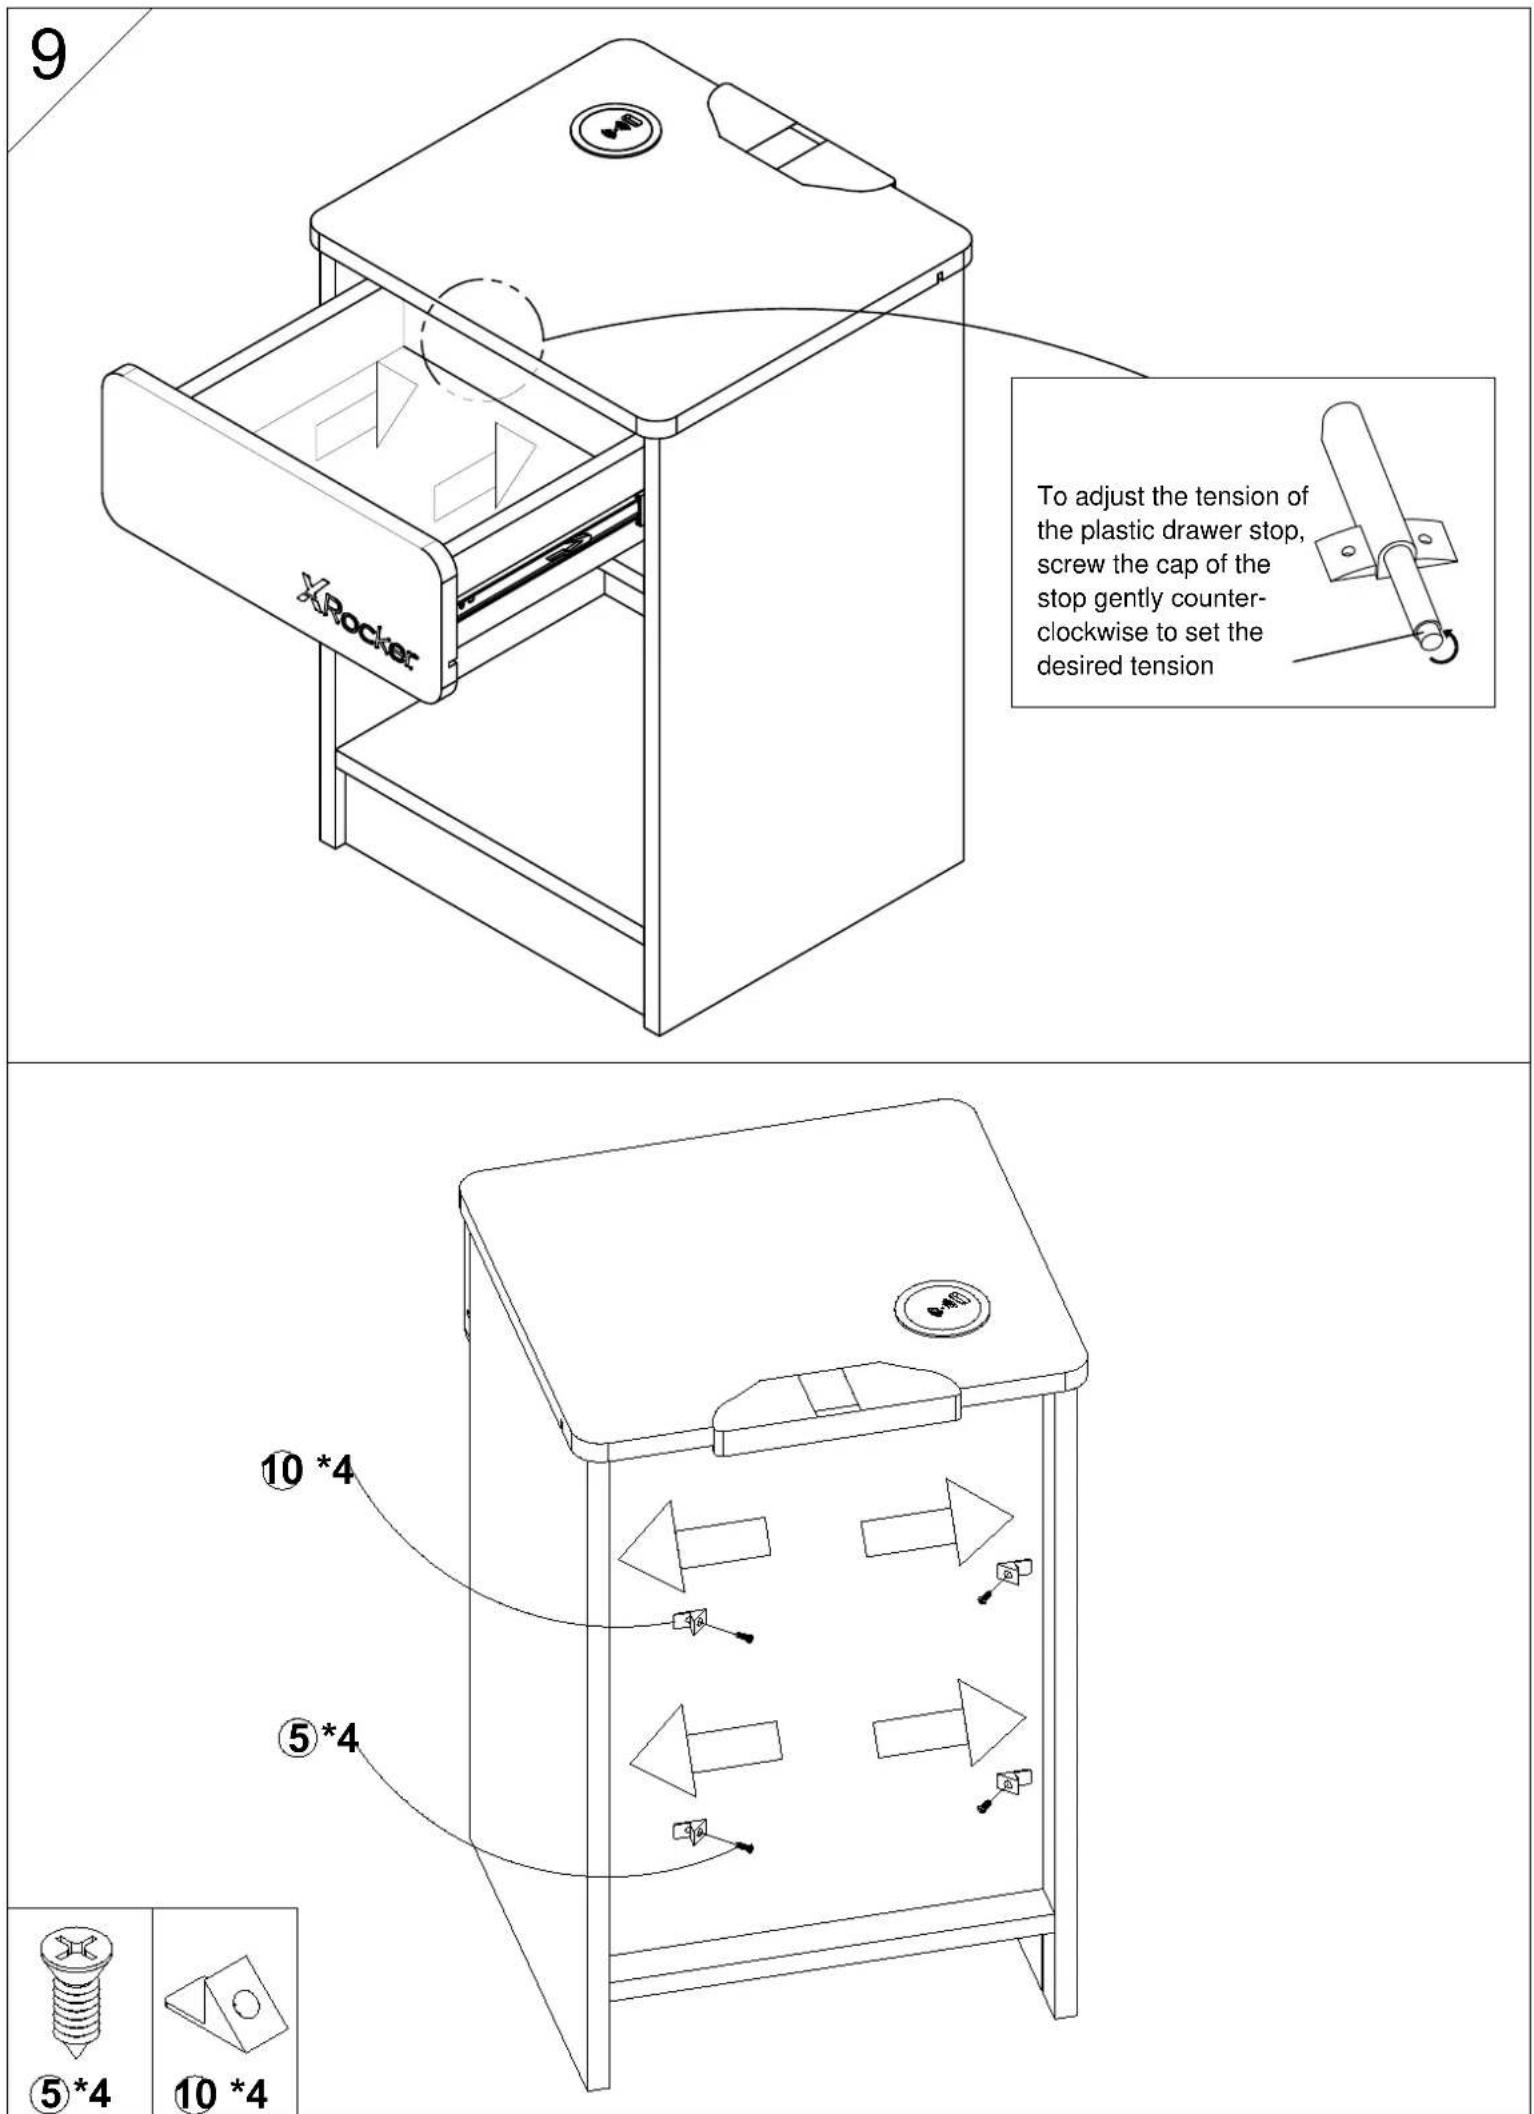
Page 11
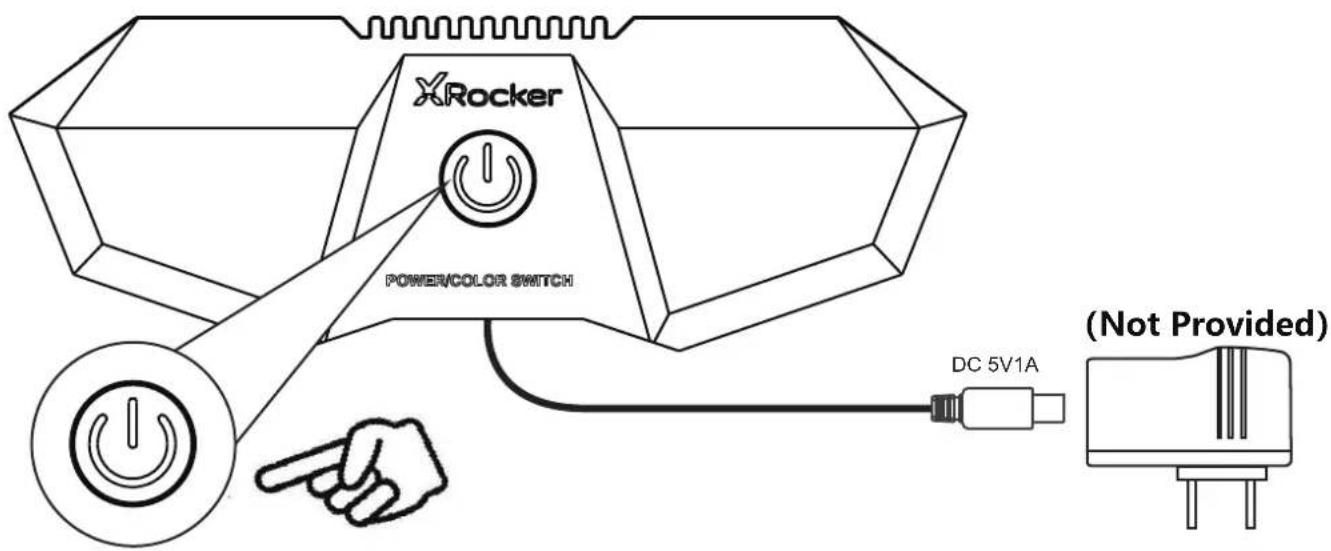
Control panel operating instructions
-
Press and hold the standby button to turn on the control panel.
-
Press the standby button to toggle between the different color modes.
-
Press and hold the standby button to turn off the control panel.
| USB power supply requirements/ Exigences d'alimentation USB/ Anforderungen an die USB-Stromversorgung/ Requisitos de fuente de alimentación USB/ Vereisten voor USB-voeding/ Requisiti di alimentazione USB/ Krav på USB-strömförsörjning/ Wymagania dotyczące zasilania USB | |
| Minimum/ le minimum/ Minimum/ mínimo/ minimum/ mínimo/ minimum/ minimum | 5V/1A (1,000mA) 5-Watt – USB Type-A Power Supply/ Alimentation USB de type A/ USB-Ty Netzteil/ Fuente de alimentación USB tipo A/ USB Type-A-voeding/ Alimentatore USB di tipo USB Typ-A strömförsörjning/ Zasilacz USB typu A |
| Recommended/ conseillé/ empfohlen/ recomendado/ aanbevolen/ consigliato/ rekommenderad/ Zalecana | CARBON TEK DESK WITH WIRELESS CHARGING 5V/2A (2,000mA) 10-Watt – USB Type-A Power Supply/ Alimentation USB de type A/ USB-Typ-A-Netzteil/ Fuente de alimentación USB tipo A/ USB Type-A-voeding/ Alimentatore USB di tipo A/ USB Typ-A strömförsörjning/ Zasilacz USB typu ACARBON TEK END TABLE WITH WIRELESS CHARING - 5V/2A (2,000mA) 15-Watt – USB Type-A Power Supply/ Alimentation USB de type A/ USB-Typ-A-Netzteil/ Fuente de alimentación USB tipo A/ USB Type-A-voeding/ Alimentatore USB di tipo A/ USB Typ-A strömförsörjning/ Zasilacz USB typu A |
| ENGLISHInstructions for useTo power on the wireless charging function, connect the wireless charger USB cable with a QC 3.0 USB-A adaptor. (Adaptor not included)When the USB port LED turns red, the charger is powered on.To charge using the wireless charging function:1) Remove any protective cases and place the device to be charged on top of the charging pad. Note that on some devices you may have to activate wireless charging in settings.2) When the USB port LED turns blue, the device has begun wireless charging.To charge using the USB cable function:1) Ensure you are using a charging cable compatible with your device. Cable not included. Connect the USB cable to the USB port and the other end of the cable to your device.Please inspect cabling before first use. If frayed or damaged, please contact X Rocker support for assistance.Please only use a USB certified power supply to power this product.Excess voltage provided by an alternative power source may cause damage to the product and inflict injury to the user.To use the wireless charging function, please ensure your device supports wireless charging.DO NOT use the USB output and wireless charging functions at the same time as it may cause a charging failure and may cause damage to the product.DO NOT attempt to repair this product yourself, as opening or removing covers may expose you to dangerous voltage points or other risks.DO NOT attempt to clean the charger with wet cloth or in water, so as not to cause leakage, short circuit.Please ensure the wireless charger and USB output port do not come into contact with any liquids as this may cause damage to the product.Please ensure that the intended device for use with the wireless charger is clean and dryIf an abnormal smell occurs or the charger and/or the device becomes hot to the touch, please remove the device from charging and stop using it immediately.Please note, it is normal for the device to feel warmer than usual during wireless charging.Please do not place any metal or foreign objects on the wireless charging port.Clean with a duster or dry cloth only.Only use this product in indoor, dry environments. Avoid sustained contact with direct sunlight.The wall socket must be located near the equipment and must be easily accessible.Young children should be supervised to ensure they do not play with the product.Never use a damage or faulty USB cable for charging since this can damage the product and harm your device.Please note all rechargeable batteries begin to degrade after a certain number of charge cycles. Keeping a device charged to 100% battery capacity all the time might cause the battery to degrade more quickly.Actual charging efficiency is based on the quality of the power source, adapter, and charging device. Powering the device via | |
computer or adapter lower than QC3.0 may decrease the charging speed.
FRANCAIS
Mode d'emploi



- ENGLISH -ASSEMBLY INSTRUCTIONS IMPORTANT - READ CAREFULLY RETAIN THESE INSTRUCTIONS FOR FUTURE REFERENCE INFORMATION
- FRANÇAIS - INSTRUCTIONS DE MONTAGE
- IMPORTANT - LIRE ATTENTIVEMENT - CONSERVER CES INSTRUCTIONS POUR RÉFÉRENCE ULTÉRIEURE INFORMATIONS
- CONTROL PANEL OPERATING INSTRUCTIONS
- FRANCAIS
- MODE D'EMPLOI
Brand : X Rocker
Model : Carbon-Tek End
Category : Accent furniture