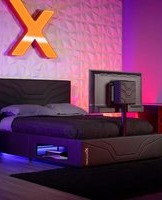
Oracle - Bed X Rocker - Free user manual and instructions
Find the device manual for free Oracle X Rocker in PDF.


| Product Type | Gaming Bed |
| Brand | X Rocker |
| Model | Oracle |
| Dimensions (L x W x H) | 78 x 38 x 14 inches (approx.) |
| Weight | 45 lbs (approx.) |
| Power Source | AC adapter (110-240V) |
| Audio System | Built-in 2.1 speakers with subwoofer |
| Vibration/Massage | Integrated vibration motors |
| Material | Foam padding with PU leather upholstery |
| Assembly Required | Yes (frame and electronics) |
| Recommended Age | 14 years and up |
| Weight Capacity | 250 lbs (approx.) |
| Connectivity | Bluetooth, 3.5mm aux input, RCA input |
| Controls | Control panel on side with volume, bass, vibration |
| Cleaning Instructions | Wipe with damp cloth; mild soap if needed. Do not submerge. |
| Safety Warnings | Keep away from water; supervise children; do not disassemble electronics. |
| Warranty | 1 year limited warranty |
| Origin | China |
Frequently Asked Questions - Oracle X Rocker
User questions about Oracle X Rocker
0 question about this device. Answer the ones you know or ask your own.
Ask a new question about this device
Download the instructions for your Bed in PDF format for free! Find your manual Oracle - X Rocker and take your electronic device back in hand. On this page are published all the documents necessary for the use of your device. Oracle by X Rocker.
USER MANUAL Oracle X Rocker
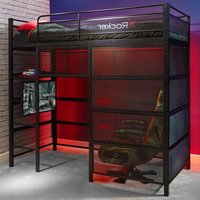
ORACLE GAMING BED WITH TV MOUNT

natural_image
Isometric line drawing of a modular bed-like structure with internal grid and structural elements (no text or symbols)NEED SUPPORT?

xrockergaming.com/pages/support
natural_image
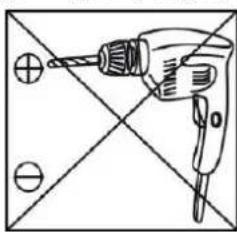
Simple line drawing of a hand holding a drill bit over a divided square (no text or symbols)TWIN
SIZE: 82.3 x 41.3 x 42.5IN
PLEASE READ this sheet prior to assembly to familiarize yourself with the various stages of construction.
Carefully open the pack supplied and check the contents against the parts and fittings check list. Do not destroy any of the packaging until you are certain that you have all the necessary parts for the assembly.
CAUTION: There are small components used in the construction of this unit. These items should be kept away from young children whilst assembling your unit to avoid danger of choking.
TOOLS REQUIRED

OF PEOPLE

1.5 HOUR SET UP
ORACLE GAMING BED WITH TV MOUNT

FULL SIZE: 82.3 x 56.3 x 52.5IN
PLEASE READ this sheet prior to assembly to familiarize yourself with the various stages of construction.
Carefully open the pack supplied and check the contents against the parts and fittings check list. Do not destroy any of the packaging until you are certain that you have all the necessary parts for the assembly.
CAUTION: There are small components used in the construction of this unit. These items should be kept away from young children whilst assembling your unit to avoid danger of choking.
TOOLS REQUIRED

OF PEOPLE

1.5 HOUR SET UP
Important - Please read these instructions fully before starting assembly
- Check you have all the components and tools listed on the following pages. Remove all fittings from the plastic bags and separate them into their groups.
- Keep children and animals away from the work area. Small parts may cause a choking hazard.
- Dispose of all packaging carefully and responsibly.
- Place the product on flat and steady surface during use.
- Assemble on a soft level surface to avoid damaging the unit or your floor.
-
Keep these instructions for further use.
-
Never allow anyone to sit on the foot end of the bed. Keep children well away from moving parts. If you have young children in the home, always disconnect the power at the wall socket for extra safety.
- Never touch moving parts or any part of the equipment whilst in use - if something needs to be checked, disconnect the power first. The socket providing the power must be accessible at all times in case you need to switch off the power quickly.
-
All approved mains powered extension leads, used to power the equipment, must not be placed where they can be walked on - this is dangerous and could lead to accidents.
-
Do not expose the bed to an undue level of heat - keep away from radiators.
- Do not place any vessel containing liquids on the TV footboard or TV itself which may accidentally spill and cause damage to your bed, the TV, the TV mount or your console.
Care and maintenance
- Only clean using a damp cloth and mild detergent, do no use bleach or abrasive cleaners.
• Regularly check and ensure that all bolts and fittings are tightened properly.
Handy Hints
• To ensure an easier assembly we strongly advise that all fittings are only finger tightened during initial assembly. Only upon completion of the assembly should all fixing points be fully tightened.
• Make sure you have enough space to layout the parts before starting.
- Check you have all the components and tools listed on the following pages. Remove all fittings from the plastic bags and separate them into their groups.
-
Keep children and animals away from the work area. Small parts may cause a choking hazard.
-
Dispose of all packaging carefully and responsibly.
- Place the product on flat and steady surface during use.
- Assemble the item as close to its final position (in the same room) as possible.
- Parts of the assembly will be easier with 2 people.

Parts
natural_image
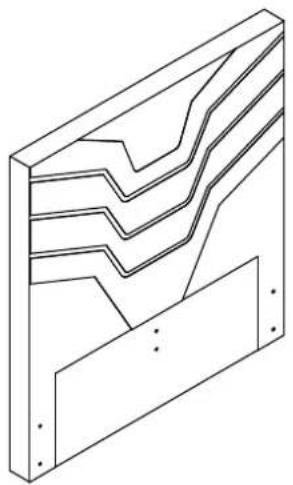
Isometric line drawing of a structural panel with layered materials (no text or symbols)1 2 3 Headboard X 1

natural_image
Isometric line drawing of a rectangular metal plate with a circular hole and mounting holes (no text or symbols)□ Footboard X 1

natural_image
Isometric line drawing of a rectangular frame with mounting holes (no text or symbols)Side Panel X 3

natural_image
Isometric line drawing of a rectangular frame with internal cutouts and mounting holes (no text or symbols)4 Side Panel X 1

natural_image
Line drawing of a metal beam supported by two vertical supports, with a hand pointing to the right end (no text or symbols)5 Side Rail X 2
natural_image
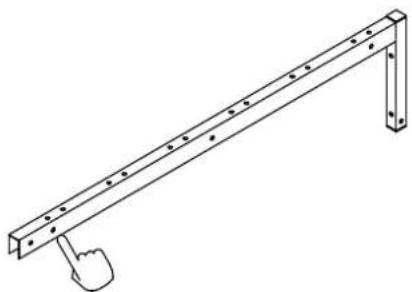
Line drawing of a metal beam with evenly spaced holes and a hand cursor pointing at one end (no text or symbols)6 Side Rail X 2

7 Support Leg X 2

natural_image
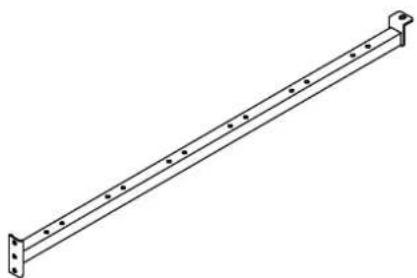
Pure technical line drawing of a long horizontal beam with flanges (no text or symbols)8 Center Rail X 1
natural_image
Isometric line drawing of a metal beam with evenly spaced holes (no text or symbols)9 Center Rail X 2

natural_image
Line drawing of a cylindrical mechanical part with flanged ends and mounting holes (no text or symbols)10 TV Rail X 1
Parts

natural_image
Simple line drawing of a folder with dots on top and bottom (no text or symbols)11 TV Bracket X 1

natural_image
Isometric line drawing of a rectangular box with a curved cutout on one side (no text or symbols)12 TV Box X 1

natural_image
Simple line drawing of a rectangular object with no text or symbols13 Wooden Slat X 24

14 Single Slat Cap X 24

15 Double Slat Cap X 12
natural_image
Isometric line drawing of a rectangular frame with rounded corners and mounting holes (no text or symbols)16 Drawer Side Panel X 2

natural_image
Isometric line drawing of a rectangular frame with no text or symbols17 Drawer Back Panel X 1

natural_image
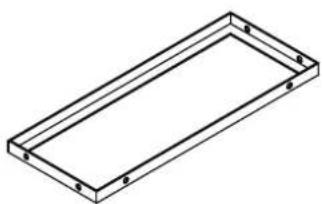
Isometric line drawing of a rectangular frame with no text or symbols18 Drawer Bottom Panel X 1
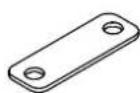
19 20 Packet X 1

Leg X 4
Fittings
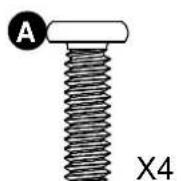
A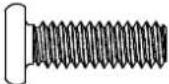 19mm M6 Bolt x 36 19mm M6 Bolt x 36 | G M4 Metal washer x 4 M4 Metal washer x 4 |
B 35mm M6 Bolt x 4 35mm M6 Bolt x 4 | H Allen Key x 1 Allen Key x 1 |
C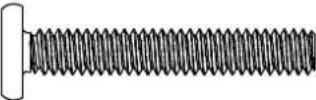 40mm M6 Bolt x 28 40mm M6 Bolt x 28 | I Wrench x 1 Wrench x 1 |
D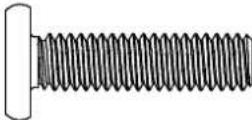 30mm M8 Bolt x 1 30mm M8 Bolt x 1 | J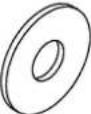 M6 washer x 2 M6 washer x 2 |
E Nut M6 x 1 Nut M6 x 1 | |
F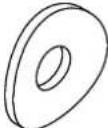 M6 washer x 2 M6 washer x 2 |
1

2
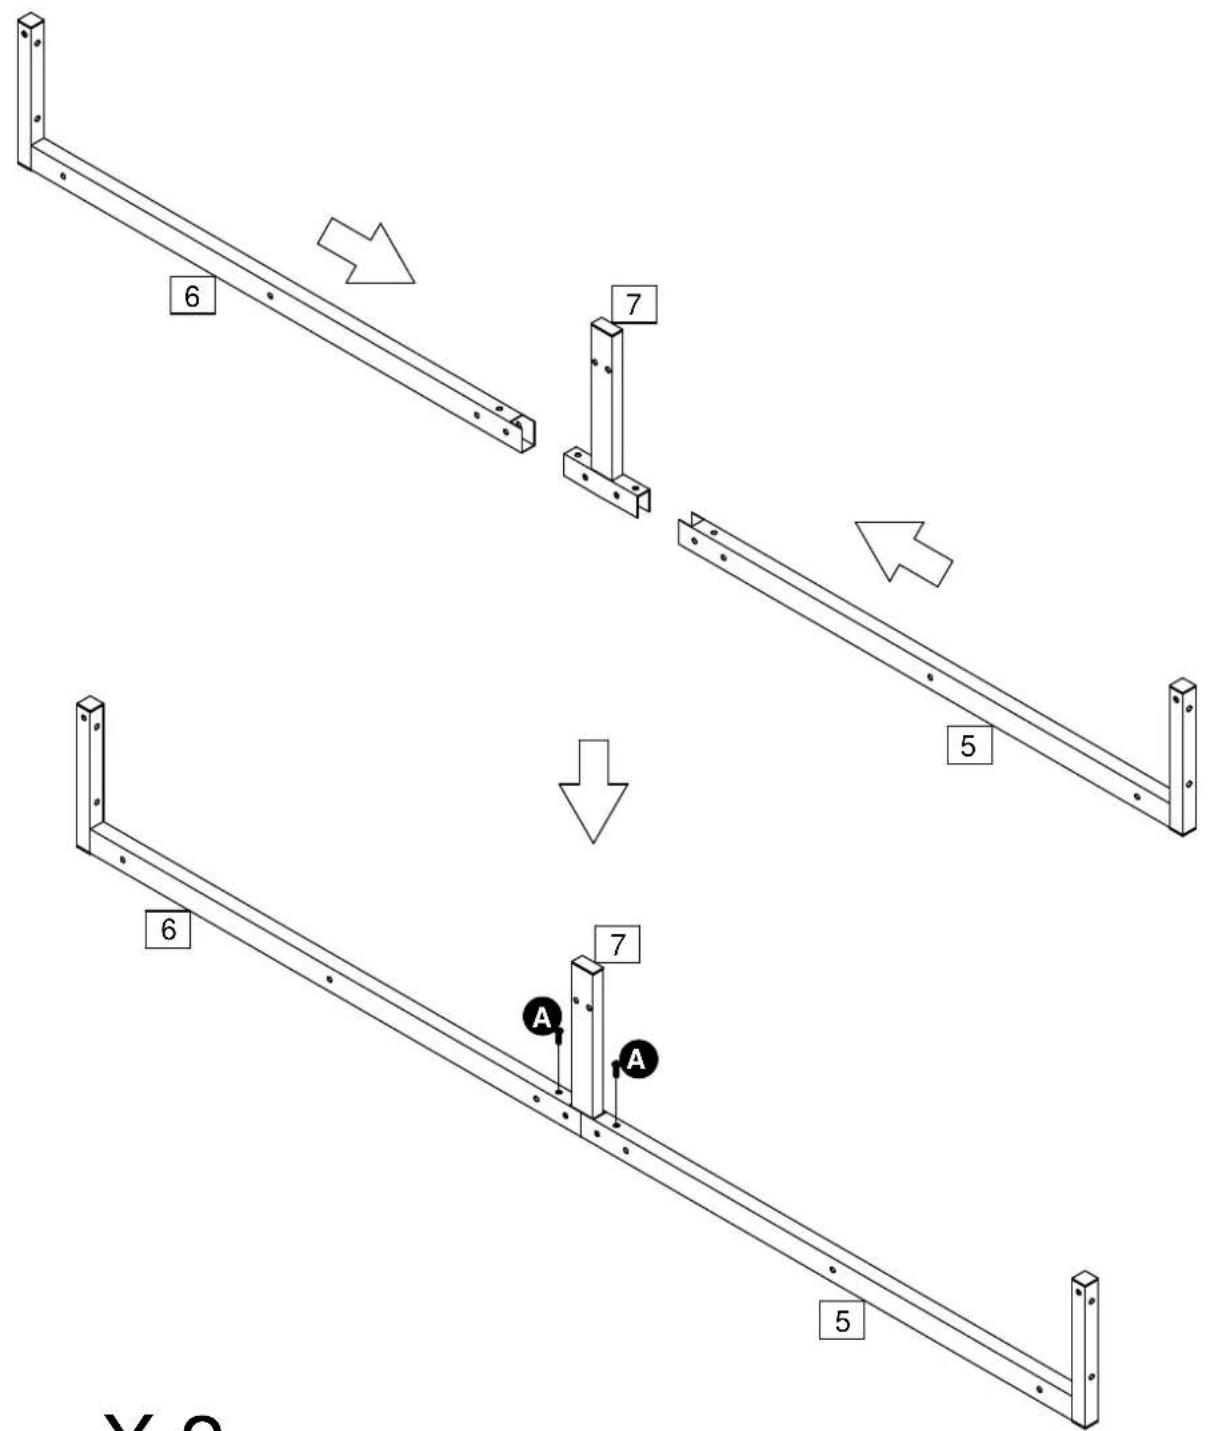
X2

3


natural_image
Schematic diagram of a solenoid with a cap and threaded shaft, labeled X8 (no text or symbols on the object itself)4


X4
5
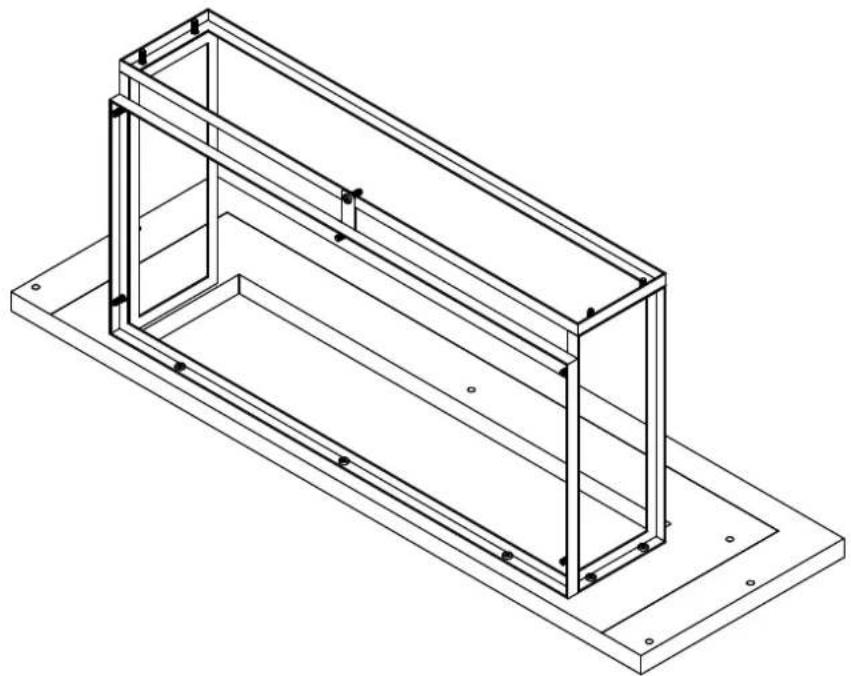
6

7

natural_image
Isometric line drawing of a rectangular metal frame mounted on a base plate (no text or symbols)

8
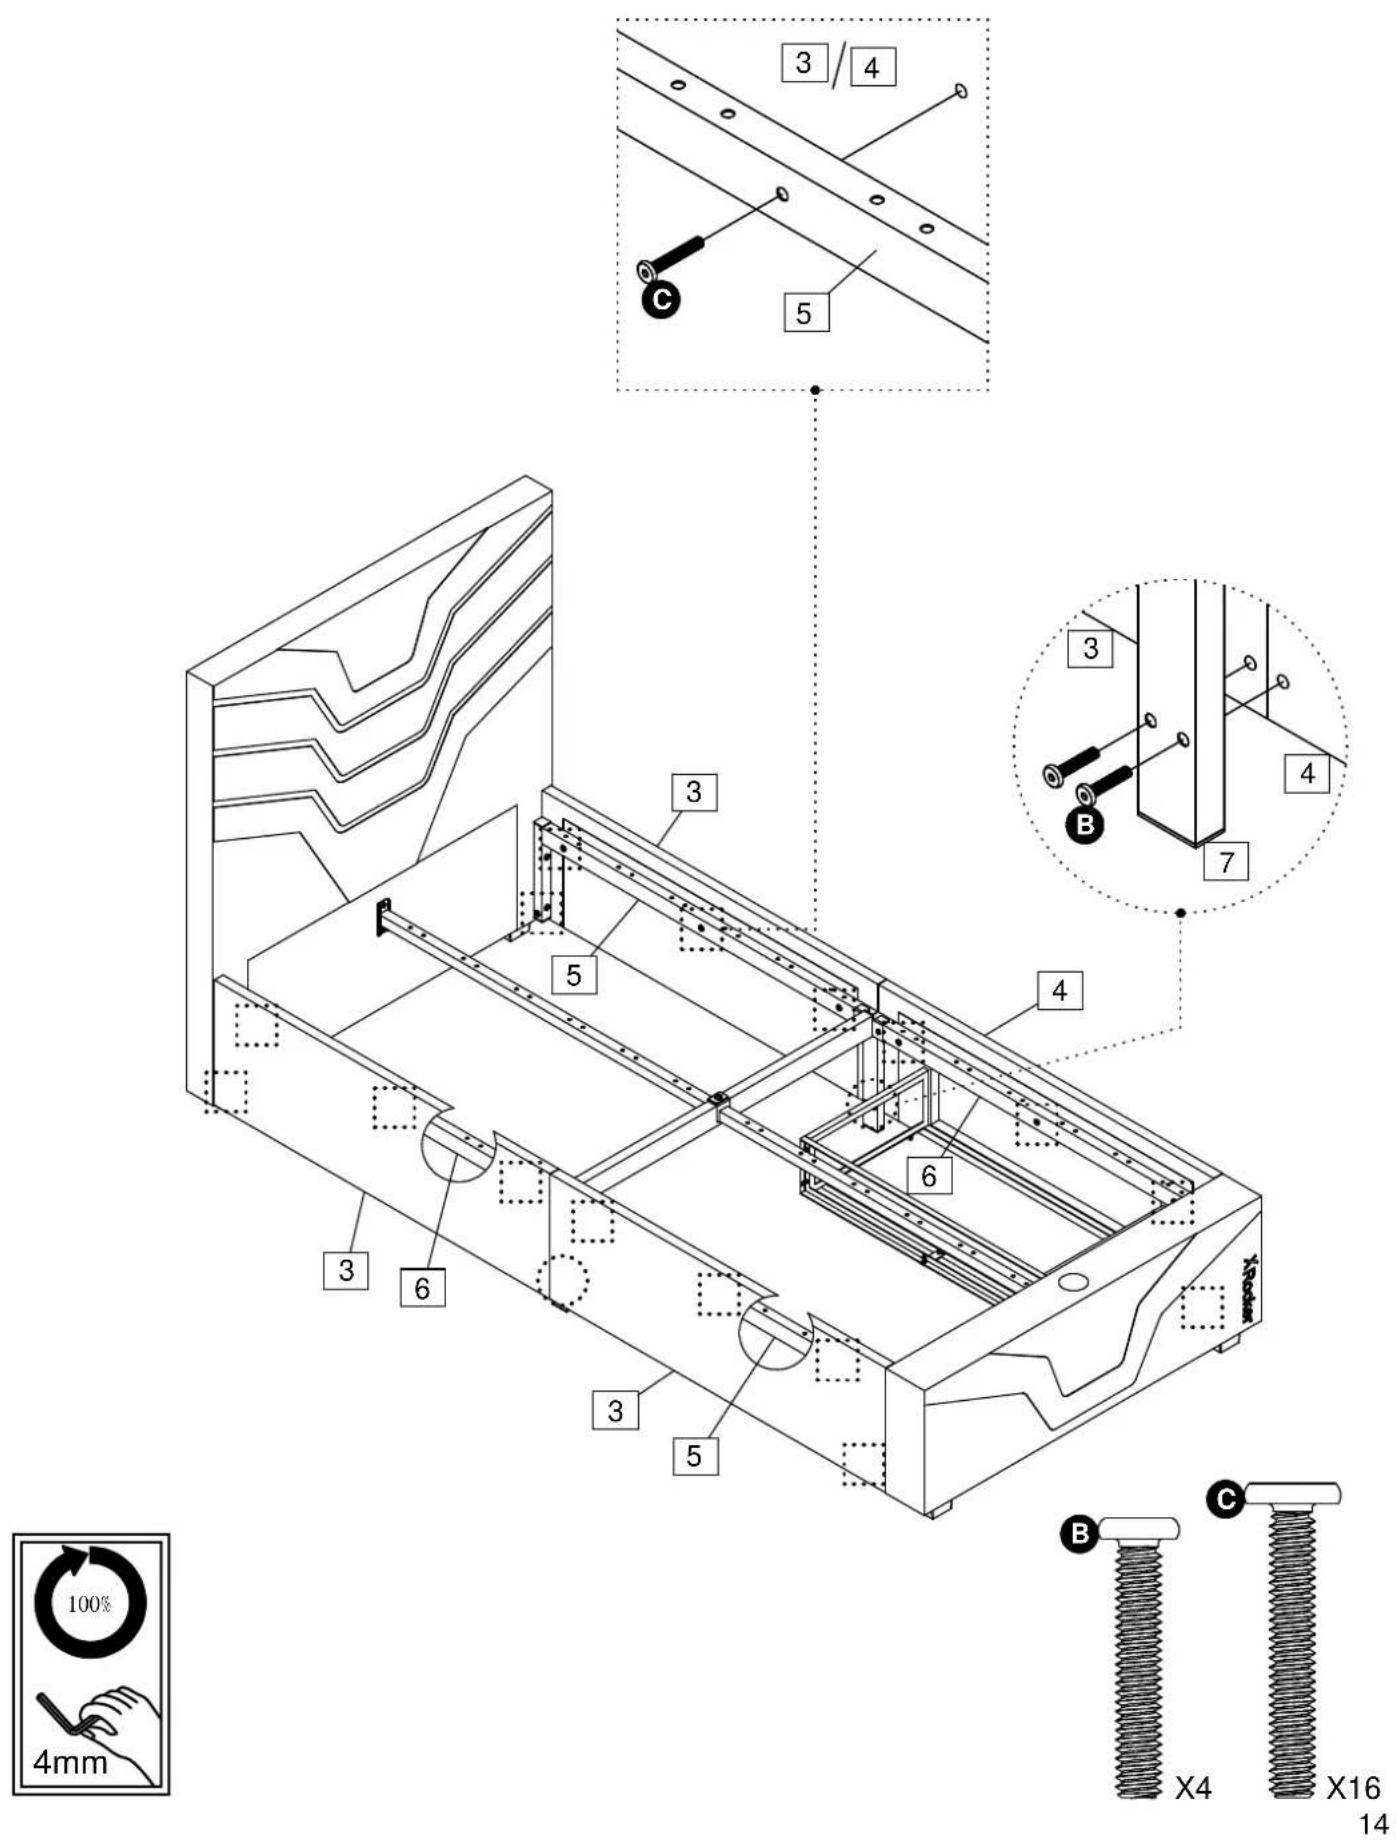
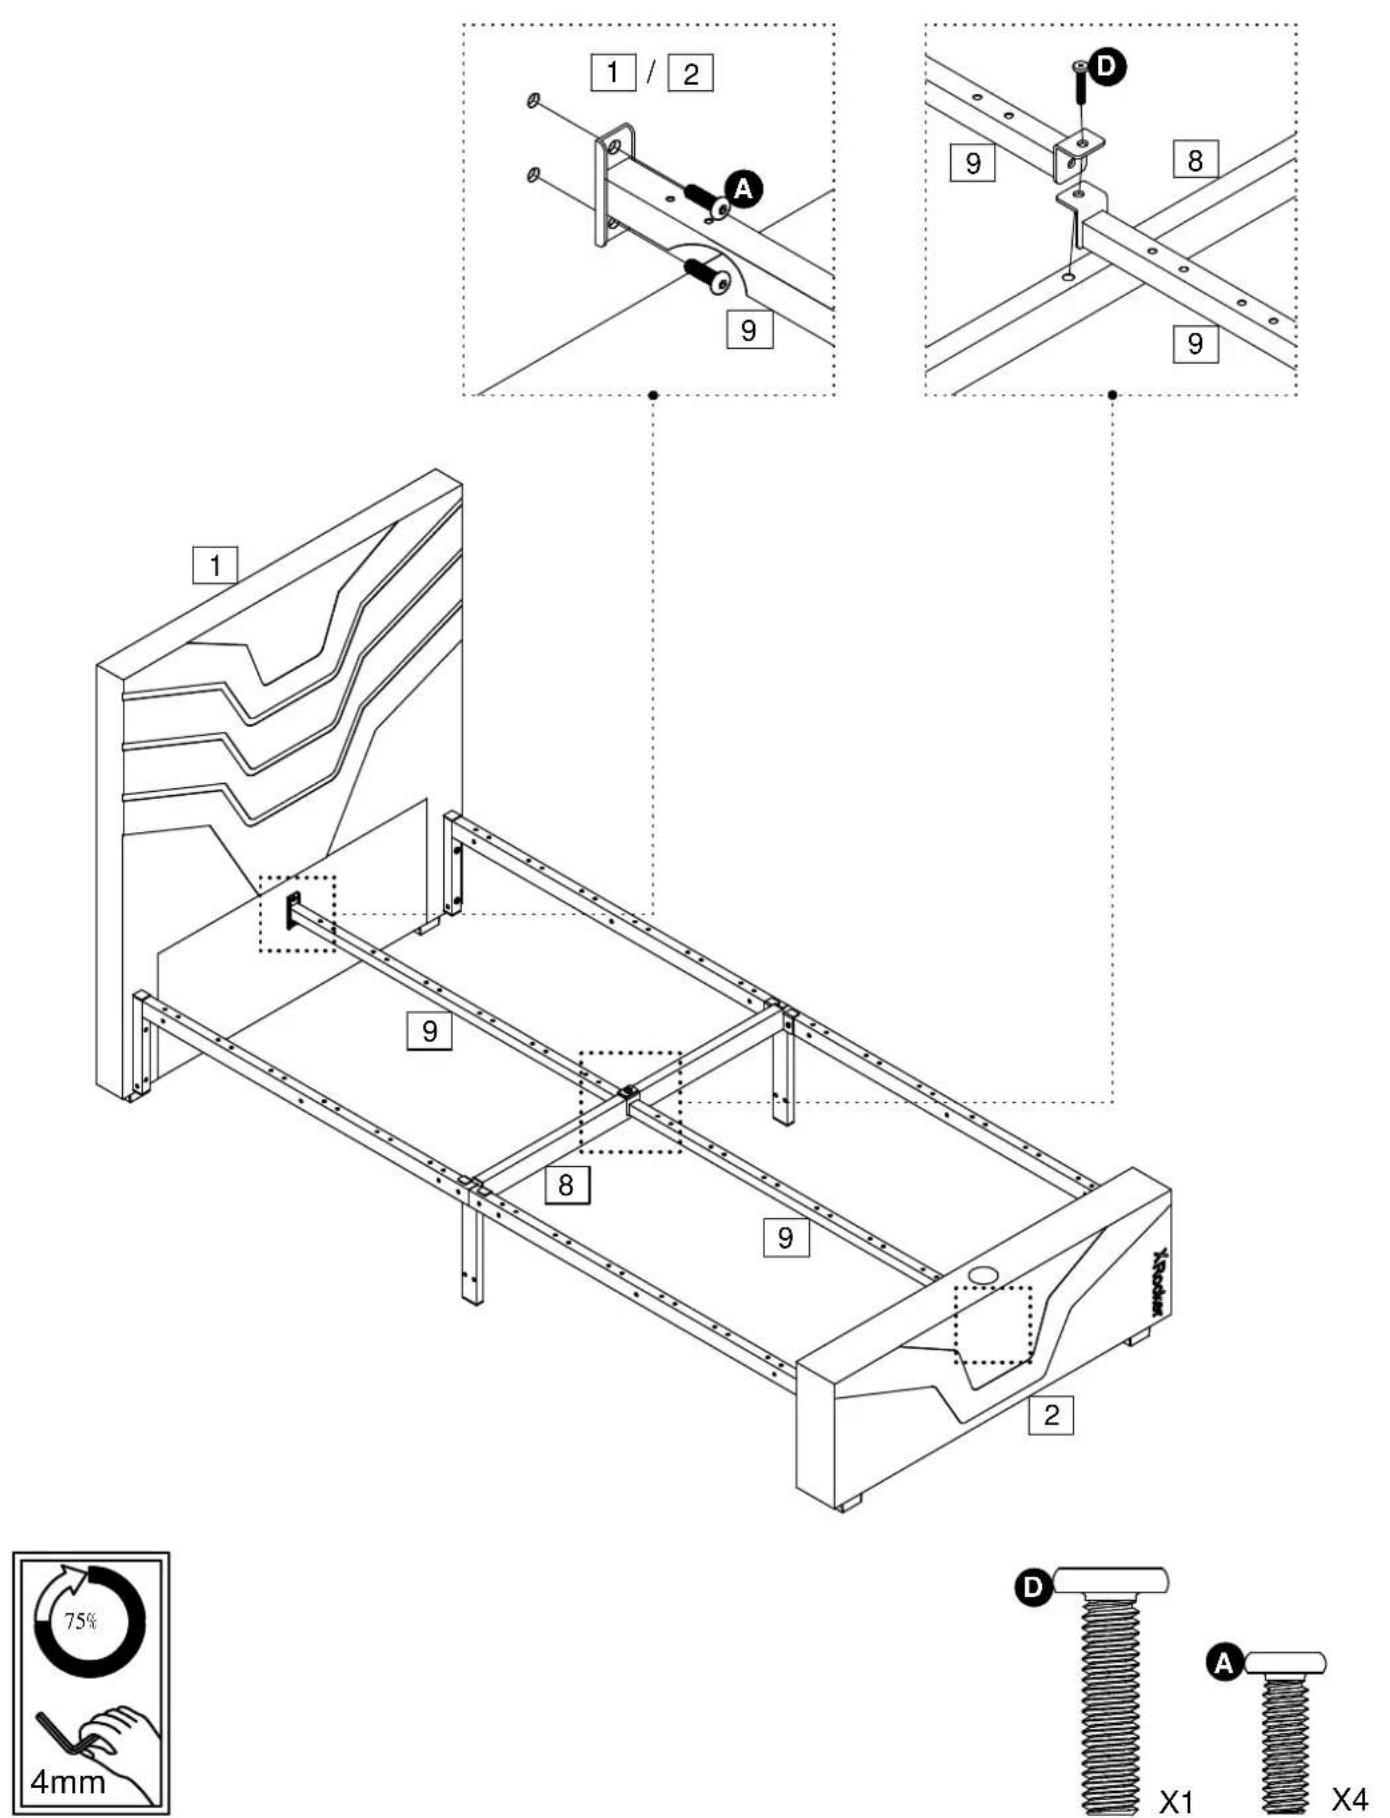
9
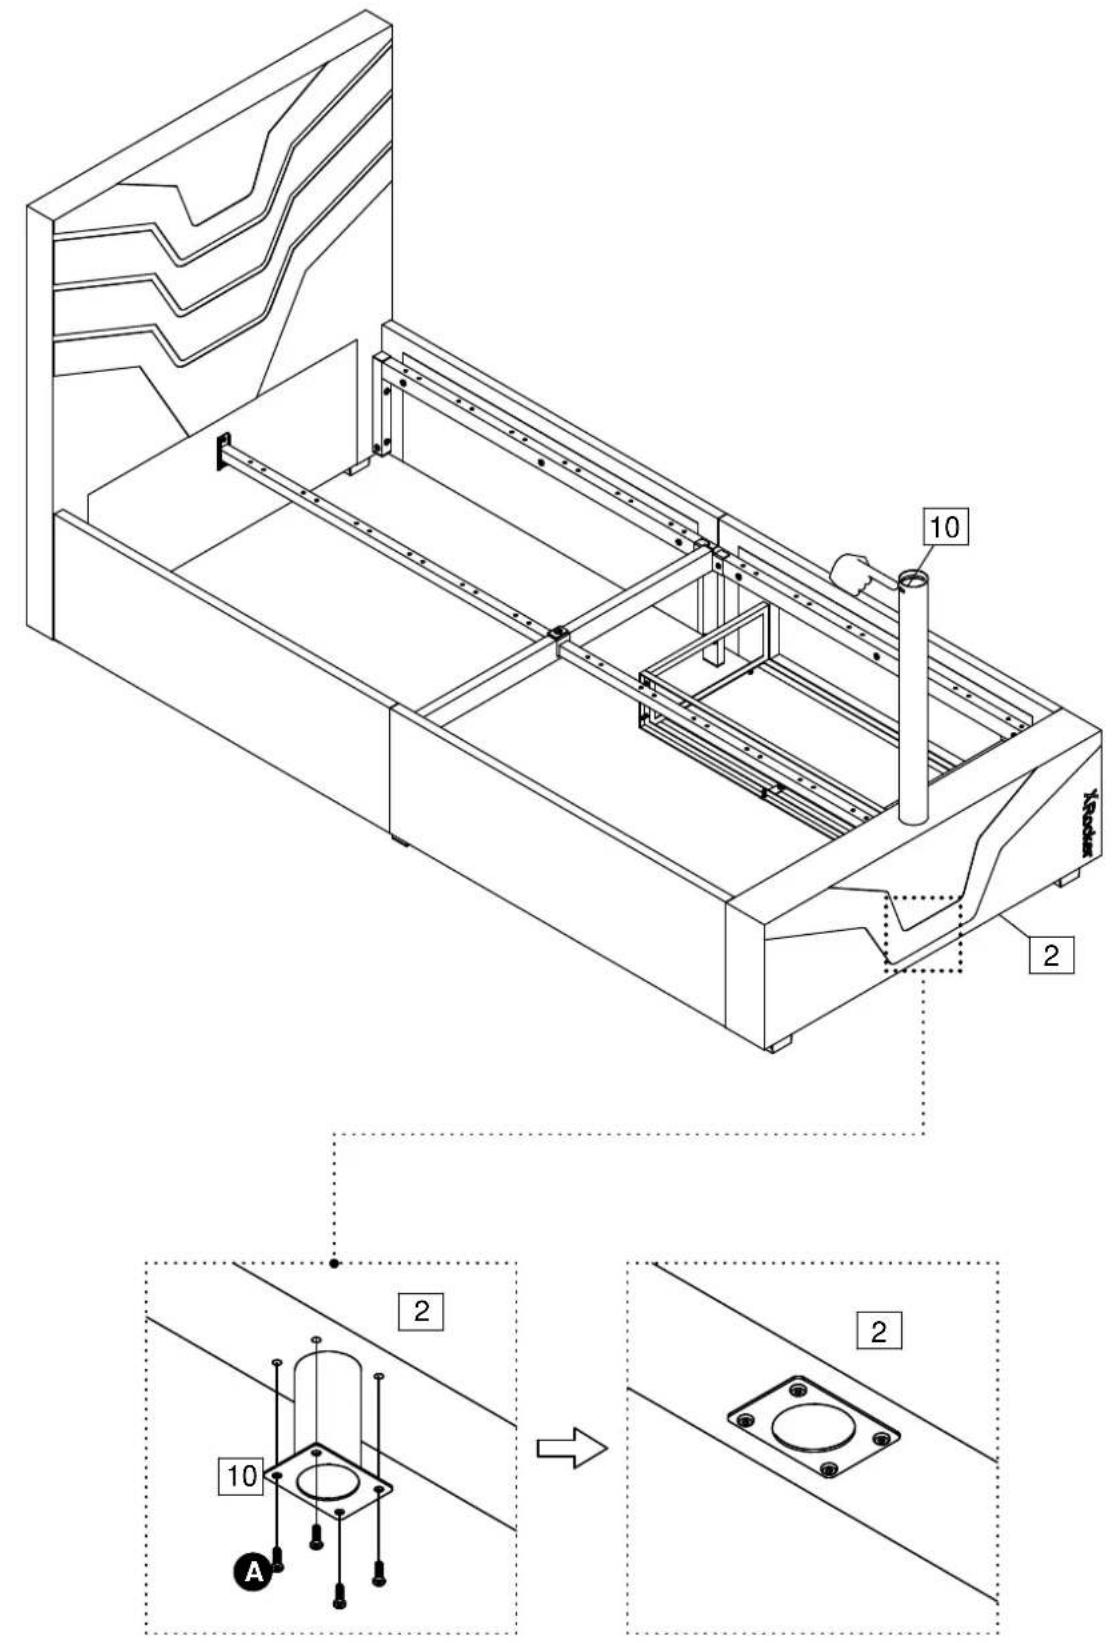

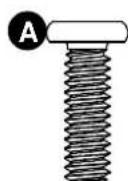
X4
10

11

natural_image
Technical line drawing of a mechanical assembly with structural supports and mounting brackets (no text or symbols)Not provided
a:

b/c:

natural_image
Mechanical assembly diagram showing a rotating component with a connector and housing (no text or symbols)Note 1: The TV mount mates with M6 screw. If you're using M4 screw to assemble the TV screen, please use part G washer as provided to make sure M4 screw could be also workable for it.
Note 2: If the TV pole can't be rotated freely, please loosen Screw B in step 10 a little. Do not 100% tighten it.

12
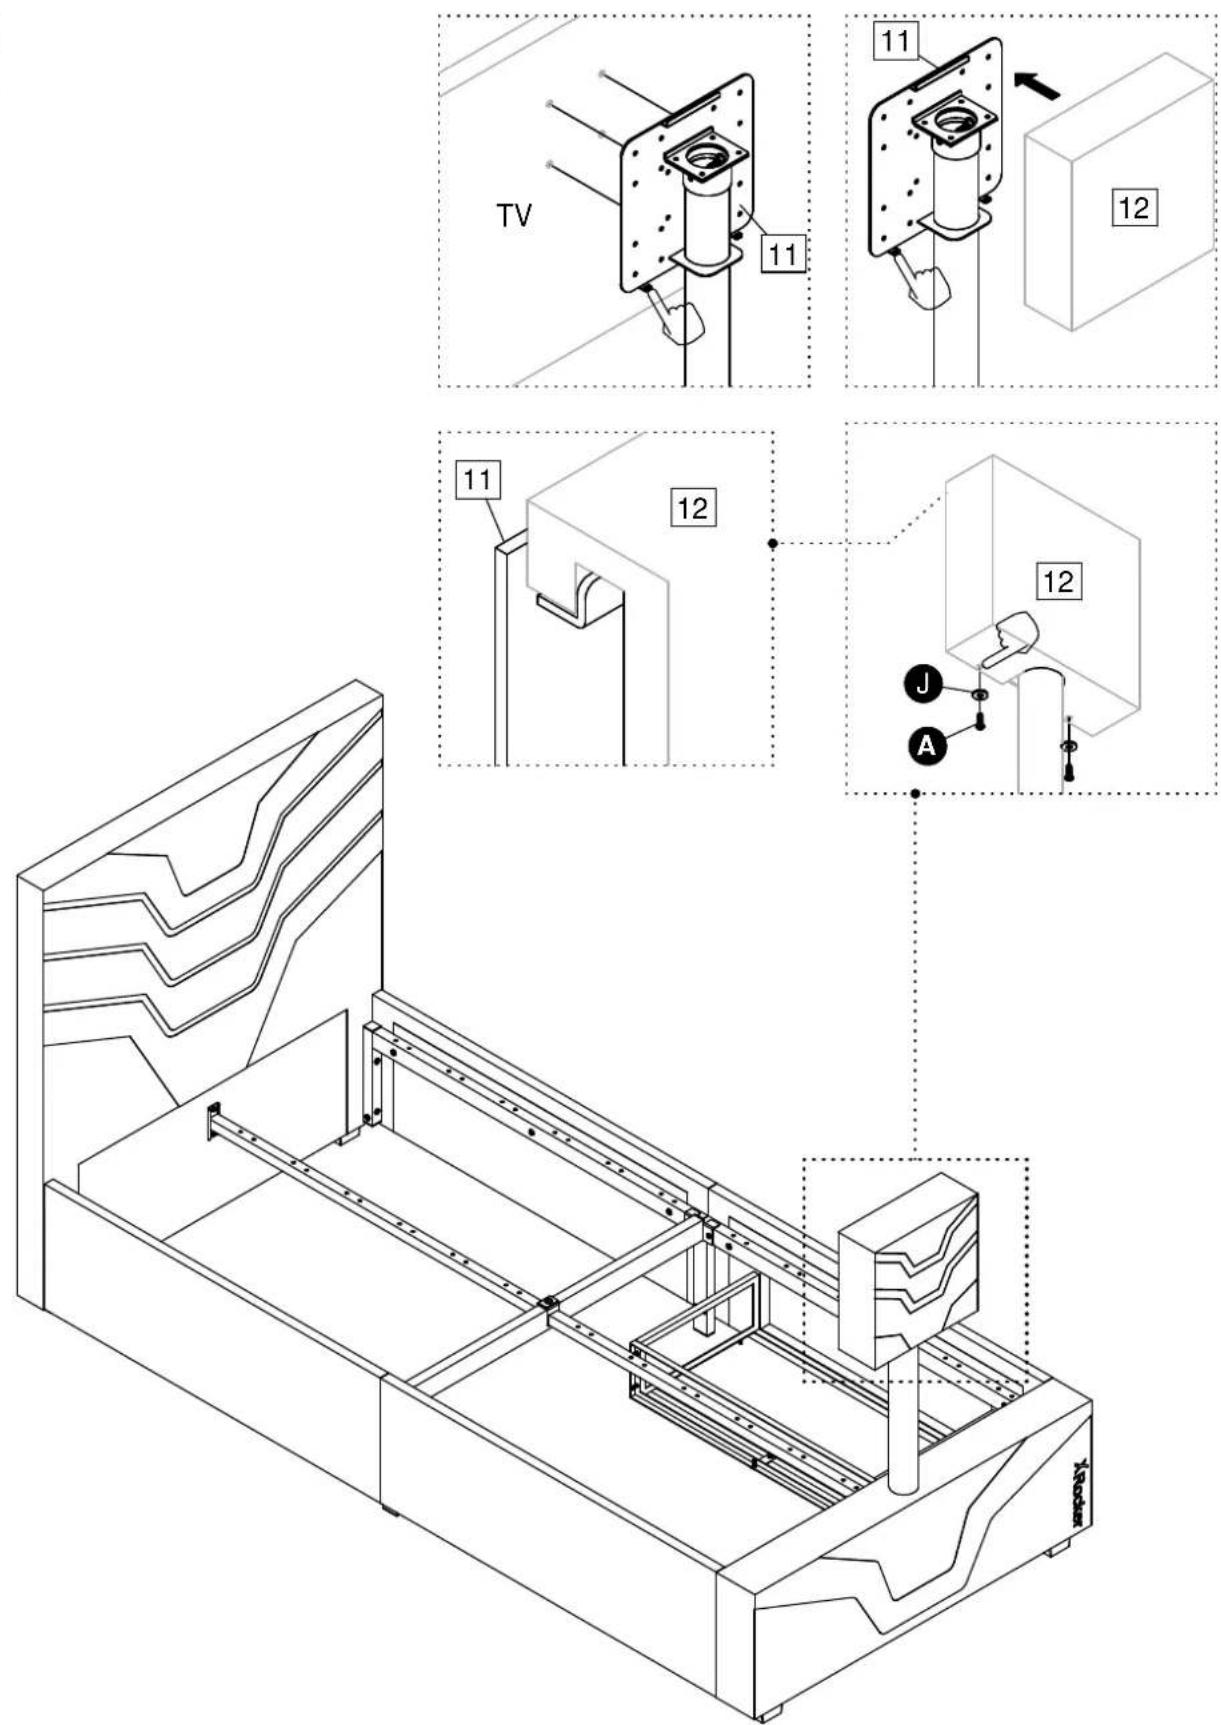

13
14


Assembly is complete


Brand : X Rocker
Model : Oracle
Category : Bed