
Contra - Bed X Rocker - Free user manual and instructions
Find the device manual for free Contra X Rocker in PDF.


| Product Type | Gaming Bed |
| Brand | X Rocker |
| Model | Contra |
| Dimensions (L x W x H) | Approx. 190 x 80 x 30 cm (75 x 31.5 x 12 in) |
| Weight | Approx. 25 kg (55 lbs) |
| Power Supply | AC adapter (100-240V, 50/60Hz) |
| Power Consumption | 30W |
| Audio Output | Built-in stereo speakers with subwoofer |
| Audio Input | 3.5mm AUX, Bluetooth (optional) |
| Vibration | Built-in vibration motor (synchronized with audio) |
| Main Material | Fabric upholstery over foam padding |
| Frame | Steel frame with wooden slats |
| Weight Capacity | Up to 120 kg (265 lbs) |
| Assembly Required | Yes, includes tools and instructions |
| Care Instructions | Spot clean with mild soap and water; avoid harsh chemicals |
| Safety Features | Stable base, no sharp edges, anti-slip feet |
| Spare Parts Available | Replacement speakers, power adapter, vibration motor |
| Warranty | 1 year limited warranty |
| Manual Languages | English, French, Spanish, German (multi-language) |
Frequently Asked Questions - Contra X Rocker
User questions about Contra X Rocker
0 question about this device. Answer the ones you know or ask your own.
Ask a new question about this device
Download the instructions for your Bed in PDF format for free! Find your manual Contra - X Rocker and take your electronic device back in hand. On this page are published all the documents necessary for the use of your device. Contra by X Rocker.
USER MANUAL Contra X Rocker
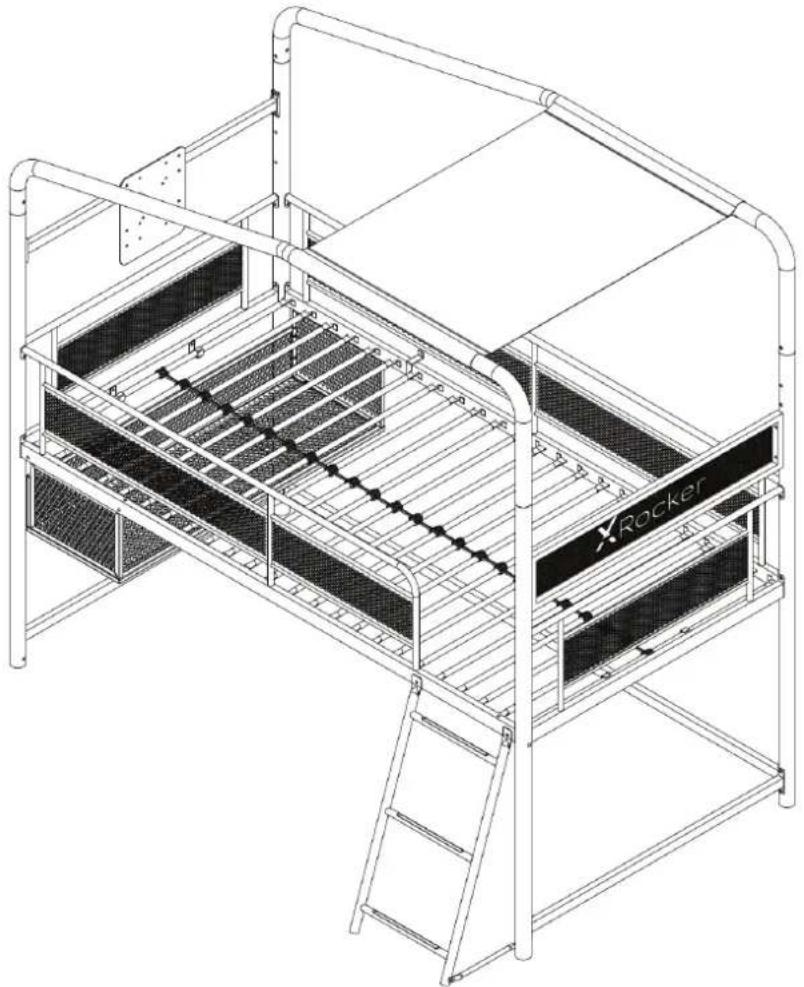
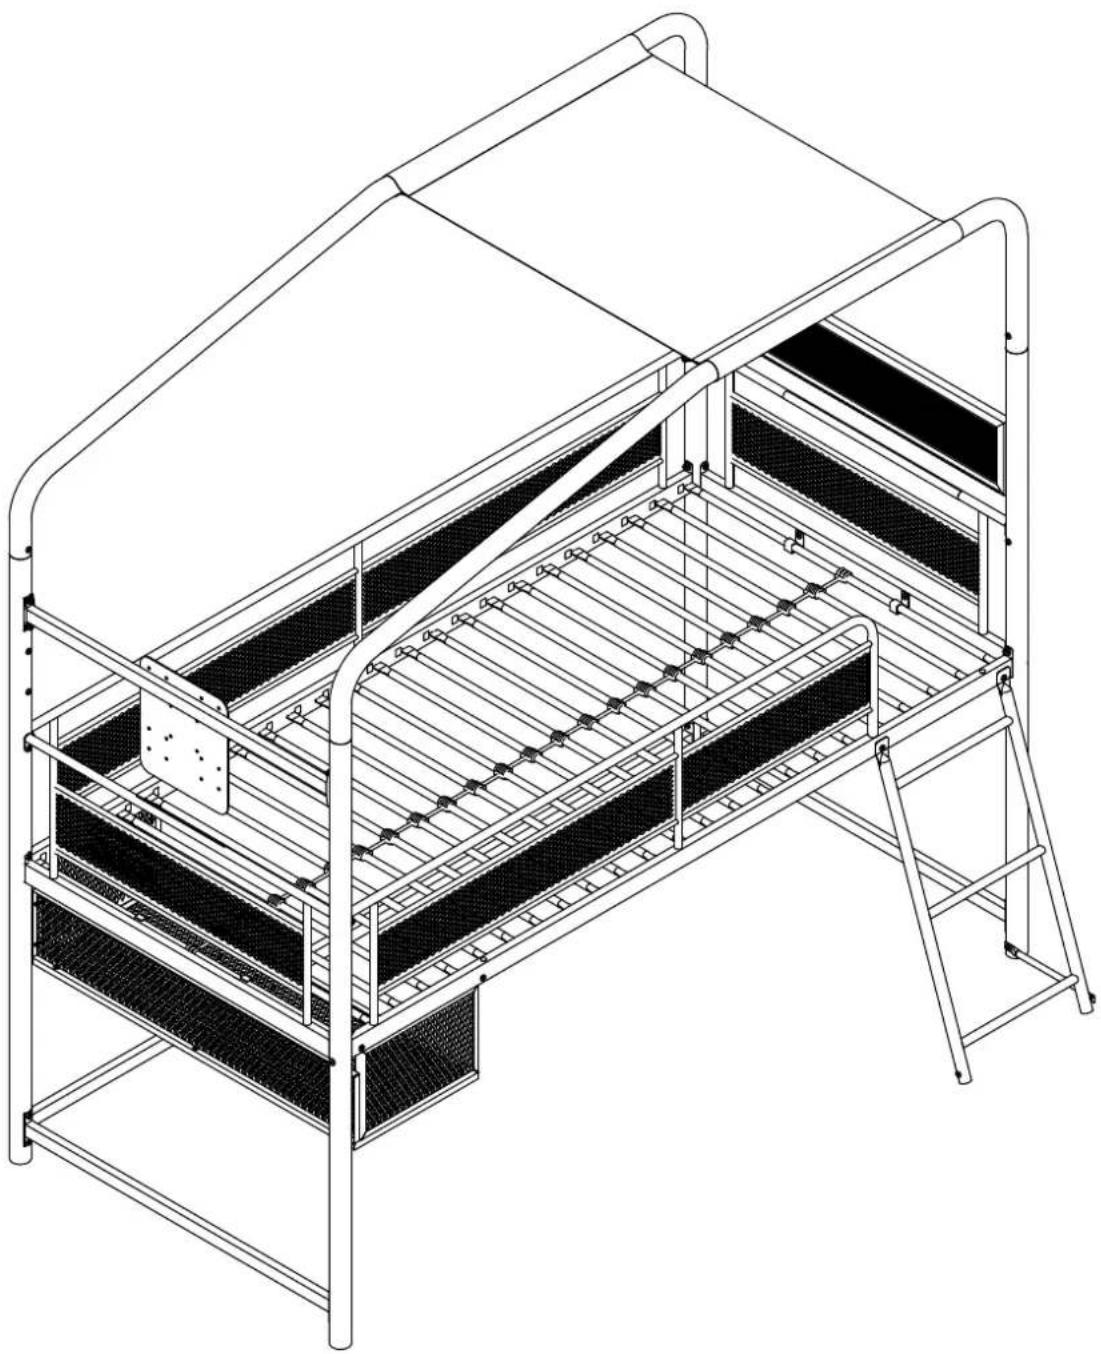
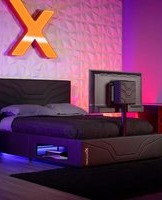
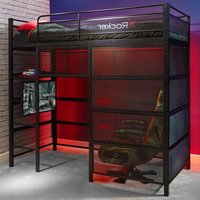
CONTRA MID-SLEEPER GAMING BED WITH TV MOUNT
natural_image
Technical line drawing of a two-tiered metal bunk bed with ladder and ventilation grilles (no text or symbols)NEED SUPPORT?

xrockergaming.com/pages/support

natural_image
Diagram of a drill bit with two positive charges and one negative charge, no text or symbols presentSIZE: 78 X 51 X 75IN
PLEASE READ this sheet prior to assembly to familiarize yourself with the various stages of construction.
Carefully open the pack supplied and check the contents against the parts and fittings check list. Do not destroy any of the packaging until you are certain that you have all the necessary parts for the assembly.
CAUTION: There are small components used in the construction of this unit. These items should be kept away from young children whilst assembling your unit to avoid danger of choking.
TOOLS REQUIRED

OF PEOPLE
1.5 HOUR SET UP

Safety and Care Advice
Read Before Beginning Assembly
• Call 866-969-2603 if you need assistance.
- Work in a spacious area and near where the unit will be used, preferably on a carpet, or use a piece of the cardboard packaging to protect your floor and product.
- Recommended # of people needed for assembly: 2 (however it is always better to have an extra hand).
• Estimated assembly time is 1.5 hours.
- Make sure all parts are included. Most parts are labeled or stamped on the raw edge.
- Read each step carefully. It is very important that each step of the instructions is performed in the correct order. If these steps are not followed in sequence, assembly difficulties will occur.
- Serious or fatal crushing injuries can occur from furniture tip-over. ALWAYS secure this furniture to the wall using tip-over restraints provided.
Caution
• This product is designed for home use and not intended for commercial use.
• This product contains small components. Please ensure that they are kept away from small children.
- Clean the product with a soft damp cloth. DO NOT use harsh chemicals or abrasive cleaners.
- Periodically check and ensure that the guardrail, ladder, and other components are in their proper position, free from damage, and that all connectors are tight.
- Keep canopy away from extreme heat sources or open flames.
- Overhead rails are not intended to be load bearing. Do not swing, climb, lay, or sit. Do not hang, attach or hook any loose objects. Risk of injury if used incorrectly.

Safety and Care Advice

WARNINGS
- Follow the information on the warnings appearing on the upper bunk end structure and on the carton. Do not remove warning label from bed.
- Always use the recommended size mattresses or mattress supports, or both, to help prevent the likelihood of entrapment or falls.
- Use only a mattress which is 74" - 75" long and 37½" - 38½" wide on upper bunk.
- Ensure thickness of mattress on upper bunk is greater than 4" and that it does not exceed 6".
- Surface of mattress must be at least 5" (127 mm) below the upper edge of guardrails.
- Do not allow children under 6 years of age to use the upper bunk.
- Do not allow horseplay on or under the bed and prohibit jumping on the bed.
• Prohibit more than one person on upper bunk.
• Always use the ladder for entering and leaving the upper bunk. - Do not use substitute parts. Contact the manufacturer or dealer for replacement parts.
- Use of a night light may provide added safety precaution for a child using the upper bunk.
- Always use guardrails on both long sides of the upper bunk. If the bunk bed will be placed next to the wall, the guardrail that runs the full length of the bed should be placed, against the wall to prevent entrapment between the bed and wall.
• The use of water or sleep flotation mattresses is prohibited.

WARNINGS
- This bed with TV Mount is intended for household use. It is intended for use only with flat panel TV equipment meeting recommended size and weight limits. Use with other equipment or equipment heavier than the maximum weights indicated may result in instability causing possible injury.
• Fits most flat panel TVs up to 32'.
• Maximum load 66 lbs (30 kg).
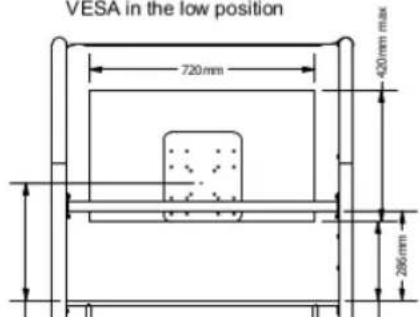
The TV mount bracket is compatible with the below VESA standard sizes. Please refer to your TV manufacturer's guidance for the correct bolt sizes. Bolts are not included with this product. 4 x M4 washers are included with this product if M4 bolts are required.
75x75mm
100x100mm
100x200mm
200x100mm
200x200mm
TV mount in the high position VESA in the central position

TV mount in the high position
VESA in the low position
WARNING: In order to avoid risk of injury caused by scenarios where the user incorrectly uses the TV to leverage themselves onto the bed base, or the TV causes an obstruction to the user when accessing the bed base, DO NOT assemble the ladder, console tray and TV mount on the same side as illustrated below. Please refer to the four different orientation options shown on page 27 for the correct ways to assemble this product.


Safety and Care Advice
Safety and Care Advice
Avertissements
75x75mm
100x100mm
100x200mm
200x100mm
200x200mm
Support TV en position haute
Position centrale du montage VESA

natural_image
Technical line drawing of a multi-level industrial structure with metal framework and internal channels (no text or symbols)
natural_image
Isometric line drawing of a multi-level industrial storage or filtration unit structure with no text or symbols

Safety and Care Advice
Safety and Care Advice
Precauciones
100x100mm
100x200mm
200x100mm
200x200mm
natural_image
Technical line drawing of a multi-level industrial structure with structural beams and internal channels (no text or symbols)
natural_image
Isometric line drawing of a multi-level industrial storage or filtration unit structure with metal framework and ladder (no text or symbols)
PARTS

Panels

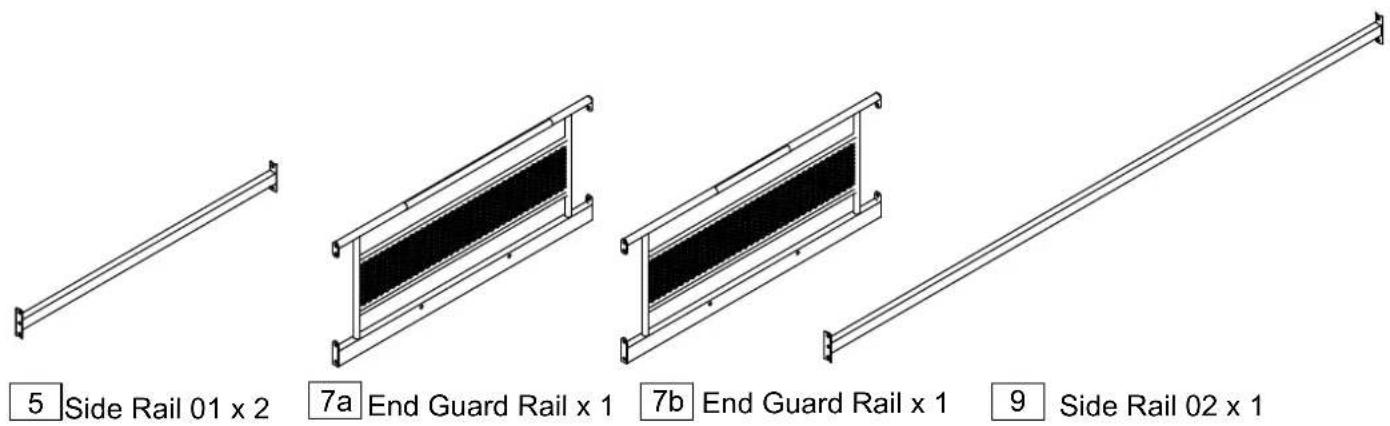

Panels


natural_image
Line drawing of a ladder structure with two posts and a square measurement label (no text or symbols on the ladder itself)
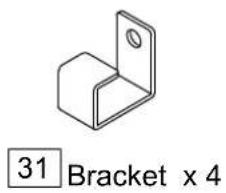
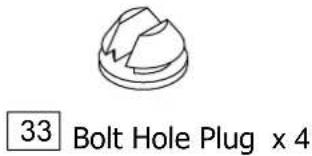
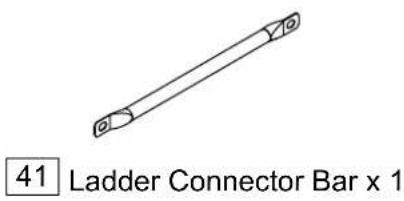

natural_image
Line drawing of a U-shaped pipe with a cylindrical end, labeled '45a Connector 01 x 1' (no other text or symbols)
natural_image
Line drawing of a bent pipe with a cylindrical end, labeled '45b Connector 02 x 1' (no other text or symbols)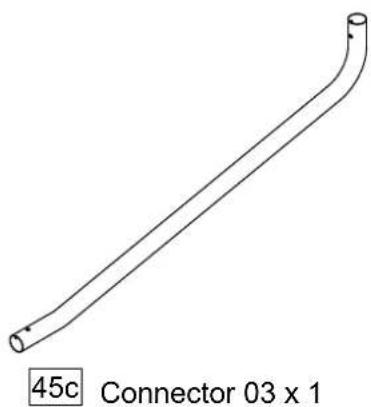
natural_image
Line drawing of a 45c connector with no text or symbols on the diagram itself
natural_image
Line drawing of a 45d connector with a curved pipe or tube, no text or symbols presentPanels

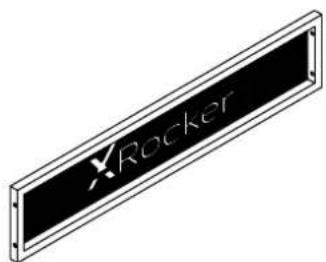
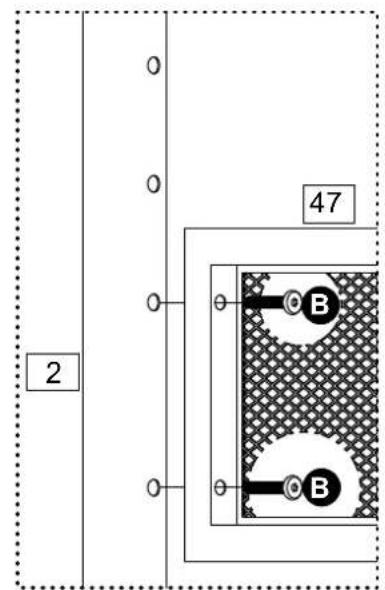
47 Headboard x 1

natural_image
Technical line drawing of a metal rail bar with a rectangular panel and mounting flanges (no text or symbols)60 TV Mount x 1

64 Cable Fixing Ribbon x 5
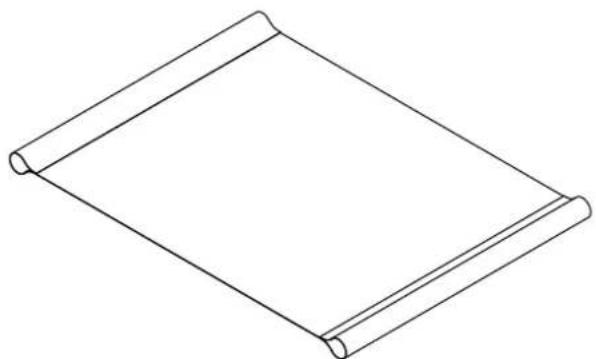
natural_image
Simple line drawing of a rolled-up scroll or document (no text or symbols)65 Fabric canopy x 1
Fittings (T00012400B00)
A 65mm M6 Bolt x 2 65mm M6 Bolt x 2 | F M6 Plastic Washer x 7 M6 Plastic Washer x 7 |
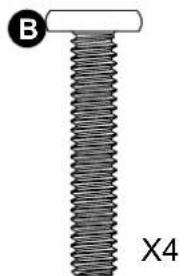
B 33mm M6 Bolt x 4 33mm M6 Bolt x 4 | G M8 Plastic Washer x 2 M8 Plastic Washer x 2 |
C 22mm M6 3 in 1 Bolt x 11 22mm M6 3 in 1 Bolt x 11 | H M4 Metal Washer x 4 M4 Metal Washer x 4 |
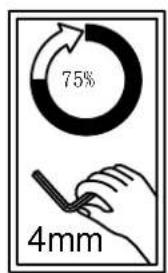
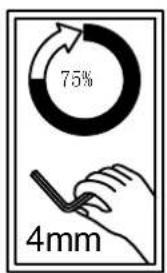
D 17mm M6 Bolt x 72 17mm M6 Bolt x 72 | I 4MM Allen Key x 1 4MM Allen Key x 1 |
E 65mm M8 Bolt x 3 65mm M8 Bolt x 3 | |
1

2


4


5

6

7
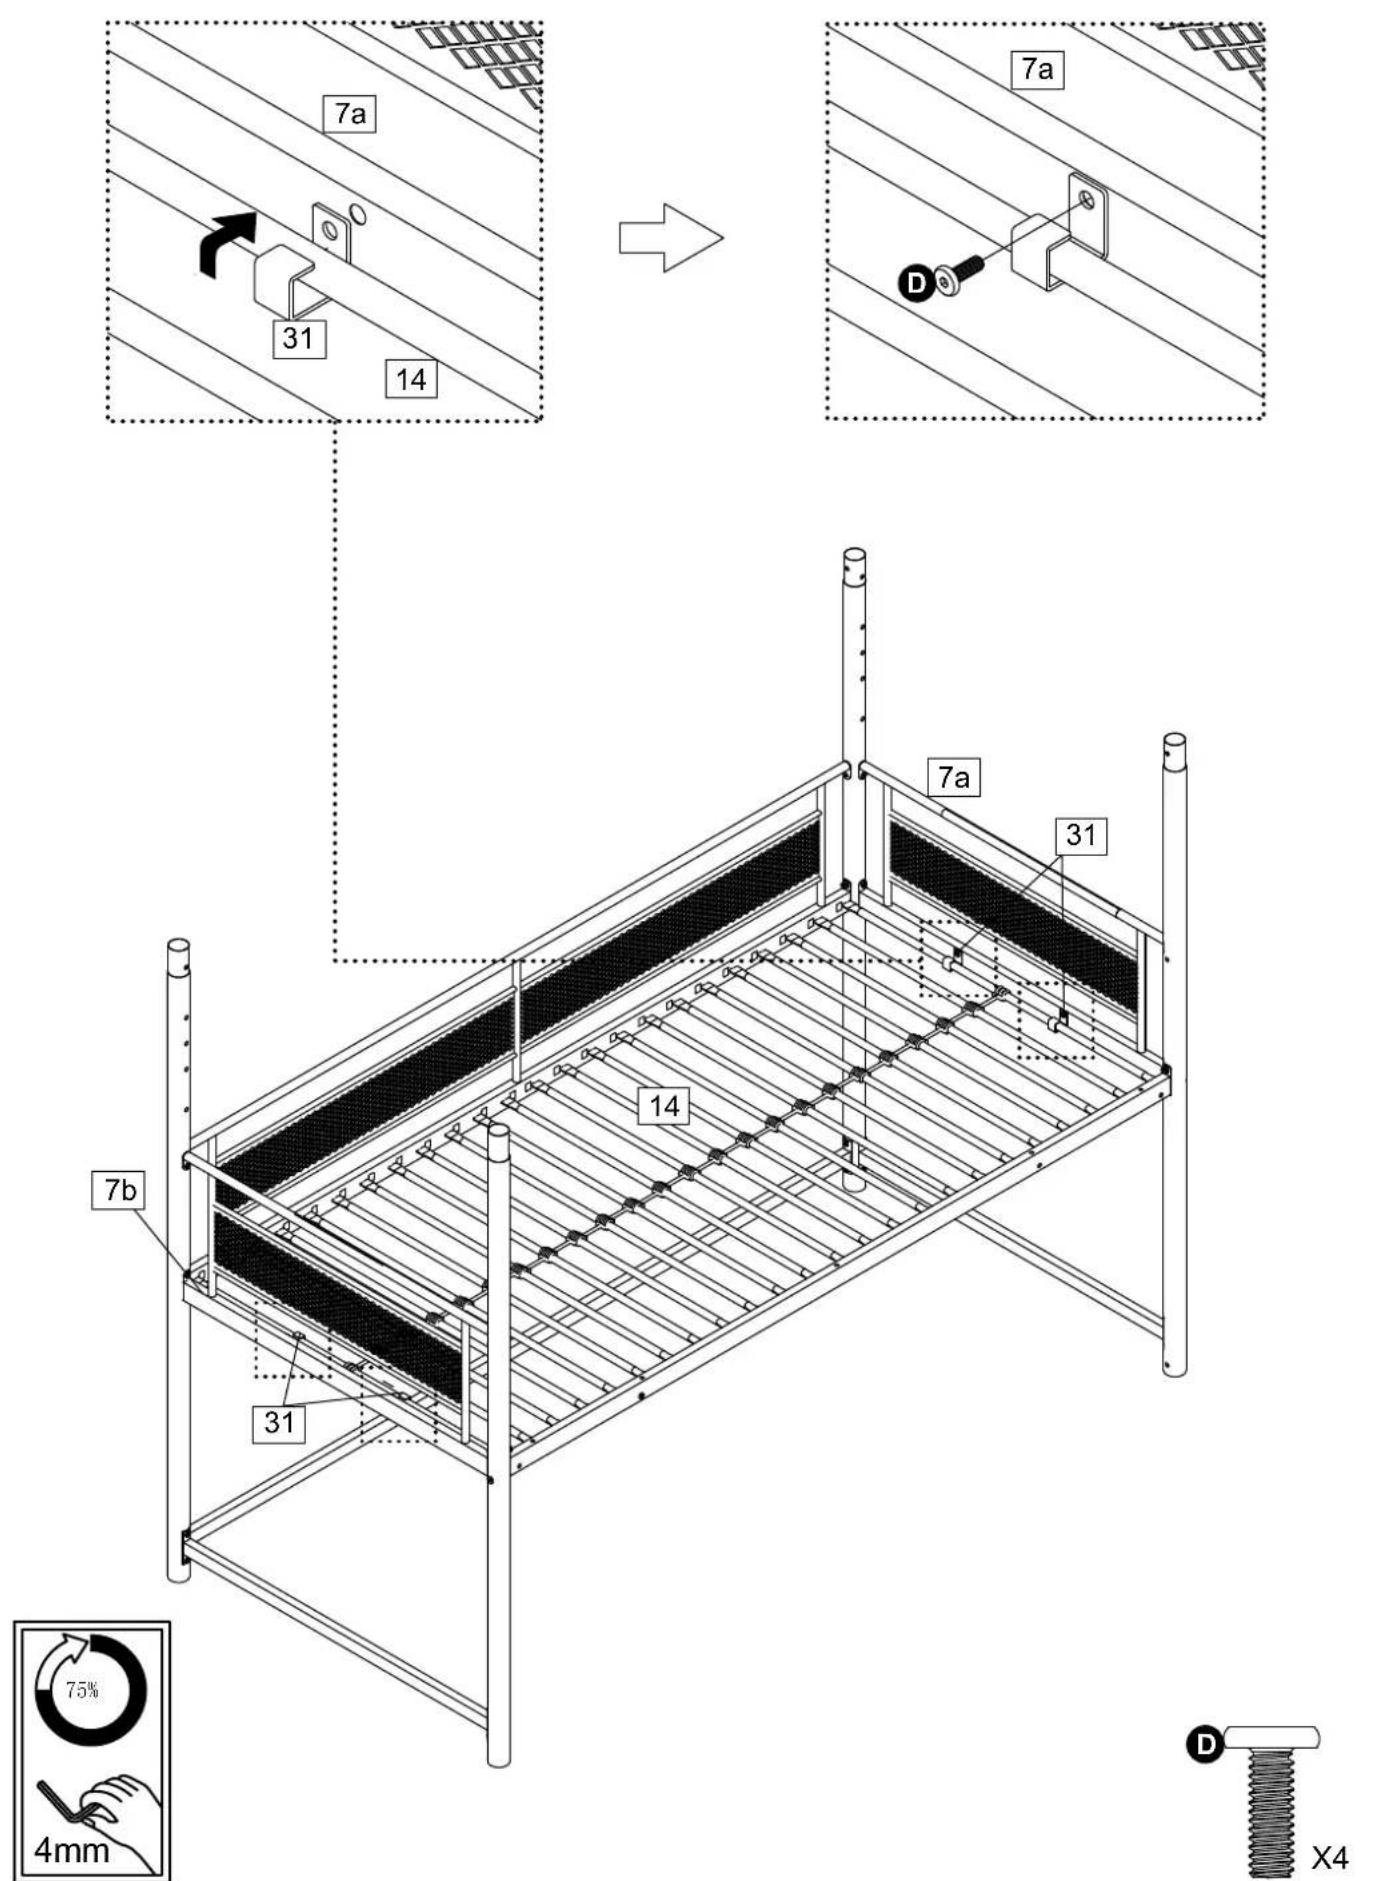
8
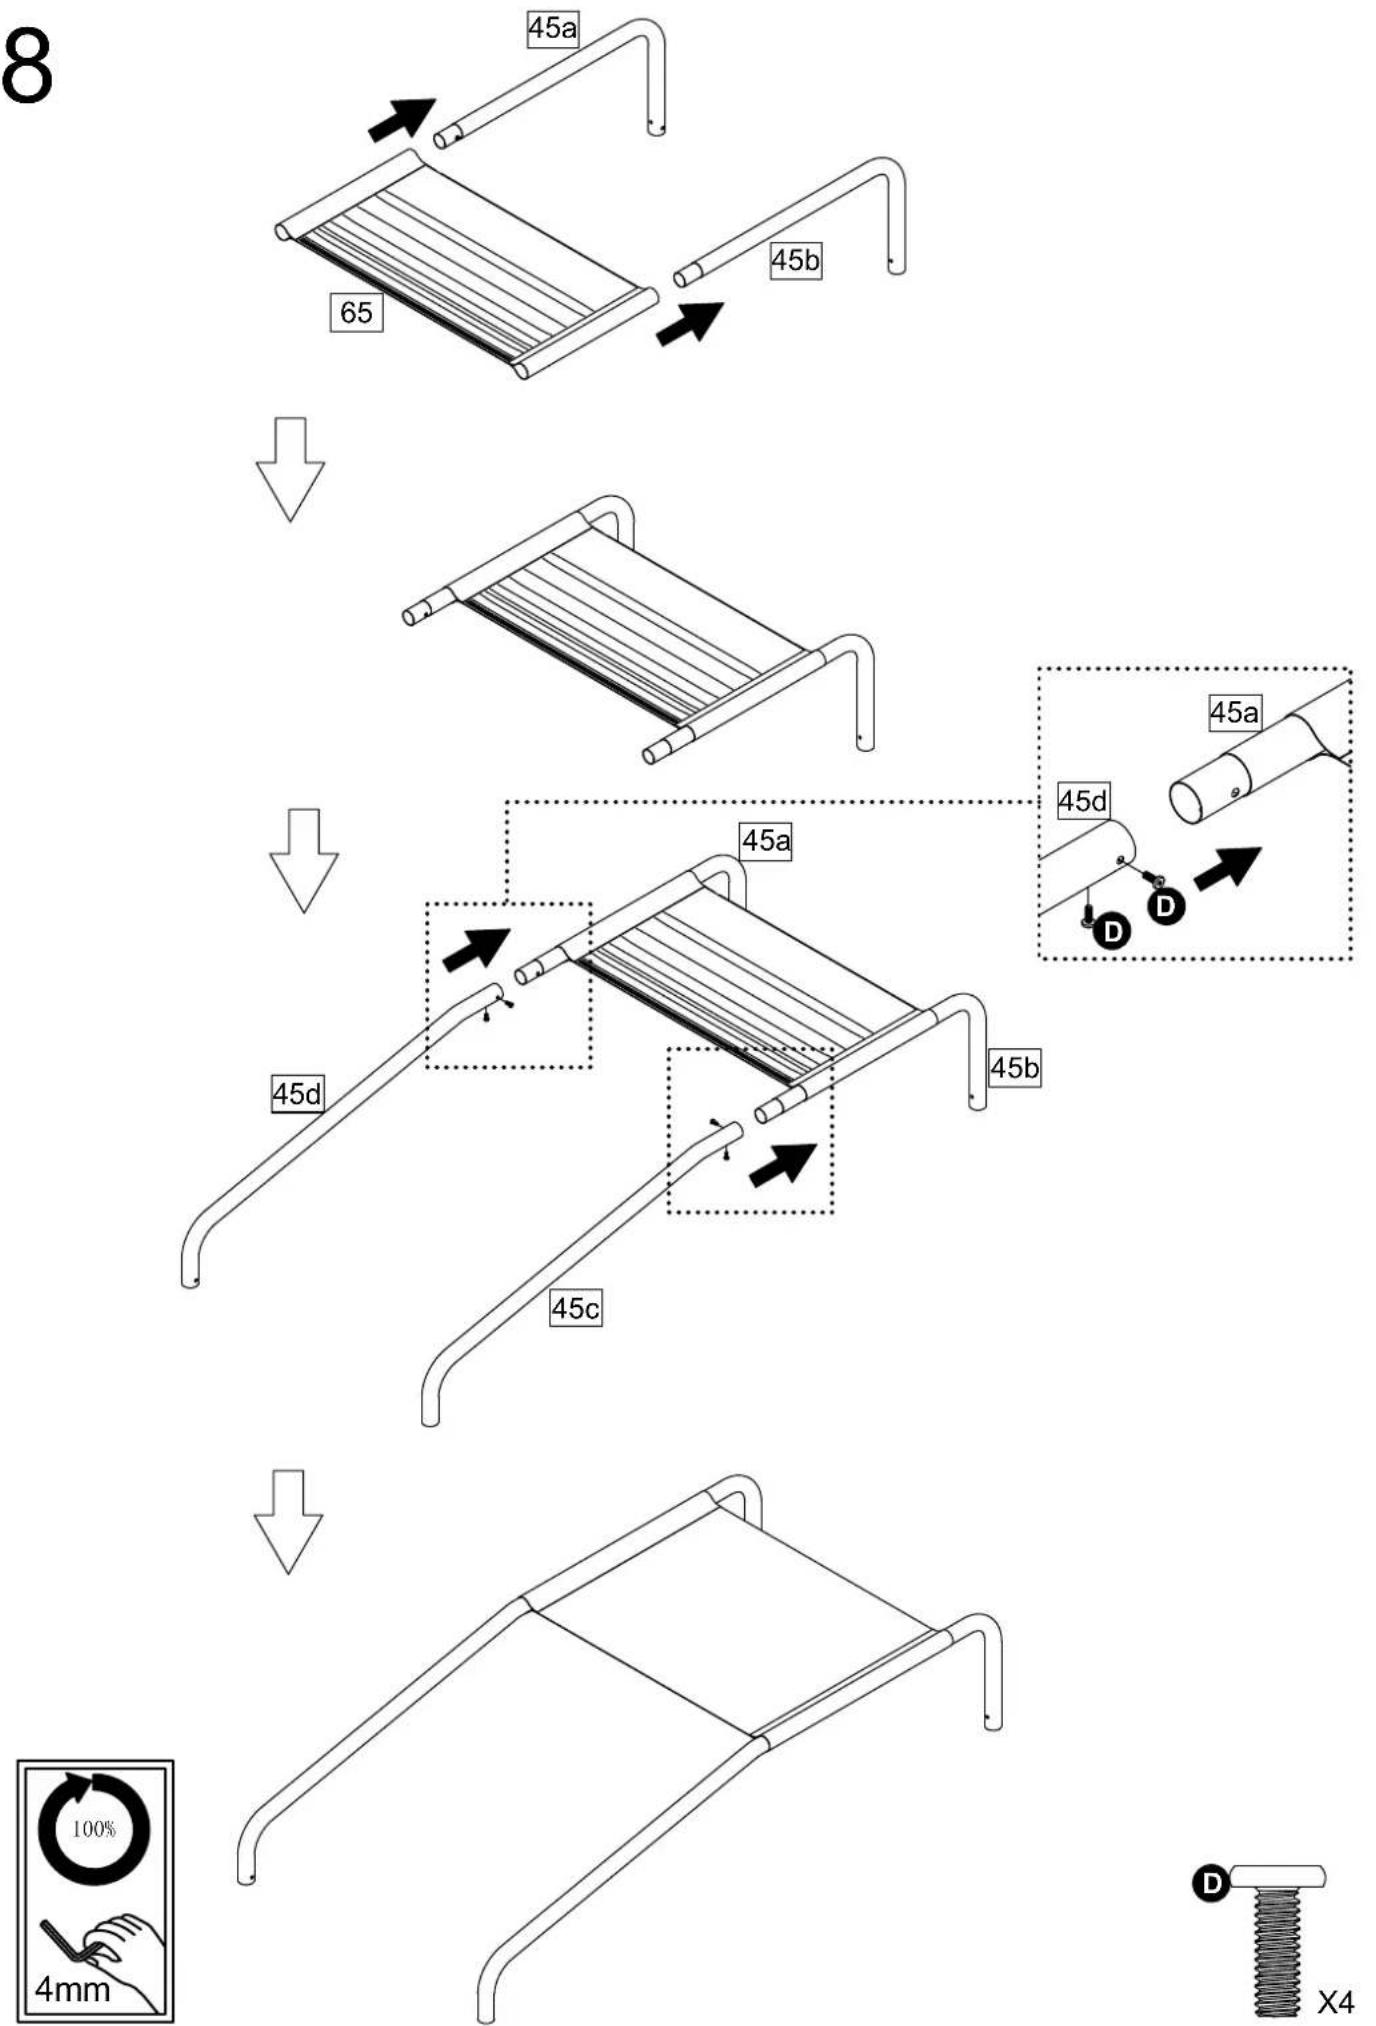
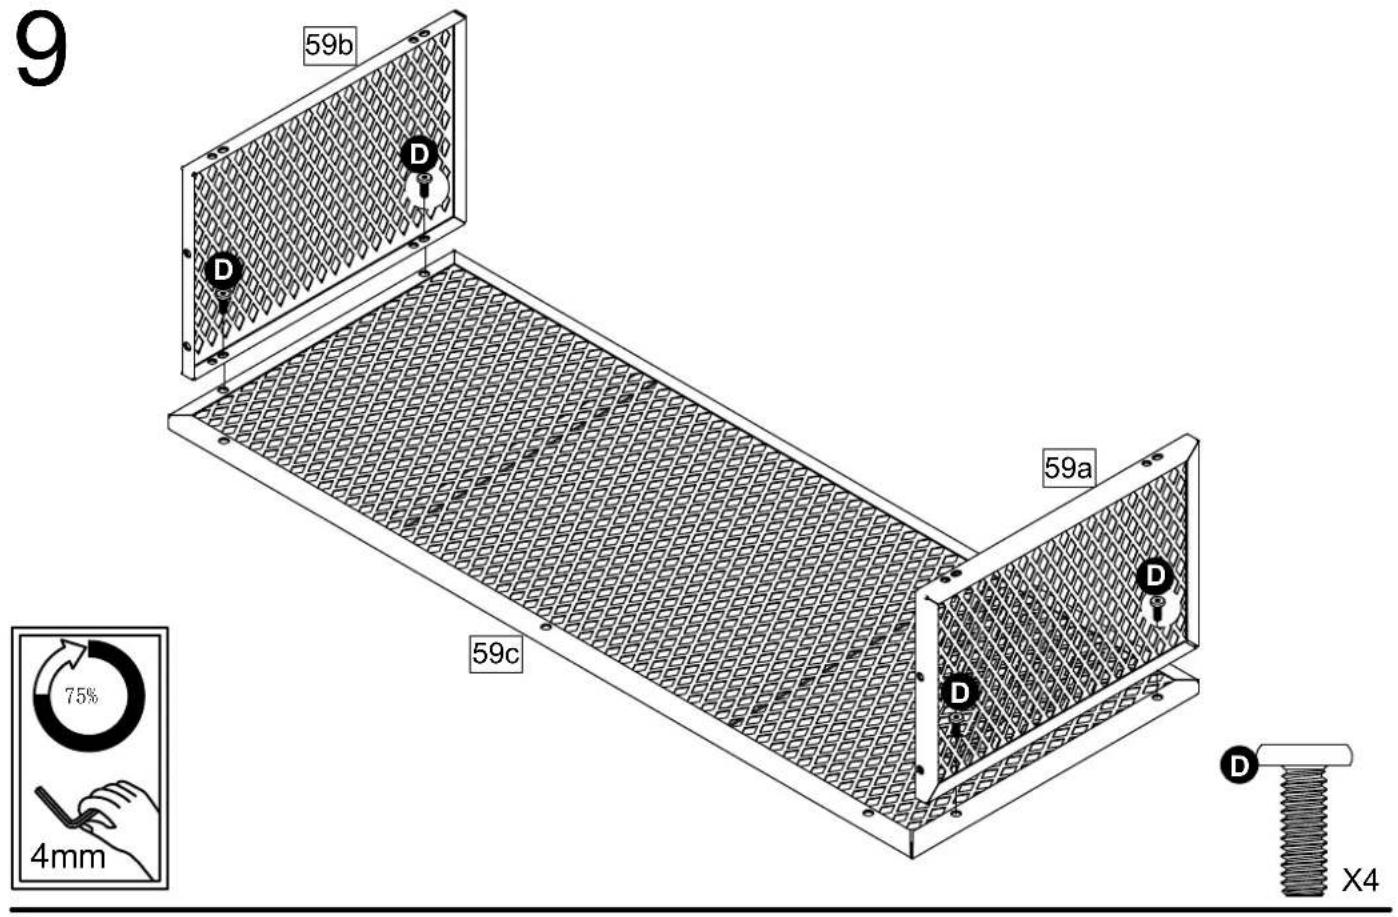
10

BUILD OPTIONS
OPTION 1

natural_image
Isometric line drawing of a multi-level metal structure with ladder and grid panels, labeled 'Pages 11-24' (no text or symbols on the diagram itself)OPTION 2

natural_image
Isometric line drawing of a multi-level metal structure with ladder and frame (no text or symbols)OPTION 3
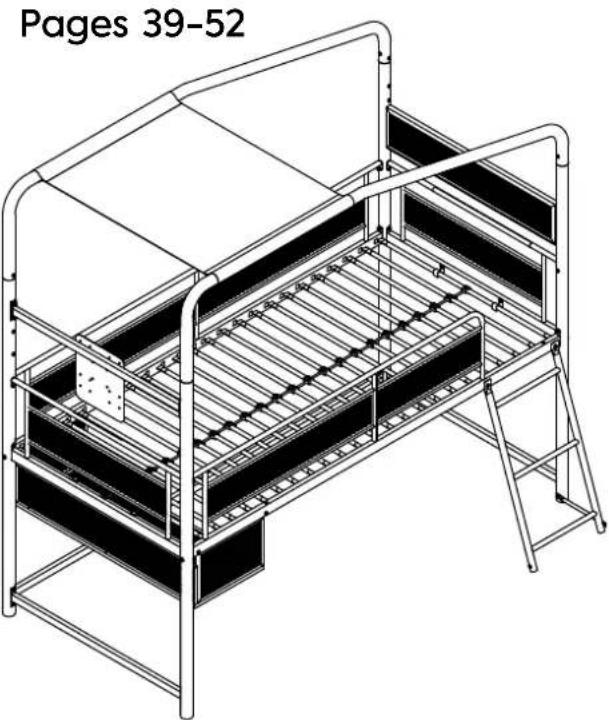
natural_image
Isometric line drawing of a multi-level industrial storage or filtration unit structure (no text or symbols)OPTION 4
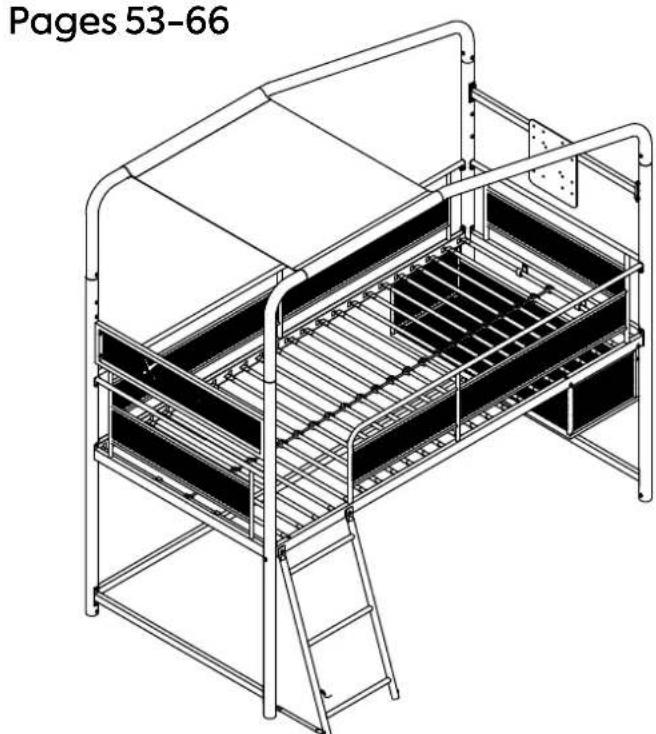
natural_image
Isometric line drawing of a multi-level metal structure with ladder and support beams (no text or symbols)11
BUILD OPTION 1

X8
12
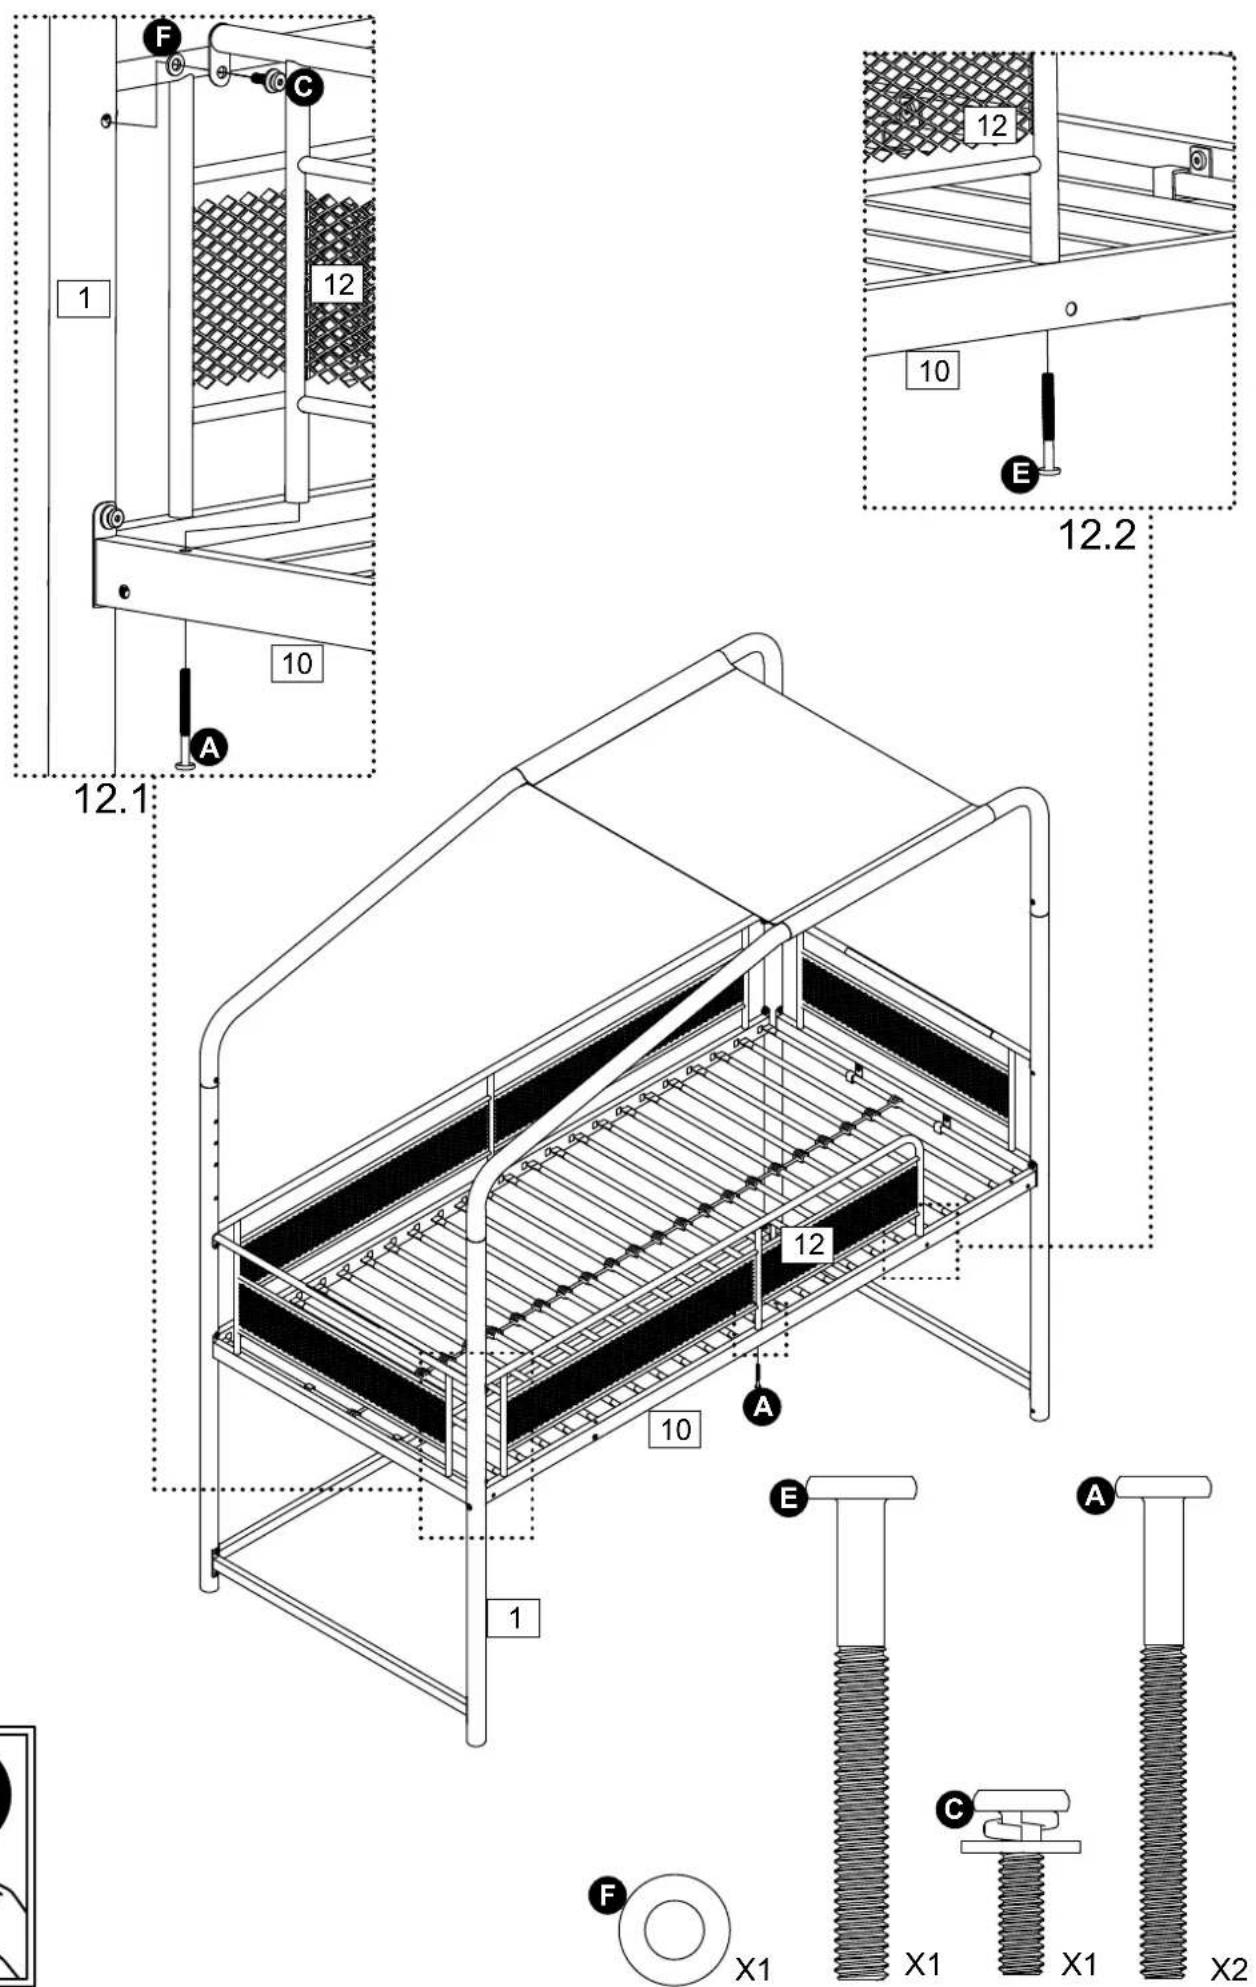
13


14
Lower TV height

OR
Higher TV height



X4
15
natural_image
Close-up of a threaded screw with a flat head and a labeled section B, no text or symbols on the screw itself.
17

18


21

22

natural_image
Diagram showing two mechanical components with a bidirectional arrow indicating transformation (no text or symbols present)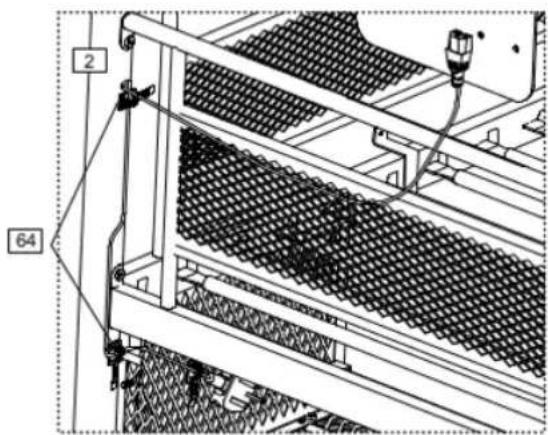
natural_image
Technical line drawing of a mechanical assembly with grid-patterned components and labeled parts (no readable text or symbols)Note: This TV mount is compatible with M6 screws without the need for using washers. M4 screws are also compatible if used with part H 'M4 Metal Washer' which are supplied with this product.
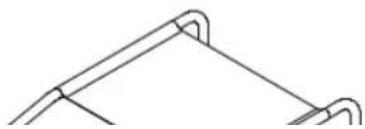
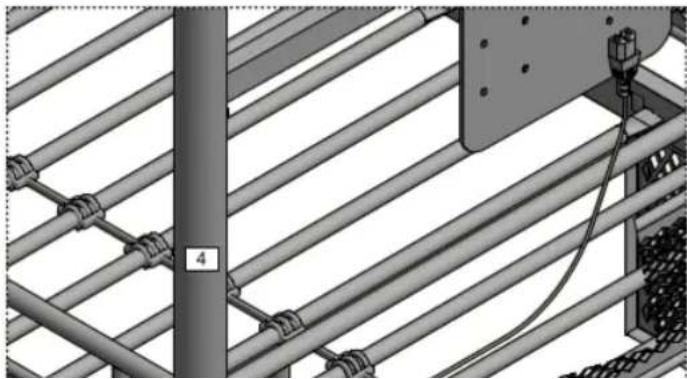
Note: The below diagram showing the positioning of Part 64 'Cable Fixing Ribbon' is a suggestion - users are free to position the parts wherever they choose to keep cables tidy.
natural_image
Pure mechanical linkage diagram without any text, numbers, or symbols23
BUILD OPTION 1
natural_image
Technical line drawing of a multi-level industrial aquaculture facility with metal framework and ladder (no text or symbols)
Assembly is complete
24

natural_image
Technical line drawing of a metal cage-like structure with ladder and frame, showing internal components and structural details (no text or symbols)A Guide to Wall Mounting & Fixings
Important note:
If plastic wall plugs are supplied with your product:

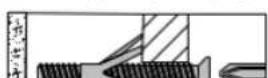
- these are only suitable for use in masonry walls.
If you are in any doubt about the correct wall plugs for your wall, seek professional advice.
Failure of the product due to using incorrect fixings is the responsibility of the installer.

Important: When drilling into walls always check that there are no hidden wires or pipes etc.
Make sure that the screws and wall plugs being used are suitable for supporting your unit. Consult a qualified tradesperson if you are unsure.
Hints:
1: General rule: ⚠ Always use a larger screw and wall plug if you are not sure.
2: Ensure you use the recommended drill bit to match the wall plug and hole size.
3: Ensure you drill the hole horizontally, do not force the drill or enlarge the hole.
4: Take extra care when drilling high walls, ceilings and ceramic tiles. Ensure wall plugs are inserted beyond the thickness of the ceramic tiles to avoid the tiles splitting or cracking.
5: Ensure wall plugs are well fitted and are a tight fit in the drill hole
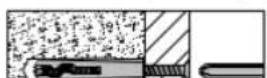
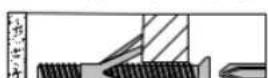
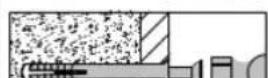
Types of walls
You can use one of the following types of wall plug if your walls are made of brick, breeze block, concrete, stone or wood.
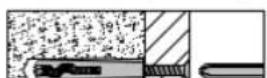
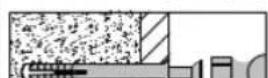
No.1"General Purpose" wall plug
No.3"Cavity Fixing" wall plug
No.5"Hammer Fixing" wall plug
25
BUILD OPTION 2


27
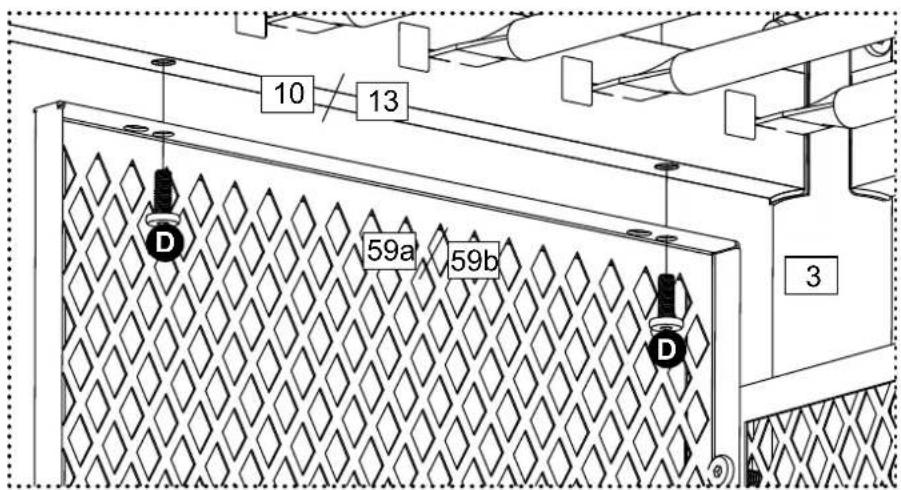

28
Lower TV height
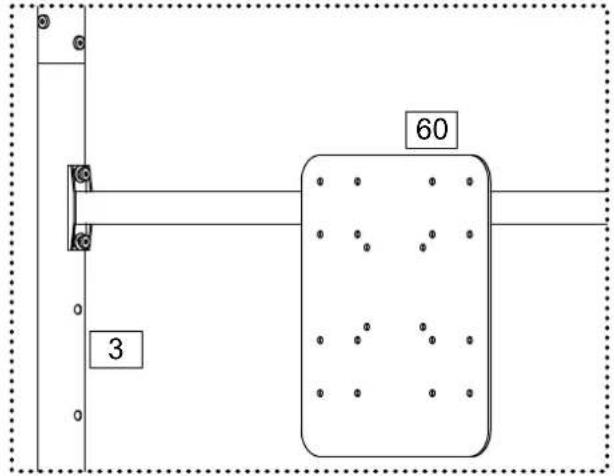
OR
Higher TV height


X4
29


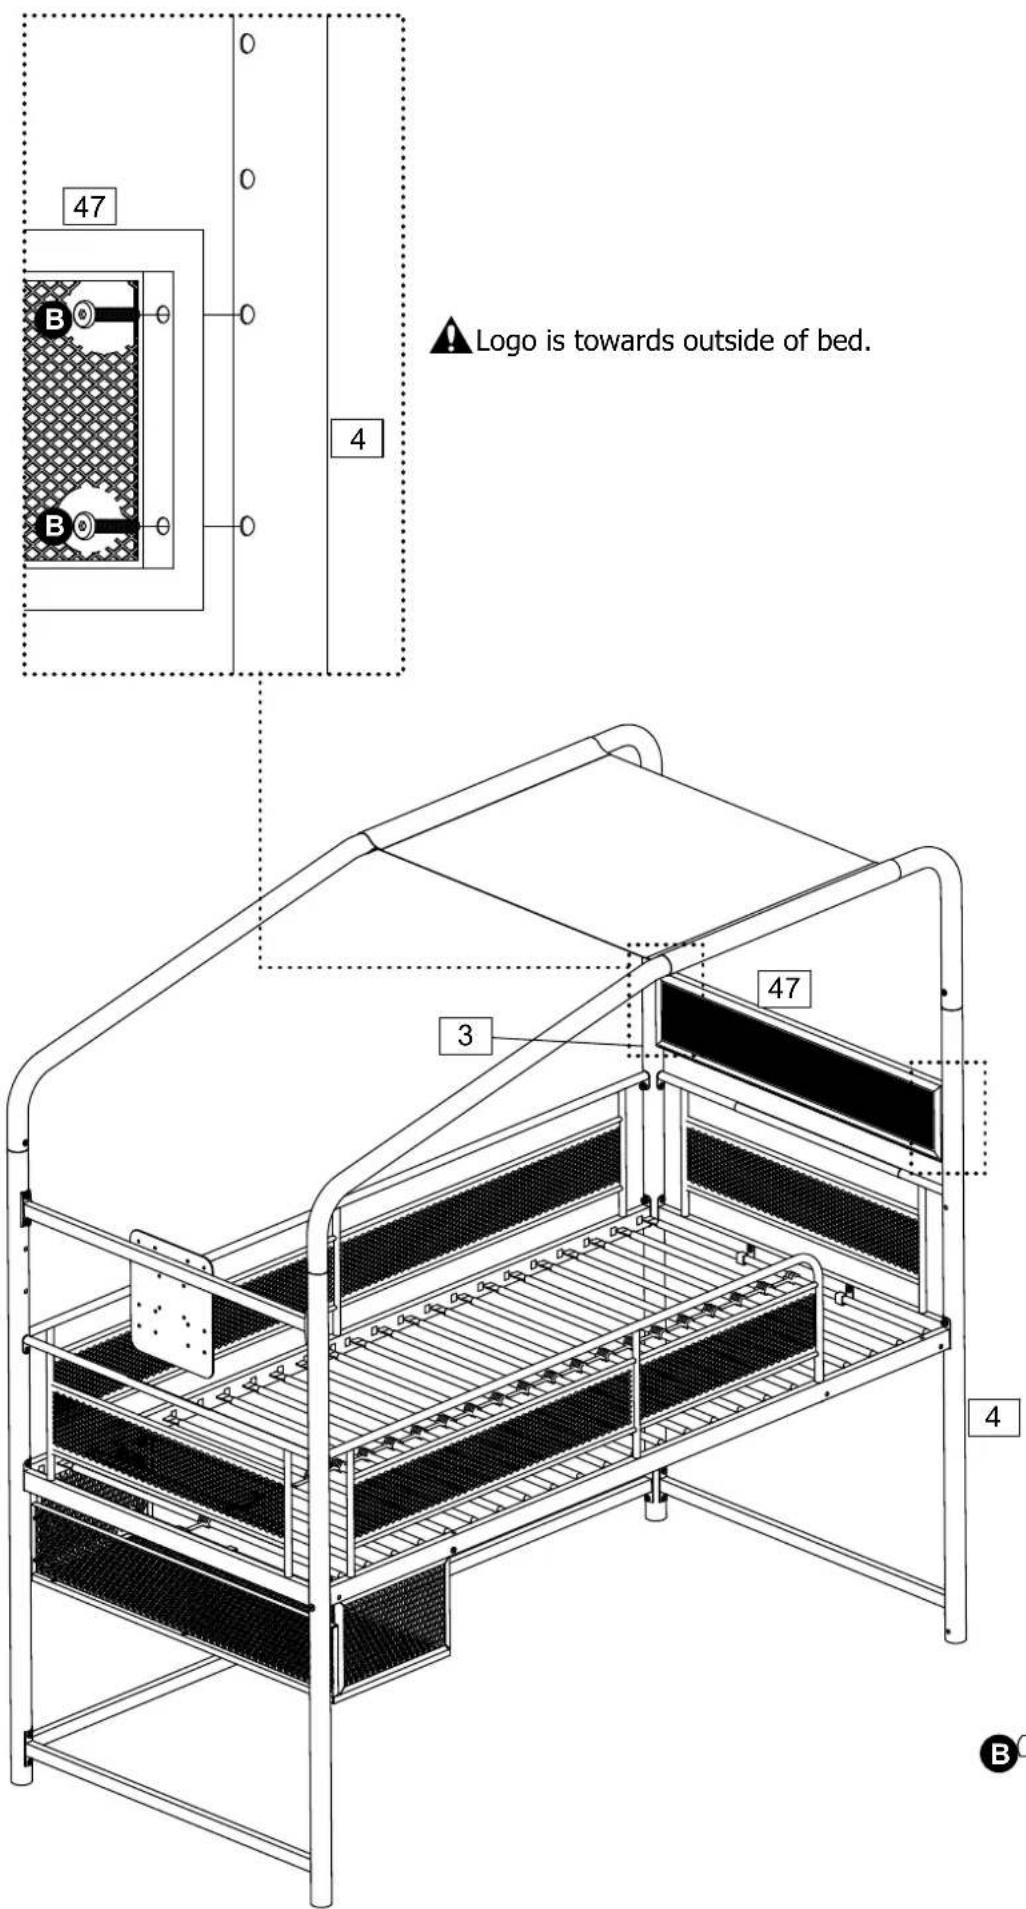
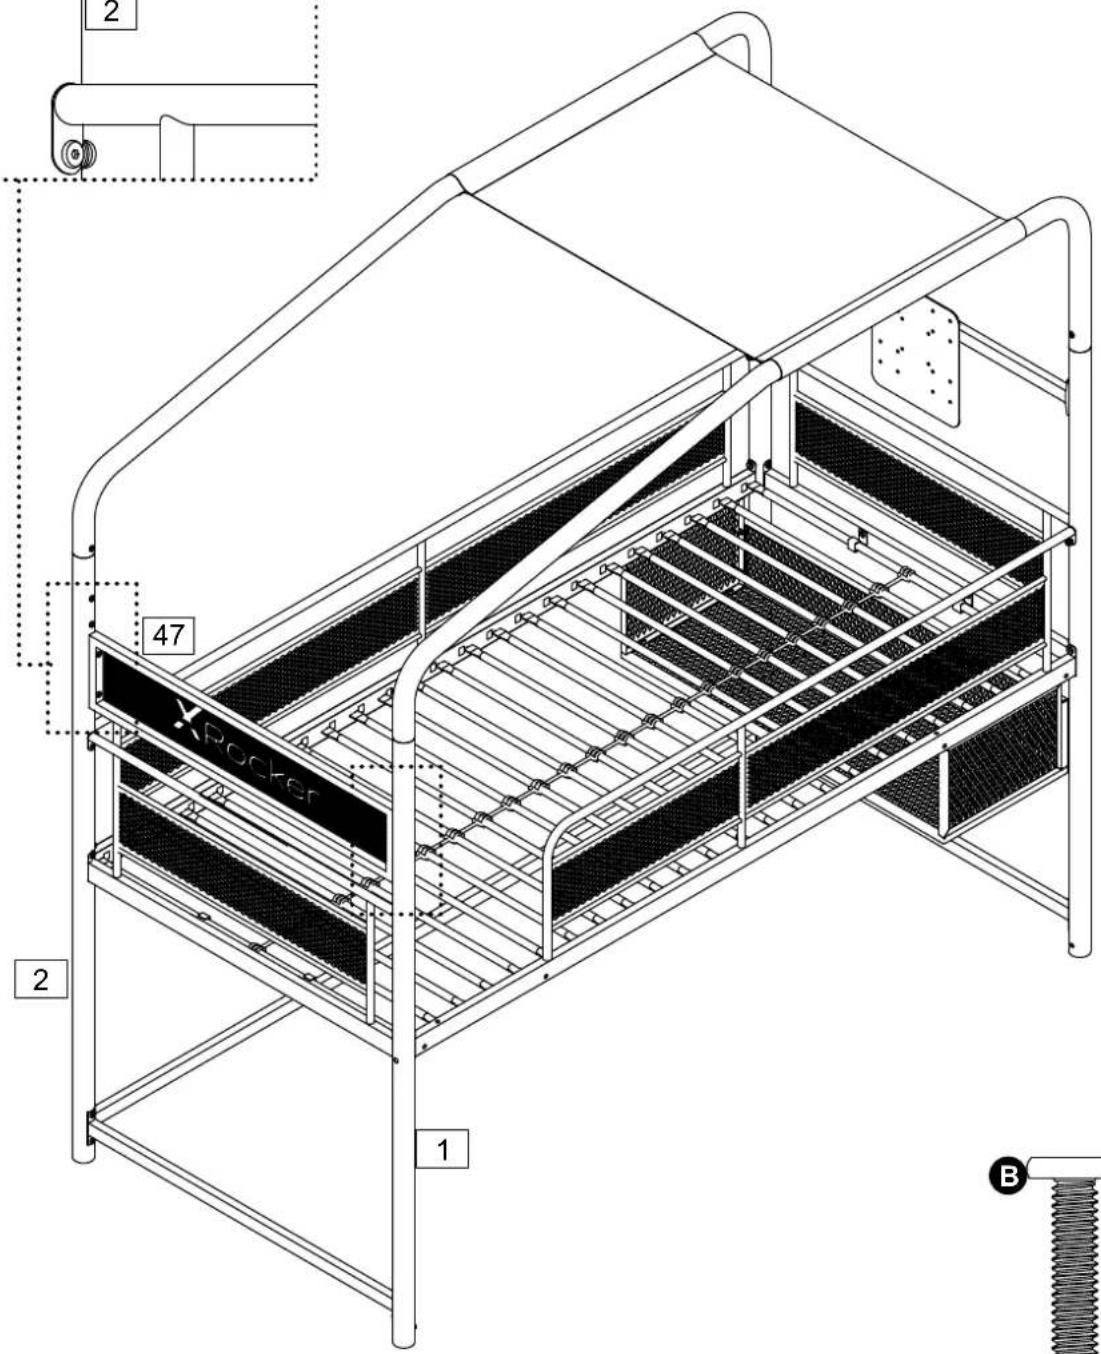
⚠️ Logo is towards outside of bed.

natural_image
Close-up of a threaded bolt with a flat head and circular marker labeled B, no text or symbols on the object itself.


X9


35


X4
36

natural_image
Isometric line drawing of a modular metal rack structure with ladder and support frame (no text or symbols)
natural_image
Diagram showing two mechanical components with a bidirectional arrow indicating transformation (no text or symbols present)Note: This TV mount is compatible with M6 screws without the need for using washers. M4 screws are also compatible if used with part H 'M4 Metal Washer' which are supplied with this product.
Note: The below diagram showing the positioning of Part 64 'Cable Fixing Ribbon' is a suggestion - users are free to position the parts wherever they choose to keep cables tidy.

natural_image
Technical diagram of a metal lattice structure with a vertical rod and attached component (no text or symbols)37
BUILD OPTION 2

natural_image
Technical line drawing of a multi-level metal structure with ladder and mesh panels, no text or symbols present
Assembly is complete
38

natural_image
Technical line drawing of a metal cage-like structure with ladder and panel, showing internal components and structural details (no text or symbols)A Guide to Wall Mounting & Fixings
Important note:
If plastic wall plugs are supplied with your product:
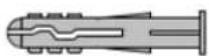
- these are only suitable for use in masonry walls.
If you are in any doubt about the correct wall plugs for your wall, seek professional advice.
Failure of the product due to using incorrect fixings is the responsibility of the installer.

Important: When drilling into walls always check that there are no hidden wires or pipes etc.
Make sure that the screws and wall plugs being used are suitable for supporting your unit. Consult a qualified tradesperson if you are unsure.
Hints:
1: General rule: ⚠ Always use a larger screw and wall plug if you are not sure.
2: Ensure you use the recommended drill bit to match the wall plug and hole size.
3: Ensure you drill the hole horizontally, do not force the drill or enlarge the hole.
4: Take extra care when drilling high walls, ceilings and ceramic tiles. Ensure wall plugs are inserted beyond the thickness of the ceramic tiles to avoid the tiles splitting or cracking.
5: Ensure wall plugs are well fitted and are a tight fit in the drill hole
Types of walls
You can use one of the following types of wall plug if your walls are made of brick, breeze block, concrete, stone or wood.
No.1"General Purpose" wall plug

No.3"Cavity Fixing" wall plug

No.5"Hammer Fixing" wall plug

39
BUILD OPTION 3

40


41
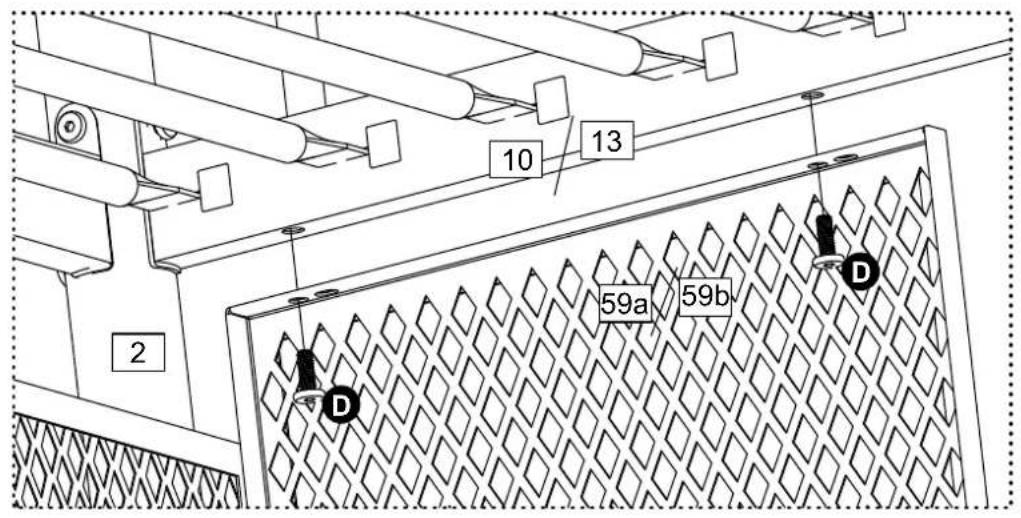

42
Lower TV height

OR
Higher TV height


natural_image
Mechanical component diagram showing a bolt and threaded screw (no text or symbols)43

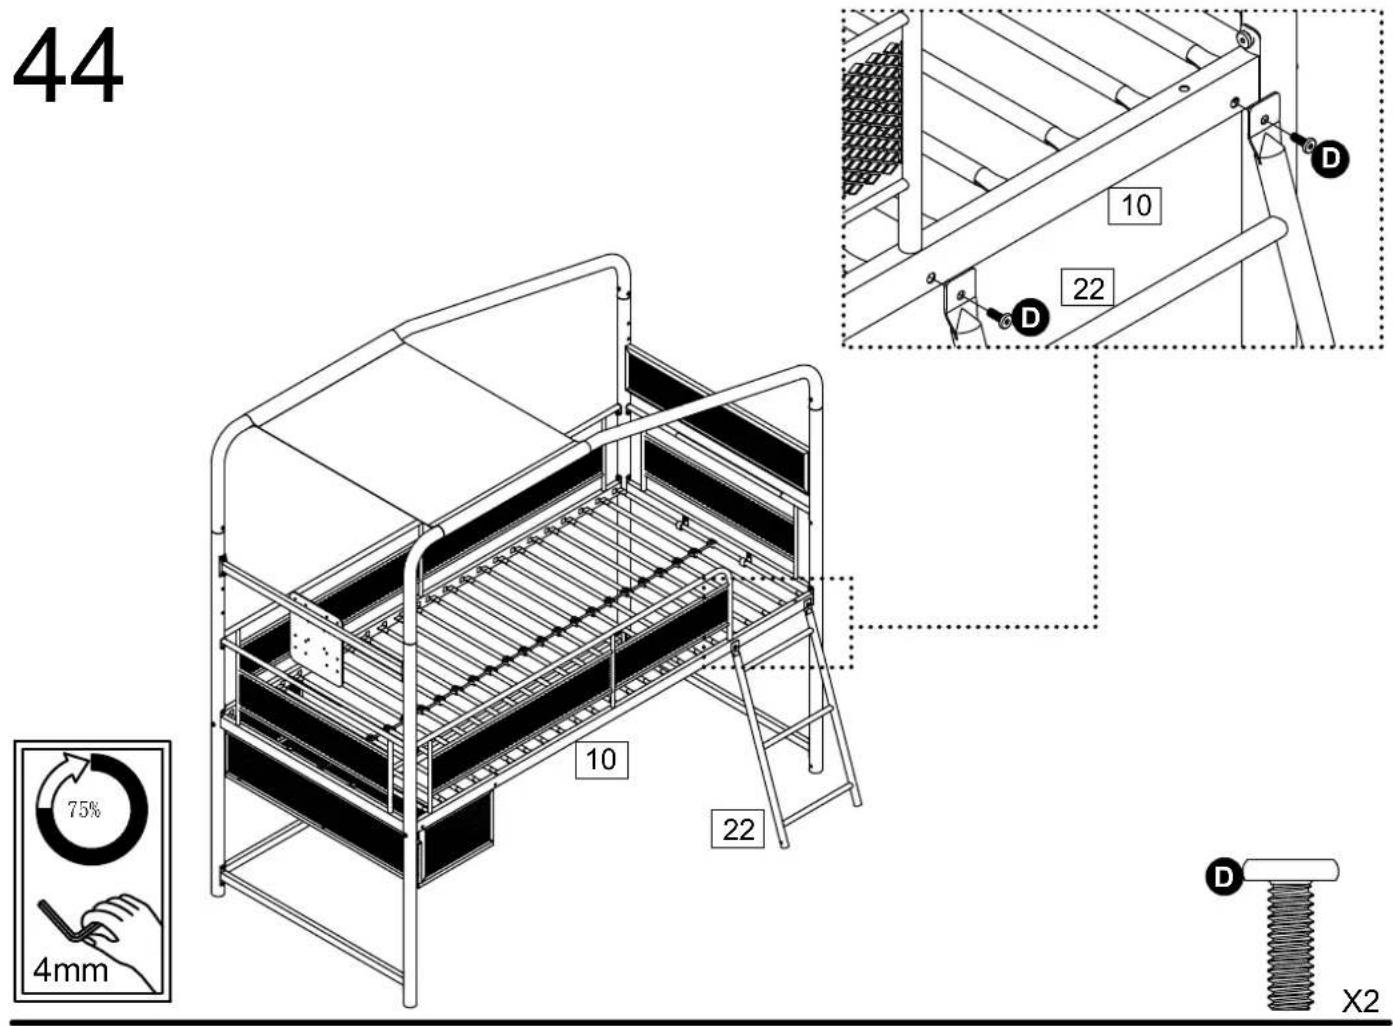
45

46

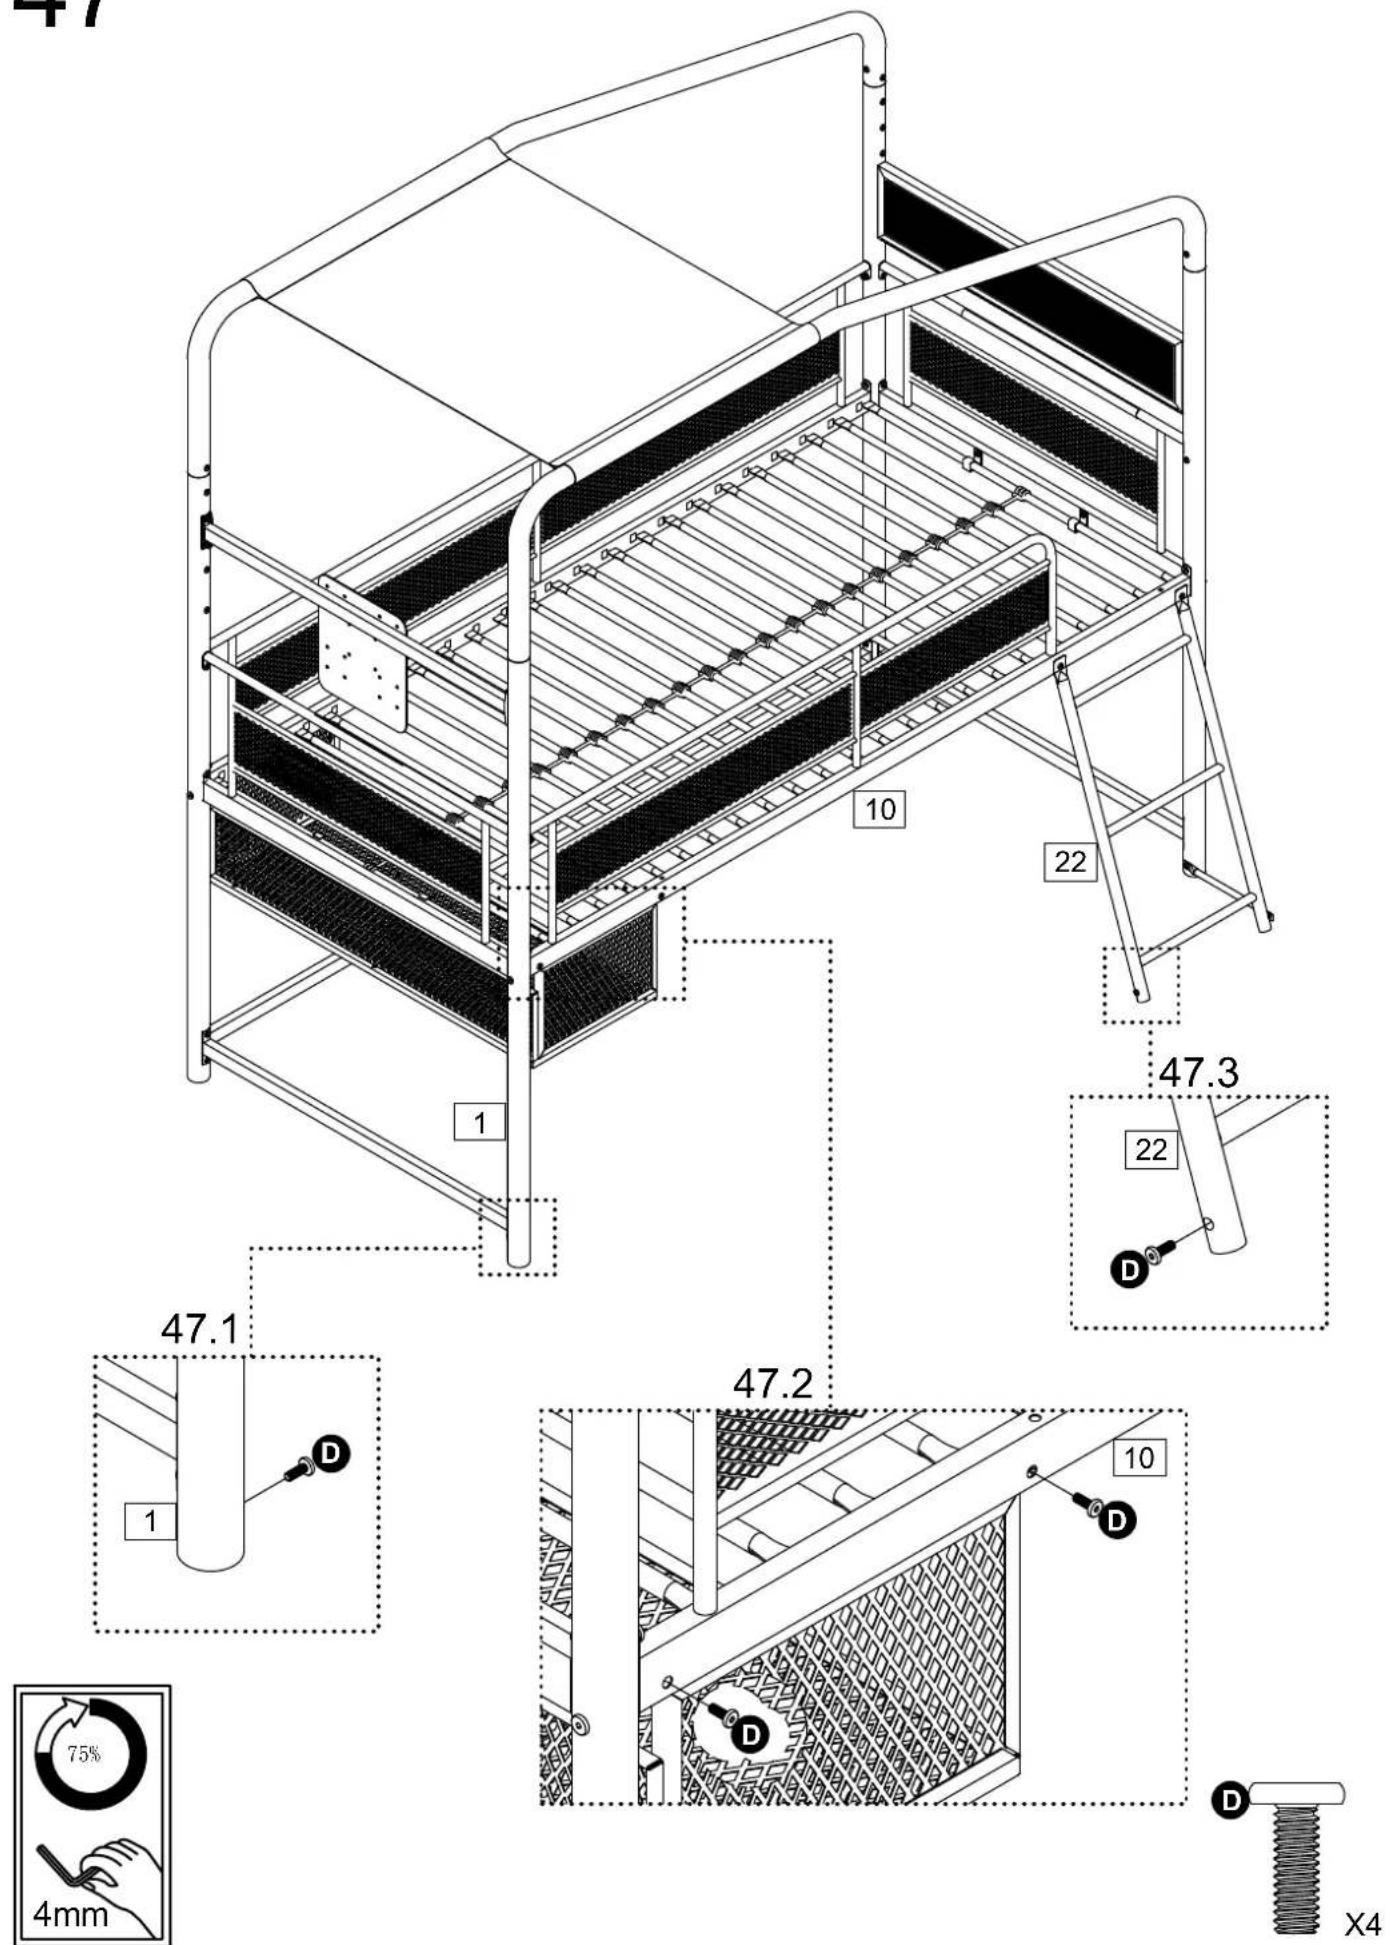
47
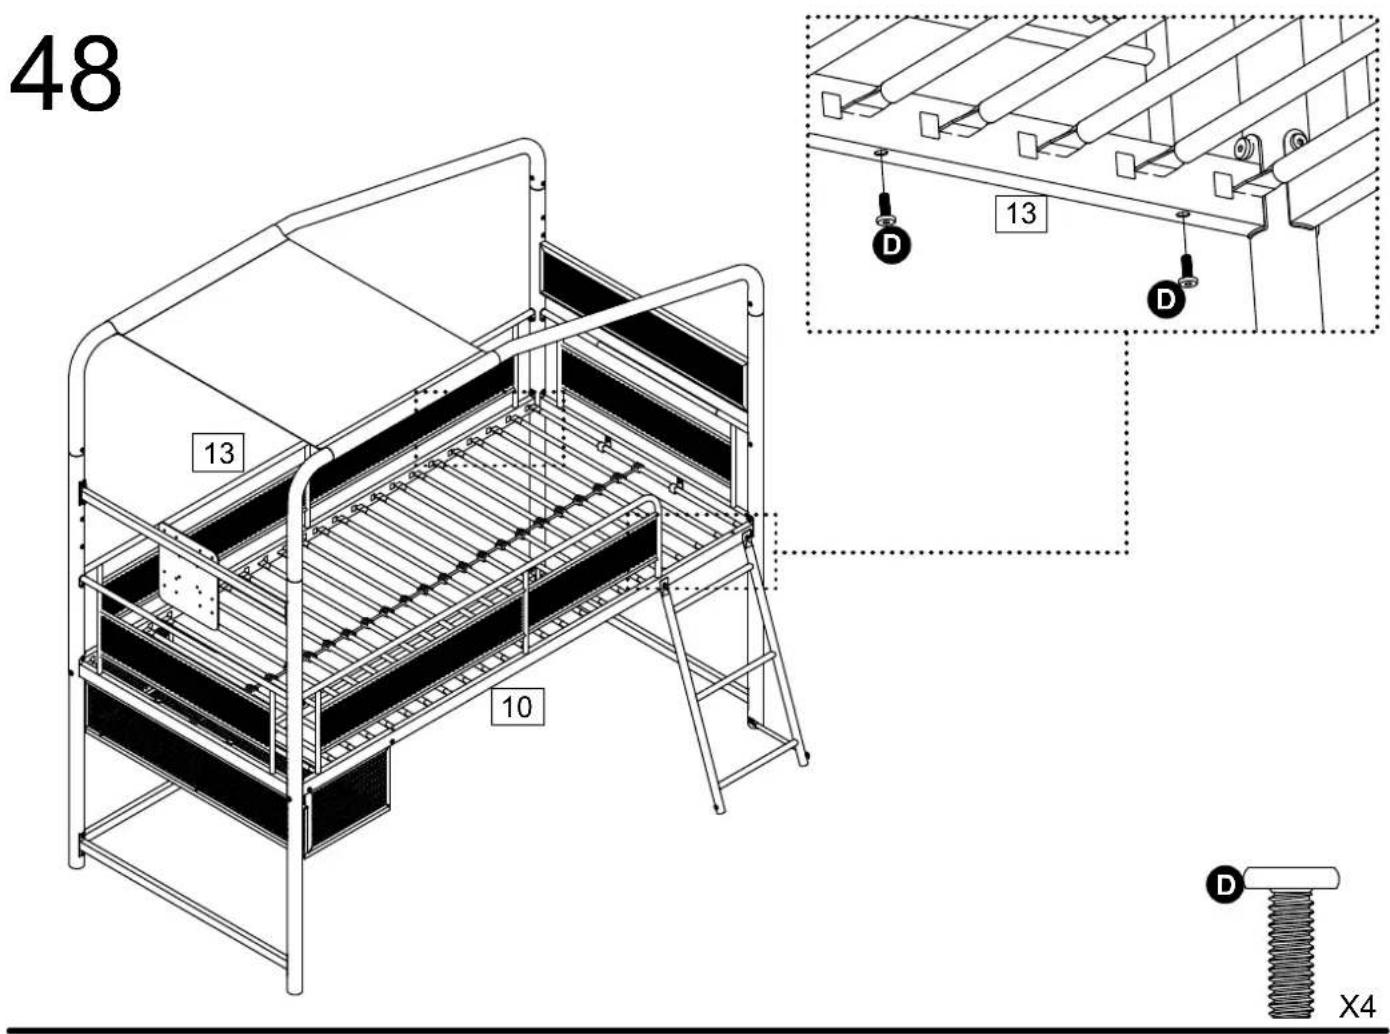
49


X4
50

natural_image
Diagram showing two mechanical components with a transformation arrow (no text or symbols)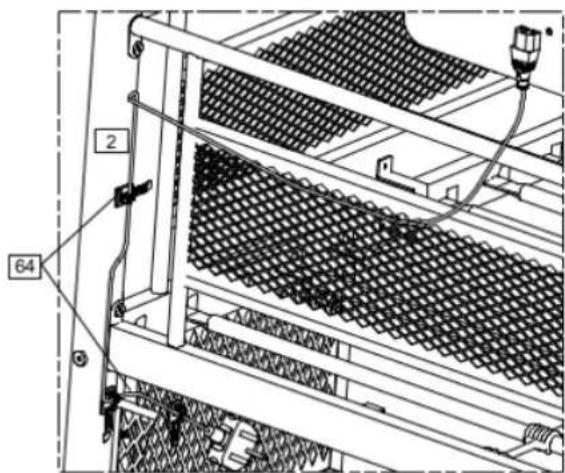
Note: This TV mount is compatible with M6 screws without the need for using washers. M4 screws are also compatible if used with part H 'M4 Metal Washer' which are supplied with this product.
Note: The below diagram showing the positioning of Part 64 'Cable Fixing Ribbon' is a suggestion - users are free to position the parts wherever they choose to keep cables tidy.

51
BUILD OPTION 3

natural_image
Technical line drawing of a multi-level industrial filtration or storage unit with metal frame and ladder (no text or symbols)
Assembly is complete
52

natural_image
Technical line drawing of a metal cage-like structure with ladder and panel panels, showing internal components and structural details (no text or symbols)A Guide to Wall Mounting & Fixings
Important note:
If plastic wall plugs are supplied with your product:

- these are only suitable for use in masonry walls.
If you are in any doubt about the correct wall plugs for your wall, seek professional advice.
Failure of the product due to using incorrect fixings is the responsibility of the installer.

Important: When drilling into walls always check that there are no hidden wires or pipes etc.
Make sure that the screws and wall plugs being used are suitable for supporting your unit. Consult a qualified tradesperson if you are unsure.
Hints:
1: General rule: ⚠ Always use a larger screw and wall plug if you are not sure.
2: Ensure you use the recommended drill bit to match the wall plug and hole size.
3: Ensure you drill the hole horizontally, do not force the drill or enlarge the hole.
4: Take extra care when drilling high walls, ceilings and ceramic tiles. Ensure wall plugs are inserted beyond the thickness of the ceramic tiles to avoid the tiles splitting or cracking.
5: Ensure wall plugs are well fitted and are a tight fit in the drill hole
Types of walls
You can use one of the following types of wall plug if your walls are made of brick, breeze block, concrete, stone or wood.
No.1"General Purpose" wall plug

No.3"Cavity Fixing" wall plug
No.5"Hammer Fixing" wall plug

53
BUILD OPTION 4


55


56
Lower TV height

OR
Higher TV height



57

⚠️ Logo is towards outside of bed.
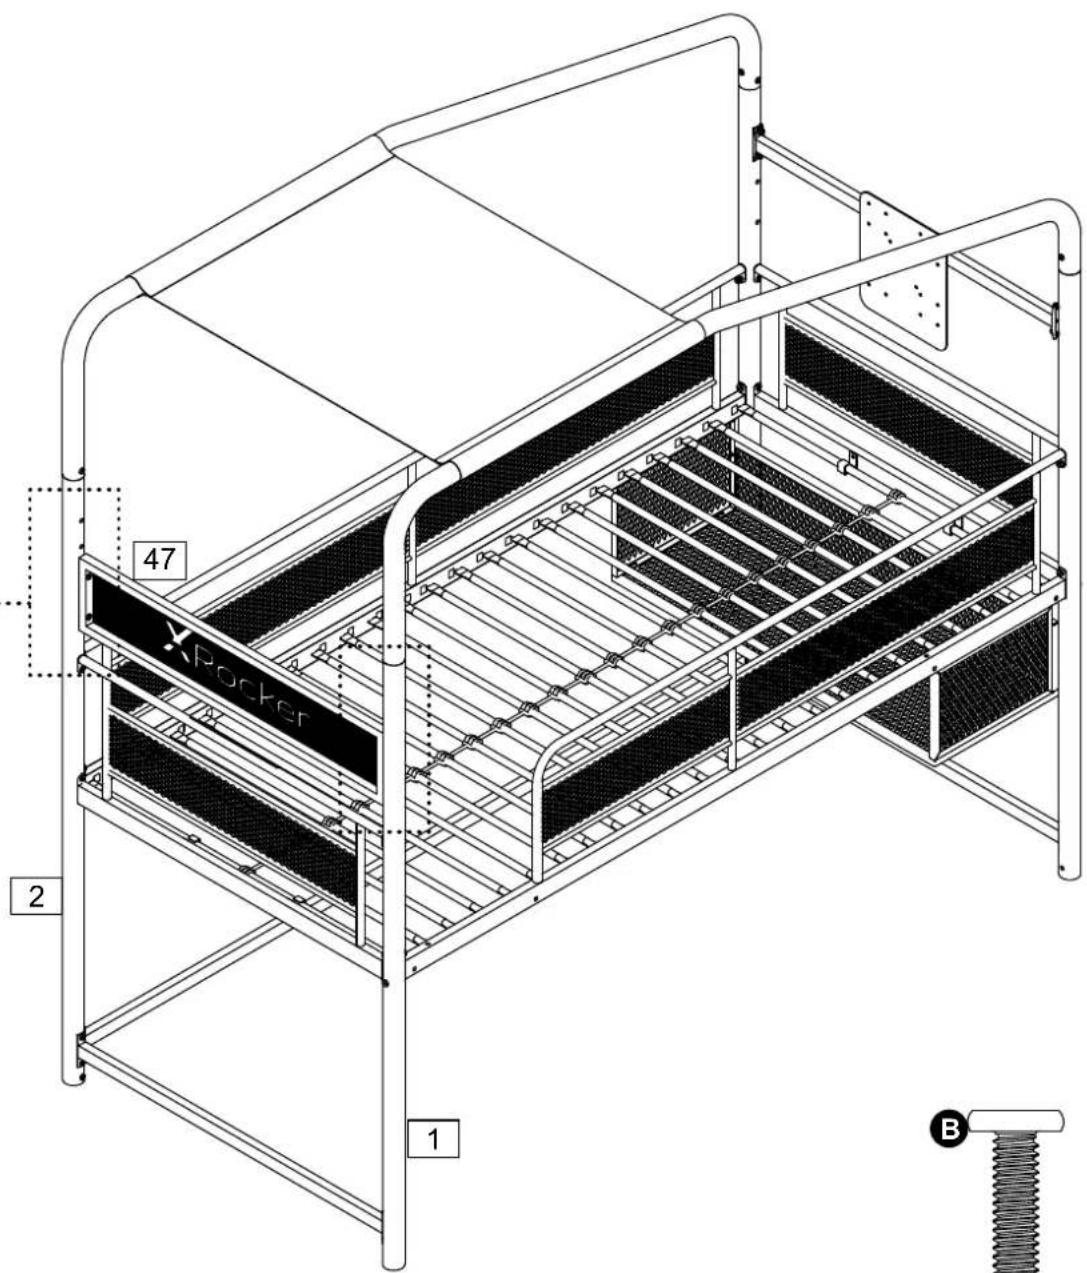

natural_image
Close-up of a threaded screw with a flat head and circular marker labeled B, no text or symbols on the screw itself
59

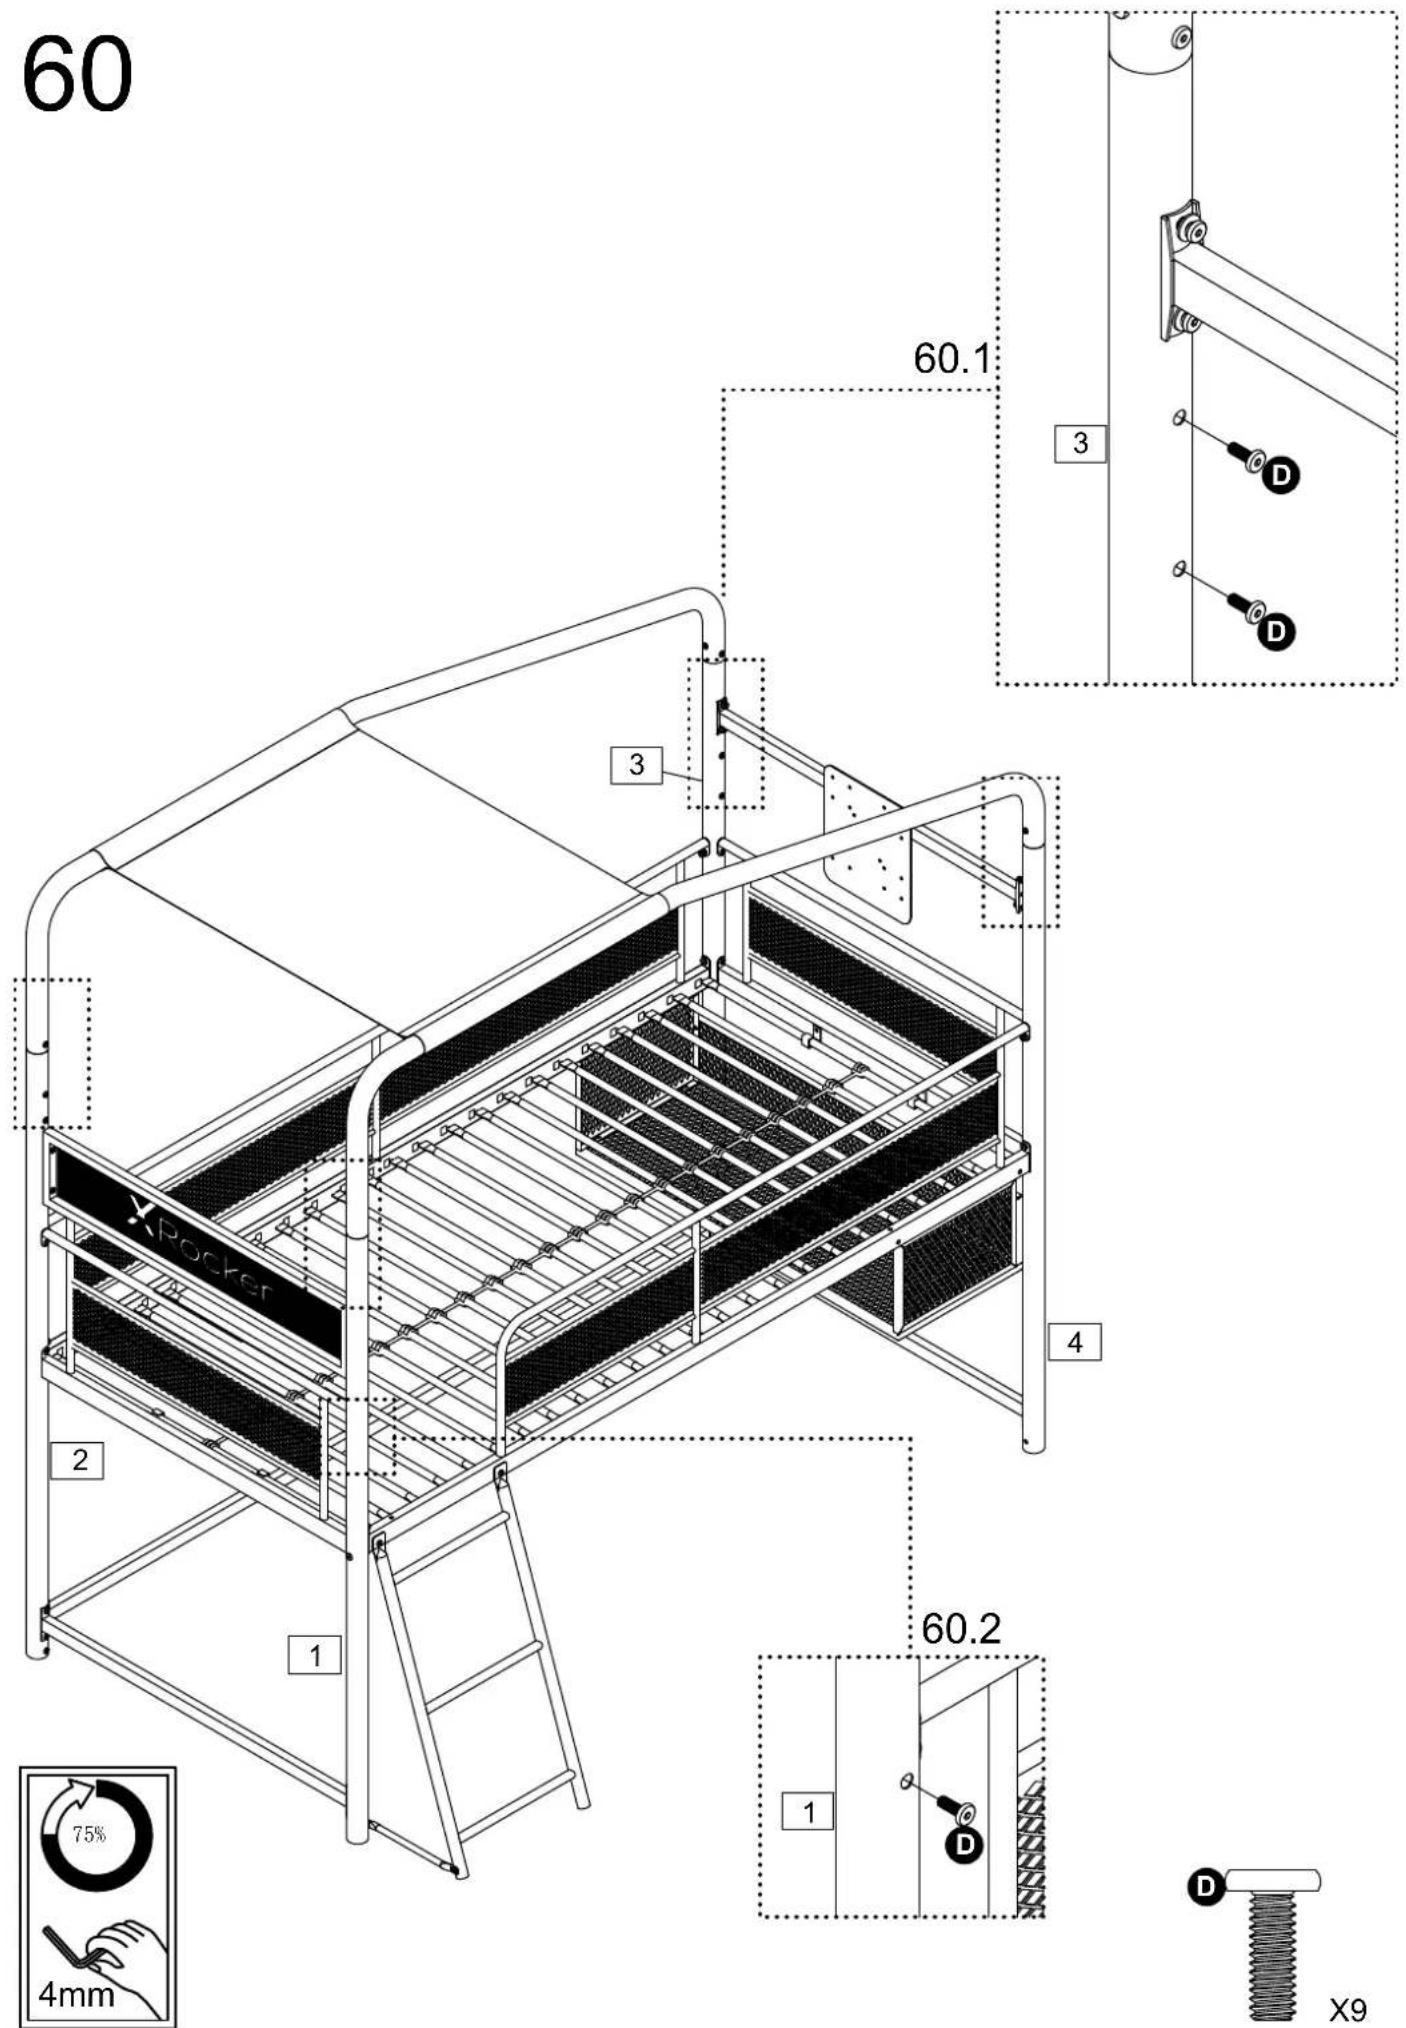

62
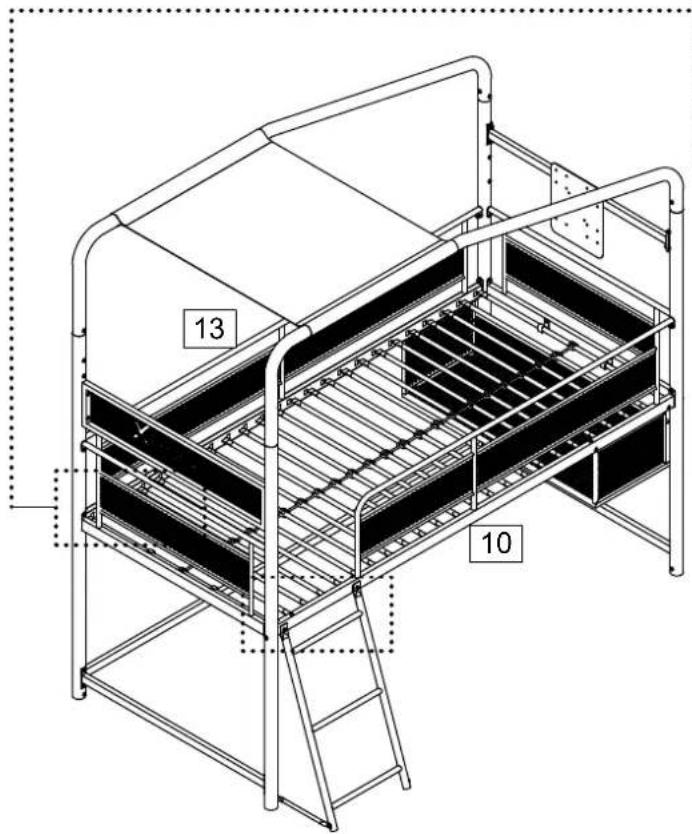
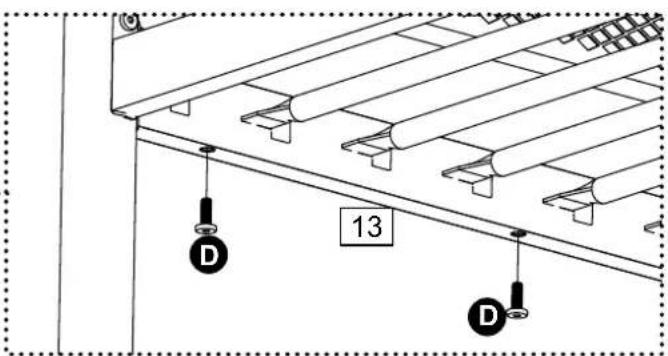

63


X4

natural_image
Isometric line drawing of a multi-level metal structure with ladder and horizontal panels (no text or symbols)
natural_image
Diagram showing two mechanical components with a bidirectional arrow indicating transformation (no text or symbols present)Note: This TV mount is compatible with M6 screws without the need for using washers. M4 screws are also compatible if used with part H 'M4 Metal Washer' which are supplied with this product.
Note: The below diagram showing the positioning of Part 64 'Cable Fixing Ribbon' is a suggestion - users are free to position the parts wherever they choose to keep cables tidy.
natural_image
Technical diagram of a metal structural frame with pipes and a vertical column, no visible text or symbols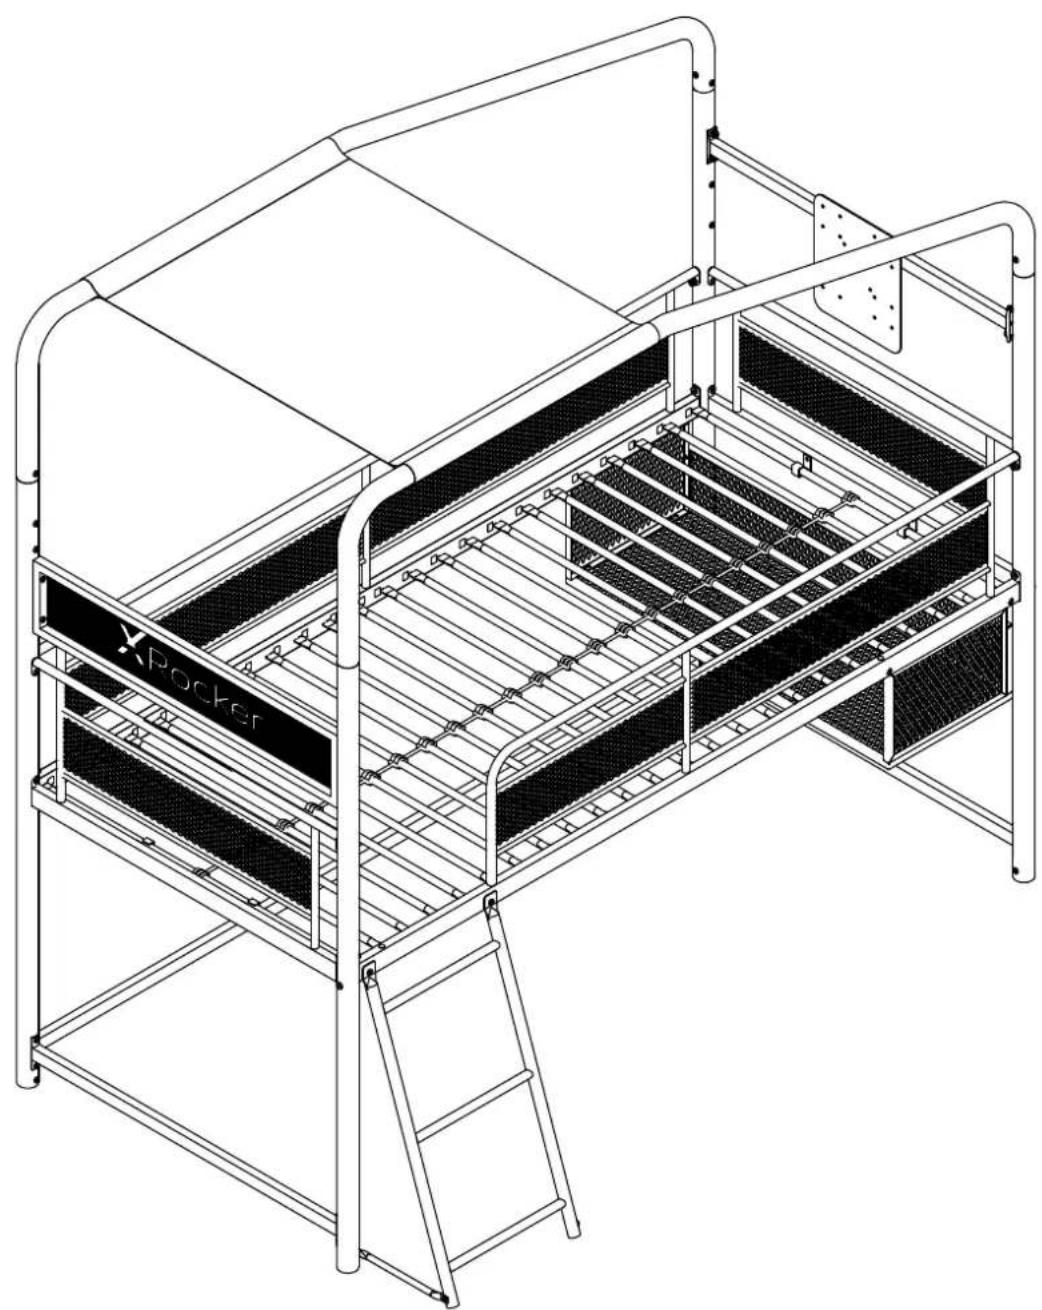
natural_image
Technical line drawing of a multi-level industrial storage or filtration unit with ladder and metal frame (no text or symbols)
Assembly is complete
66

natural_image
Technical line drawing of a metal bunk bed with ladder and panel structure, showing structural details and an inset detail (no text or symbols)A Guide to Wall Mounting & Fixings
Important note:
If plastic wall plugs are supplied with your product:

- these are only suitable for use in masonry walls.
If you are in any doubt about the correct wall plugs for your wall, seek professional advice.
Failure of the product due to using incorrect fixings is the responsibility of the installer.

Important: When drilling into walls always check that there are no hidden wires or pipes etc.
Make sure that the screws and wall plugs being used are suitable for supporting your unit. Consult a qualified tradesperson if you are unsure.
Hints:
1: General rule: ⚠️ Always use a larger screw and wall plug if you are not sure.
2: Ensure you use the recommended drill bit to match the wall plug and hole size.
3: Ensure you drill the hole horizontally, do not force the drill or enlarge the hole.
4: Take extra care when drilling high walls, ceilings and ceramic tiles. Ensure wall plugs are inserted beyond the thickness of the ceramic tiles to avoid the tiles splitting or cracking.
5: Ensure wall plugs are well fitted and are a tight fit in the drill hole
Types of walls
You can use one of the following types of wall plug if your walls are made of brick, breeze block, concrete, stone or wood.
No.1"General Purpose" wall plug
No.3"Cavity Fixing" wall plug

No.5"Hammer Fixing" wall plug


- CONTRA MID-SLEEPER GAMING BED WITH TV MOUNT
- TOOLS REQUIRED
- OF PEOPLE
- Safety and Care Advice
- Read Before Beginning Assembly
- Caution
- WARNINGS
- Avertissements
- Precauciones
- PARTS
- Panels
- Fittings (T00012400B00)
- BUILD OPTIONS
- 23
- BUILD OPTION 1
- A Guide to Wall Mounting & Fixings
- Important note:
- Important: When drilling into walls always check that there are no hidden wires or pipes etc.
- Hints:
- Types of walls
- 28
- 37
- BUILD OPTION 2
- 42
- 51
- BUILD OPTION 3
- 52
- 56
- 66
Brand : X Rocker
Model : Contra
Category : Bed